3D Print – Tablet Holder

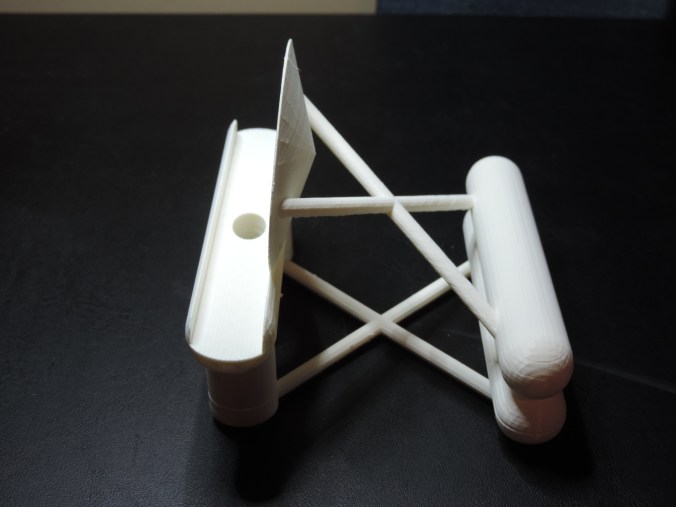
I take a lot of pictures of different objects.  My tablets protective case holds it at an angle that is not very suited for taking pictures.  I designed a tablet holder that would hold my tablet at a slight angle which was needed to keep it from falling forward.

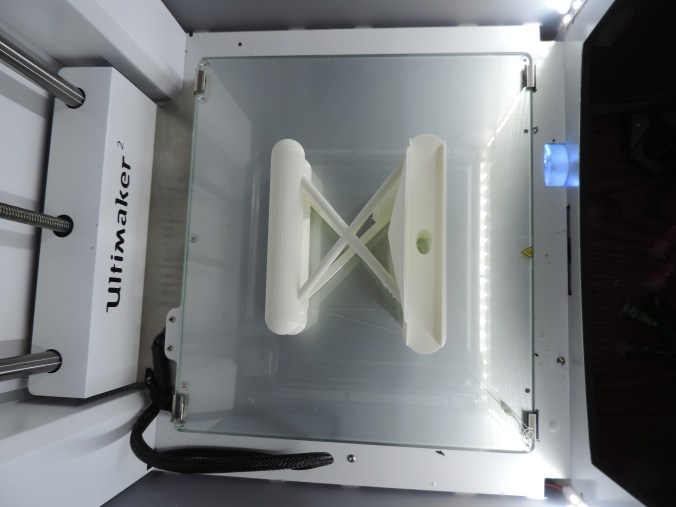
This is my first attempt.

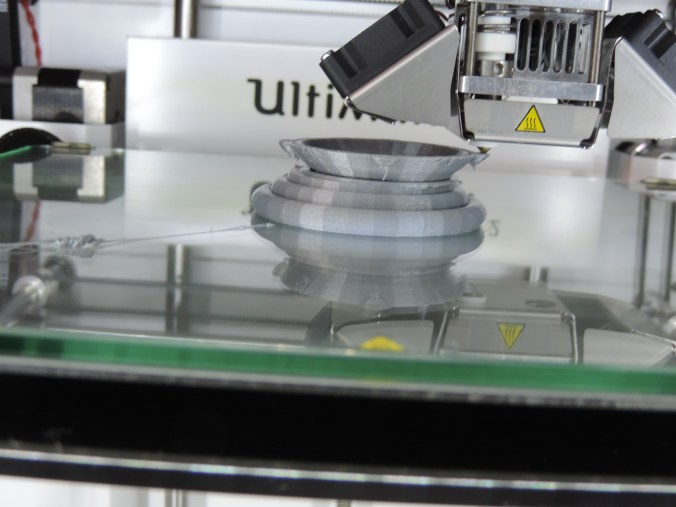
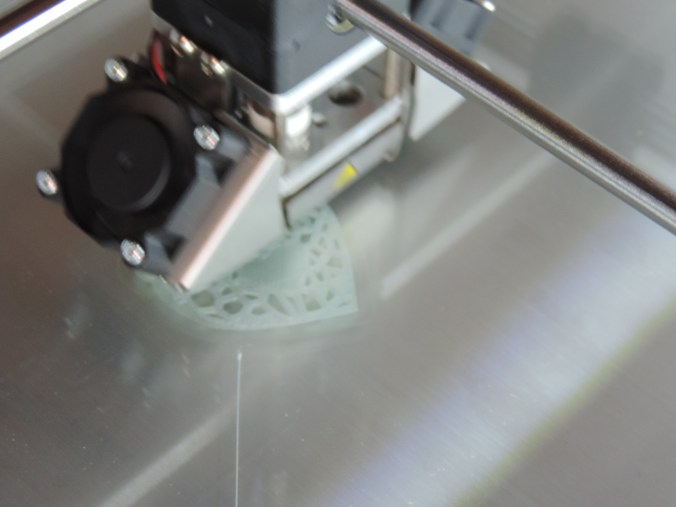
It came out pretty good.   But, there was one main issue.  There was no way to plug the micro-USB power cable into it.  I do not want the tablet to die during a video shoot. It needed a hole on the bottom of the stand.  Also, it was printed without the support structure, so there was strings of plastic on the stand.

DSCN6927

Second attempt:  Better – however, the hole for the micro-USB cable could be a little larger and when I placed the “holes” for the dish part overlapped in the printing part.  There are still some plastic strings hanging down.

DSCN6952

DSCN6951

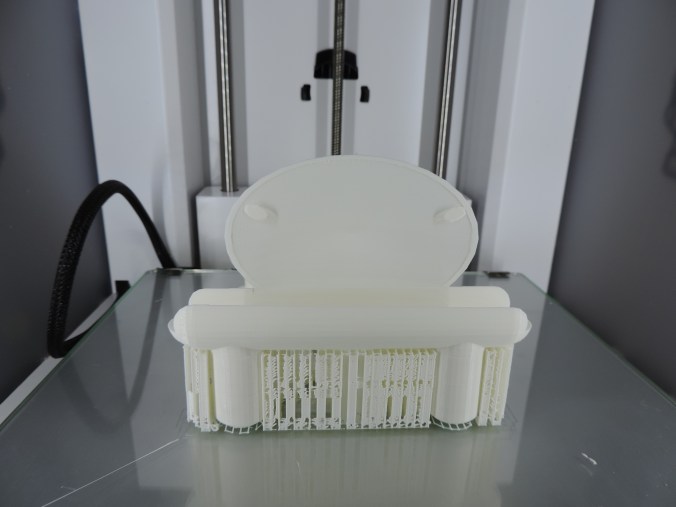
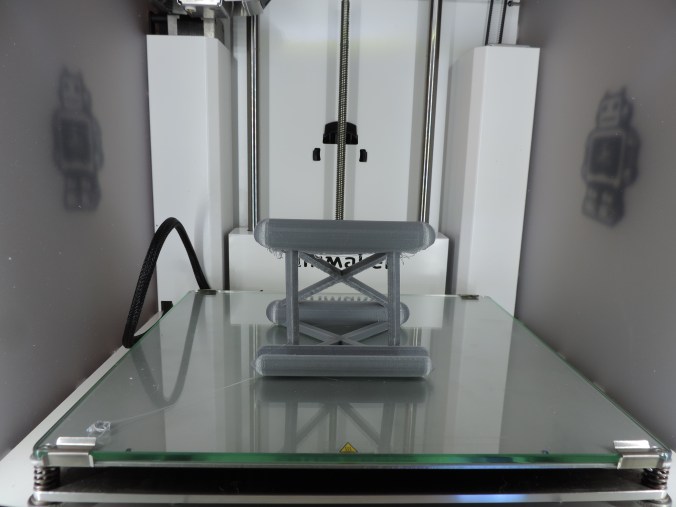
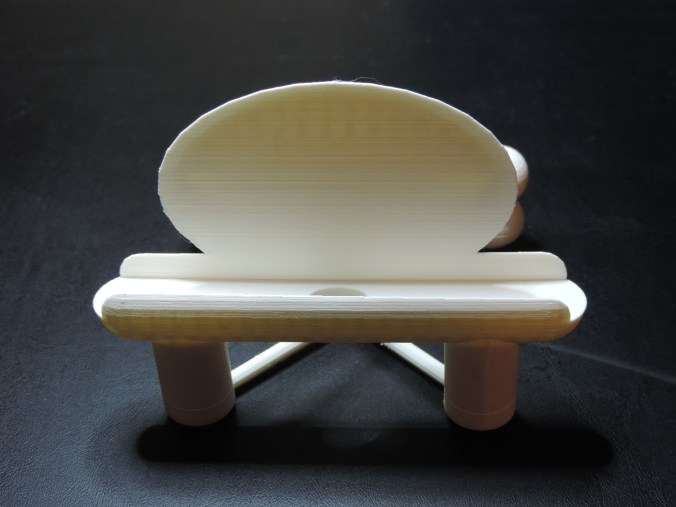
Third attempt: Success!

DSCN7061

DSCN7063

DSCN7064

DSCN7065

DSCN7069

DSCN7074

DSCN7075

Print Time: 12 hours 37 minutes
Filament: PLA – 7.32 meters 60 grams
Layer height: 0.1 mm
Shell Thickness: 0.8

Object Size (W, D, H): 125.087, 102.268, 95.598 mm

Published on Youmagine.com:  https://www.youmagine.com/designs/tablet-holder-b4c1eceb-f198-4414-81b8-d43c3be6afa6


3D Print – Holy Family Shrine

I’ve learned that I could take a .jpeg file and load it into the Cura software that came with the 3d printer (Ultimaker 2) and it would add depth to the picture.    I had the option of letting either the dark or light colors to have depth.

I selected one of my pictures that I took at the Holy Family Shrine.

I had to scale down the image to 4″ x 6″ in the Cura software because 1101.3 x 1468.5 mm (43.35 x 57.81 inches) was too big for the printer.

I believe the results were amazing.

DSCN7037

DSCN7036

DSCN7038

DSCN7039

3D Print – Something Wearable

The next item I created with Tinkercad and printed was a 3D bracelet.  The first version was too small for my wrist and quit printing before it was completed.

DSCN6907

So I enlarged the bracelet, and this time I made sure that the gcode file was completed written to the SD card before I tried to print the item.

DSCN6909

DSCN6913

Print Time: 2 hours 12 minutes
Filament: PLA – 1.32 meters 10 grams
Layer height: 0.1 mm
Shell Thickness: 0.8

Object Size (W, D, H): 70.07, 70.07, 18.721 mm

3D Print – Something Tall

After loading several objects into the Cura software, it told me ‘Info:  Print one object at a time disabled. Object too tall.”  During my research of this issue, I learned the object was not too large for the printer, it was just too large for printing multiple objects.  Now, I had to print something tall.

On youmagine.com I found a vase that I just had to print.

Specifications:

Print Time: 12 hours 29 minutes
Filament: PLA – 6.35 meters 50 grams
Layer height: 0.1 mm
Shell Thickness: 0.8

Object Size (W, D, H): 200, 76.3, 76.3 mm

200 mm is almost 8 inches tall.

DSCN6874

Yes, the vase is spiral.

DSCN6882

DSCN6885

DSCN6890

DSCN6892

DSCN6895

DSCN6901

Now I just need to figure out what is causing the strings inside the spirals.

3D Print – My First Failure

I designed a vase in Tinkercad using several of the techniques I learned through the lessons on the website.  I used the workplace feature to place the stars and circles on the vase.  I used the hole feature to hollow out the inside of the vase.

vace2

In the end, I thought I had a good result for my first vase attempt.  I saved the object as an .STL file and loaded into Cura and created the .gcode file.

DSCN6862

Into the first hour of printing, I noticed that I had a bit of a problem.  One of the holes I had put in the vase had cause the bottom of the base to become unstable.

DSCN6864

Examining it carefully, I determine at this stage, the vase would still hold water, so I let the printer continue.

DSCN6865

Three hours into printing the vase, the printer stopped.

DSCN6867

There were no mechanical problems with the printer, it just though the print was finished.

DSCN6868

Researching this problem, I found out it was not a unique problem.  It happens when the .gcode file is not completely created.  Steps to take to make sure the .gcode is created correctly are: 1) Wait until the object completely loads into the software package (Cura).  2) Do not print through the USB cable this may interfere with the printing.  3) Make sure the .gcode file is saved to the SD Card.  4)  Always eject the SD Card from computer before removing the SD Card.

I did not attempt to reprint the vase.  I need to tweak it first and other design have capture my attention.

Thanks!!!!

My nephews, ages 10 and 12, did me a favor by cleaning up my yard. It was a favor, so they did not want to be paid. This is how I thanked them.

First, I made them a Thank You card using a template I found in the Silhouette Design Studio.  They are held together with double stick tape.

One for the SuperHero fan…

DSCN6849

Another for the garden lover, orange wearer, fan…

DSCN6852

Then using my new 3D design skills that I learned in Tinkercad, I made them both a name tag and printed it on my Ultimaker 2 printer.

DSCN6843

DSCN6846

Print Time: 6 hours 54 minutes – for both
Filament: PLA – 3.52 meters 28 grams
Layer height: 0.1 mm
Shell Thickness: 0.8

Object Size (W, D, H): 130.5, 40.002, 6.0 mm – each

I then realized that their younger brother may feel left out.  So, I made him a name tag too.

DSCN6860

Print Time: 3 hours 28 minutes
Filament: PLA – 1.77 meters 14 grams
Layer height: 0.1 mm
Shell Thickness: 0.8

Object Size (W, D, H): 130.5, 40.002, 6.0 mm

DSCN6870

3D Print – My First Design

The next step for  printing 3D objects was to fine some 3D design software that support .STL or .OBJ files.  There are a lot of free software available for 3D design.  However, I am very warily of “free” software since a lot of “free” software (especially game software) comes with viruses, Trojans, and other nasty things.

I found four that was worth looking into deeper.

  1. Tinkercad (https://www.tinkercad.com/):  It is owned by Autodesk.  Autodesk has been around for a long time.
  2. Google Sketchup (http://www.sketchup.com/): Do I really want to install another Google product.  However, looking at the site, there was not direct indication it was owned by Google.
  3. 3DSlash (https://www.3dslash.net/index.php):  Looked interesting.  Take an object and remove parts.
  4. Blender (https://www.blender.org/): Has promise.  Is part of the Open Source community.

Since I use CorelDraw, I decided to look at their recommendations.  They recommended developing a 2D design in CorelDraw, transferring it to CAD software, like AutoCAD or Autodesk 123D, then fine tuning it with Corel Technical Suite.  Corel Technical Suite is $999.   I think not!

I decided since I was a beginner, I would start and learn with Tinkercad.  I went through several lessons in Tinkercad to learn the basics.  It was very helpful, especially learning to adjust the workspace.

Many years ago, a friend told me I needed to sign all my art works.  Most of my cards, houses, paintings now contains this logo.  That is want I created first.

Made By Sarah….

DSCN6826

DSCN6827

DSCN6838

DSCN6839

DSCN6840

DSCN6841

Yes, I did make it double sided.  If I had though about it before, I would have mirror the image on the reverse side.

Print Time: 4 hours 46 minutes
Filament: PLA – 2.14 meters 17 grams
Layer height: 0.1 mm
Shell Thickness: 0.8

Object Size (W, D, H): 127.0, 68.0, 5.0 mm


3D Print – Makey Robot

I have printed everything that was on the SD Card that came with the printer.  The next step is downloading and installing the Cura software.  To my disappointment, the Cura software does not let you design 3D objects.  It does lets you render the object for 3D printing.

In Cura, there is a link “YM” to Youmagine.com that allows you to share the objects you create.  If also lets you download objects created by other individuals.  That is where I found this robot.  Named Makey Robot by le FabShop.

DSCN6753

DSCN6767

DSCN6767

DSCN6769

DSCN6770

Yes!  He does have movable parts.  There was no assembly required.  After it was printed, I could move most of the parts.  I having problems moving one of it’s ankle and knee parts.  Only the 65 piece model was printed.

DSCN6780

Print Time: 5 hours 42 minutes
Filament: PLA – 3.43 meters 27 grams
Layer height: 0.1 mm
Shell Thickness: 0.8

Object Size (W, D, H): 62.4, 55.4, 40.5 mm

The search is on for 3D design software.  If you have any favorite, let me know.

Birthday Card

Here are my first two attempts at making Birthday cards.  For the outside I used the templates from the Silhouette Design Studio.  On the inside, I font was used and another template.  Several cards will be made this month, because of the numerous birthdays in January.

I really need to learn how to get the insert correct if the card will have a background.

DSCN6752

Instead of gluing the dots back into the letters, I used my metallic marker to draw the dots.  Lazy? Maybe… but, more likely I am feed up with all forms of glue.

DSCN6750

Note to self – Check the quality of the photo before mailing the card.

DSCN6876

The signature was done with the sketch pen in the Silhouette while before the cutting was performed.

DSCN6878

I did save the cut letters.  I may want to used them in the future for another project.


3D Printing – More Standard Prints

Here are some more items I printed directly off of the SD Card that came with the Ultimaker 2.

Double Heart:

DSCN6734

DSCN6736

Print Time: 59 minutes
Filament: PLA – .60 meters 5 grams
Layer height: 0.1 mm
Shell Thickness: 0.8

Object Size (W, D, H): 40.0, 40.0, 6.0 mm

Earring Circle:

DSCN6796

Print Time: 15 minutes
Filament: PLA – .13 meters 1 grams
Layer height: 0.1 mm
Shell Thickness: 0.8

Object Size (W, D, H): 30.0, 32.9, 62.9 mm

Coffin’s Cube Puzzle:

This was the second time I attempted to print these objects.  The first time, the filament stopped extruding after the second object was printed.  I removed the filament from the machine and printed all of the other objects on the SD card before I attempted this object again.

DSCN6740

DSCN6744

Now that I have a puzzle. I guess I will need to Google it to determine how to put it together.

Print Time: 3 hours 4 minutes
Filament: PLA – 1.89 meters 15 grams
Layer height: 0.1 mm
Shell Thickness: 0.8

Object Size (W, D, H): Varies