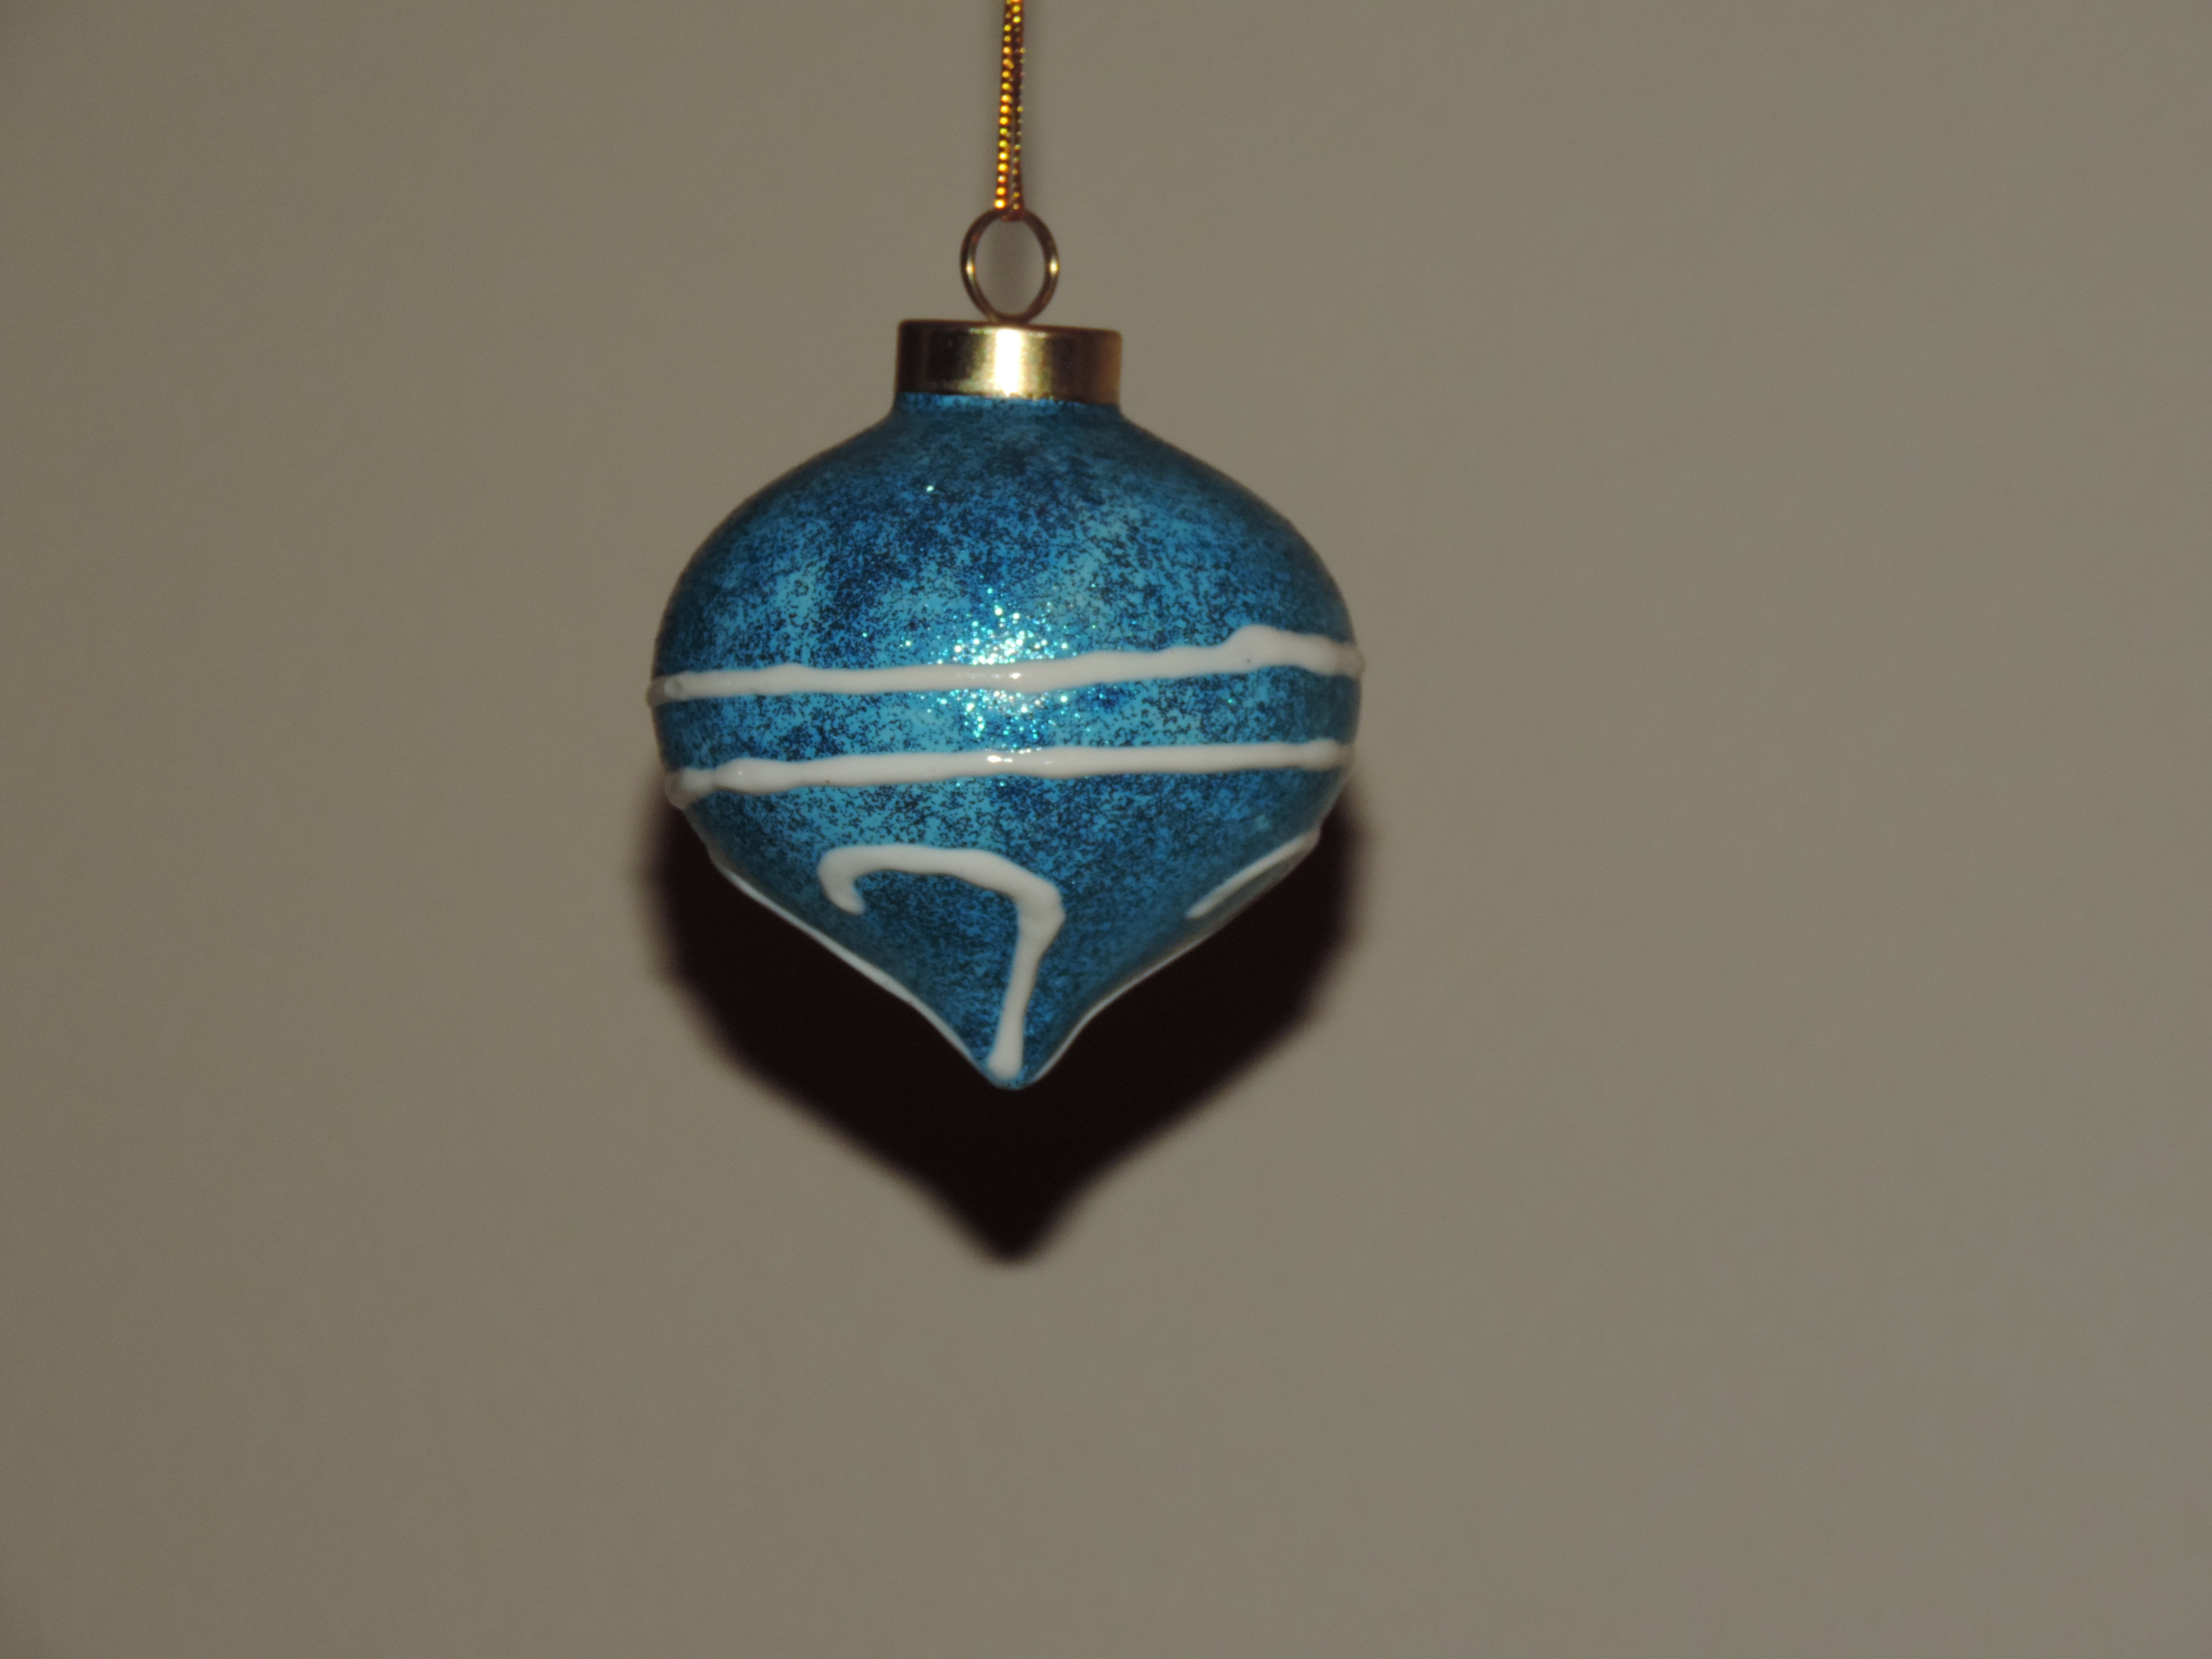
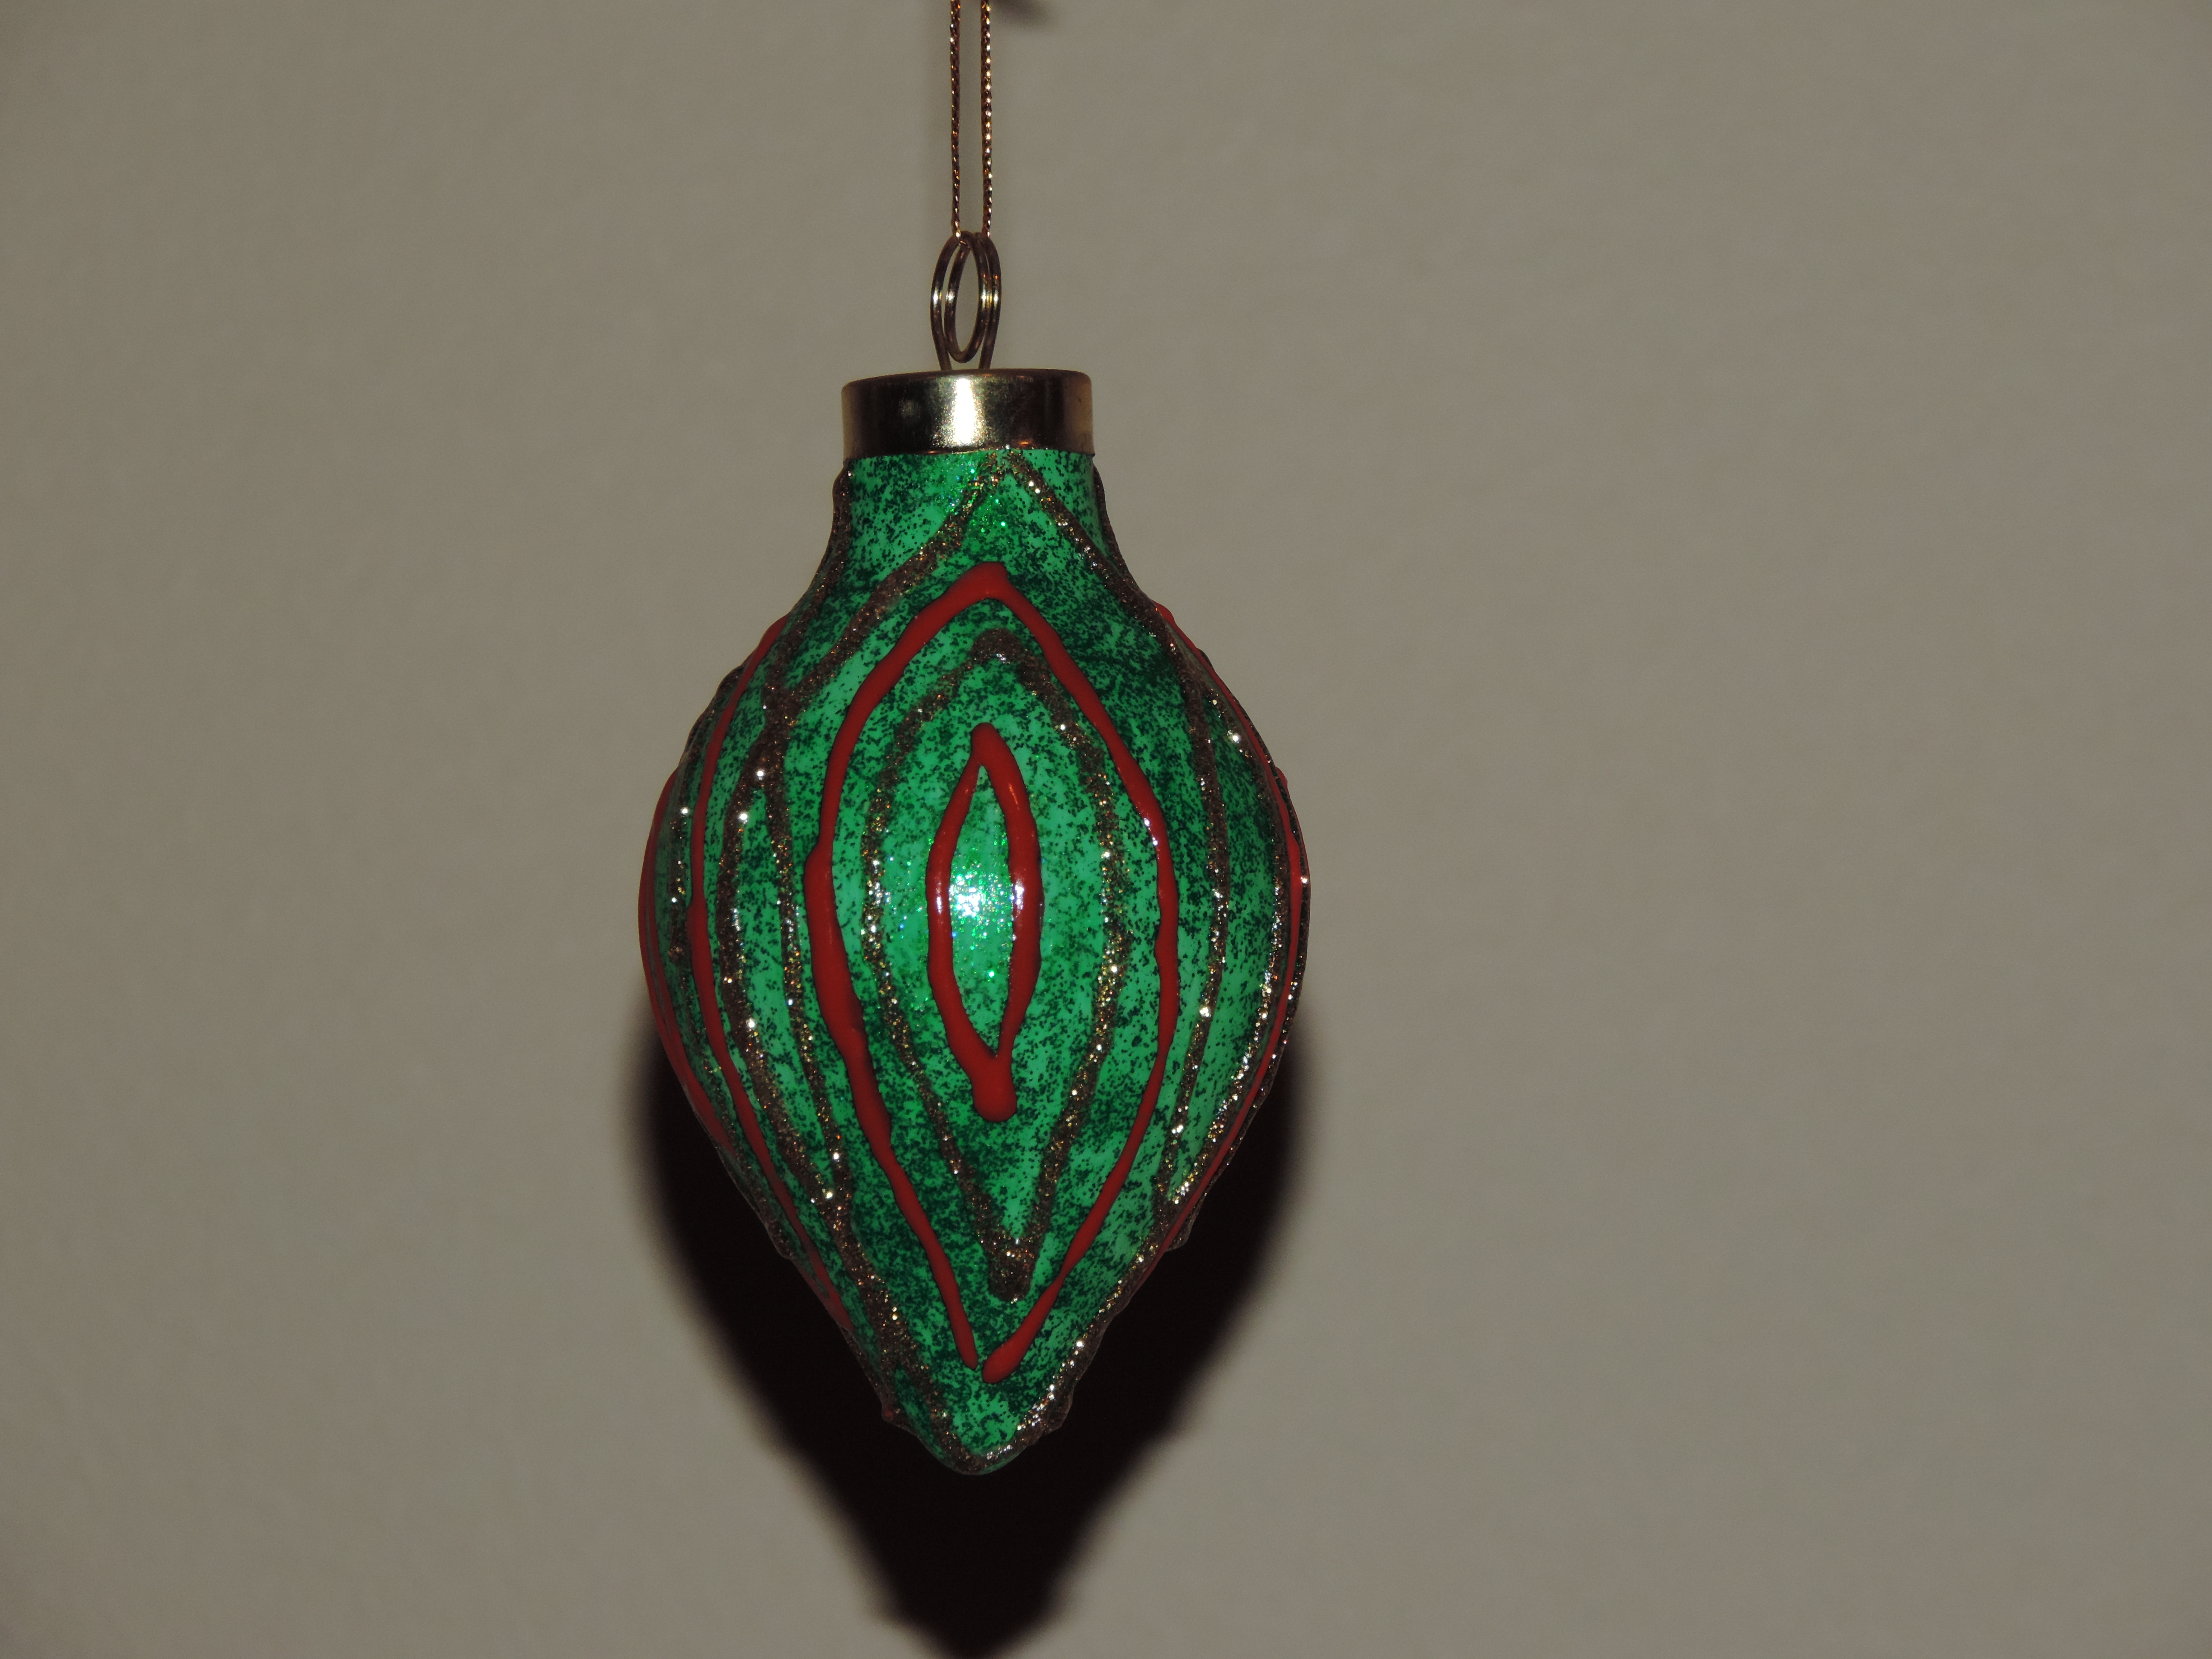
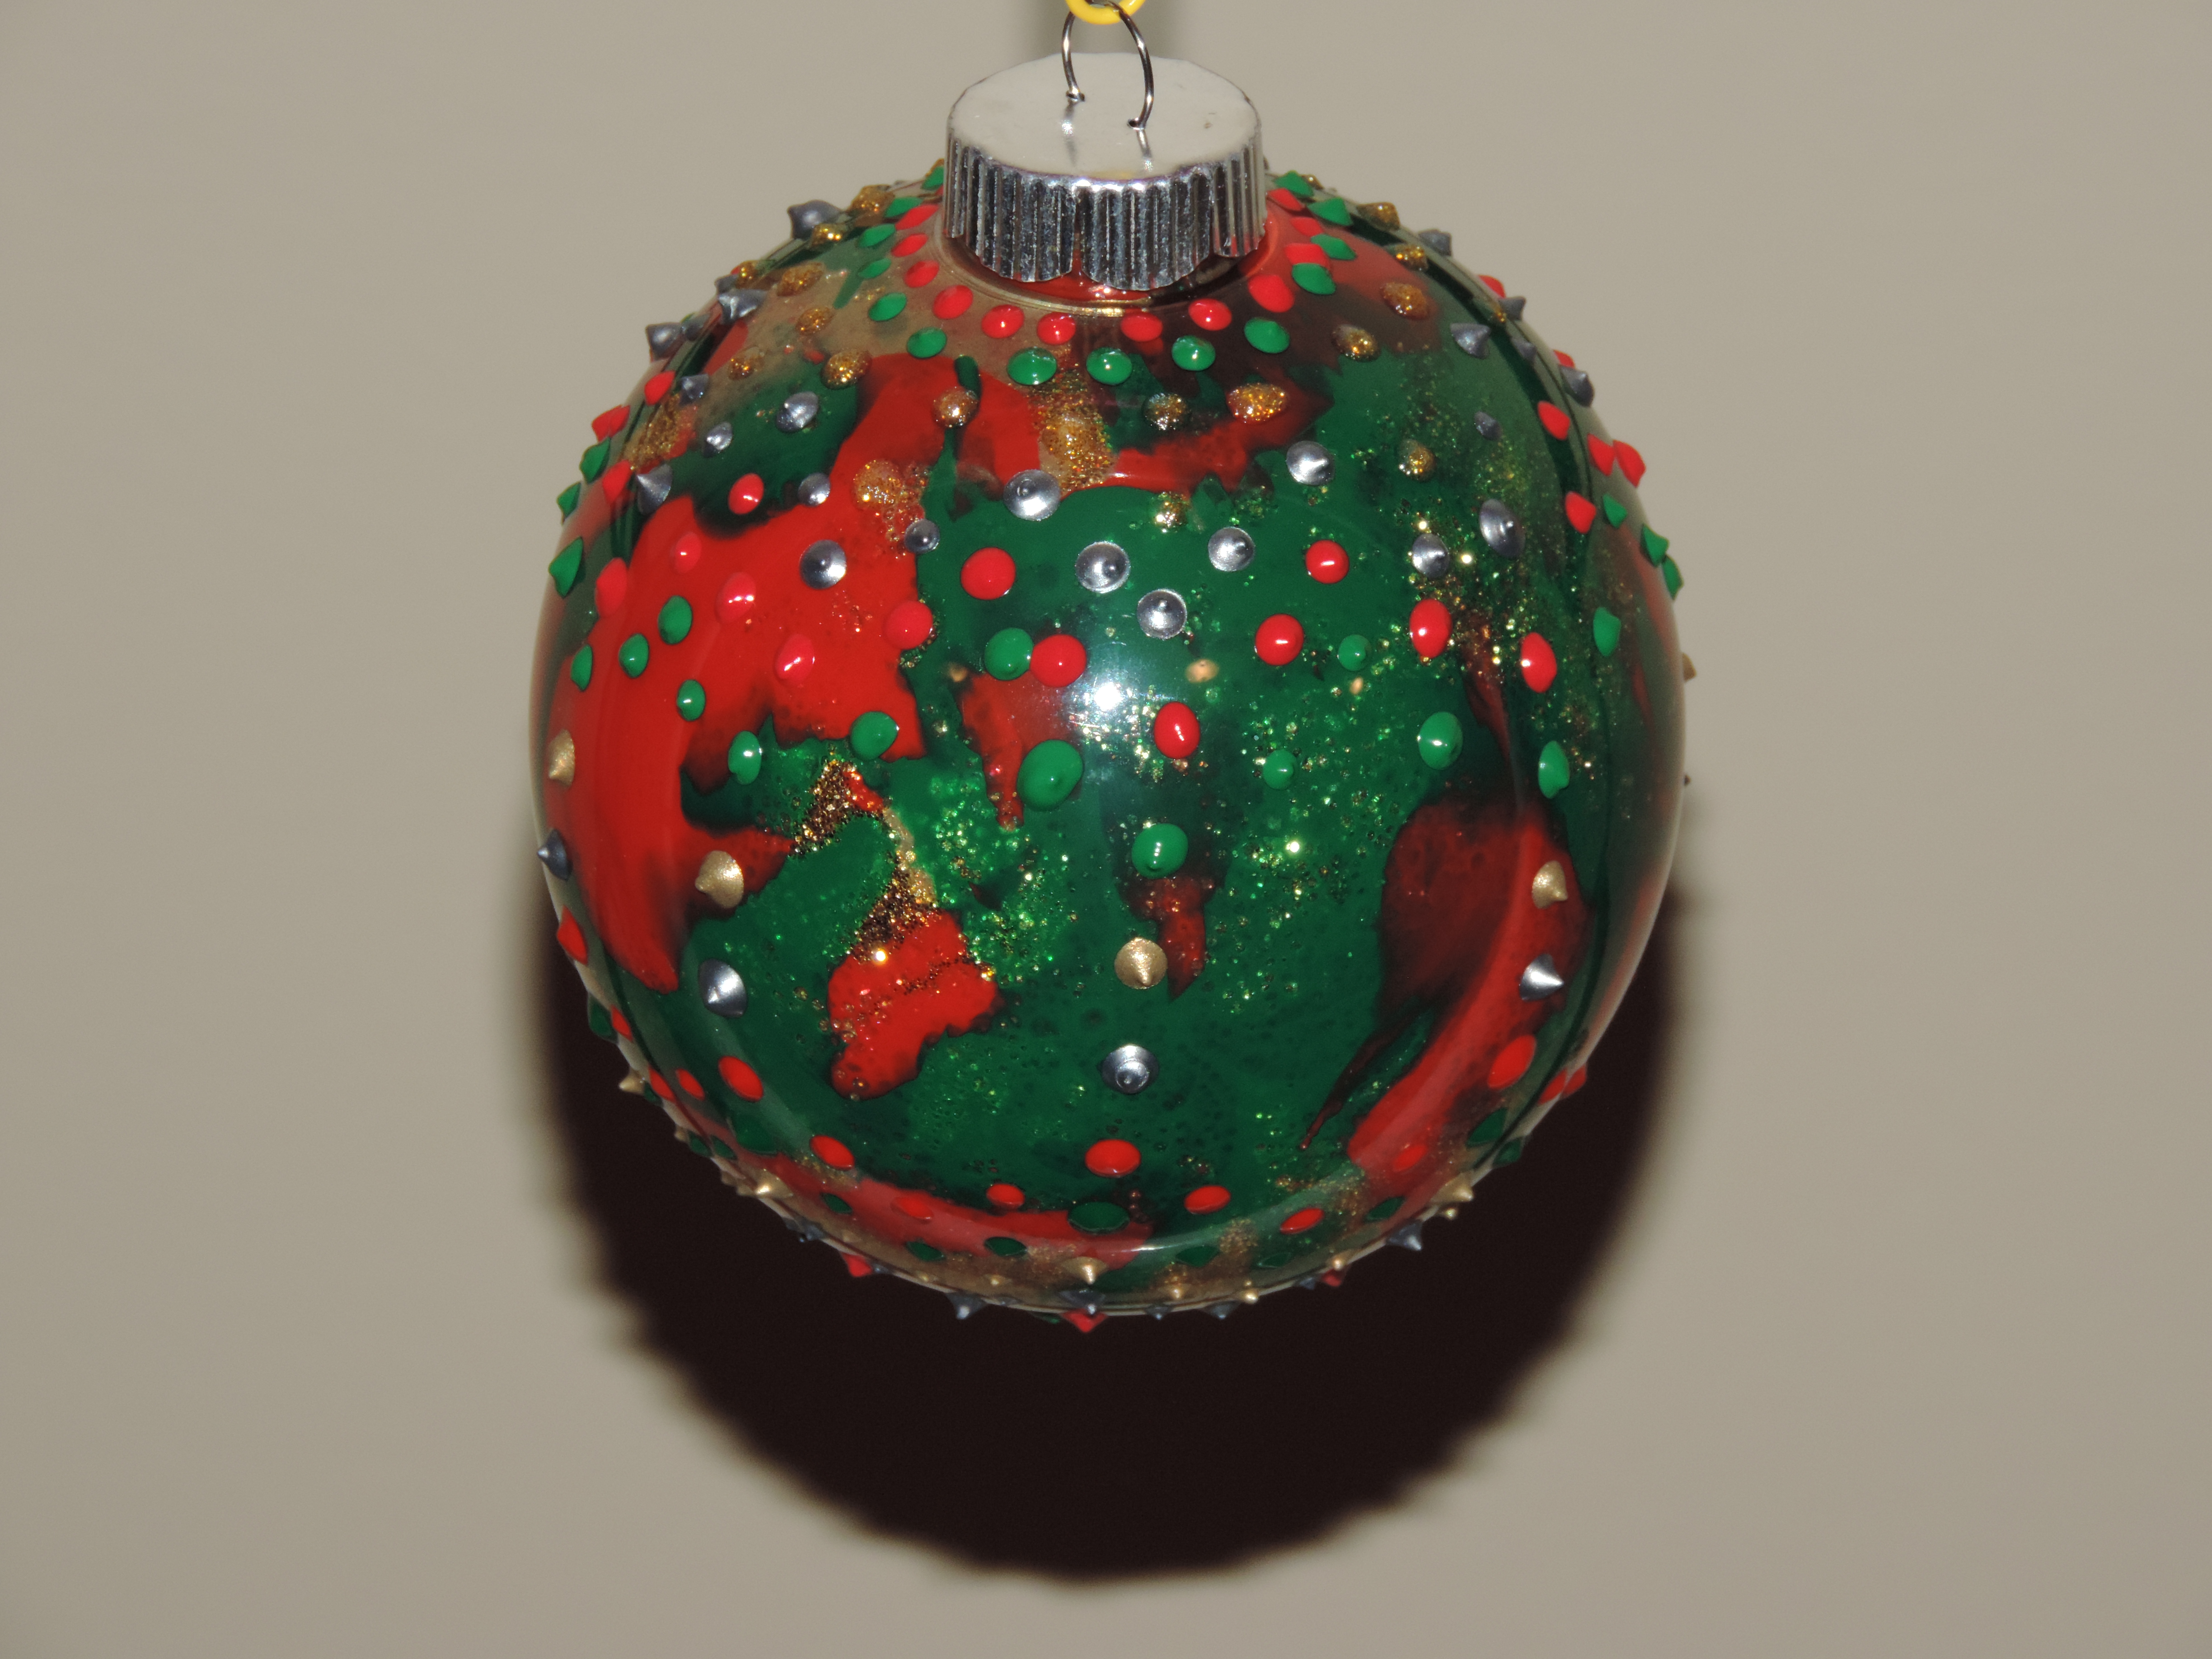
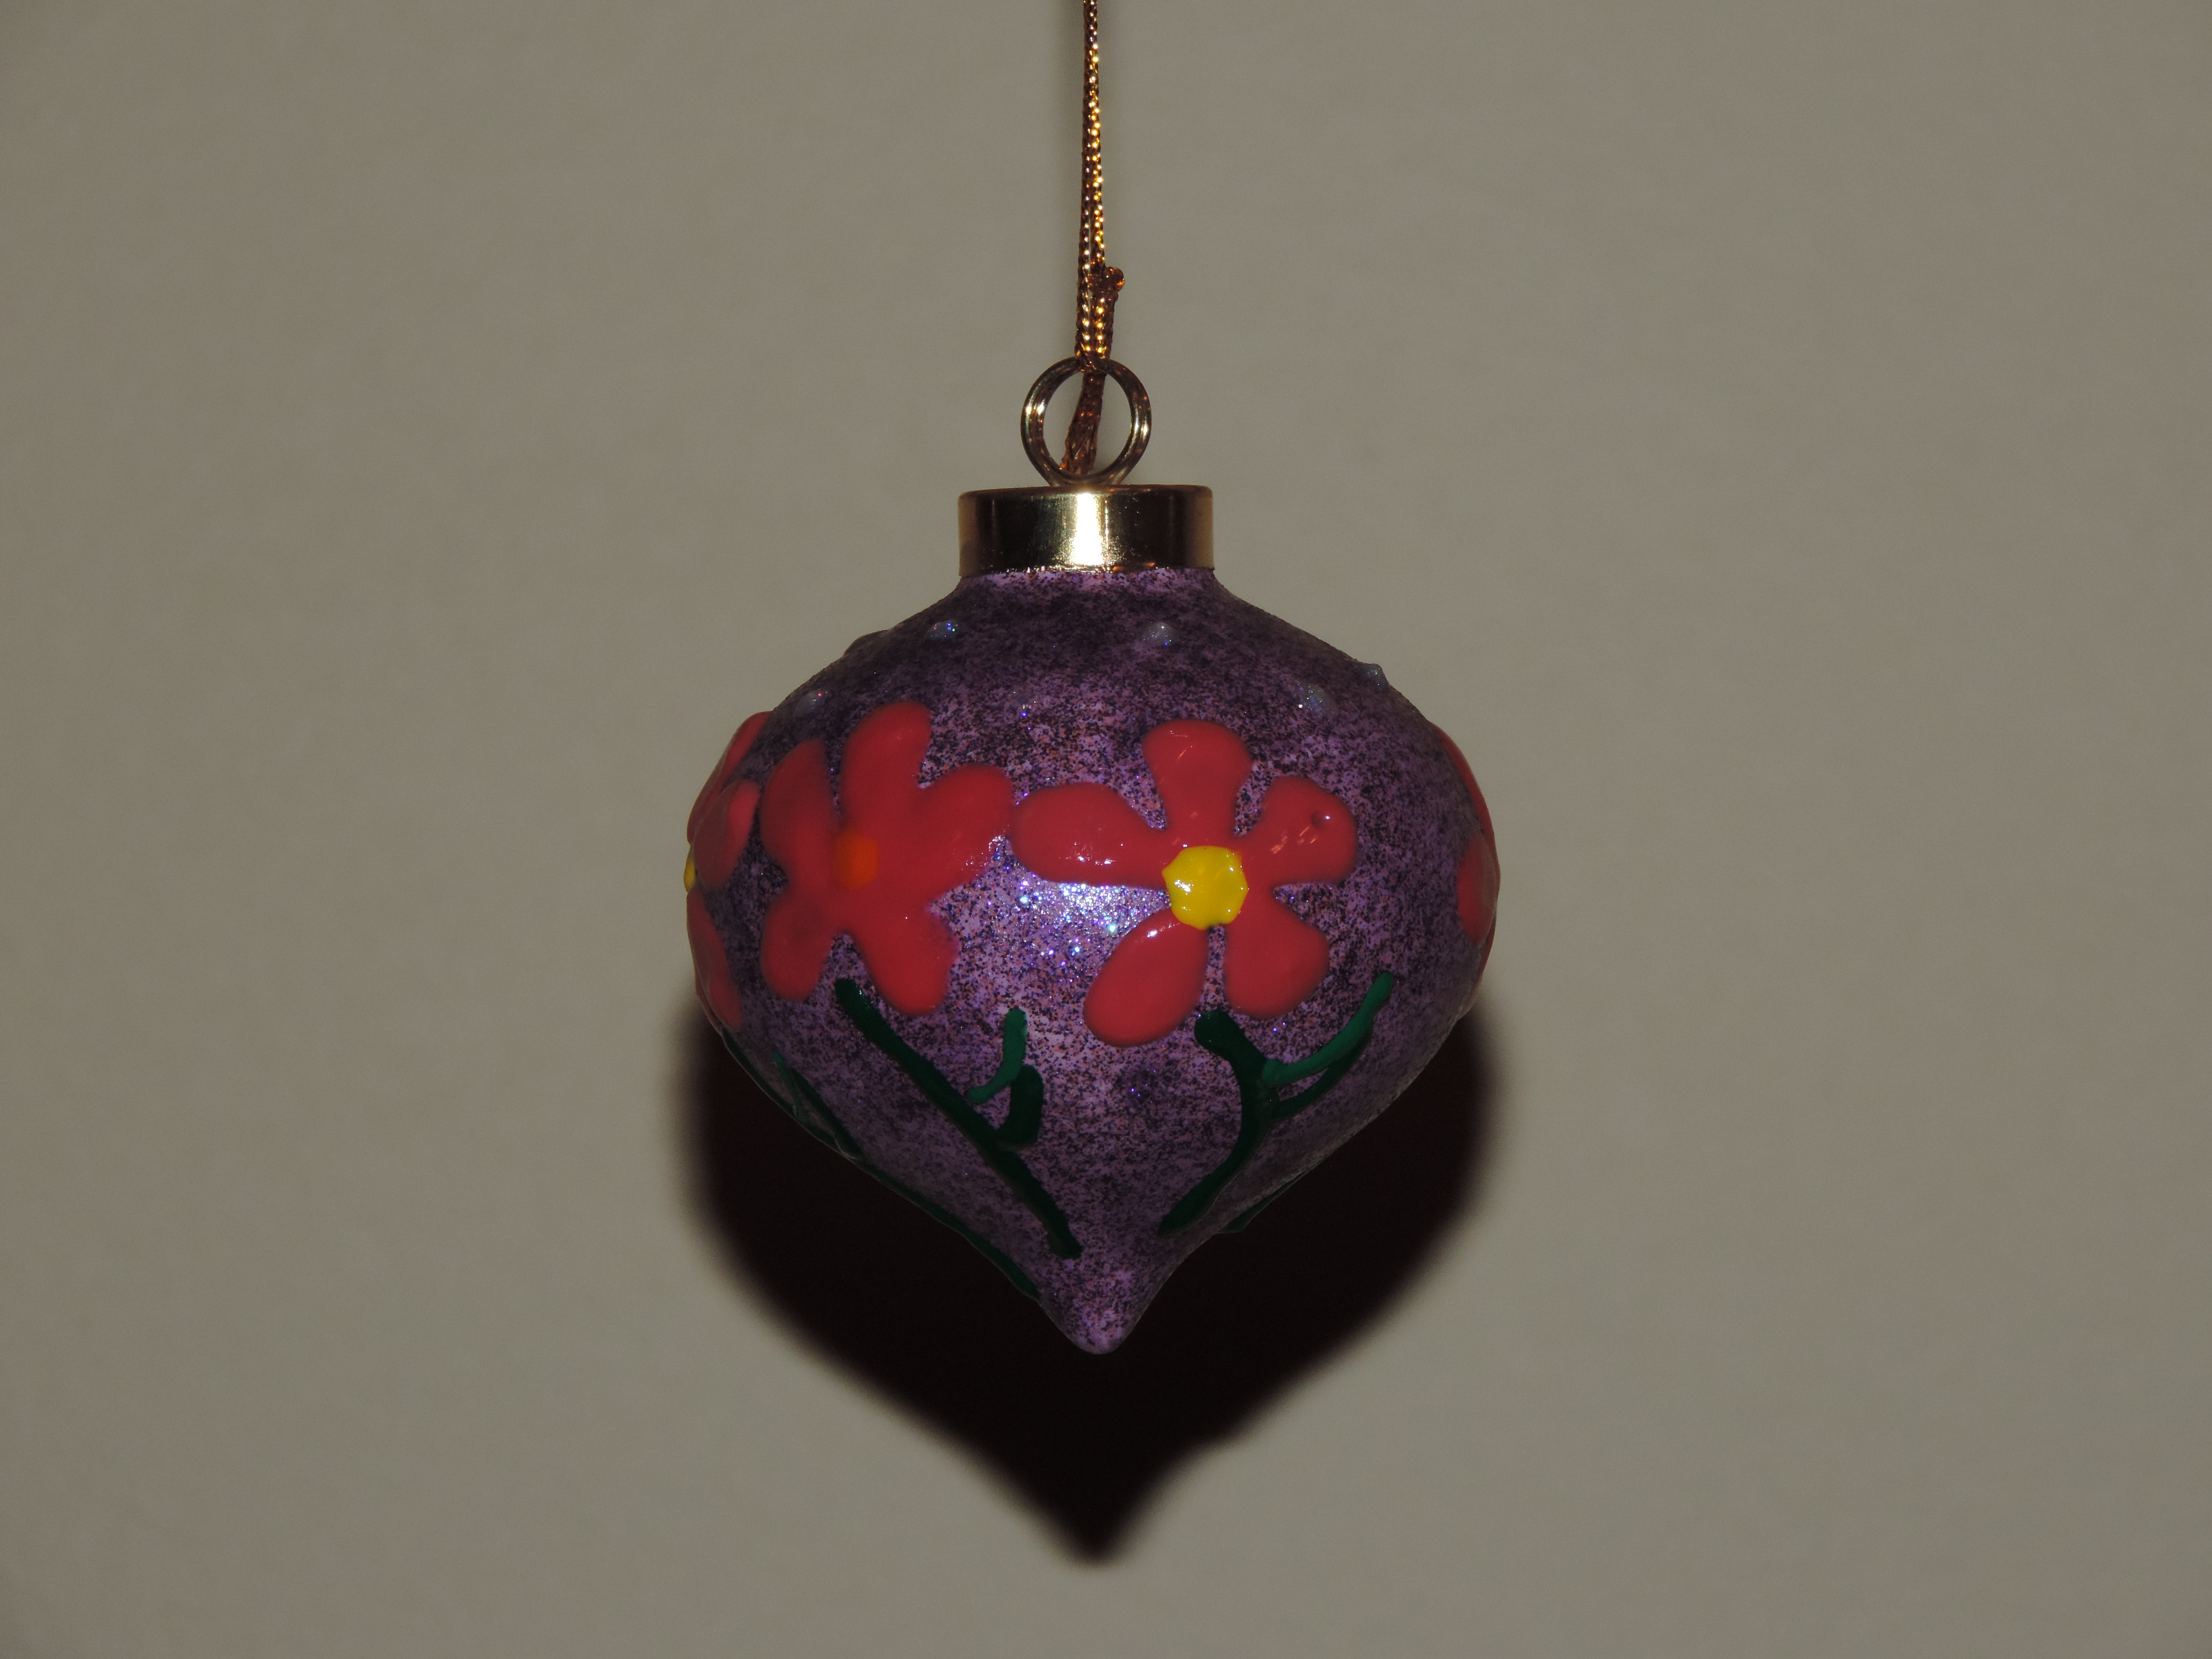
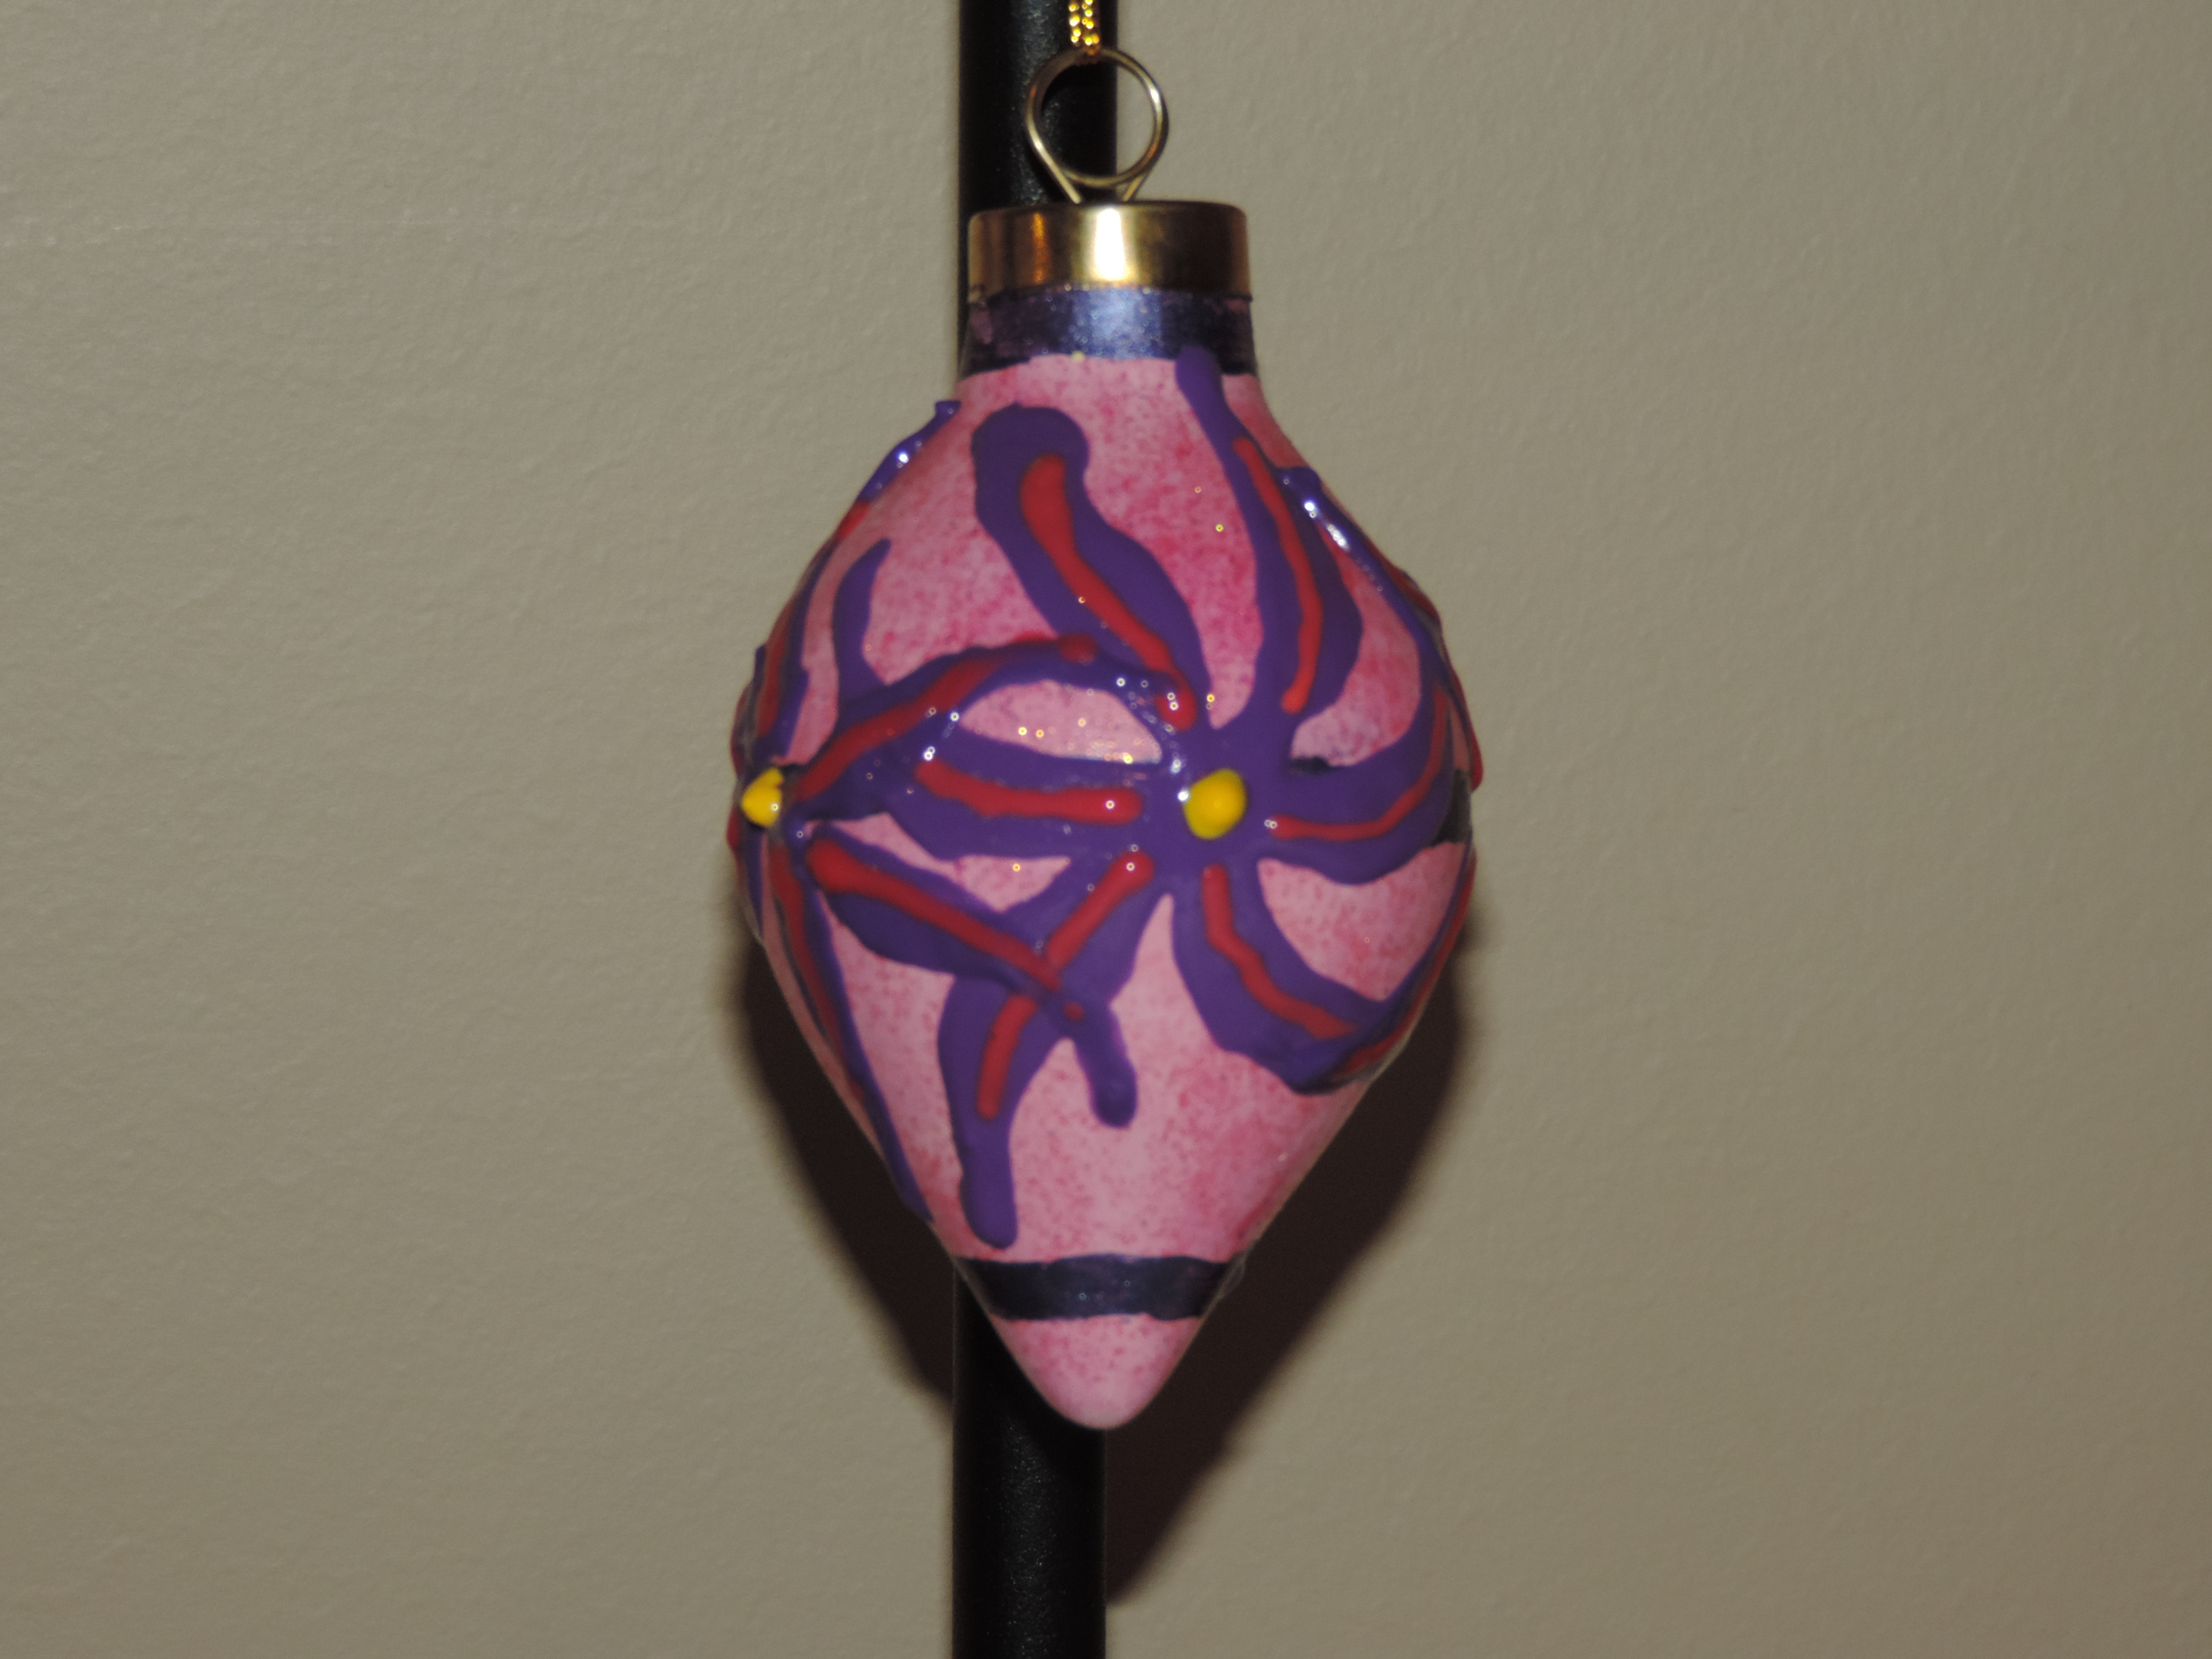
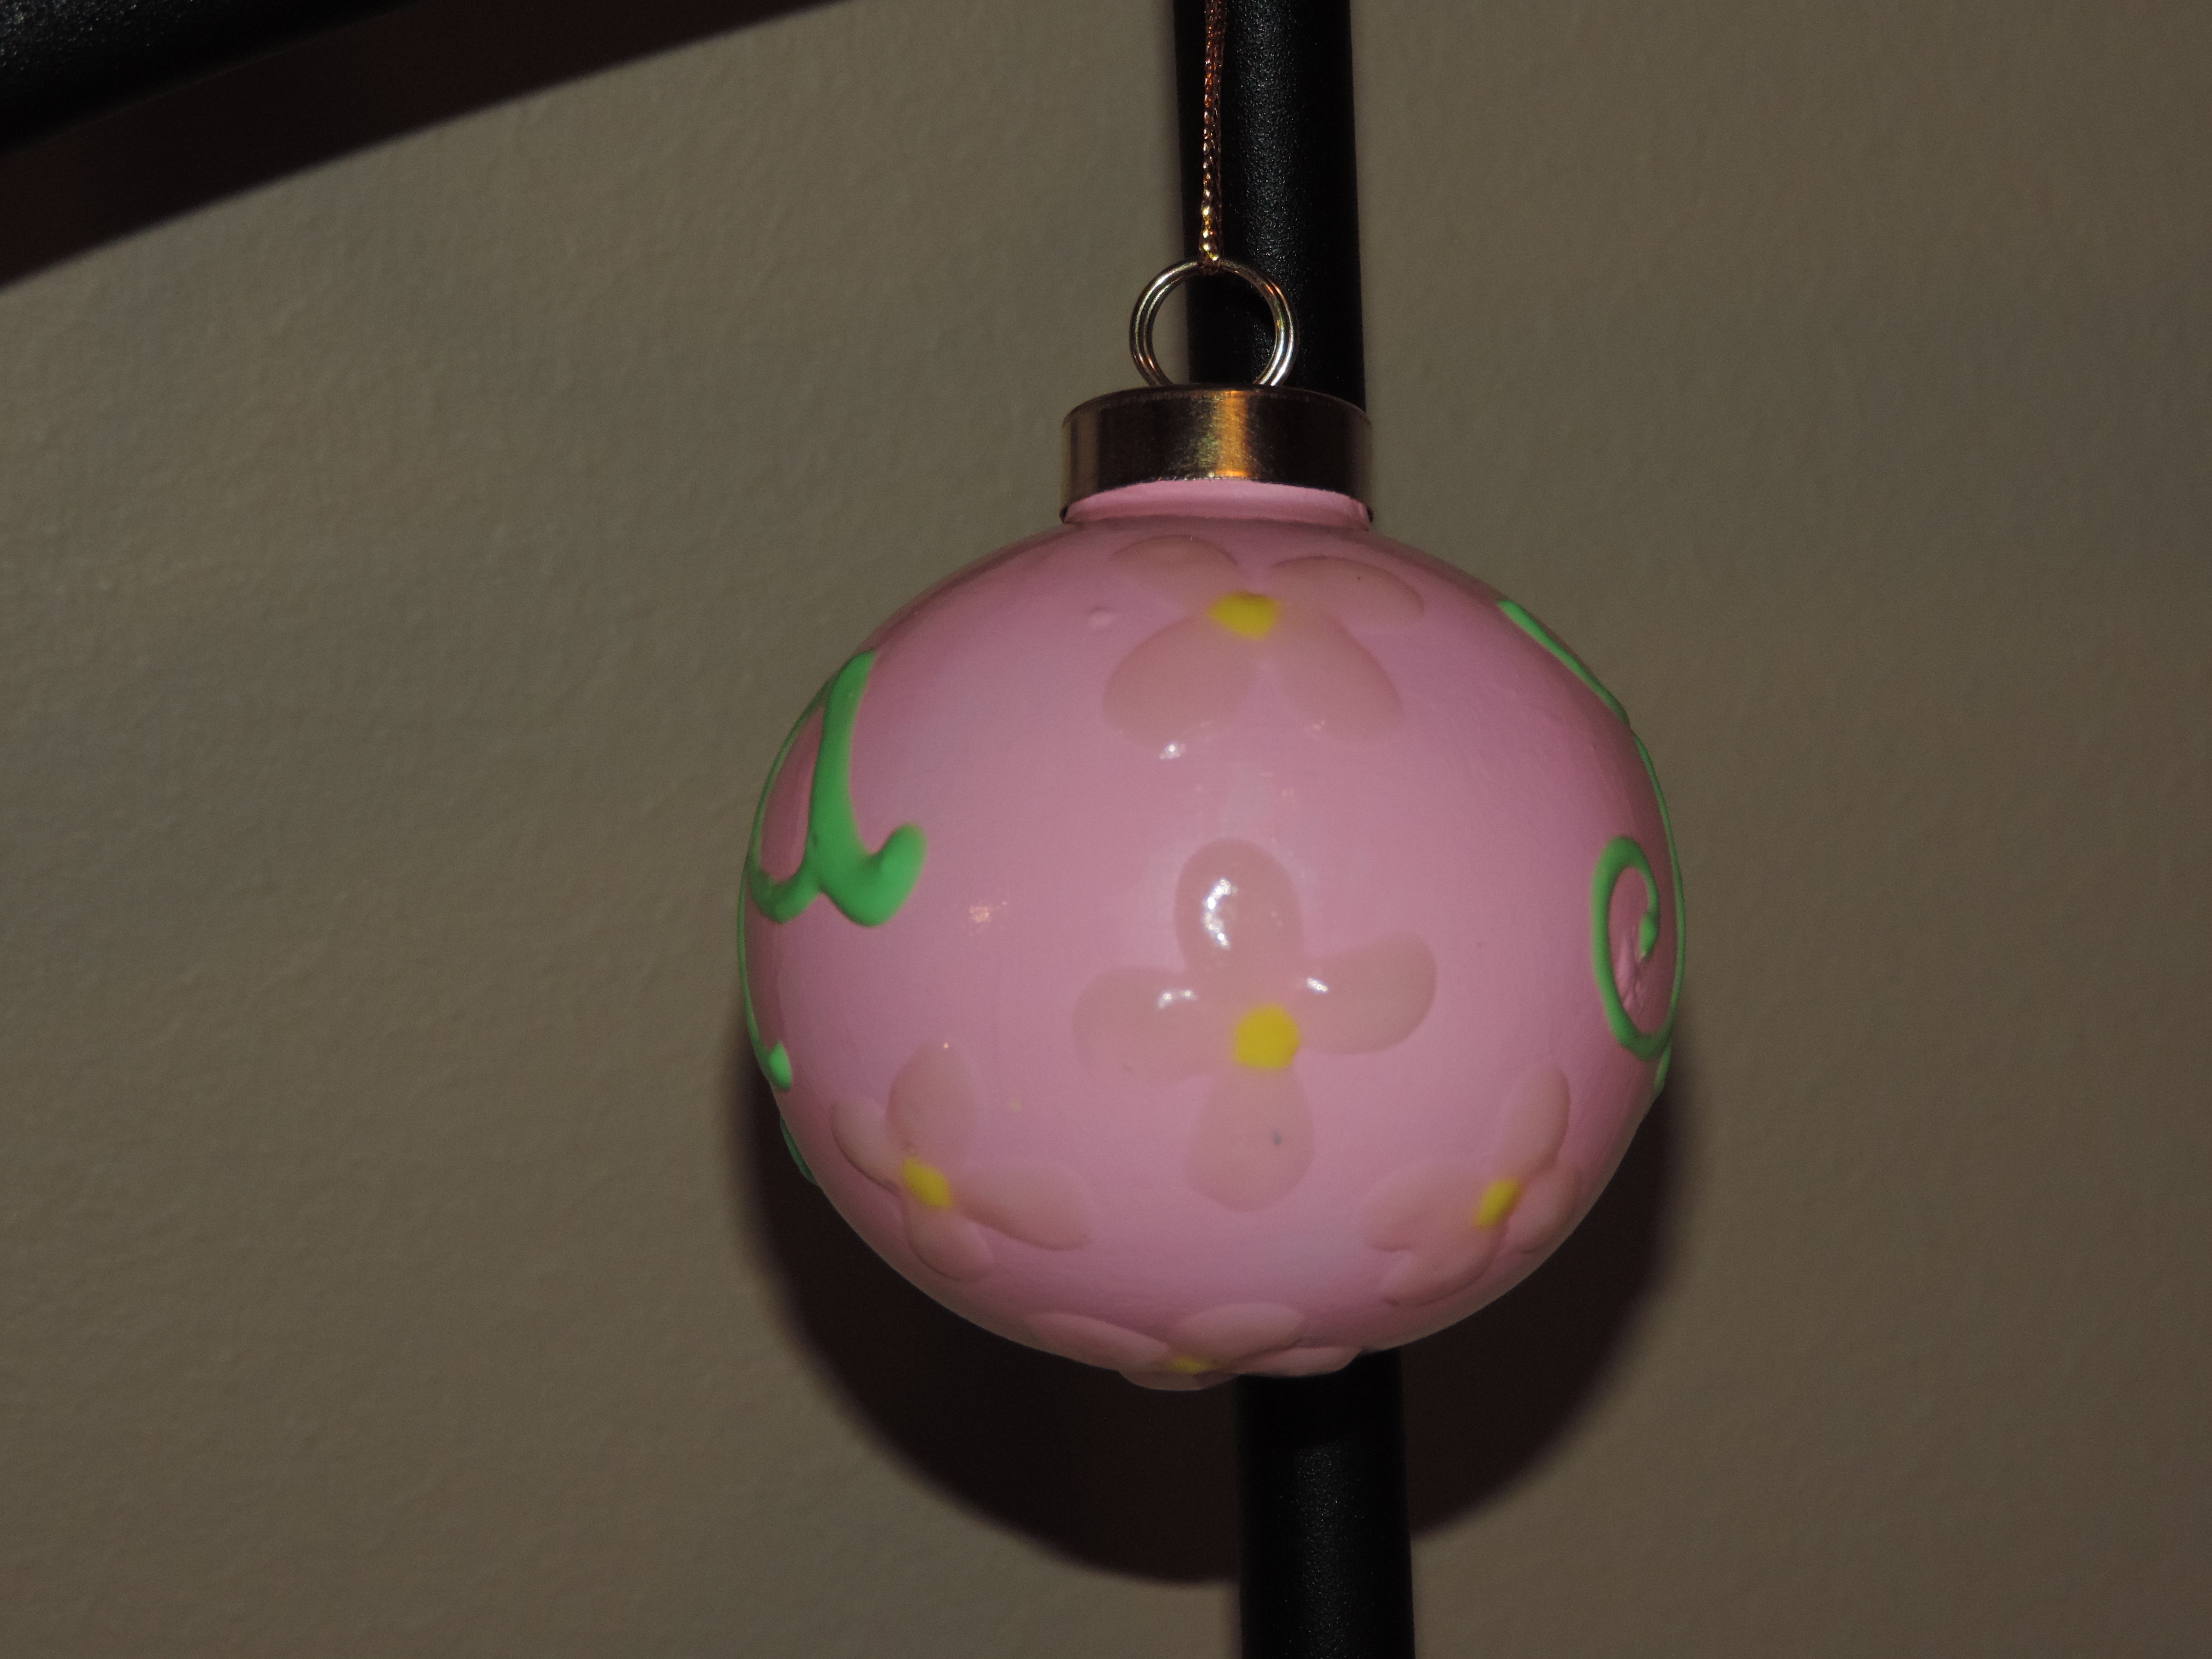
I painted these ornaments in 2023 around Christmas. However, they have been hanging for months, and months, and months waiting to be varnished. The ornaments got a coat of varnish when I varnished every other project I was working on.
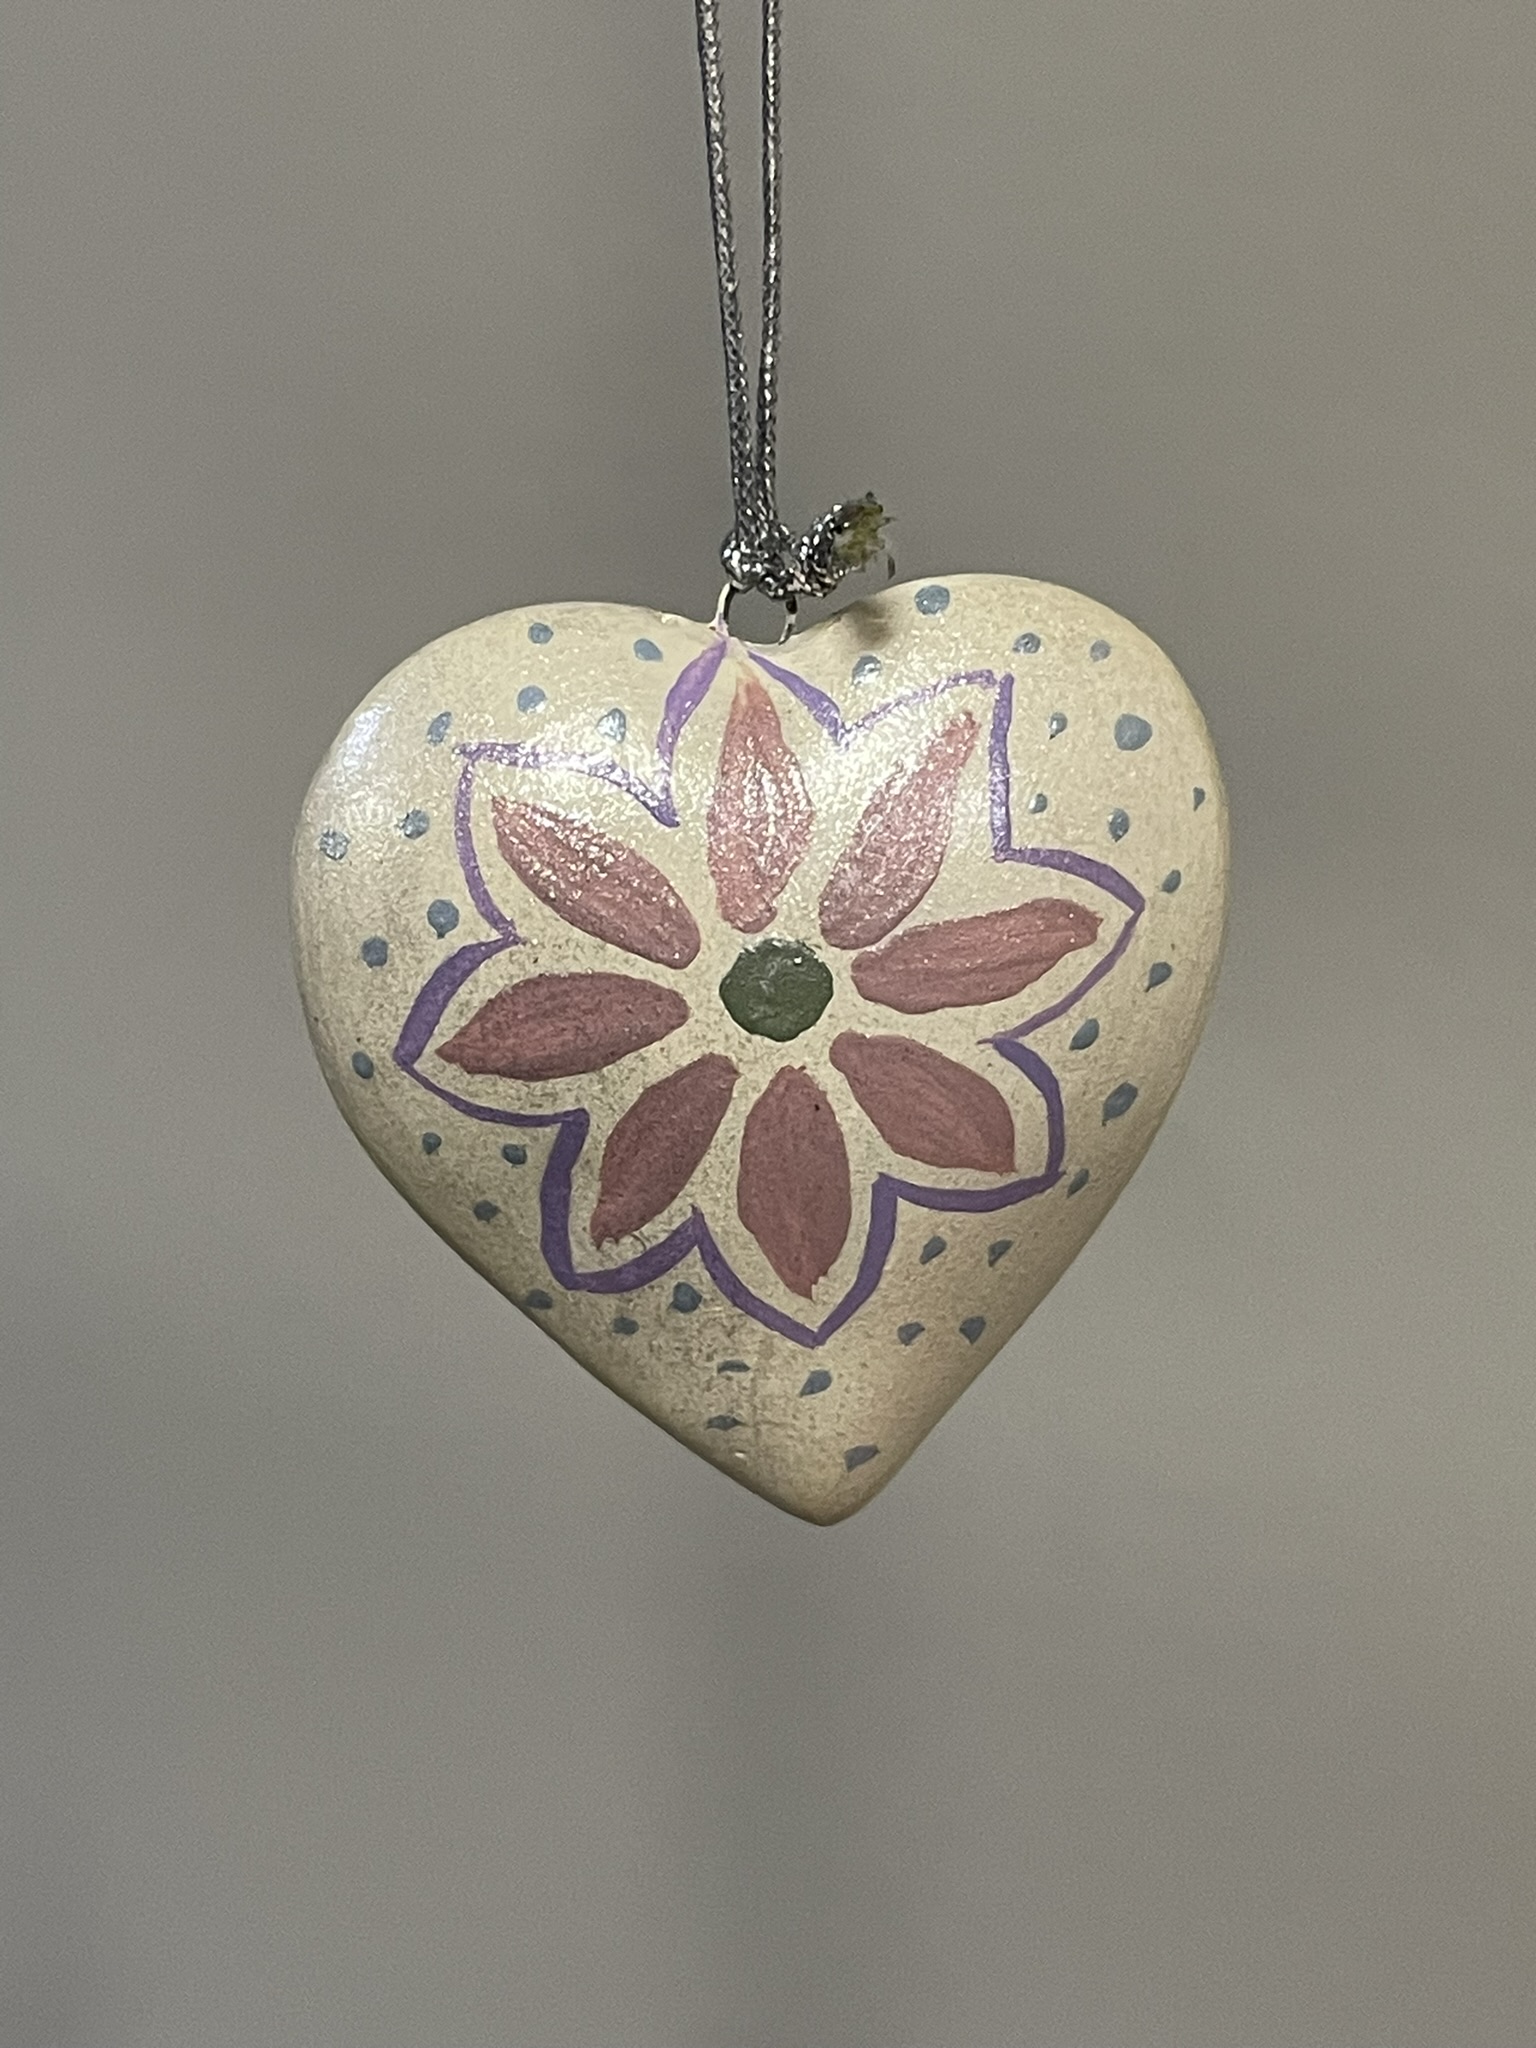


I painted these ornaments in 2023 around Christmas. However, they have been hanging for months, and months, and months waiting to be varnished. The ornaments got a coat of varnish when I varnished every other project I was working on.
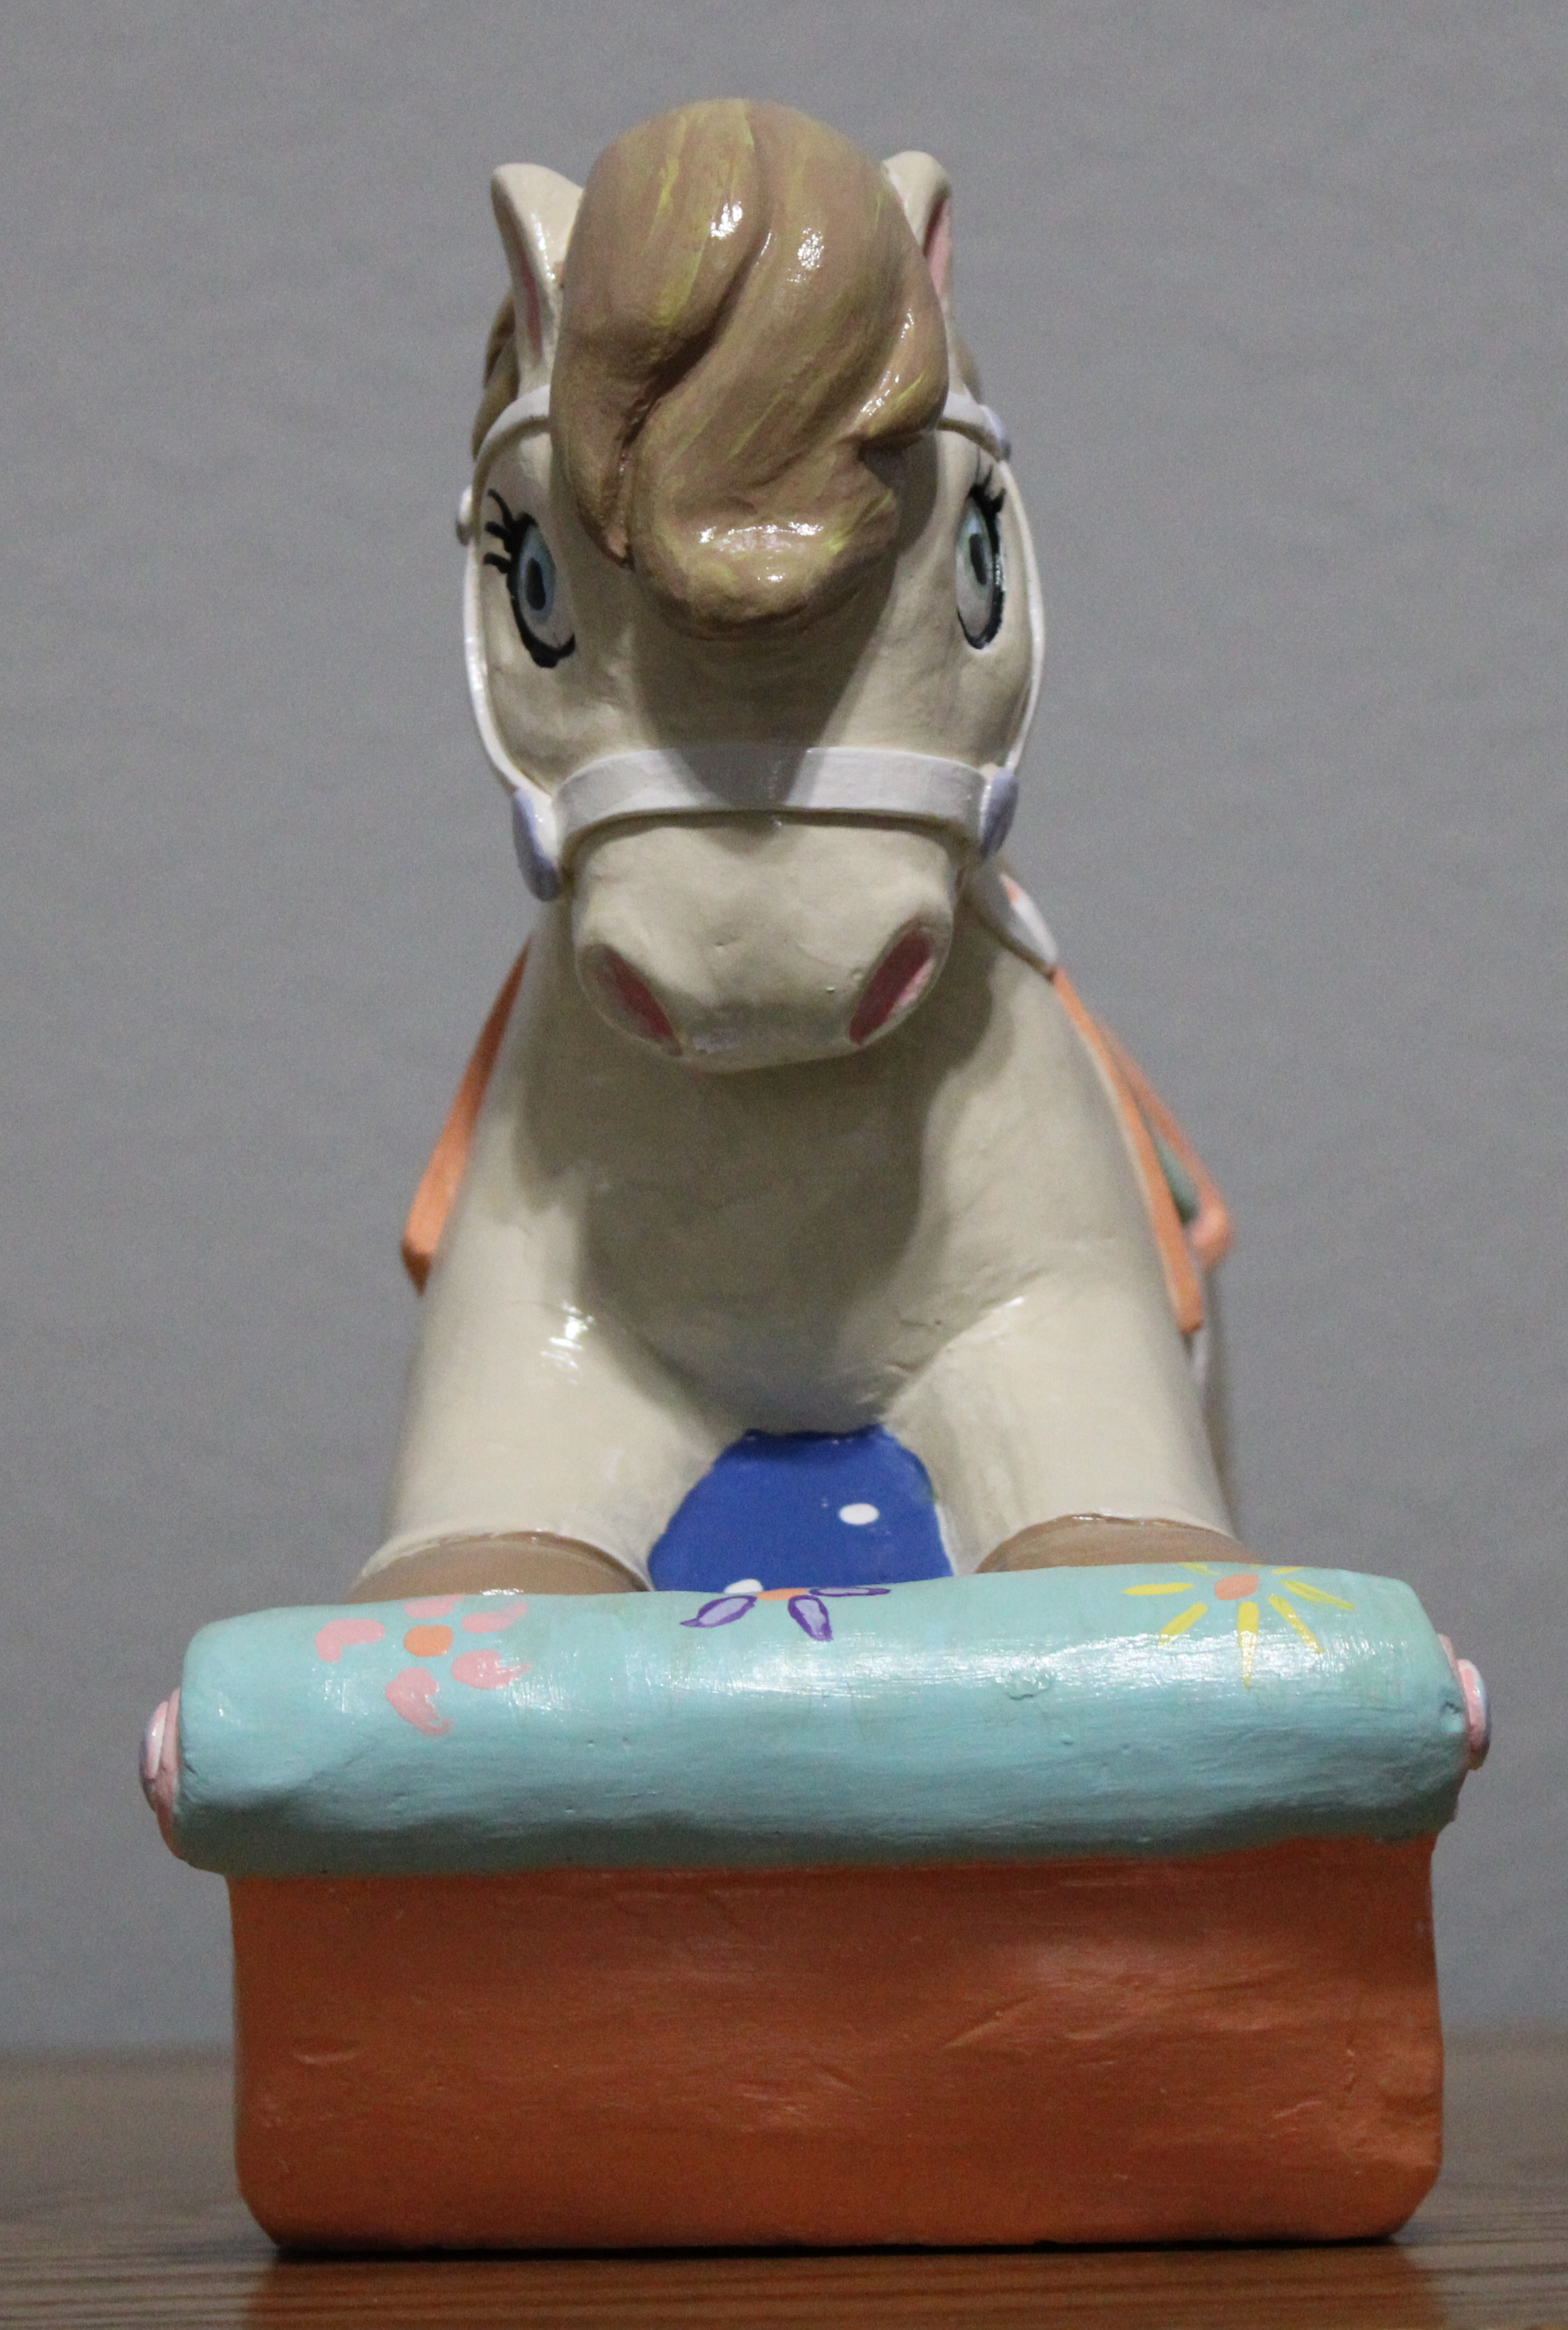
I spent August and September painting a few items I had in storage, but then I went to Hobby Lobby and found two other items in their Fall collection that I just had to paint.
I have seventeen nieces and nephews. I purchased the horse to paint as a potential gift for one of them. It did not get painted, until now.


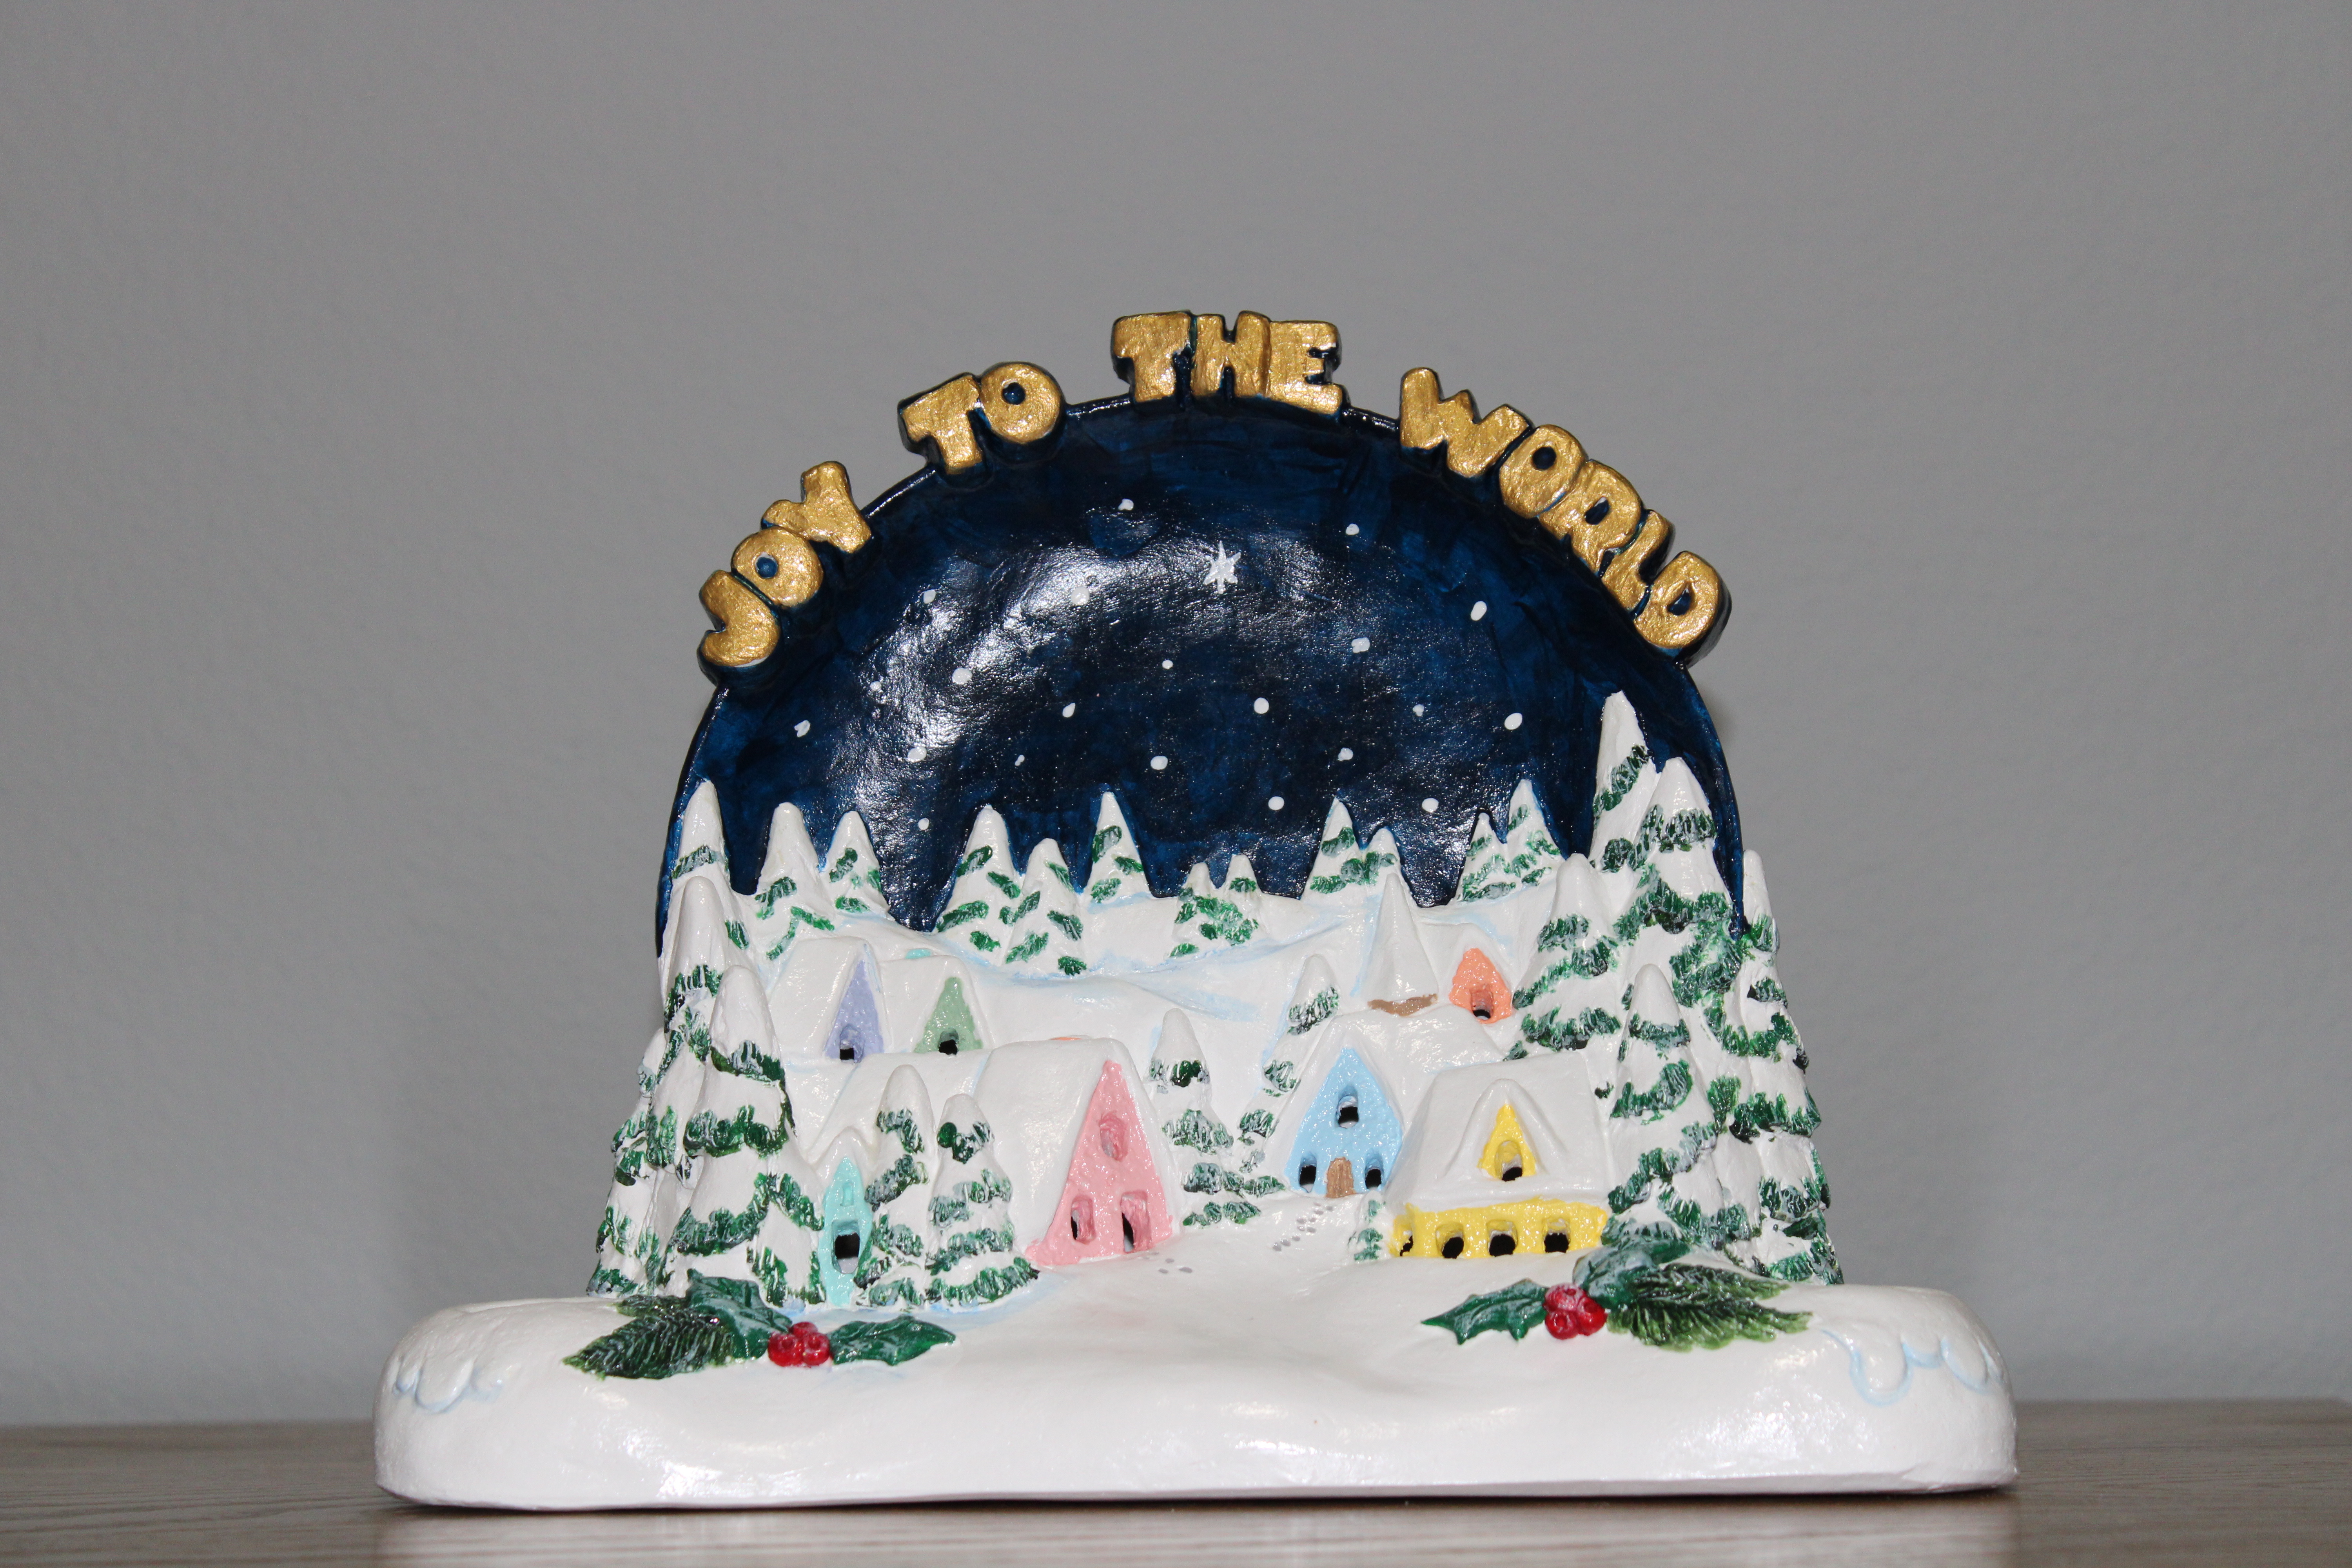
Its Christmas Time! No, it’s not! I like houses and a nice little Christmas Village to paint was the next item I selected; it was in stored for years. This piece is designed to hold candles.
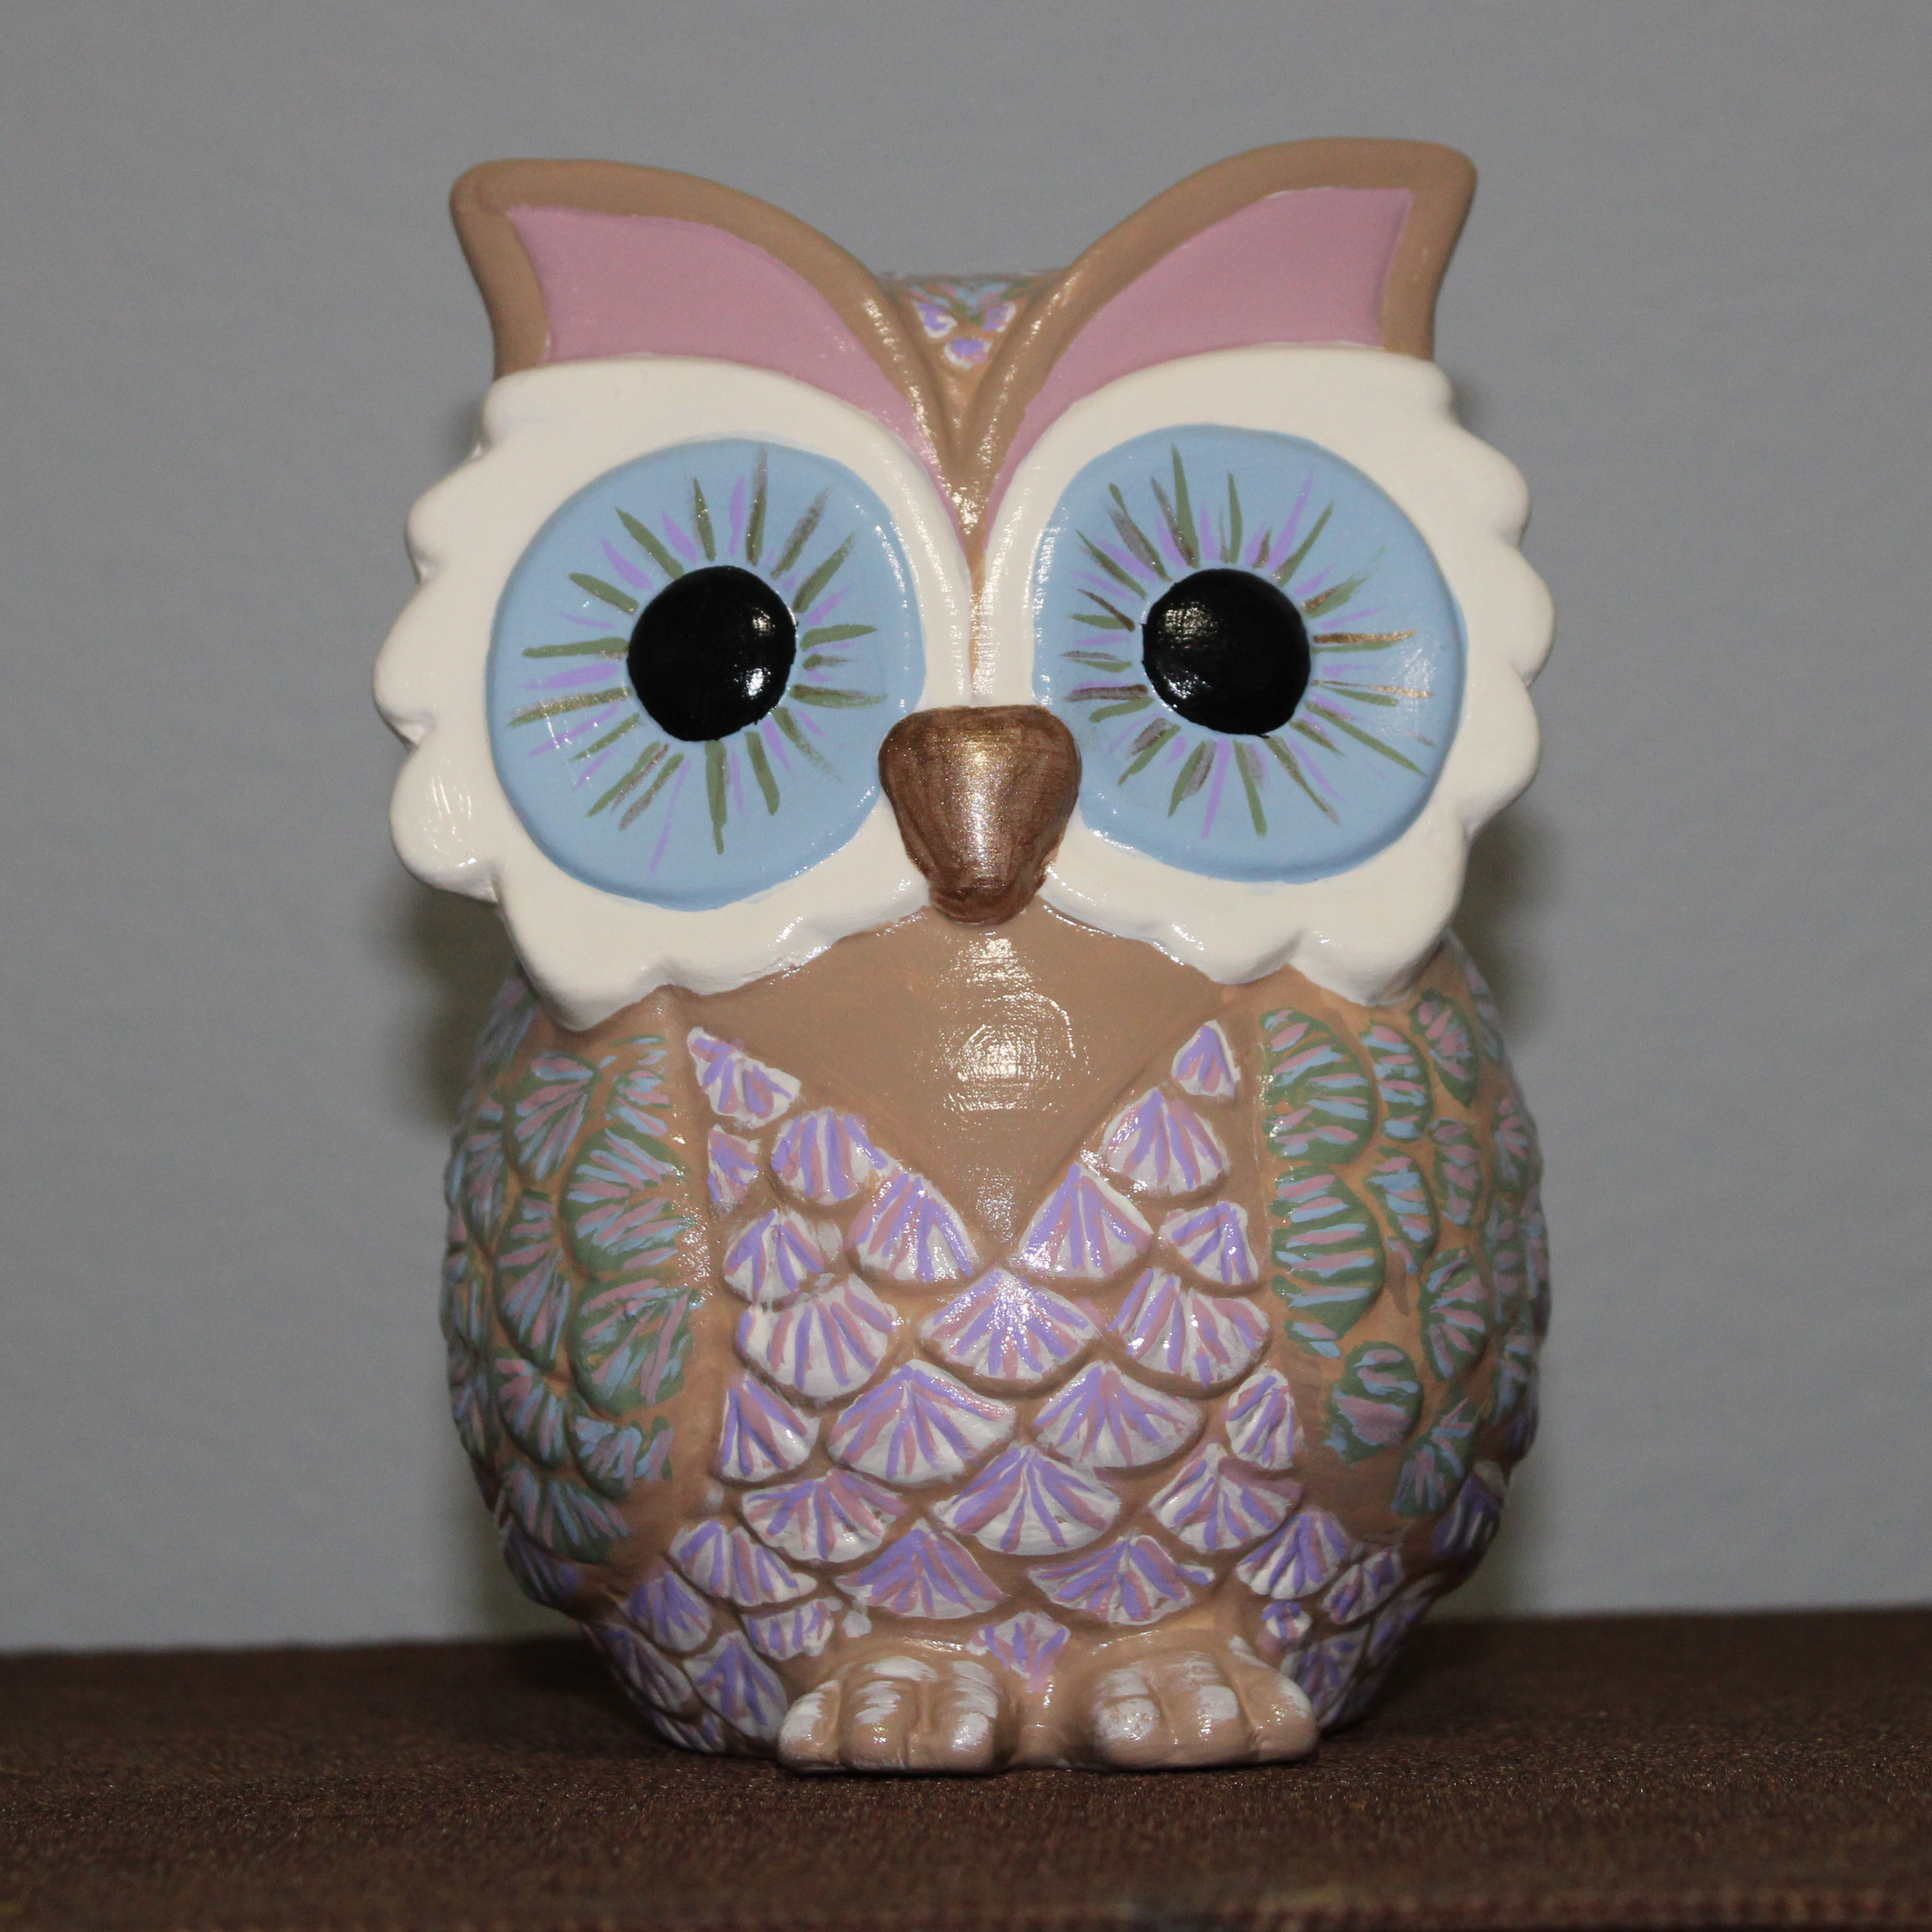
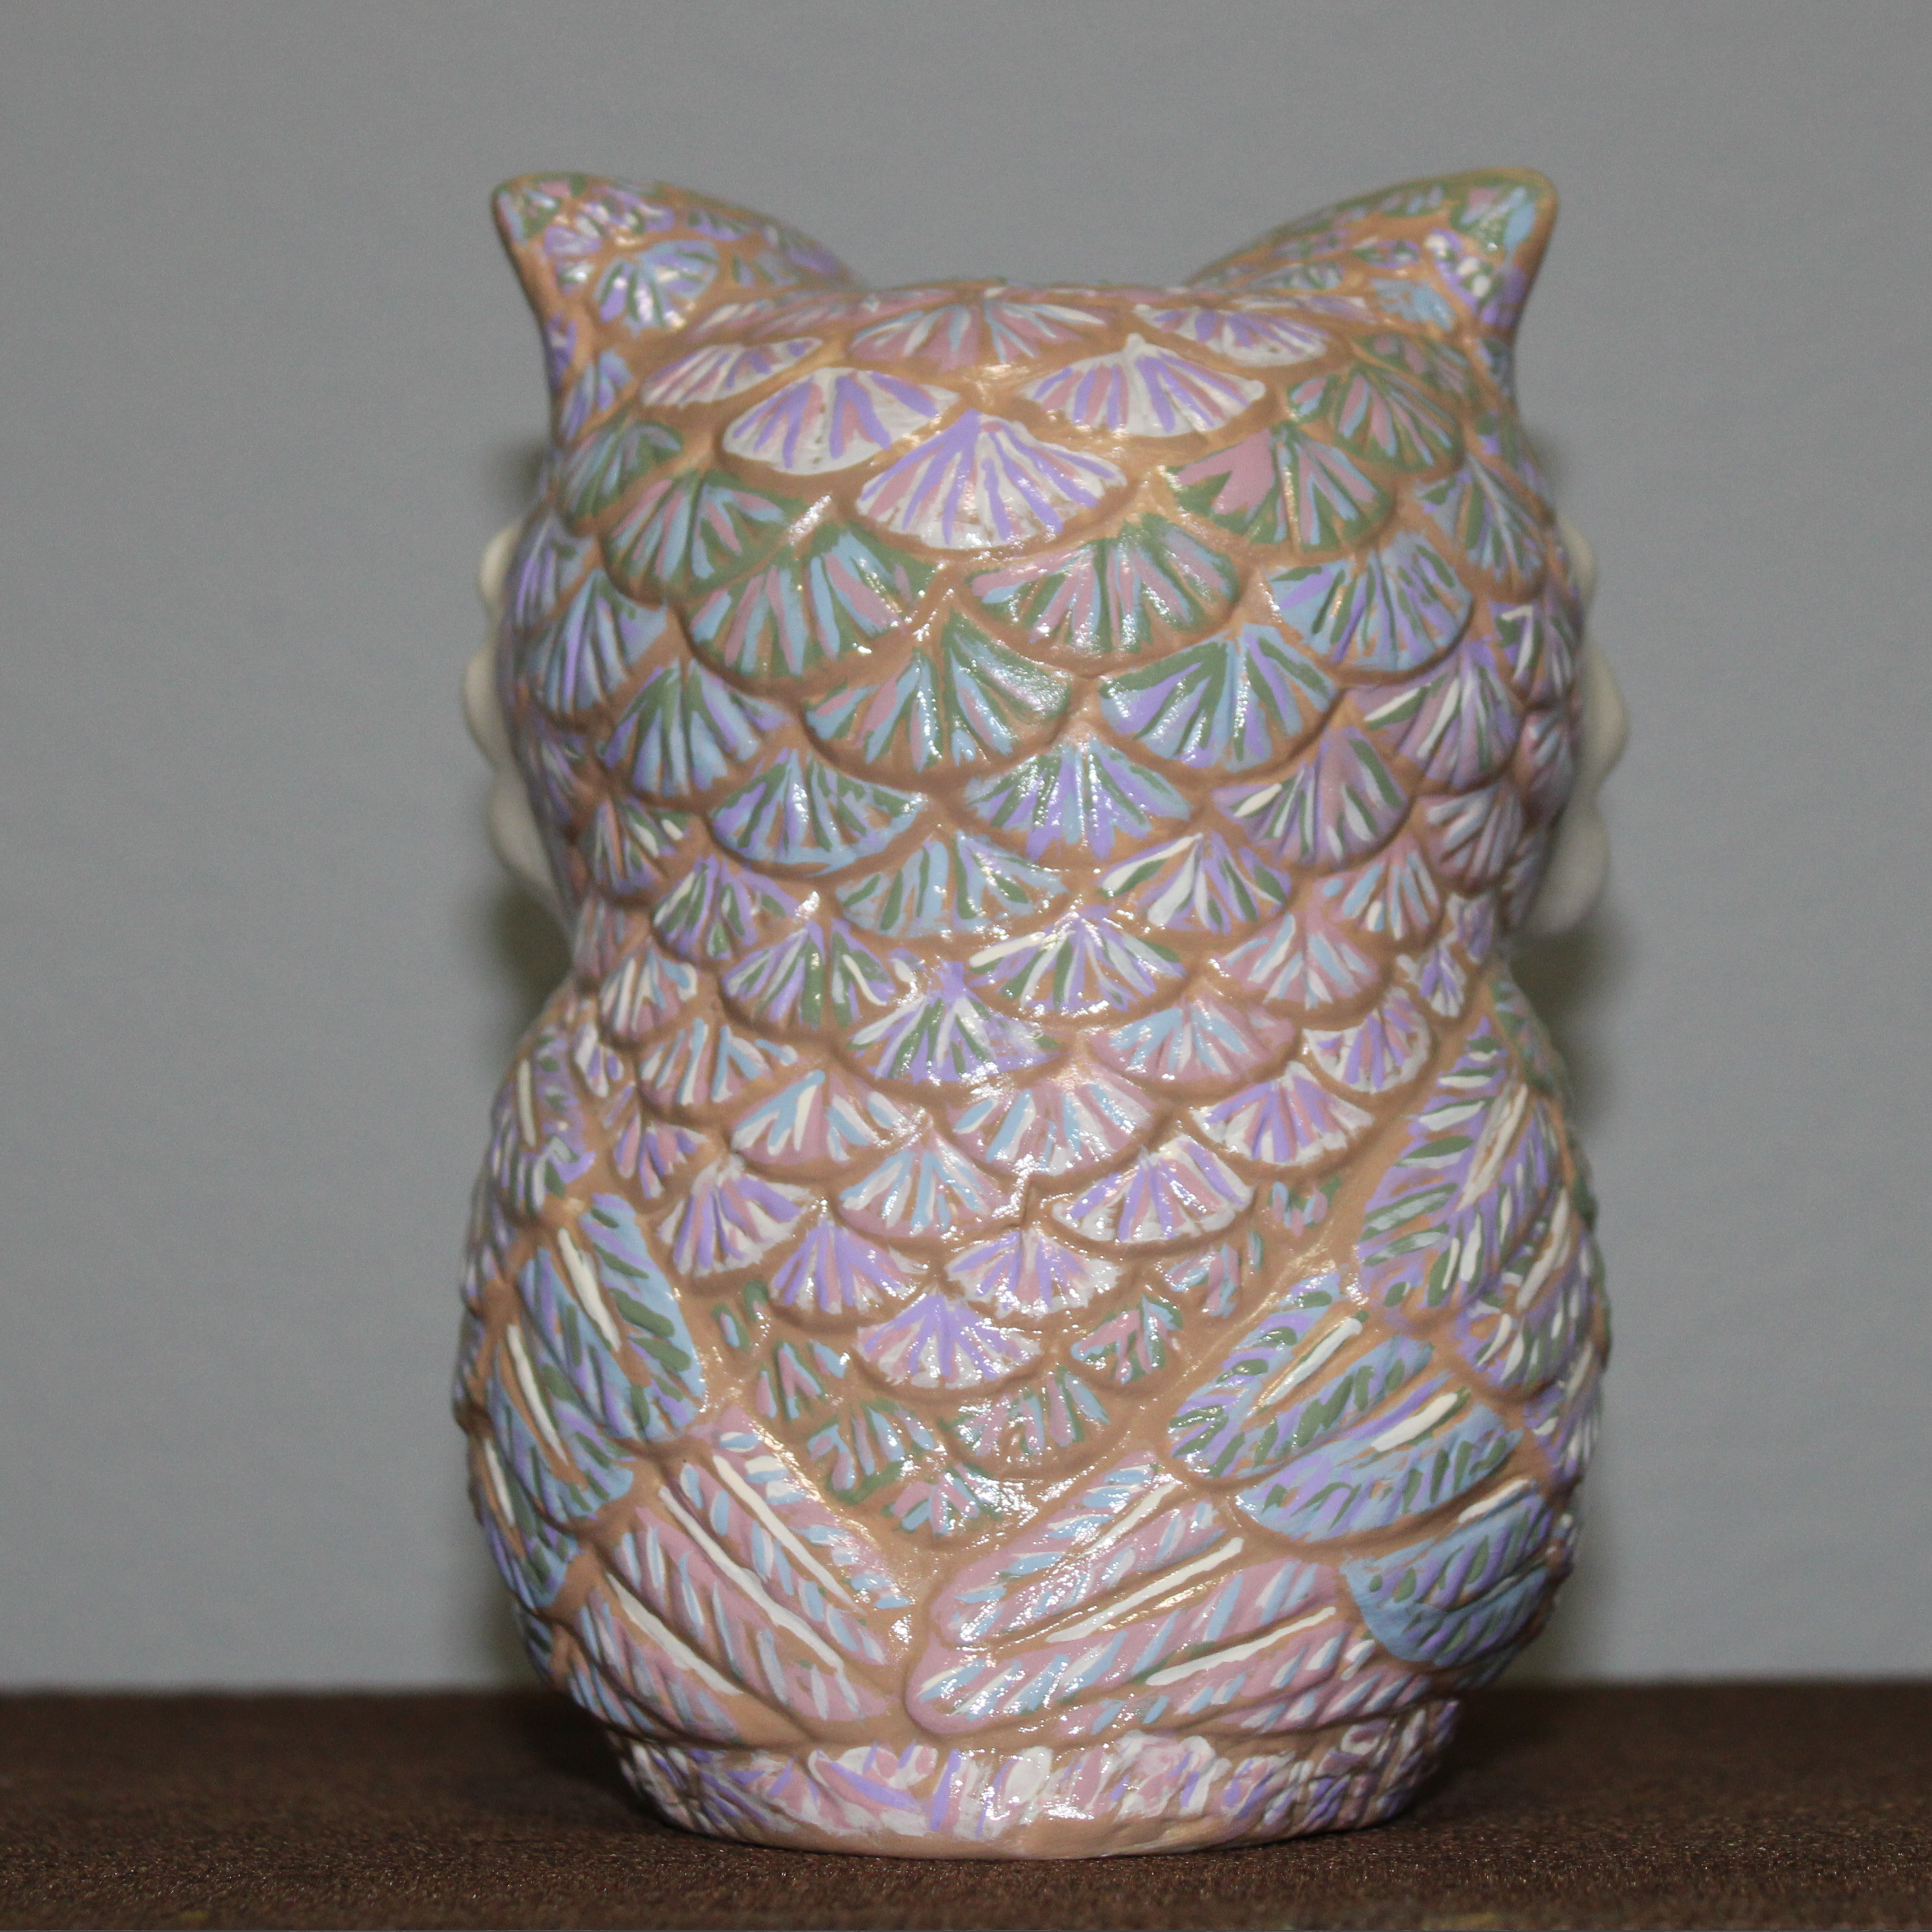
The next two piece were not in storage. They are the ones I found this year at Hobby Lobby. As you can tell I did not paint the owl in fall colors, instead I selected the colors that I used to paint the three angels. I did not paint the little white reflection in the eyes because after the gloss vanish was applied, it will allow the eyes to catch the light reflection.


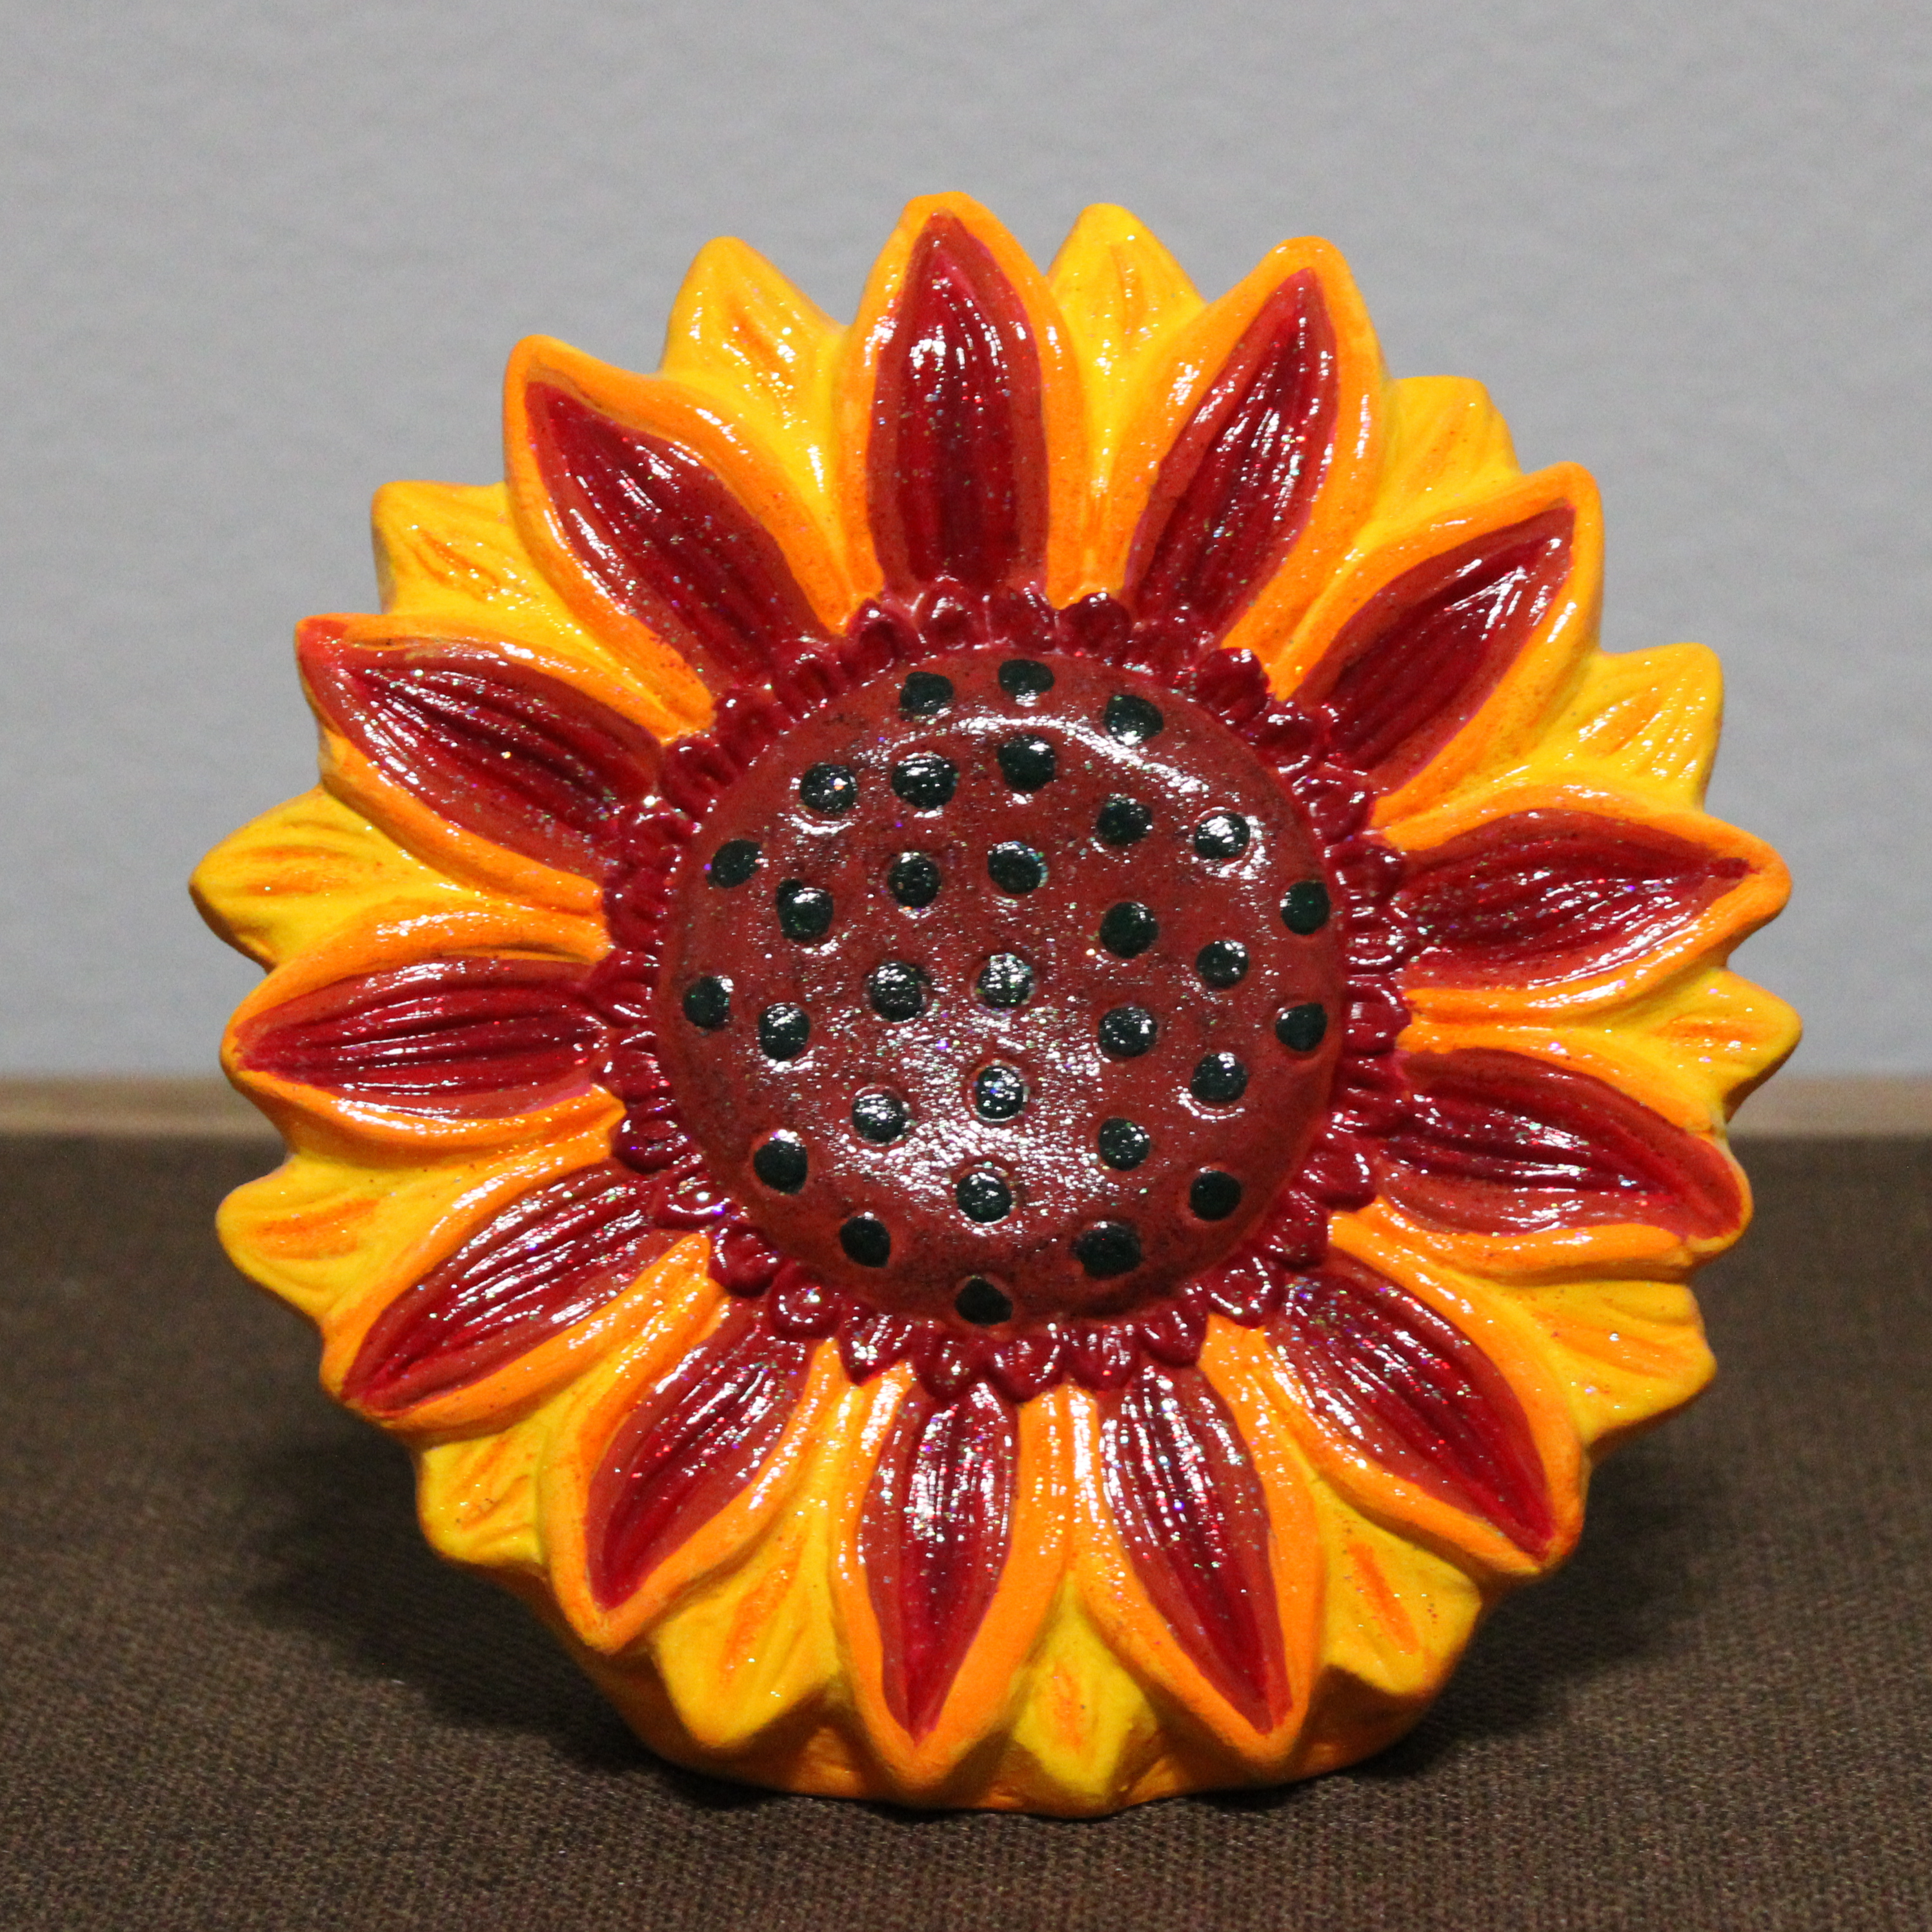
I did not want to paint the sunflower multiple shades of yellow. I wanted something a little different, so before I started painting it, I searched the internet to check if sunflowers did come in other colors besides yellow. I used multiple shades of red, orange, multiple shades of yellow, and dark green. After I was satisfied with the colors, I used yellow, red, and orange fine glitter paint. Then I used a sparkle glaze (glitter glaze) over the flower to give it a sparkle. To finish, I used gloss varnish.


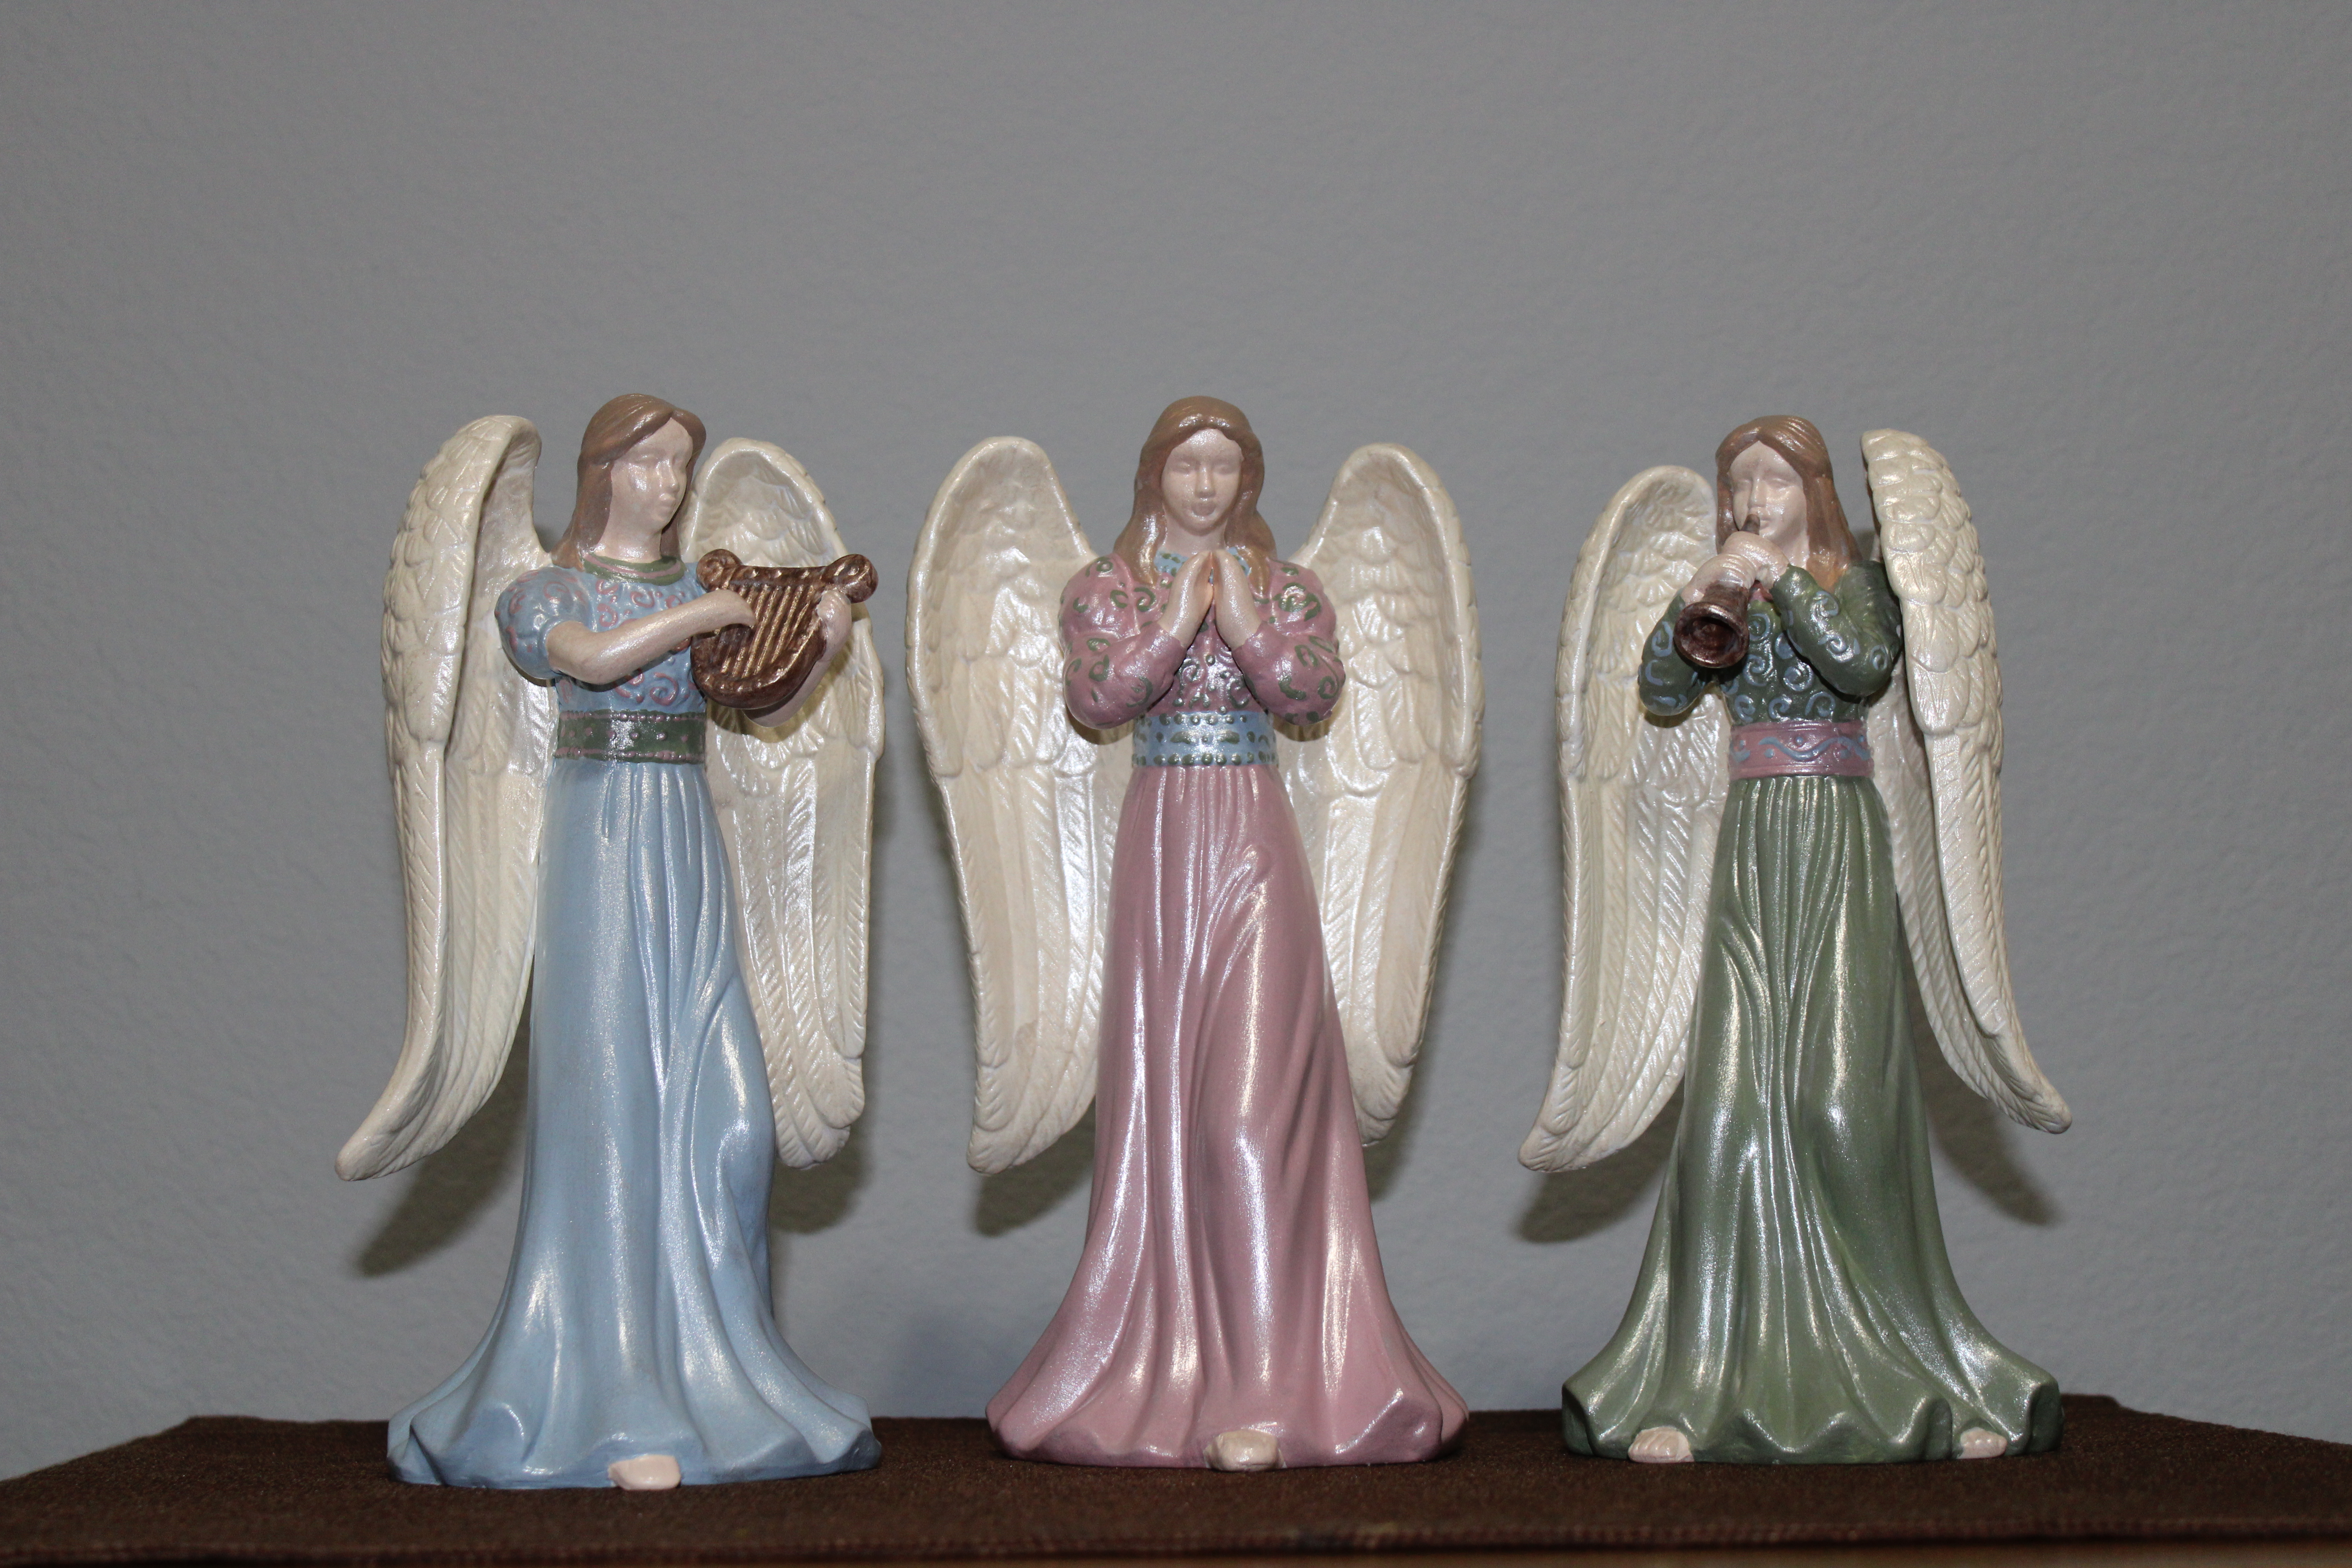
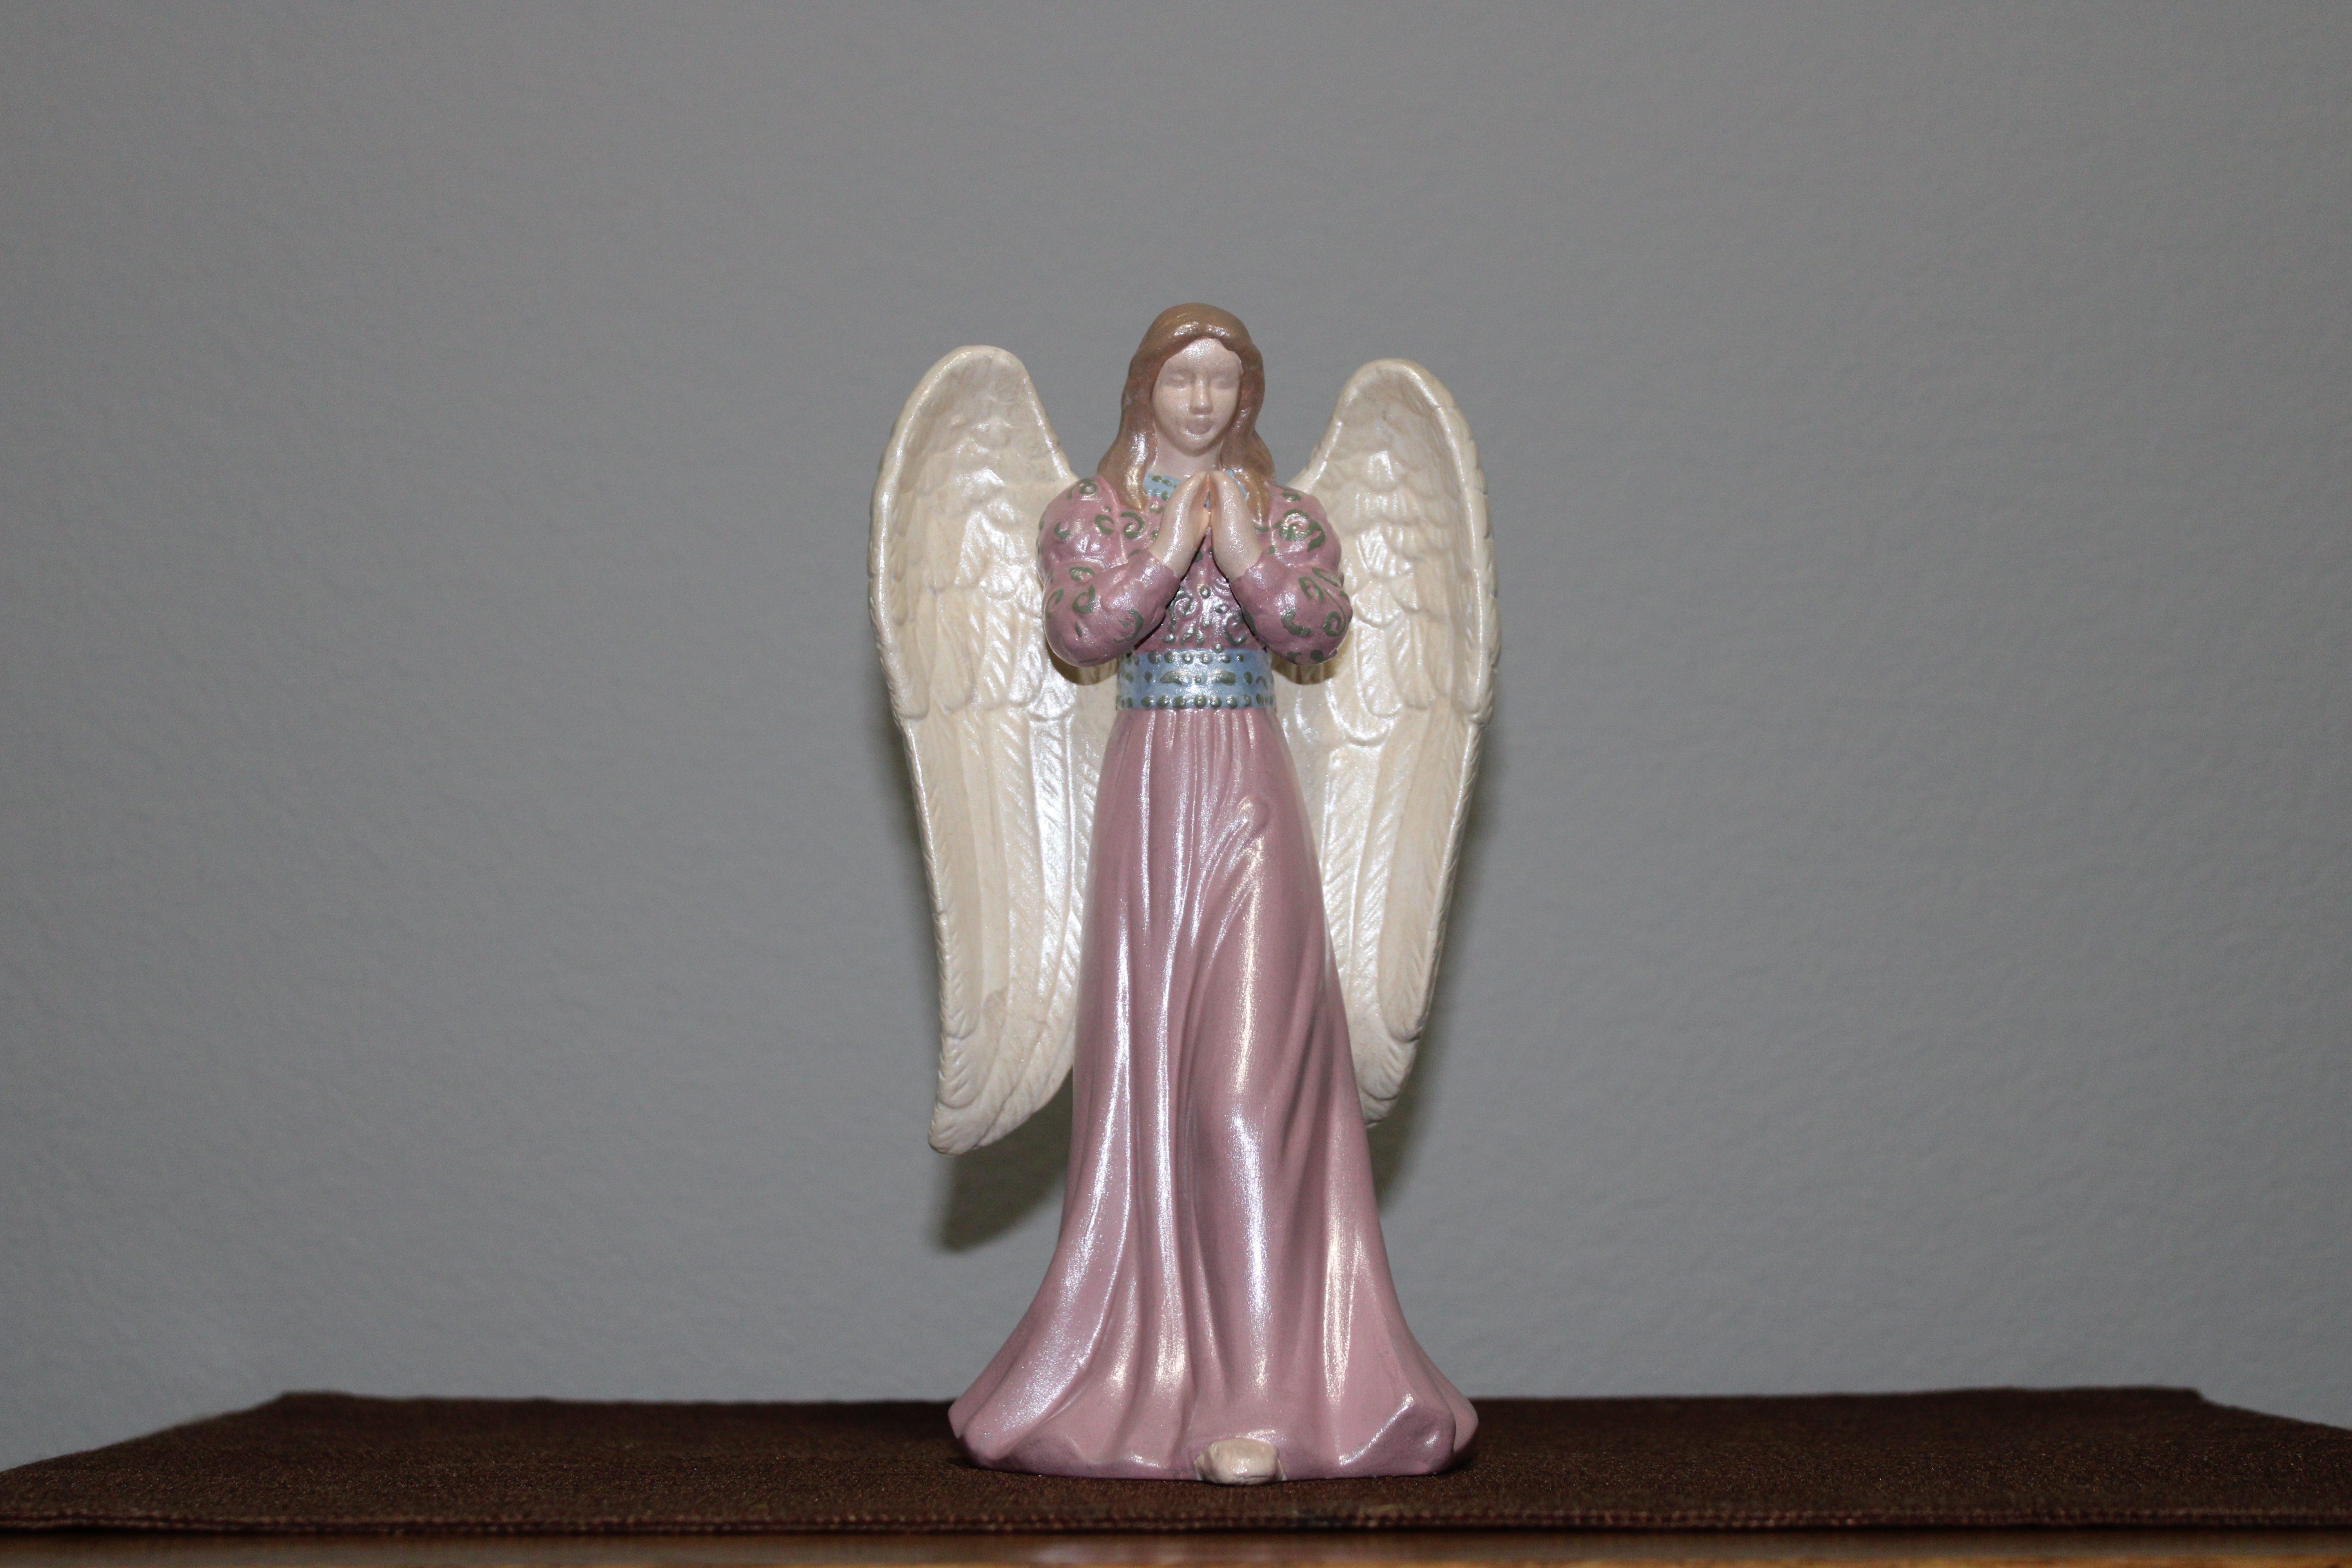
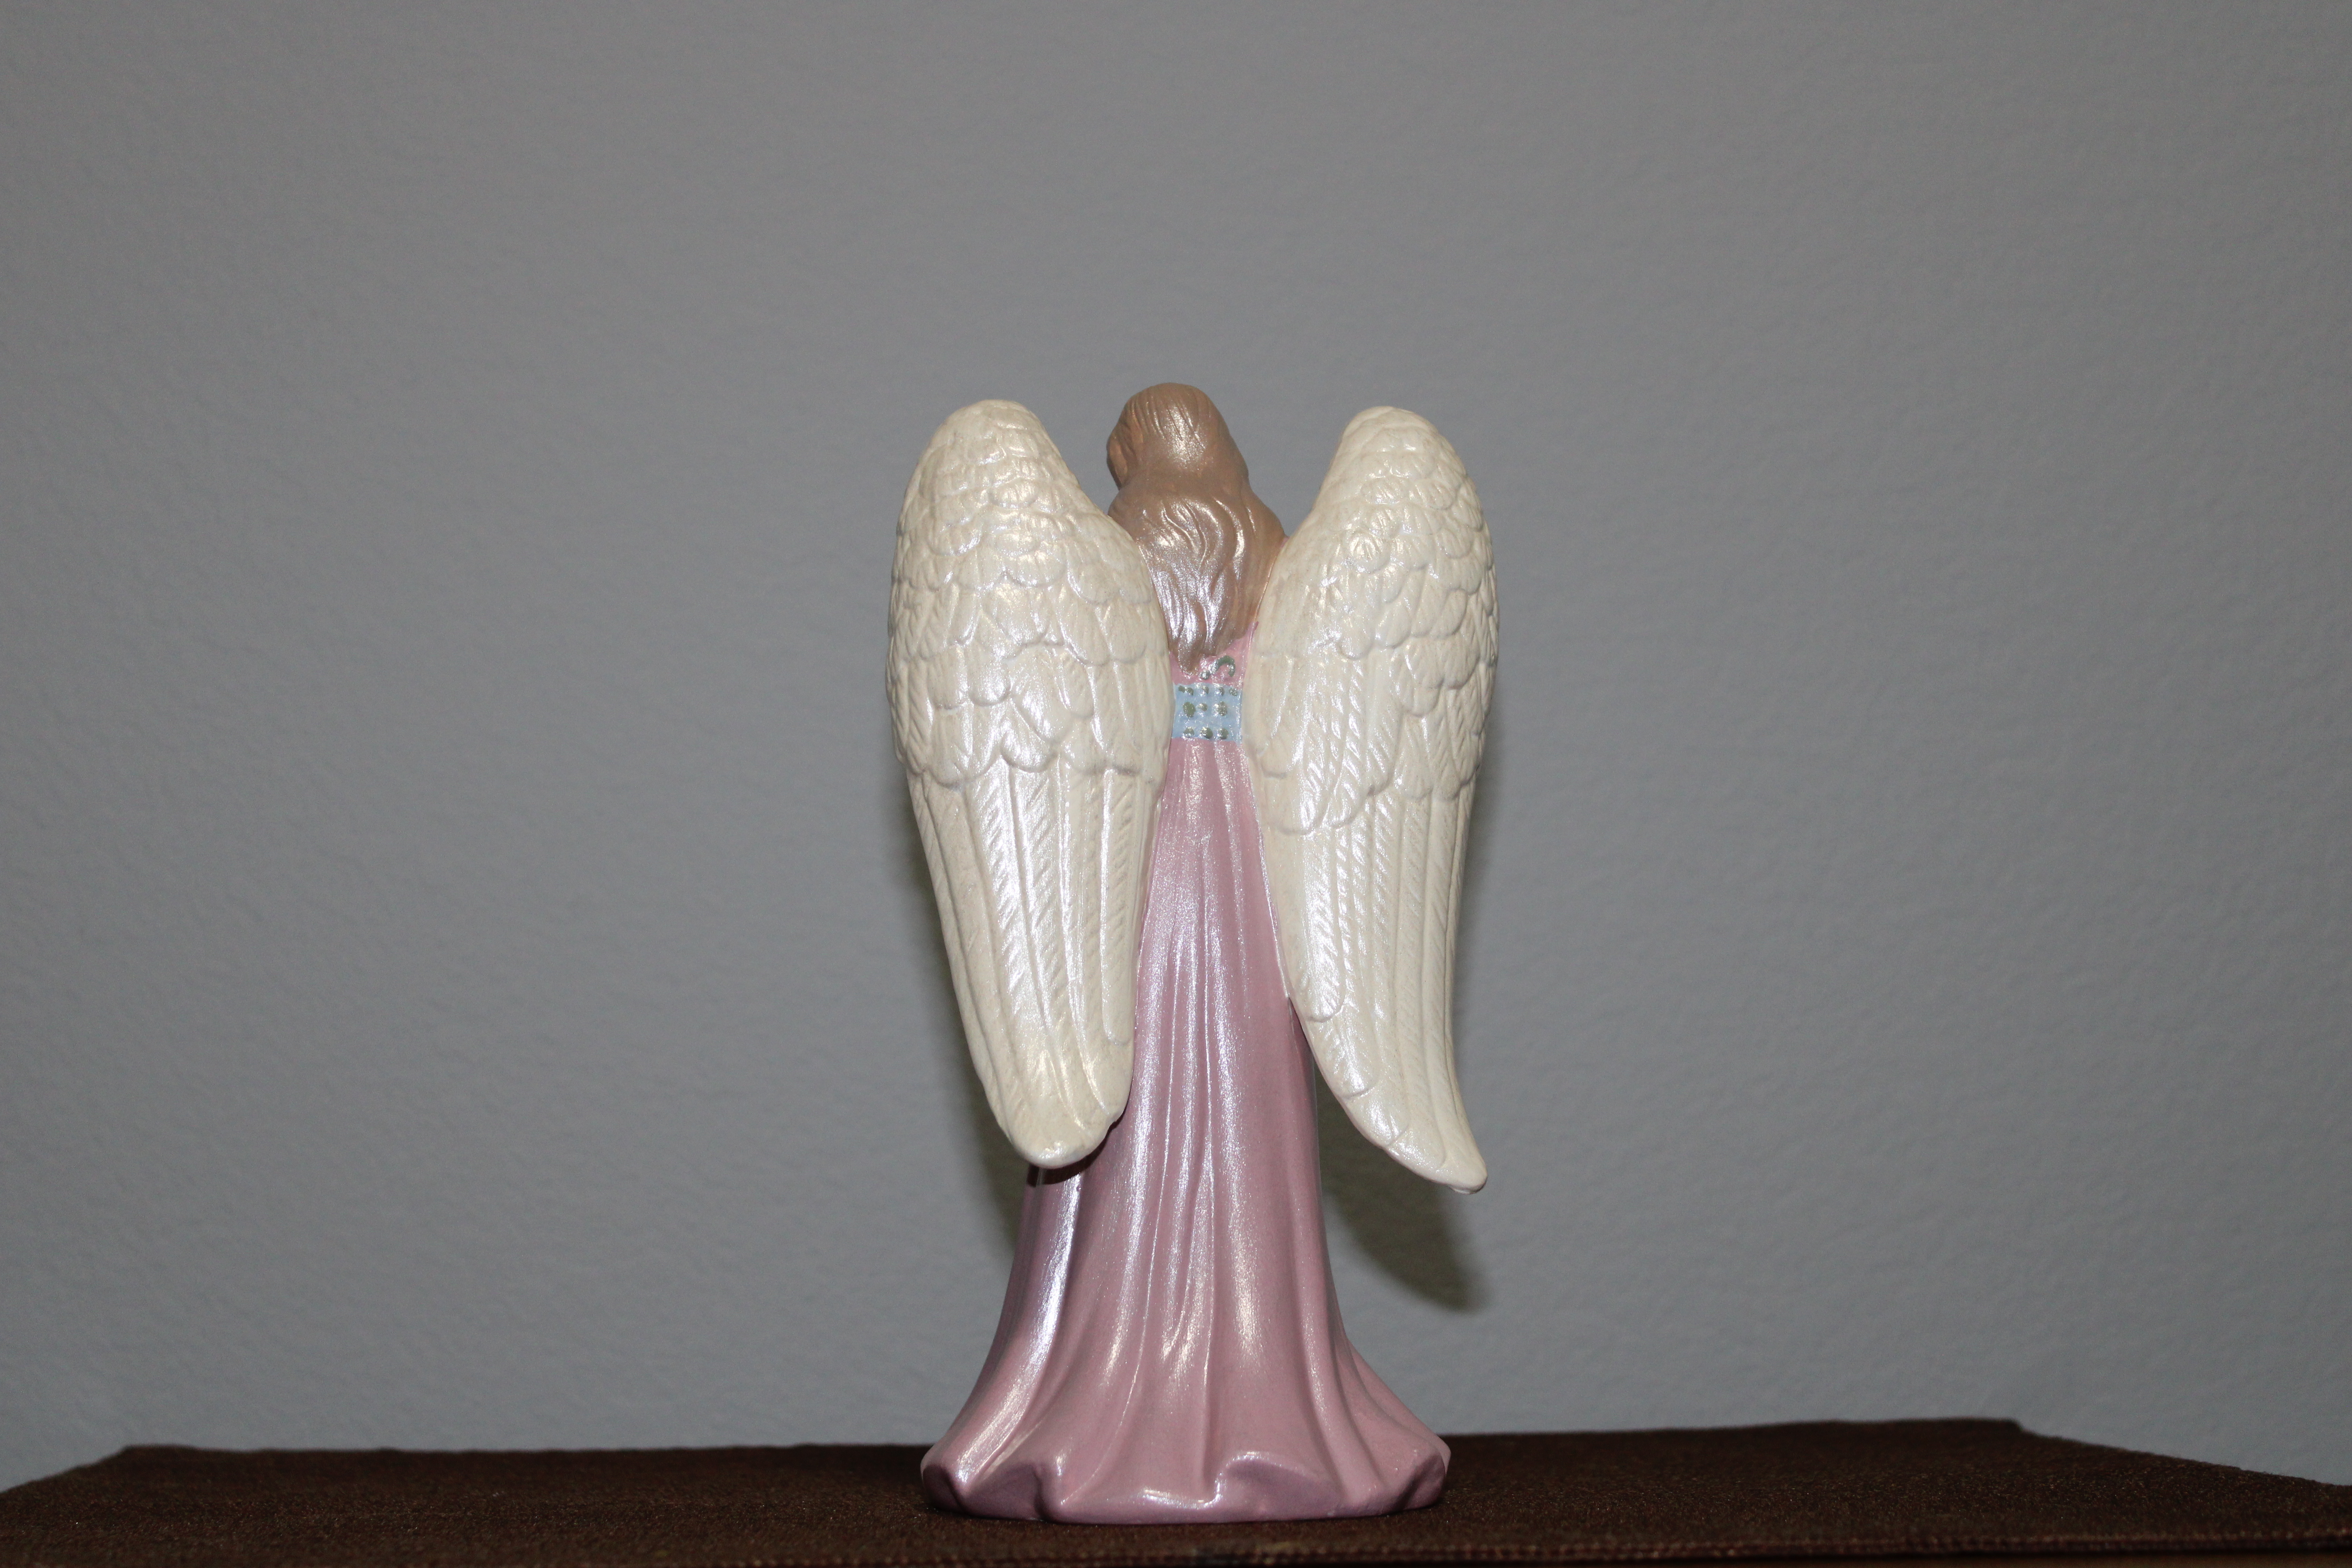
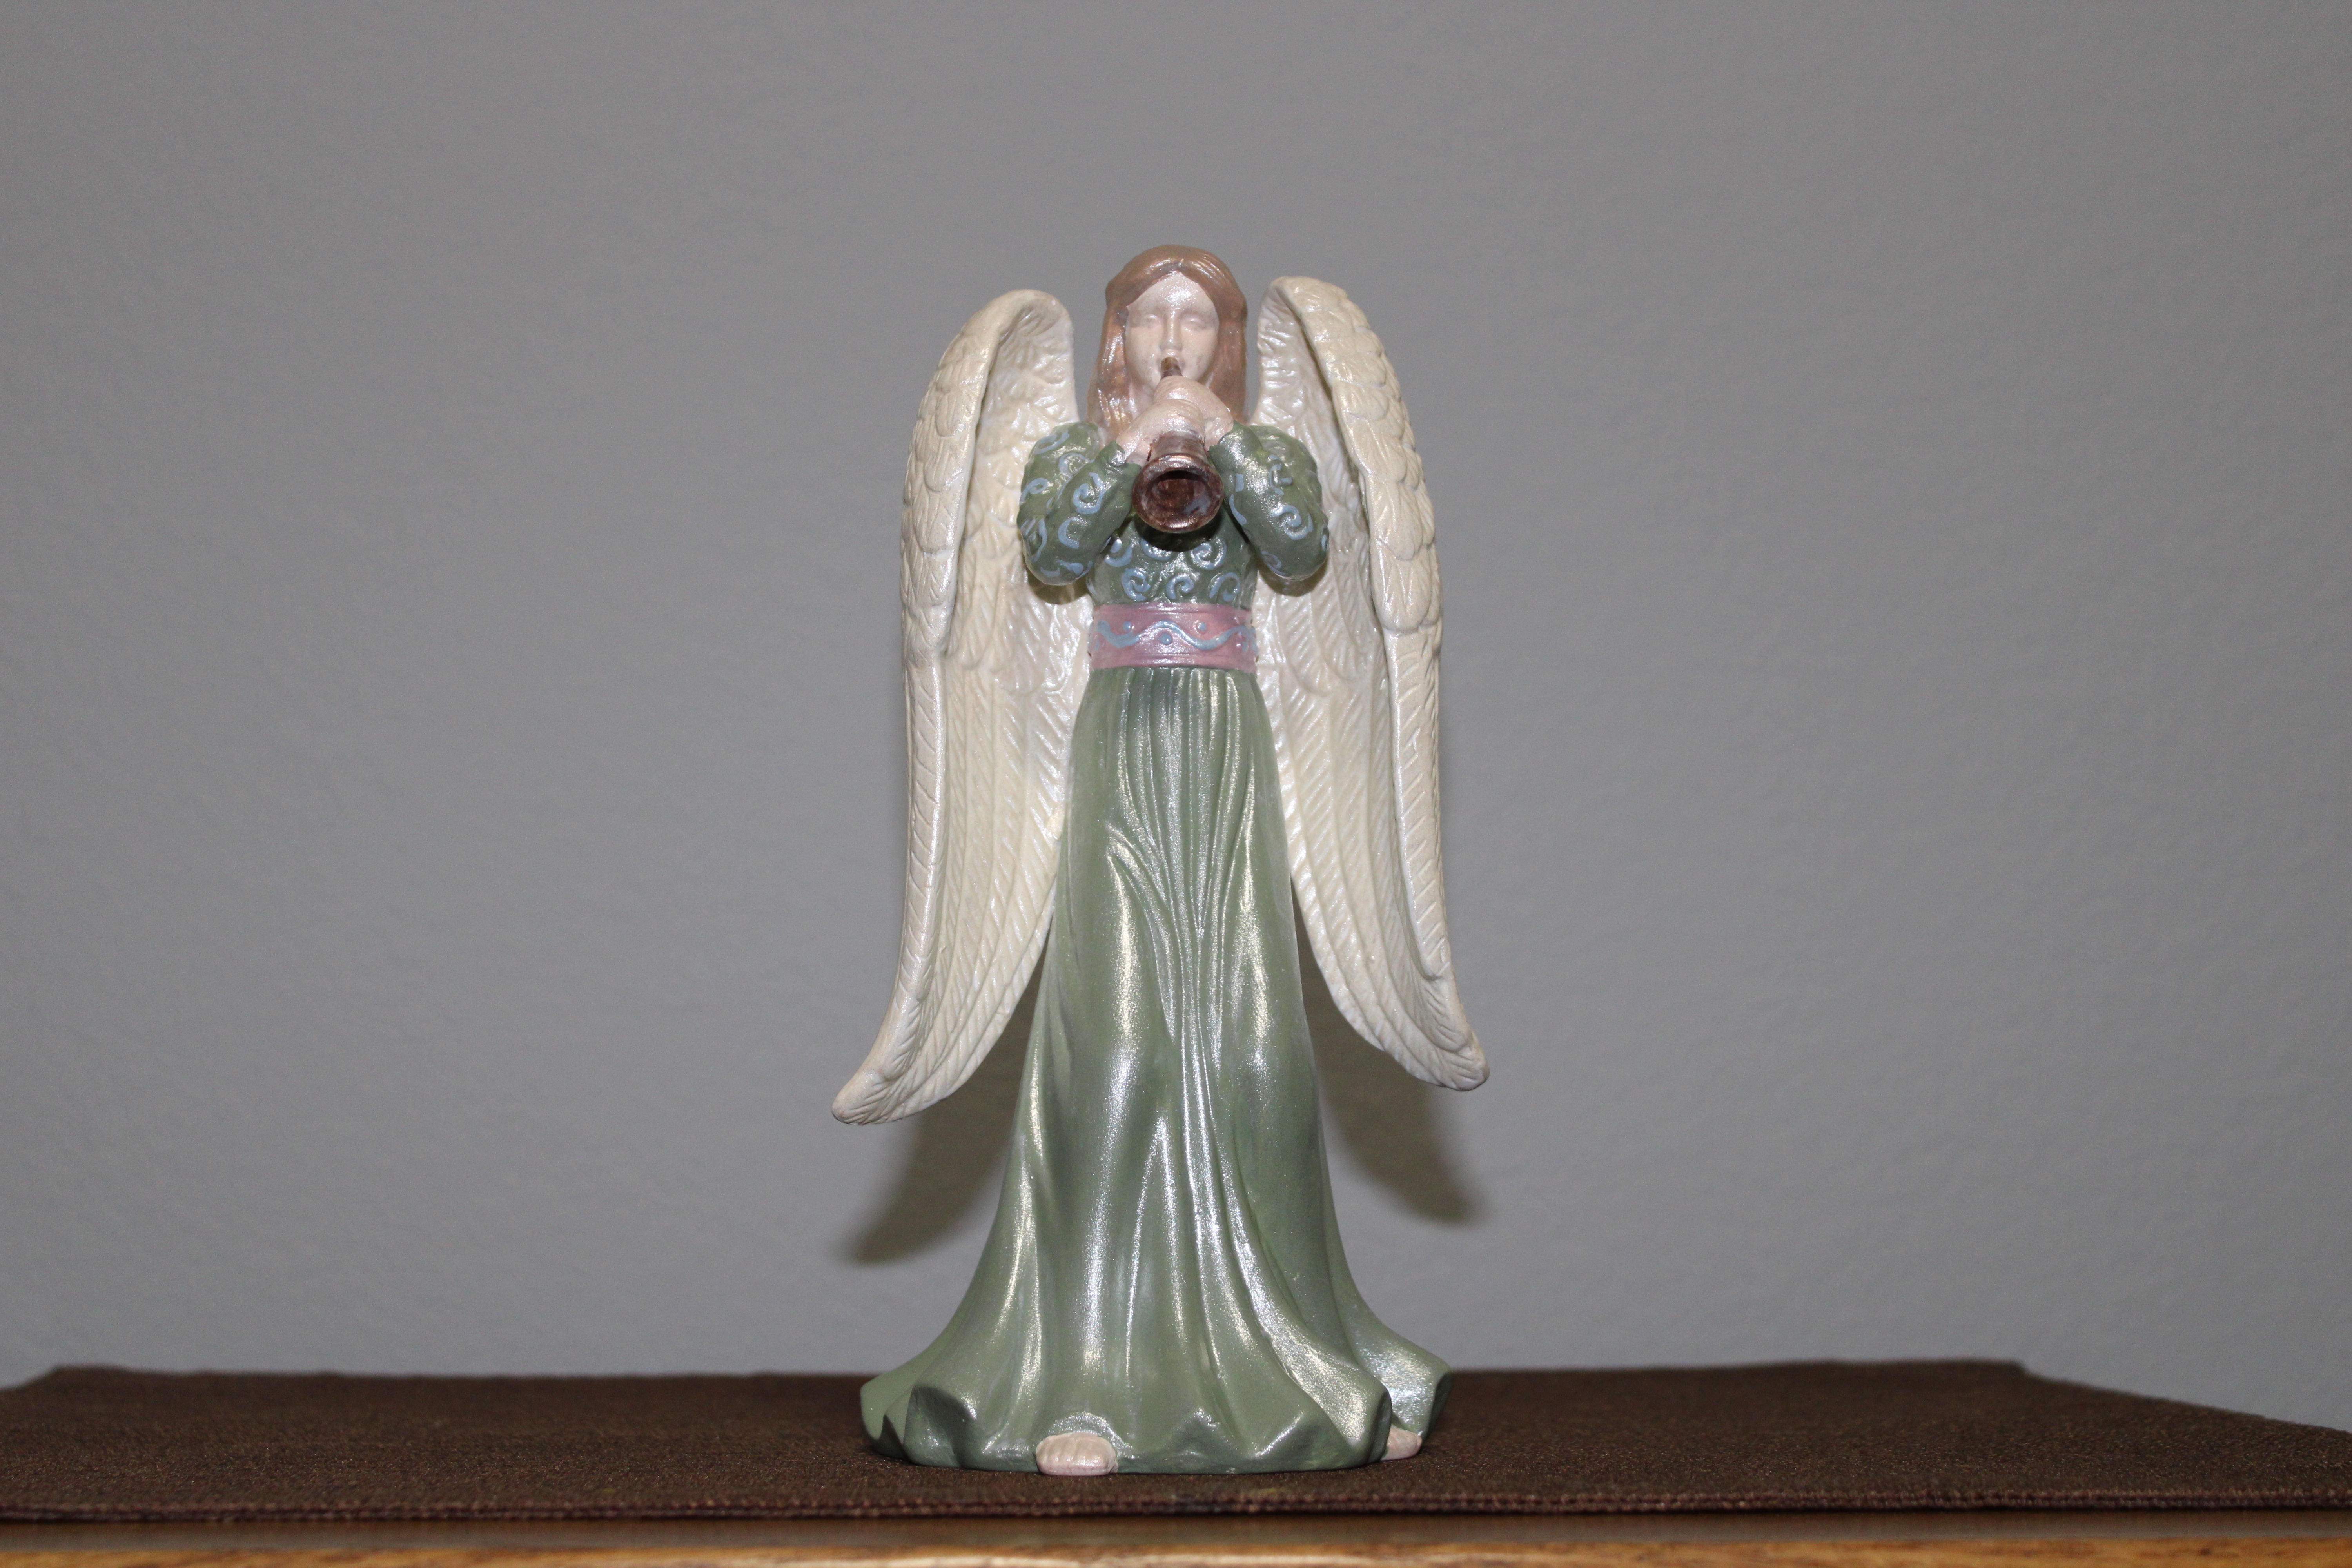
In the year 2002, I found three paintable Angels at Hobby Lobby. Each had a different pose and two were holding musical instruments. I purchased these three and painted them.
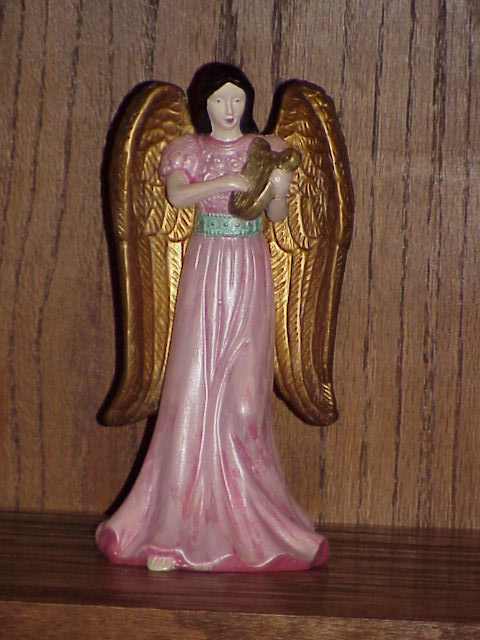

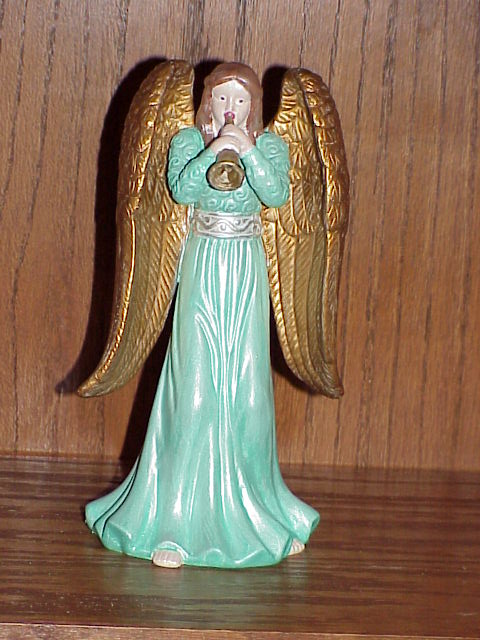
I had so much fun painting them and since they turned out beautiful, I purchased and painted three more.


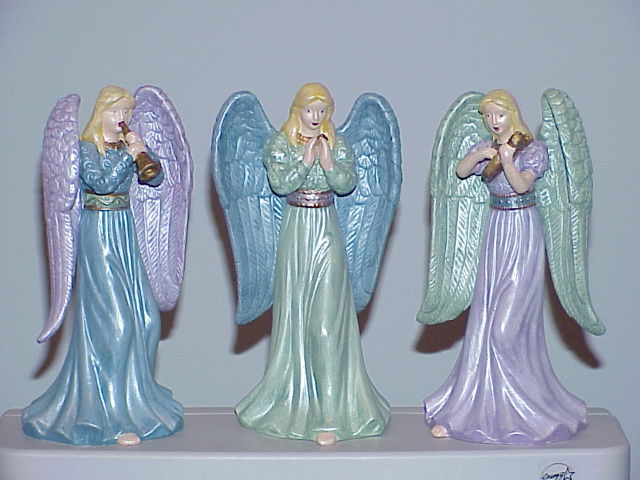
The next year Hobby Lobby had some more, so I purchased three more. Those angels were placed into a box and stored. They survived several moves and a flood. They were never forgotten just a future project.
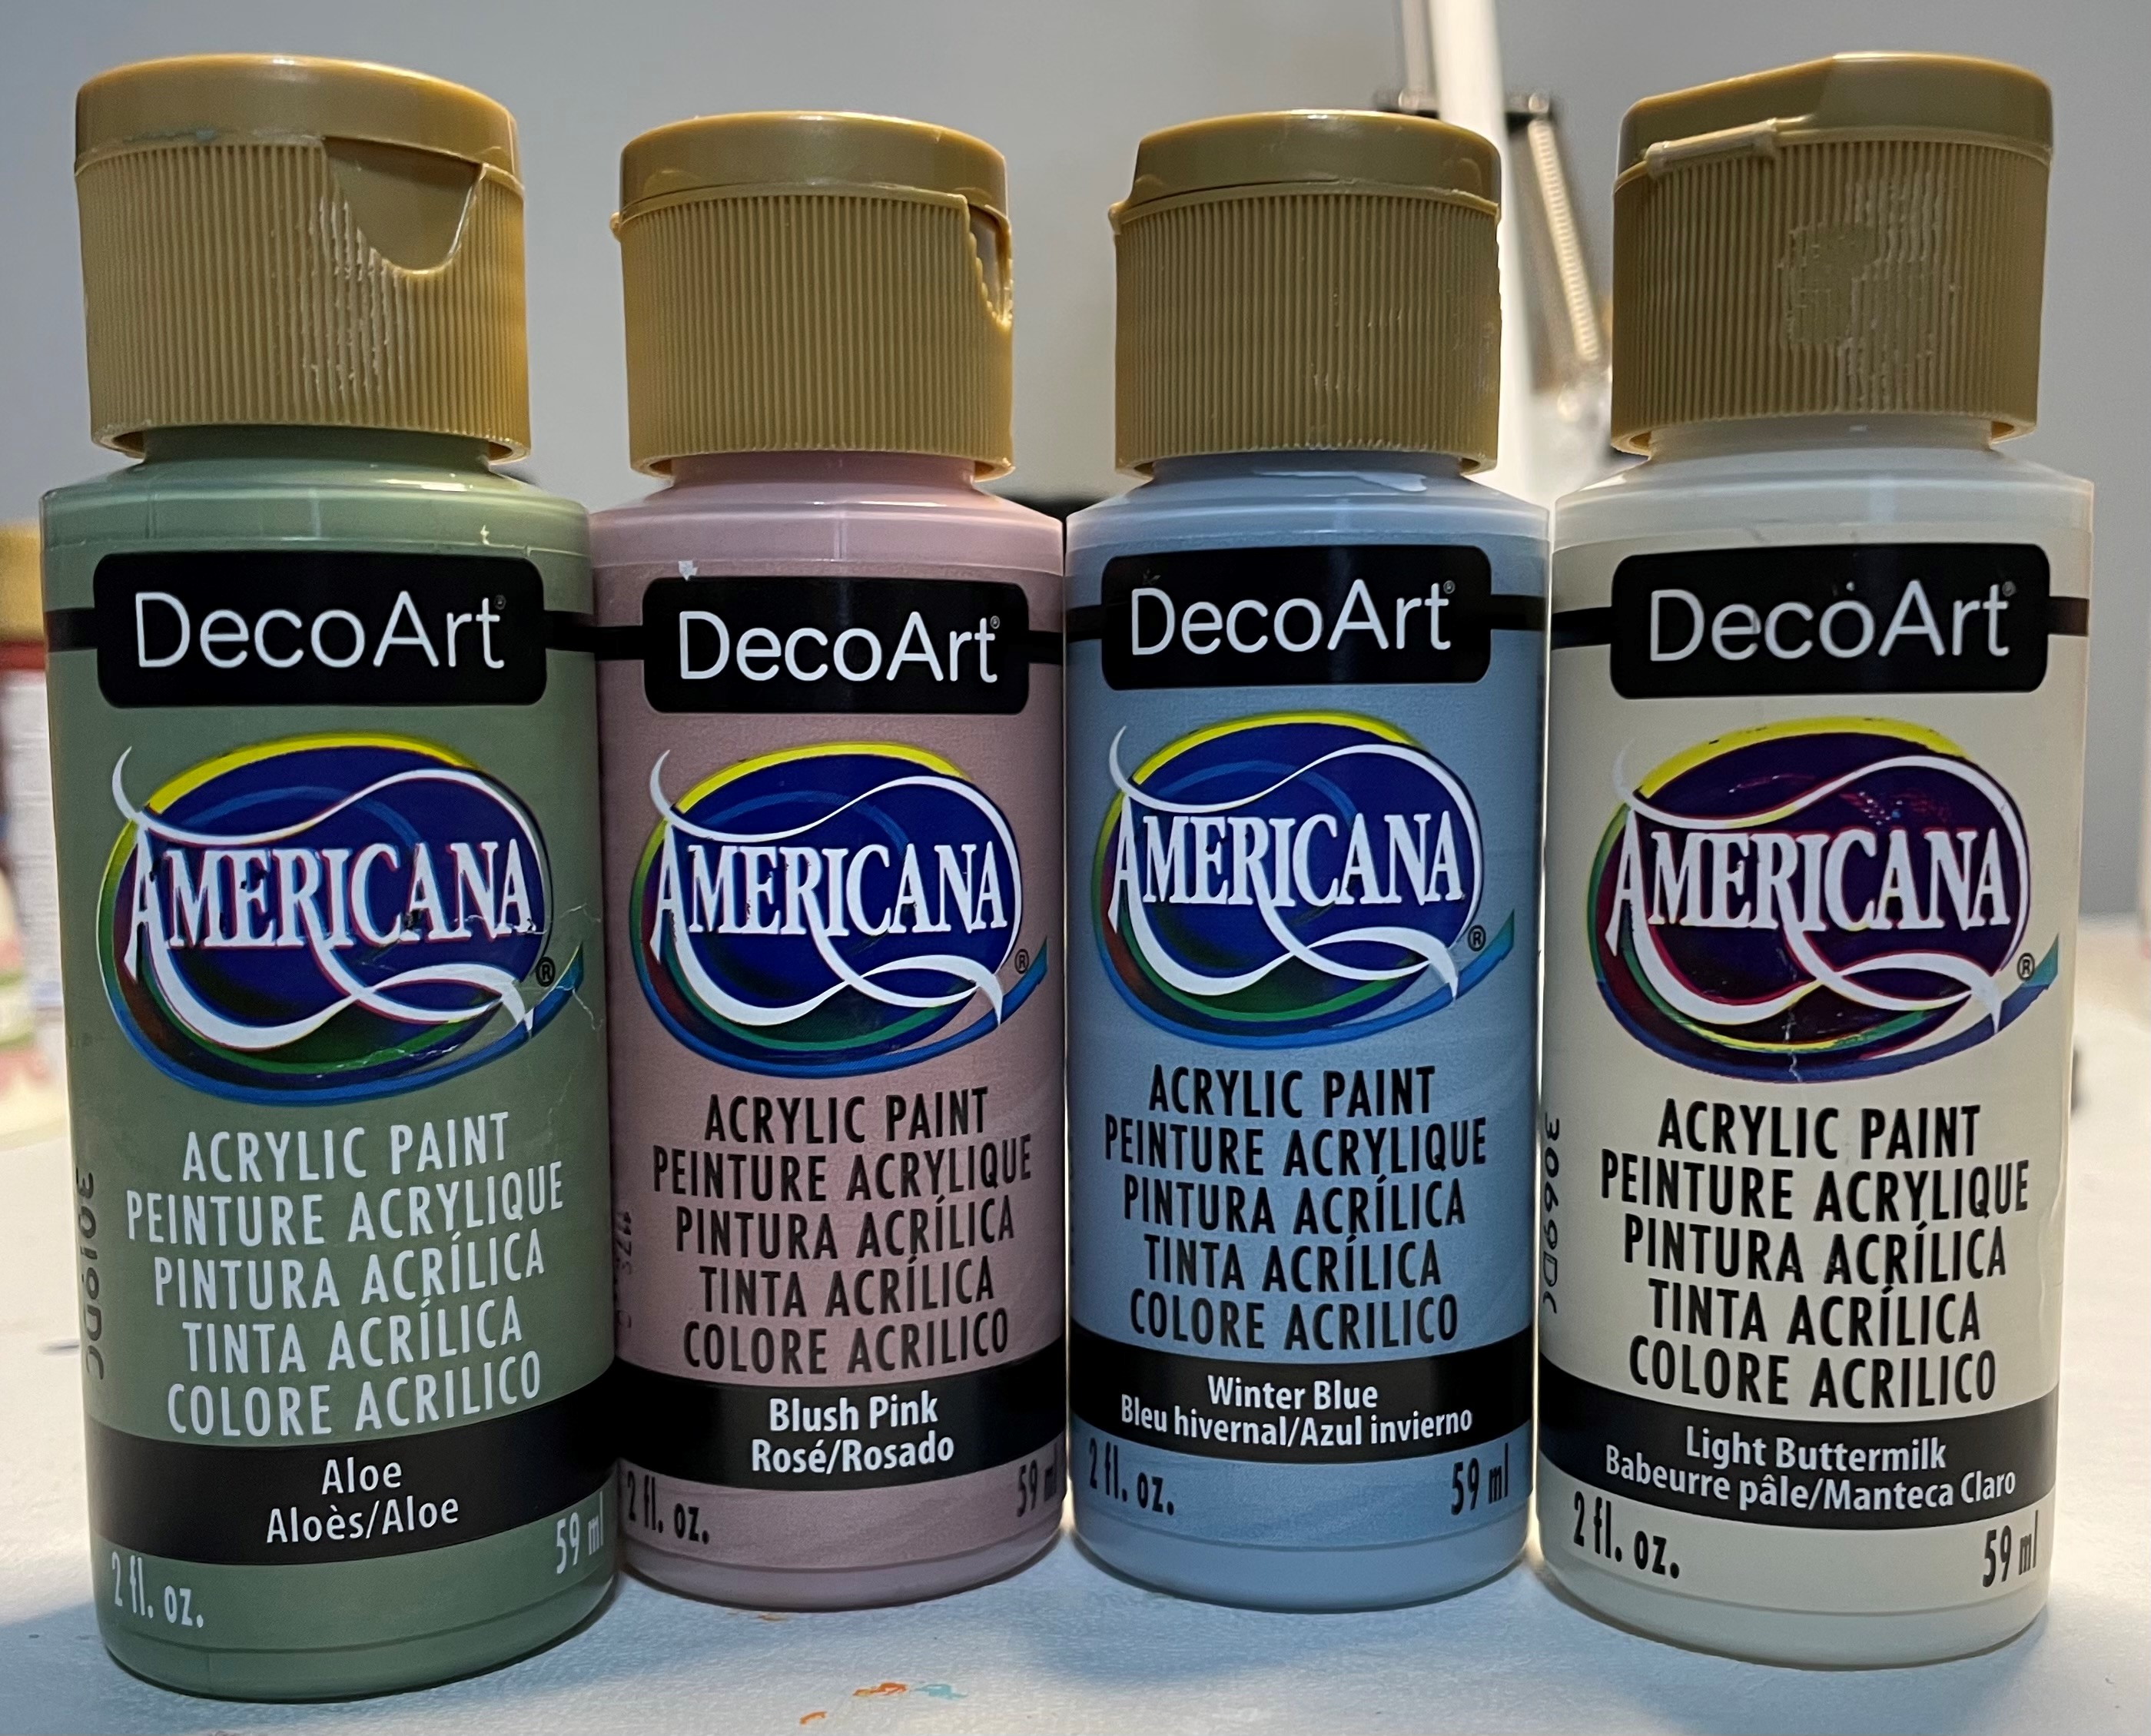
Earlier this month, I was in Michael’s and found these paint bottle. I thought those colors looked so pretty together and had to use them on something. I got the angels out and painted them.


Do I still have the first painted angels? Yes and No. I gave away some. The others were stored with the Christmas decorations, and they may or may not survived the flood and moves. I haven’t unpacked all the Christmas decorations in years and years and years.
All the angels were painted with either Delta Ceramcoat or DecoArt Americana paint. Afterwards, I used a pearlizing glaze or medium all over the angels. They were finished using satin varnish by Delta Ceramcoat or DecoArt Americana.
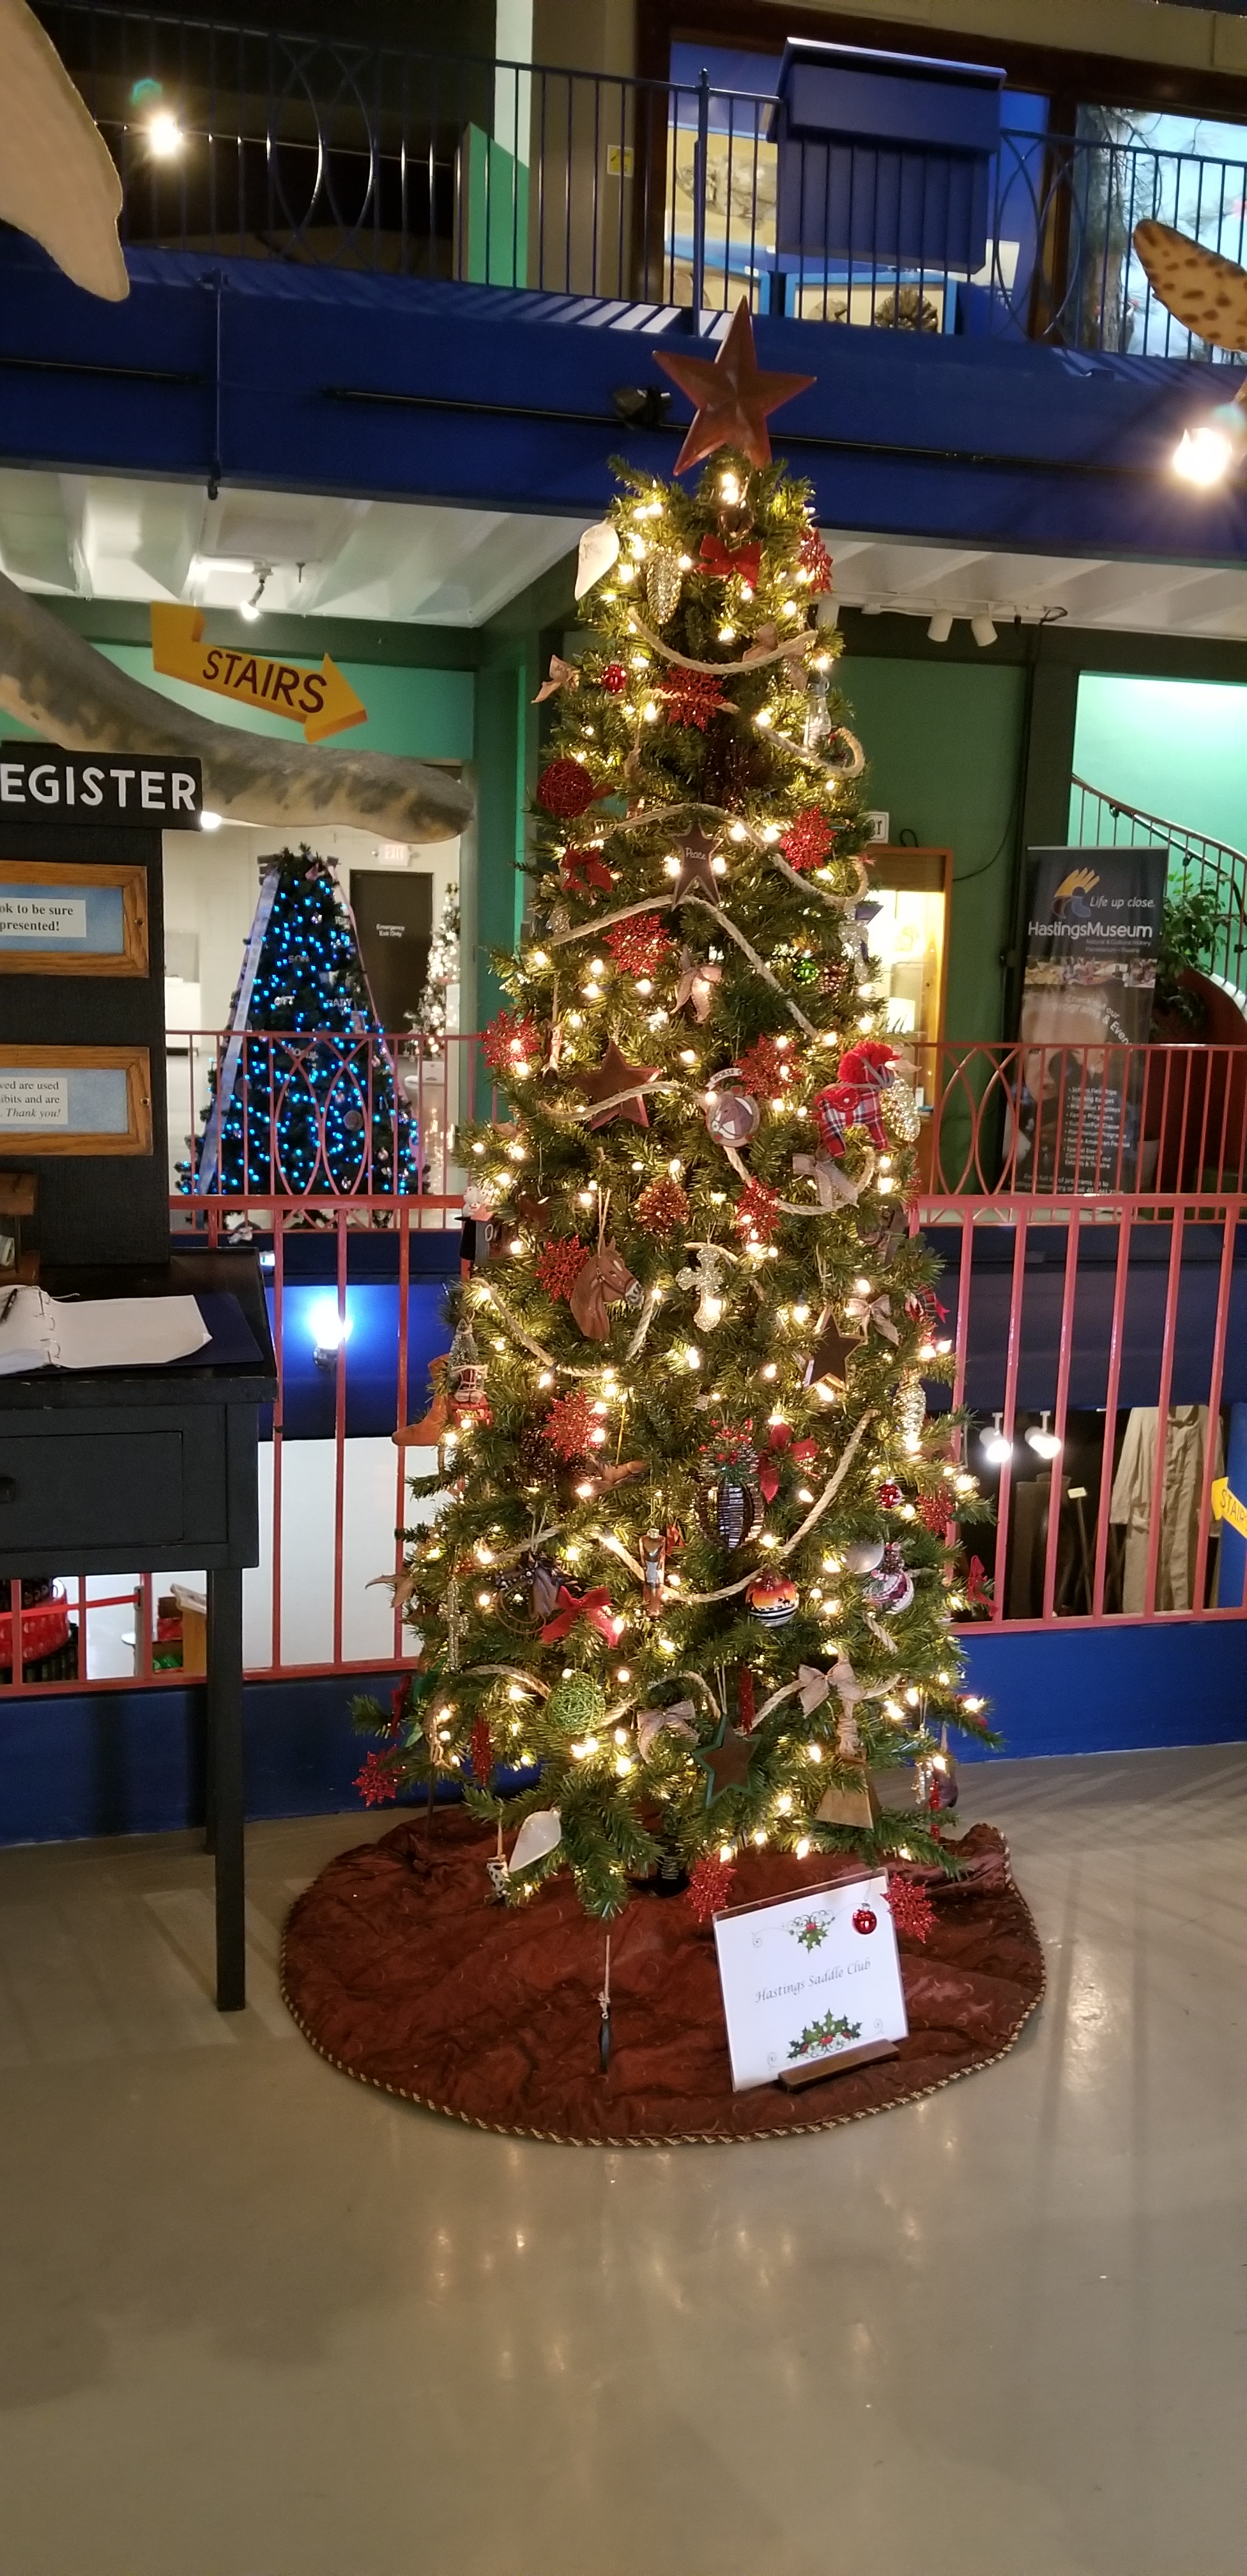
This tree at the Hasting Museum, which they hid down in the “basement” had the most interesting ornaments of any of the other trees. The ornaments were either decorated or made from beads.

I do not need another craft, especially one that requires handling tiny beads and thin wires. The Midwest Beaders should be proud of their beautiful work.


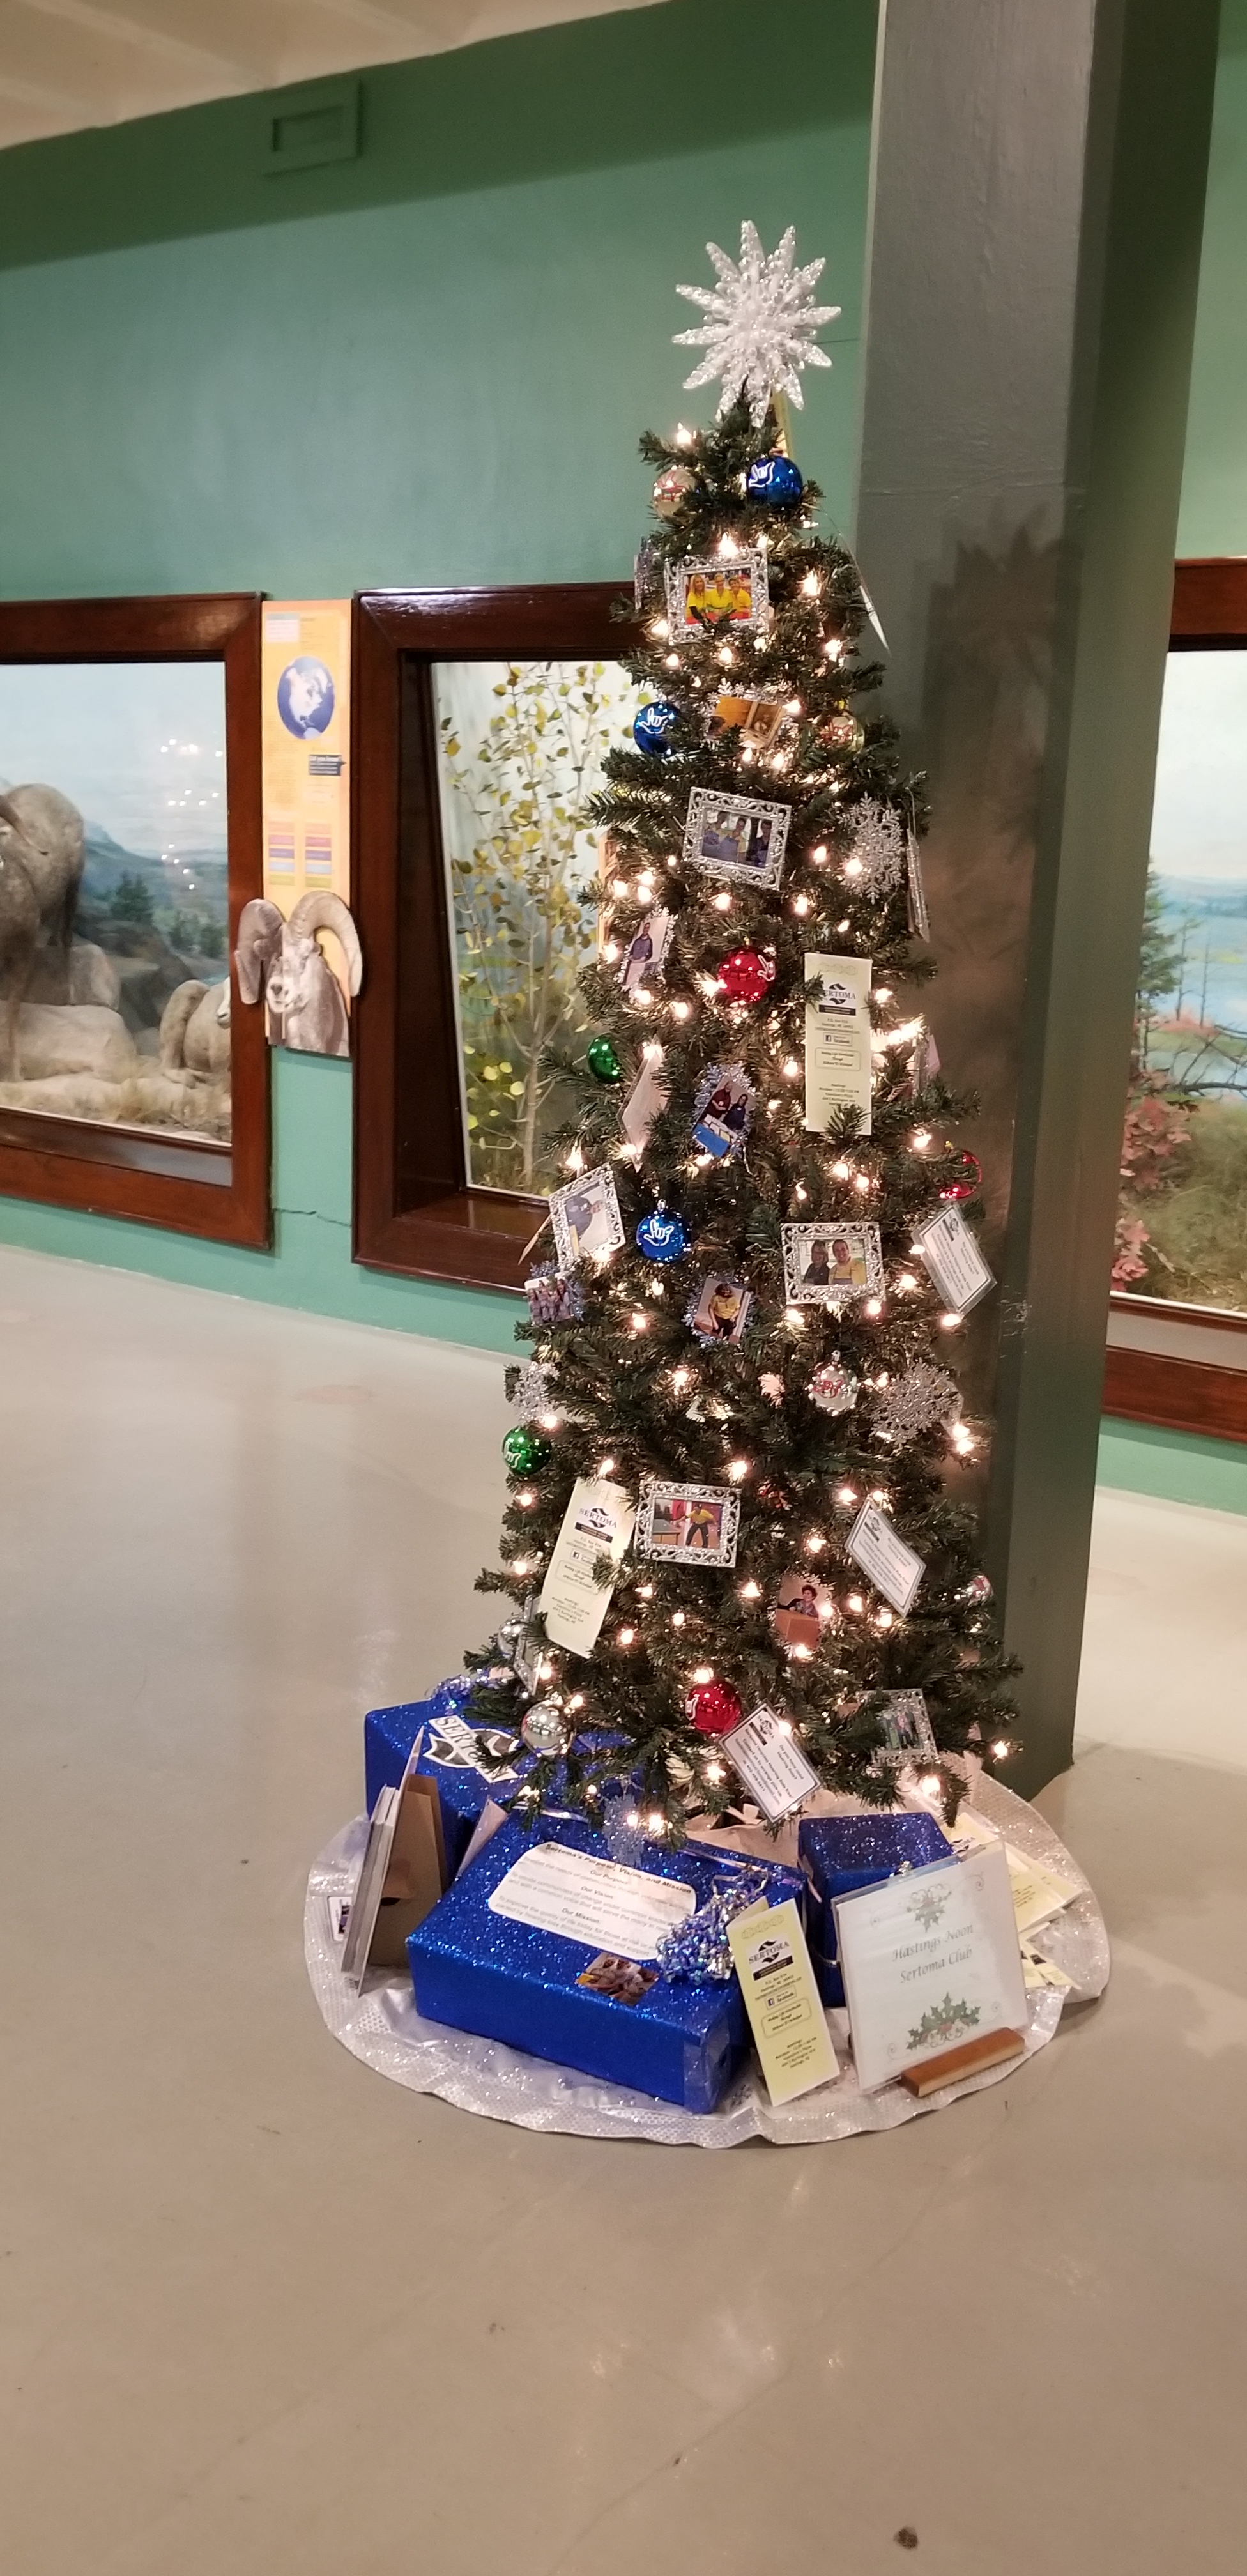
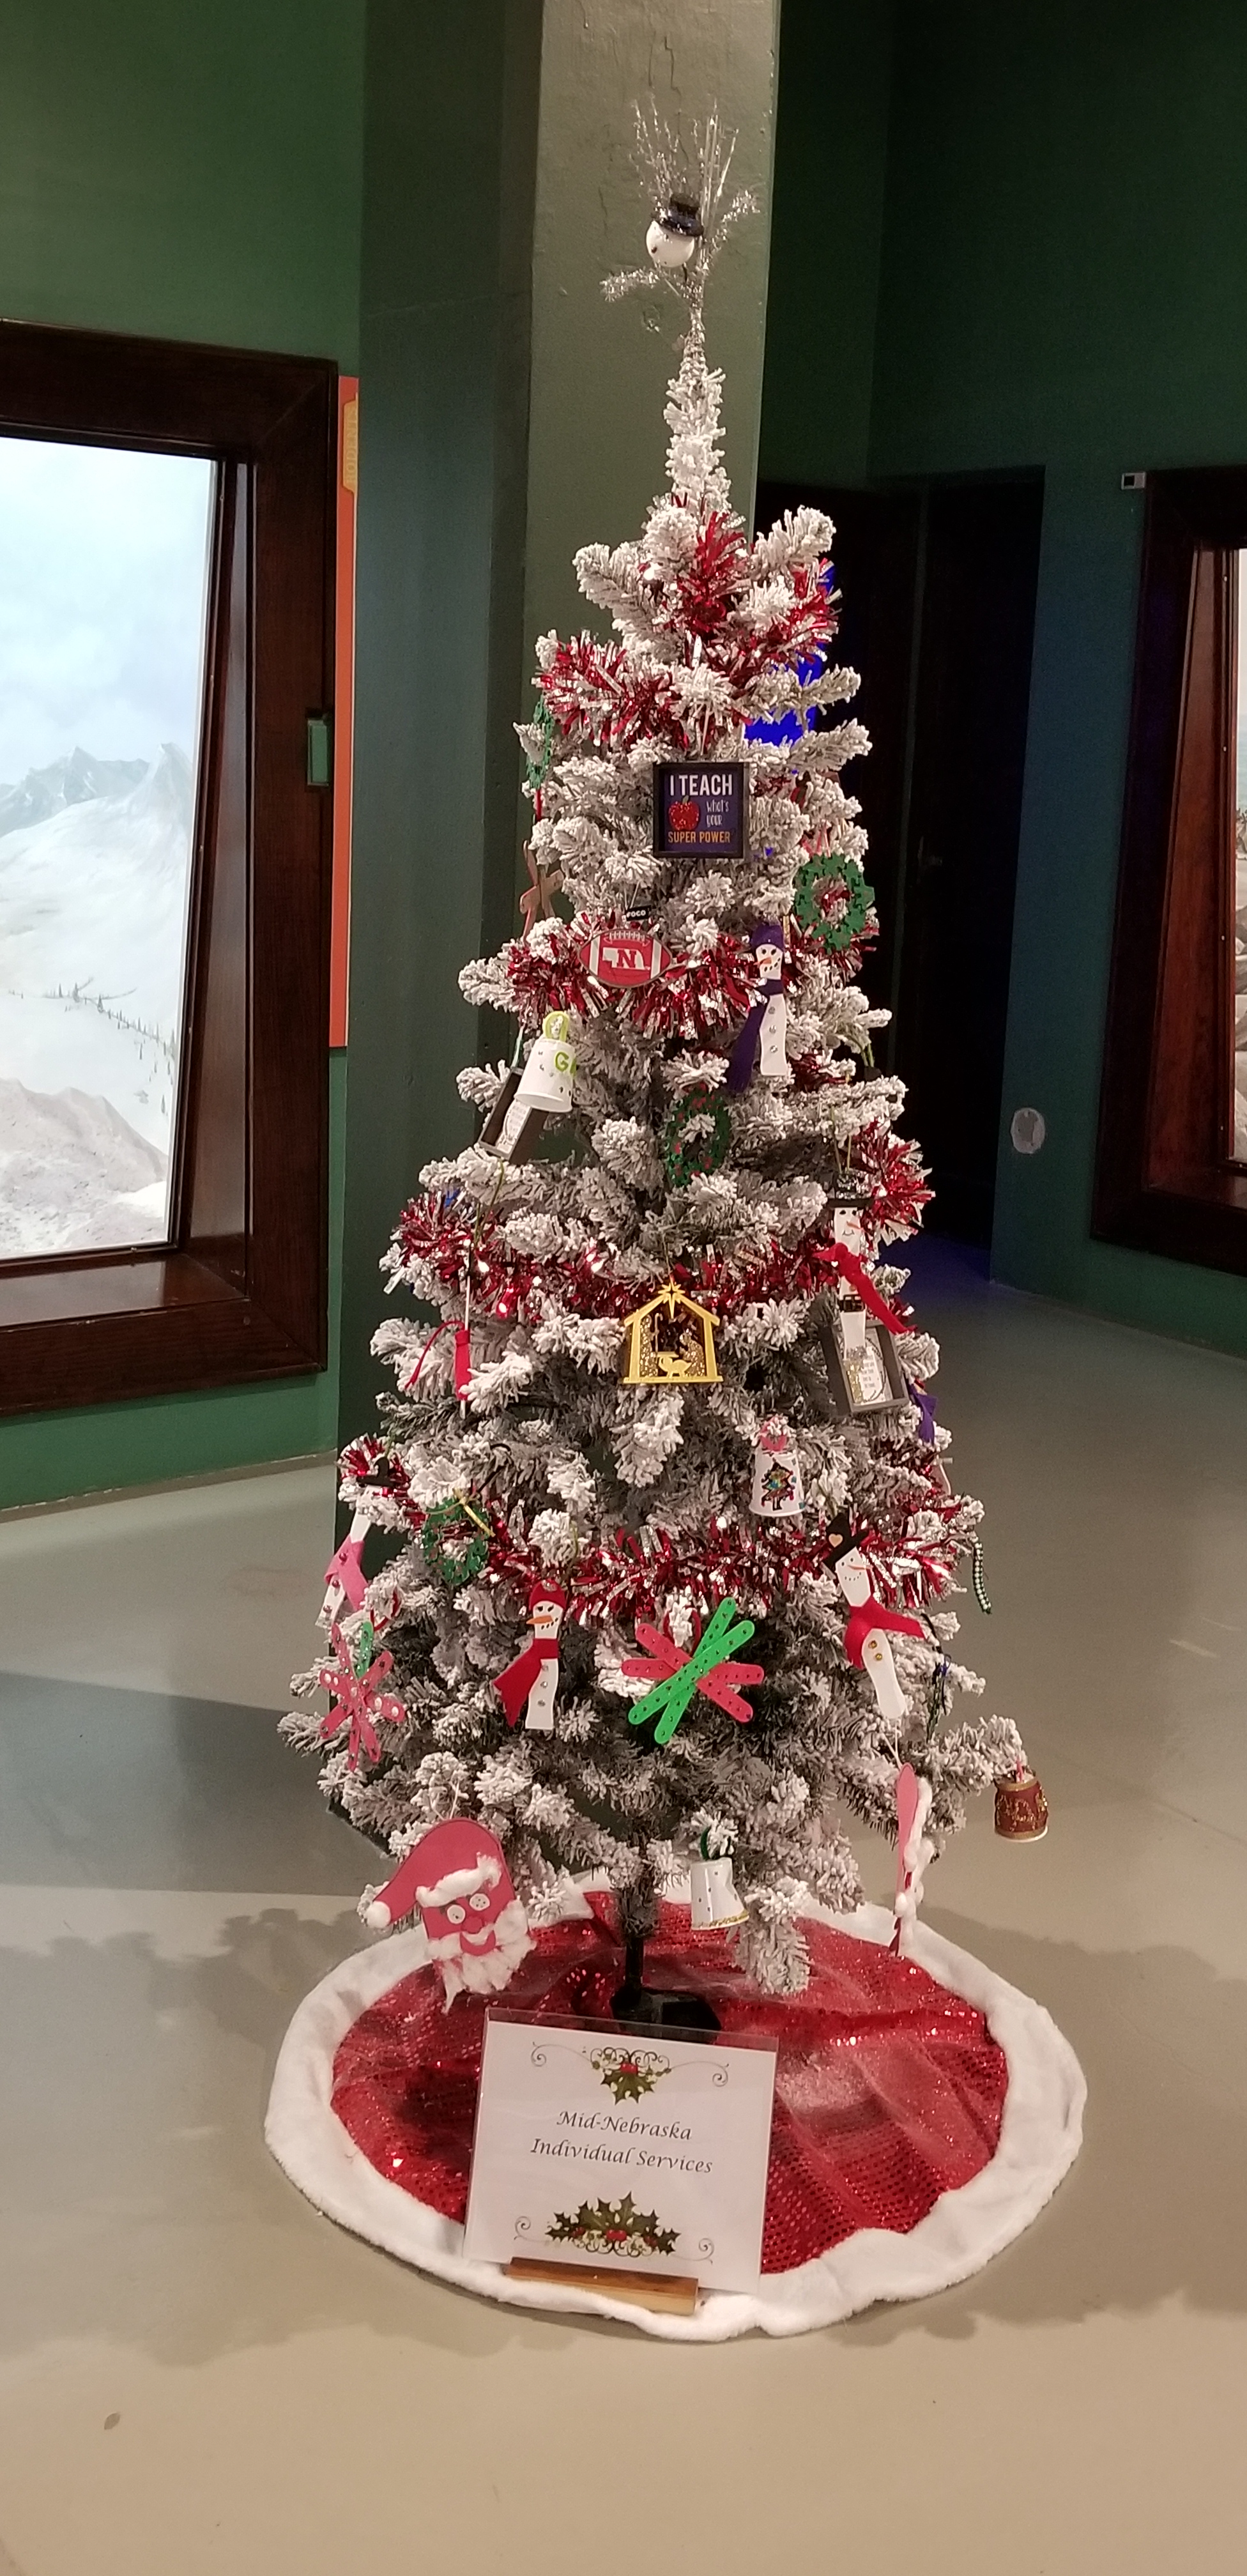
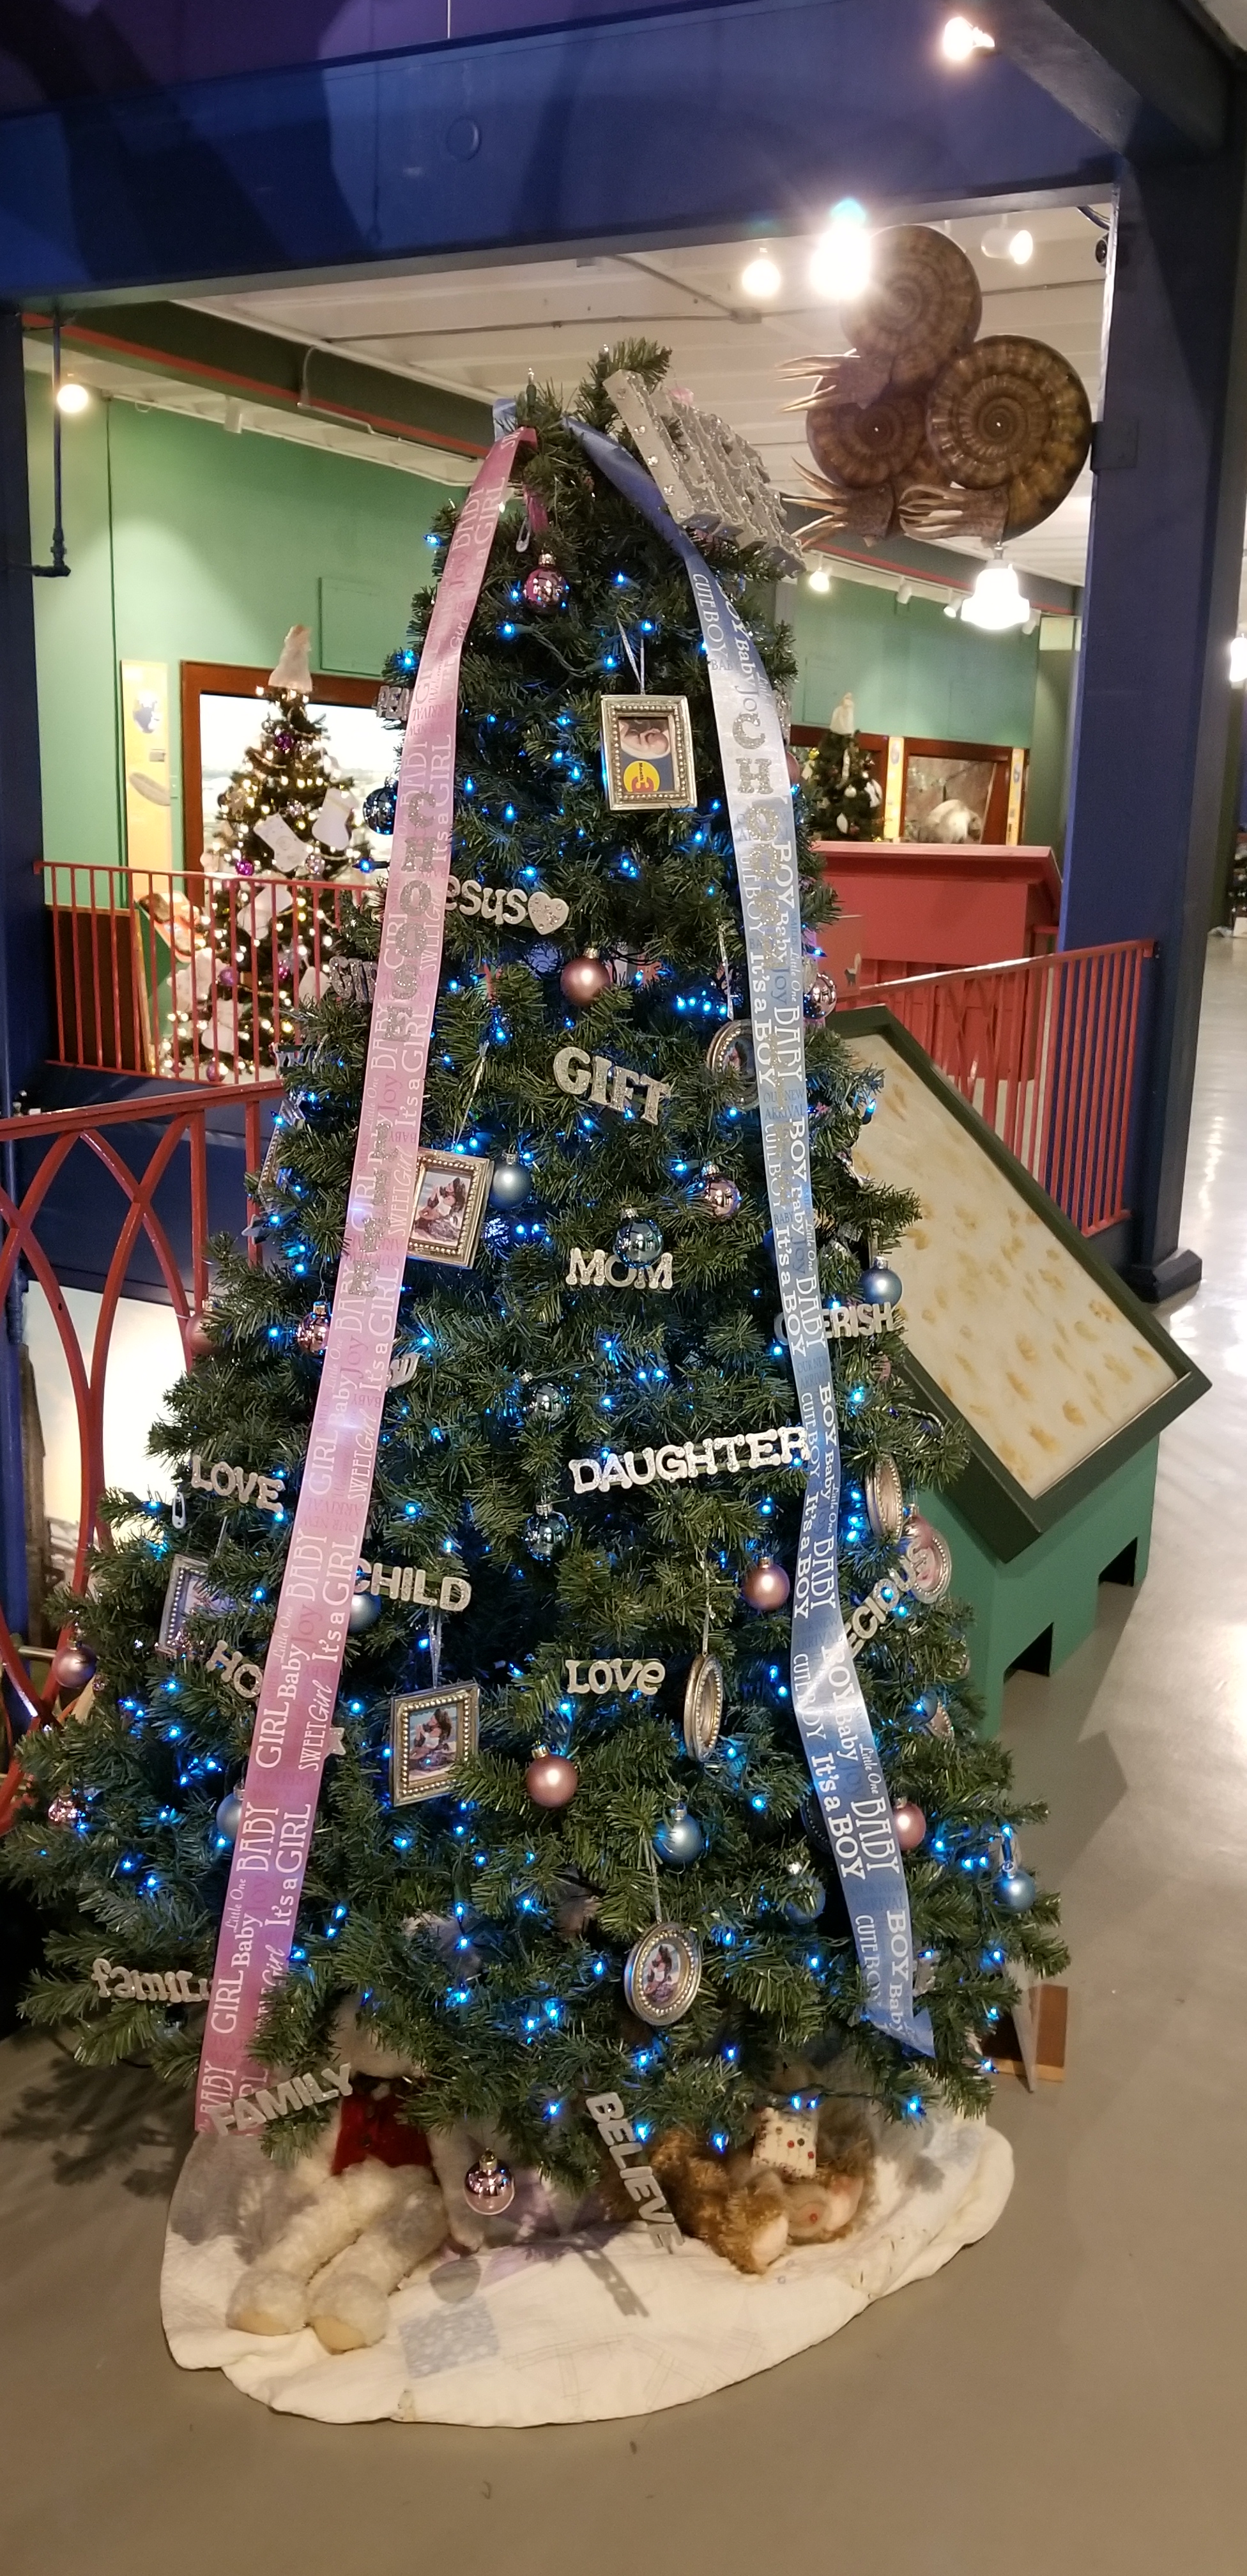
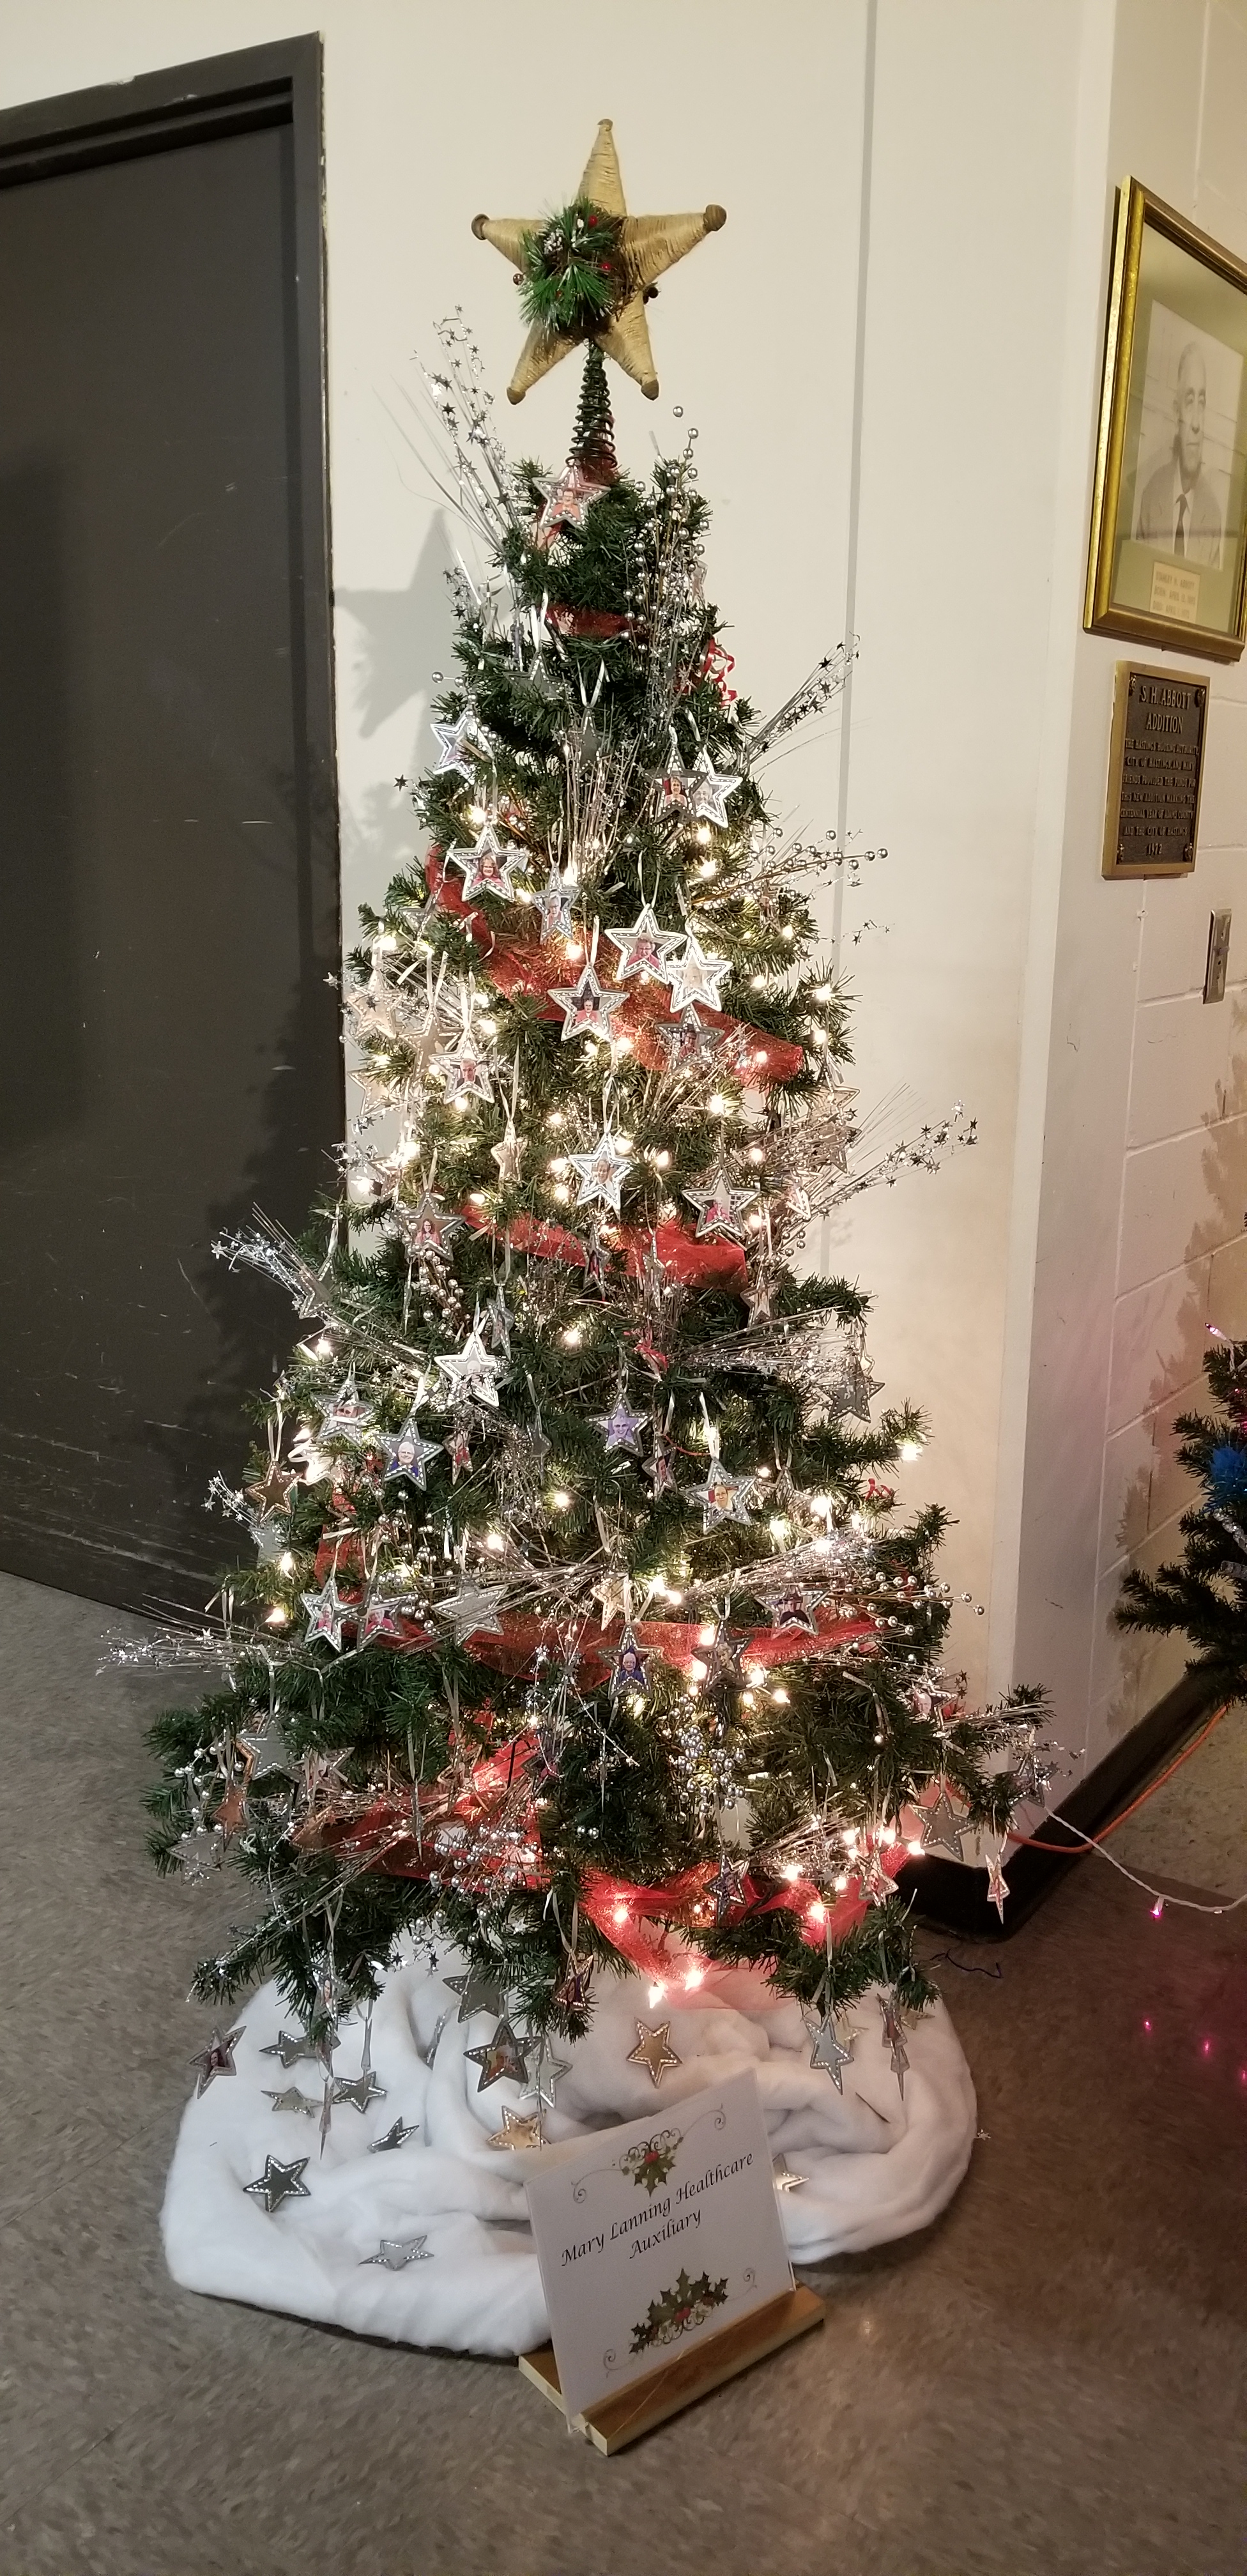
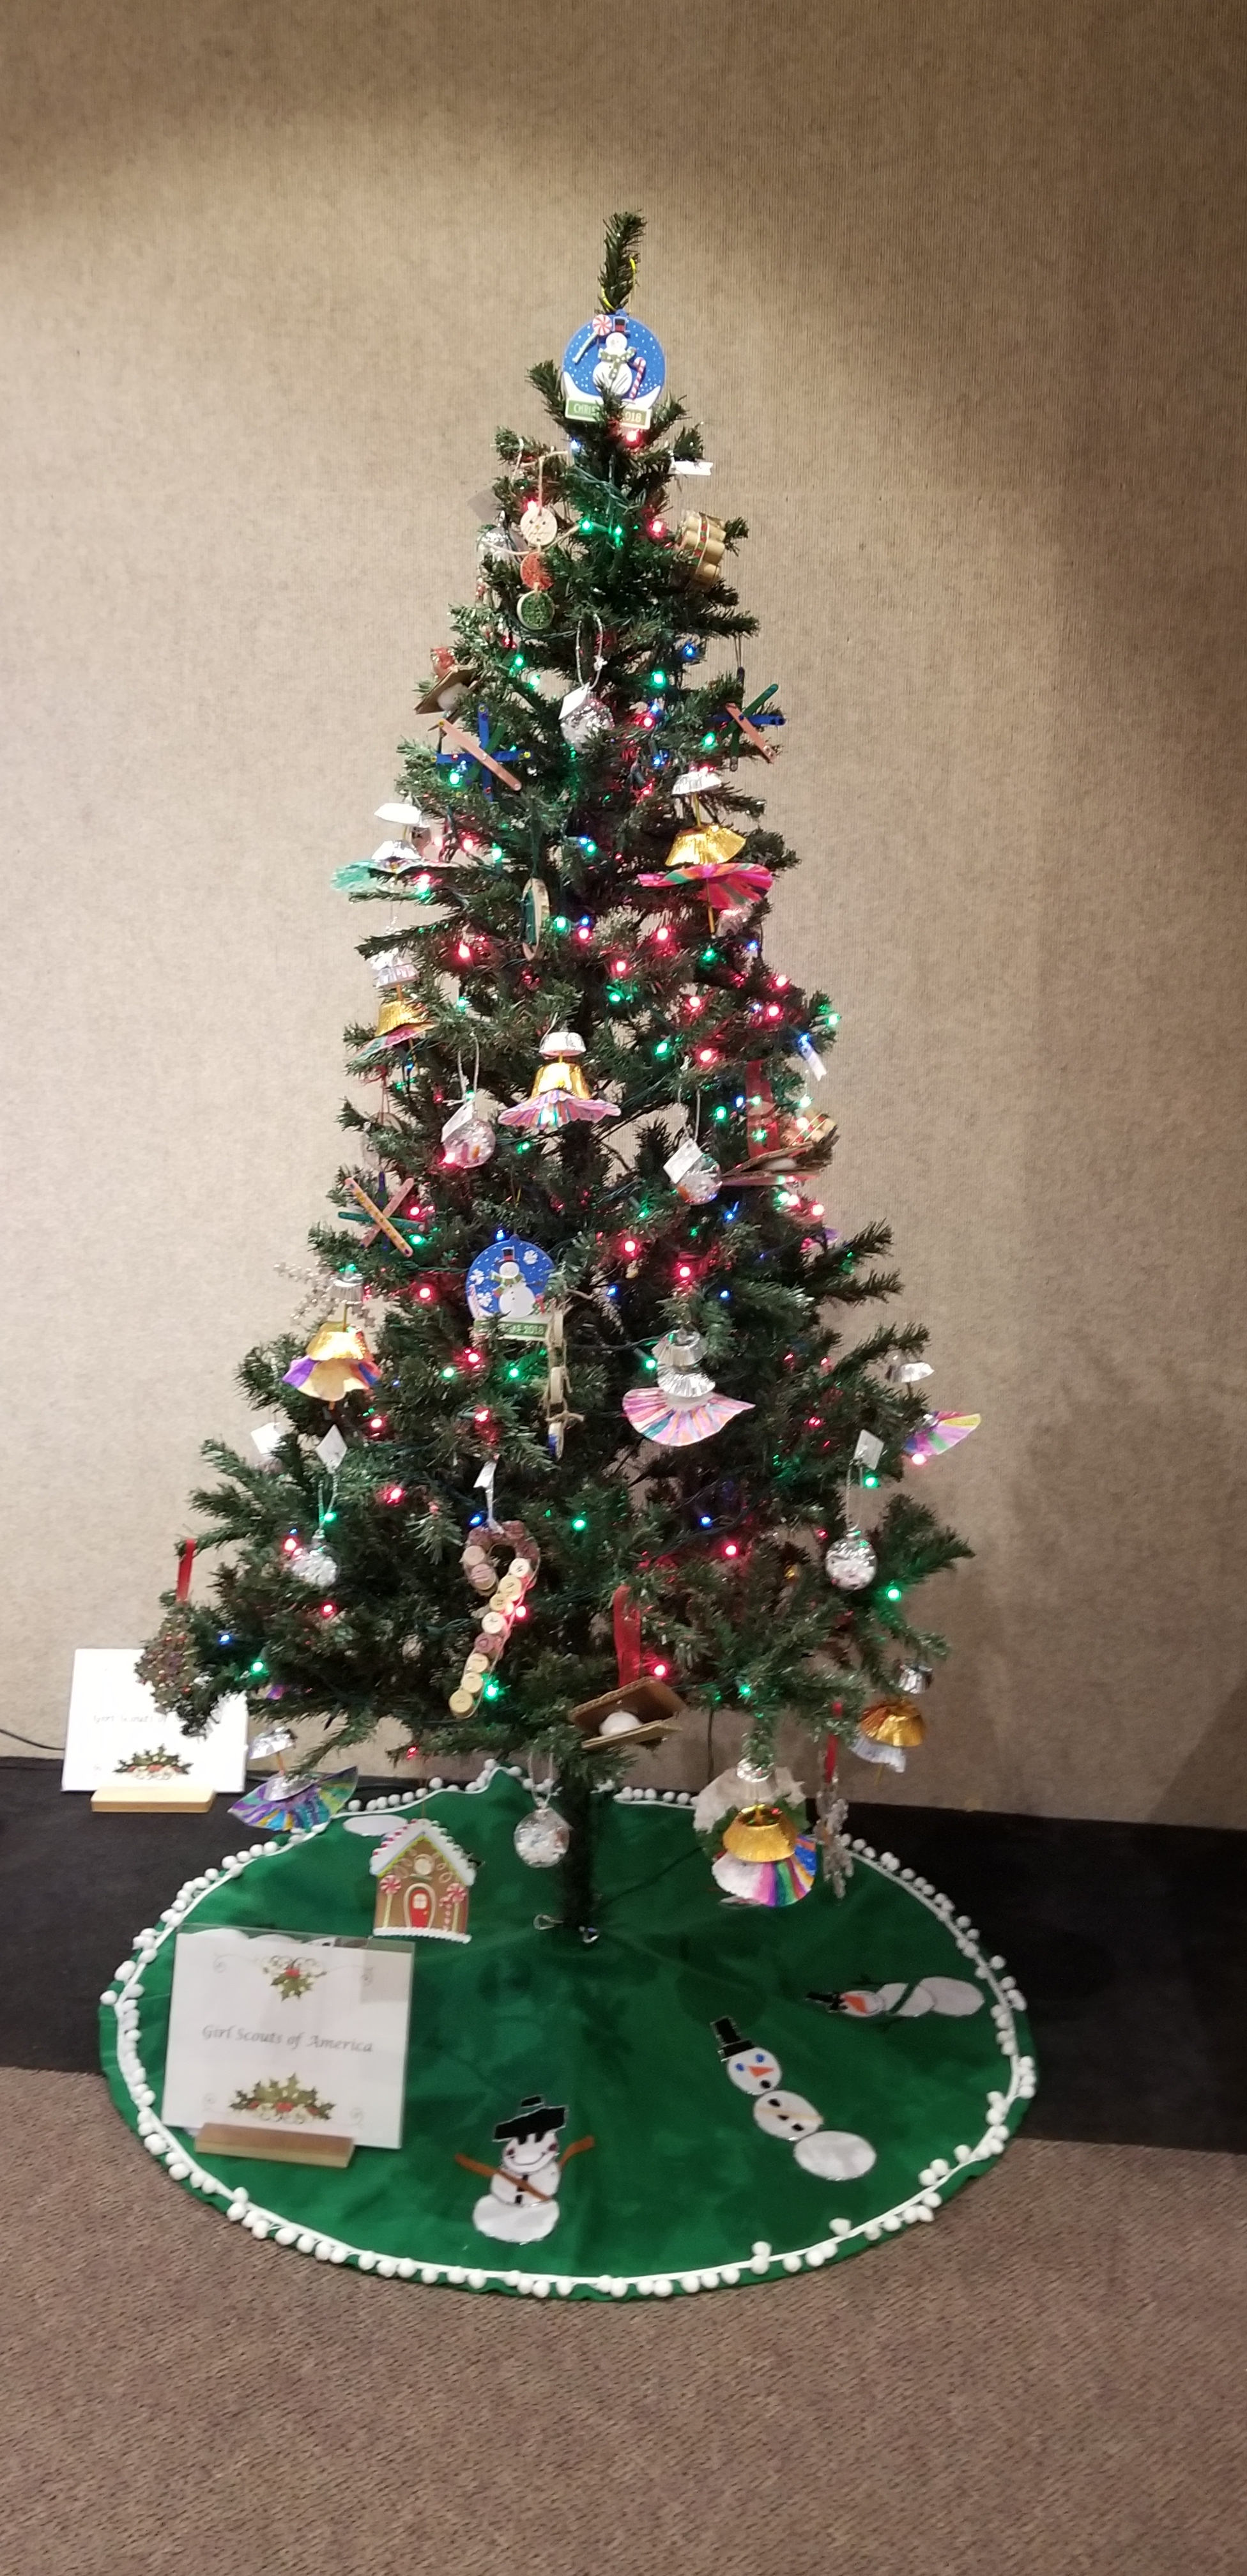
For the past 36 years, the Hasting Museum in Nebraska has hosted a Festival of Trees event where schools and organization decorate trees to displays. Below are a few of the trees.


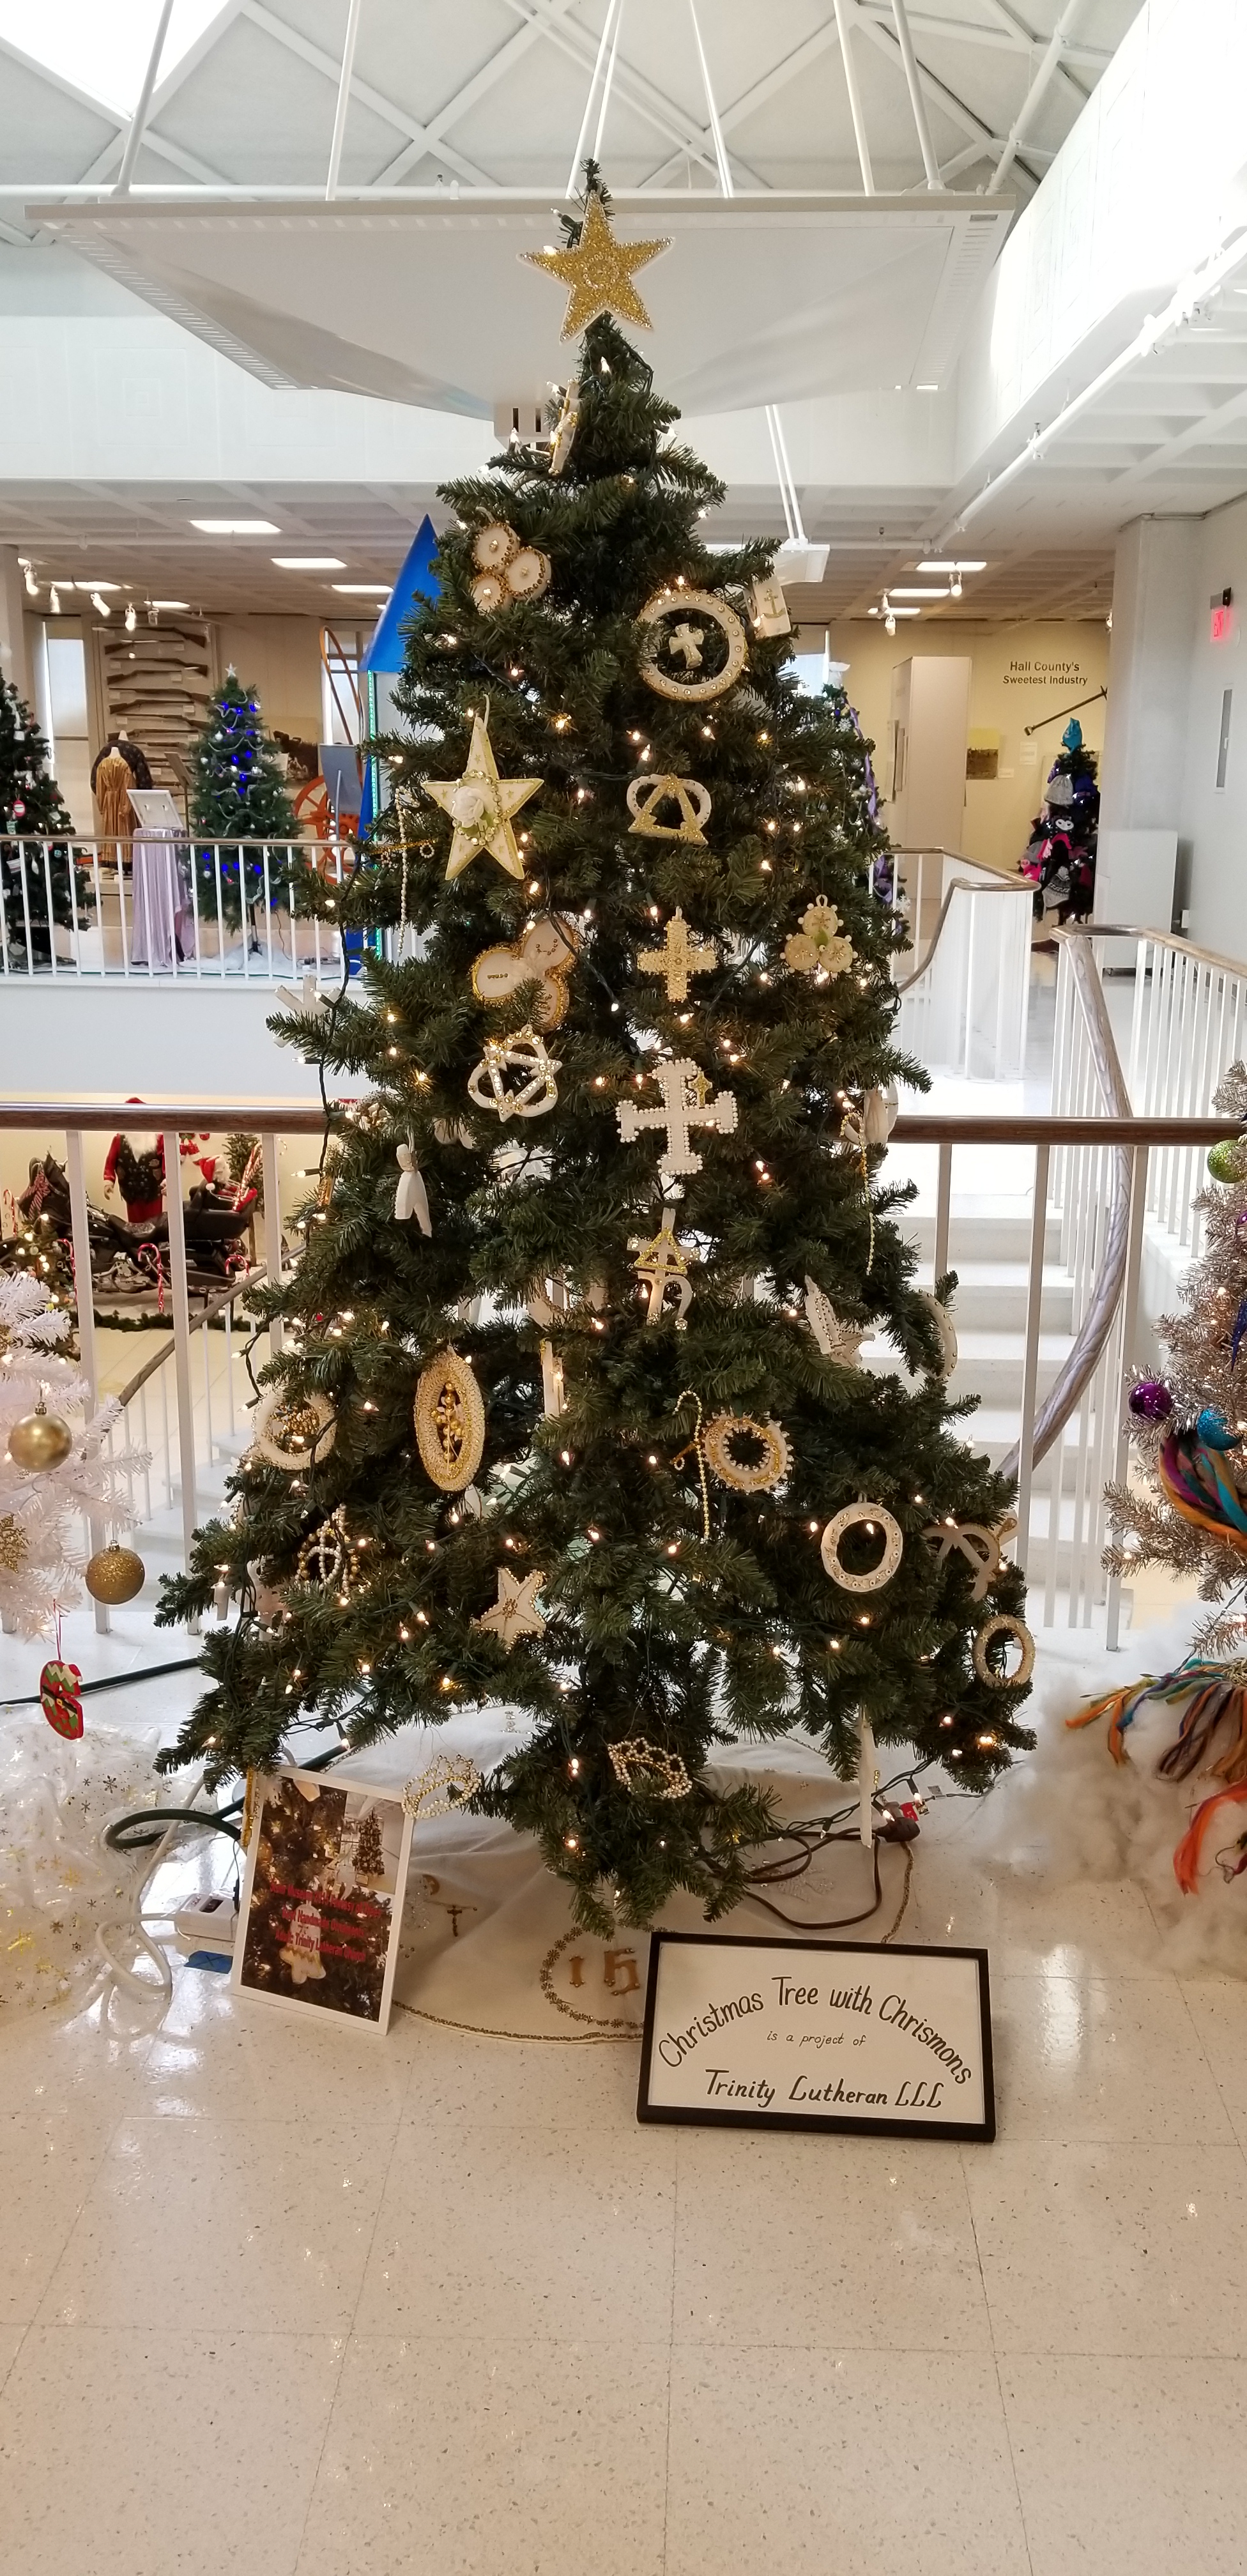
I do not know the official name of this tree at the Stuhr Museum, but I am calling it the Carpenters Tree. It gets a special mention because of the uniqueness of the decorations.

At first, all you really see is Home Deport cards. If you look closers, you will see ornaments made from nails and screws.


Also, on the tree is wood panels each paint with a different design.


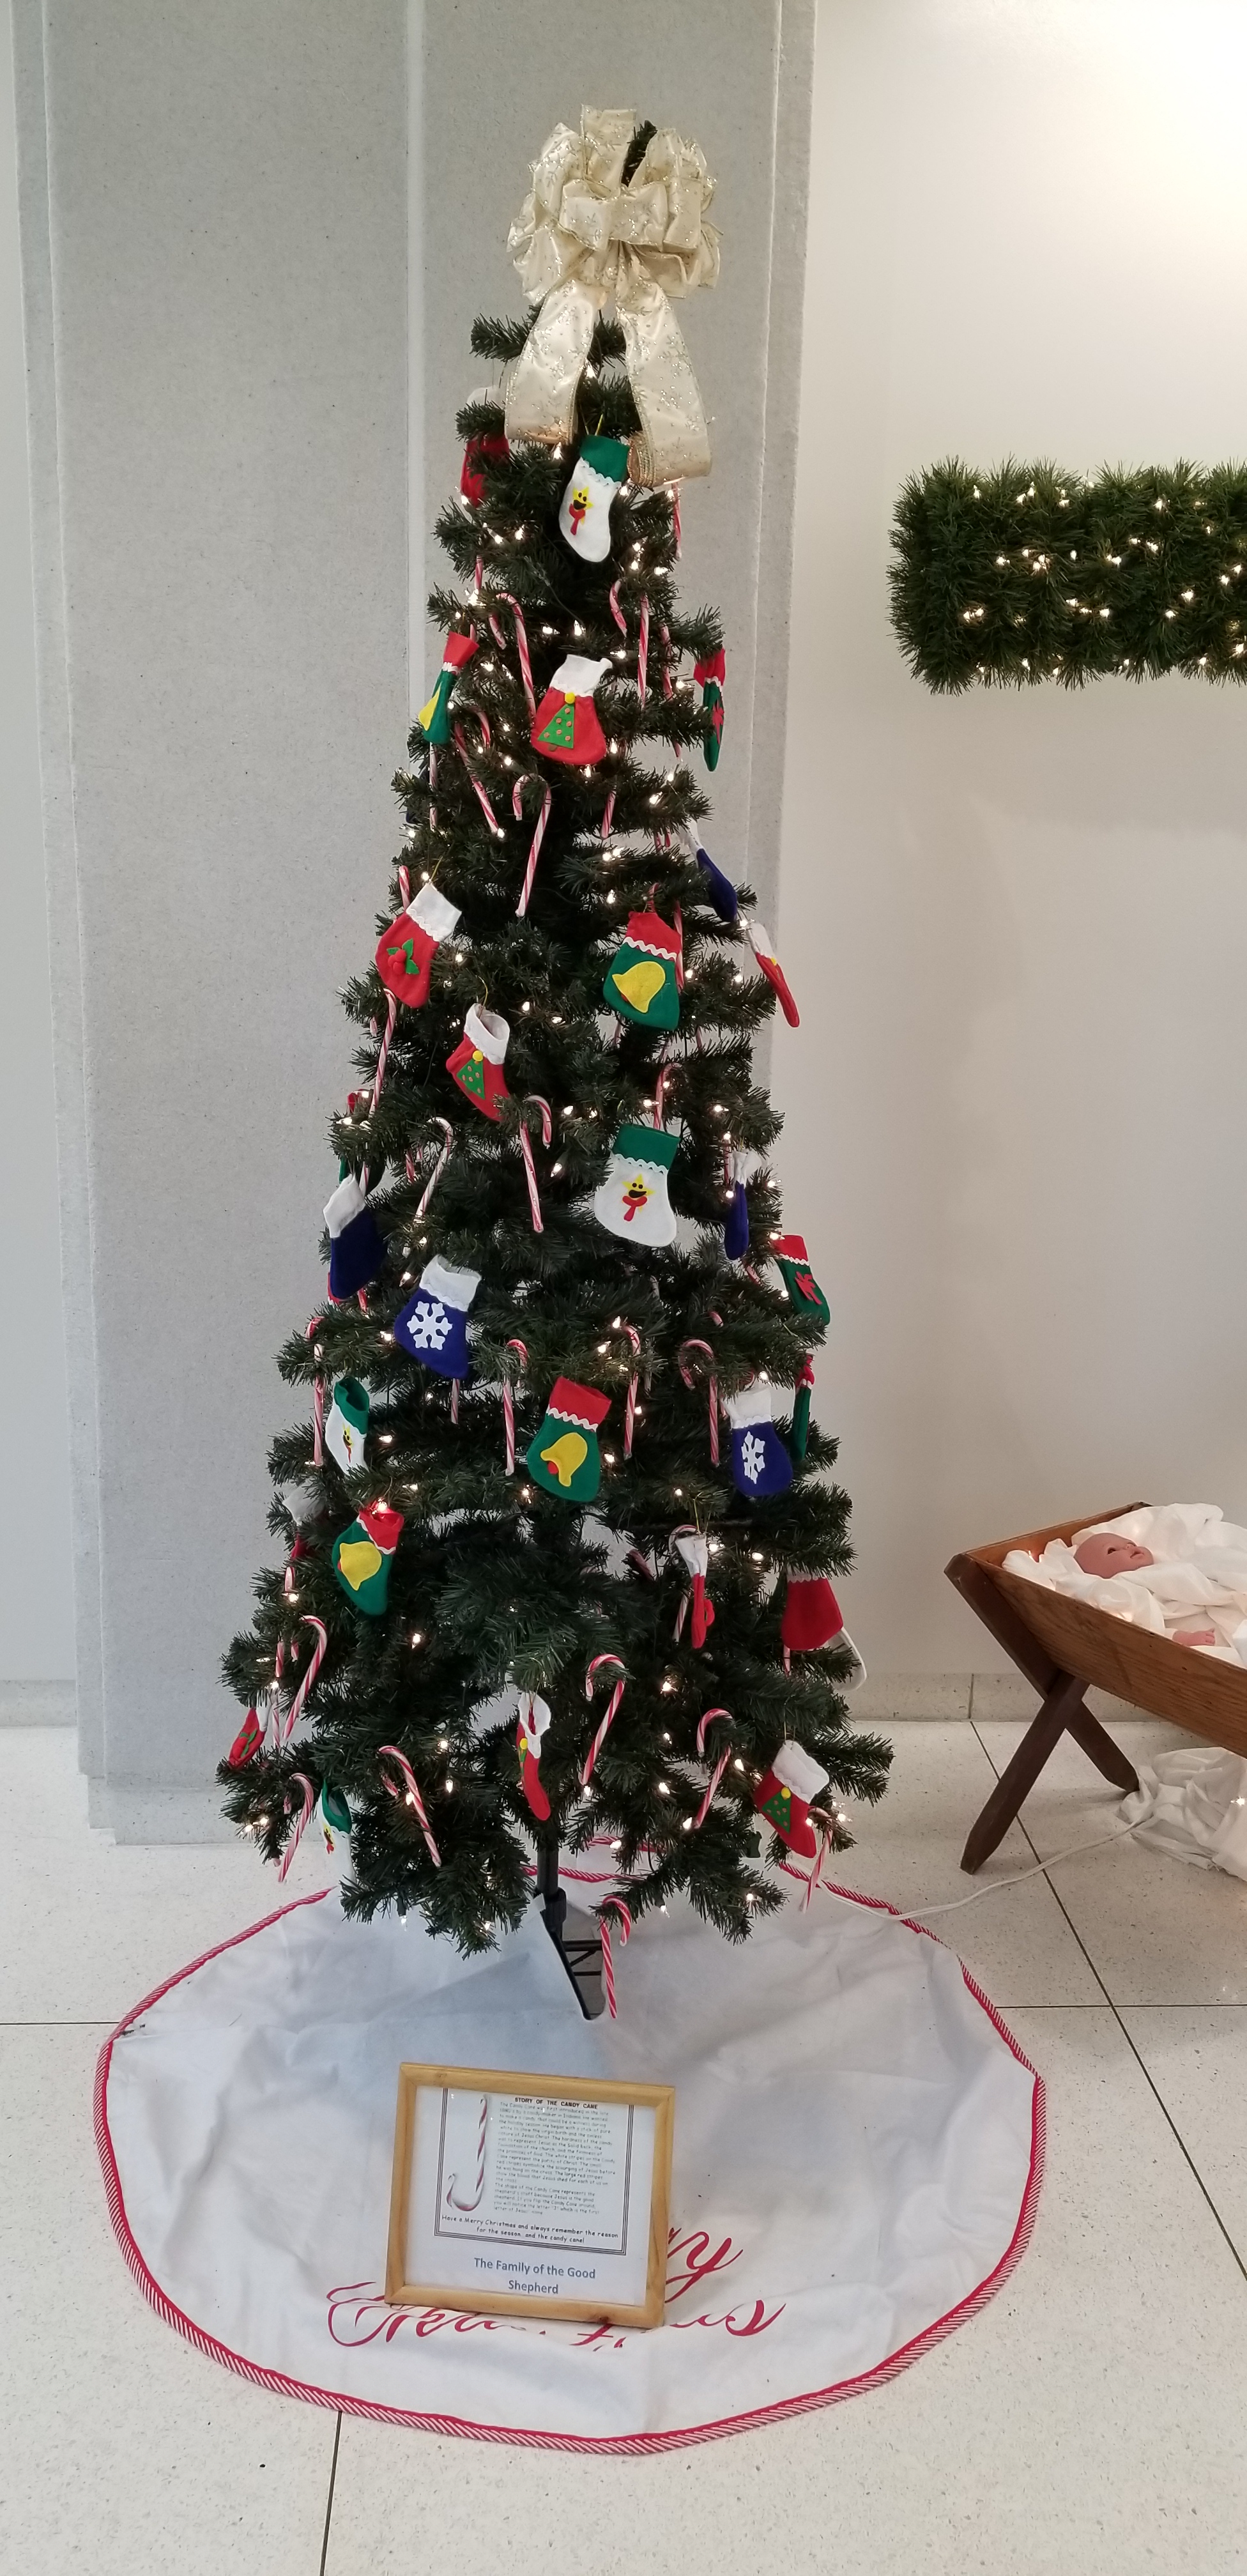
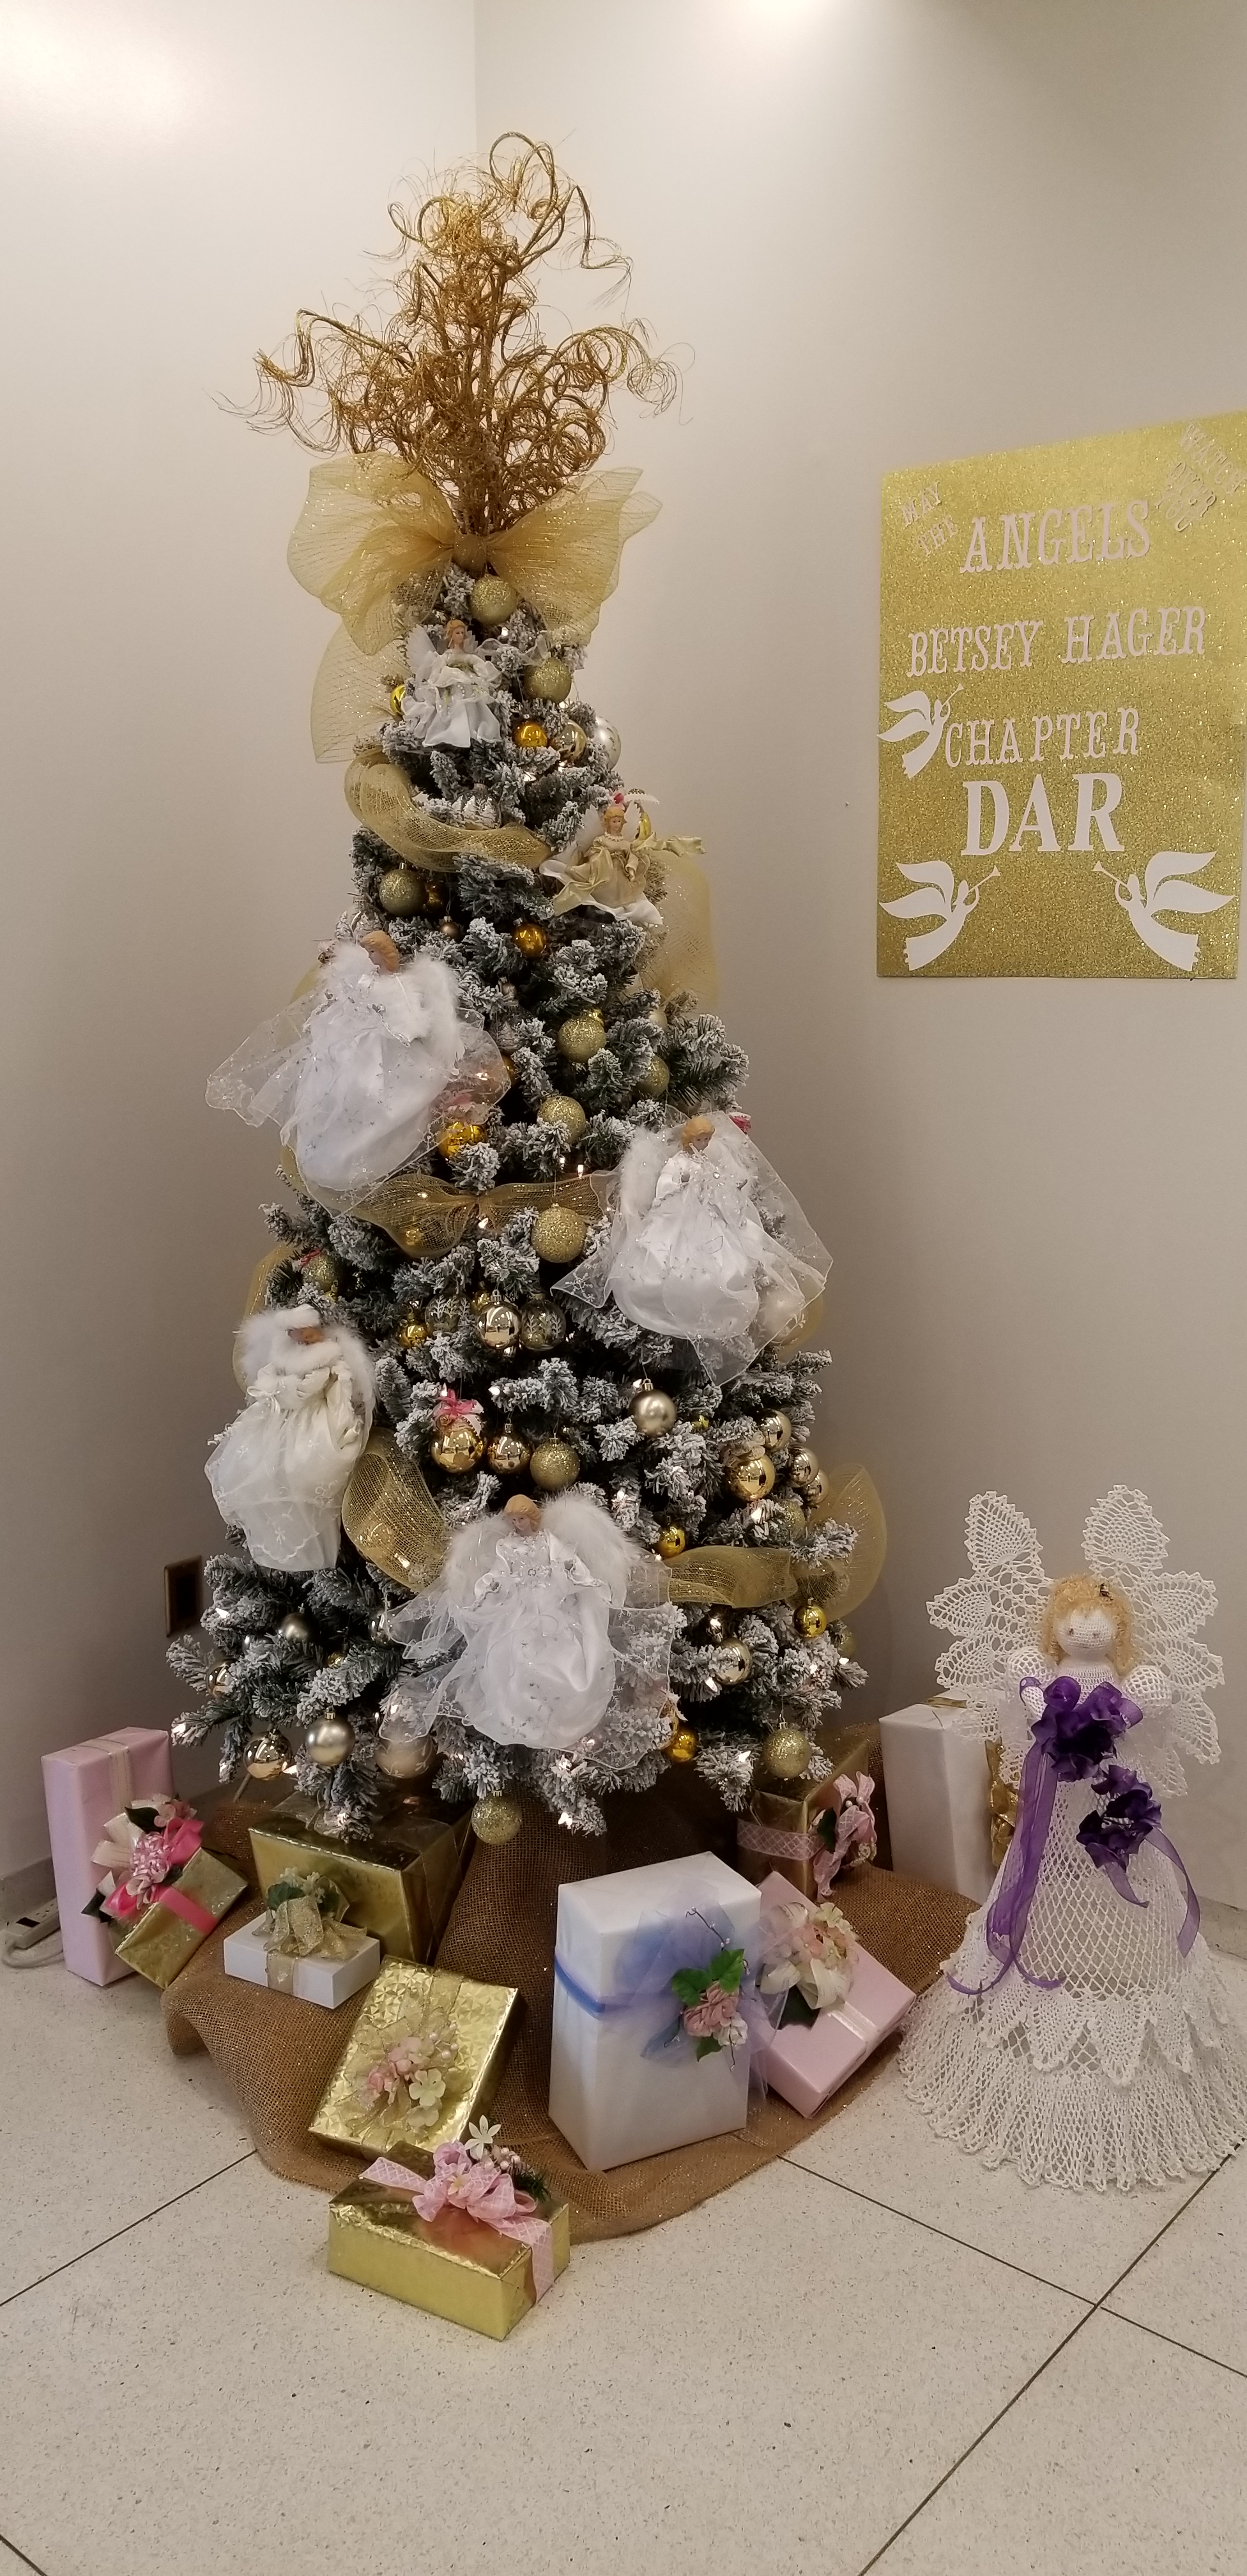
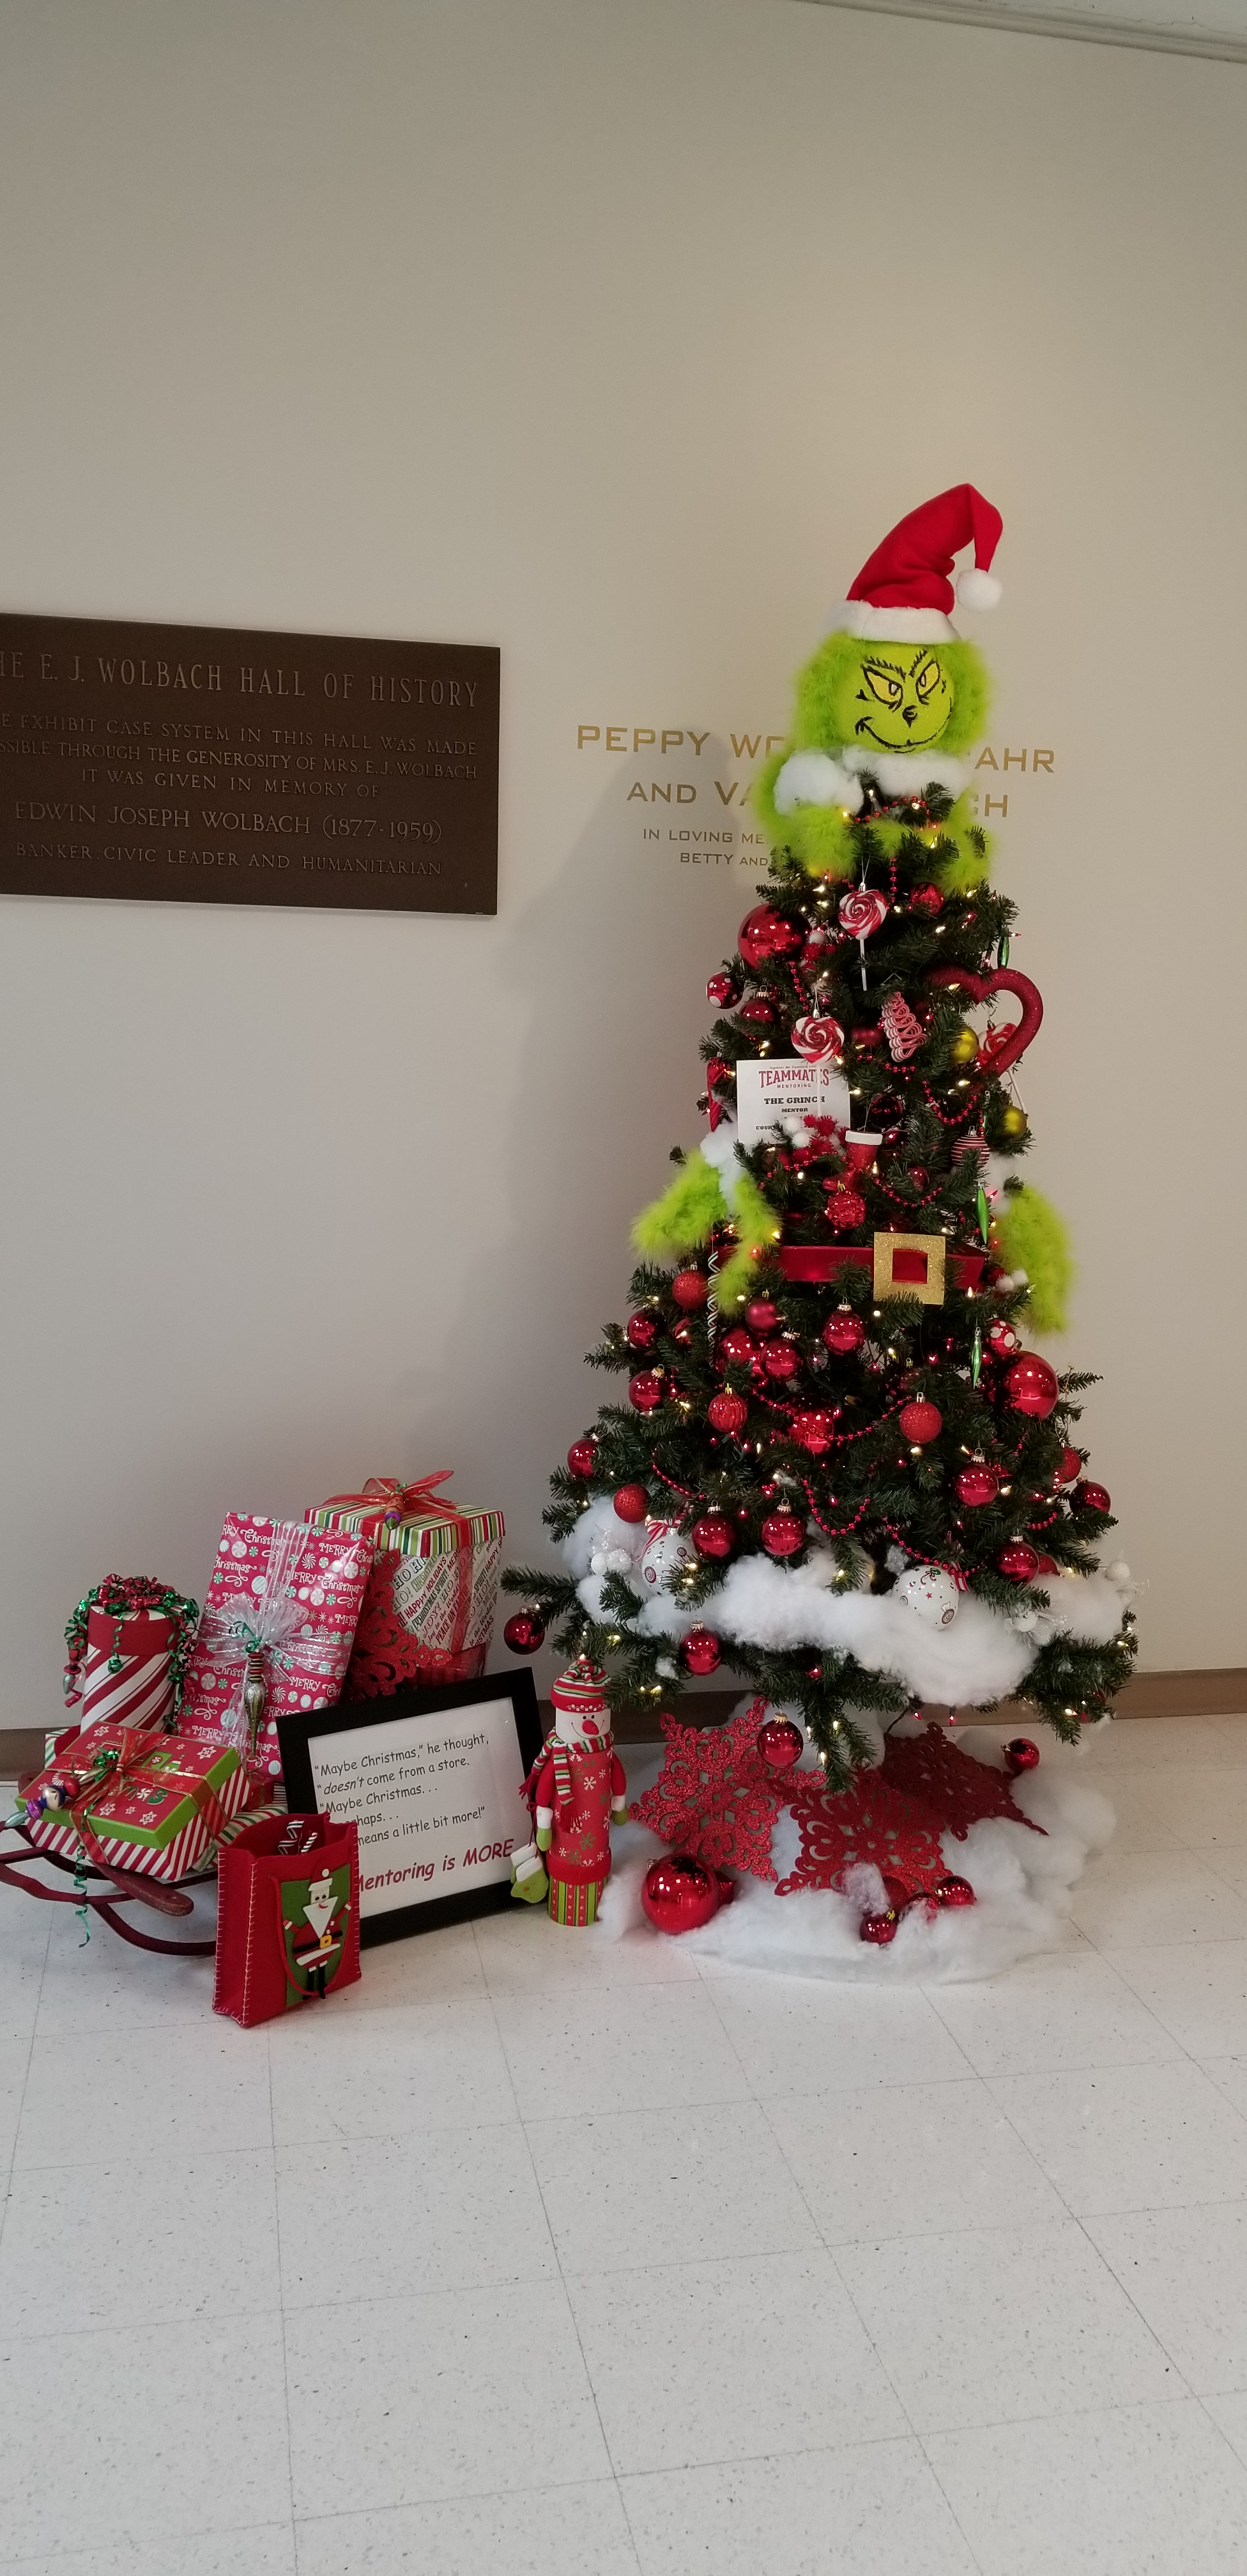
Each year the Stuhr Museum host a tree display. The trees are decorated by schools and local organizations. Below are a few of the 2018 trees:


Pictures of all the trees are available on my Photos By Sarah Facebook page. Also, you can find 360 Videos of some of the trees: East Side – West Side.
I made three trays of these Reese Peanut Butter Cup trees and they were gone like hot cakes.

When they asked from more, this happened.

Then the engineers in the group asked for plans and specifications for building the trees. I provided them with this document.

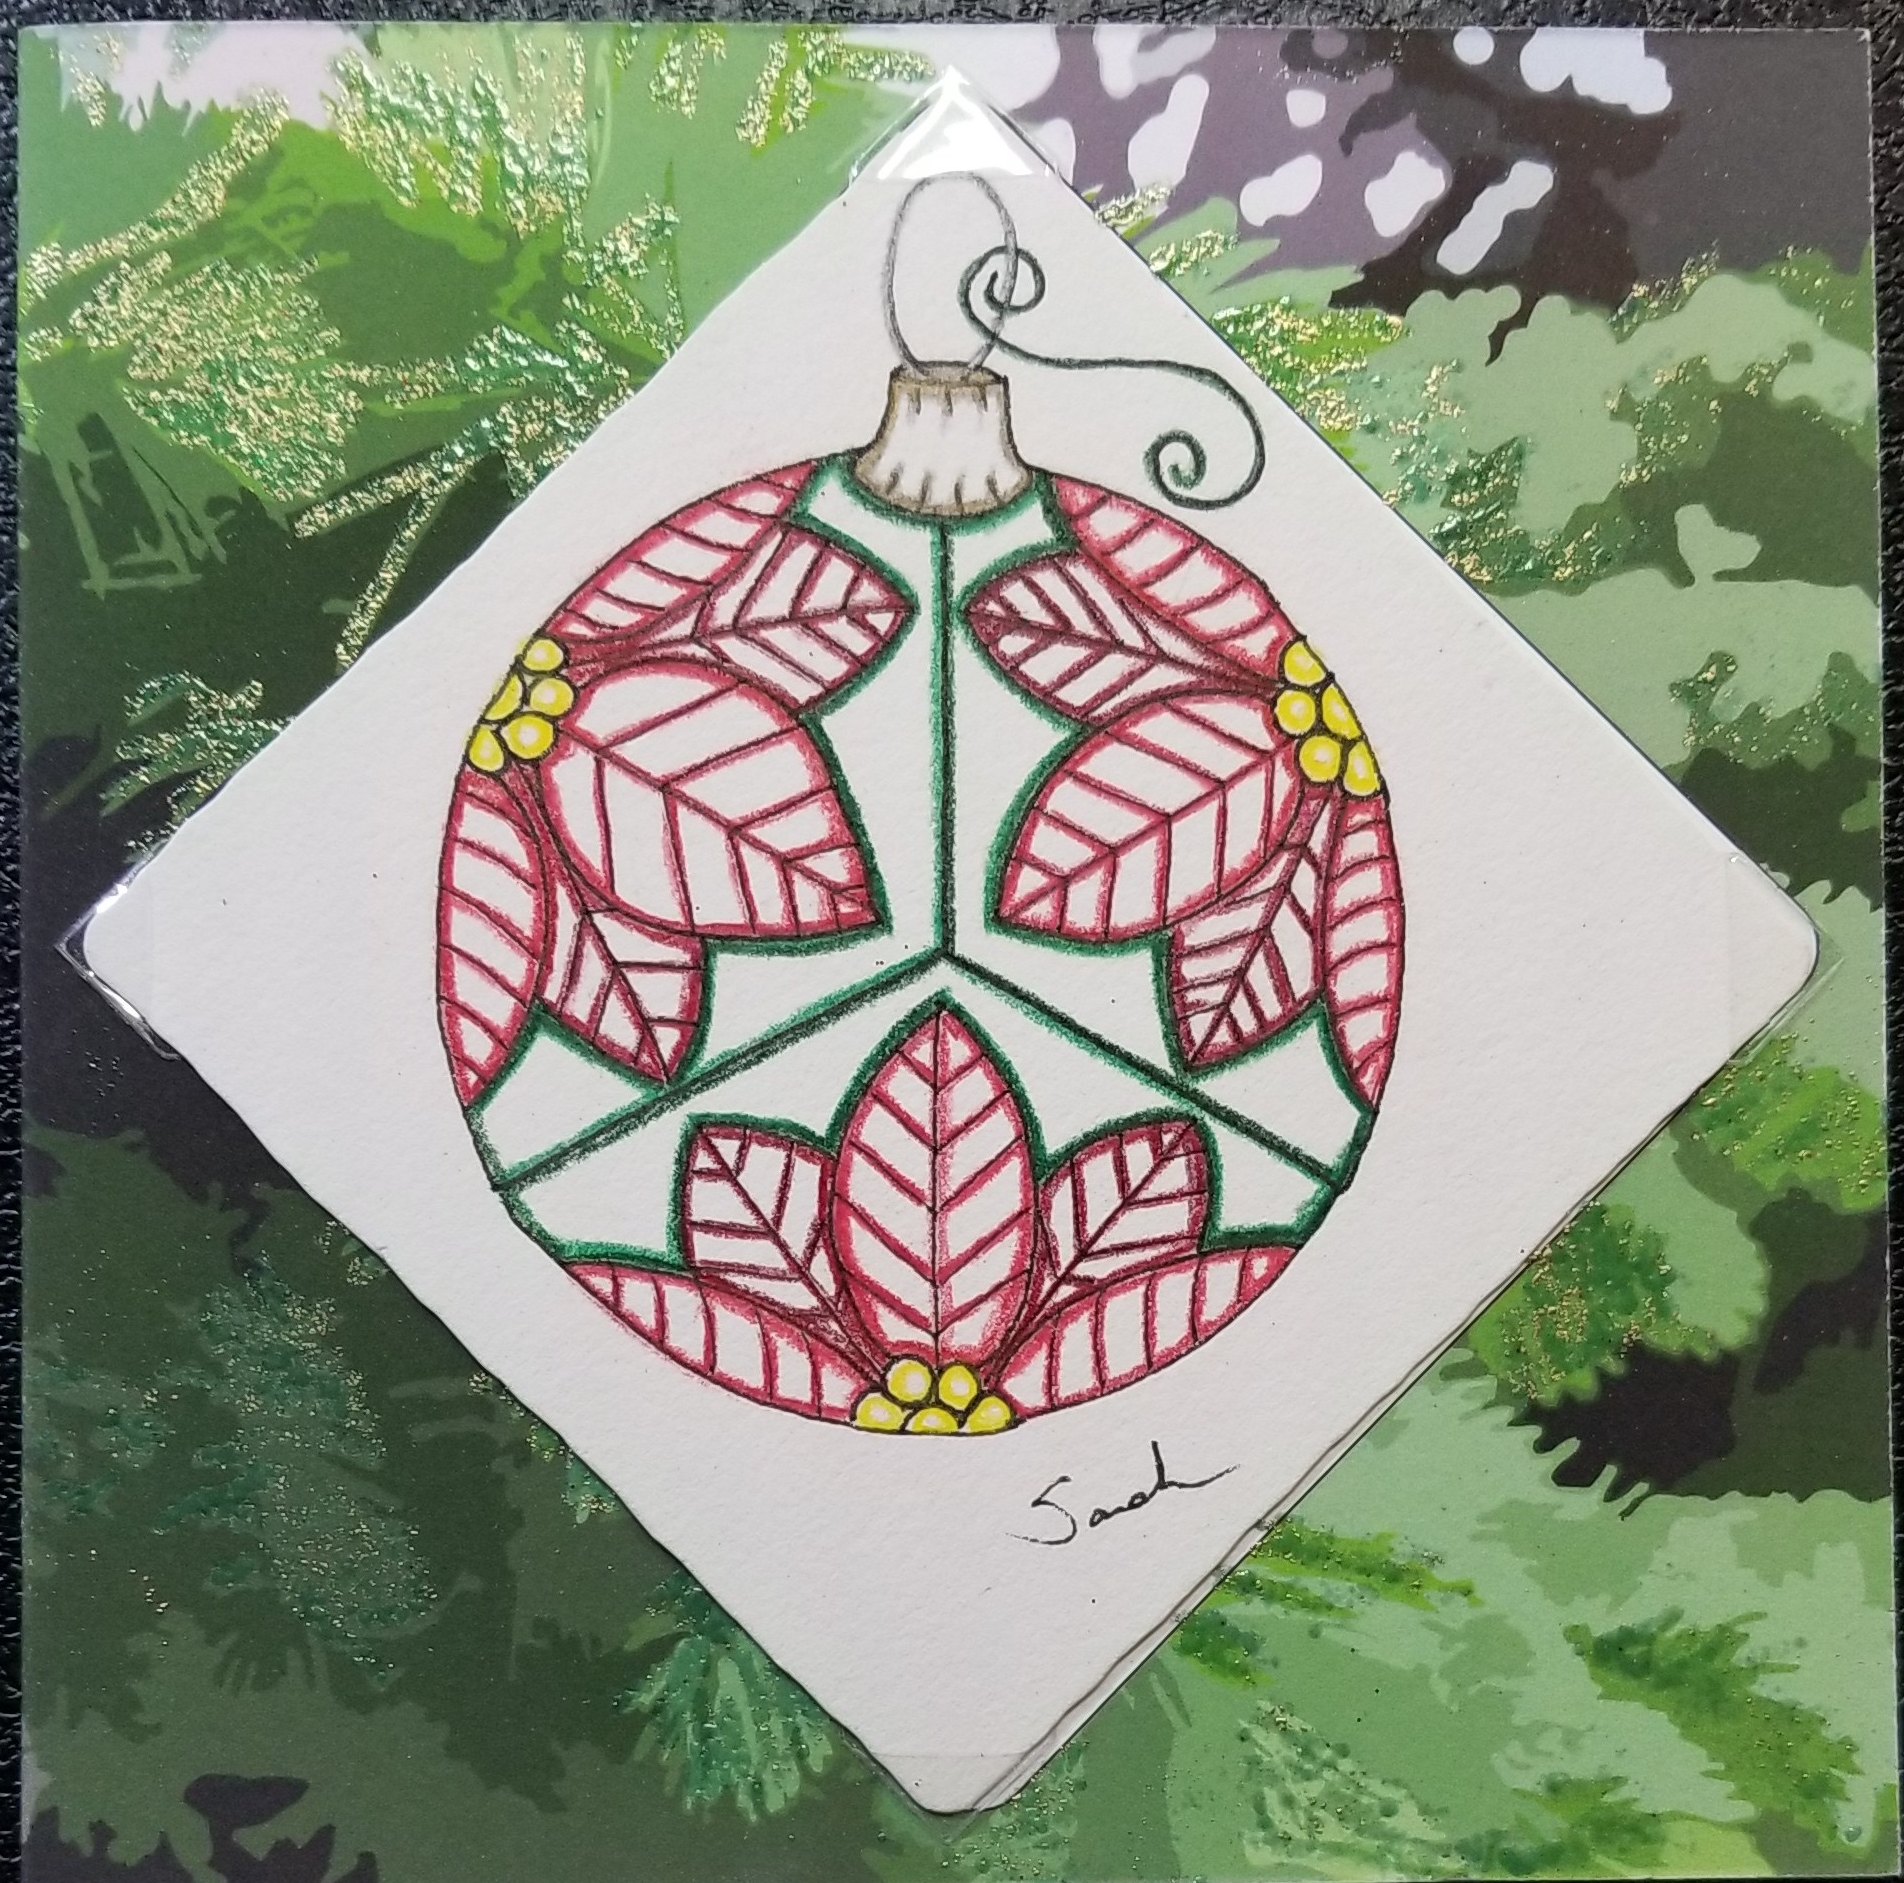
My Christmas Cards are mailed. Enough time has passed that most of the cards should have reached their destinations. Now, I can share the cards on my blog.
This year I drew ornaments on 3.5″ square tiles. I selected the high quality tiles, because I wanted to color on the tiles. I keep the color to a minimum because I wanted the ornaments to look delicate like glass Christmas ornaments. Below are a few of the tiles. All of the tiles are located on Drawing page.


I designed the card in CorelDraw. I converted the picture below to an outline drawing to use as a background on the card.

I created an area on the card to put the tile. I have been placing the same symbol with my name on all the back of all my cards since 2004.

Outside

Inside
The folded card measures 5.25″ square. I embossed several stems on the front of the card, and attached the tiles to the cards with photo corners. I wanted the recipient to be able to remove the tile without damaging the tile. Below is one of the finished cards.
Here are the Christmas Ornaments I painted this year. The plaster ornaments were purchased from Hobby Lobby and I use acrylic paint and puff fabric paint. Some of the ornaments were painted with neon glow and glow in the dark paint.