Tiny Flower Vase

The parts for this tiny vase have been laying in my craft area for a long time, and I finally got around to assembling flower arrangement. It was made with left over Sculpey clay and baked in the oven. I sprayed the arrangement with polyacrylic varnish. The flower arrangement is approximately 4″ tall.

Gradient Flower Vases

I can’t believe I am finally posting a couple of my vases. They have been done for over a year; sitting, waiting for their pictures to be taken so I could show them off in my blog. Other items were finished and posted after these vases were made. I thinks they are camera shy and hid everything I went to take pictures.

Some of my favorite flowers are the one that has multiple colors, especially the ones that go from yellow, to orange, to pink. My mother grew roses that were those colors and I thought they were absolutely beautiful.

I covered two glass vases with black Sculpey polymer clay. I blended yellow, red, and hot pink polymer clay and cut out each petal and center circles. I placed each petal on top of the black clay to make the flowers. After the flowers were formed I stamped each petal. I didn’t glue the petals on because it is clay,. Polymer clay items will stick to each other. Afterward, I baked to vases in the 275 degree over for about 10 minutes. When outside temperature was above 70 degrees, sprayed the vases with several coats of Minwax Polycrylic

The vases are not identical, but they are simular.

The roses were also made from Sculpey polymer clay. One day I should capture how I make roses.

More Polymer Clay Roses

Below are batches 2, 3, 4, 5, 6 and 7 of my polymer clay roses with leaves and stems.

Batch 2:

I took some white clay and blended one edge with some pink clay.  The leaves and stems contains three shades of green and gold clay.

IMG_1095IMG_1104IMG_1102 (2)

Batch 3:

The center of the roses were made from the clay left over from Batch 2.   However, there wasn’t enough for three flowers, so I mix a little red with the pink and white for the outer petals.

IMG_1105IMG_1108IMG_1107

Batch 4:

I wanted some flowers that glowed in the dark. I mixed bright pink, yellow, and orange clay with some florescent clay.

IMG_1115img_1117.jpgIMG_1118

Batch 5:

These red roses were also mixed with some florescent clay, but they do not shine as well as the pink roses in Batch 4.

IMG_1130IMG_1122IMG_1123

Batch 6:

I had just finished the yellow sunflower vase and wanted some yellow roses to put in the vase.  But, yellow roses would just be too plain.  The rose color from stem to the petal tips are hot pink, orange, yellow, and lemon yellow.

IMG_1074IMG_1078IMG_1079

Batch 7:

Some more vase inspired flowers.  I used the leftover clay from the vase.  I gently it mixed together to make the roses.

IMG_1089IMG_1082IMG_1084

Vases with Polymer Clay

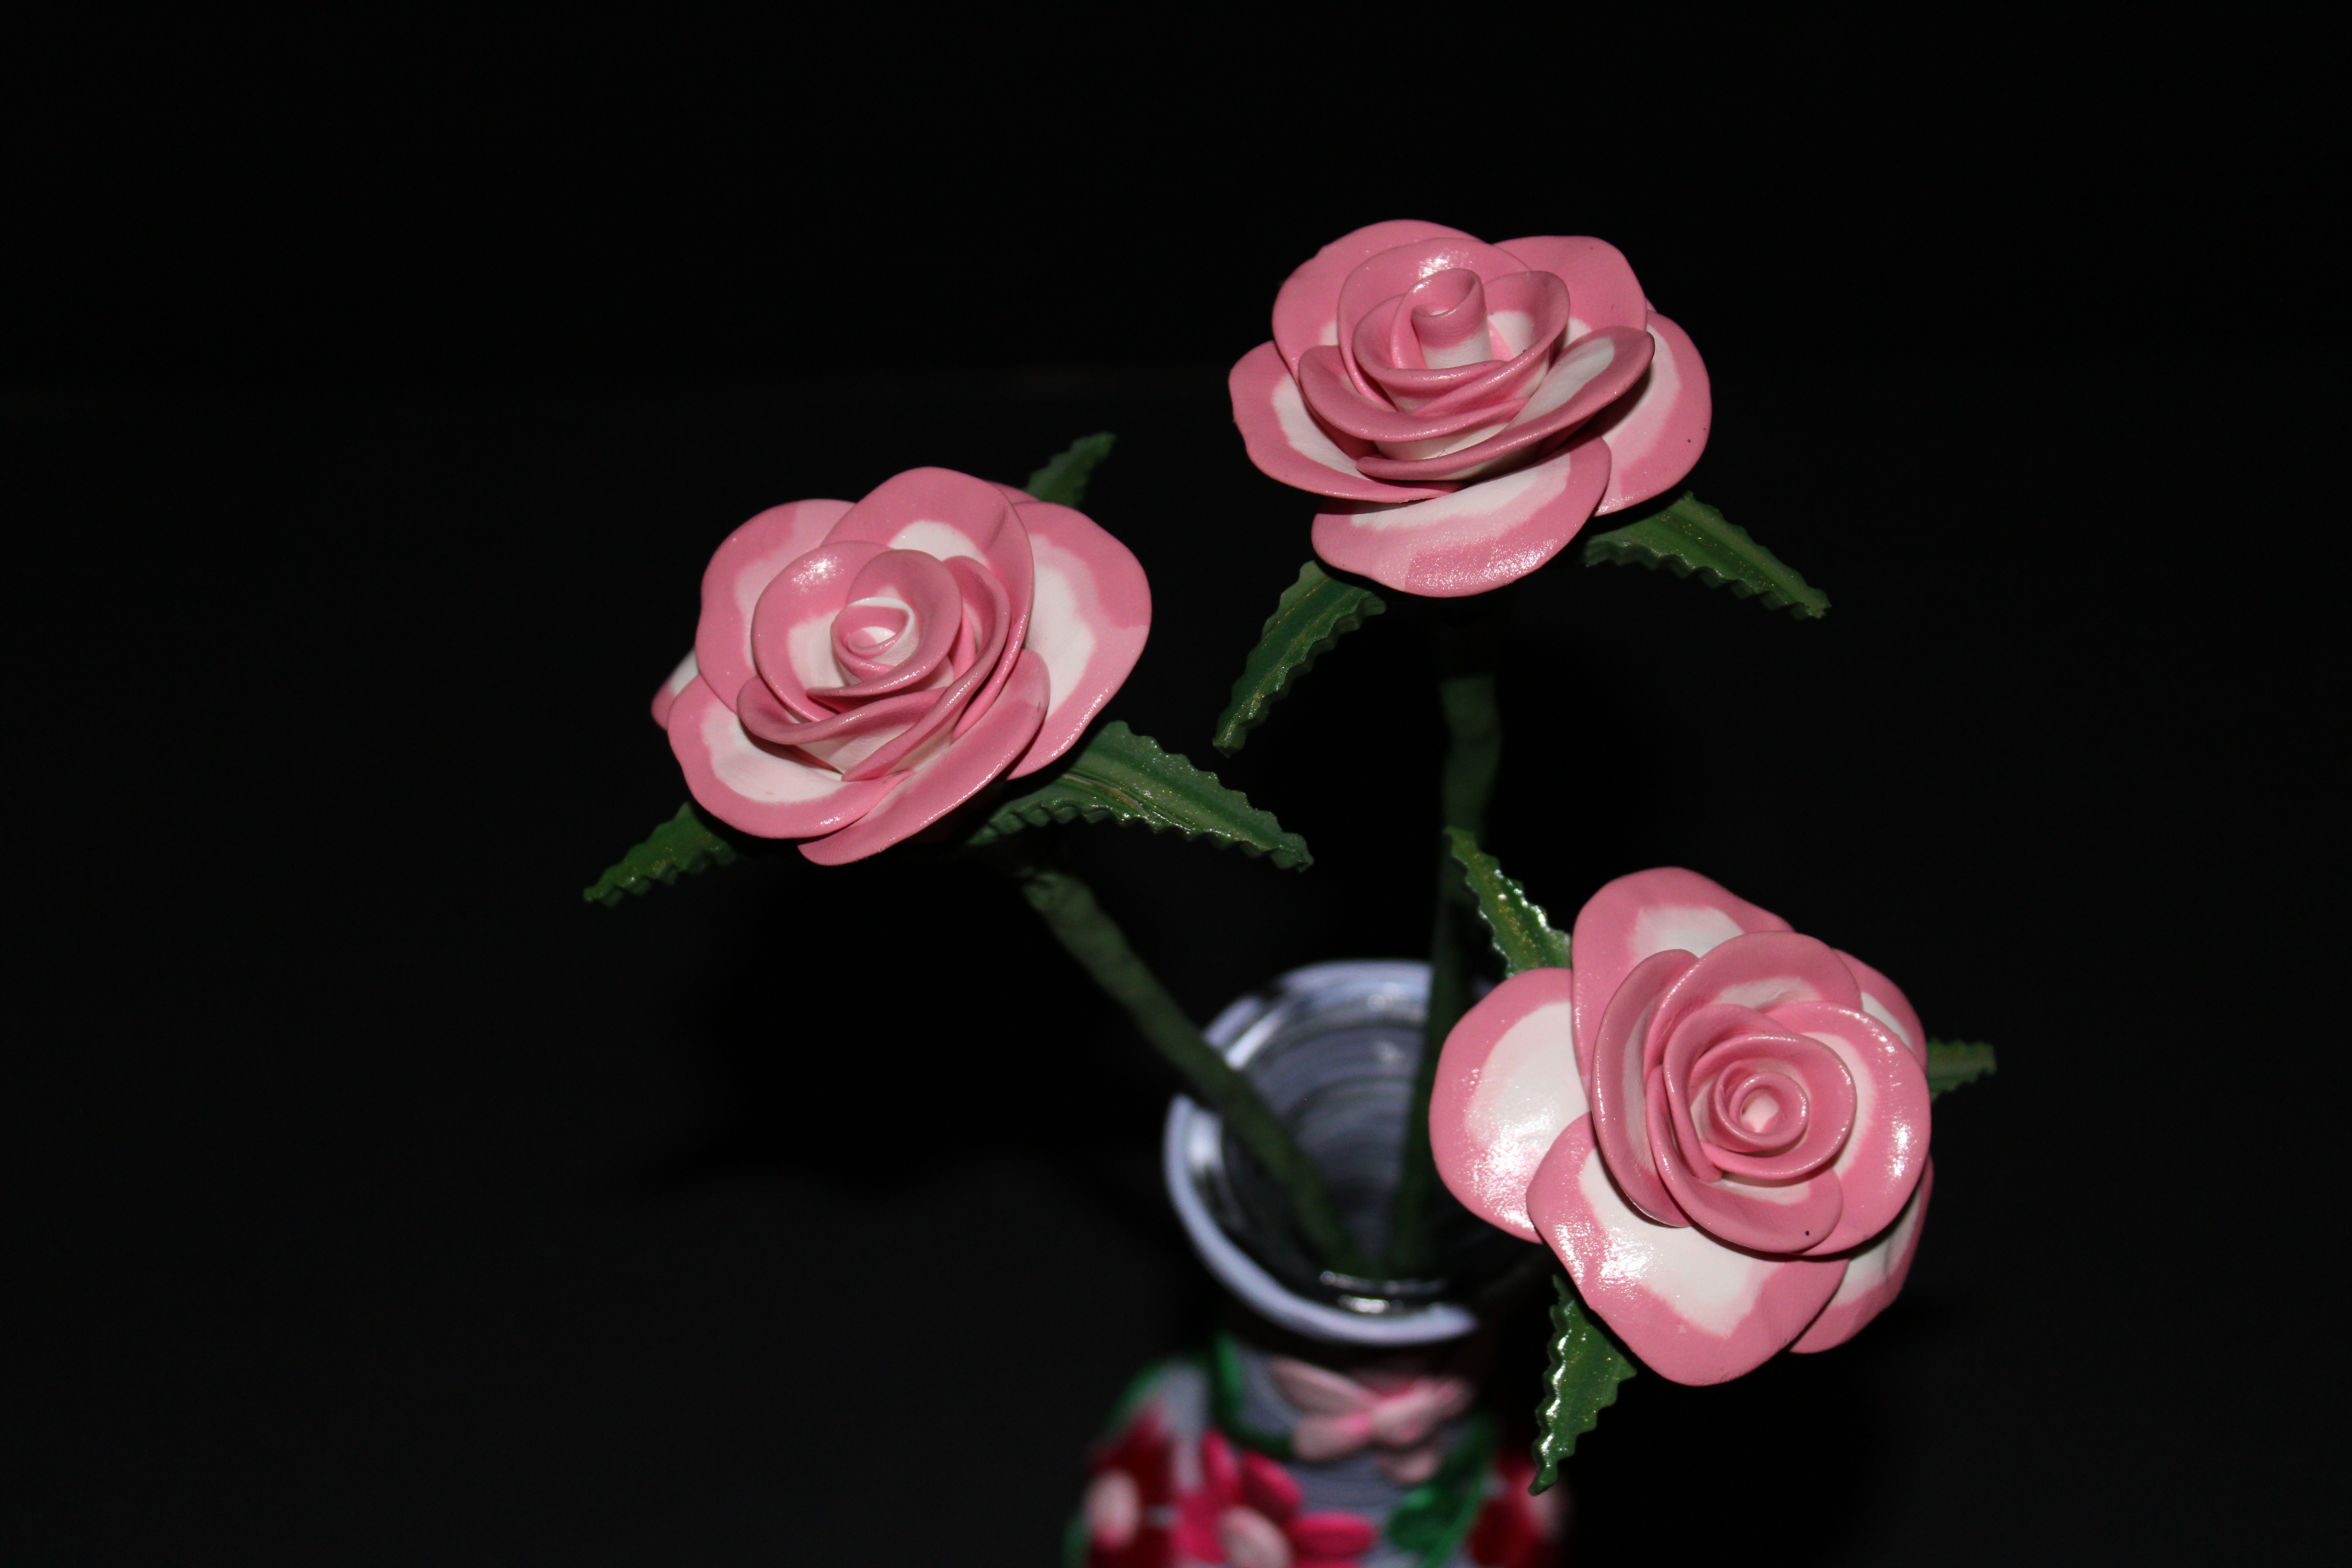
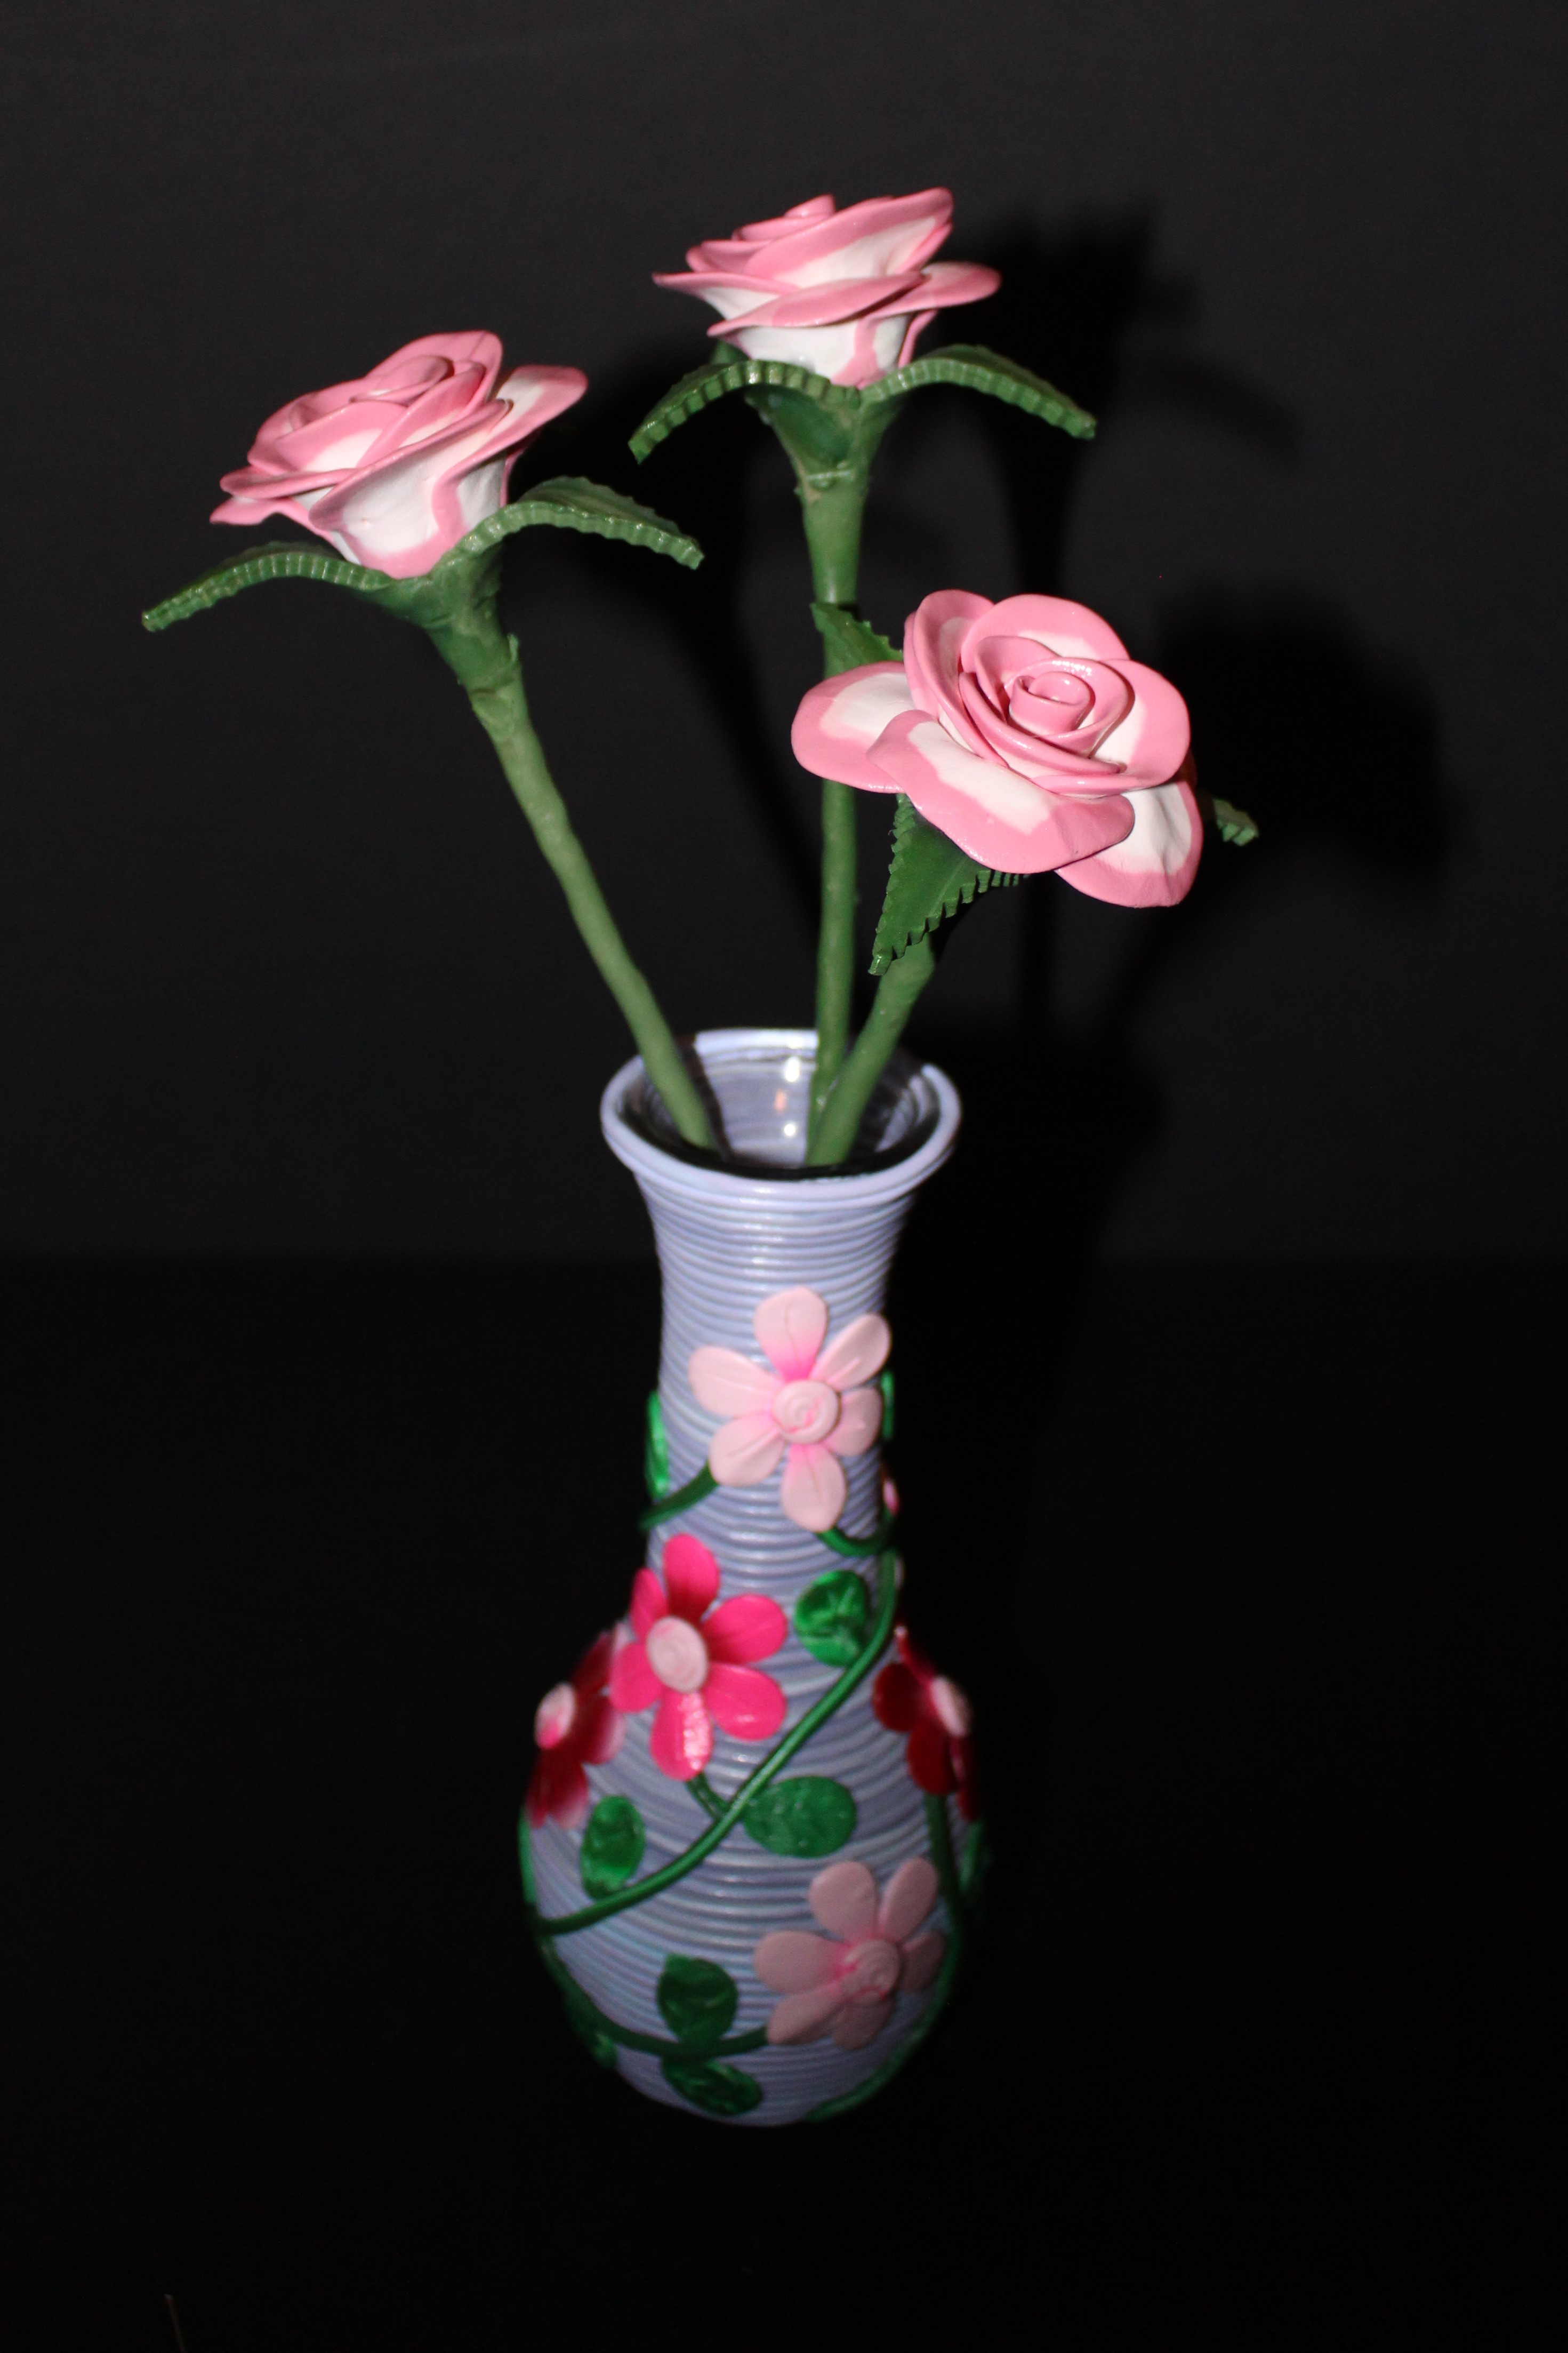
I wanted to see if I could put some polymer clay on a vase, bake it in the oven, and have the clay stick to the vase.  Below is my first vase experiment.  I had a bottle, shape like a light bulb, that was just sitting in a cabinet.

20190824_140114.jpg20190824_140048.jpg

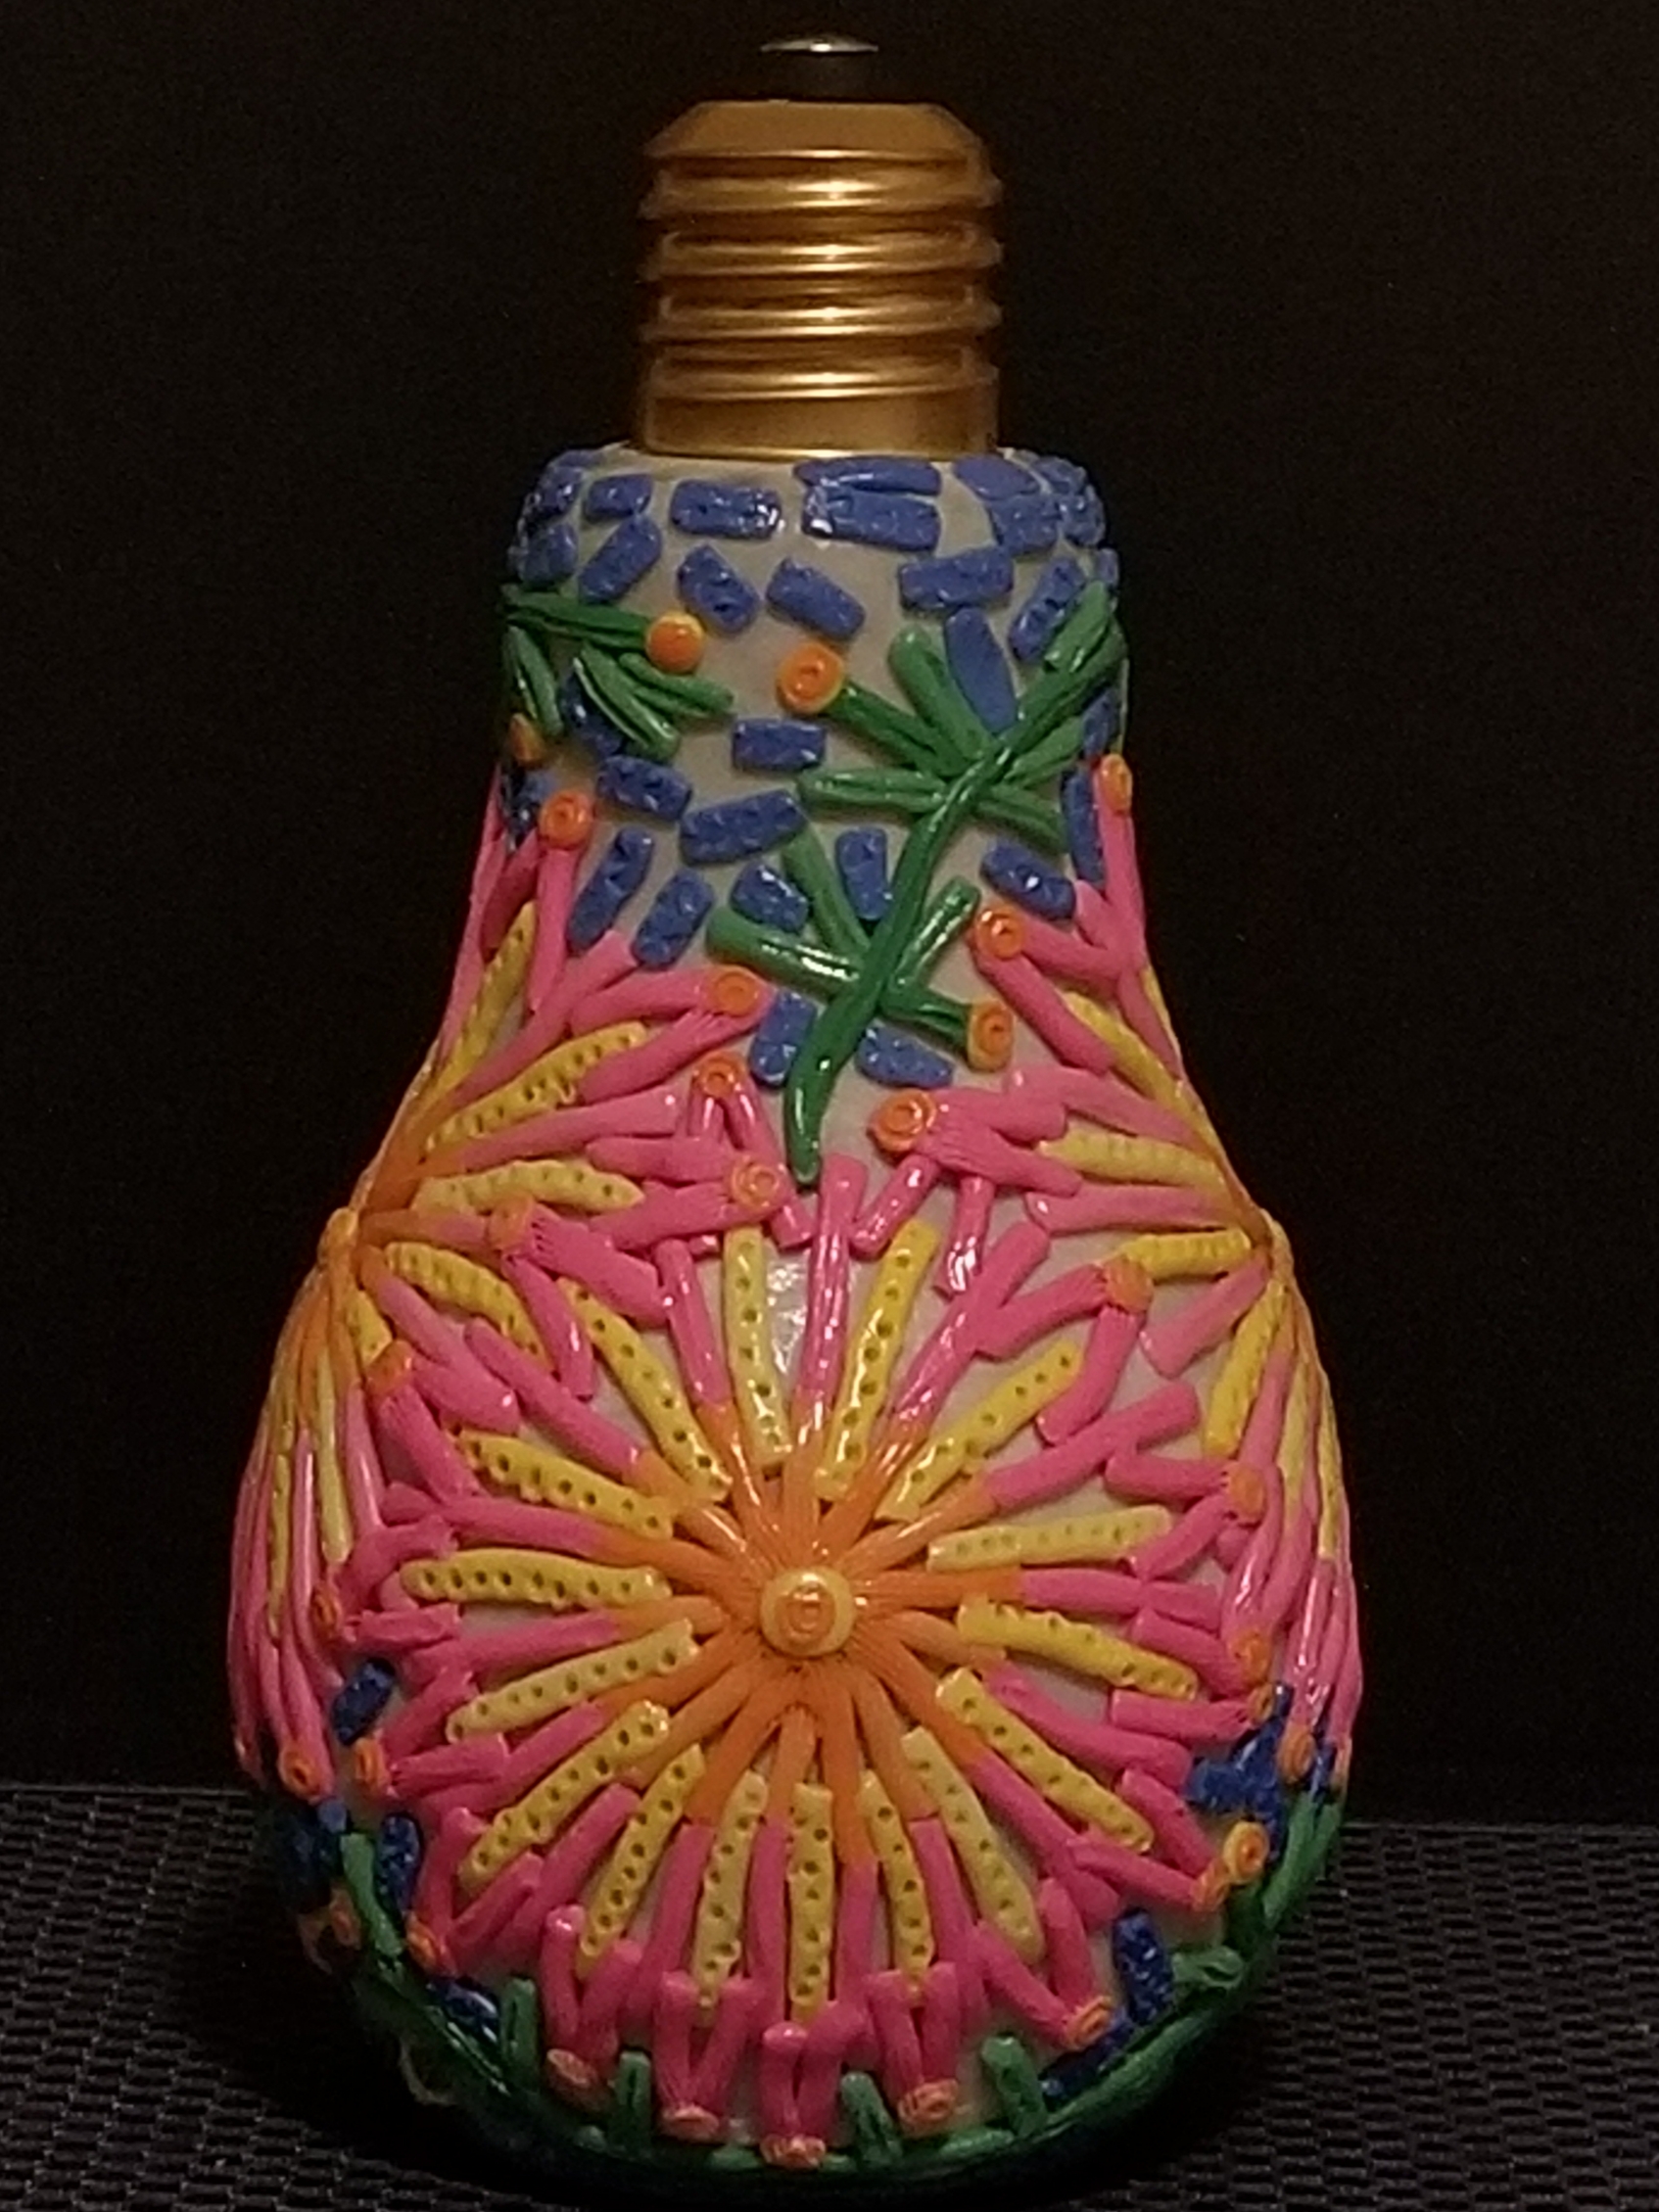
I figured the best way to get it to stick to the vase, was to put a thin layer of polymer clay around the vase and then put the design on it.  Since it was an experiment, I didn’t want to waste a lot of time with the design.  However, it does glow in the dark.

Since it was a success, I did four other vases.

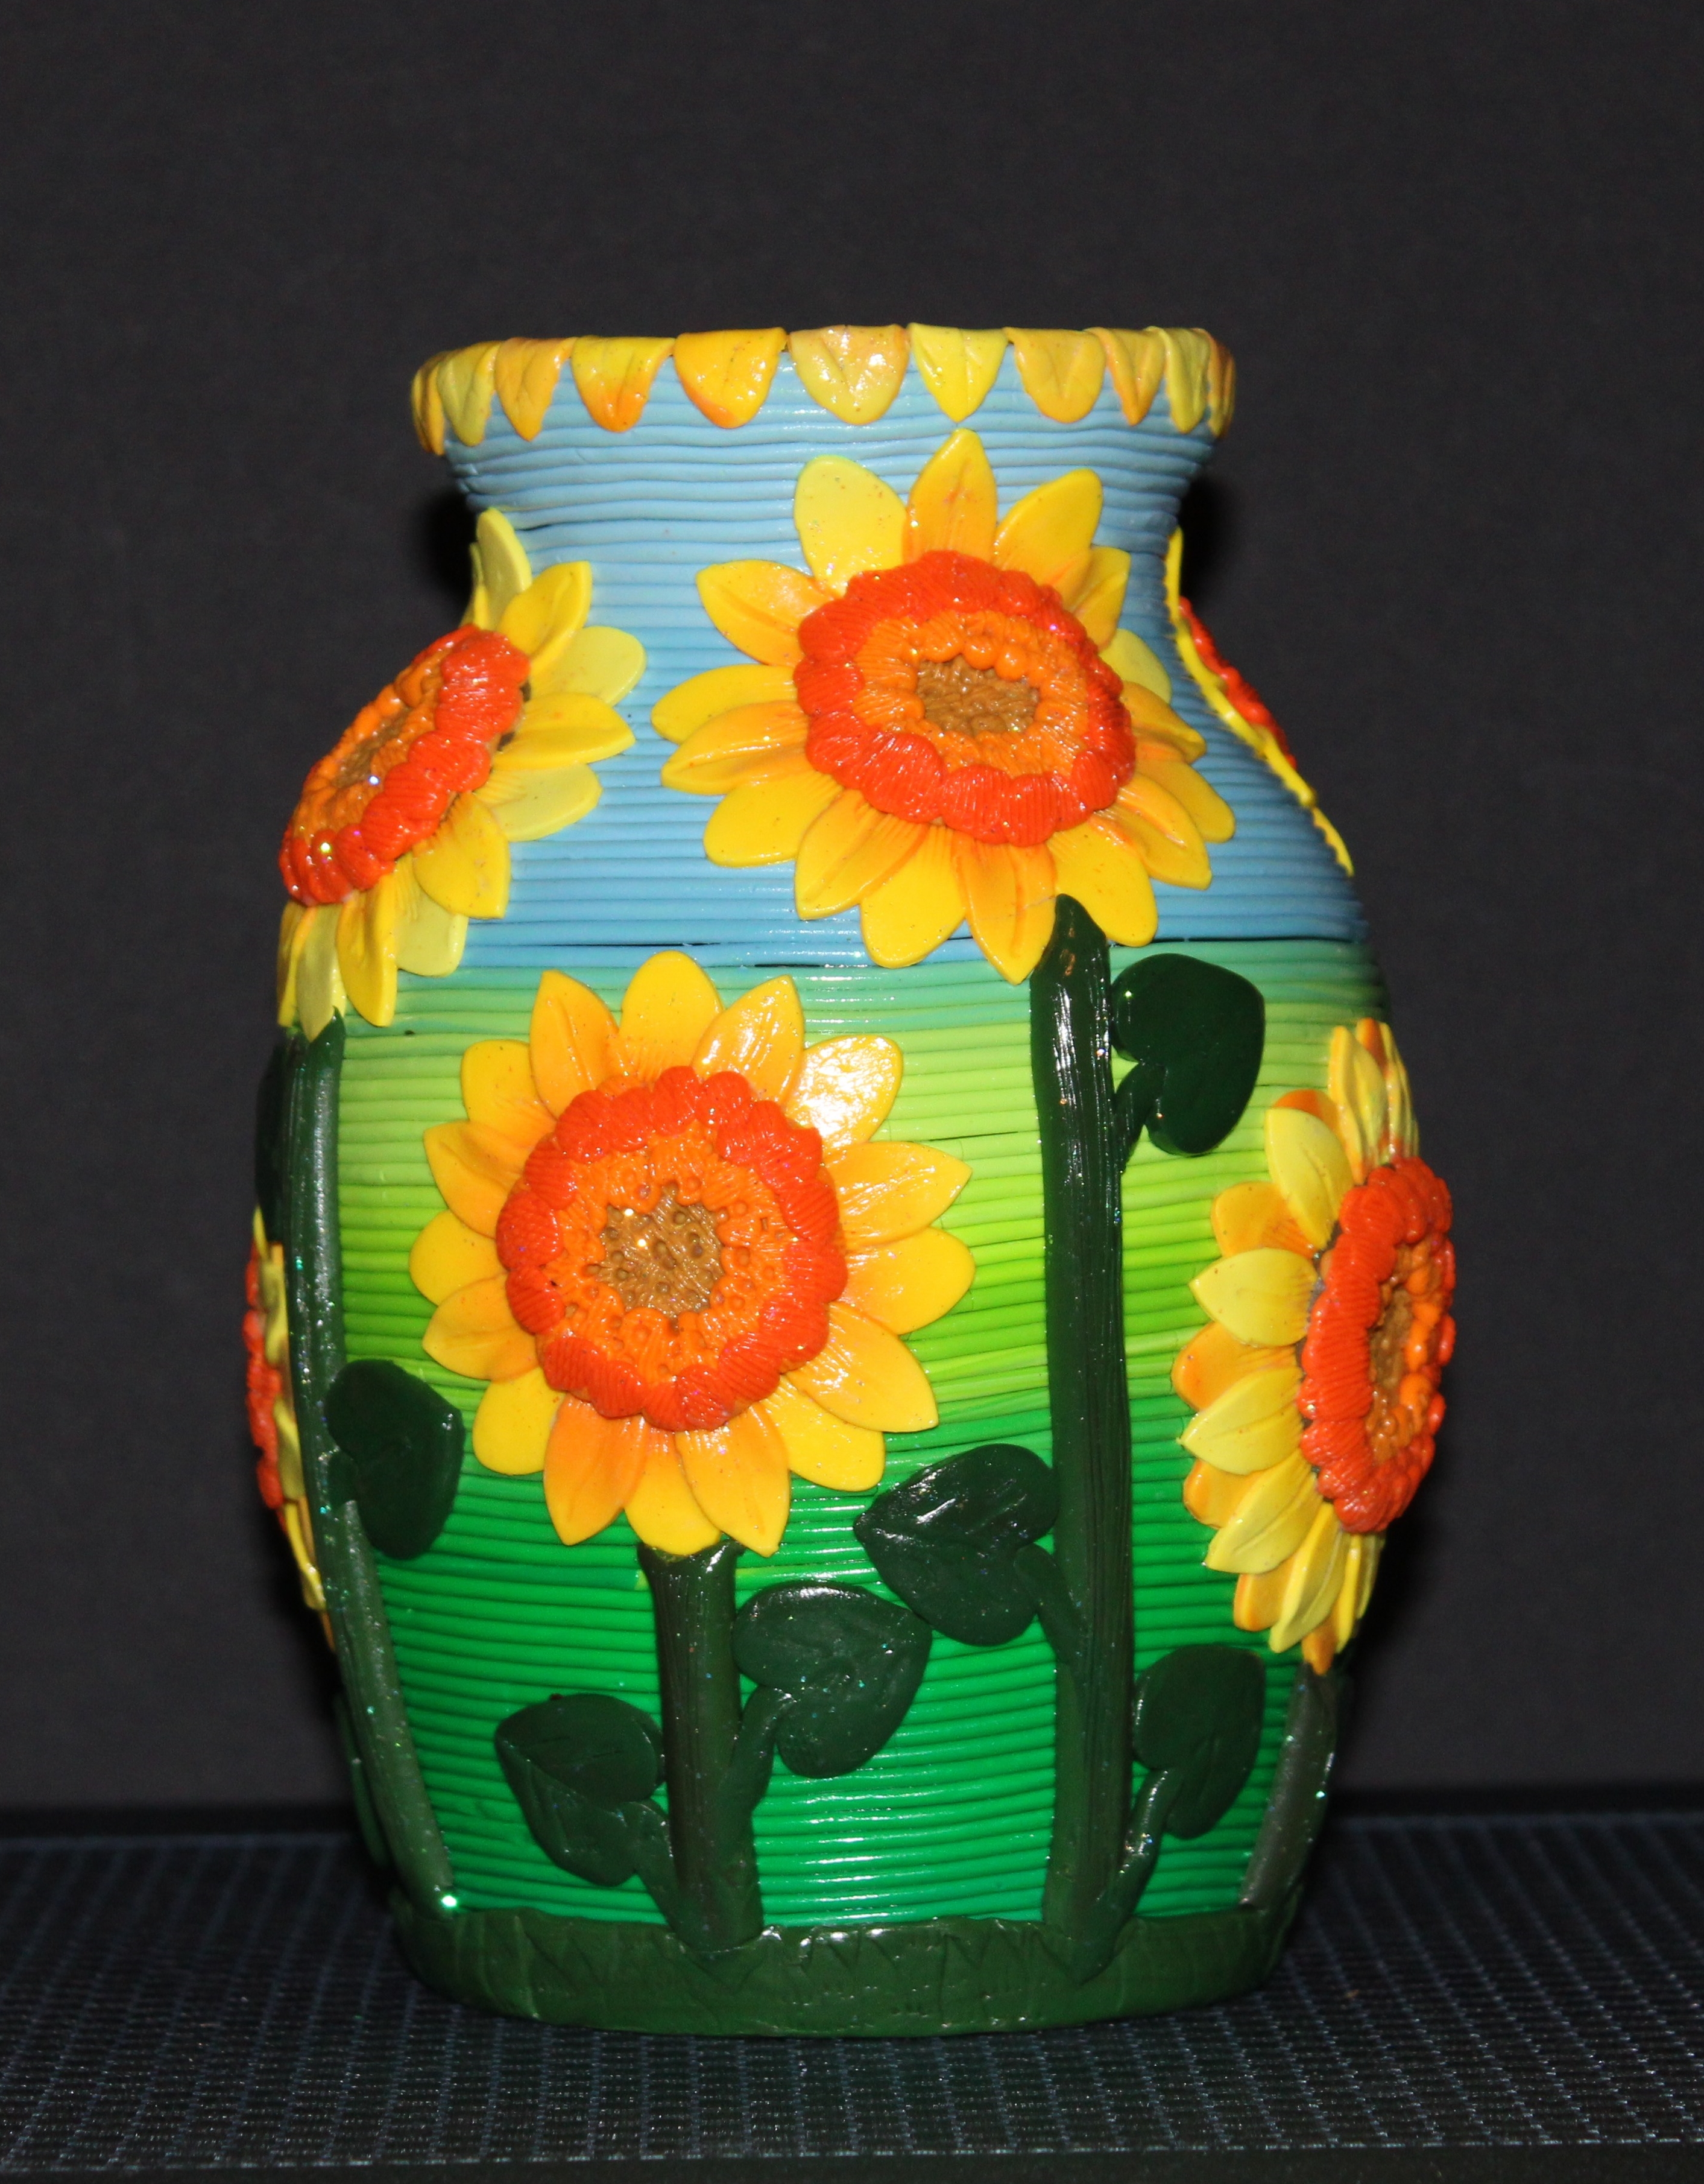
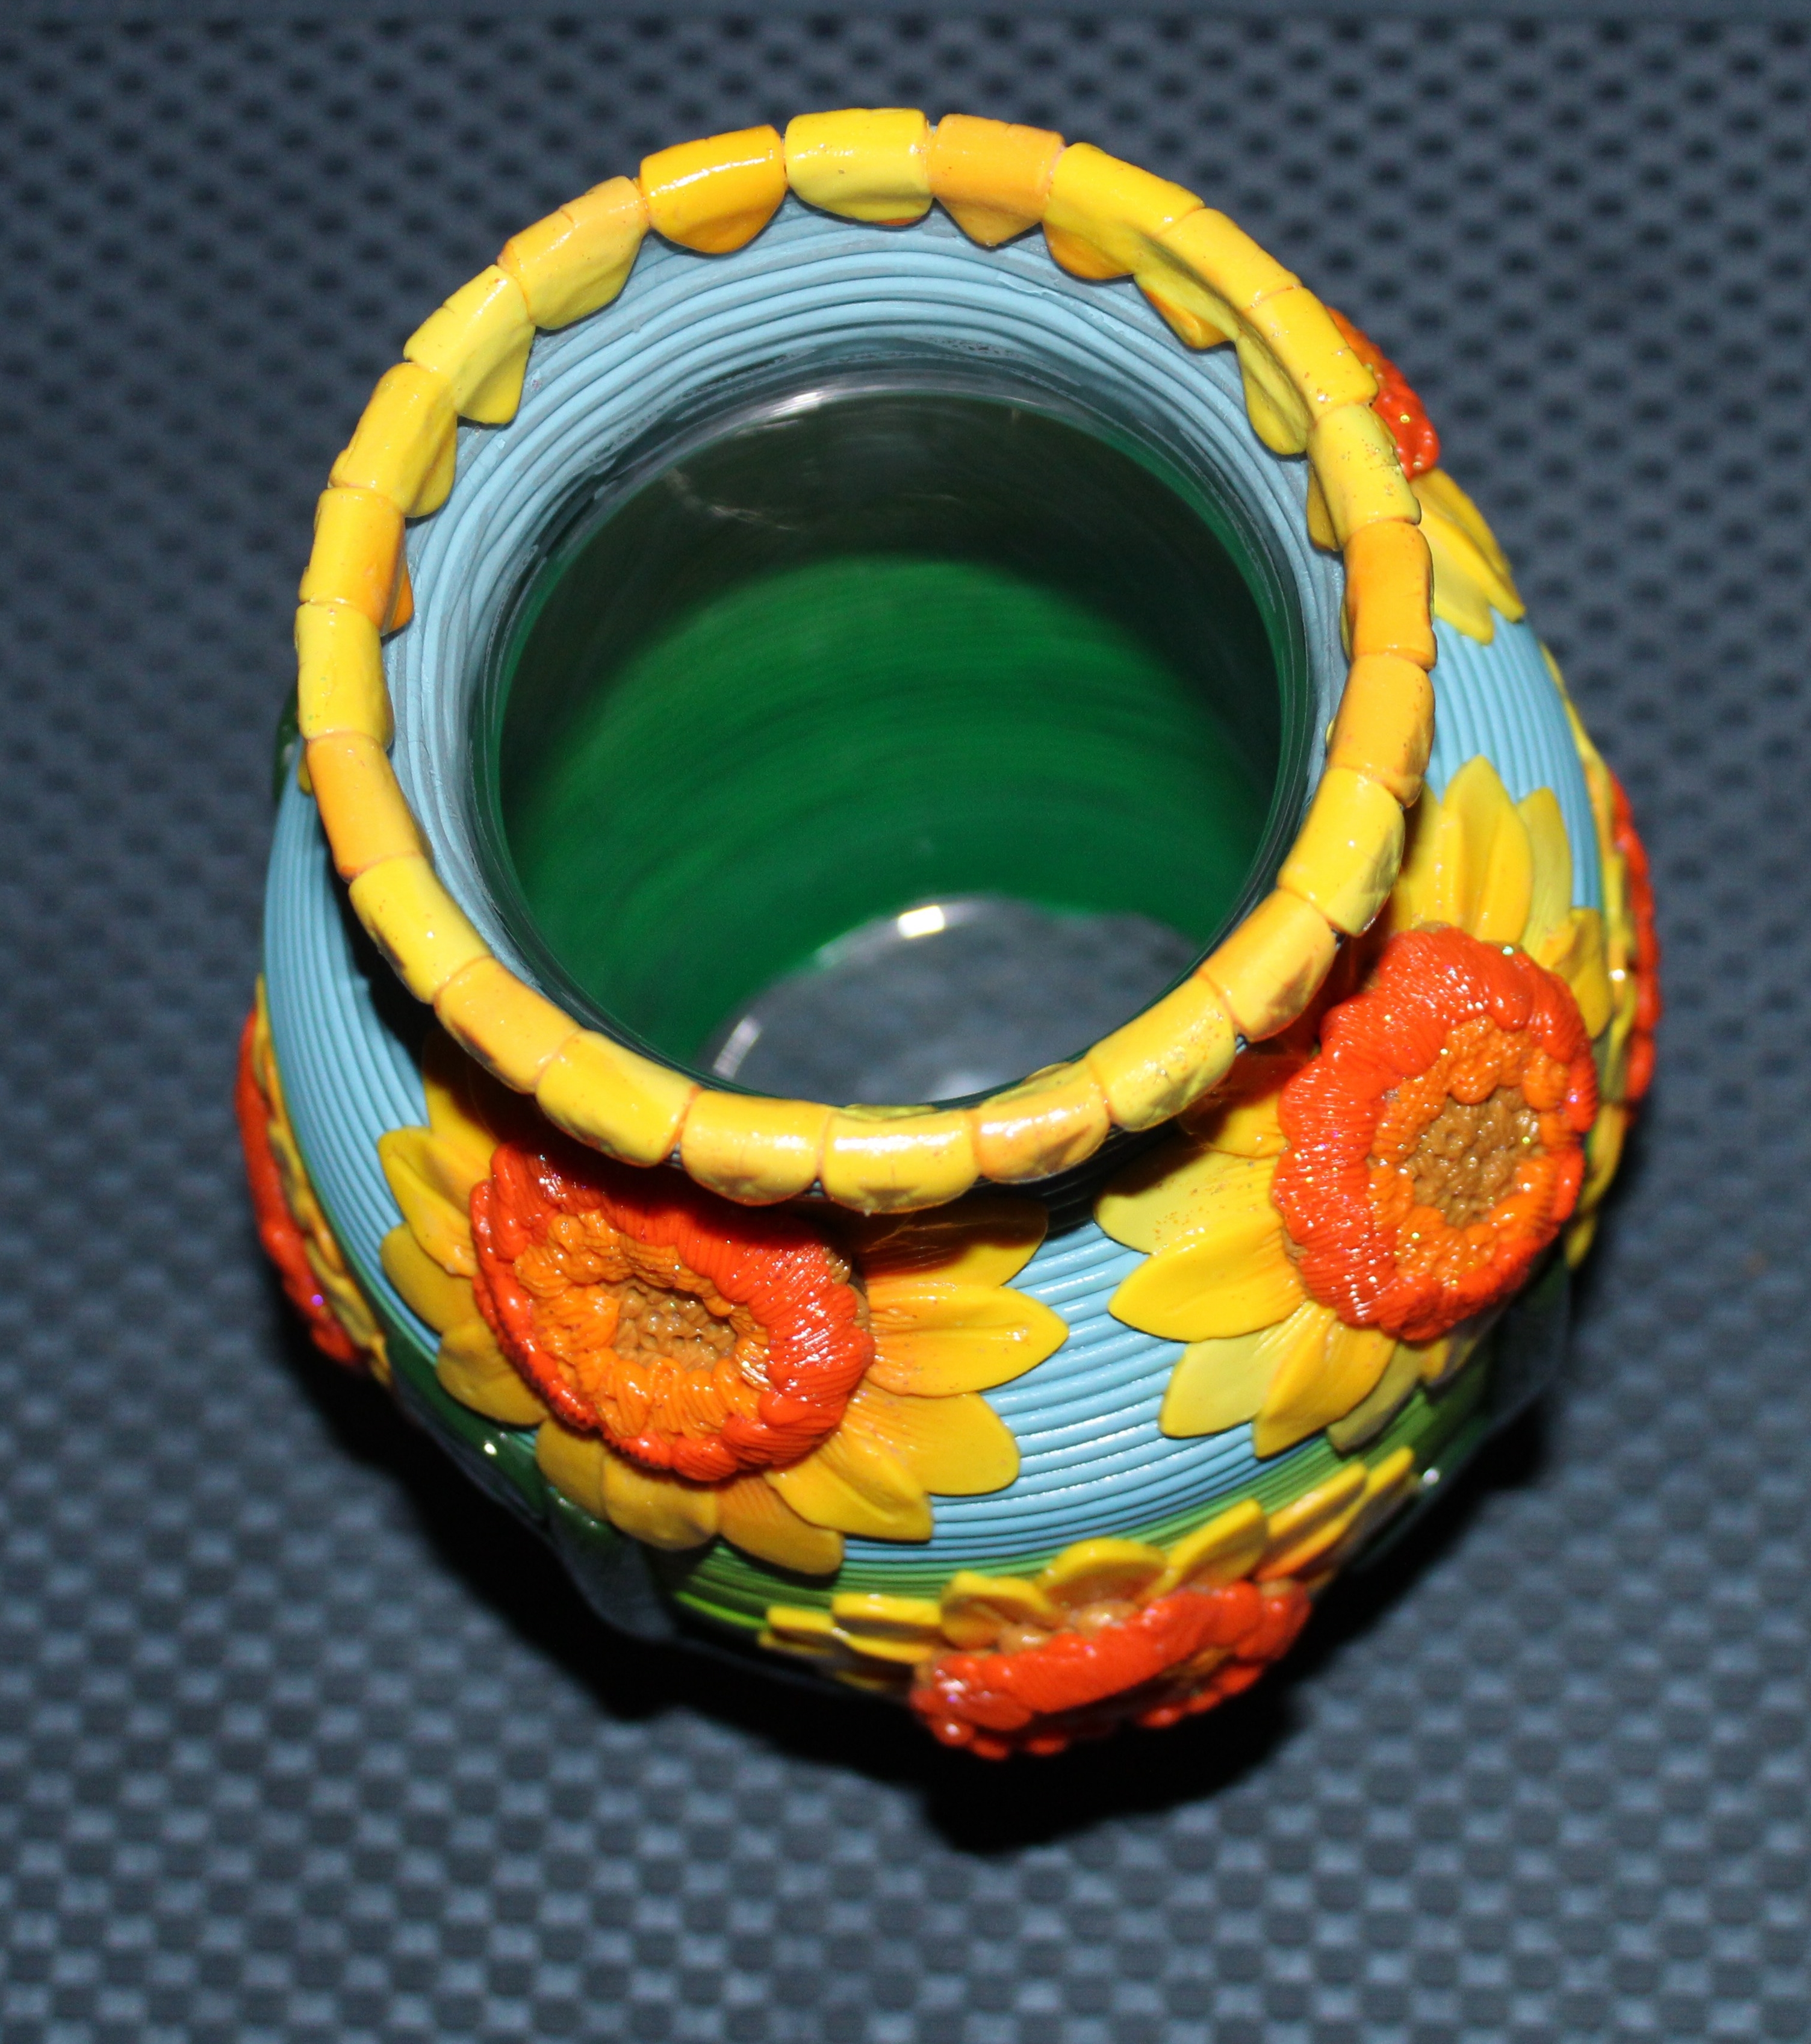
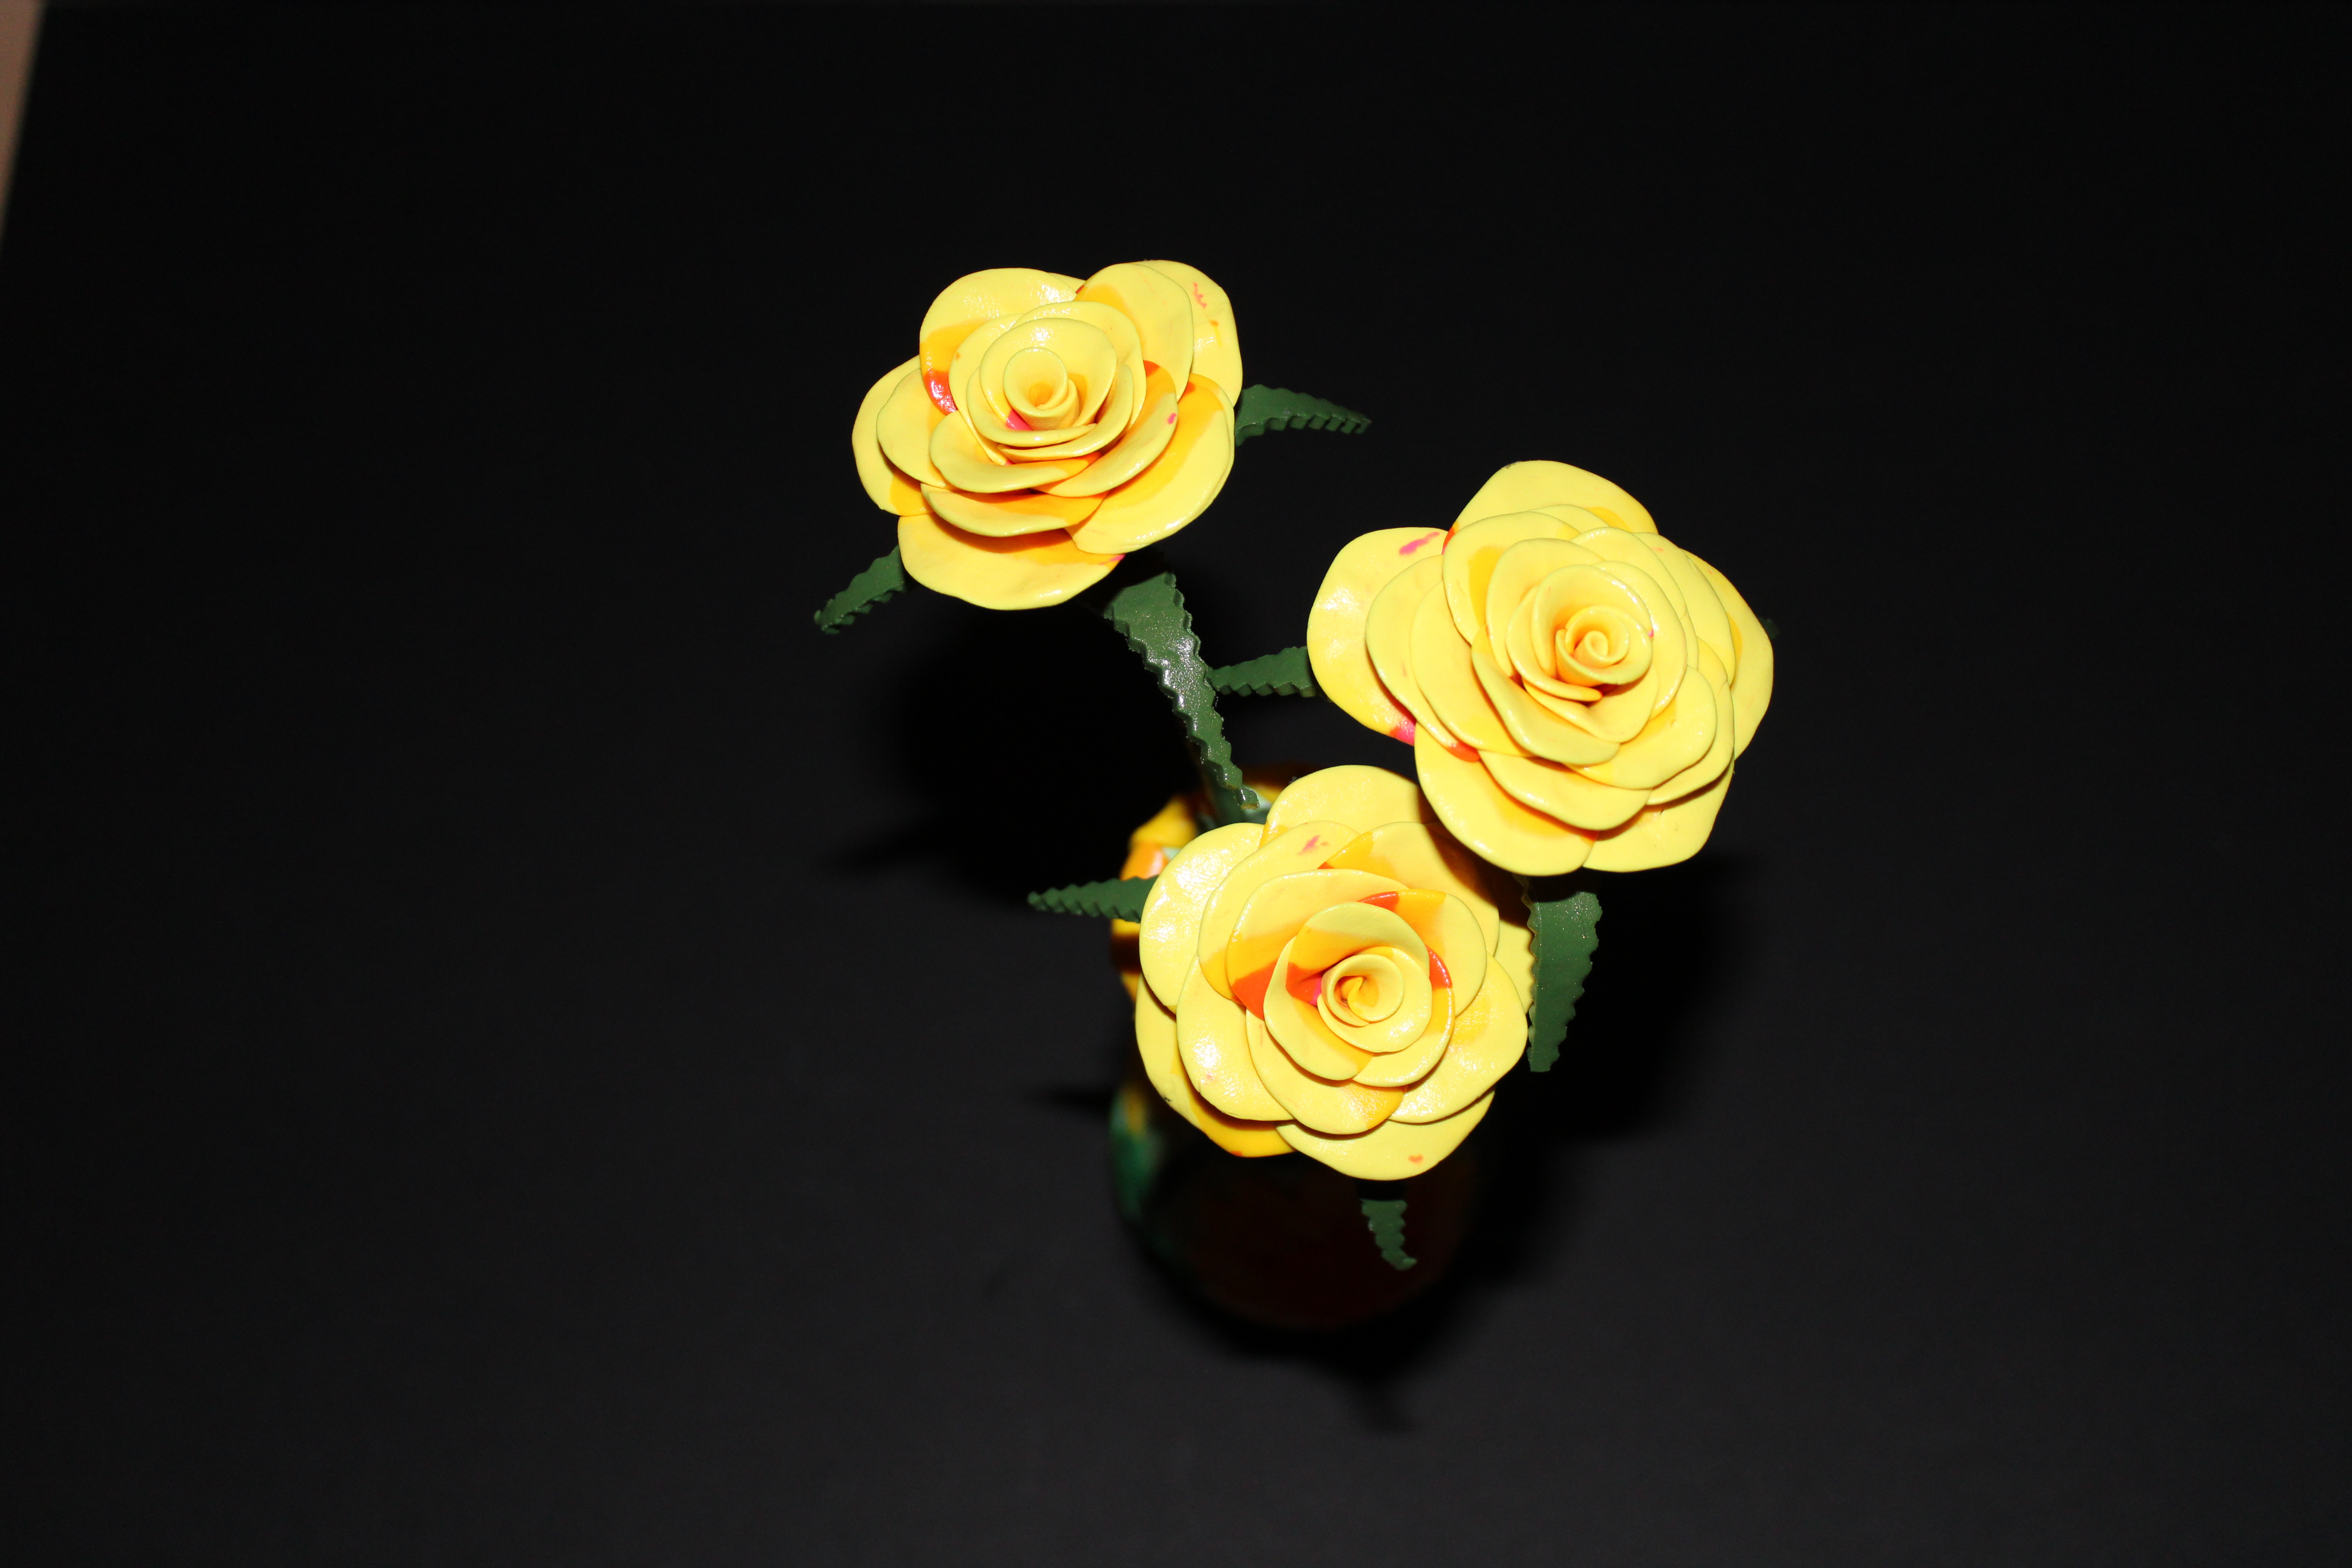
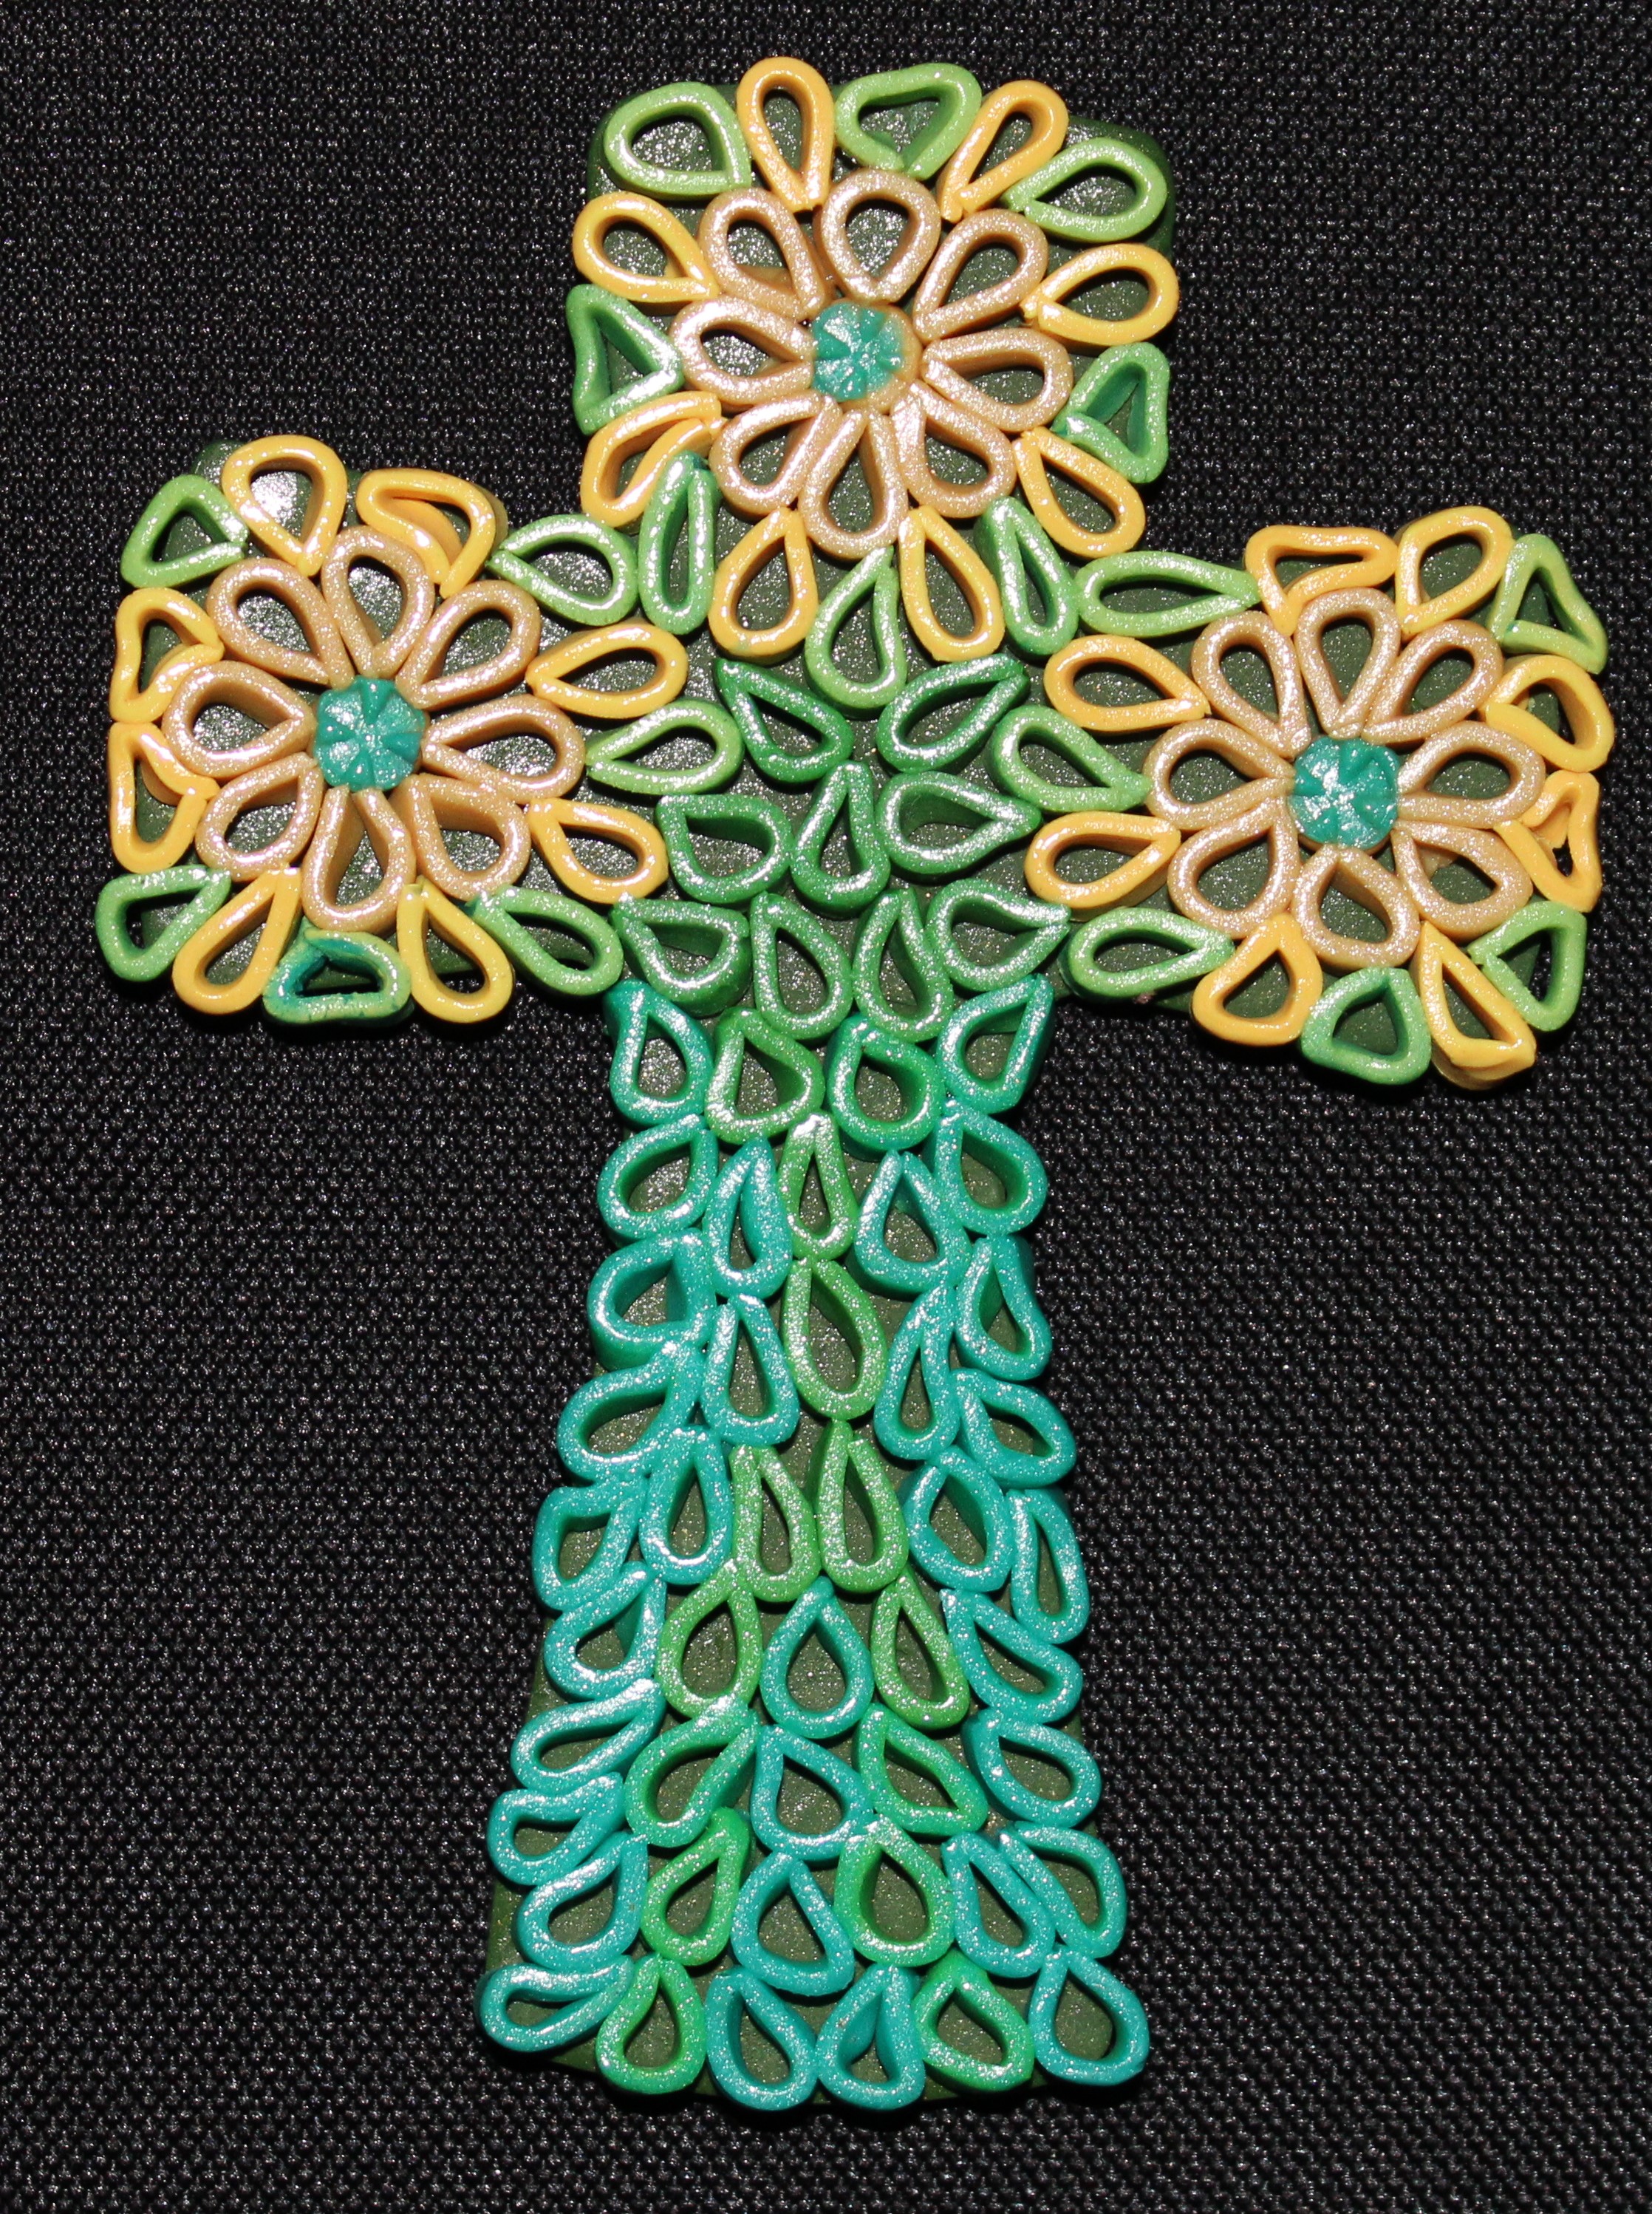
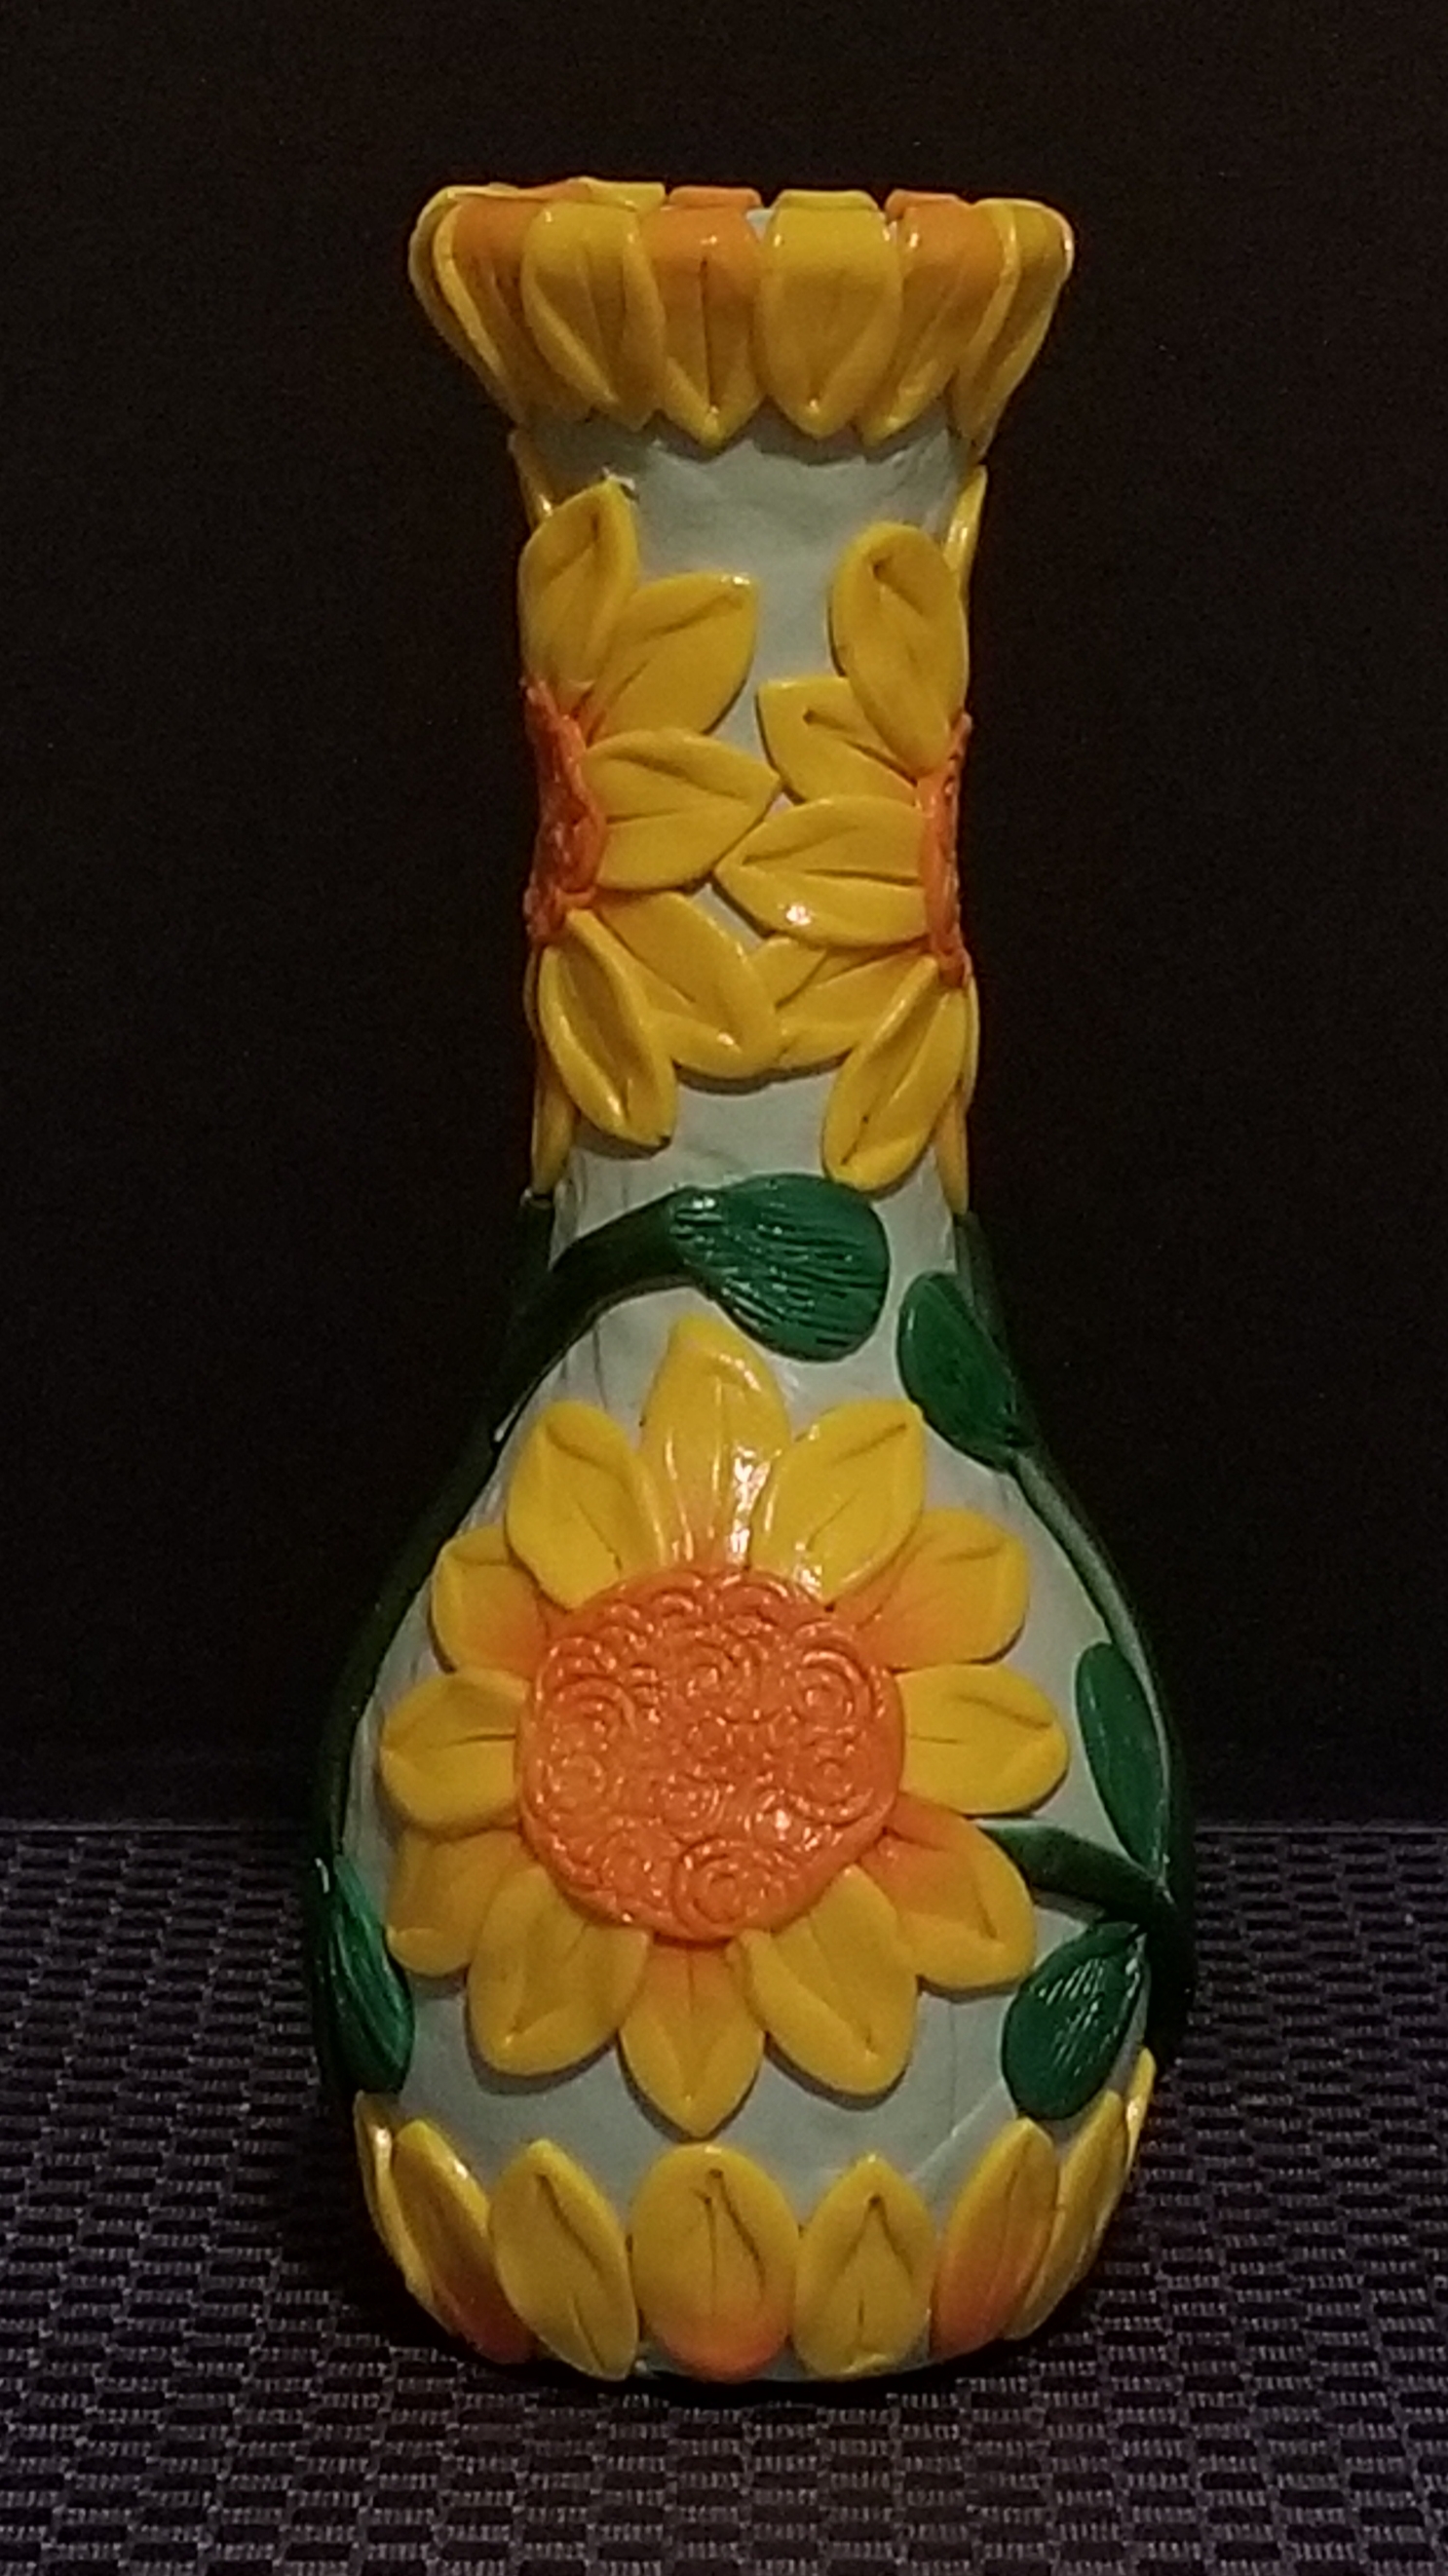
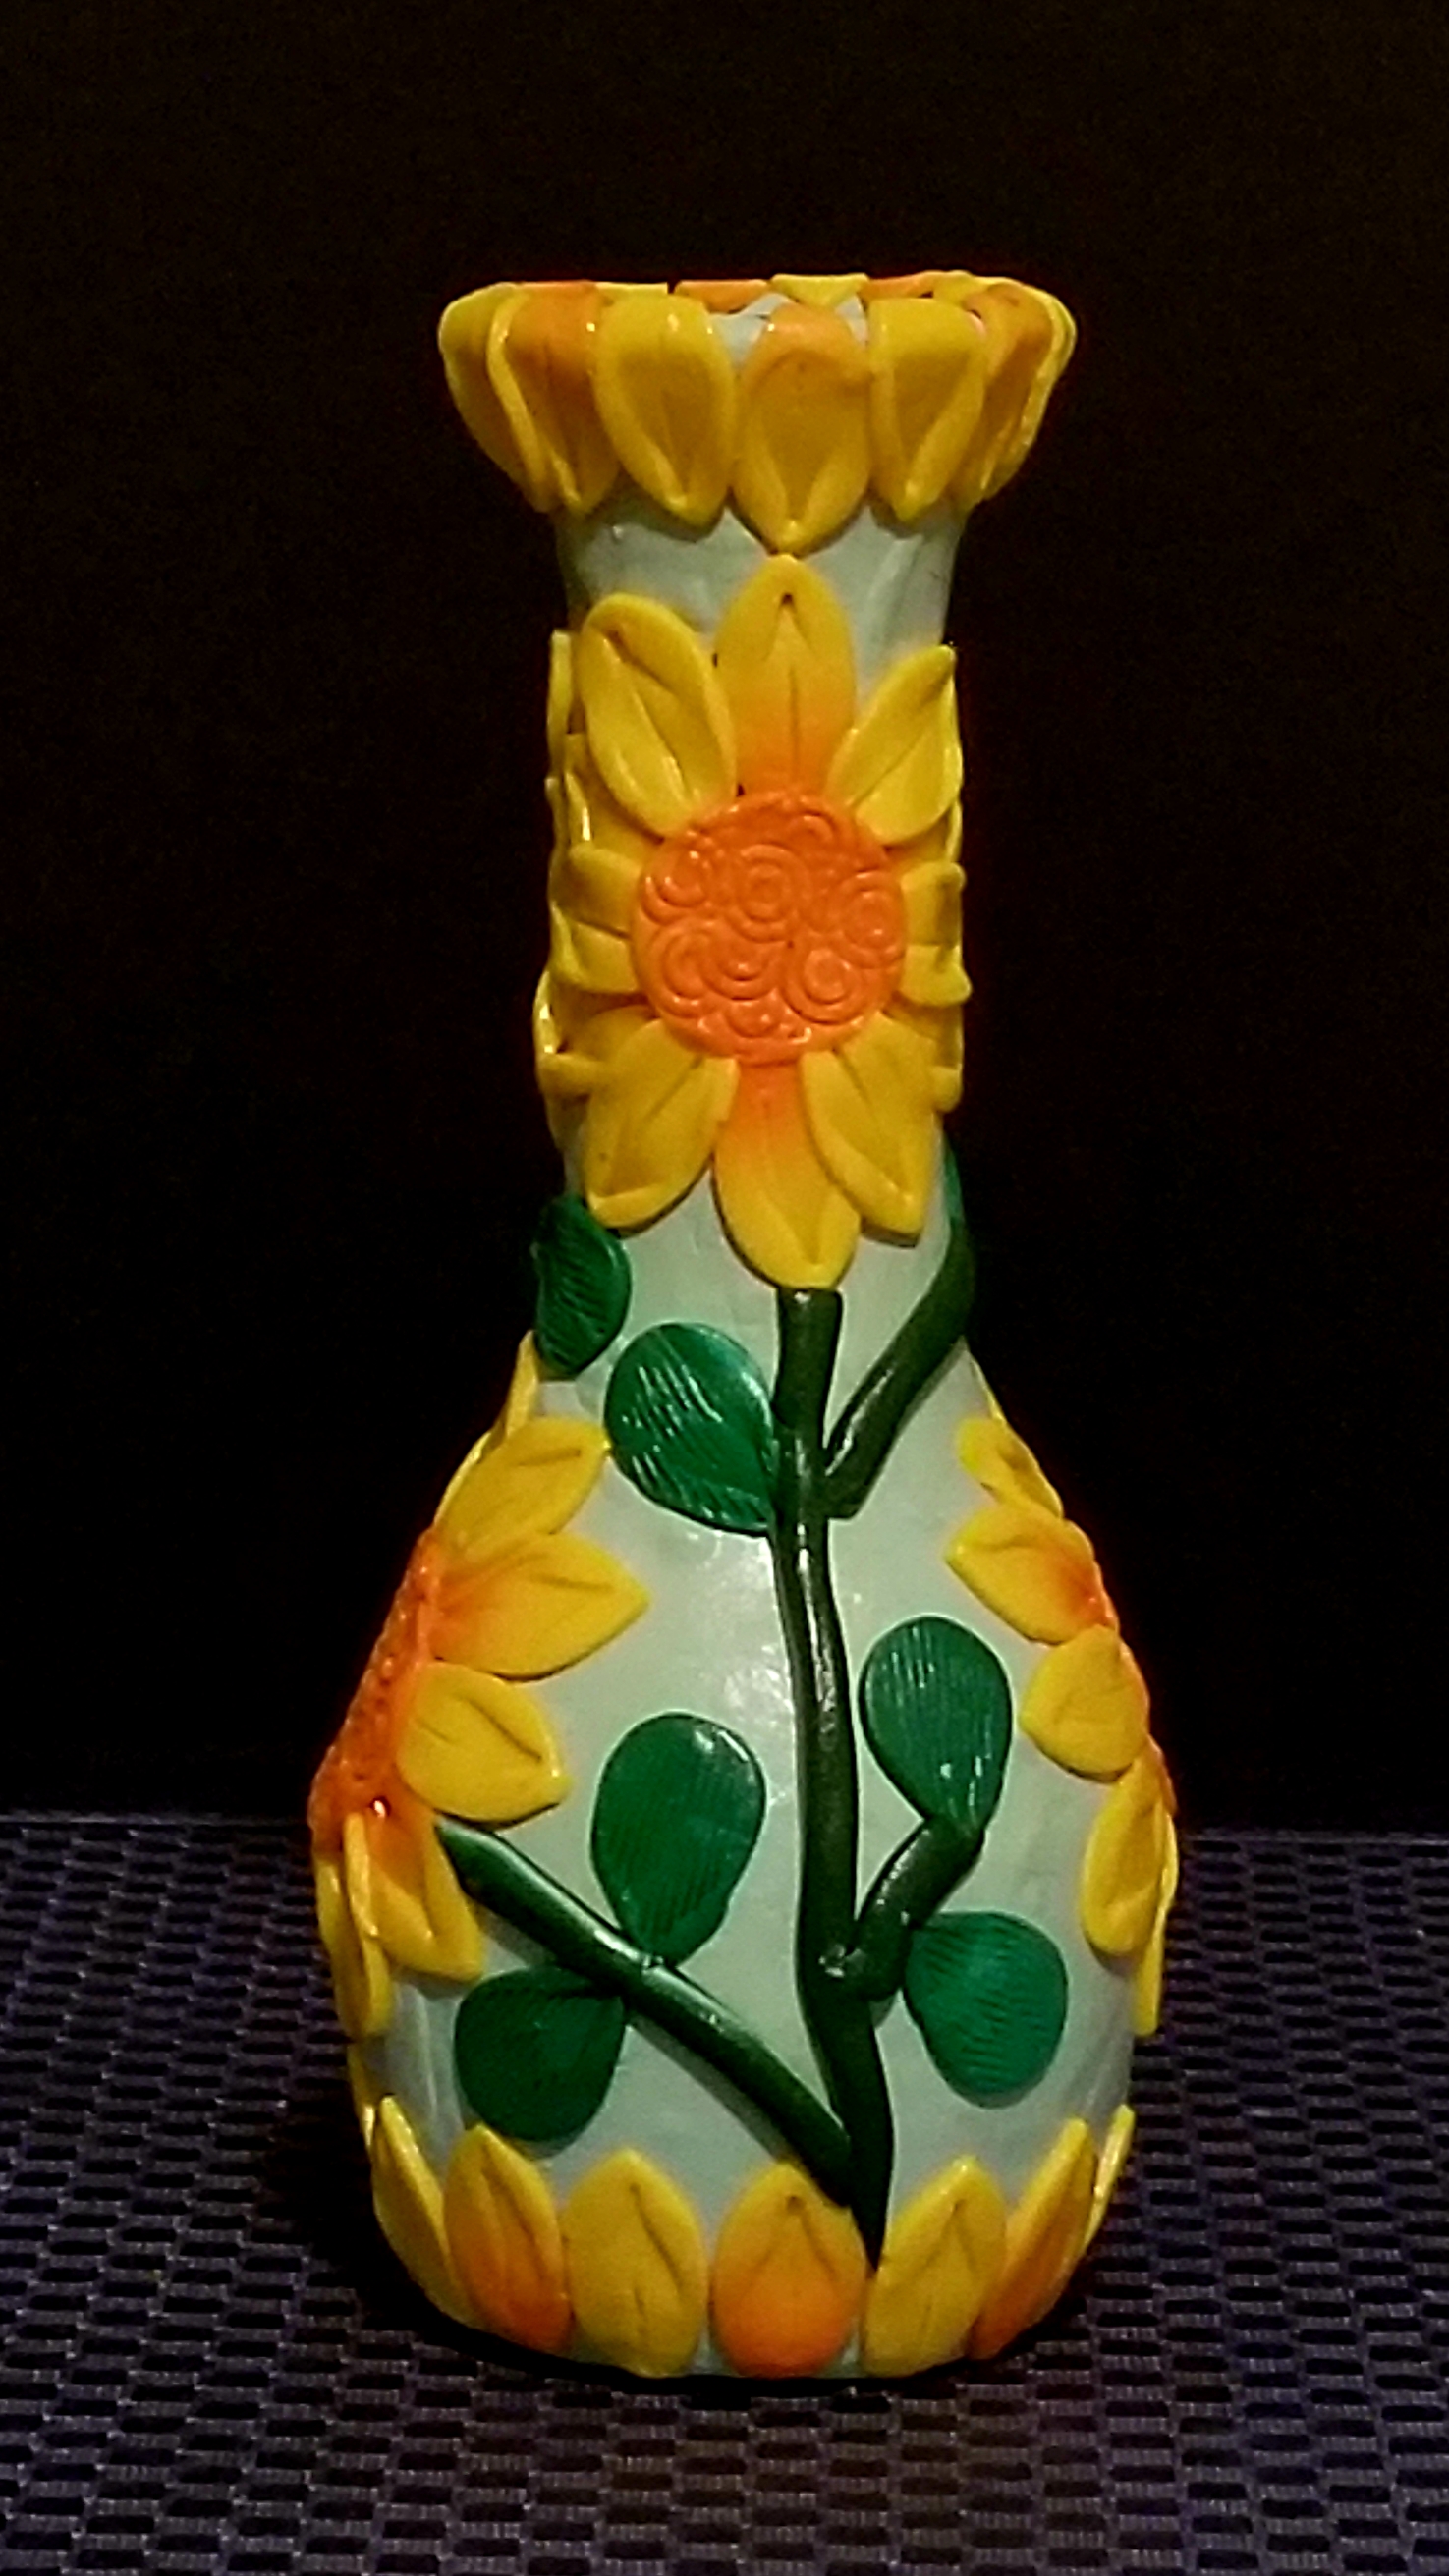
The Sunflower Vase:  I wanted the top and bottom of the vase to look like the petals were coming from the center of a sunflower.

20190824_140629.jpg

20190824_140656.jpg

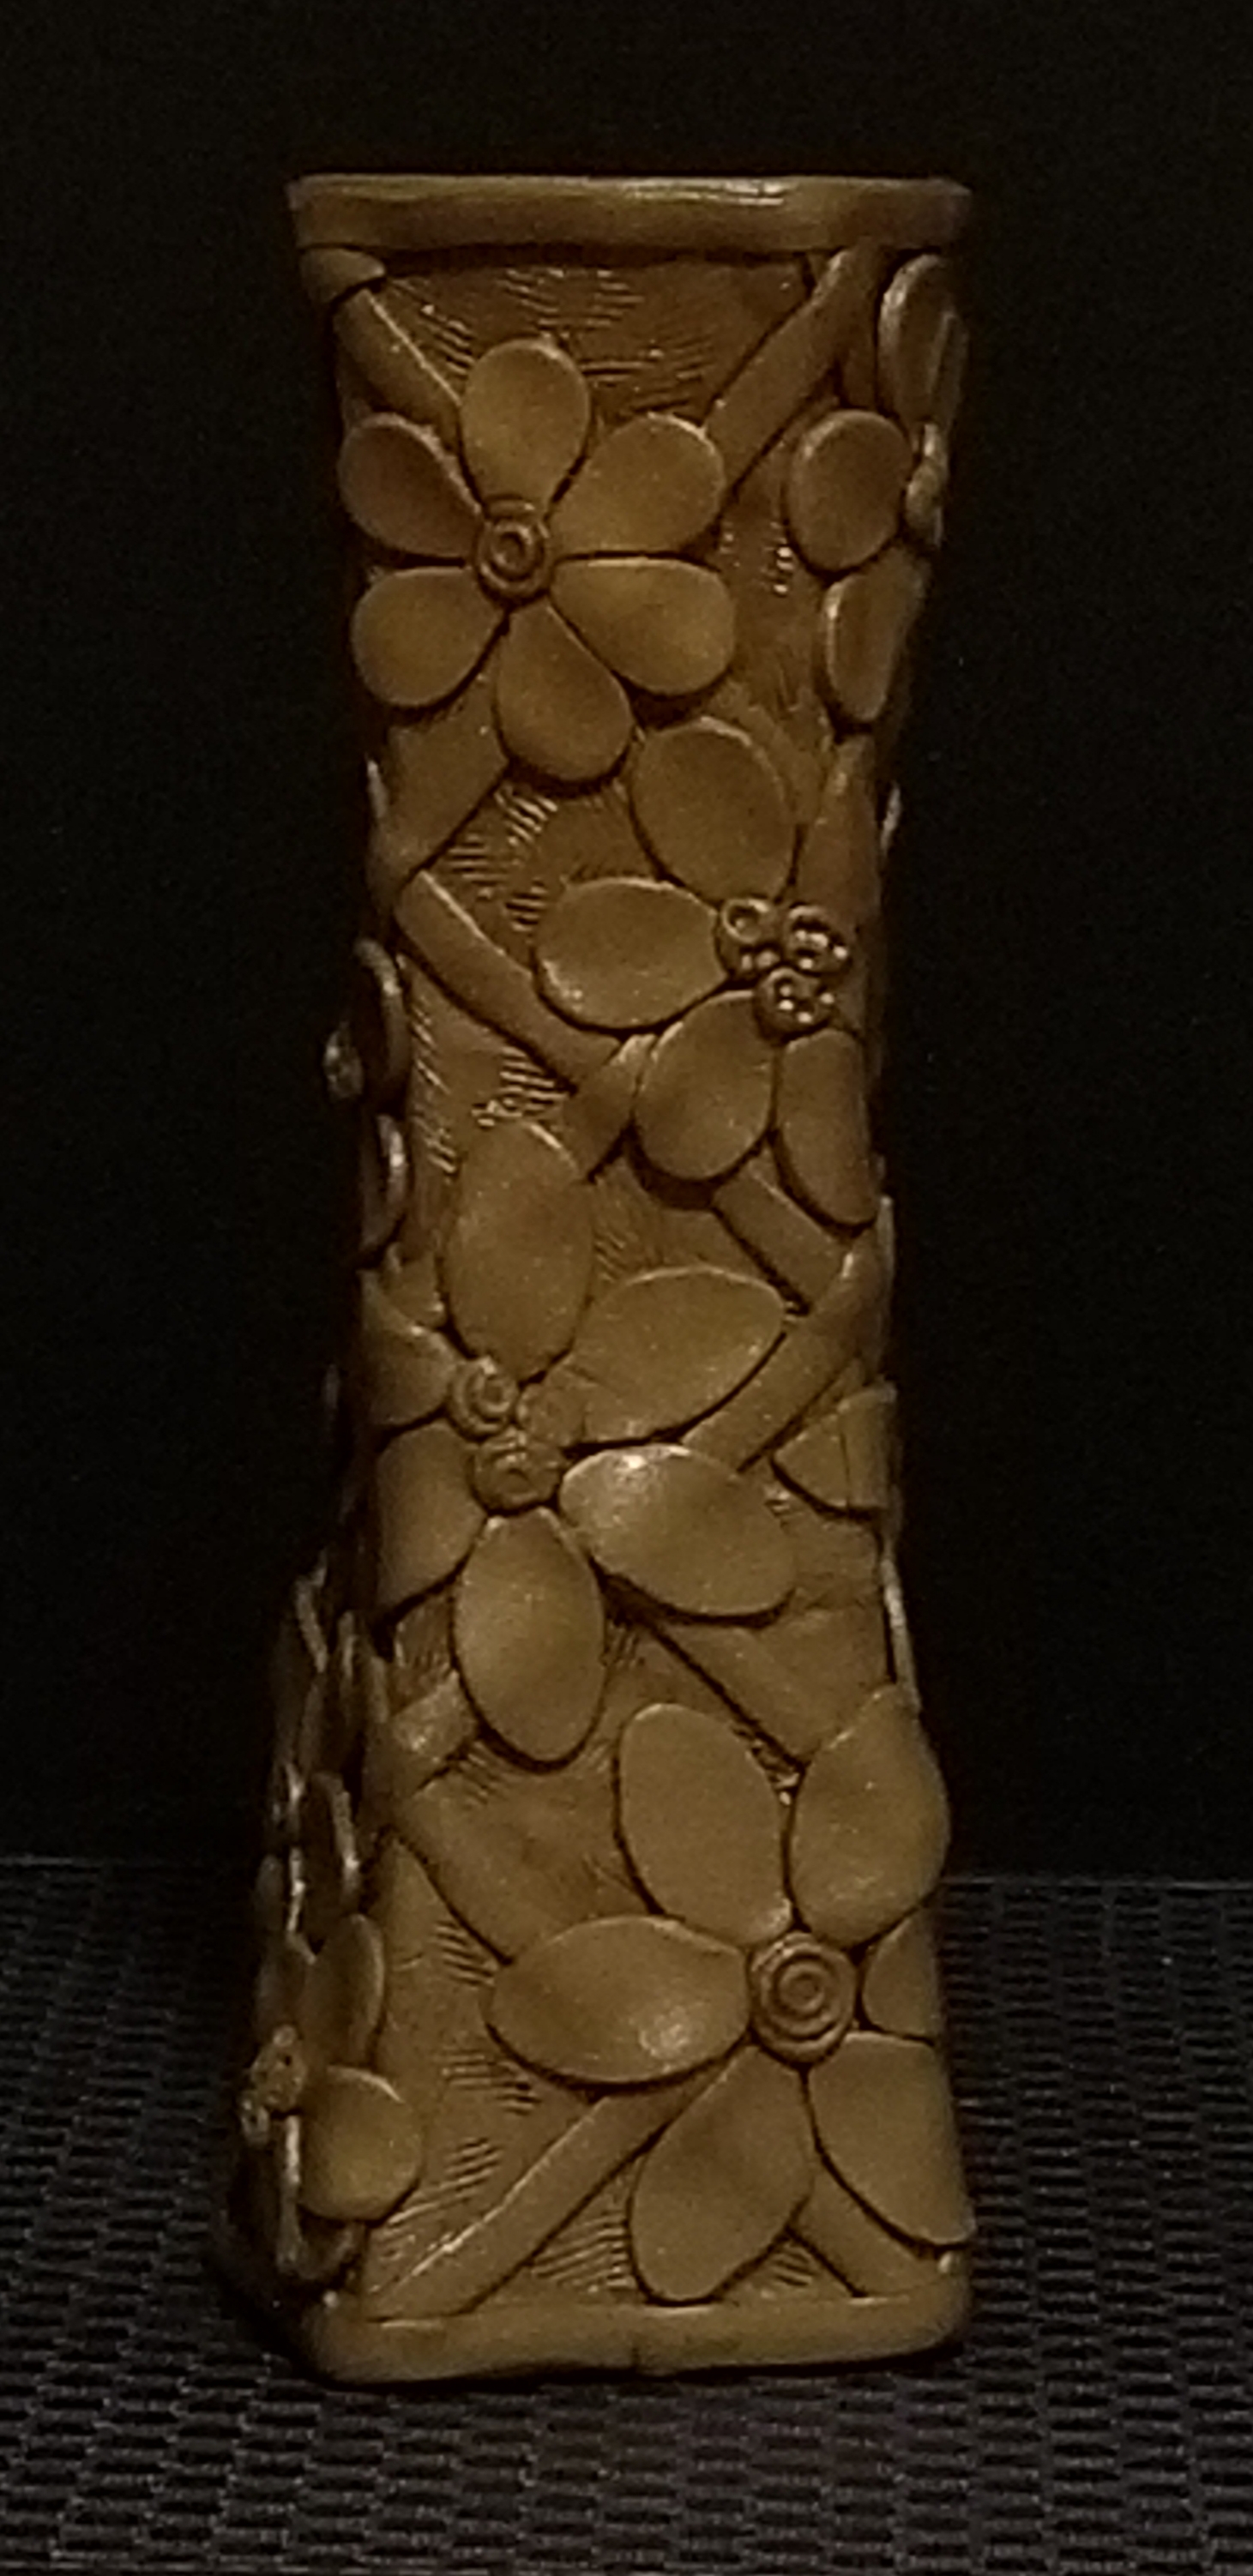
The Gold Flowery Vase:  From the beginning I wanted a gold lattice work around the vase.  The flower idea come later.   After it was baked, I applied paint to give it an antique look.

20190824_140241.jpg

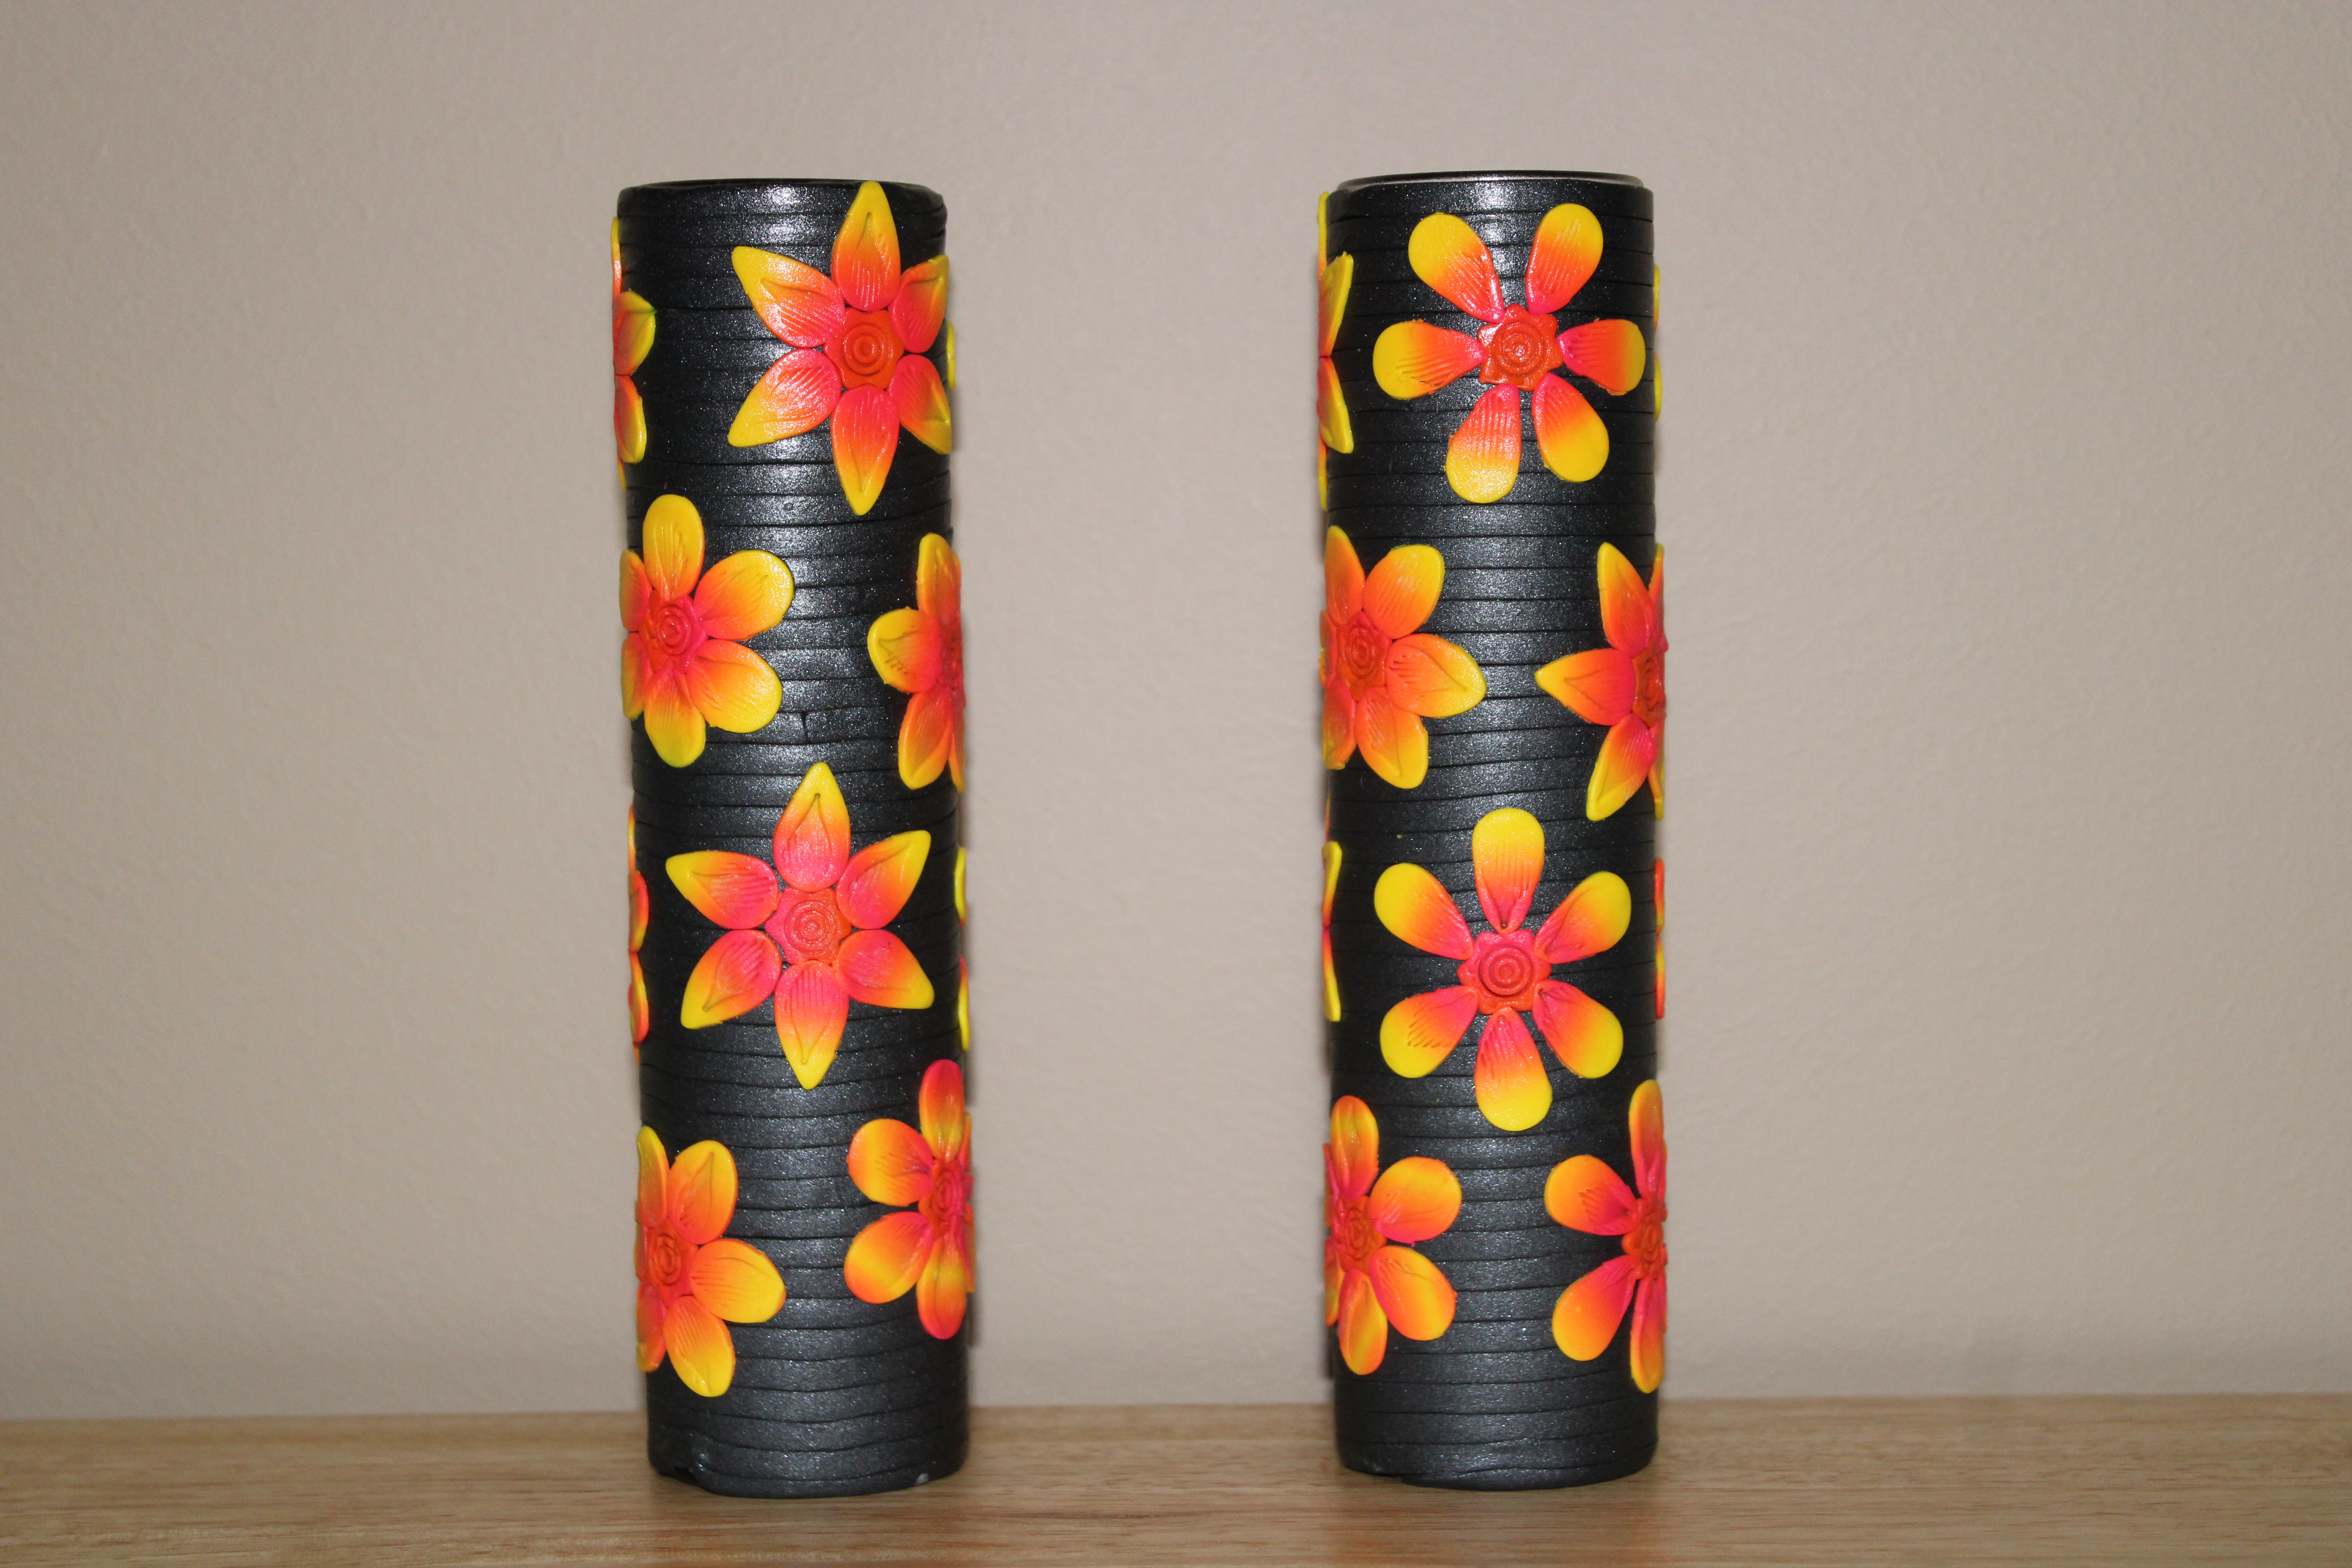
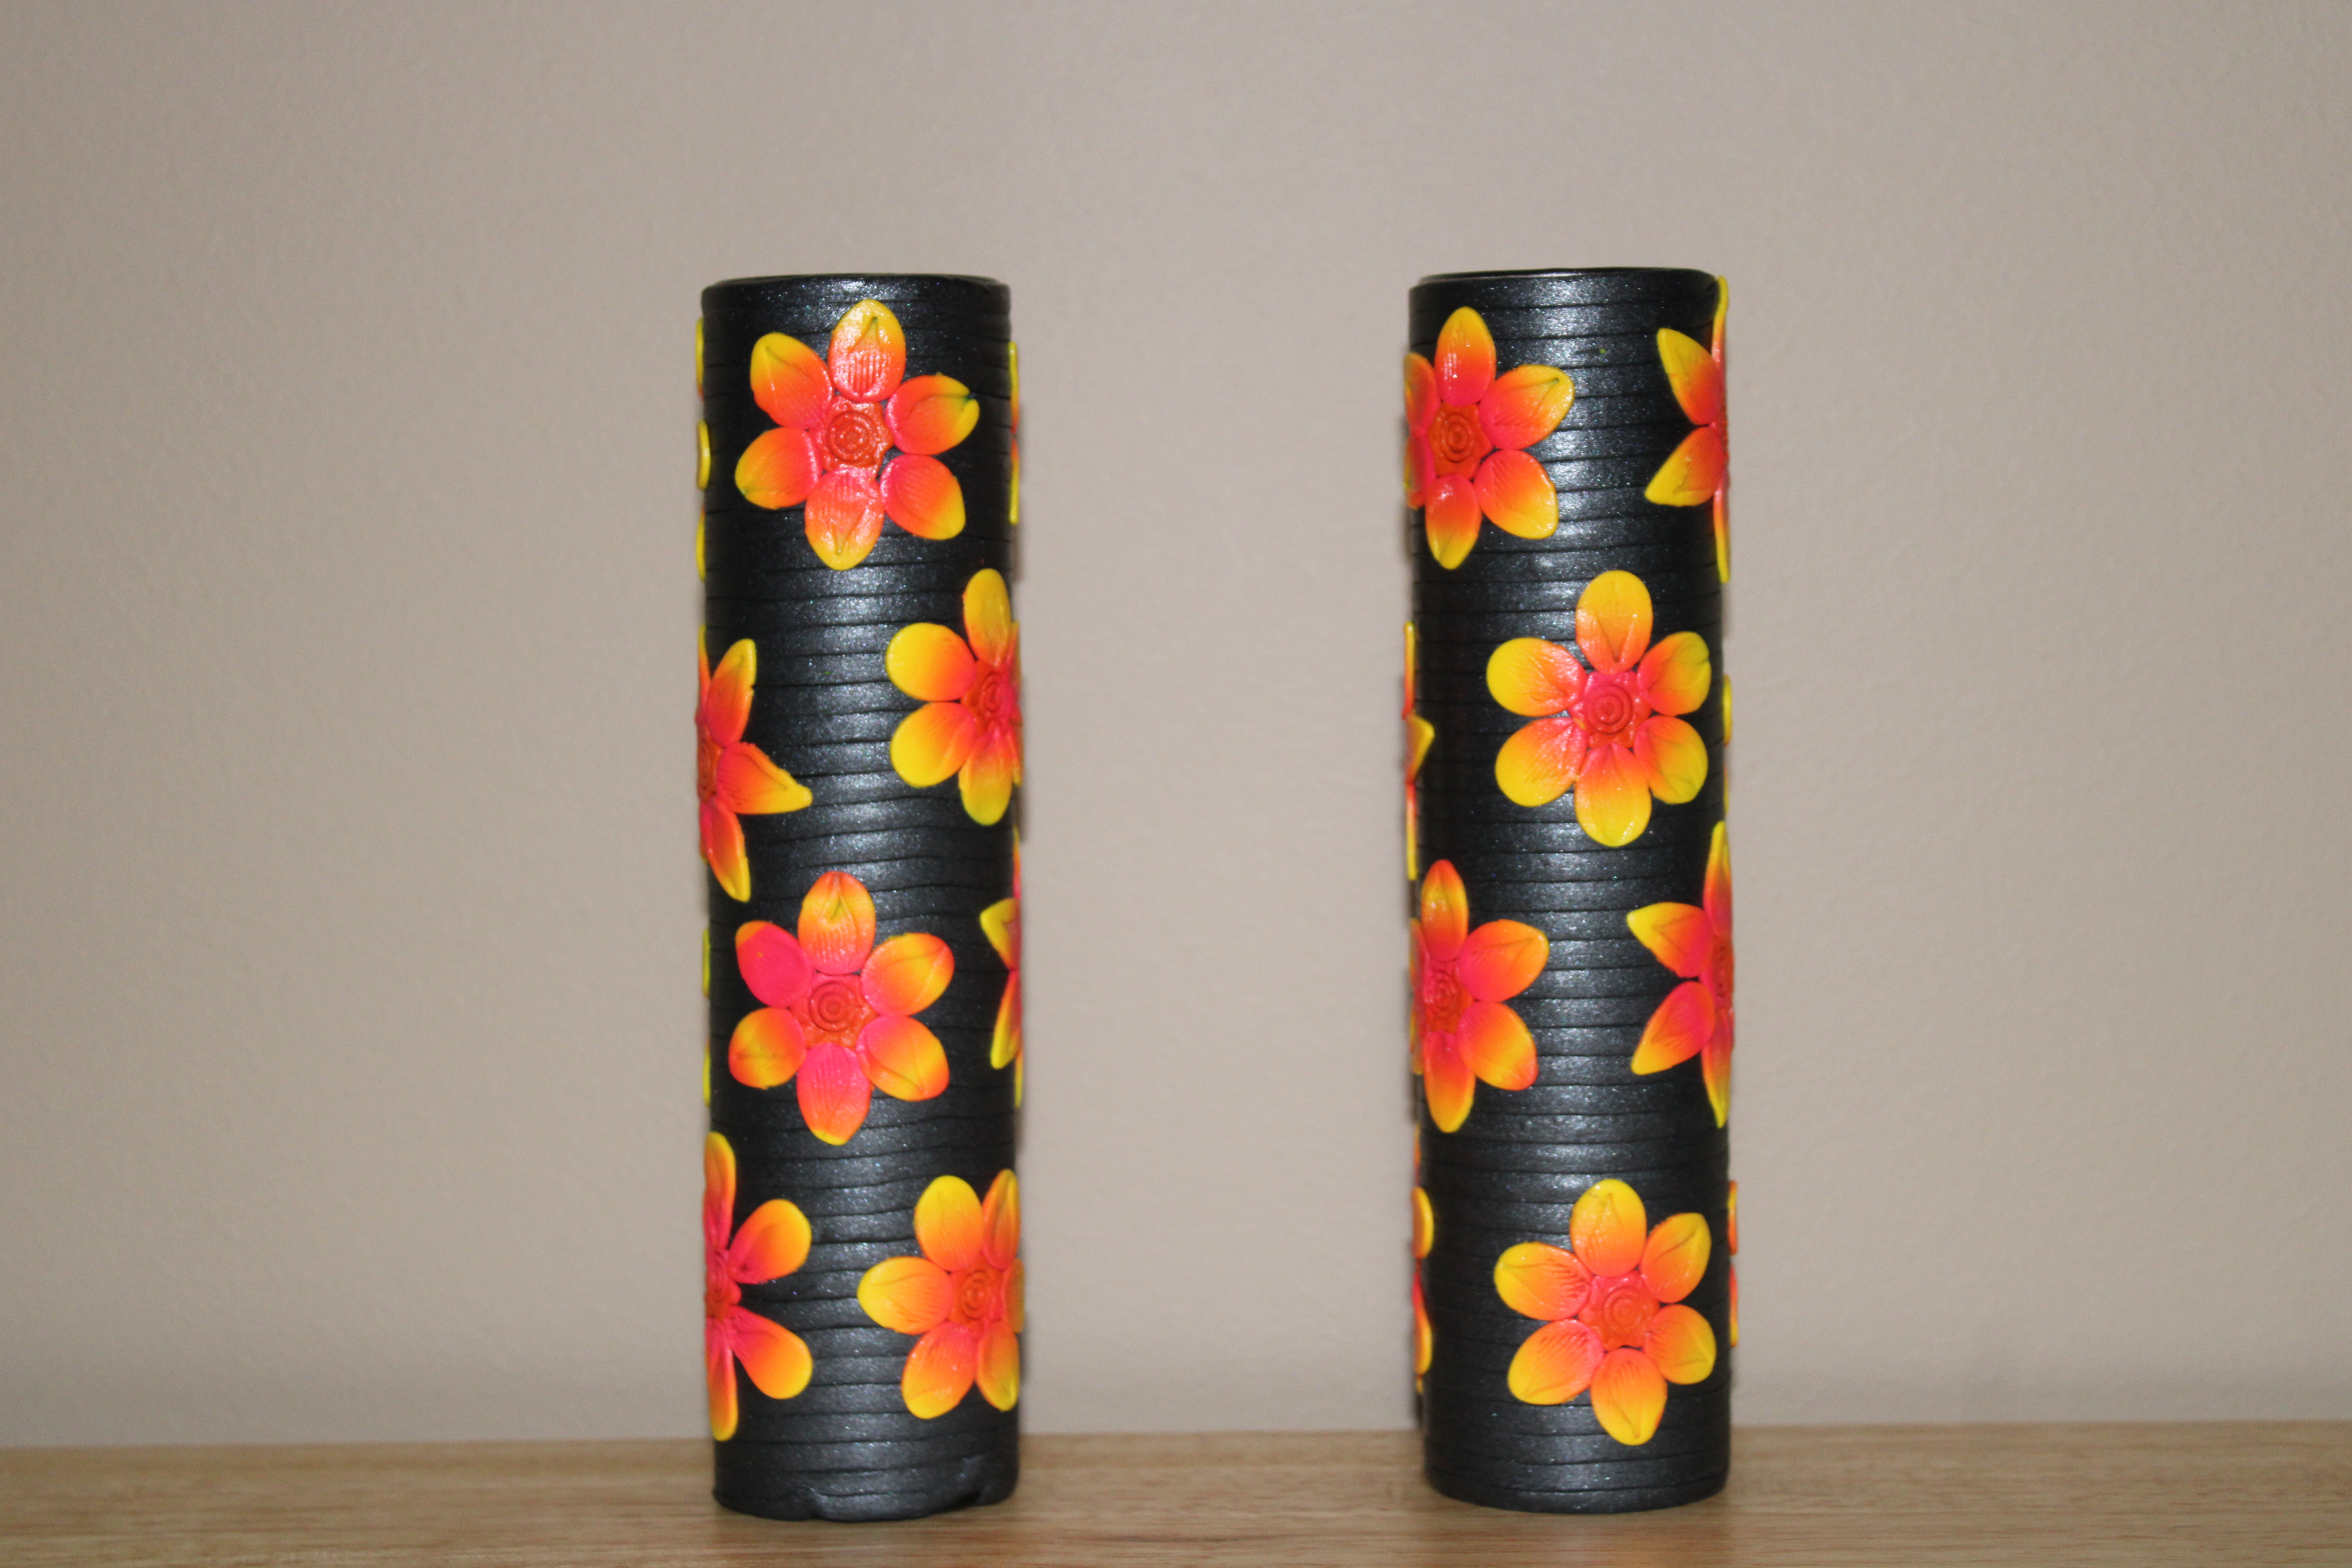
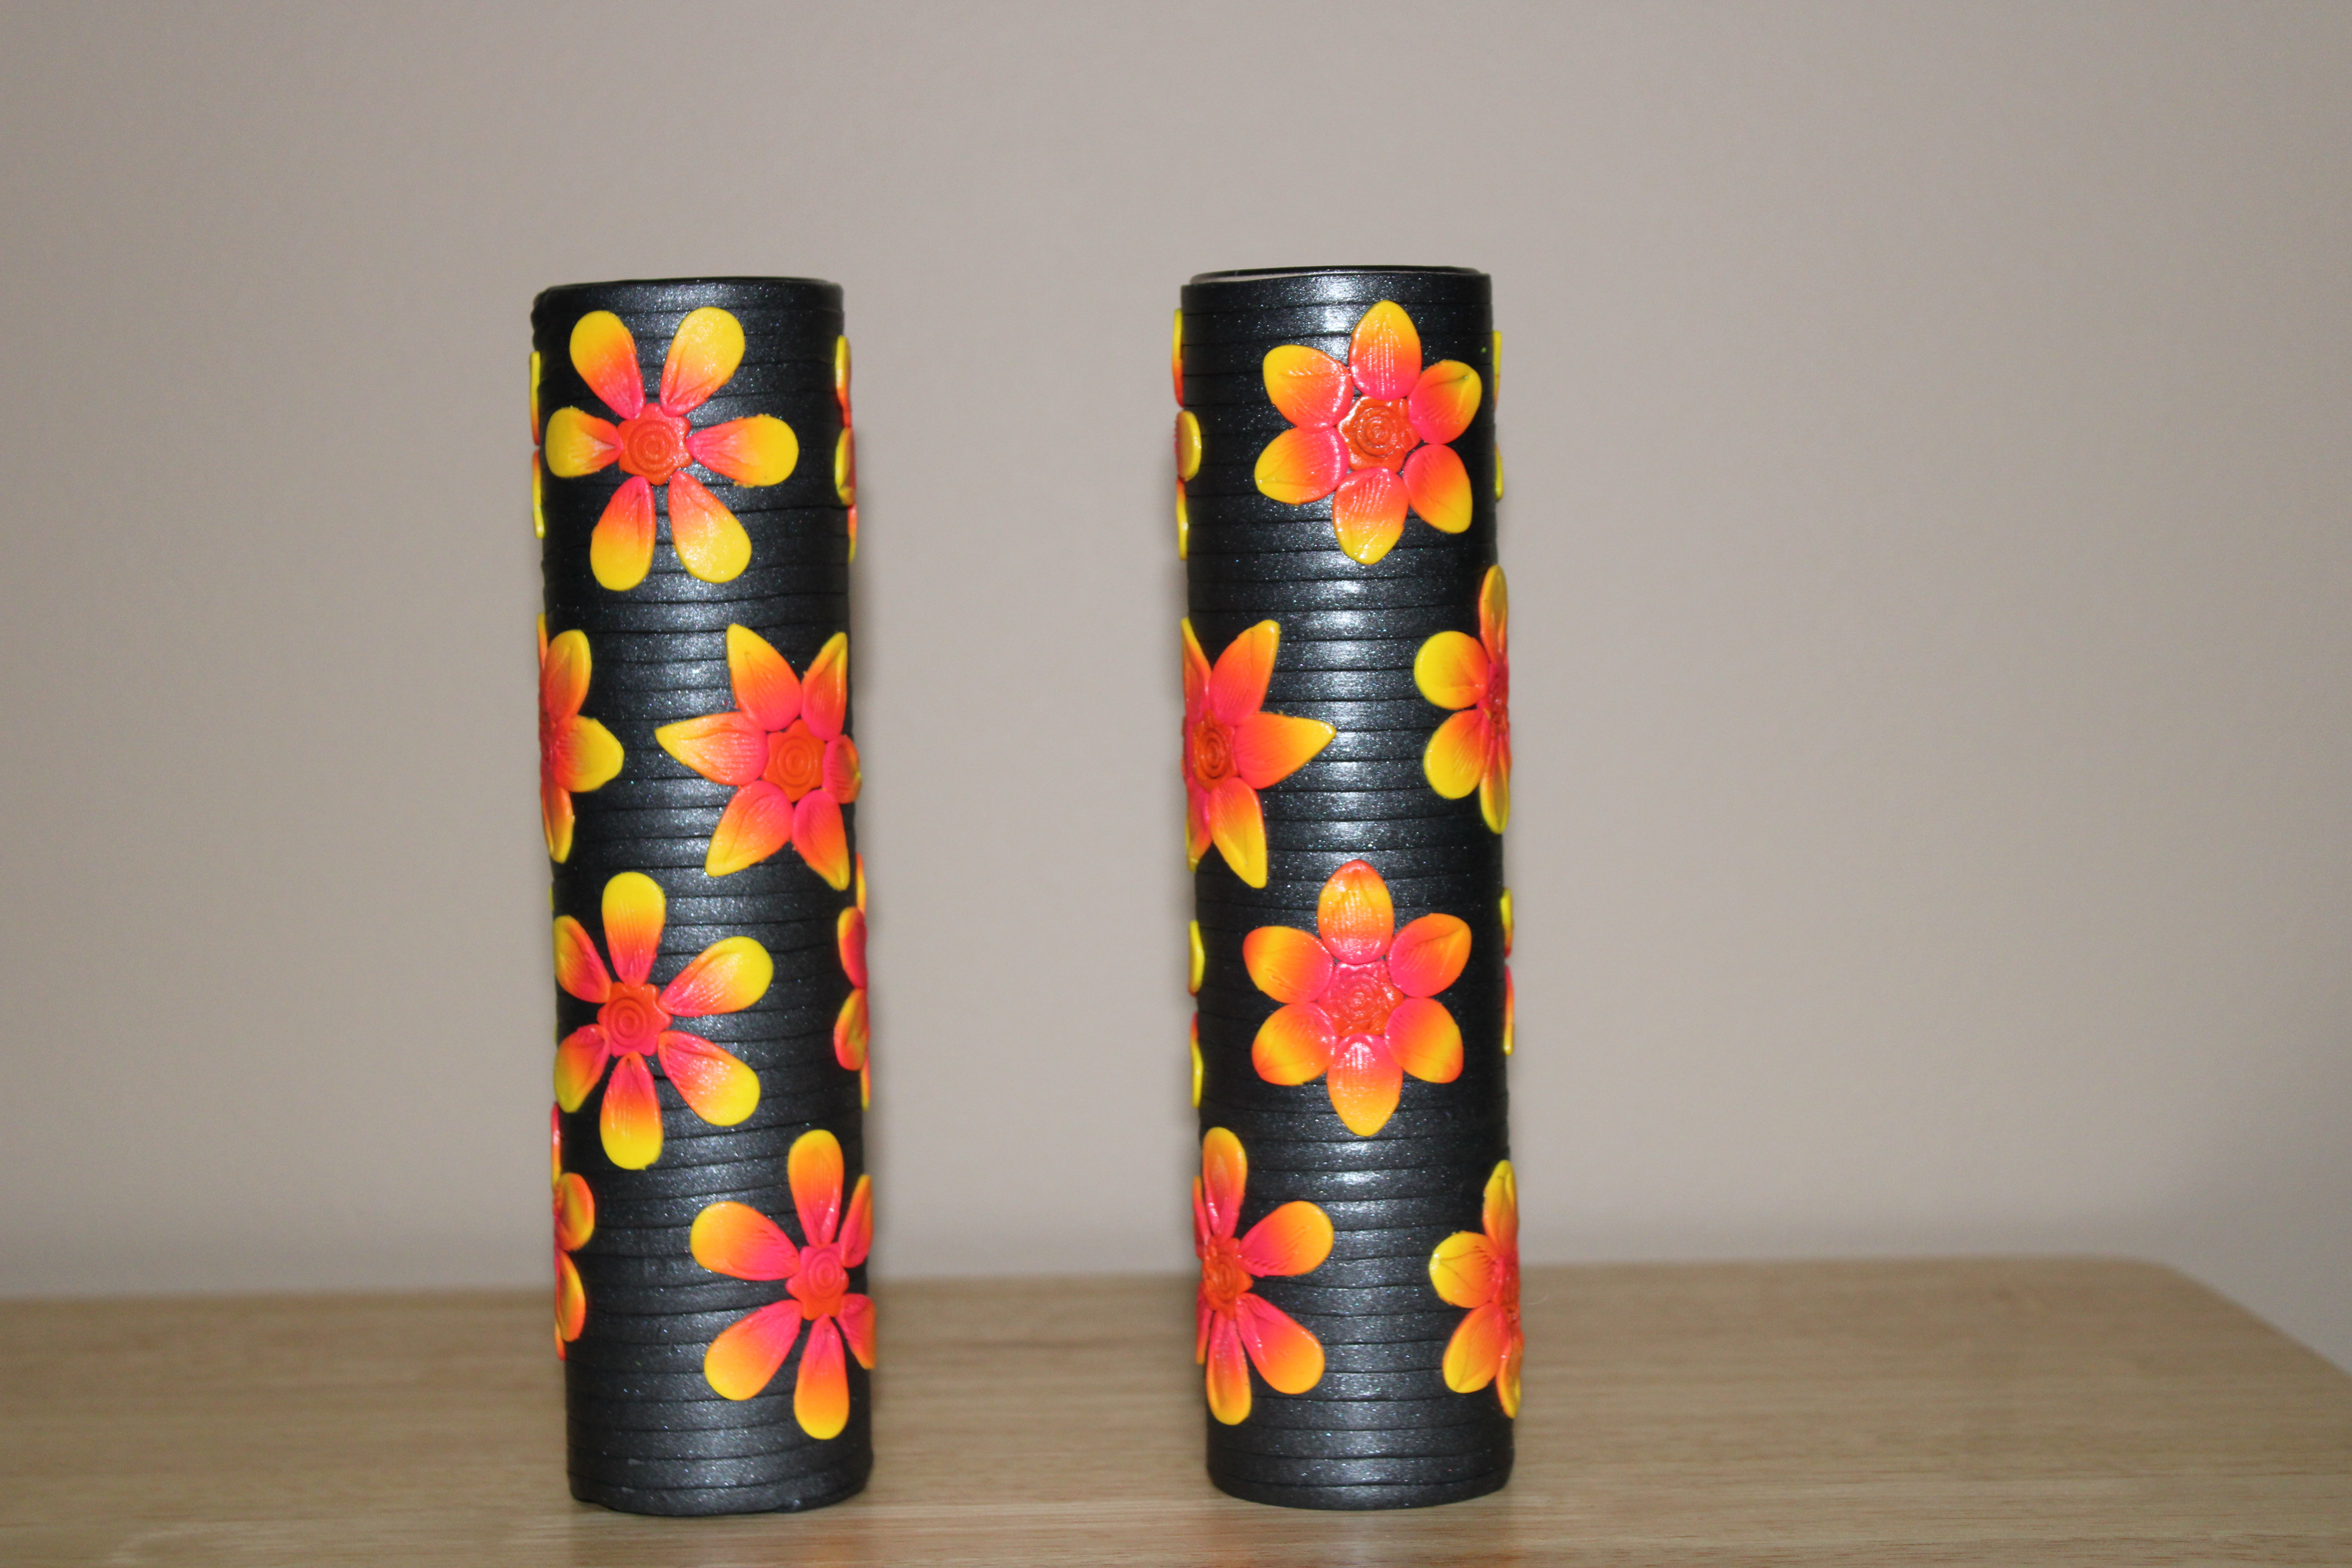
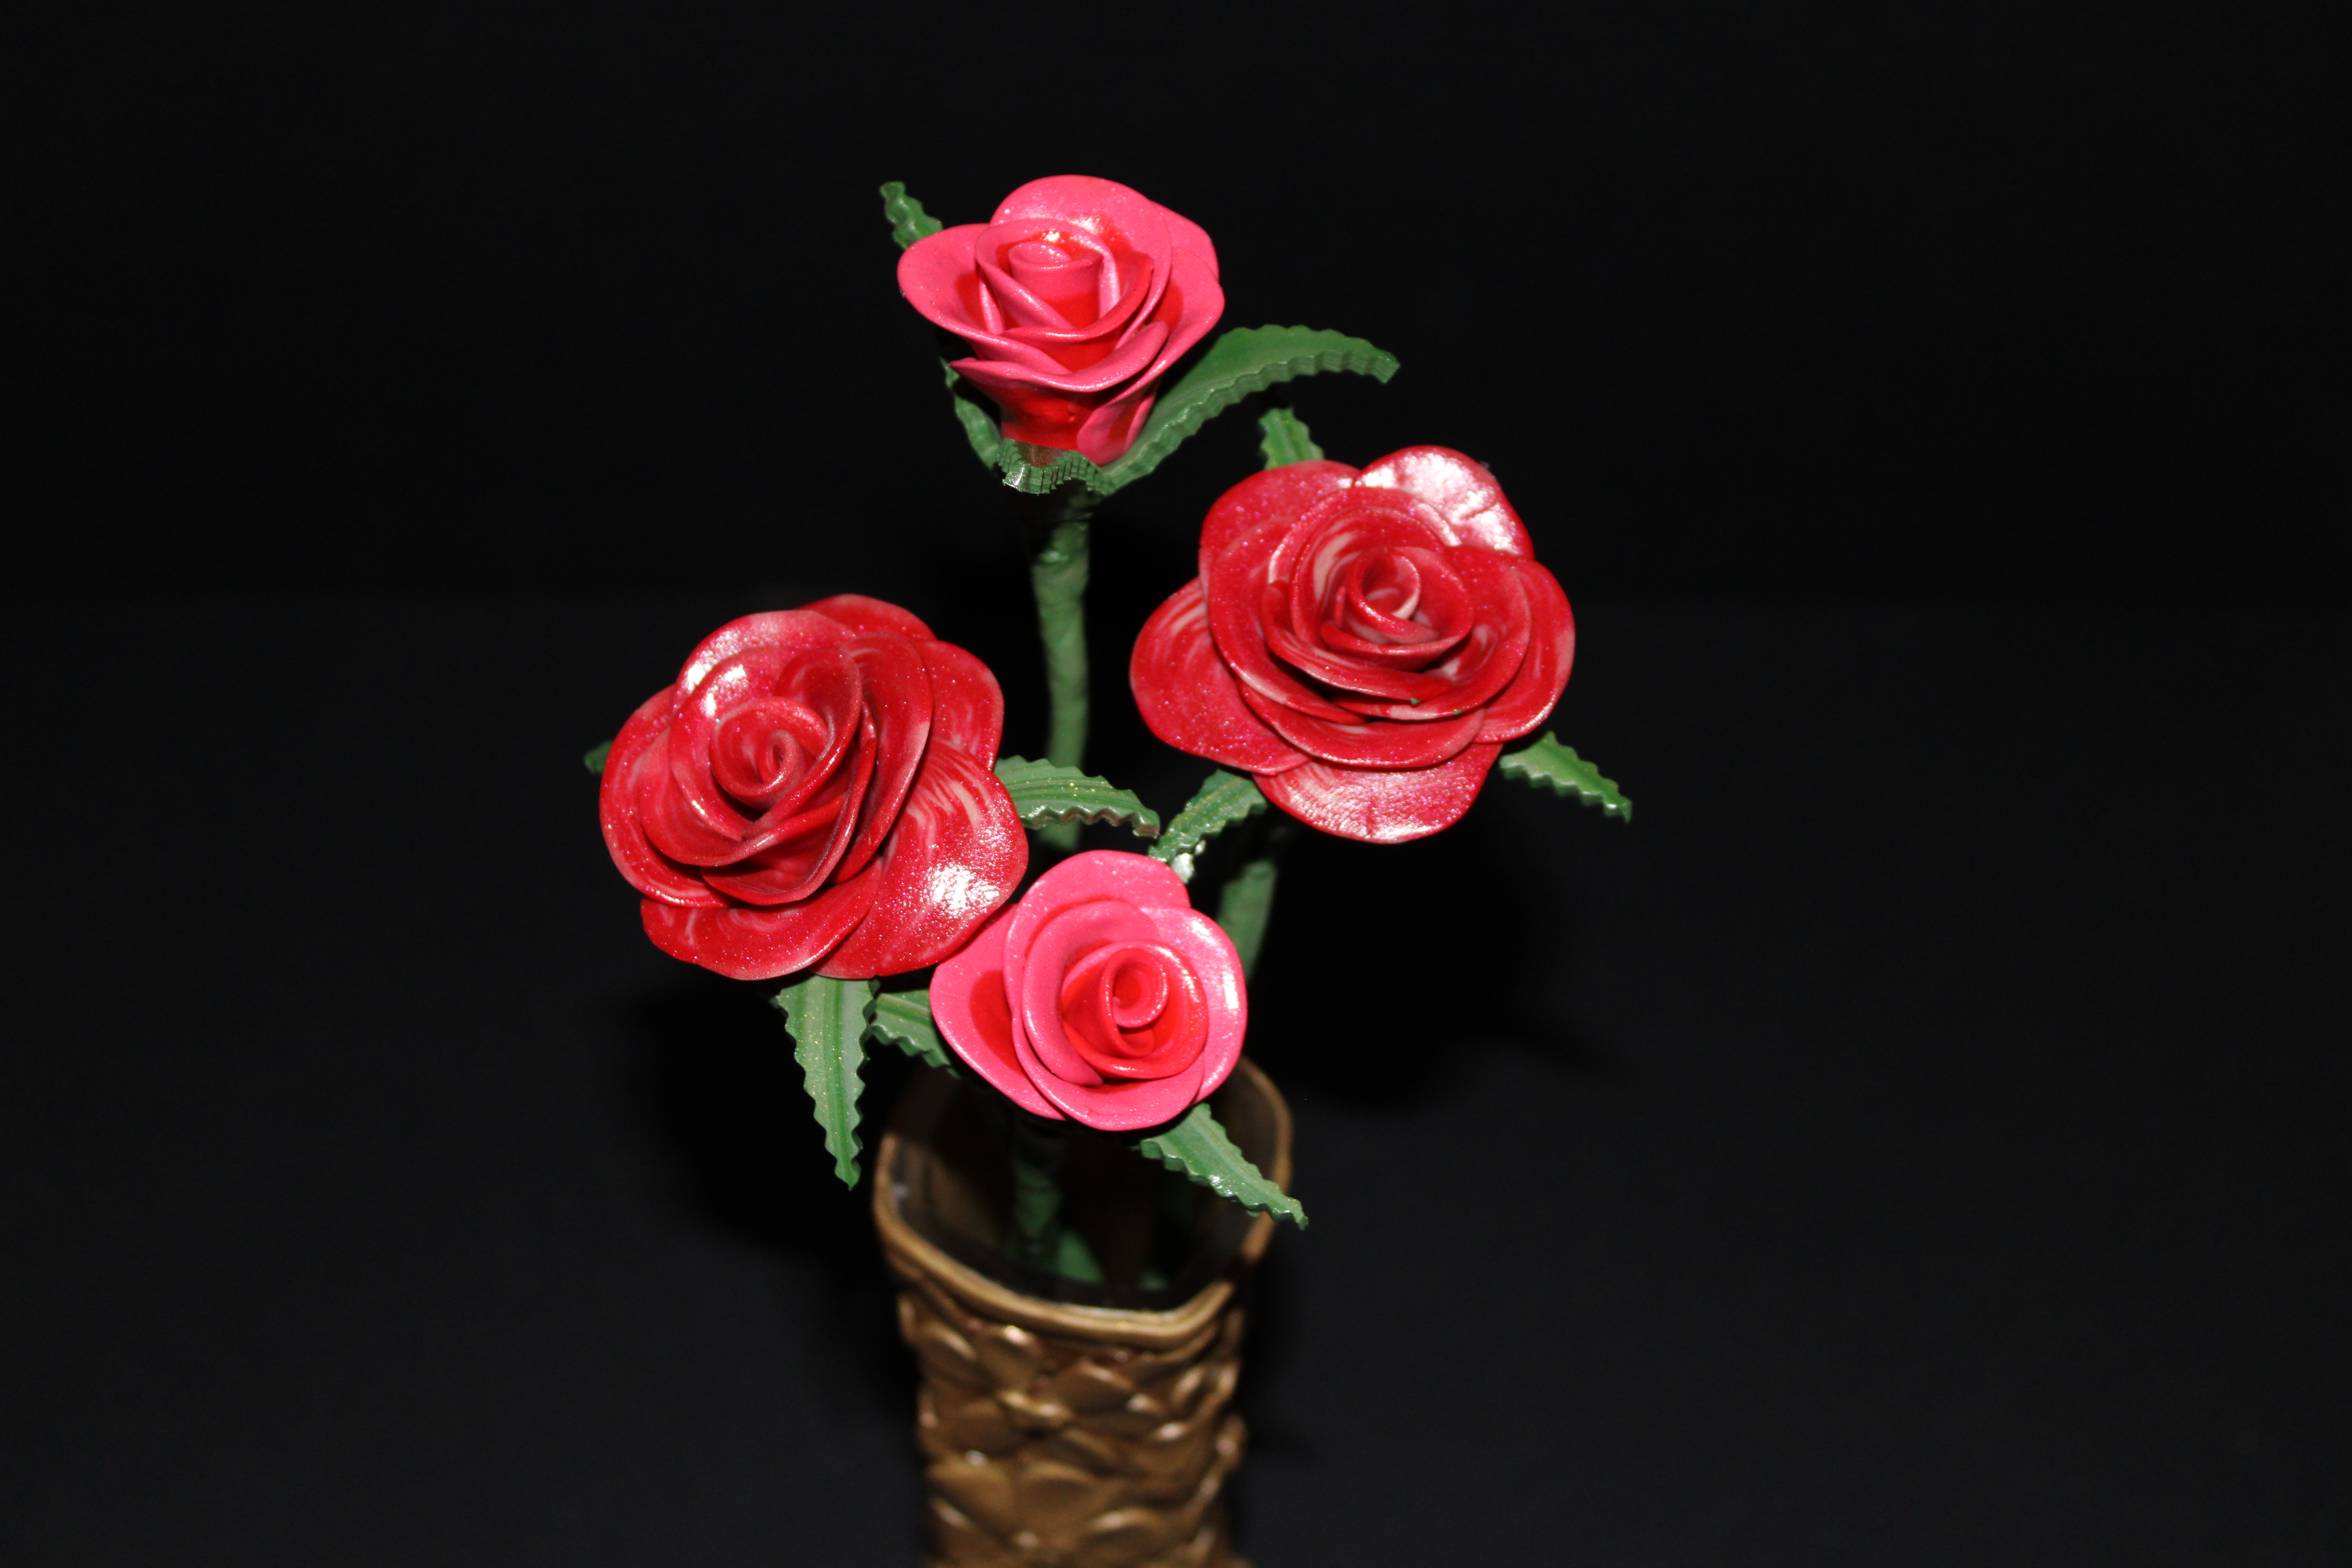
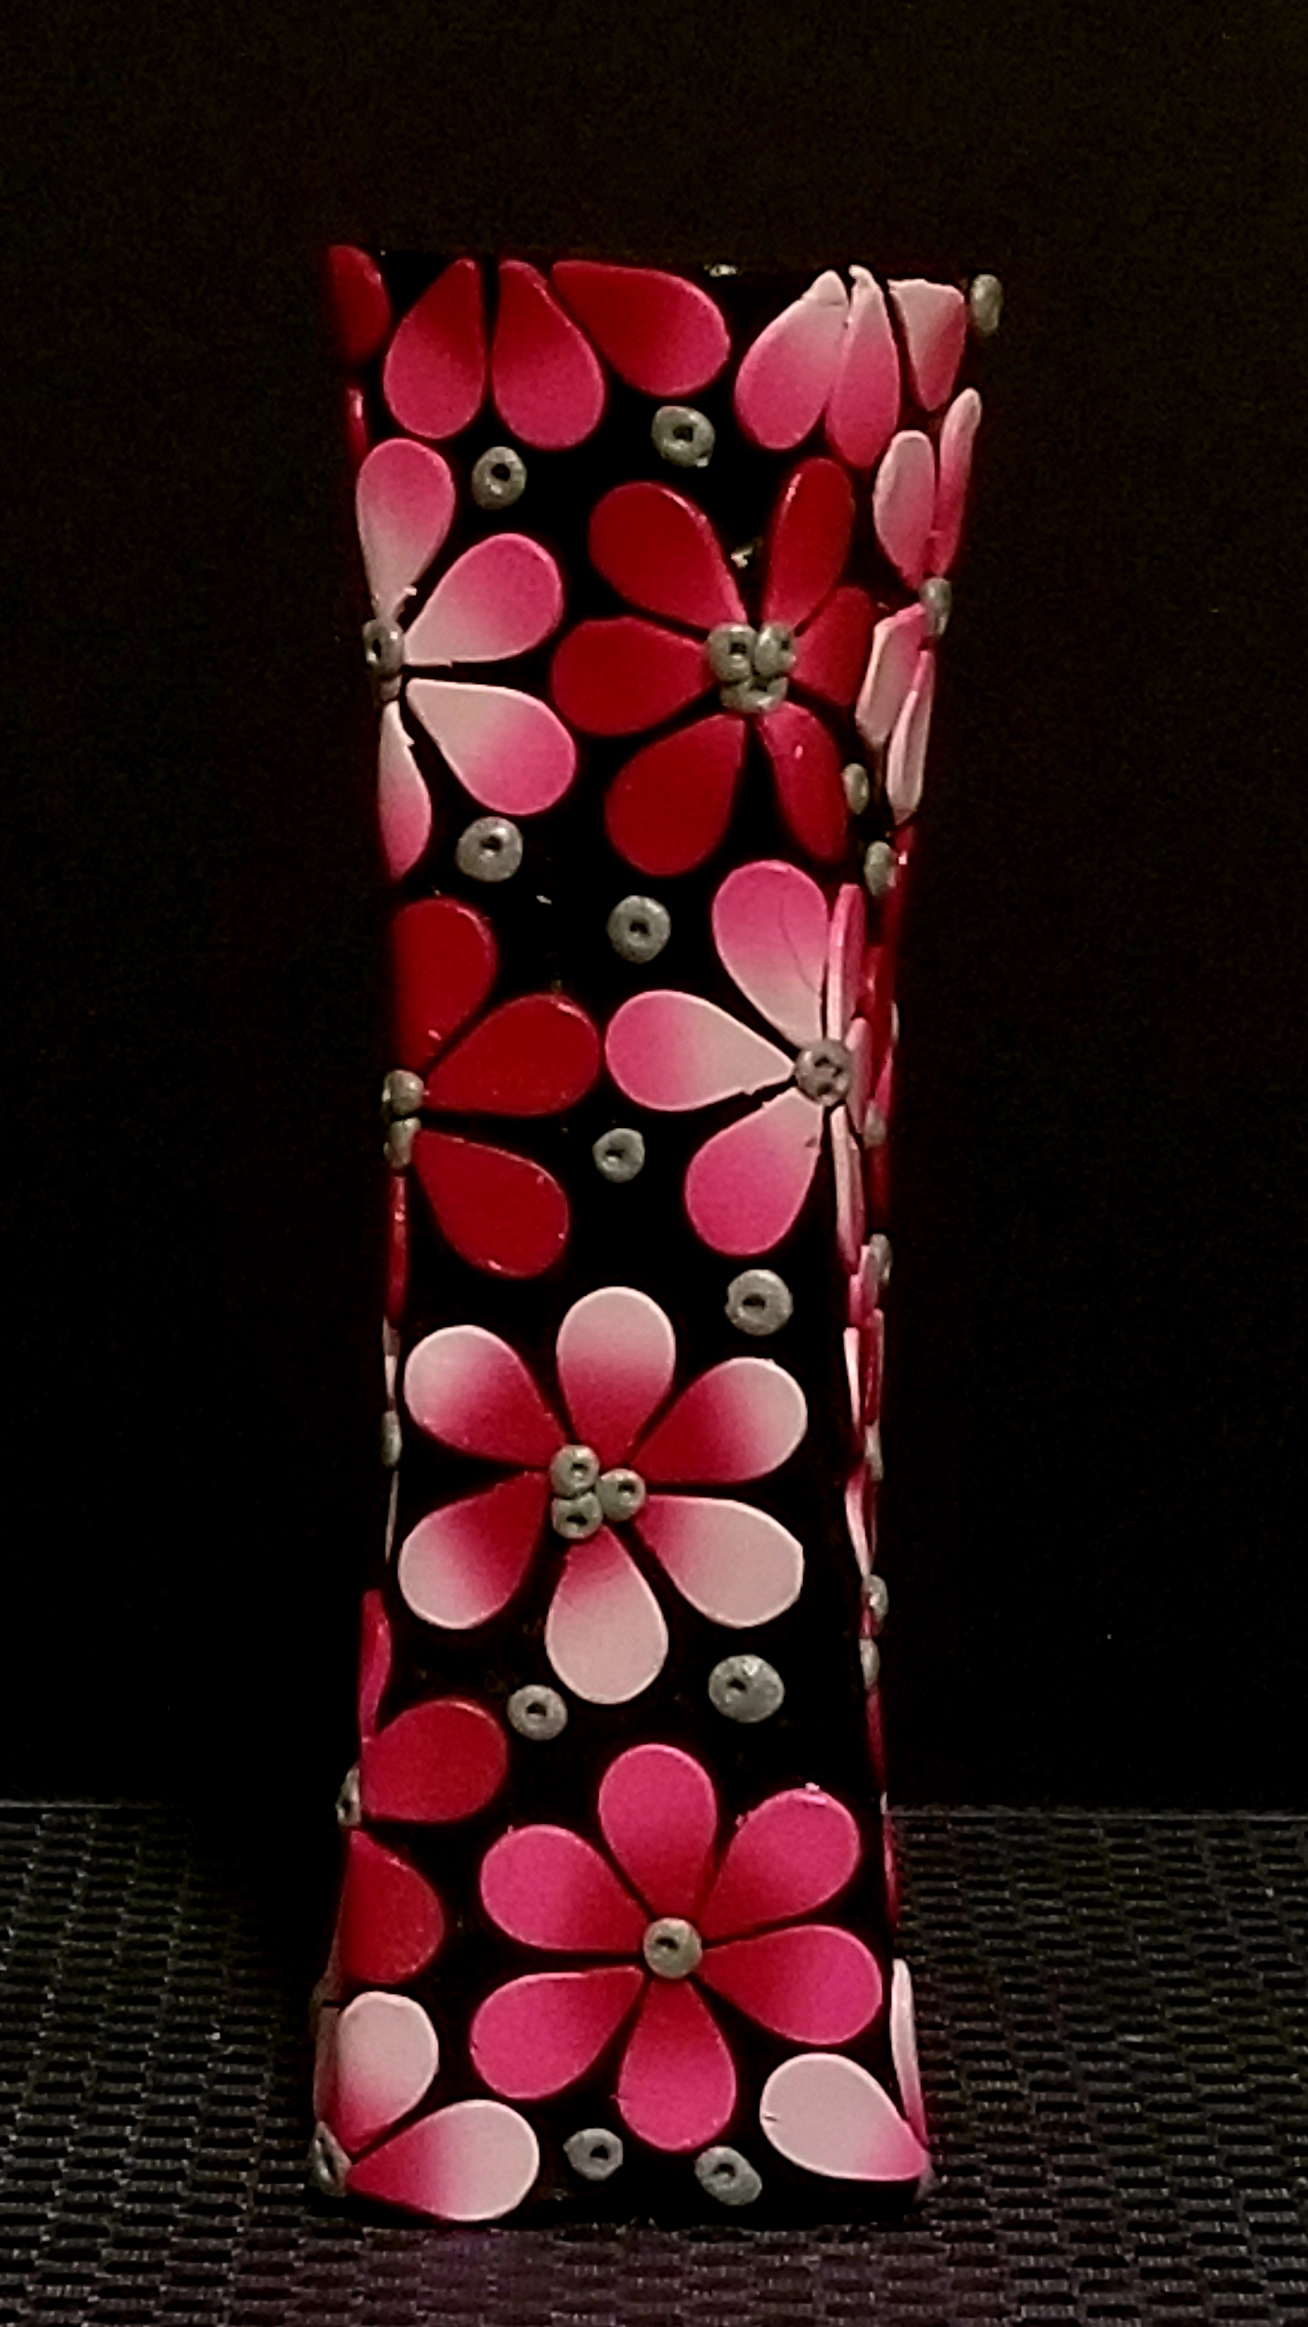
The Shades of Red Vase:  The original intent was to cover the vase in black, then give it a stain glass appearance.  That idea change when I saw how nice the reds and pinks looked against the black.

20190824_140551.jpg

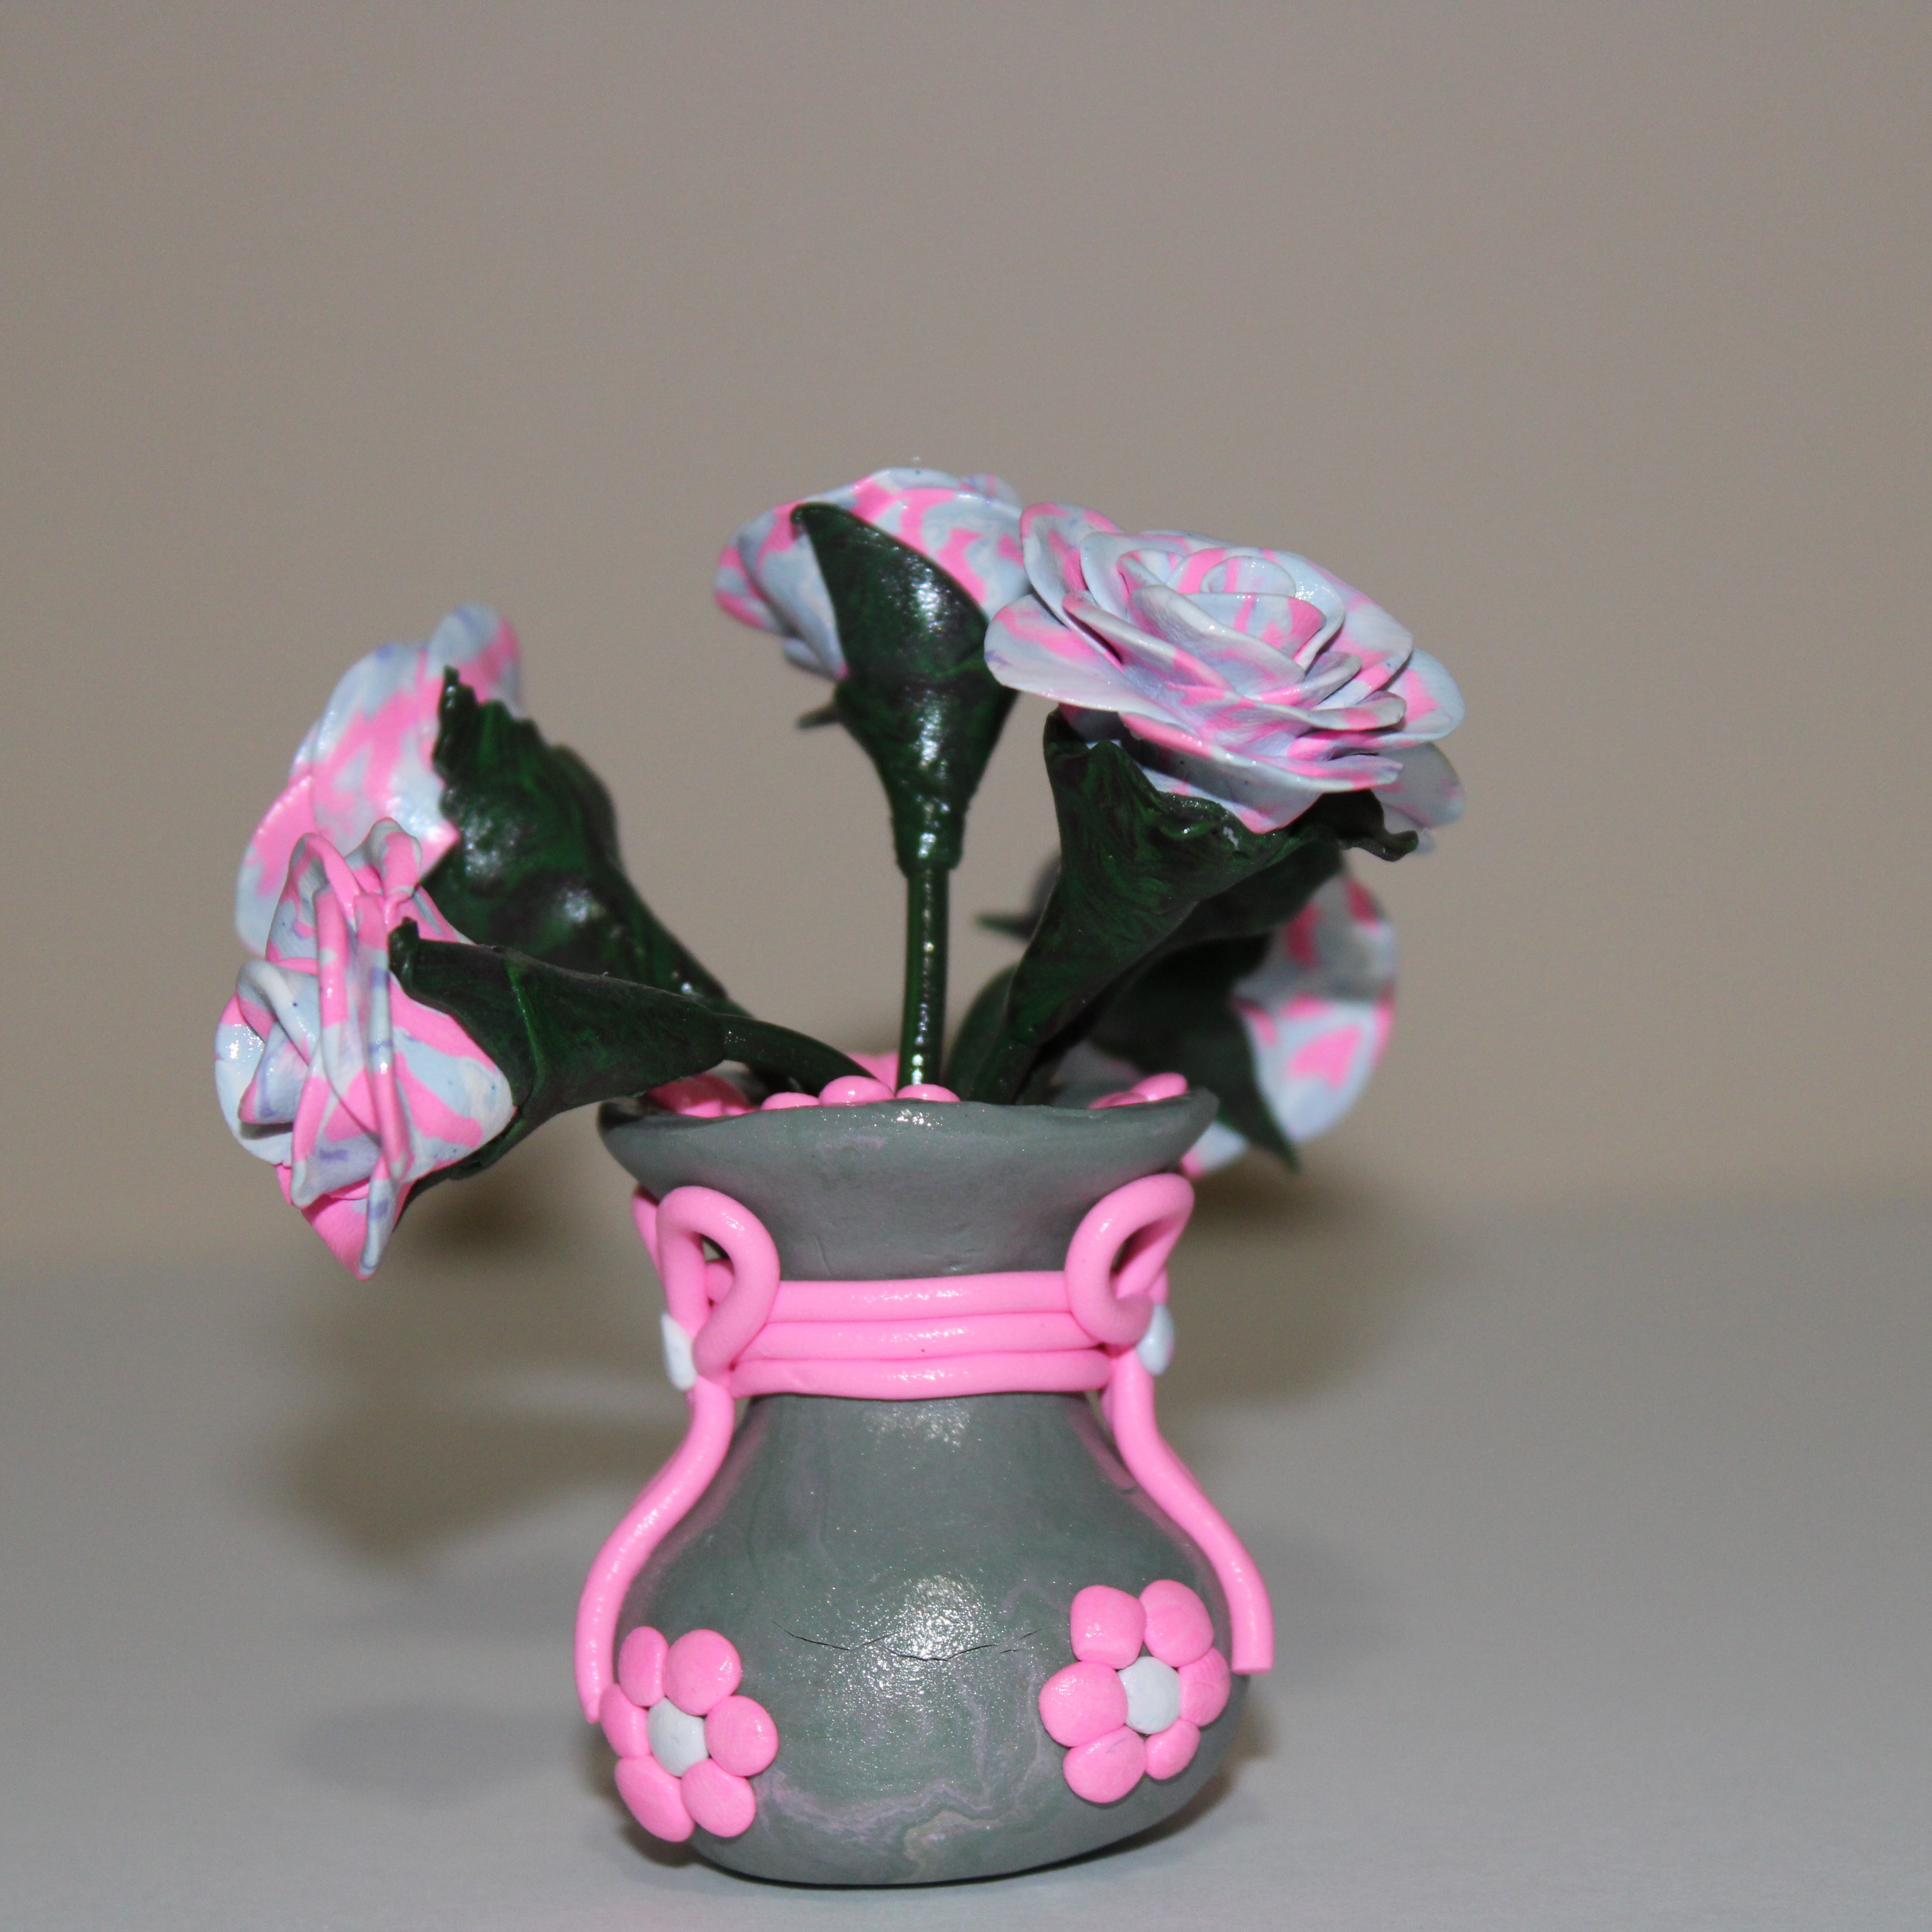
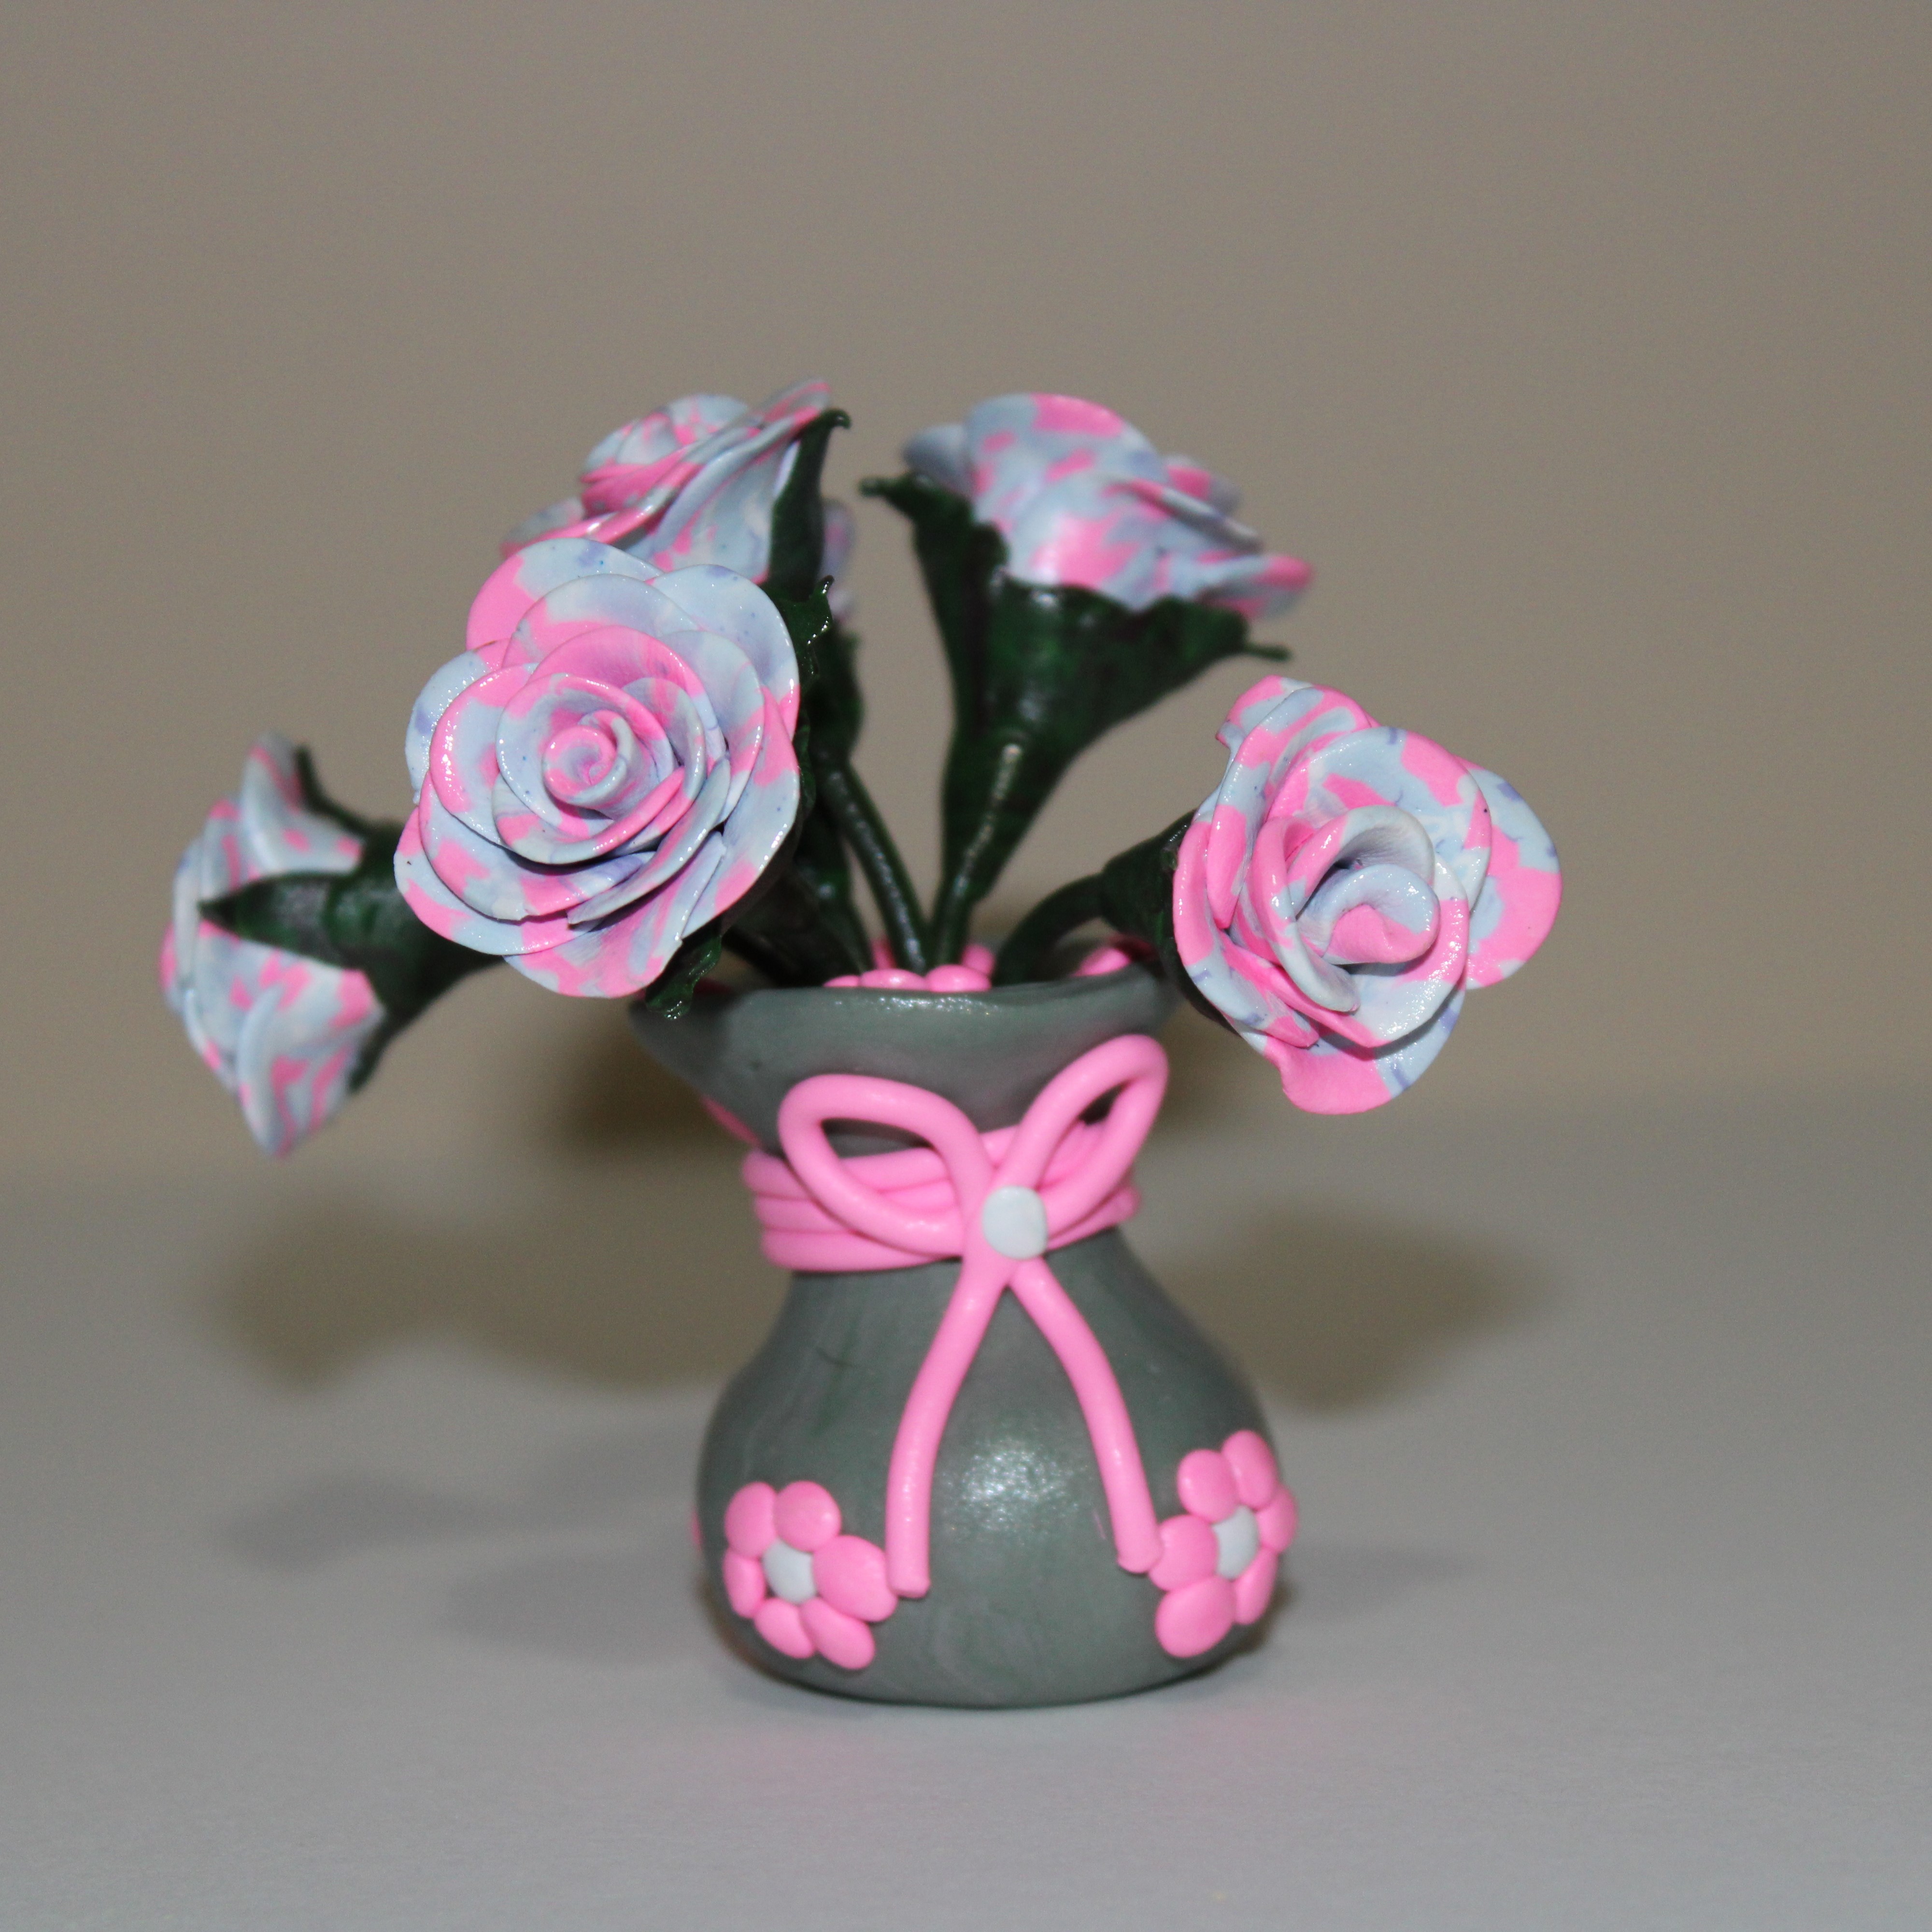
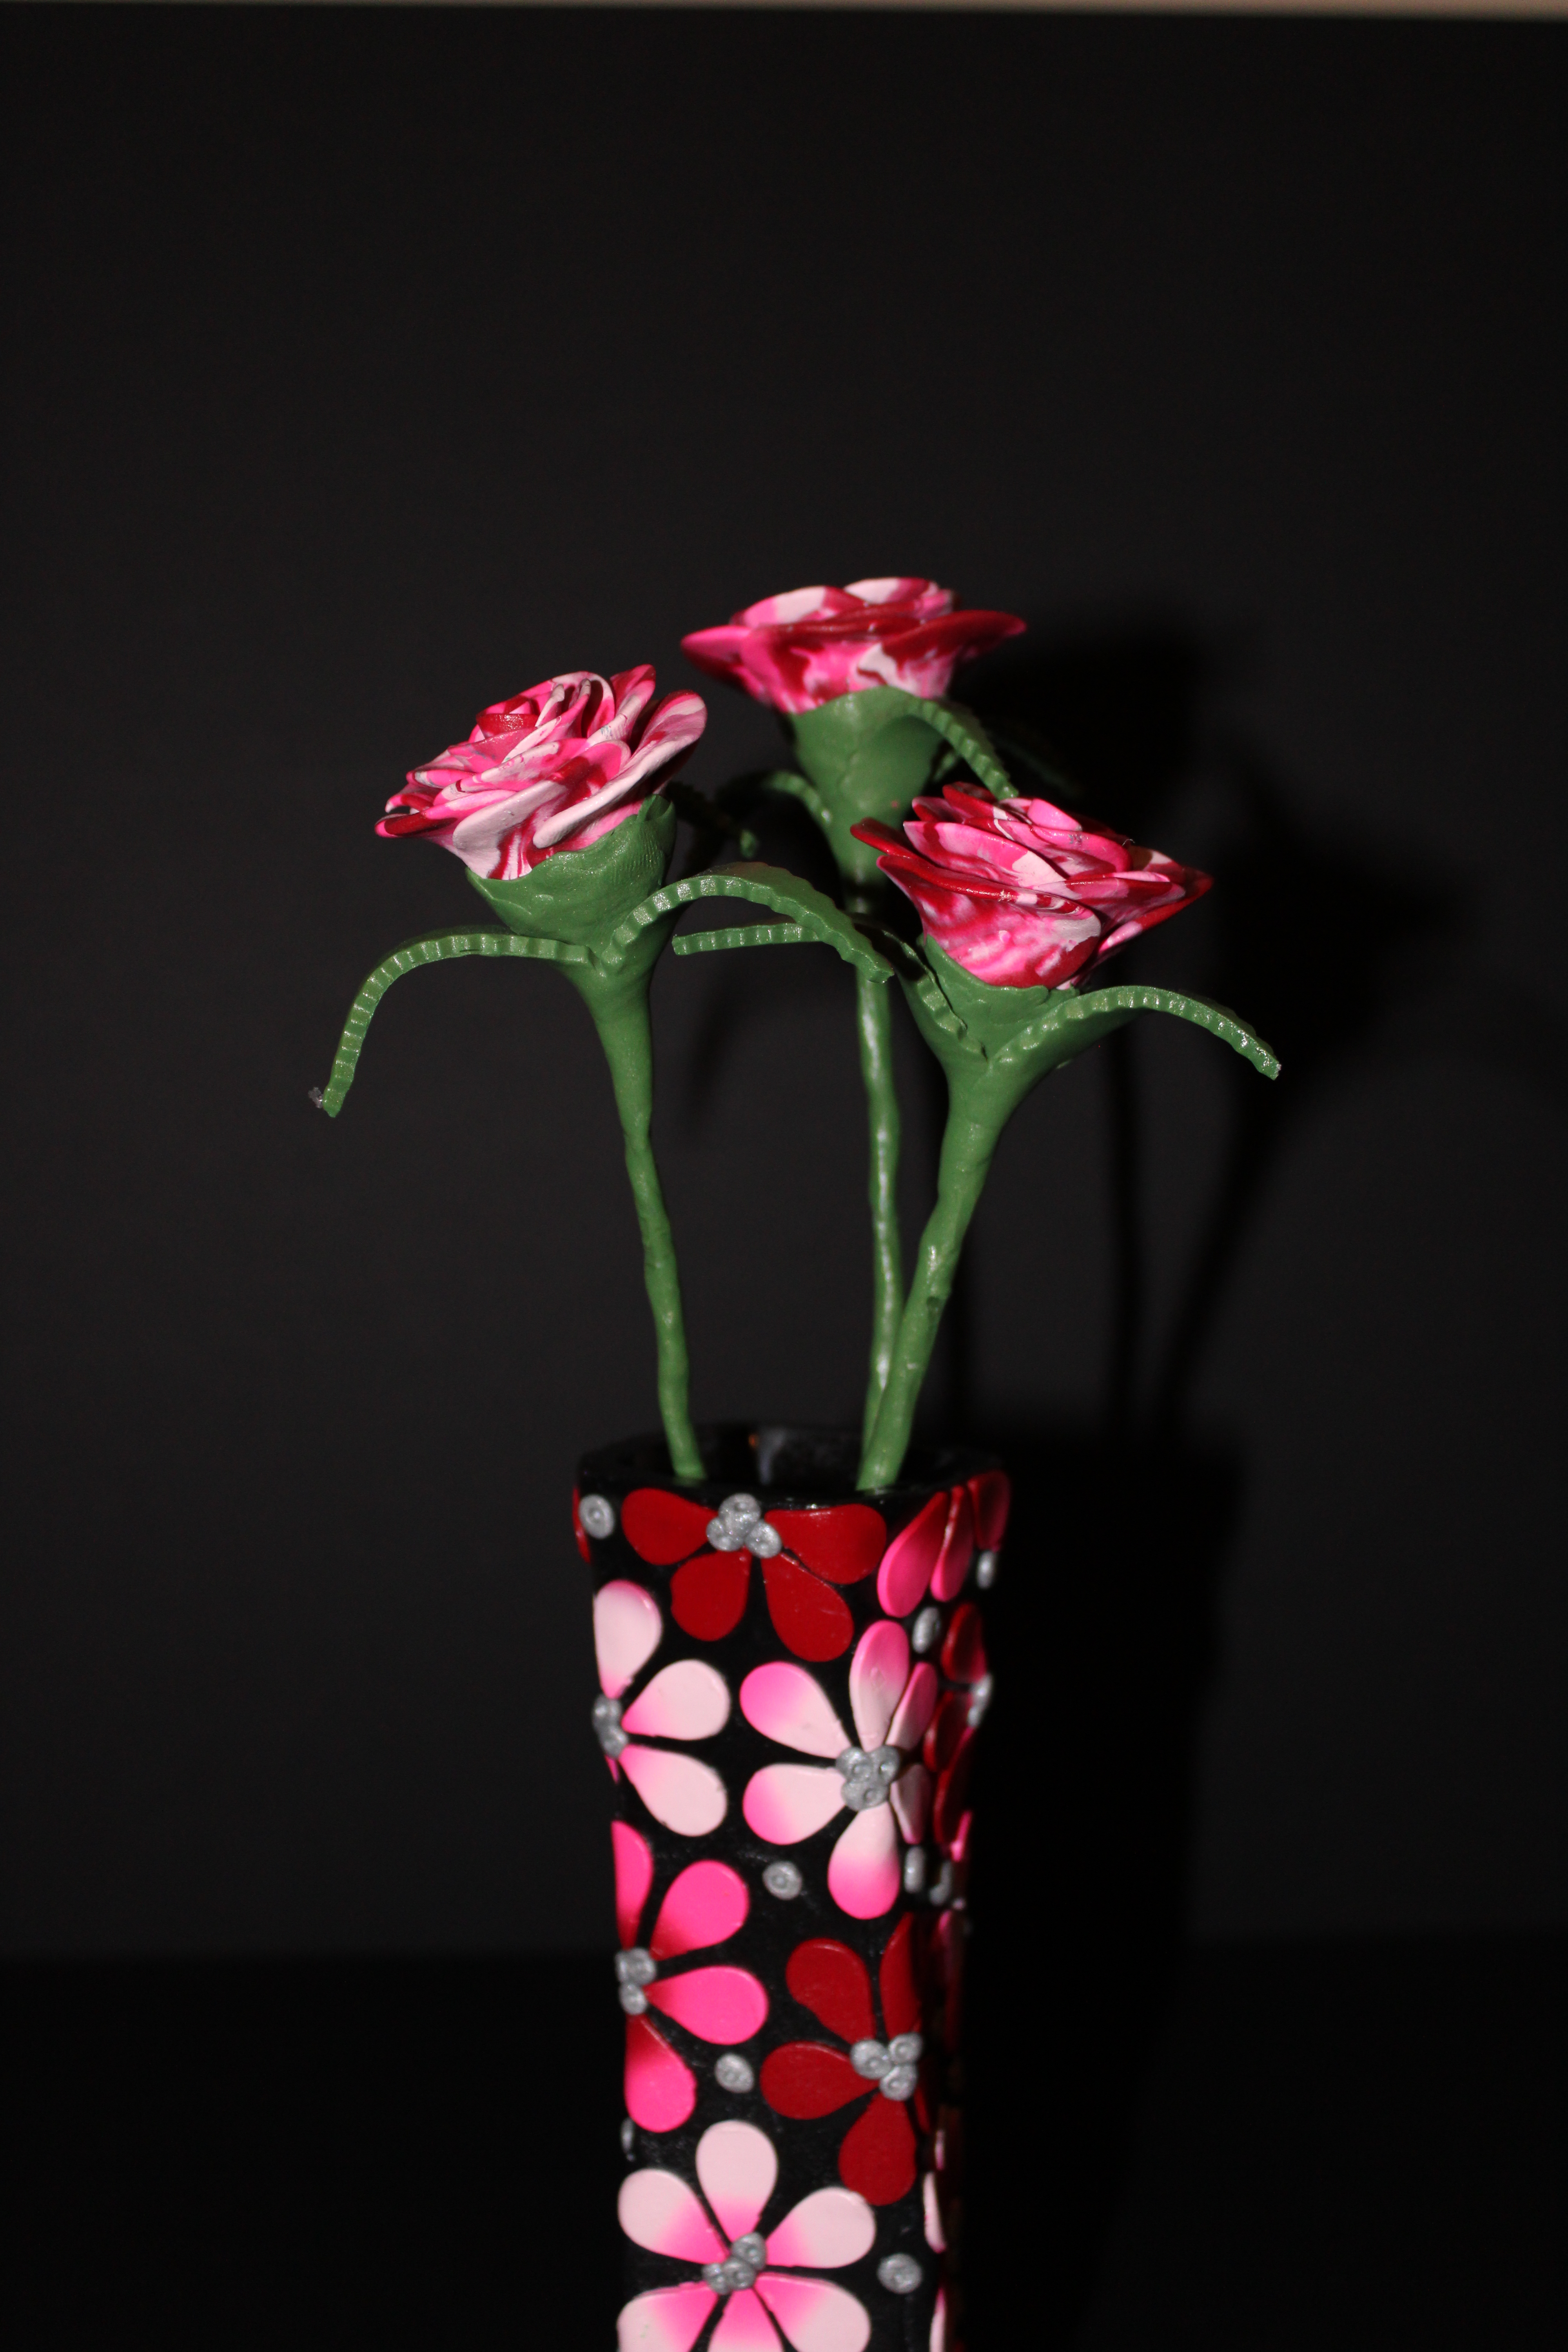
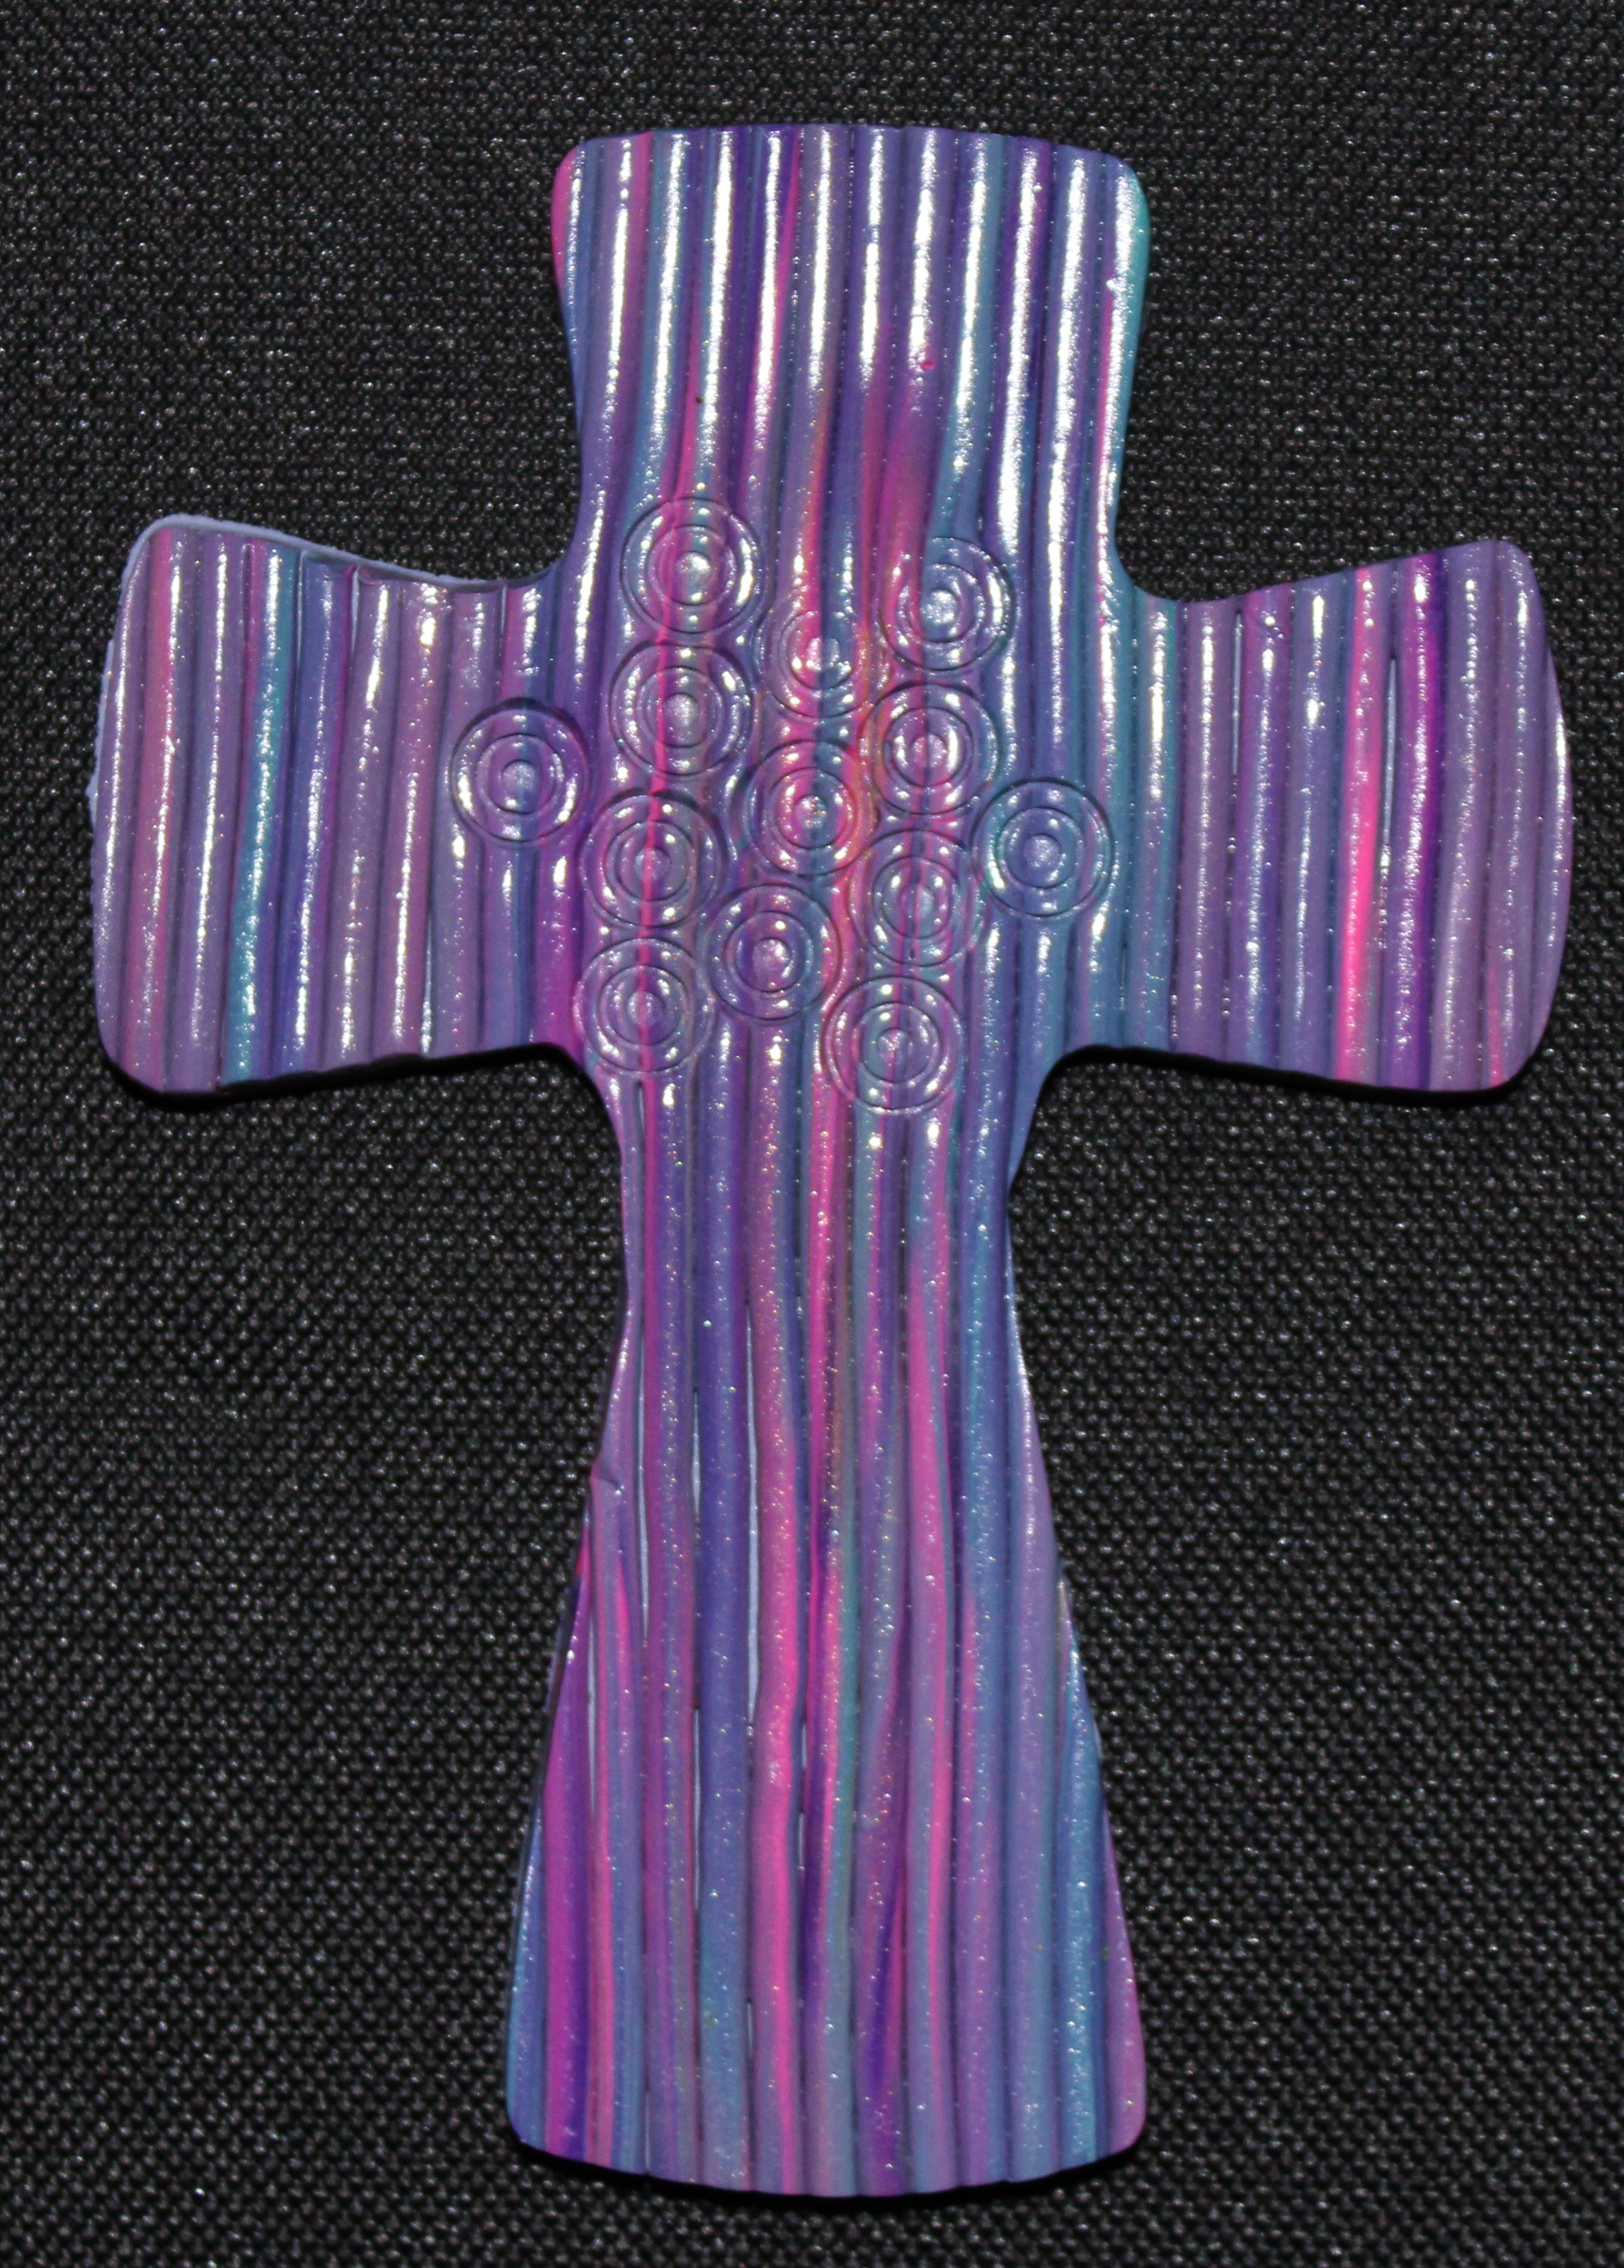
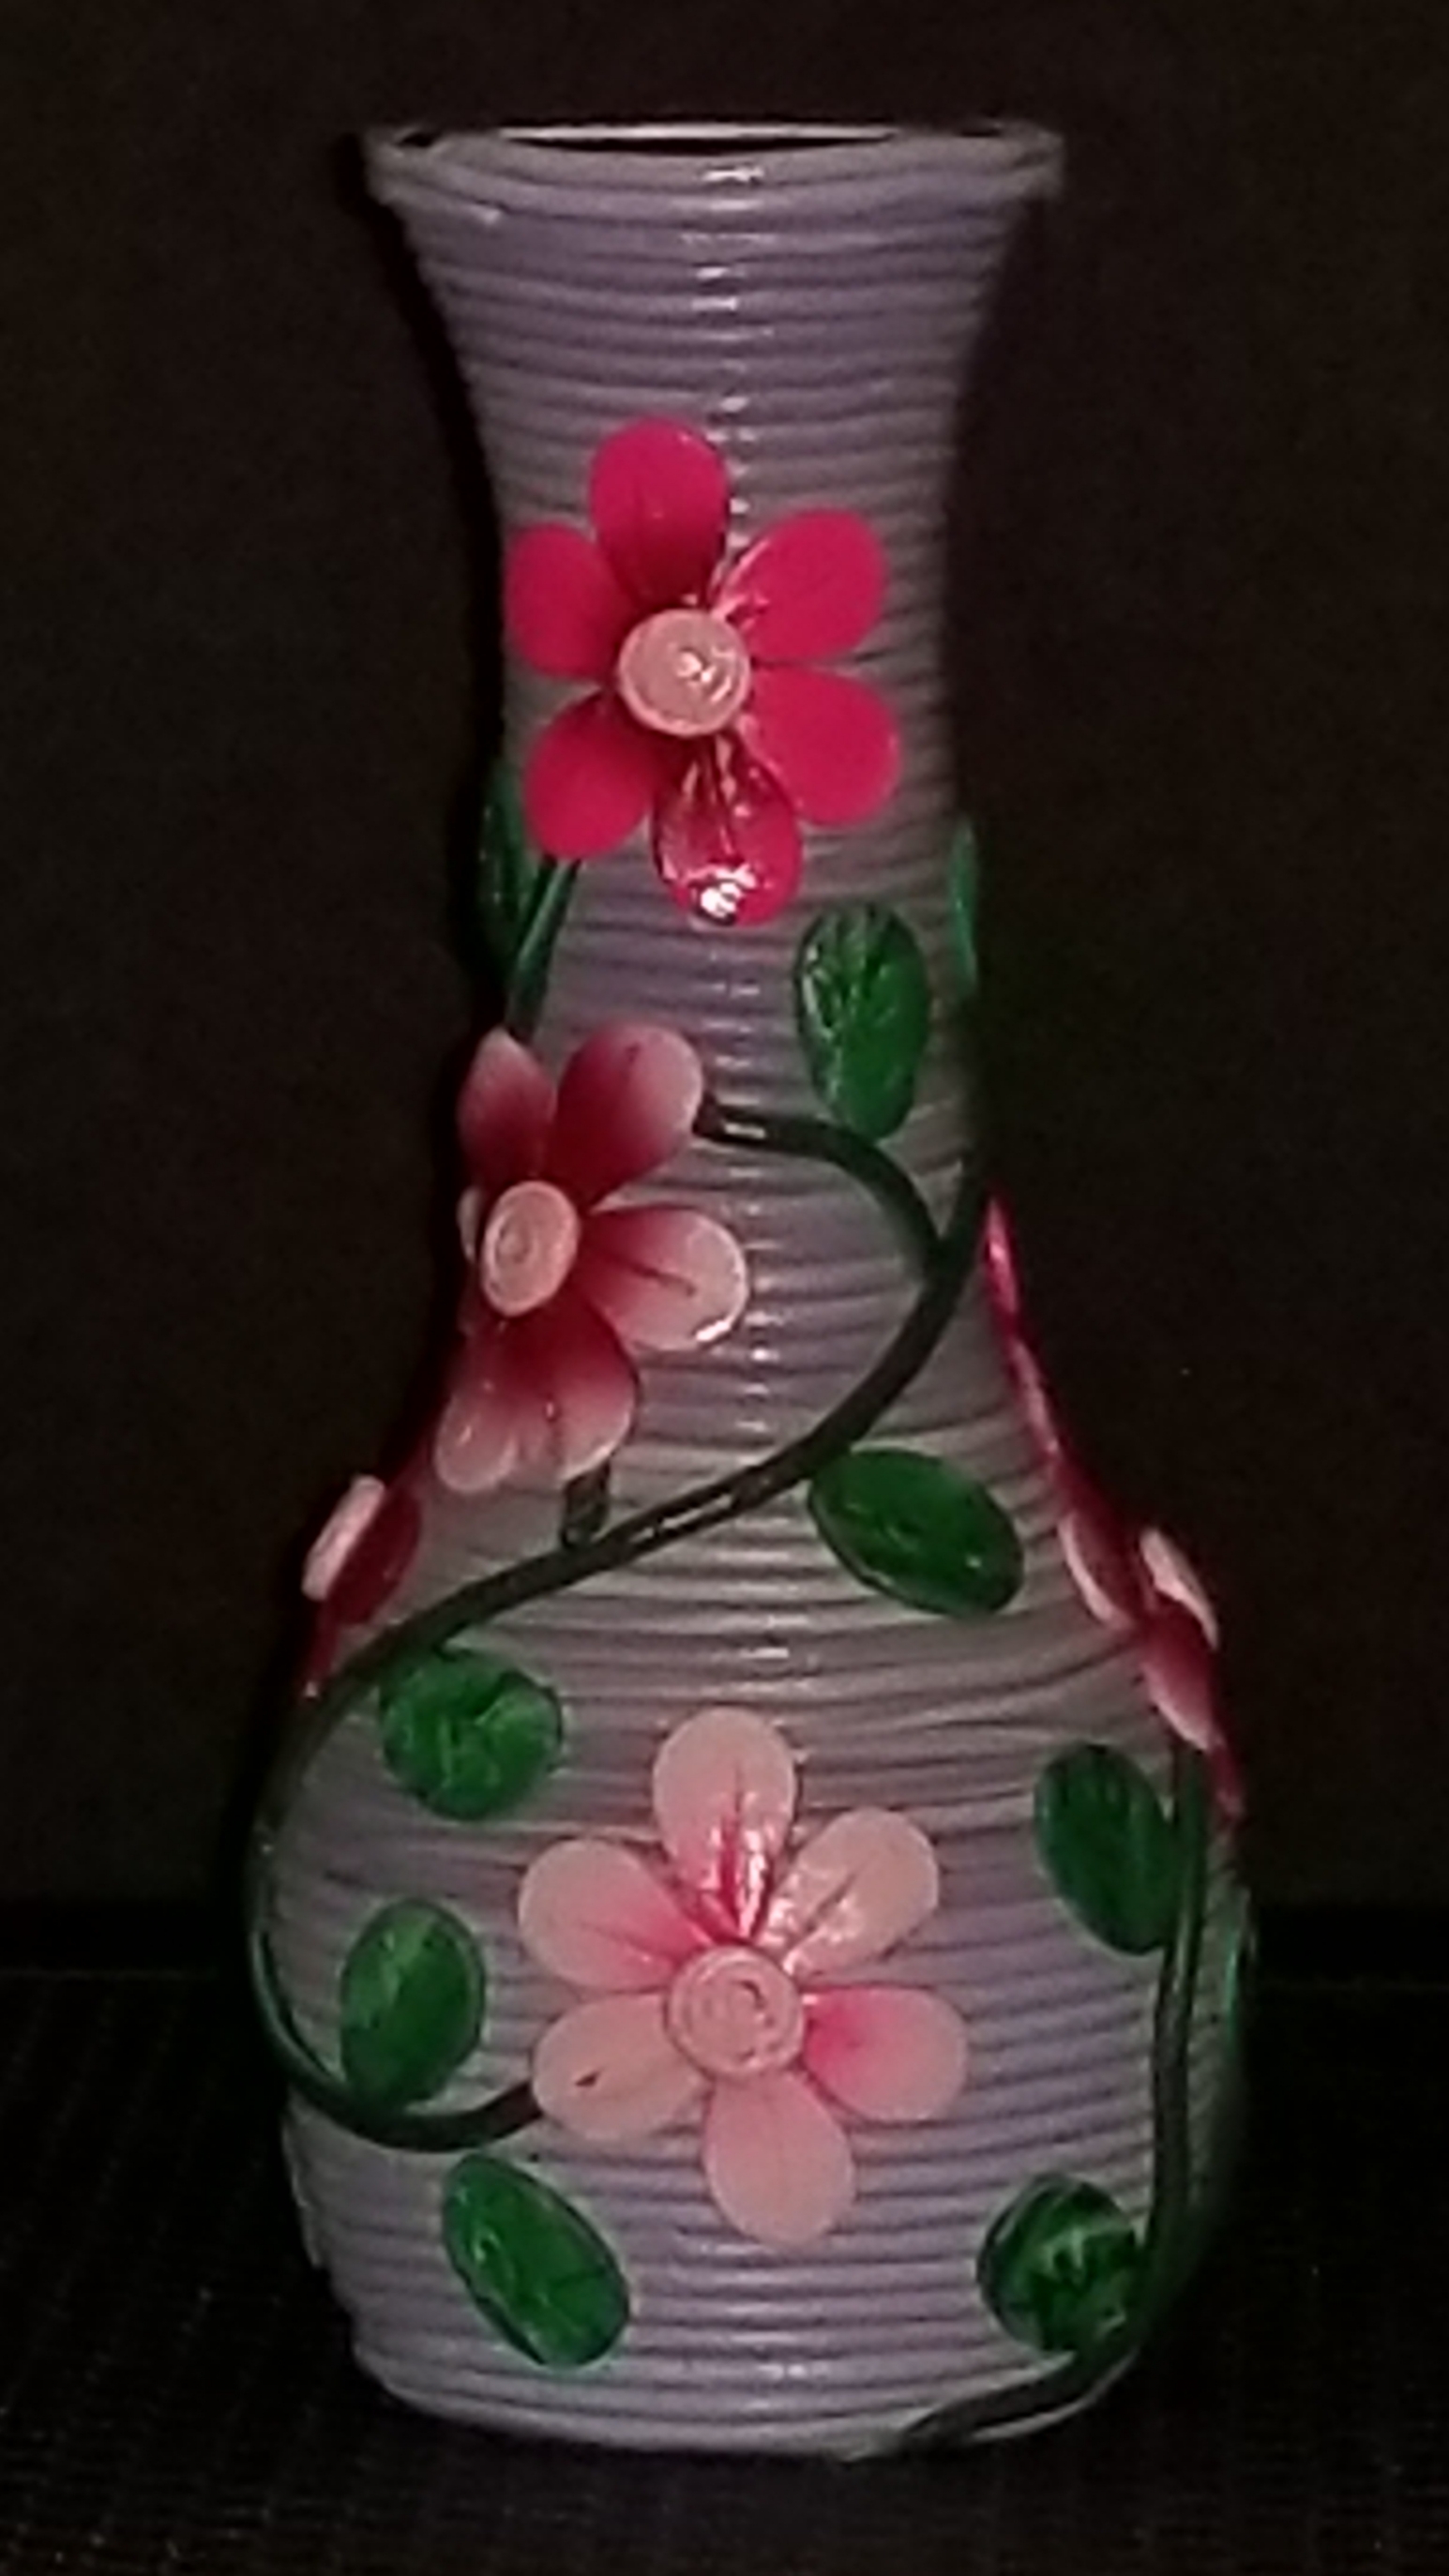
The Flower Vase:  I extrudes some blue/purple clay that was left over from other projects.  The intent for this vase was to have a delicate flowery pattern.

20190824_140401.jpg

After the vases were baked in the oven and cooled, I applied polyurentane to seal the clay.   Since the clay is not permanently stuck to the vase, I could probably take a sharp Exacto Knife to any vase that turns out poorly to remove the clay.

Polymer Clay Crosses

I spent some time creating crosses from polymer clay, which was left over from all of the other polymer clay projects.

First the pretty crosses:

IMG_0925 (2)IMG_0926 (2)IMG_0929 (2)IMG_0930 (2)IMG_0947 (2)

The difficult cross:

Folding clay and braiding clay is a little bit challenging.

IMG_0910

IMG_0944 (2)

Interesting Crosses:

IMG_0934 (2)IMG_0935 (2)IMG_0932 (2)

The weird ones:

IMG_0933 (2)IMG_0937 (2)IMG_0939 (2)

IMG_0942 (2)

Do You See the Butterflies?

IMG_0940 (2)IMG_0908 (2)

Work with Mosaics Title

I created the Mosaic Tiles then I placed the on stained wood items.

Jewelry Boxes - closed

Jewelry Boxes – closed

Jewelry Boxes - open

Jewelry Boxes – open

End Table

End Table

End Table - Top (Shapes)

End Table – Top (Shapes)

Bottom Shelve End Table

Bottom Shelve End Table

End Table - Top

End Table – Top

End Table - Top (Hearts)

End Table – Top (Hearts)

End Table - Bottom Shelf

End Table – Bottom Shelf

Family Tree cake stand

Family Tree cake stand

Plate - LSU Colors

Plate – LSU Colors