The Dress

After spending a lot of time making drapes, I wanted to see if I could sew something that wasn’t rectangle. So, I attempted to sew a dress, using an idea that was in my head. This isn’t the first dress I’ve attempted; it is the second one. I was in high school, and I got so frustrated with the first dress, my sister ended up finishing it for me.

To make a dress: First, I found pretty denim fabric. It was on sale for 70% off, a definite plus. I purchased 1.5 yards of denim fabric. Had no clue how much I needed. A pattern for another dress I looked at said it needed 1.5 yards.

Professional seamstress recommends washing the material first. I did not, I thought even if I stitch the edges of the fabric, it would unravel in the wash. I did iron the material. I have learned that ironing is a key component to sewing.

For the top of the dress width, I took my measurements, hips, waist, and chest to determine which was the largest. I wanted to be able to pull the dress over my largest body part, I added a couple of inches to the largest of these measurements for the seams. I divided this measurement by 2 to get the cut width for the top of the dress.

Determining the length of the dress was next. I took a measurement from my arm pit to the floor. Subtracted a couple of inches so it would be above my ankles. Keeping in mind, the dress would have at least a 3/4″ hem at top and bottom.

It occurred to me at this point if I wanted to move in the dress, the dress would need to have some flare to it. Or else, I would not be able to sit, bend over, kneel down, or walk normally. To add the flare, the bottom needed to be wider than the top. I added 8″ inches to the top width measurement for the bottom of the dress measurement. I then divided that measure by 2 to get the cut width for the bottom of the dress.

Here is the pattern I had in my head for the dress.

The length of the dress with seams was shorter than the length of the material. My first cut to the fabric was for the length of the dress. I wanted to make a belt for the dress, and I could use the extra fabric for the belt.

I folded the material in half and tried to match the pattern. Okay, I am not that good of a seamstress. That endeavor was quick abandoned.

I marked the top and bottom of dress measurements onto the center of the fabric and drew a chalk line from the top of the fabric to the bottom of the fabric on both sides. I pinned both sides, checked that the top and bottom measurements were correct, and cut the material.

I sewed the hem on the bottoms of both pieces of fabric.

I needed some shoulder straps to hold the dress up. I am not flexible enough to determine the exact length of the shoulder straps I would need, so I decided to make straps I could ties. I cut eight pieces from the fabric scraps about 18″ long and 3″ wide. After sewing the fabric together, I had four 2″ straps.

How do I determine where to place the straps on the dress? I could Google is, but every woman is a different size. Then I realized; I had the measurement on me, I would measure the distance between my bra straps. I took this measurement, center the measurement on the top of the dress and marked the location for the straps on both pieces of fabric. I pinned the straps into the top seam of the dress, then I sewed the seams at the top on both pieces of fabric, which sewed the straps into the seam.

I then sewed the sides of the dress together. I officially, had a dress.

However, my last task was to sew the belt. The belt finished width was 2.5″ wide and 54″ long. Yes, I used the entire width of the fabric, plus some to make the belt. I wanted to be able to wrap the belt around the waist multiple times.

The Dress:

Spam, Spam and More Spam

No not the luncheon meat, but hackers. People wanting to get a hold of your data to cause you harm.

Occasionally, I looked through my junk mail and report the spammer. Today, there was one spammer that announced from the very first word they were a spammer. Here is the heading of the email.

Do you see the problem with it? Okay, I did highlight it. Amazon never ever refers to anyone as “Dear”. They are always blunt and to the point. Also, that red exclamation mark is another indicator. I did open the email (shame on me) to see how many times the spammer announced they were a spammer.

  1. My name is not SARAHCATH.
  2. What is “Command n & deg”? – probably something they forgot to program.
  3. Appears they can not type in Mixed Case.
  4. Oh, what is up with that date “Today , 2023.04.02 -“
  5. “Your commands” – missed something else in the program.

This was my giggle for the day. Giggle, giggle, giggle.

Seriously, the majority of my junk mail is from spammers. A small percent is actually from businesses I have contacted in the past. Below are just a few of the emails I have received from spammers.

How do I know they are spam without even opening the emails?

  1. Most of the companies listed I have never done business with.
  2. Again, my name is not SarahCath
  3. If is highlighted it is spam.
  4. If it has a cute little character or text, treat it like spam.
  5. Ad Partner – spam – someone pretending to be someone else.

You may wonder why I consider the apparent email from Paypal and Microsoft Account Team to be spam. Simple explanation; Paypal is not affiliated with this account. Now, the Microsoft look legit, however…

I have two-factor identification setup on my Microsoft account. But, I wanted more security on this account, so I set up the Microsoft Authenticator. It will notify me anytime someone tries to log onto my account, and I can deny their access. I can approve my access, if I am trying to log into the account from a different device. I no longer receive these emails from Microsoft, and if I did it would go directly to my inbox.

During the last week, there has been 14 attempts, from all over the world, to sign into my Microsoft account. They were all stopped from the start because they were attempting to use a very, very old password.

Drapery

In October, I moved into a new house. The house faces east, so the morning sun coming through the windows (or cracks in the blinds) was blinding. Especially the windows over and along the front door let in a lot of light, I couldn’t look east or watch TV without dashing sun rays. In the bedrooms, I wanted drapes for the added privacy. I have a sewing machine and I can almost sew a straight line, so making them myself was an option.

The problem, working with material exceeding 80 inches long and almost as wide is difficult. I visited Joann’s Fabric Store and Hobby Lobby, but none of their fabric said, “buy me.” None of the drapes at stores like Bed, Bath and Beyond, J.C. Penney’s, Kohls… fit my windows. Remember the front door, to cover those windows I would have to make them.

After weeks and weeks of internet searching and looking at fabric, I found a solution. It was https://bestfabricstore.com/. They sold a wide variety of fabric, and they would also make the drapes out of the fabric I select. This would be perfect if the drapes were well made.

First, I order about 15 fabric samples from Best Fabric Store out of Winfield, Al. The samples arrived in a timely manner and looking them over, I had a good picture of the color, design, weight and quality of the fabric.

Now for the test: I order one set (two panels) for the “weight room” window. They said it would take about three weeks, and the drapes arrived before their estimate. Below is the first drapery I ordered from Best Fabric Store. Yes, I did want a rod pocket drape.

The drapery looked good, it was package well, nicely folded, and the blackout material was of high quality and did its job.

Next, I ordered drapes for the Master Bedroom, Breakfast Nook, and the other bedroom. The house has windows in most of the doors and because it is an “open concept house”, the living room, breakfast nook, and entry are not separated by walls. Getting all the drapes to match in this area was important to me. Along with ordering the drapes, I ordered about 15 yards of fabric to make the drapes for the five doors that had windows. The blackout material I picked up at JoAnn’s and the white fabric came from Hobby Lobby.

The Closet:

It is freezing cold in the closet. I haven’t figured out why. The temperature in the closet is about 10 degrees colder than the other rooms in the house. It also has 3 small windows in the closet. Maybe adding some shades, would help stabilize the temperature. While I was waiting for the drapes and fabric to come in, I made some shades. Plus, I needed to practice sewing.

The Other Bedroom

Drapes Made by Best Fabric: The window is the tallest in the house.

Master Bedroom:

Drapes by Best Fabric:

Door Window Cover by Sarahcath: Note – the matching material. I considered making the curtain straight, but I decided instead to use the entire fabric width.

Breakfast Nook:

Drapes by Best Fabric:

Front Door:

Window Covering by Sarahcath: The fabric matches the Breakfast Nook, since they are on the same wall.

I wanted the hourglass shape to the drapes on the side windows. So I made a straight panel to cover the window with blackout, then I sewed the curtains to the panel. The drapes are twice as wide and the panel.

For the upper window, also known as an eyebrow window (it is not a half oval window), I attached wire clips around the window approximately 6 to 8 inches apart. I purchased a rubber coated galvanized wire to hang the drapes on. I did not believe a plastic tubing will hold the weight. I sewed Roman Shade Tape to back, both top and bottom, of the window treatment. I feed the wire through the hops on the top and snap it into the wire clips. I feed a cord through the hops on the bottom of the window treatment to gather the fabric in the center.

Family Room:

Window Covering by Sarahcath: The fabric matches the Breakfast Nook, since they are on the same wall. Note that fabric matches the front door.

Kitchen Door:

Window Covering by Sarahcath: Same design as the other doors.

Office:

Window Covering by Sarahcath: I wanted them flat. I did not want them touching the wires under the desk.

Now on to my next project.
Broken – Outlook – Needs Emergency Fix

I have multiple email accounts. I use one, Outlook, for shopping. Why, because I can use the safe sender list to block most emails from getting to my inbox. Currently, in my Outlook Junk Mailbox, I had over 3200 emails in the Junk folder. Approximately, every 98 out of 100 emails in this box are from spammers.

This morning I woke up to numerous notifications on my phone. I did not see these notifications over night because I have “Do Not Disturb” active on my phone. But once the Do Not Disturb expired the beeping started. My Junk Mail was being routed to my Inbox.

This is a Microsoft Outlook problem. An update broke the Junk Mail routing. I don’t know what they were trying to fix, but now everyone who uses Outlook should be on guard, because Spammers and Hackers are rejoicing this morning. Their email is no longer being routed to Junk Mail and they are reaching more potential victims.

Now it is time to take precautions:

First, if you are sick of the notifications – Turn them off. On most devices you can find Notification under Settings.

Second, don’t open any email that are not from a friend, colleague, or a business where you signed up to receive emails. My security system blocked an URL this morning, because I opened an email that attempted cause havoc. Here are a few examples of Spam emails:

  • If it has Affiliate in the title.
  • If it has Associate in the title
  • If it has Gift Card in the title
  • Renewable by Anderson
  • Back Pain
  • AARP
  • ADT
  • You Won

Third, if you really want the special offer in an Email. Do not click on any links in the email (ever), go directly to company’s site and get the offer directly from their site. If the offer is not on their site, it is probably not a legit offer. Community Coffee is really good about sending emails about their offers. When I go to their site, the same exact offer is published on the top of their page.

Fourth, report the offending emails as phishing. I really hope the technology companies or working on stopping Spammers. I tracked a spammer down to a mailbox in Las Vegas. If I can do that, why can’t the tech companies?

The Move Adventure

We moved! Well at least part of the site has moved, and it been an adventure that has lasted several weeks. I decided to move some of my artwork, or what I consider works of art to a new site named sarahcath.art. I know the domain name isn’t very exciting but describes what is being hosted on that site.

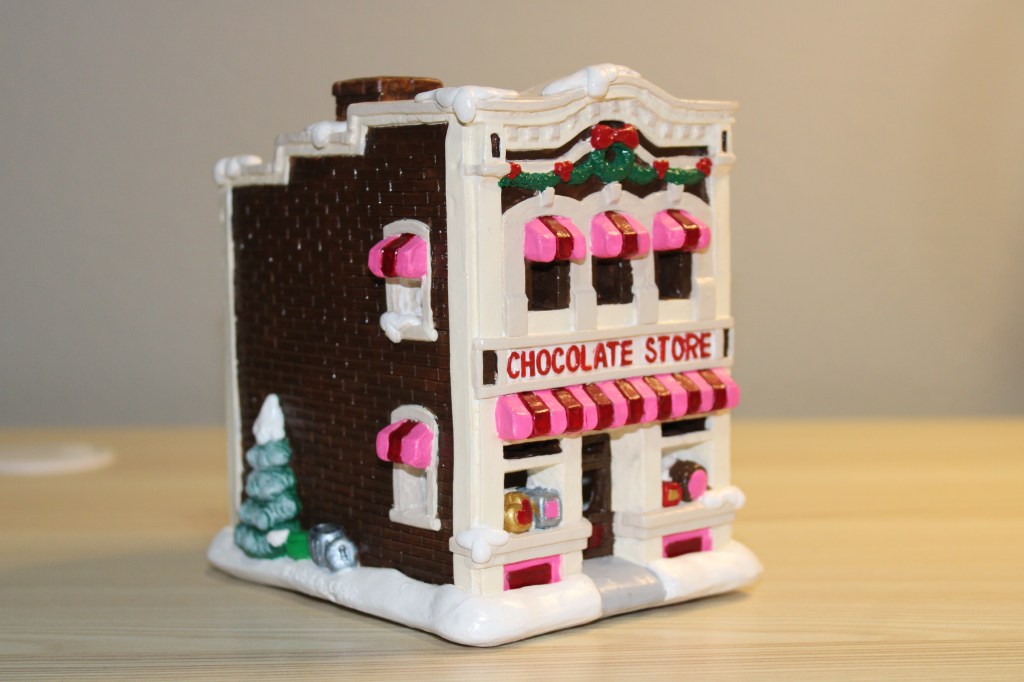
On the new site, sarahcath.art, you can find my drawings, paintings, and wood projects. Along with all my travels and everything related to technology, this site will continue to host the coloring pages, plastercraft houses, and my clay projects. If you would like to continue to see my artwork, you are welcome to follow my art site.

More adventure coming soon, but here is a little look at the past adventures.

Audiobook Recommendations January 2023

Wow! It’s been over a year since I recommended Audiobooks. My excuse, I’ve been busy moving to another State. When you move 800 miles away, if gives you a lot of driving time to listen to books.

Just a reminder, I don’t listen to self-help books or romance books; I listen to books that are entertaining, adventurous, and will keep me awake while I am driving. That is why my list consists of all LitRPG books. If you see me just sitting in a parking lot, it because the book has gotten really good and I waiting for it to get to the end of a chapter.

I spent a lot of time listening to books in the Divine Dungeon Series Artorian’s Archives, by Dennis Vanderkerken and Dakota Krout. I finished Book 6 (there are currently 13 books in the series) and was tired of Artorian. I decided to put that series on pause and branch out to other books. I am so glad I did. The adventures of the zombie Digby were entertaining and so was Rockland’s survival of the apocalypse.

Here is my list:

David Petrie

  • Ravenous: A Zombie Apocalypse – Book 1
  • Revenant: A Zombie Apocalypse – Book 2
  • Rend: A Zombie Apocalypse – Book 3
  • Ruin: A Zombie Apocalypse – Book 4

Ryan DeBruyn

  • Equalize: Ether Collapse – Book 1
  • Excise: Ether Collapse – Book 1
  • Earthdom: Ether Collapse – Book 1

John L. Monk

  • Underpowered Howard

Dakota Krout

  • Lord January: Year of the Sword – Book 1
  • Lady February: Year of the Sword – Book 2
  • Dokeshi March: Year of the Sword – Book 3
  • Invent: The Completionist Chronicles – Book 7
  • Implode: The Completionist Chronicles – Book 8
  • Anything: Full Murderhobo – Book 2

Christopher Johns

  • Crimson Queen: Mephisto’s Magic Online – Book 2
  • Aetherocalypse: Mephisto’s Magic Online – Book 3

Xander Boyce

  • Temper: Red Mage – Book 2
  • Fracture: Red Mage – Book 3

James Hunter and Dakota Krout

  • Libriohexer: Wolfman Warlock – Book 2

Sorry Jay Boyce and Ted Dekker your books didn’t make the list. Jay your book was a big let down from the first three books. Ted I am sure your book was well written and entertaining, but I just don’t remember much of it.

Tinkercad Contest and more…

To support all the tinkers that hosted contests during this holiday season and Tinkercad’s TinkerTogether, I created the following designs:

TinkerTogether Design Challenge #25: Winter

Snowcones for Sell

Snow Cones for Sell: In this design we have two snowman selling snow cones to a few reindeer. If you look closely at the ground, it appears that Santa Sled has been through. The hats, the reindeer and the candy cane are available in Tinkercad’s Shape Menu.

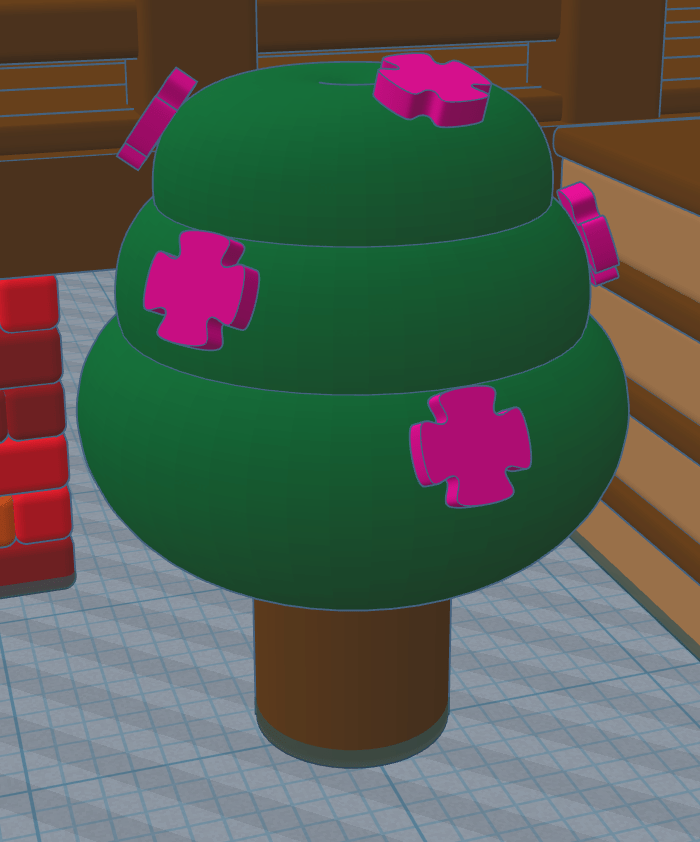
Take a close look at the trees, what do you see?

Create an Ugly Christmas Sweater: I used the template provided.

Contest: Design an Ornament – I could have created a typical ball ornament, but I wanted something that looked fragile. Do you see the snowflake inside?

Contest: Create a Gingerbread House – I created a Gingerbread Fairy House. The roof of the house is a candy strawberry, and the path is lined with candy canes and gum drops.

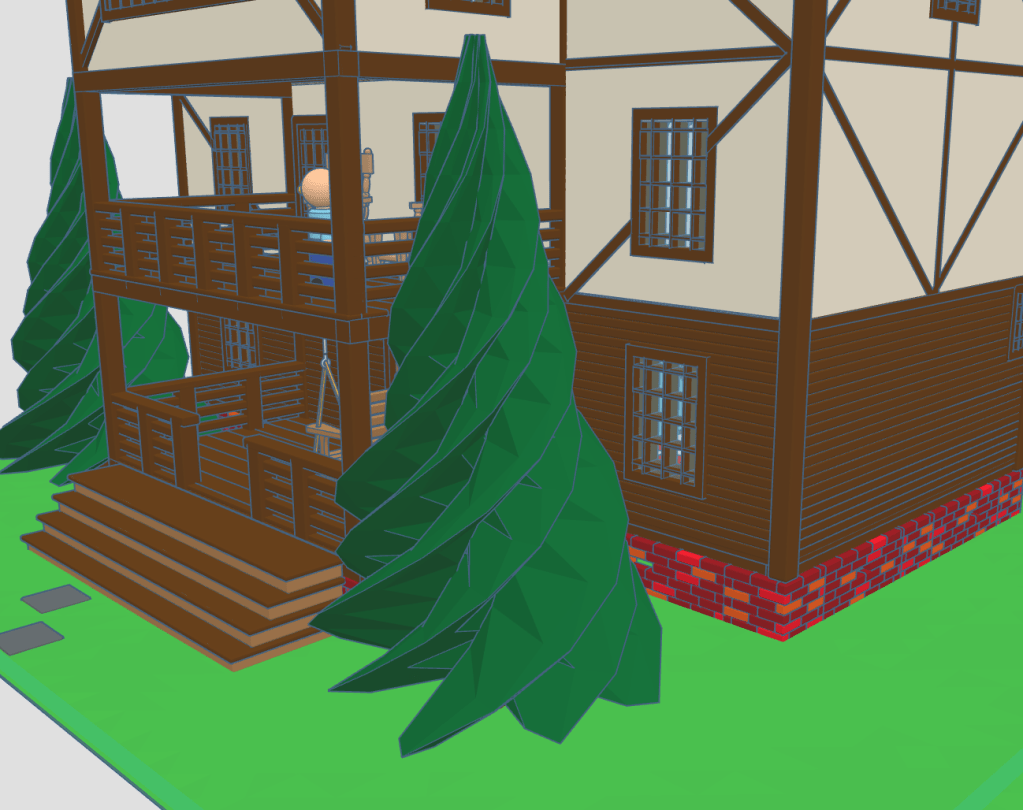
Contest: Create a Log Cabin using the TinkerLogs created by HLModTech – I created a TinkerLog Church. The building and most of the items, including the trees, were created using the TinkerLogs that HLModTech created. I kept the width and height of the TinkerLogs, and only change the length.

TinkerTogether Design Challenge #26 – Party: For this challenge, I created a Bouncy Castle and Balloon Animals. Can there be a party without these items?

Contest: Create a Christmas Plushie – my contest entry was me. For years, I had a certain way of creating a stick figure of me. I decided for this contest I would create a Plushie of Me. Notice the Santa Hat, it came out looking pretty awesome.

You can see all these items in 3D view from my profile or clicking the links above: SarahCath

Merry Christmas 2022

Merry Christmas from Sarah, or Sarahcath, as I use it a lot for my handle. Link: Merry Christmas 2022. For all the Tinkercad users; both past, present, and future; I created a Christmas 2022 scene with a tree, a train, and presents. Each present under the tree contain a gift. It is not just a pretty box. To open the gifts, you will need a Tinkercad account. Copy the design and ungroup the box from around the present. If the gift is too small, you are using Tinkercad, you can make the gift larger.

The tree came from my Instructable on Designing a Christmas Tree with Tinkercad. The train came from my 2016 Design We Wish You a Merry Christmas. The poinsettia I plucked off of last year Christmas Tree with Flowers. I created the Candy Cane, saved it as a shape, and uploaded into Tinkercad’s shape library. The big red, blue, and green ornaments are a work in progress.

I you would like to add a present to this tree. Either reach out to me and follow the directions in the design profile. Link: Merry Christmas 2022