In 2020, I created Santa’s Workshop using Tinkercad. This year, 2025, I decorated one of the trees. Maybe next year, I will decorate the other tree. This is how the Santa’s Workshop looks 5 years later.
This year, 2025, after much thought I created Reindeer Stables. Every reindeer needs a place to rest. It has been a busy year for Tinkercad, they introduce the Extrude Sketch shape. Several of the objects you will see in the design was created using this feature.
The Stables are designed for the reindeer to freely come and go. Above the stables, is where some of the elves, who take care of the reindeer rest. The loft has large windows to so the elves can watch the reindeer play their games.
This design, Reindeer Stables, is available to the public to copy and tinker with.
Don’t forget while are in Tiwww.tinkercad.comnkercad to check out my other Christmas related designs.
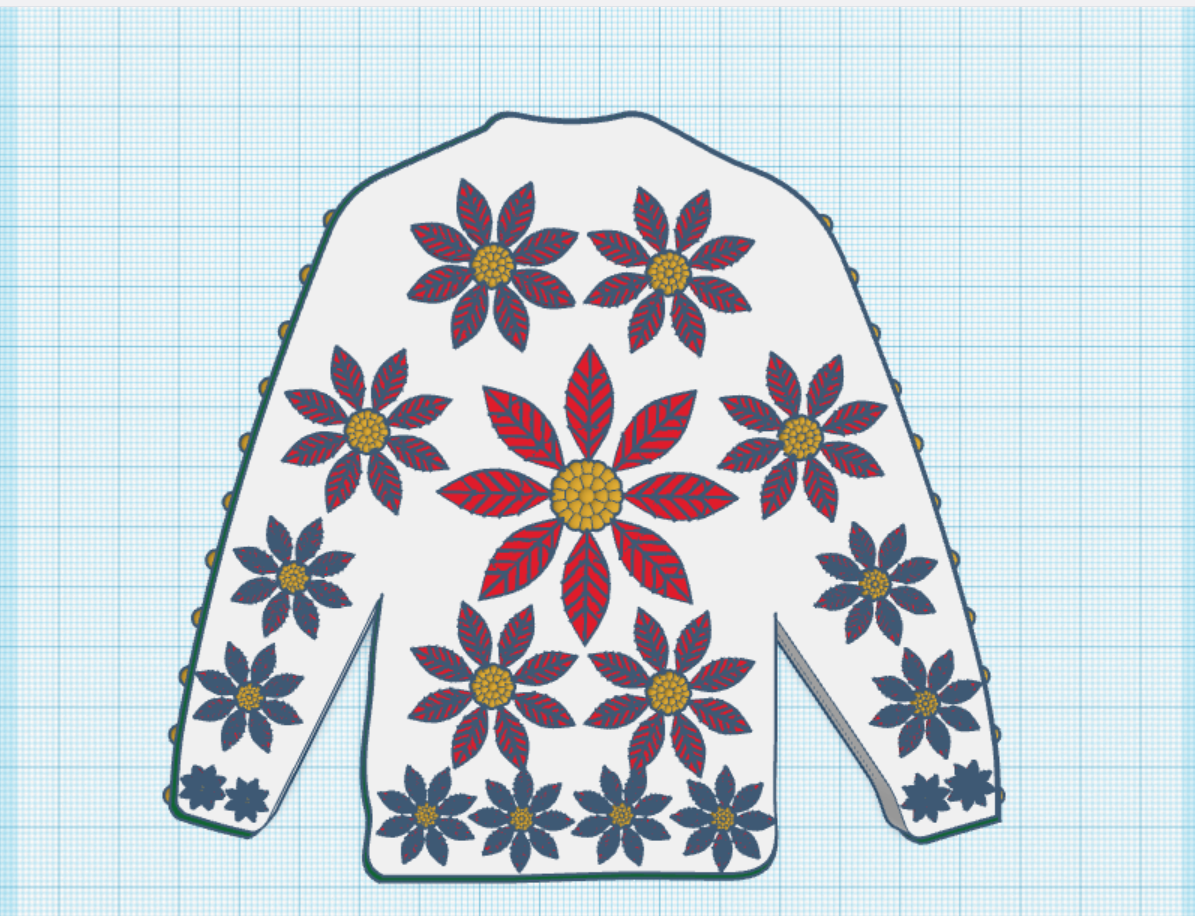
This tutorial, Creating a Snowflake Using Tinkercad, focuses on using a Star shape to create a snowflake and using other shapes to put holes in the star.
I got the inspiration seeing an office that was decorated with paper snowflakes. Each one was unique because they were created by hand. If you are interested in learning how to create a paper snowflake, check out CYNICALifornia’s Paper Snowflake instructions. The first thing I did was create a paper snowflake.
The next step was creating one in Tinkercad. But I did not stop at one, I created seven snowflakes.
Below is the first one I created. It uses the only the Star shape and the Roof Shape. Even the back looks good.
This is the link (Snowflakes) to the seven snowflakes I created in Tinkercad. I encourage you to copy the design and deconstruct the snowflakes to see how they were designed. Then create your own snowflake using the tutorial and information you learned by viewing my design.
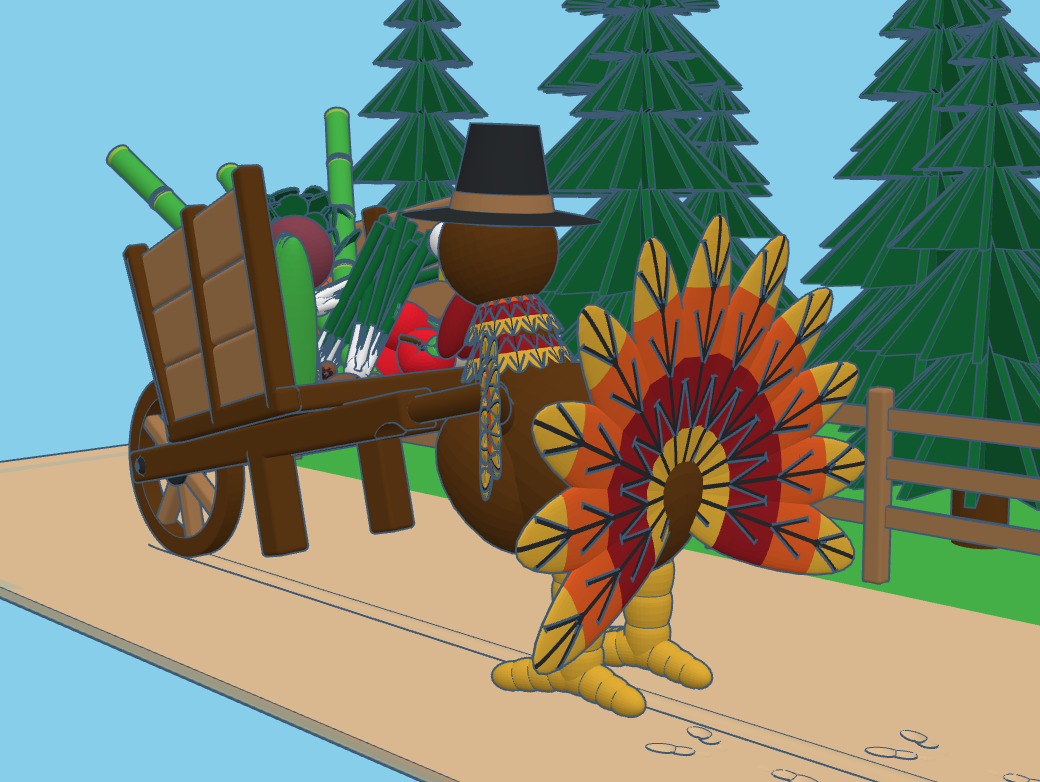
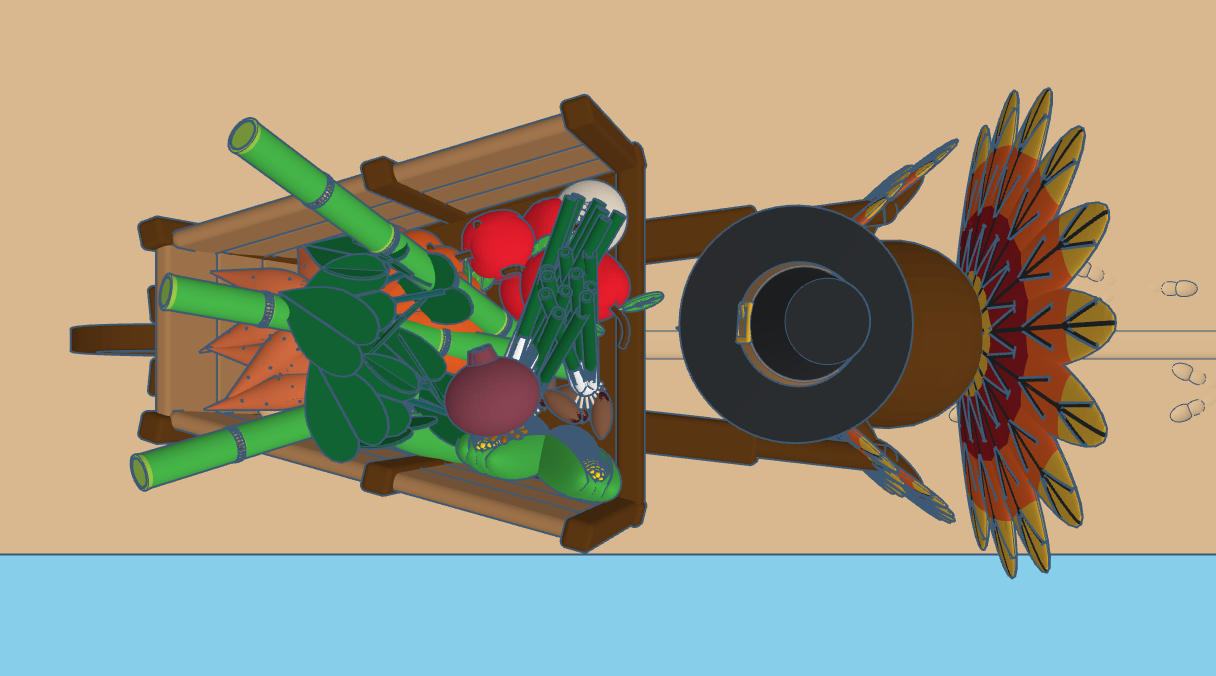
I turned around and boom it was Thanksgiving time. This year, I decided to make some designs in Tinkercad to celebrate the holiday. I stared with the wheelbarrow to fill with crops from the field. Next, I designed the turkey. It took the longest time. The feathers were not the problem, I couldn’t decide on how I wanted to create the neck and head.
Filling the cart with food was simple. All the food was created in separate design files and entire saved as a shape or copied into the Thanksgiving Harvest design file.
All these designs are available to copy. All I asked, if you use one of my designs, that you give me some type of credit for using the design. A shootout in the Designs Description is acceptable.
To support all the tinkers that hosted contests during this holiday season and Tinkercad’s TinkerTogether, I created the following designs:
TinkerTogether Design Challenge #25: Winter
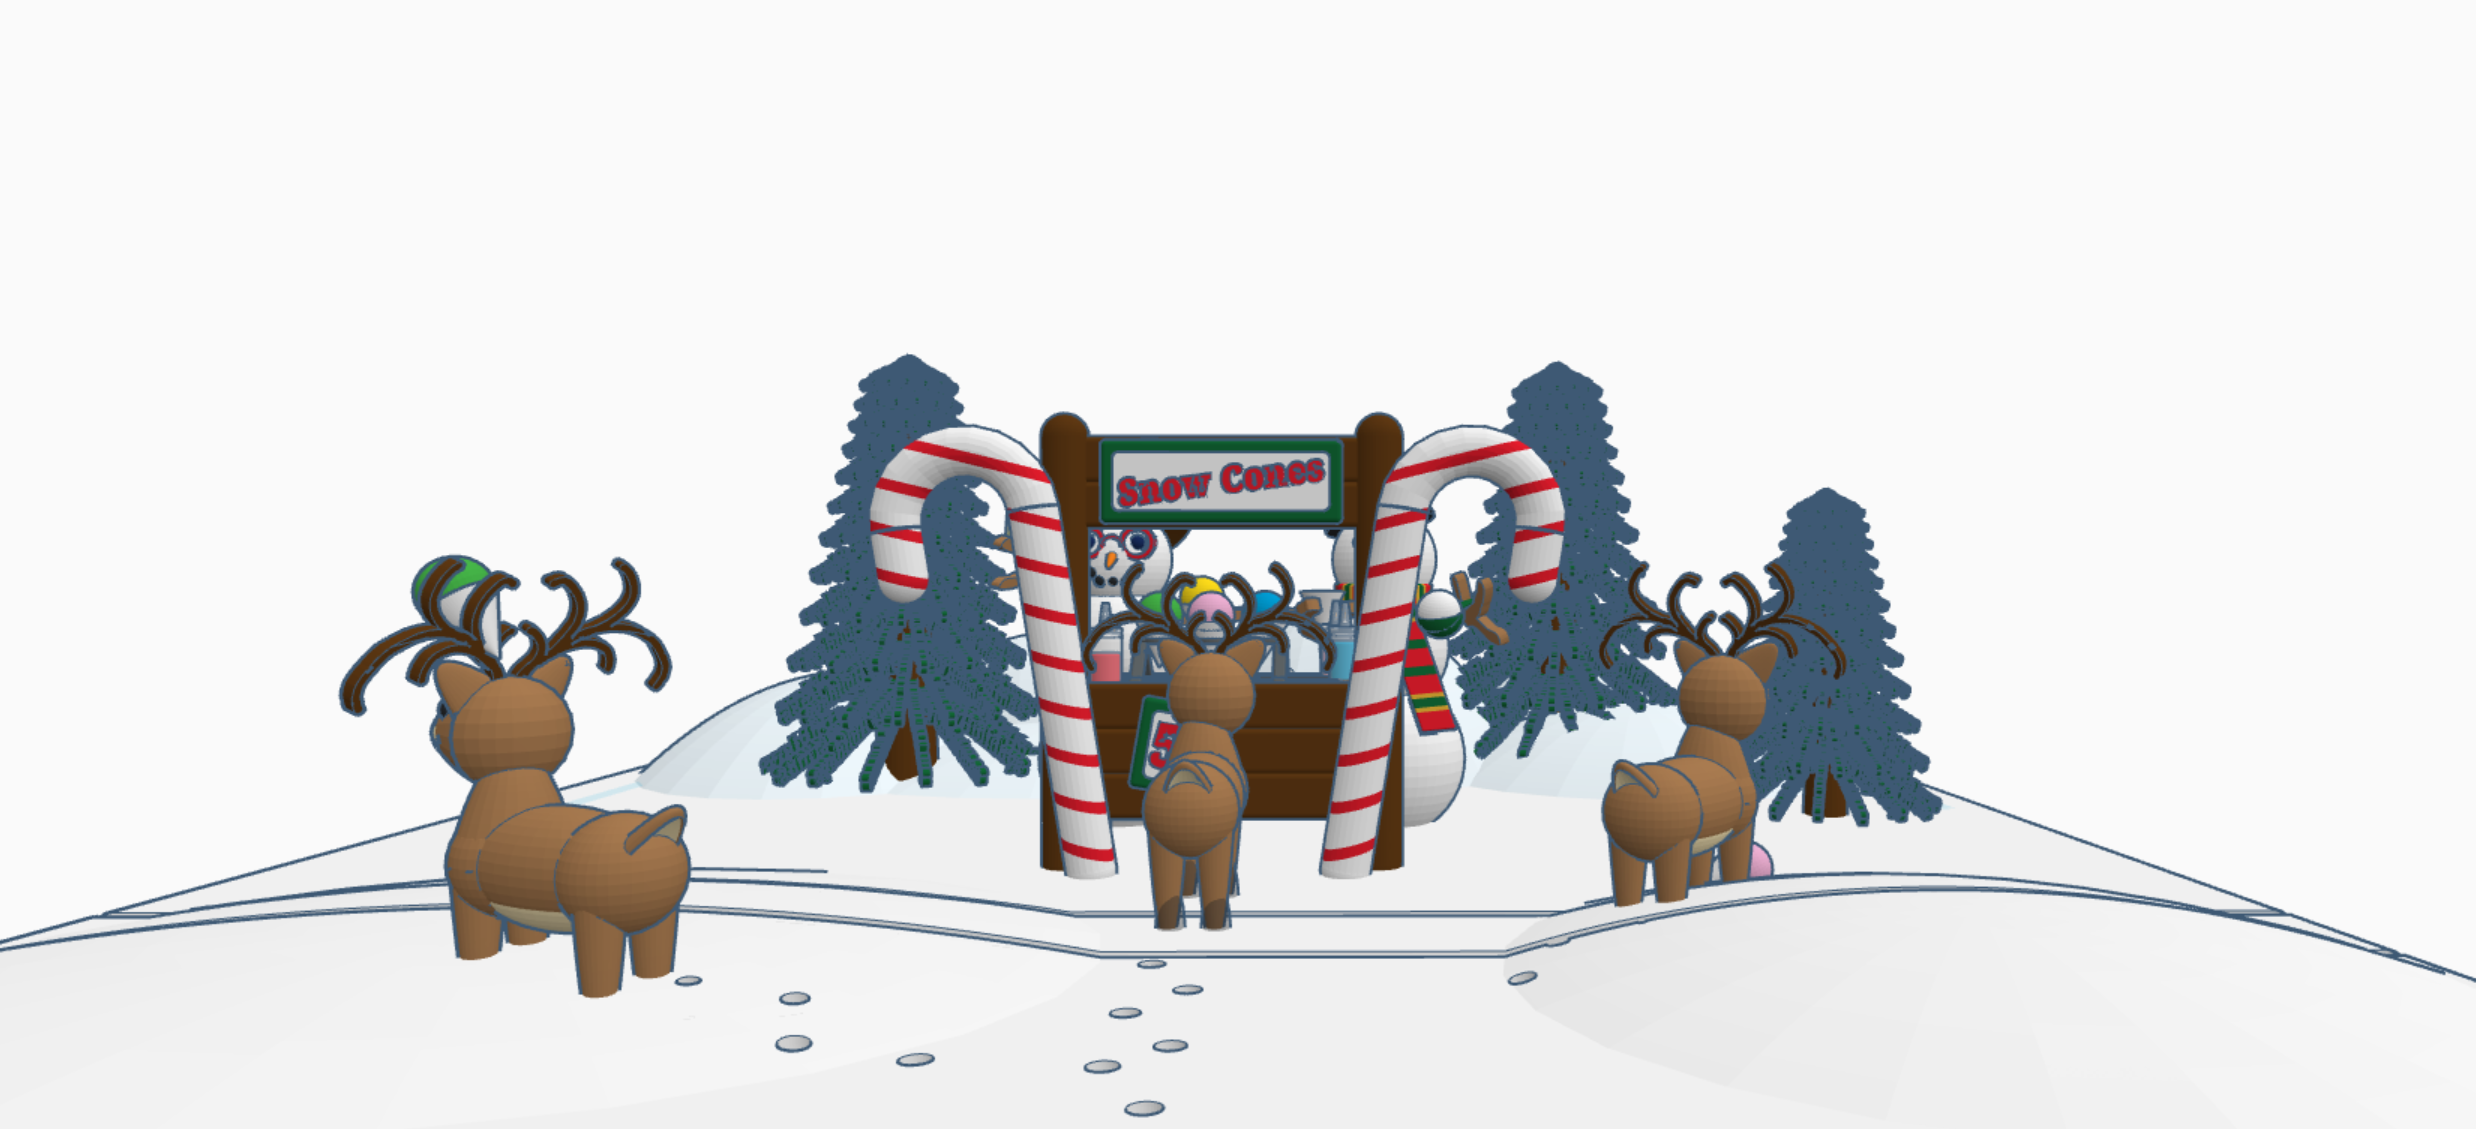
Snow Cones for Sell: In this design we have two snowman selling snow cones to a few reindeer. If you look closely at the ground, it appears that Santa Sled has been through. The hats, the reindeer and the candy cane are available in Tinkercad’s Shape Menu.
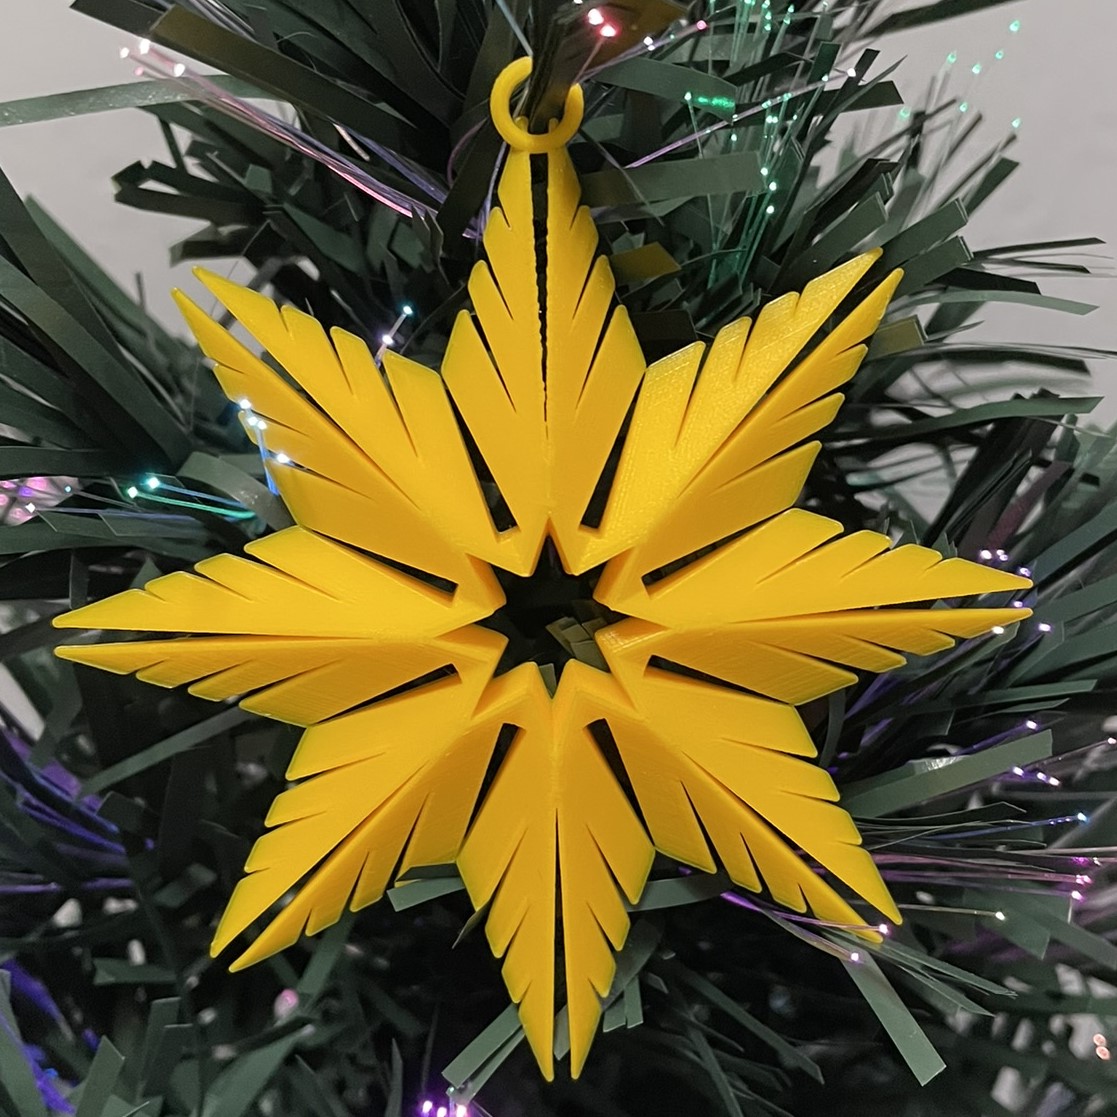
Contest: Design an Ornament – I could have created a typical ball ornament, but I wanted something that looked fragile. Do you see the snowflake inside?
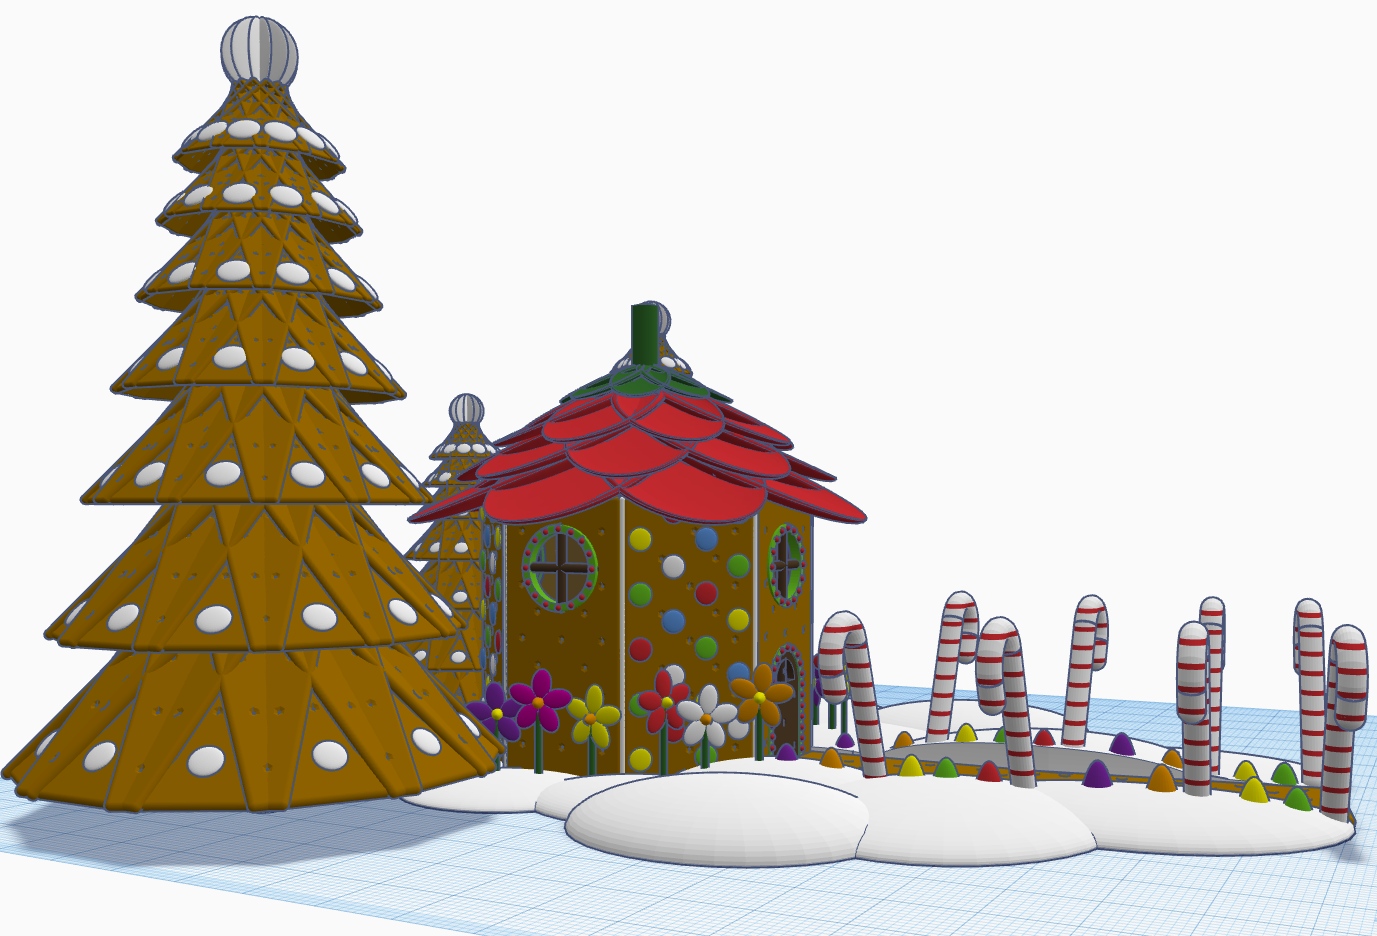
Contest: Create a Gingerbread House – I created a Gingerbread Fairy House. The roof of the house is a candy strawberry, and the path is lined with candy canes and gum drops.
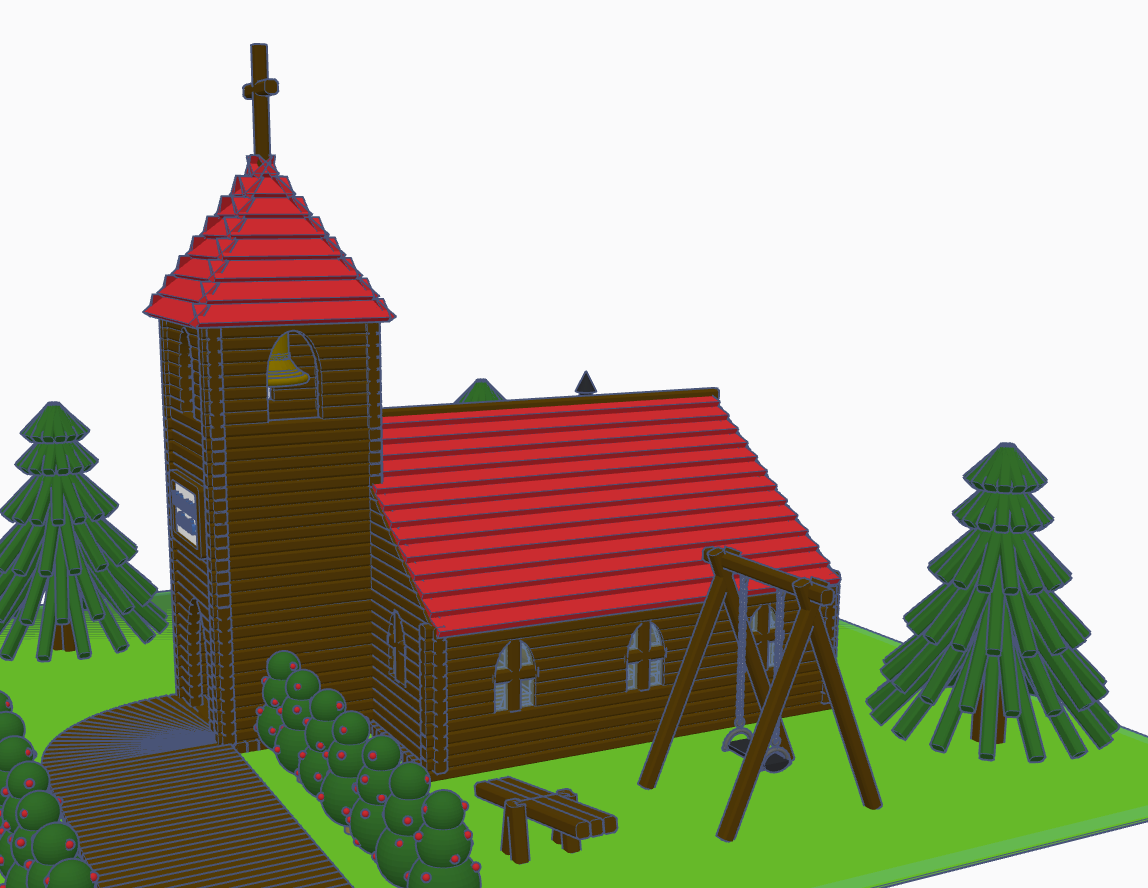
Contest: Create a Log Cabin using the TinkerLogs created by HLModTech – I created a TinkerLog Church. The building and most of the items, including the trees, were created using the TinkerLogs that HLModTech created. I kept the width and height of the TinkerLogs, and only change the length.
TinkerTogether Design Challenge #26 – Party: For this challenge, I created a Bouncy Castle and Balloon Animals. Can there be a party without these items?
Contest: Create a Christmas Plushie – my contest entry was me. For years, I had a certain way of creating a stick figure of me. I decided for this contest I would create a Plushie of Me. Notice the Santa Hat, it came out looking pretty awesome.
You can see all these items in 3D view from my profile or clicking the links above: SarahCath
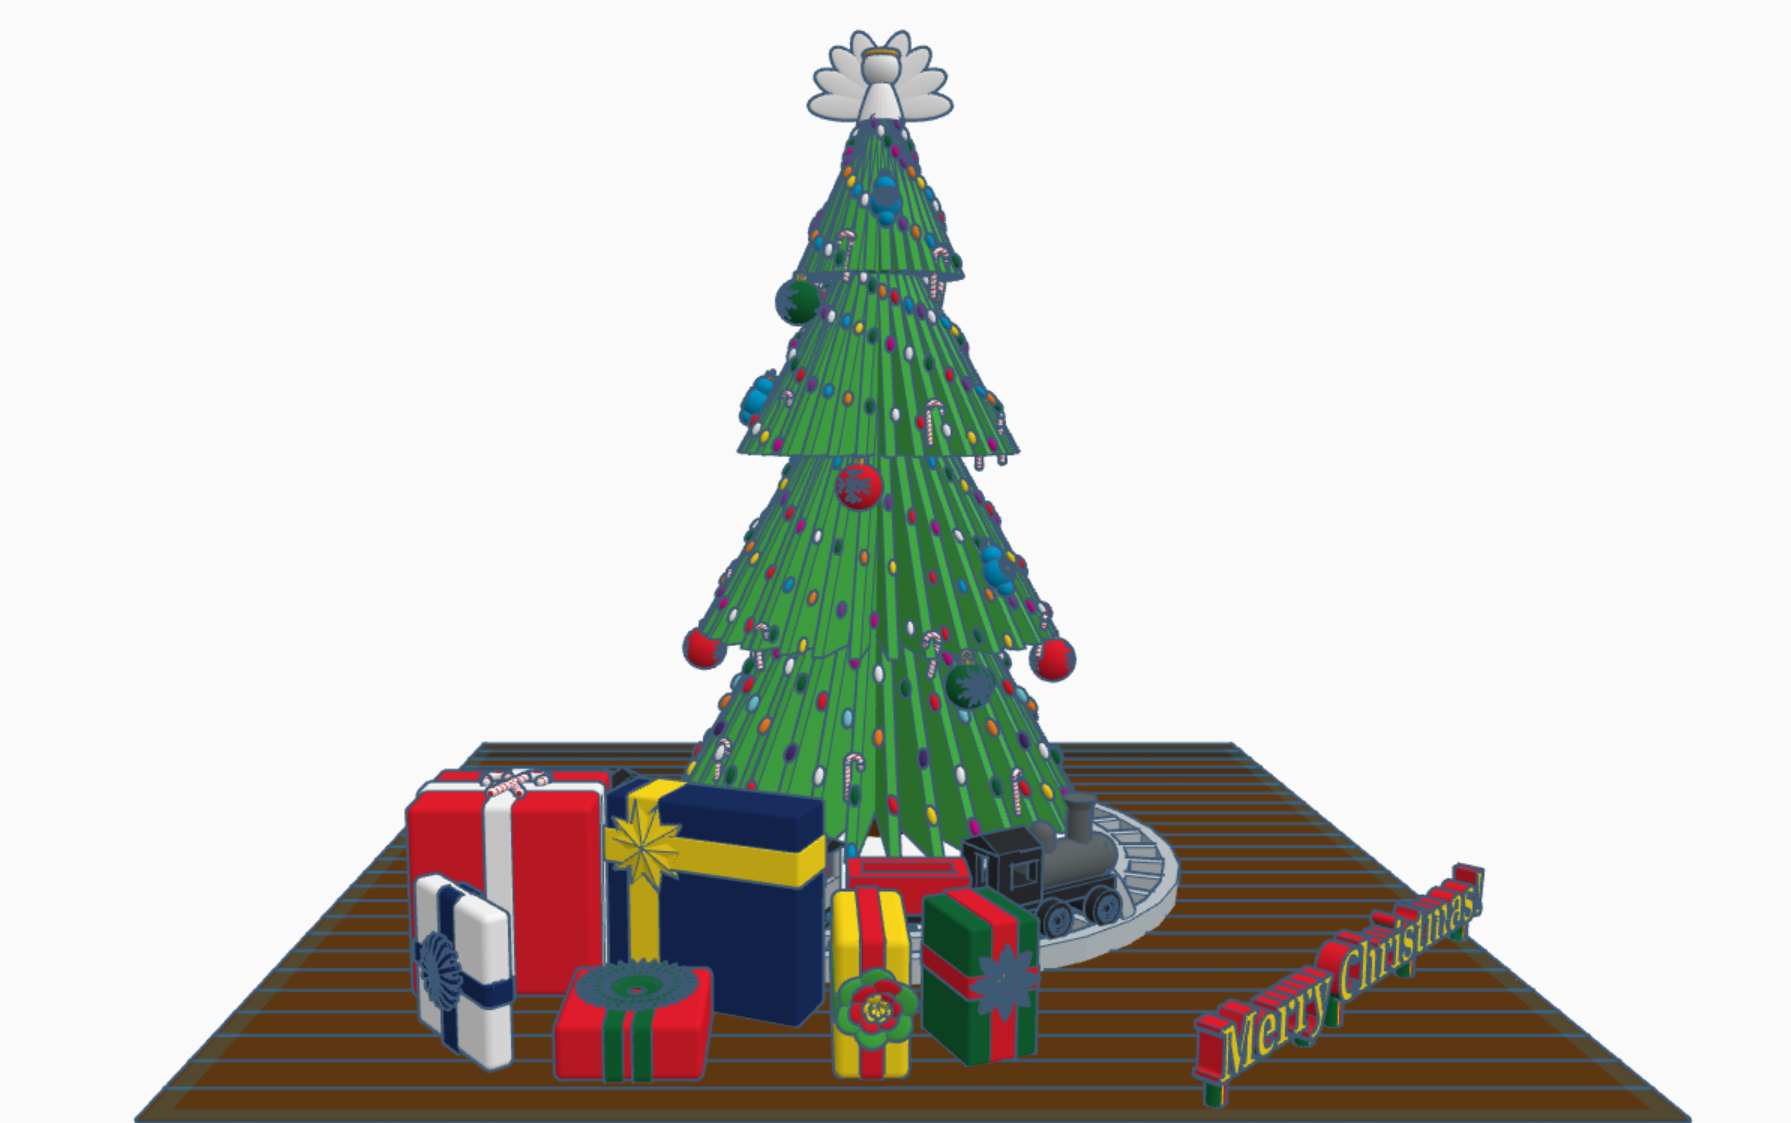
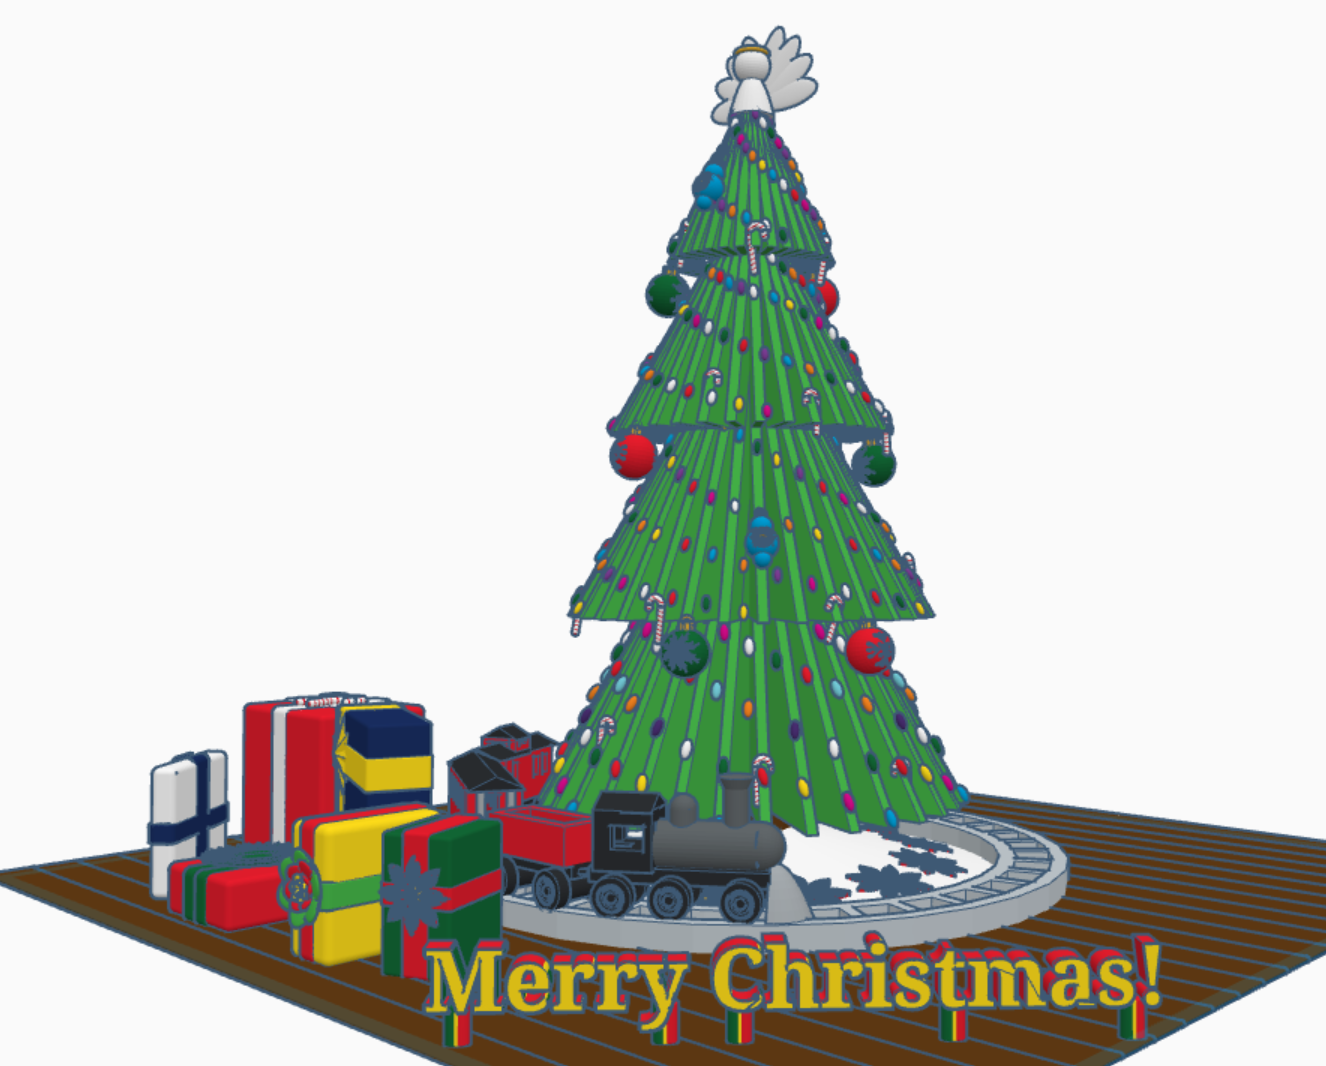
Merry Christmas from Sarah, or Sarahcath, as I use it a lot for my handle. Link: Merry Christmas 2022. For all the Tinkercad users; both past, present, and future; I created a Christmas 2022 scene with a tree, a train, and presents. Each present under the tree contain a gift. It is not just a pretty box. To open the gifts, you will need a Tinkercad account. Copy the design and ungroup the box from around the present. If the gift is too small, you are using Tinkercad, you can make the gift larger.
My biggest adventure this year was moving. Not a move across town, but a move to a different State over 500 miles away. I cannot recommend moving. While I was sitting in front of the TV at night, during my breaks from unpacking boxes and organizing, I decided to relax with some coding in Tinkercad Codeblocks.
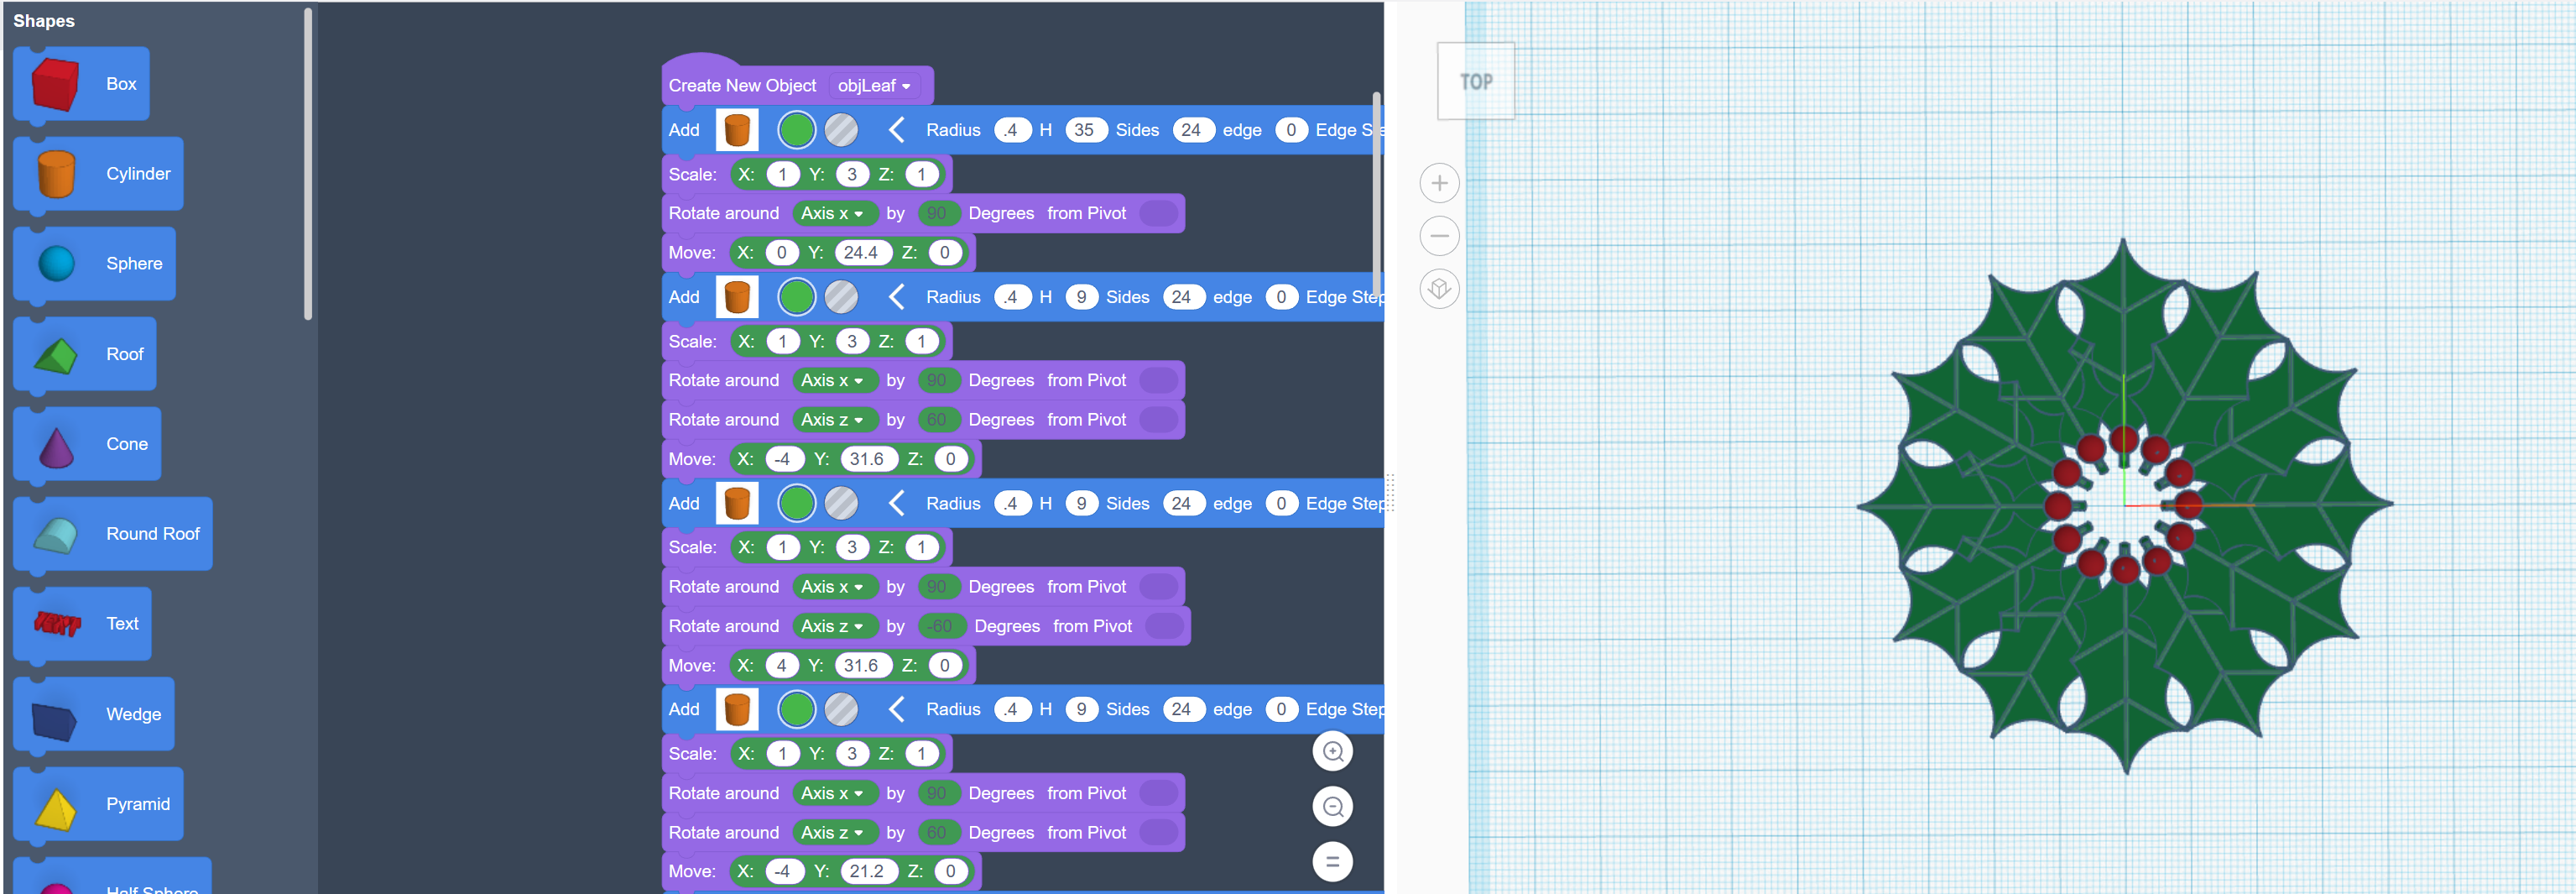
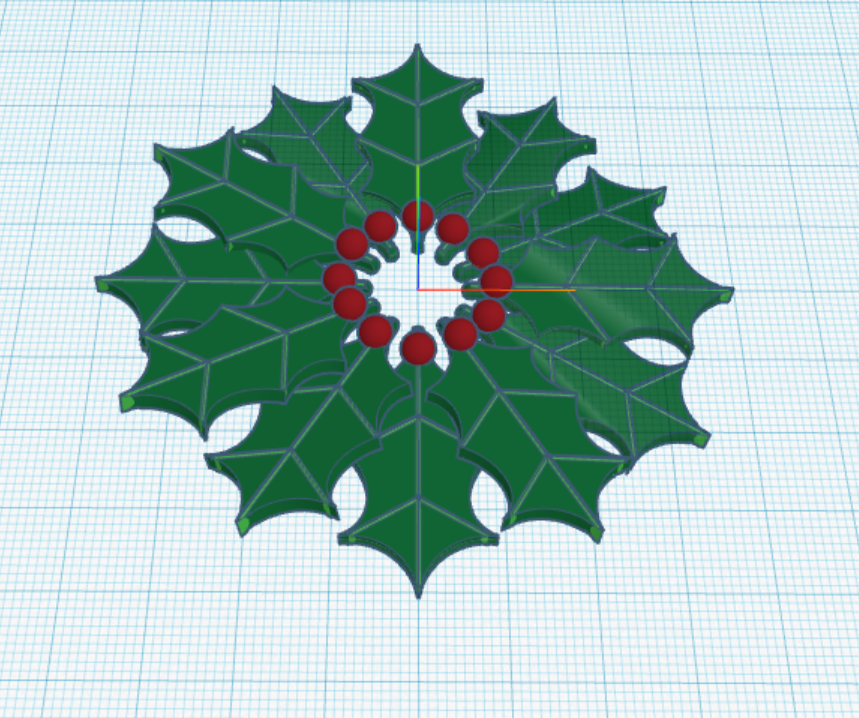
The first thing I coded was a Christmas Wreath:
First, I coded one holly leaf with all the details. Then I copied and rotated each leaf along the x, y and z axis.
The rotation around the x and y axis is random, so the wreath will look a little different every time the program in run.
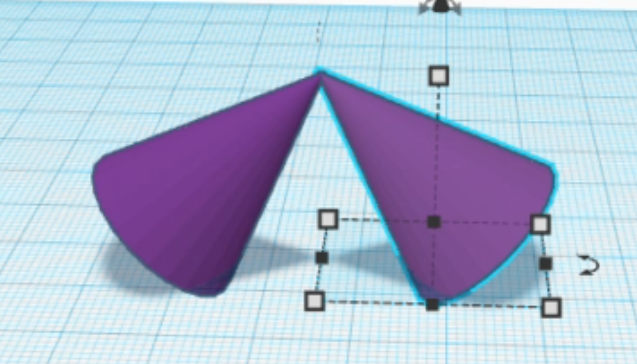
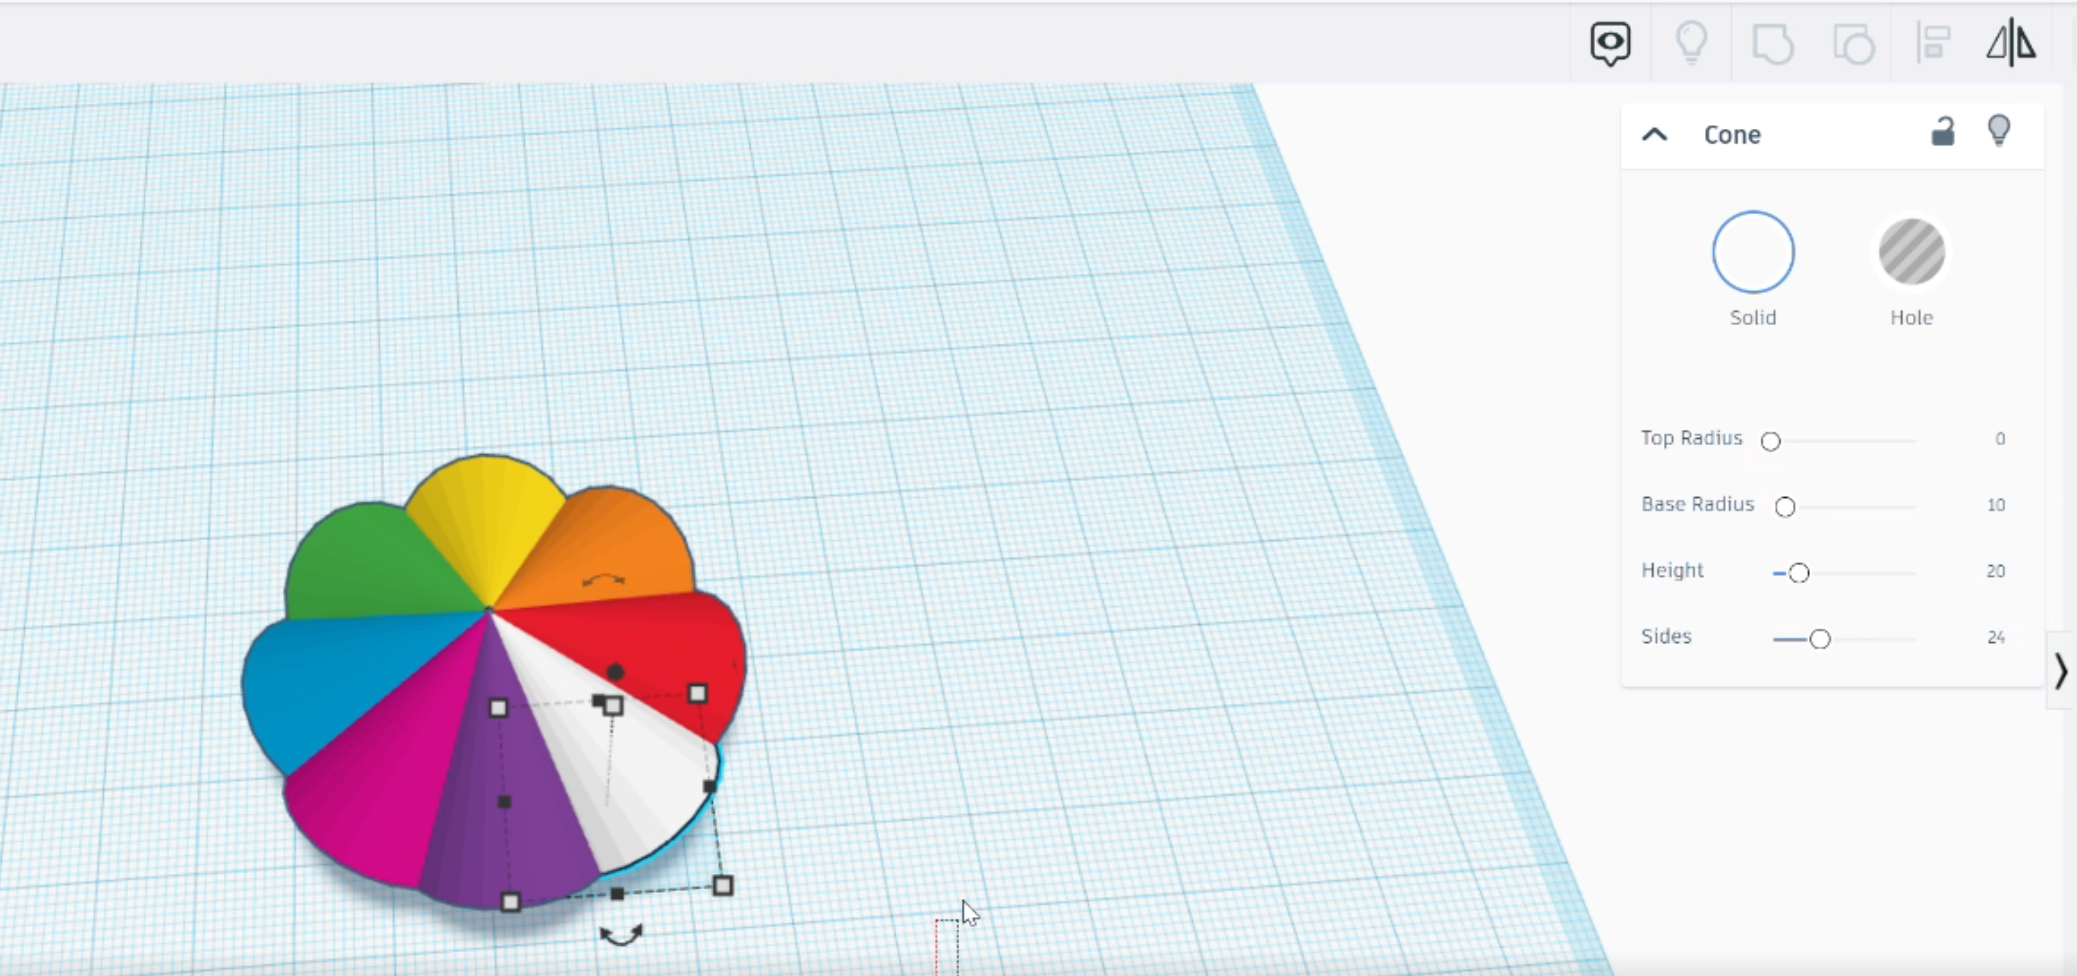
I am currently working on two projects in Tinkercad. One of the projects is huge and needs lots of parts. During the planning for this big project, I decided to create an umbrella. Not only did I create the umbrella, I also wrote instructions on how create an umbrella in Tinkercad. The instructions are available at on Instructables: Creating a Colorful Umbrella
The process is simple:
Add a Cone ShapeDuplicate the ShapeChange the ColorsCreate a HoleCreate a HandleAlign the shapesAdd a little flare. You have an umbrella.
Okay, maybe it is simple for me. The video on how I created the umbrella is available on my YouTube channel.
According to Wikipedia Googly Eyes are: “Googly eyes, or wiggle eyes, are small plastic crafting items used to imitate eyeballs. Googly eyes traditionally are composed of a white plastic or card backing covered by a clear, hard-plastic shell, encapsulating a black plastic disk. The combination of a black circle over a white disk mimics the appearance of the sclera and pupil of the eye to humorous effect. The inner black disk is allowed to move freely within the larger clear plastic shell, which makes the eyes appear to move when the googly eyes are tilted or shaken.”
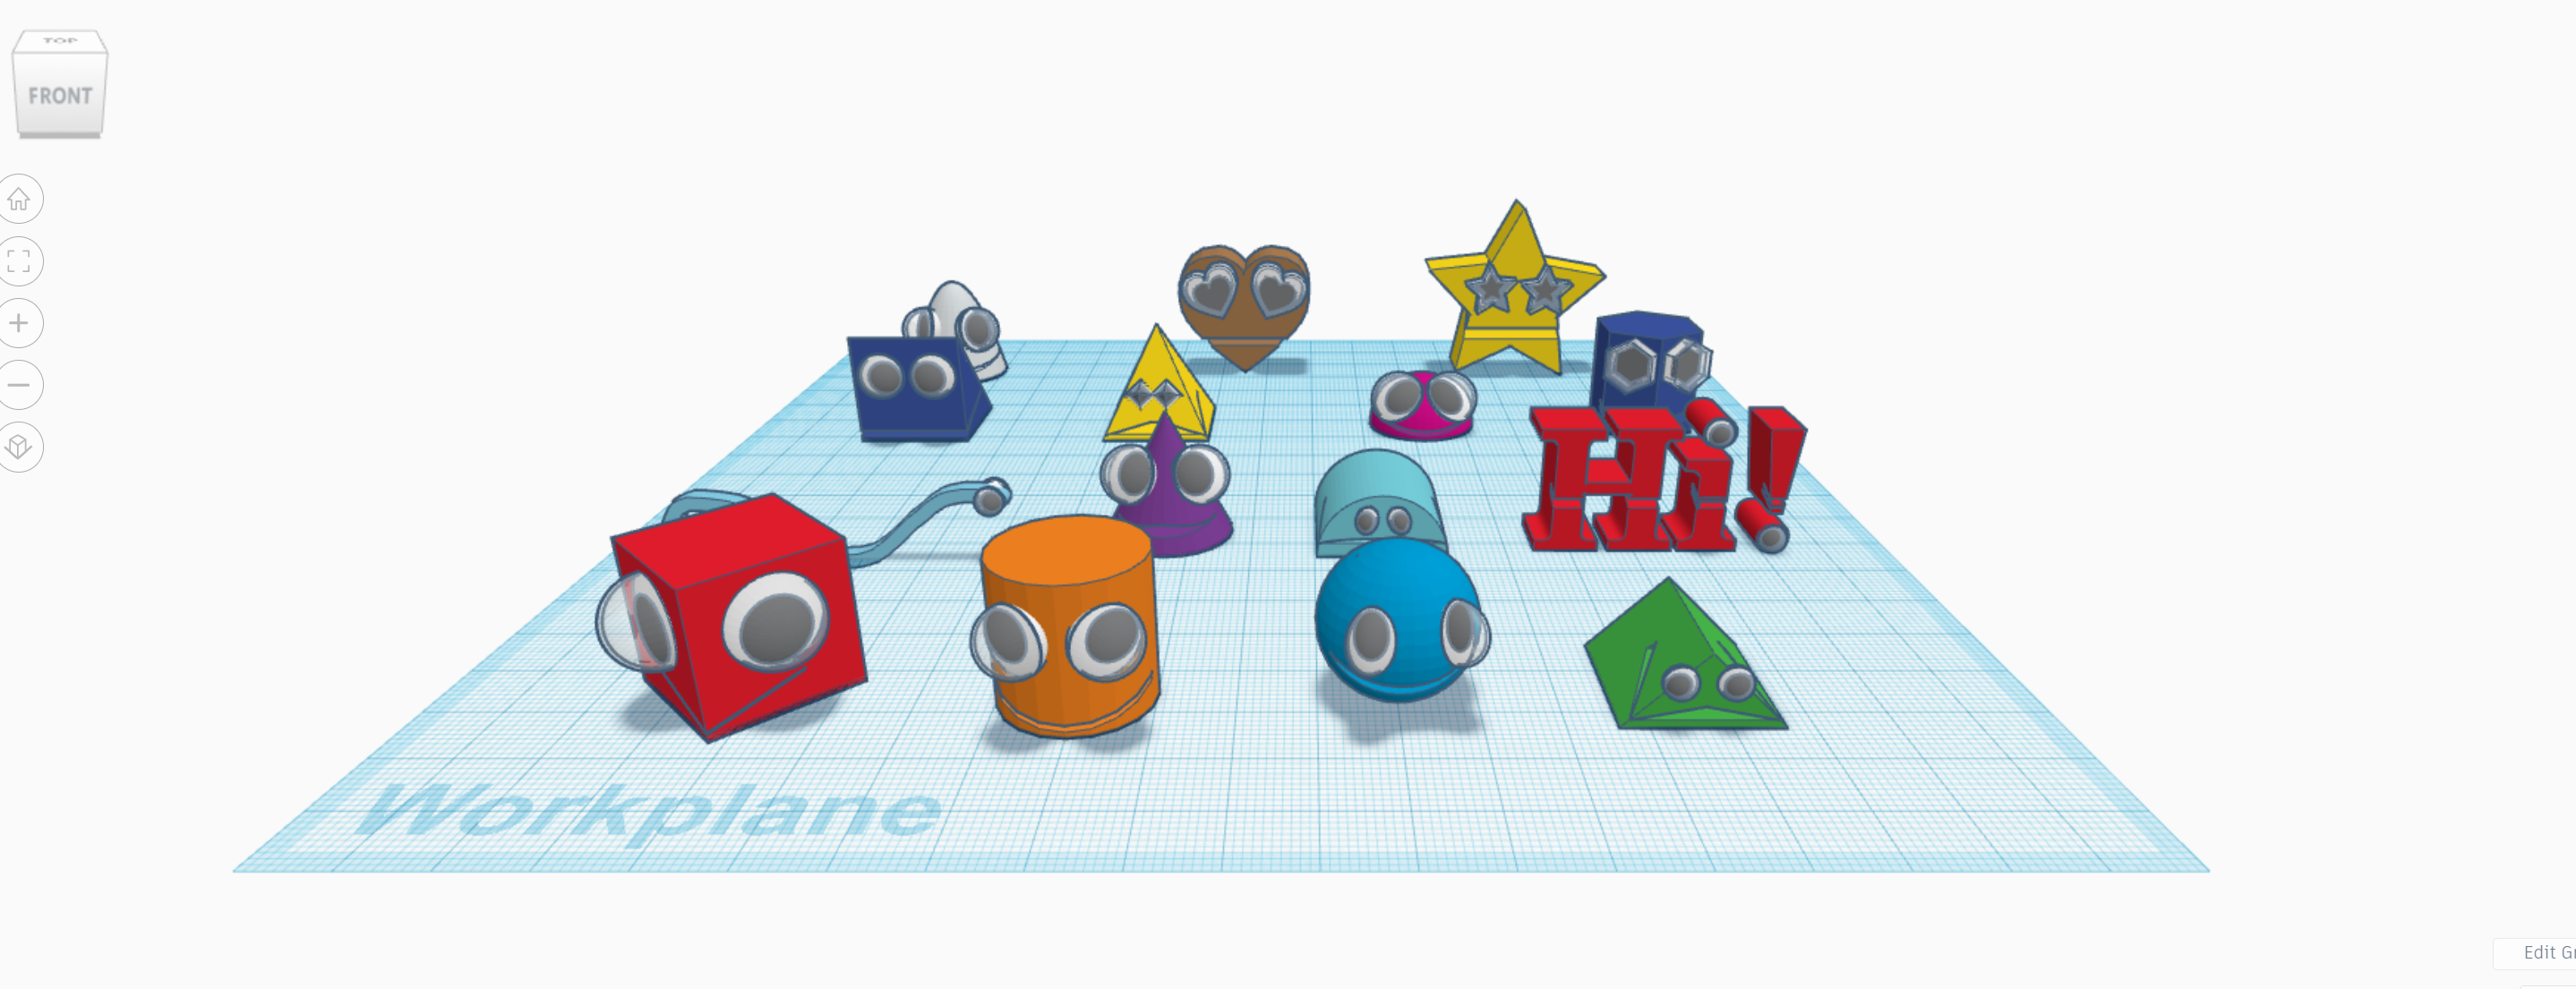
Tinkercad has some amazing 3D Designs created by some talented people. Looking at these designs, you can’t help to say “Wow!” Instead of trying for the “Wow” factor, I went with the “Fun” factor. Googly Eyes are fun, but they can also be spooky. It all depends on how they are used.
Previously, I created a sunflower using Tinkercad Codeblocks. (You may copy the Codeblock Sunflower file.) This would be a good design for the Googly Eye instructions. I exported as a Shape to be used in 3D Design.
Googly Eyes in Tinkercad
I created a new design and place the sunflower into the design, by selecting the shape from Your Creations on the Shape Panel.
The four shapes used for Googly Eyes
Next, I created the Googly Eyes. These Googly Eyes consist of 4 shapes: three half spheres and one sphere.
Sunflower with Googly Eyes
I moved the resized and moved the Googly Eyes into position. It looked so strange with just the eyes, so I created it a mouth.
Smiley Sunflower with Googly Eyes
The mouth is a flatten sphere hole that was group with the sunflower. The Googly Eyes Sunflower file is not available for copying, because creating your own is usually fun and will be a learning experience. See the instructions or watch the videos to create you own.
In 2015, I received a 3D Printer for Christmas. Instead of printing designs that other people created, I wanted to create my own items. I found Tinkercad. It has lessons that taught me the basics of using Tinkercad. The first building I created was a Church. If you look inside the building, you can see the pews, podium, altar, flowers, and on back of the pews you can see hymn books and pencils.
After I created my Two-Story House, the next major design I did was of a Train Engine. Afterwards, I designed a coal car, caboose, passenger car, and livestock car. I had a complete train that was designed to Gn15 Model Train scale. The livestock car design gave birth to one of my most copied designs, the Cow. Currently, the 3D printed train and a bunch of cows are sitting on a shelf.
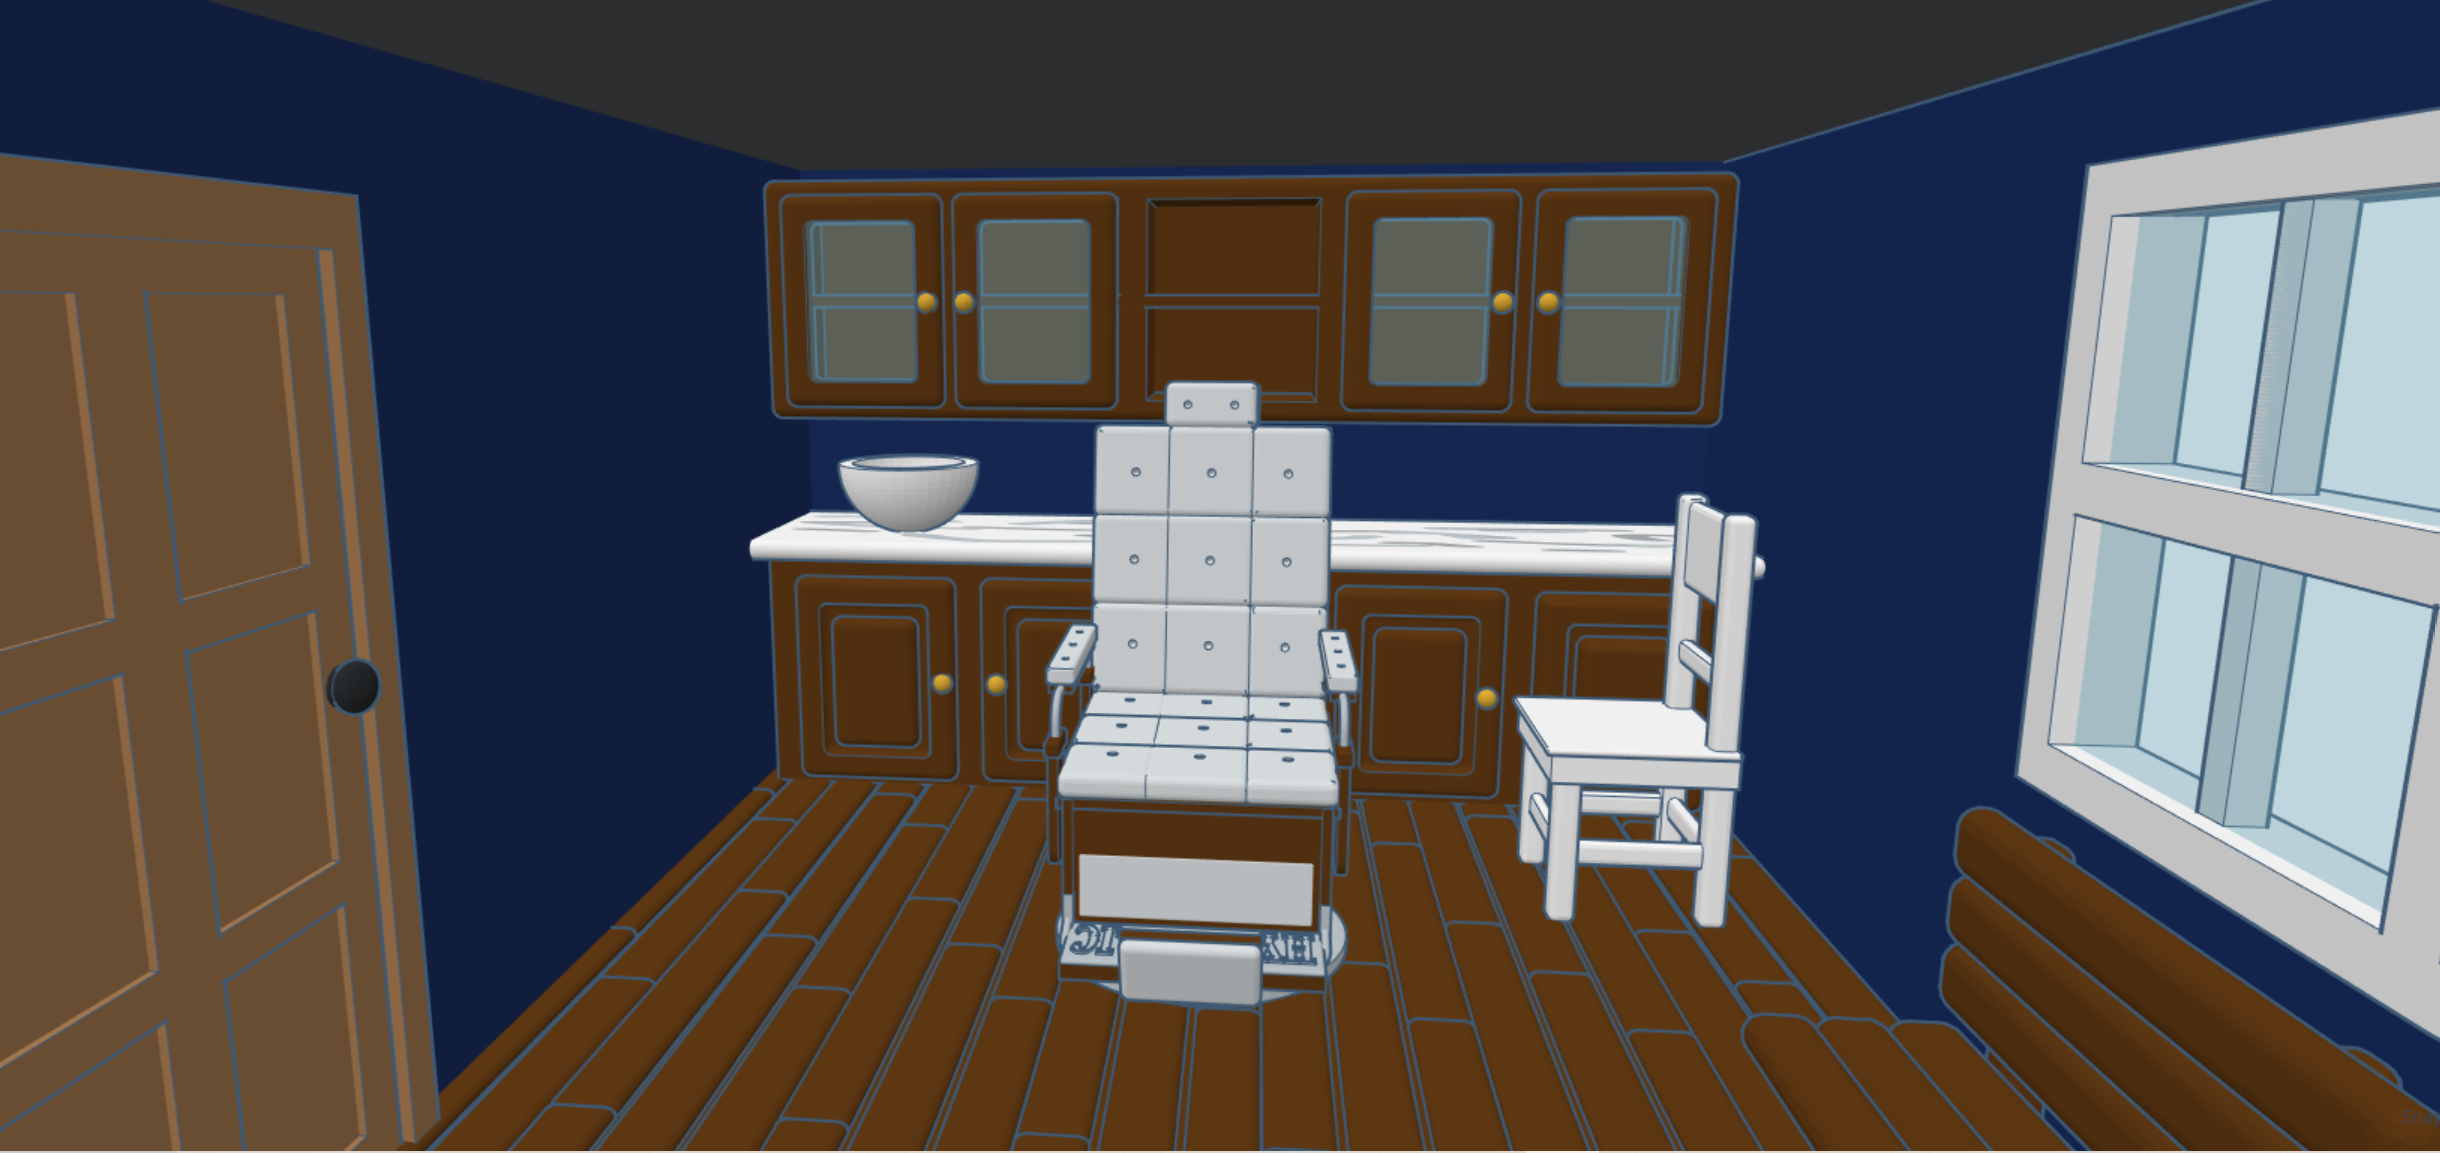
In 2020, I started working on buildings for a town that my train could make a stop. The first build was the Train Station followed by eight other buildings. The ninth building I created for my Railroad Town was the Barber Shop. There are a lot of pictures in the post because when you design the inside of building, it takes a lot of work to design furniture and decorated the inside.
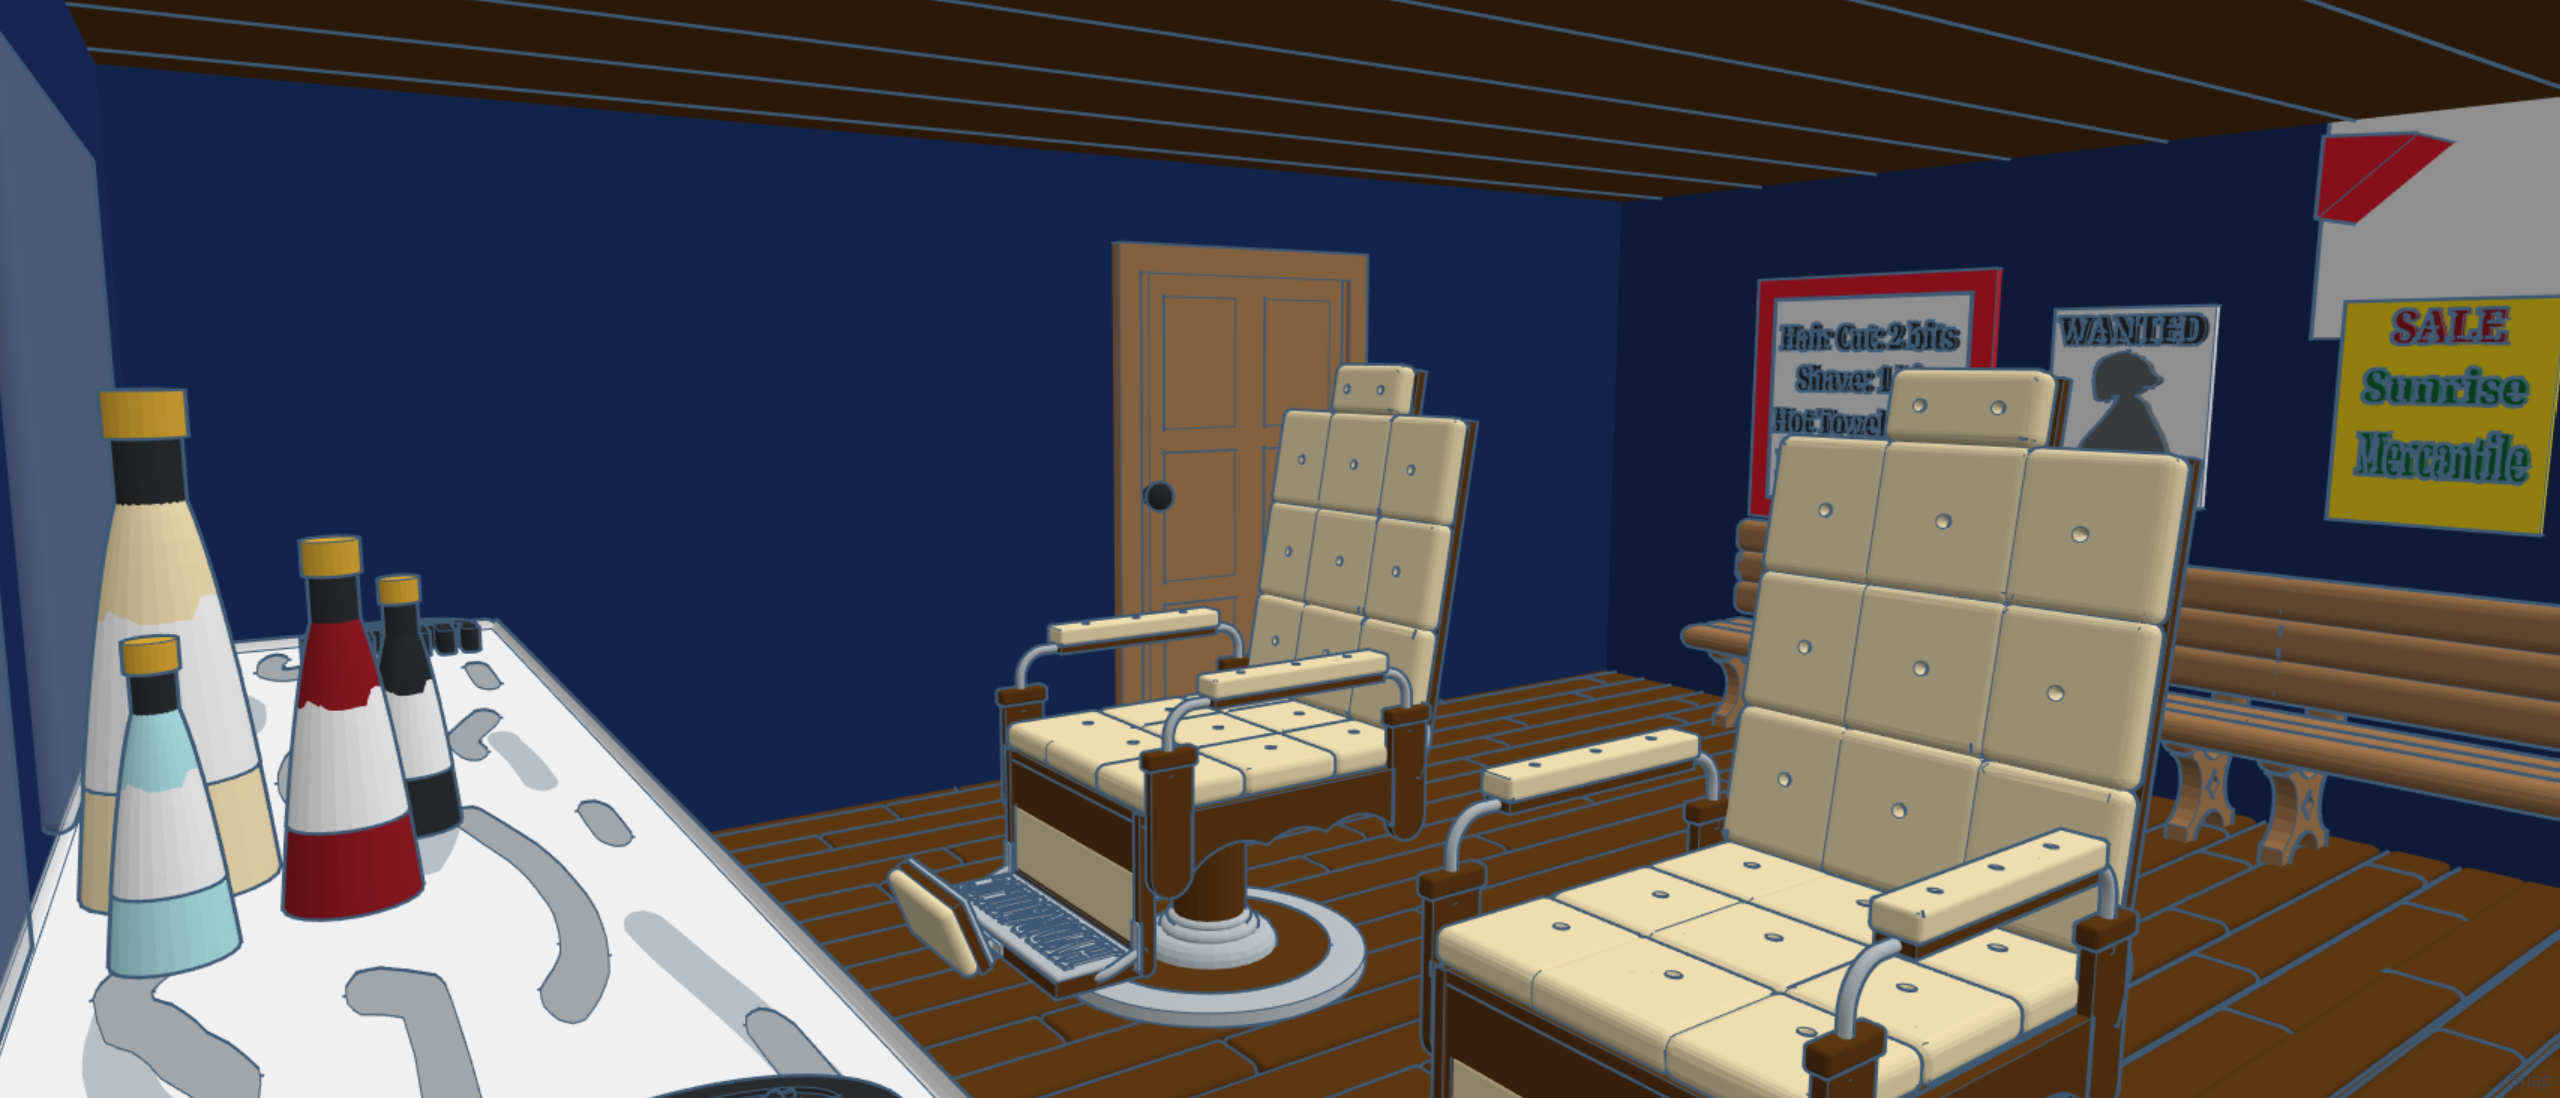
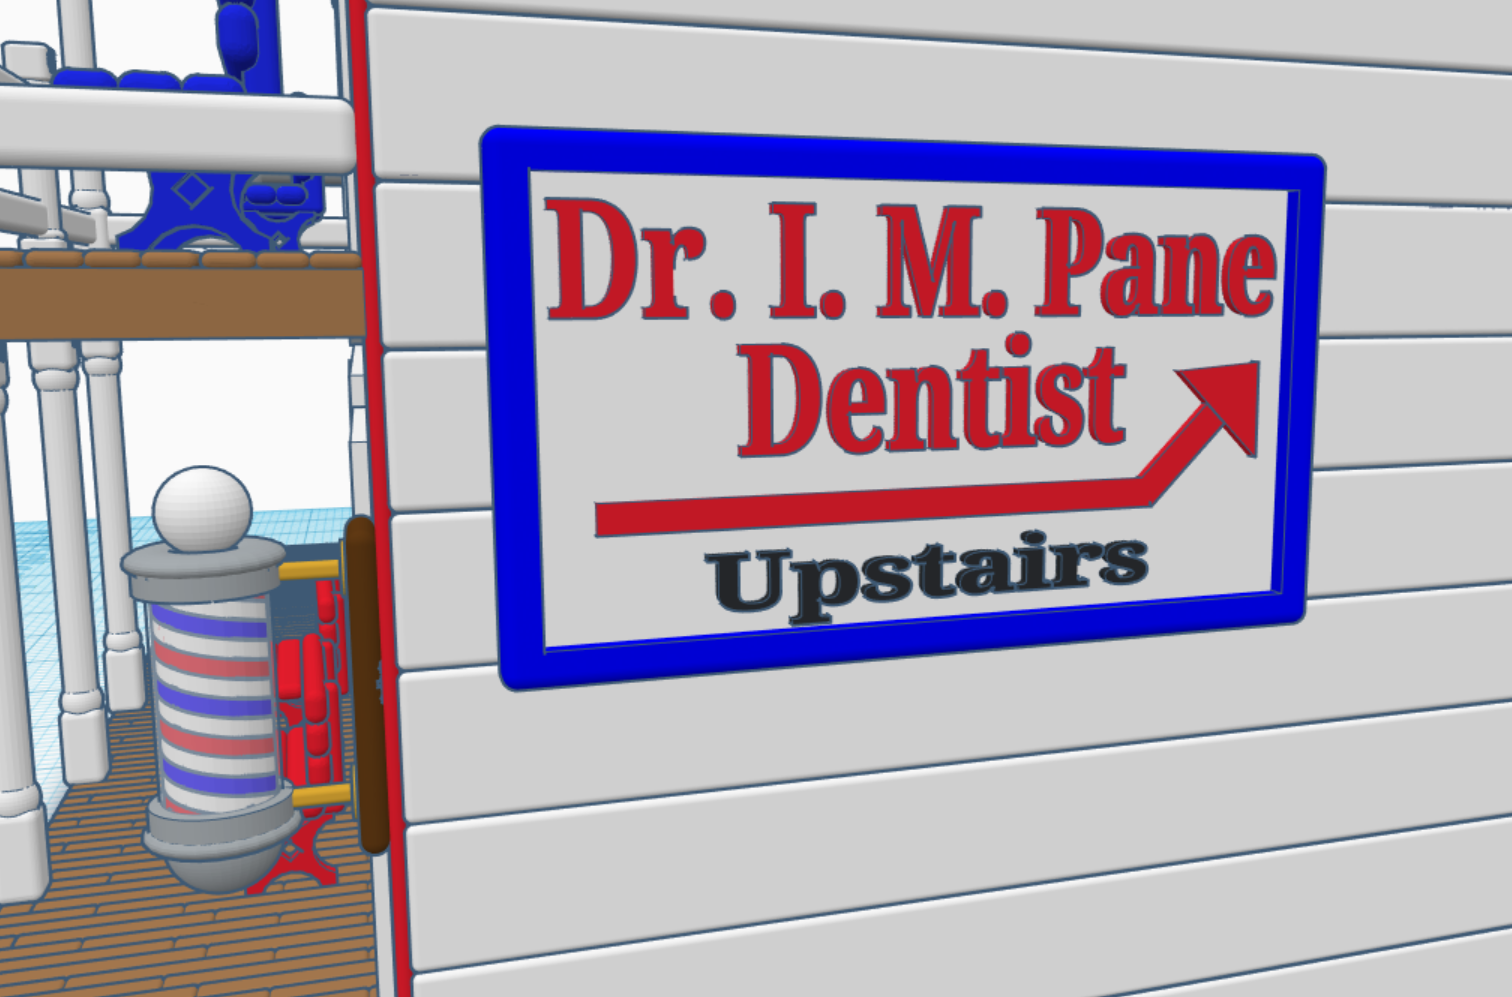
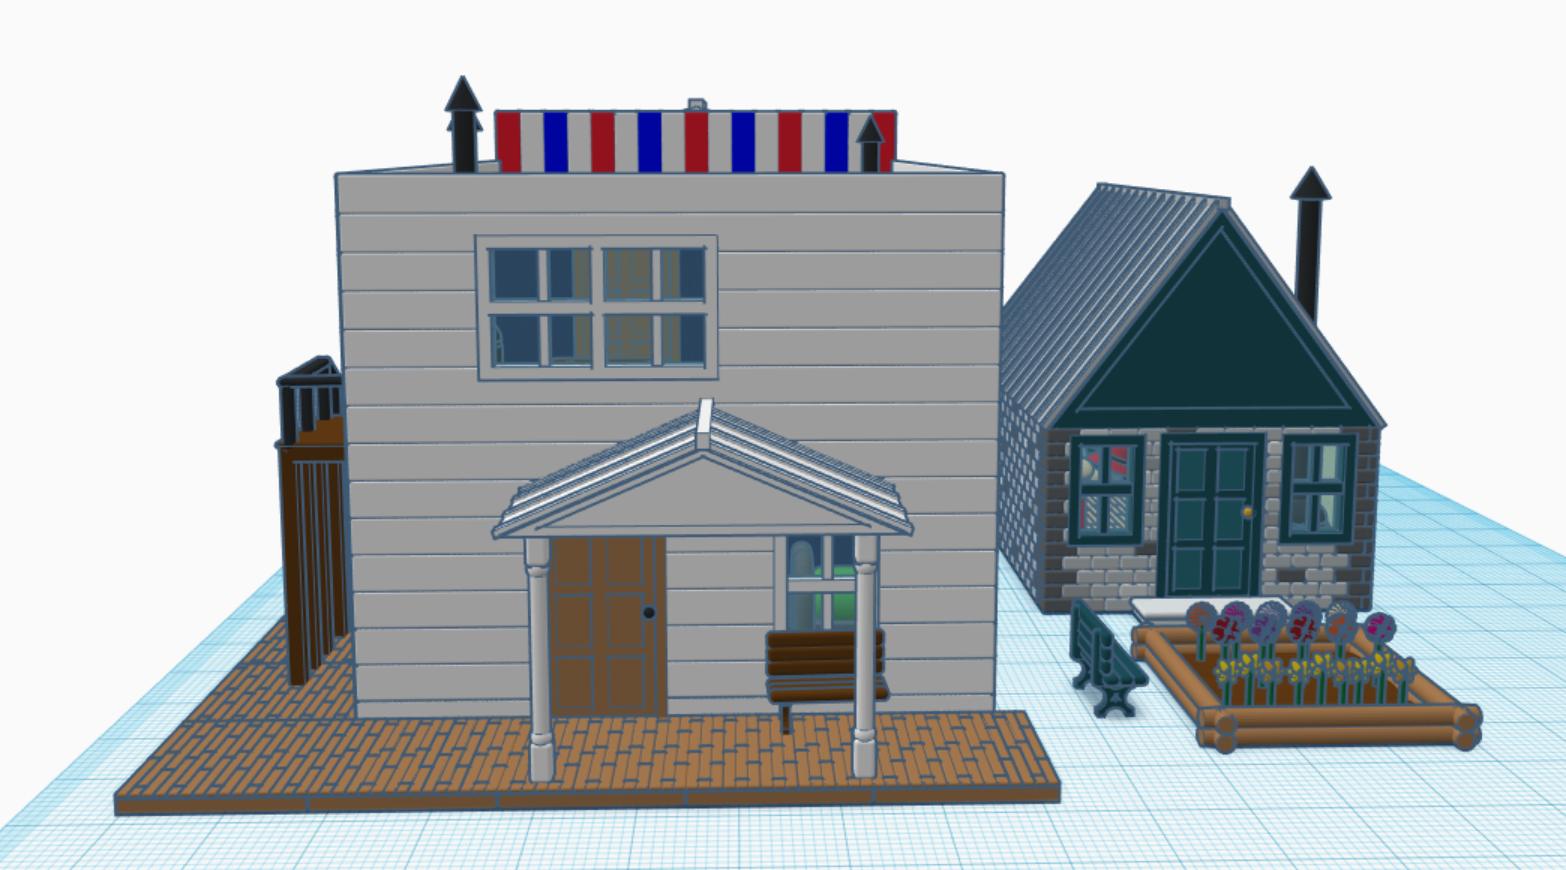
First was the Barber Shop. Since I had people coming into my town, they would need a place to get their hair trimmed. Traditionally, the Barber Pole had three colors: Red, Blue, and White. I wanted my shop to stand out, so made the front of the building to match the Barber’s Pole. A traditional Barber Shop is not very large, so I added benches on the outside for customers to wait.
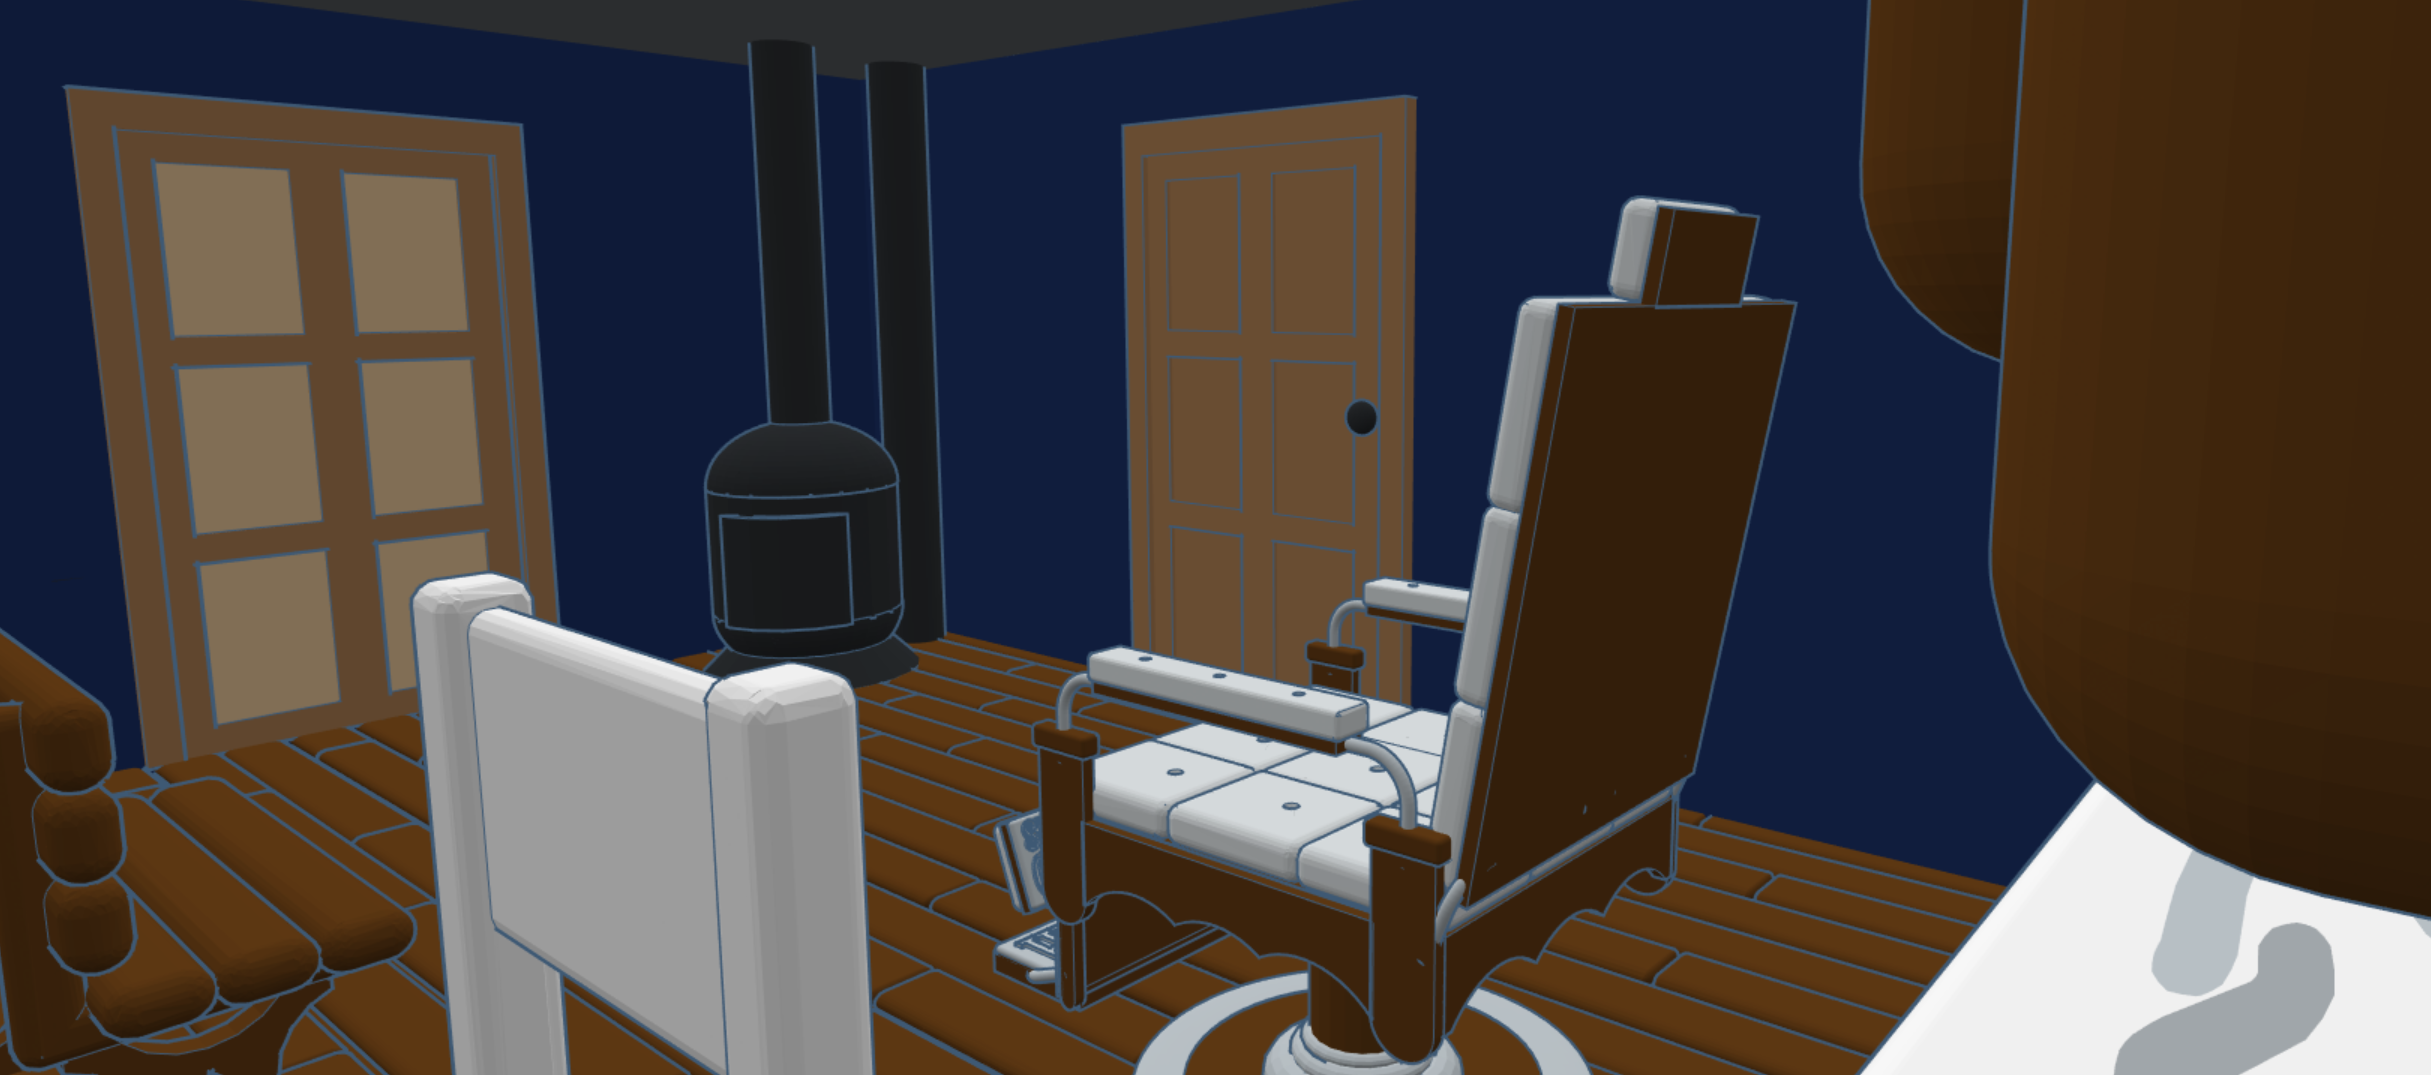
Barber Shops needs a chair. I designed an old-fashioned Barber Chair. I created combs and bottles to place on the counter. Put mirrors on the walls. Designed a coat rack and benches for customer, and place signs on the back wall, including one that had prices.
I provided the Barber a room in the back with a wardrobe and stove to keep warm.
I had these nice-looking barber chair, what else could this chair be use for besides cutting hair? I got it, the town dentist. Someone will have a tooth ache one day. I placed the Town Dentist upstairs with a boarding room above the Barber Shop. A bookcase was added to the Dentist’s Quarters, because he would need reference materials.
A bench and a door were added to the back of the building so the residences could enjoy the evening after a long day’s work.
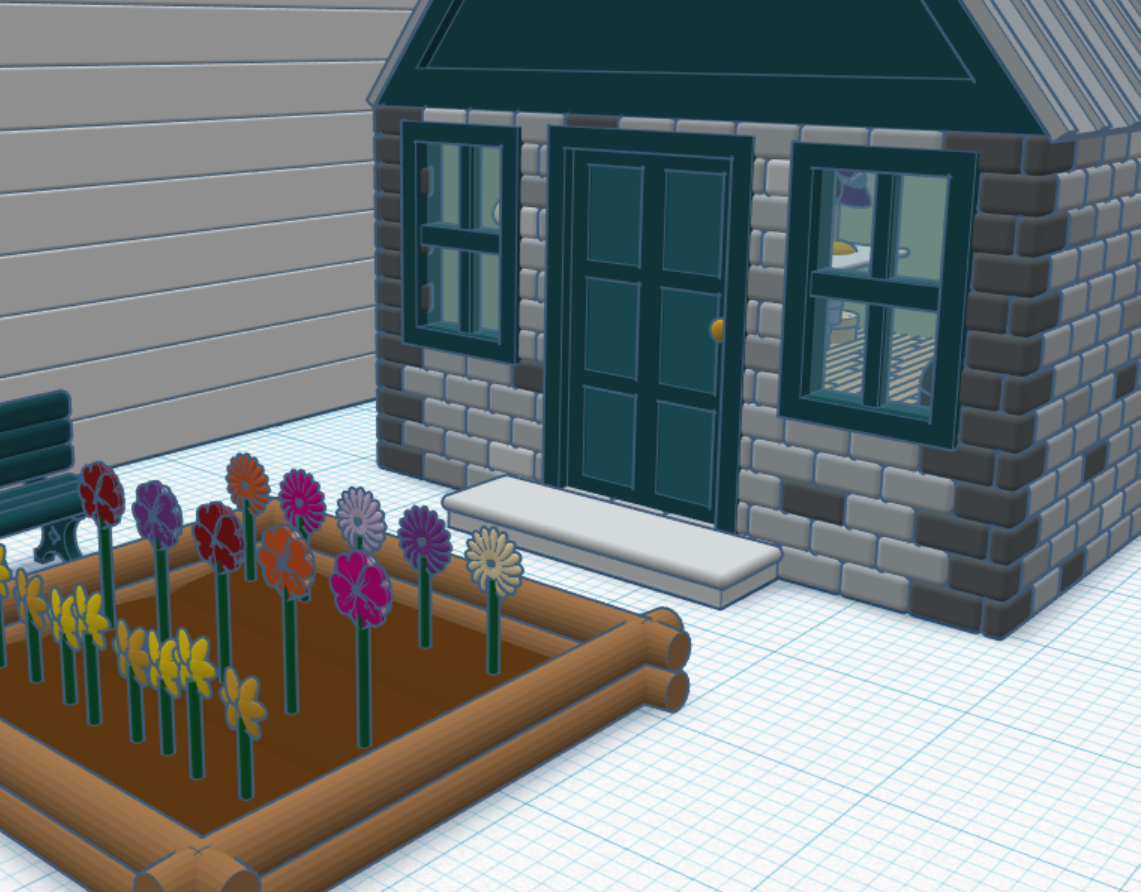
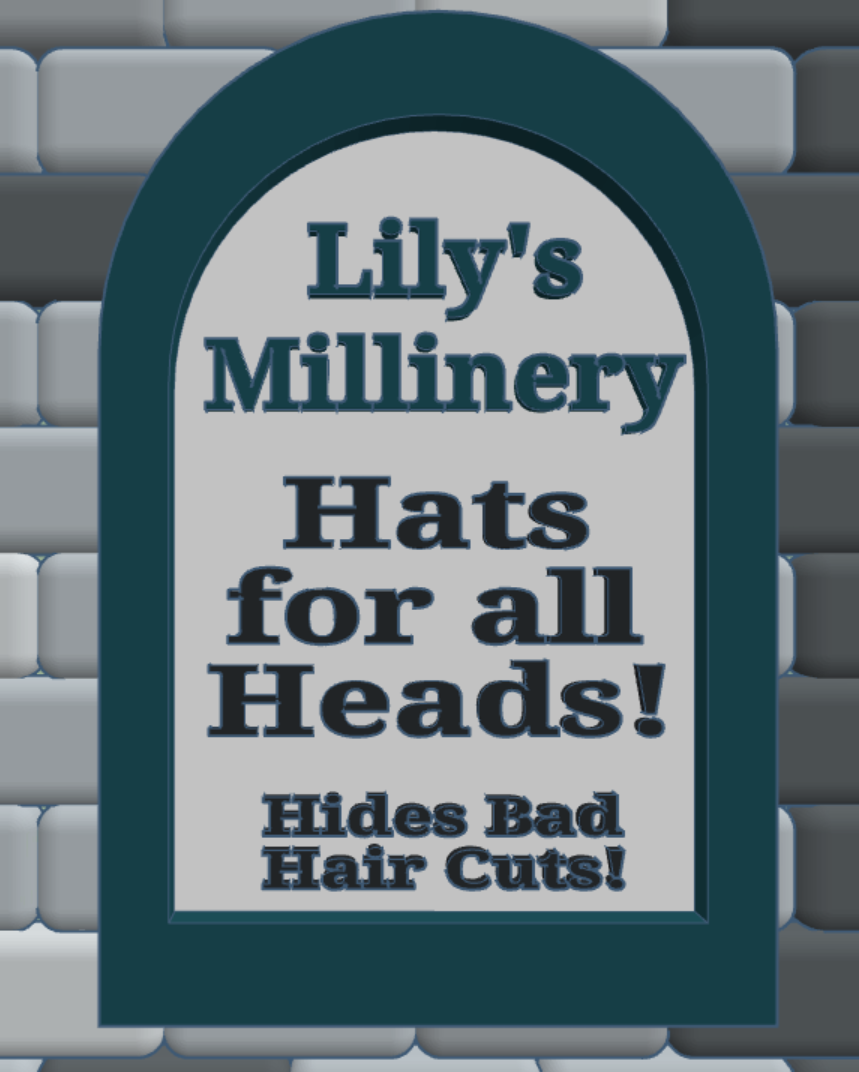
I never created a two-building design for my Railroad Town. I decided that a Millinery (Hat Shop) would go well with my Barber Shop. People without air conditioning would need a hat to keep the sun off of their heads. I designed the hats, hat rack, rocking chair, and fabric bundles for the Millinery. The flower garden was added to the back of the Millinery to give Lily a nice place to relax. Look at the sign, Lily has a sense of humor.
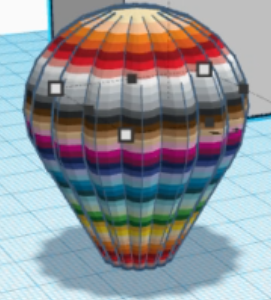
I wanted to create a Hot Air Balloon in Tinkercad. Creating a balloon is easy, the hard part is getting multiple colors. To resolve this issue, I created a template to create colorful hot air balloons. It was so much fun, before I knew it, I had a Festival of Balloons.
This is the multi-color balloon:
Balloon without basket
This balloon was created using the Tinkercad Logo:
The American Flag balloon was created from the flag I designed several years ago.
I’ve used Instructables to provide instructions on how to create a Hot Air Balloon.