Over the past few weeks, I have been creating pictures with Microsoft Bing Image Creator. It’s AI created some wonder images. It works by describing the picture you want to see, and the AI creates the picture.
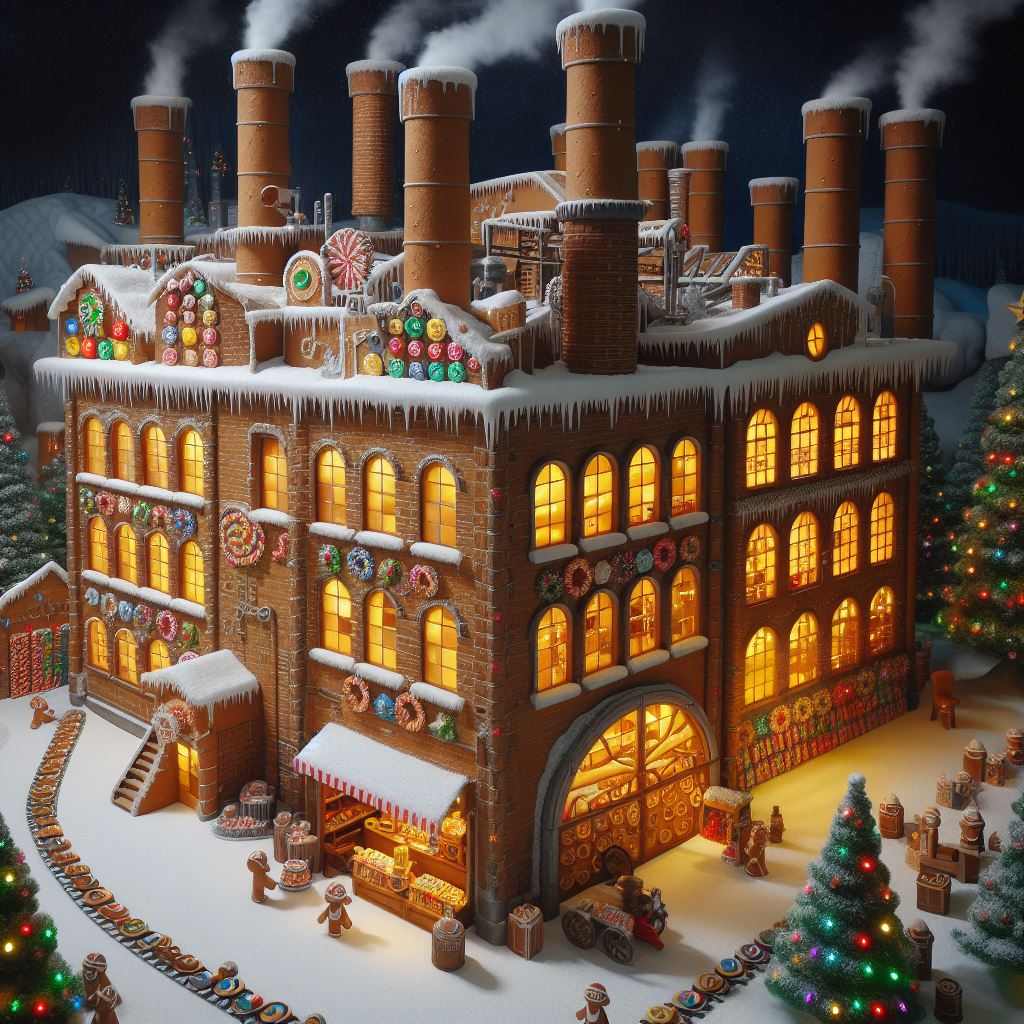
One prompt I used was: “candy manufacturing plant made of gingerbread located in the north pole that is run by Santa’s elves”. Below are the images the AI returned.


To use Bing Image Creator, you must have a Microsoft account. If you are a new user, Microsoft will provide you with 15 boosts. My Microsoft account is many years old, and I was provided 80 boosts.
In the prompt field you type a description of the picture you would like to see, then you press the Create button. After a short period of time, the AI will show you four pictures it created. You then have the option to download the pictures or rework the description. Each time you submit a description, it will use one of the boosts.
Below are more descriptions I used and the pictures the AI created.
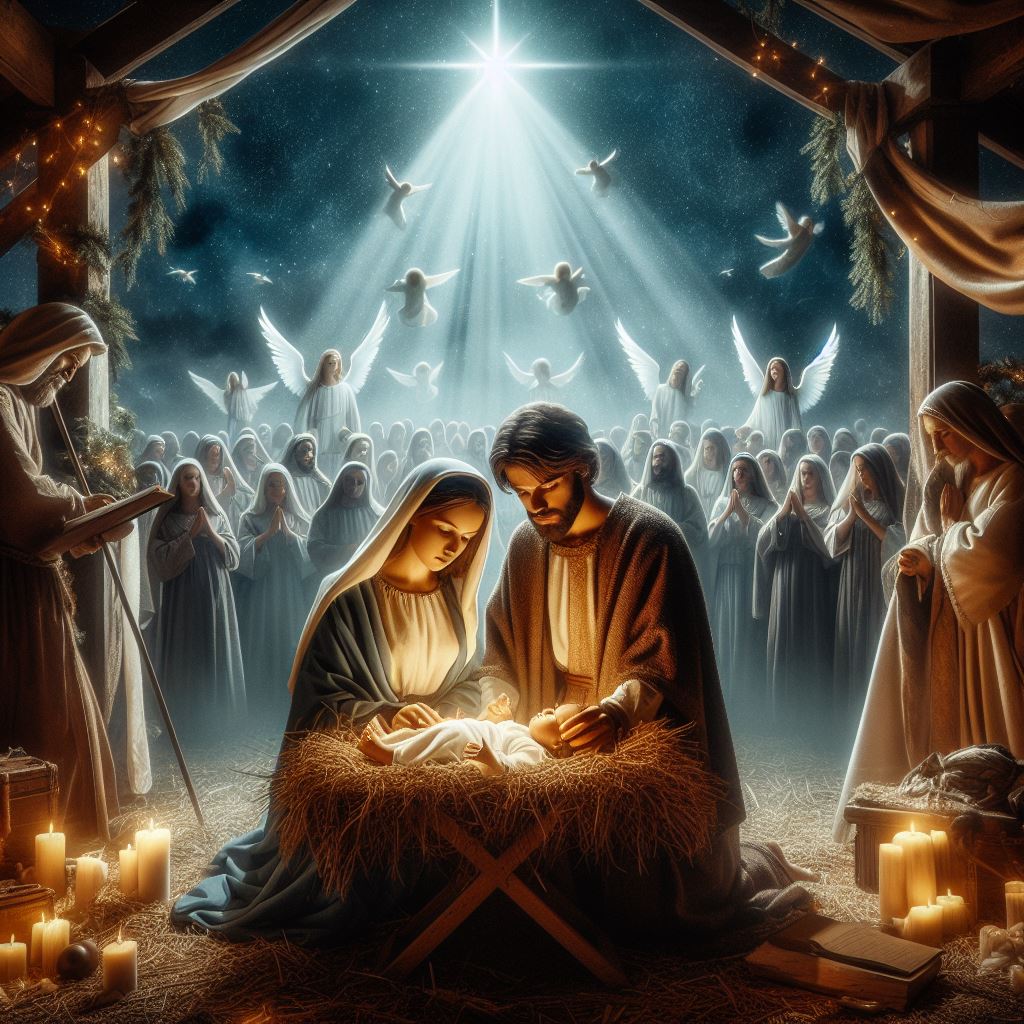
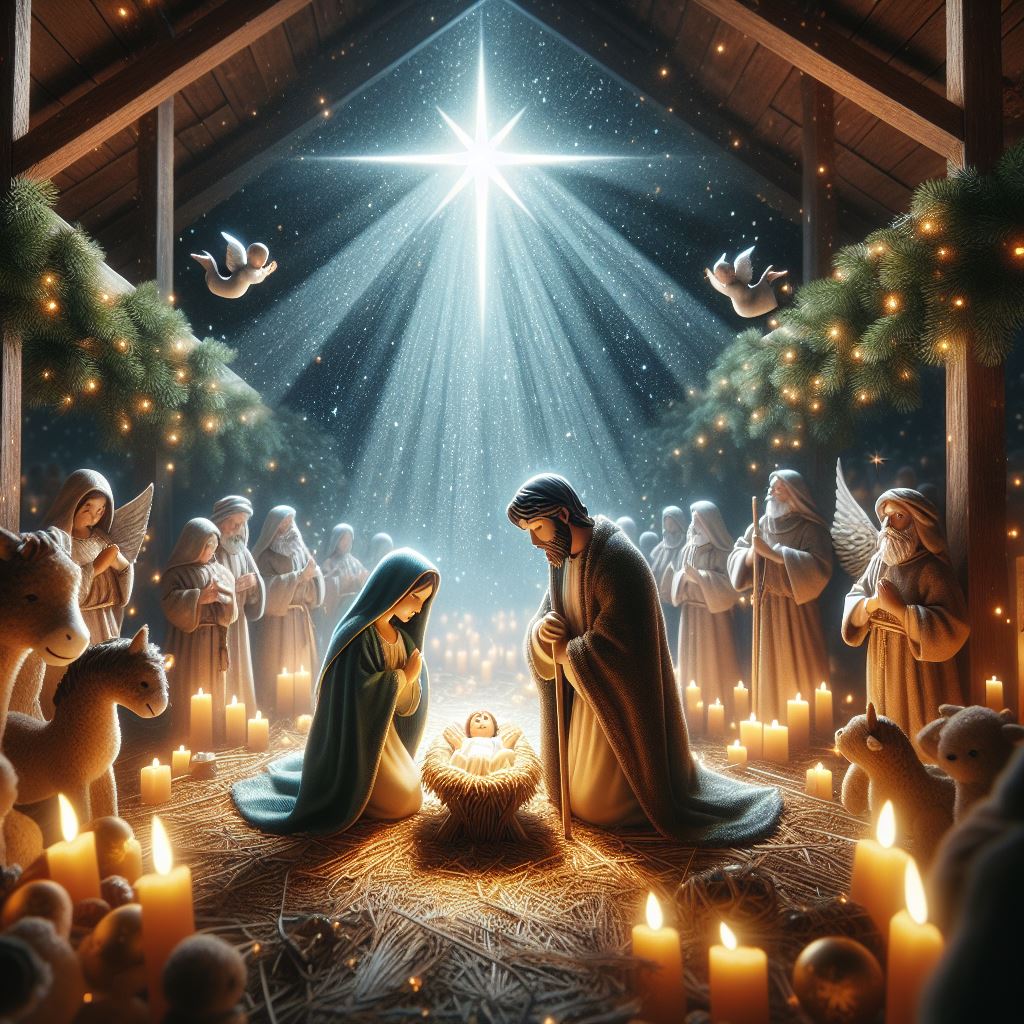
Description: a nativity scene with Mary, Joseph, and baby Jesus in a manger with the Bethlehem Star shining down on the stable. In the background show choir of angels in the background.


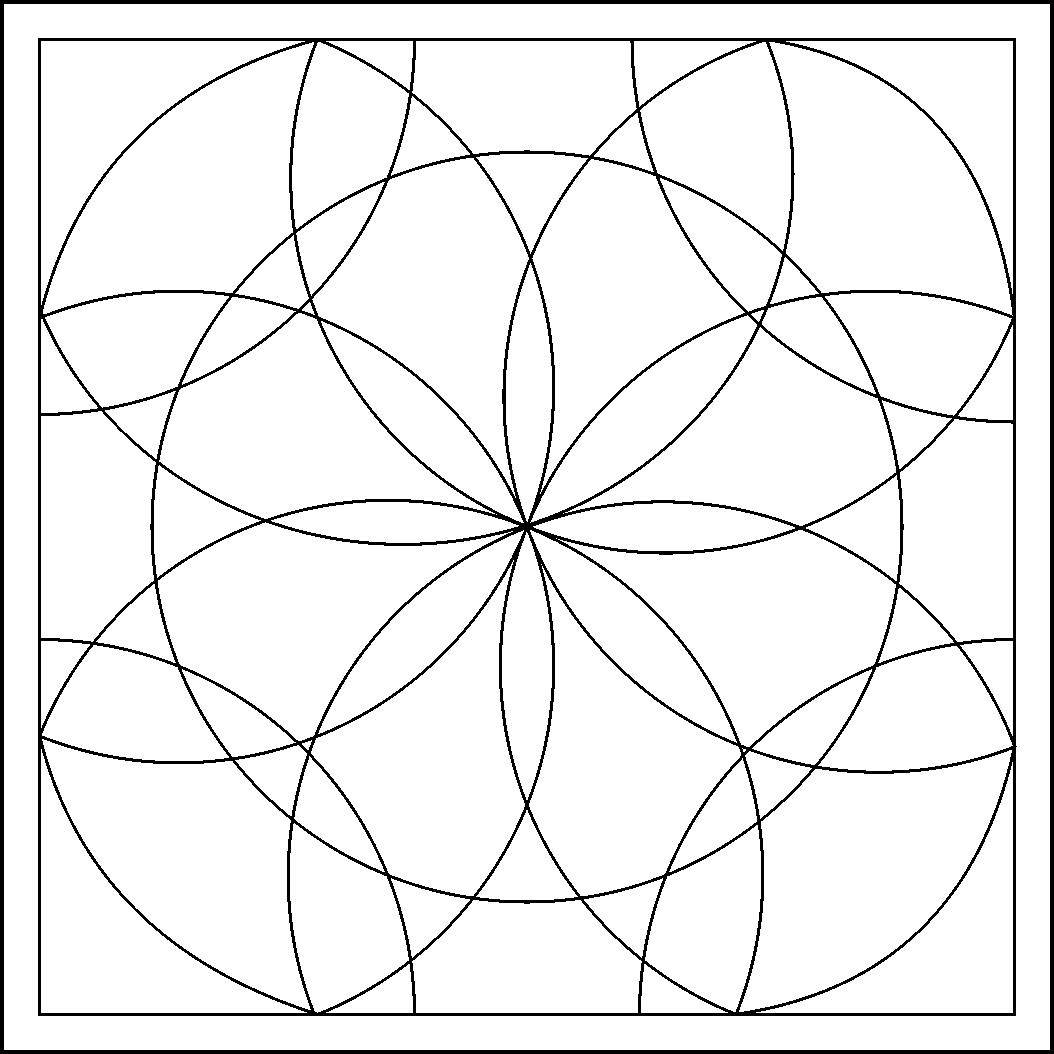
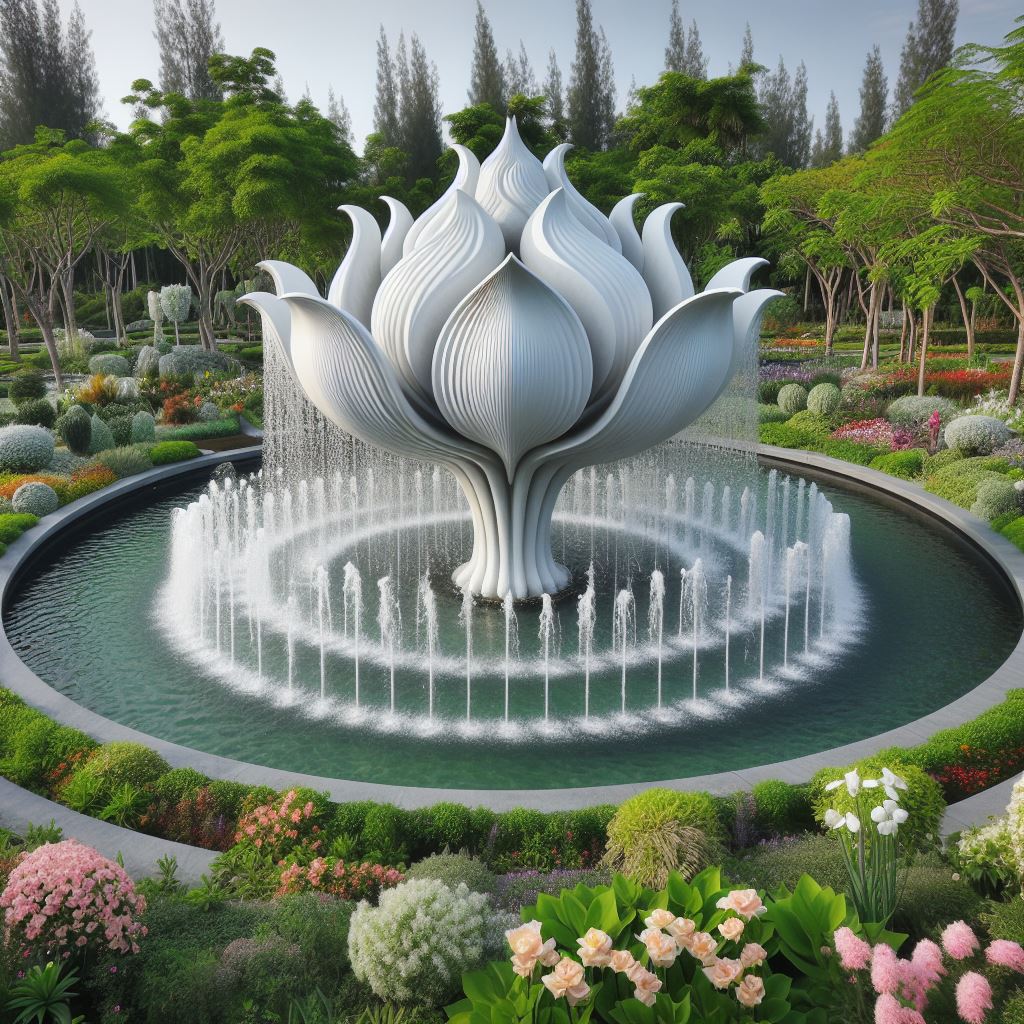
Description: The garden with variety of trees and flowers. The garden features a fountain sculpted from white marble, resembling an open flower. Within the fountain, 40 water sprouts shoot up into the air, cascading back down like rain into the crystal-clear pool.


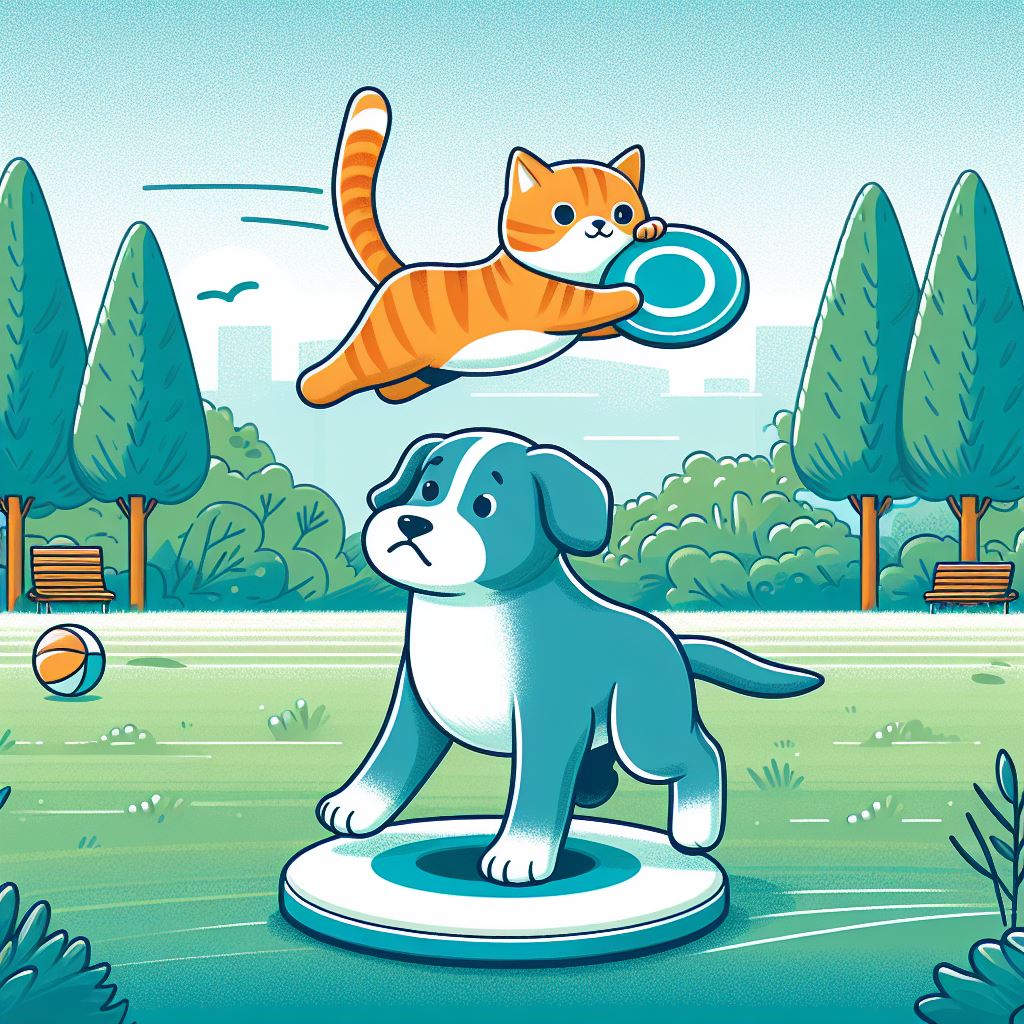
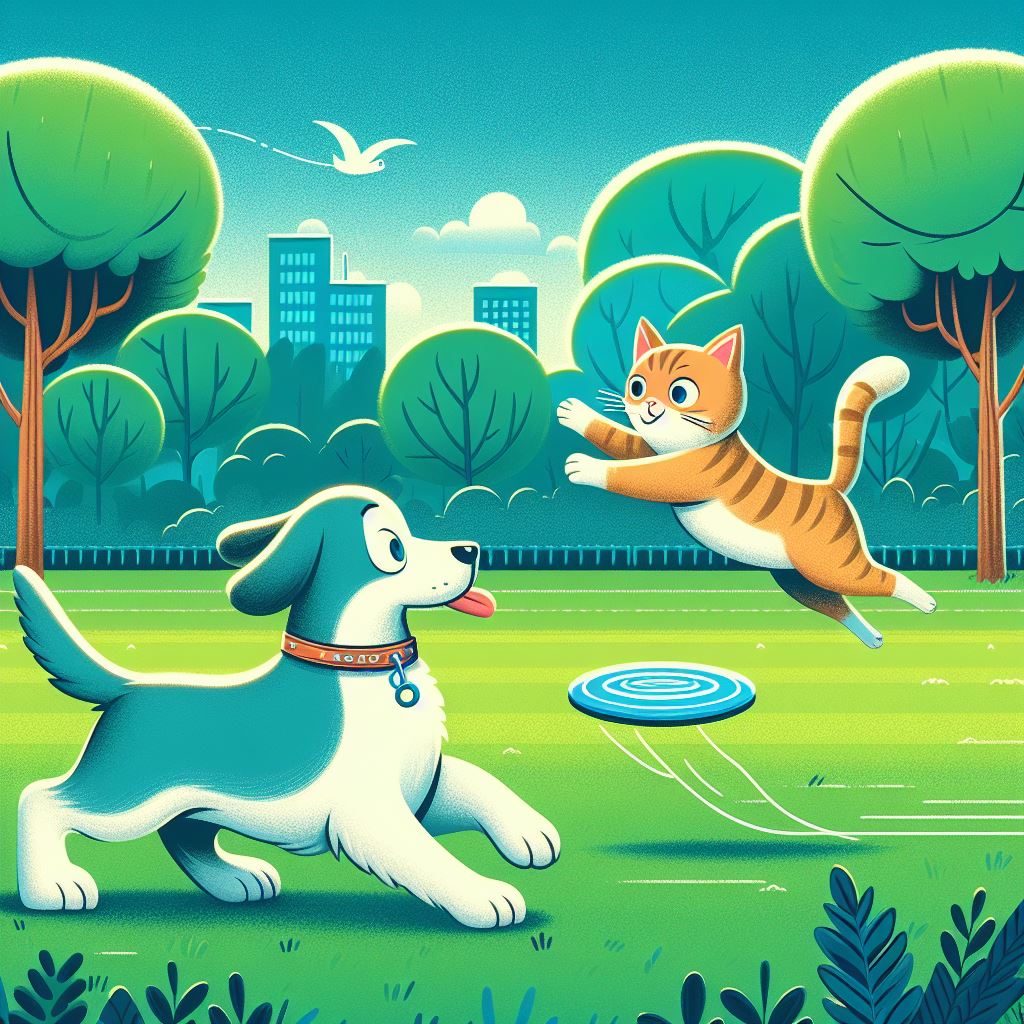
Description: A dog playing frisbee and cat riding on the frisbee. They are in a park which has a bluish green field surrounded by a variety of trees.


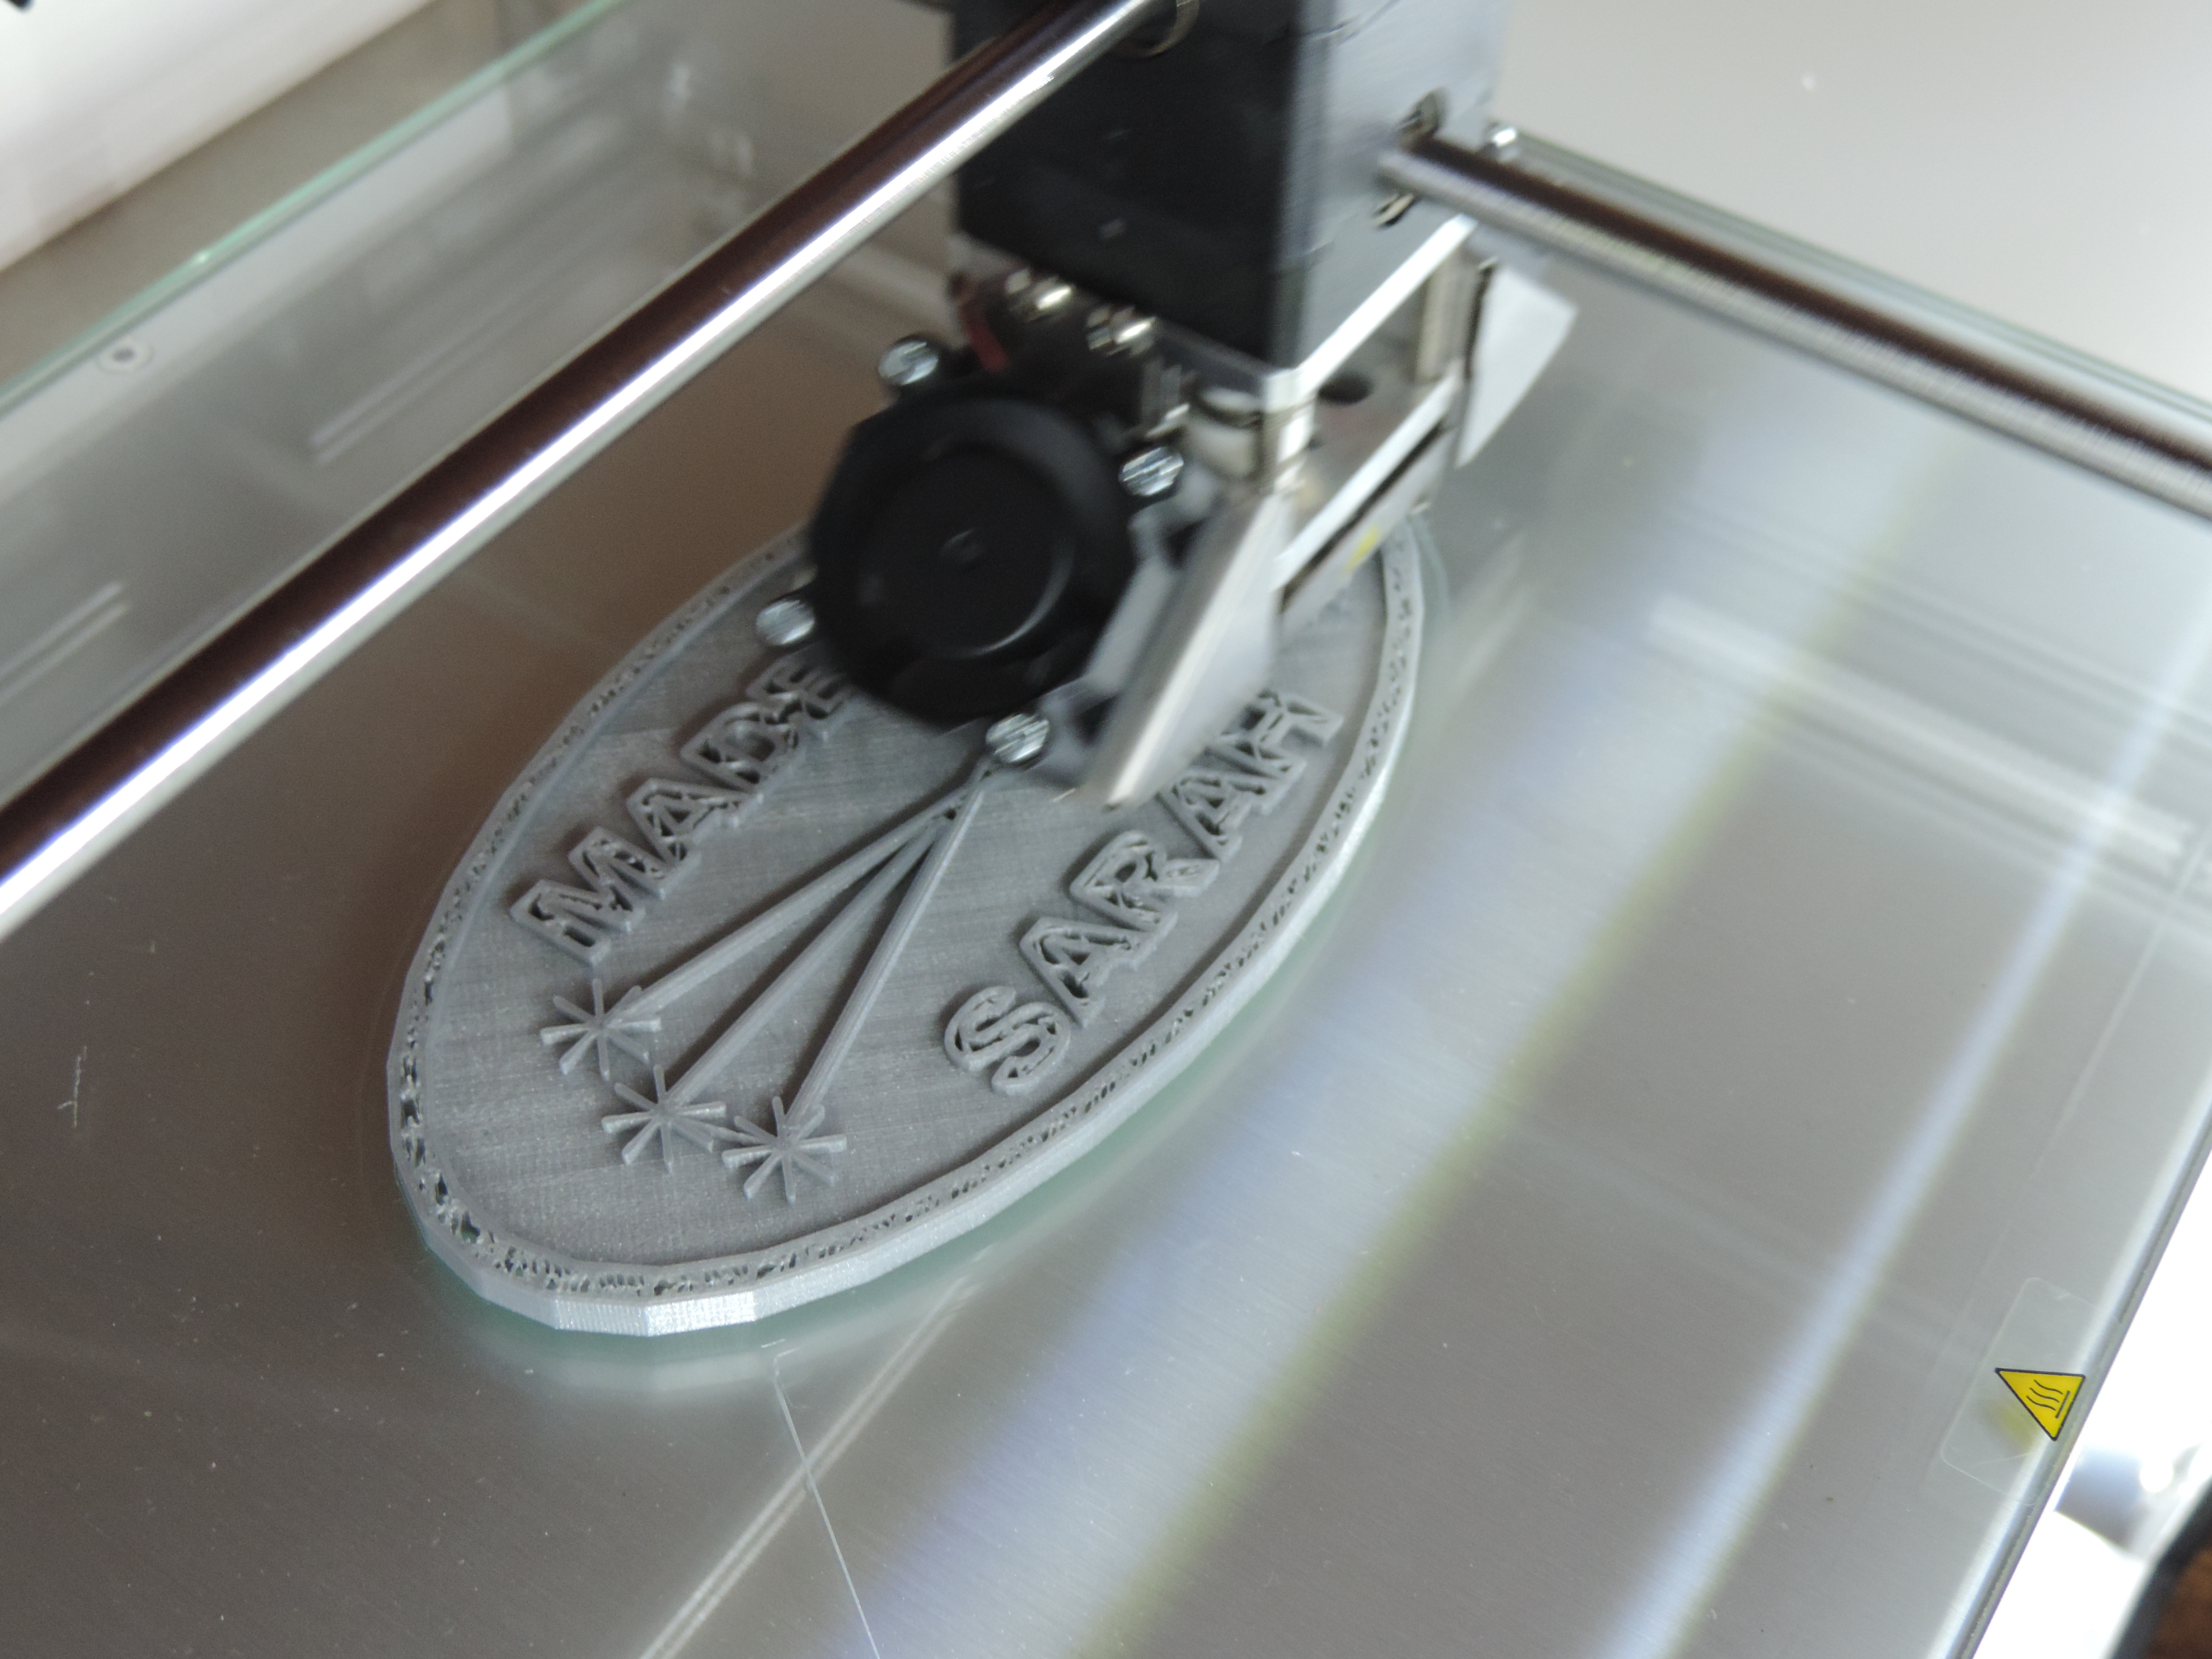
Description: Need a image that I can use to give credit to Microsoft Bing Image Creator for the wonder images the AI creates.


Microsoft only provides the image in a JPEG format and limits the size to 1024 x 1024 pixels. Which is good enough for posting on a Social Media platform or this blog.
There is no guarantee that you will get that same pictures every time you enter a same description multiple times. Nor, is it guarantee that someone else will not get the same picture created with a description you used.
I tried other AI picture generated programs like PIXLR and FOTOR. Both have more features than Microsoft’s Image Creator. FOTOR I ran out of boost before I finished my research. In the PIXLR Licensing Agreement, it states that no image can be used unless you have a subscription.
In my opinion, Microsoft Image Creator generated better pictures. In the other programs missed sometimes in what I was trying to create. For example, I asked for a yellow bird whispering in a dog ears. It returned a few examples, but one had a dog’s head on a bird’s body.