I did not finish a lot of houses this year, only four. Below are last three I finished. Only the Chocolate Shop is California Creations. The other two are labeled Creative Craft. They are very similar to California Creations making me think that when California Creations when out of business, they may have sold the molds to this company. I have no evidence, but all the houses have the same feel.
Chocolate Shop by California Creations:
This is one of the houses I placed in the category of Rescued Houses. In 2016, south Louisiana Flooded, the Rescued House sat in water for a few days. You can read about the rescued houses in my blog, Rescued Houses – Part One. There is some damage to the houses that were rescued and the paint cards our gone. I painted this house with the colors associated with chocolate: Dark Chocolate, Buttercream, Reds, Pink….


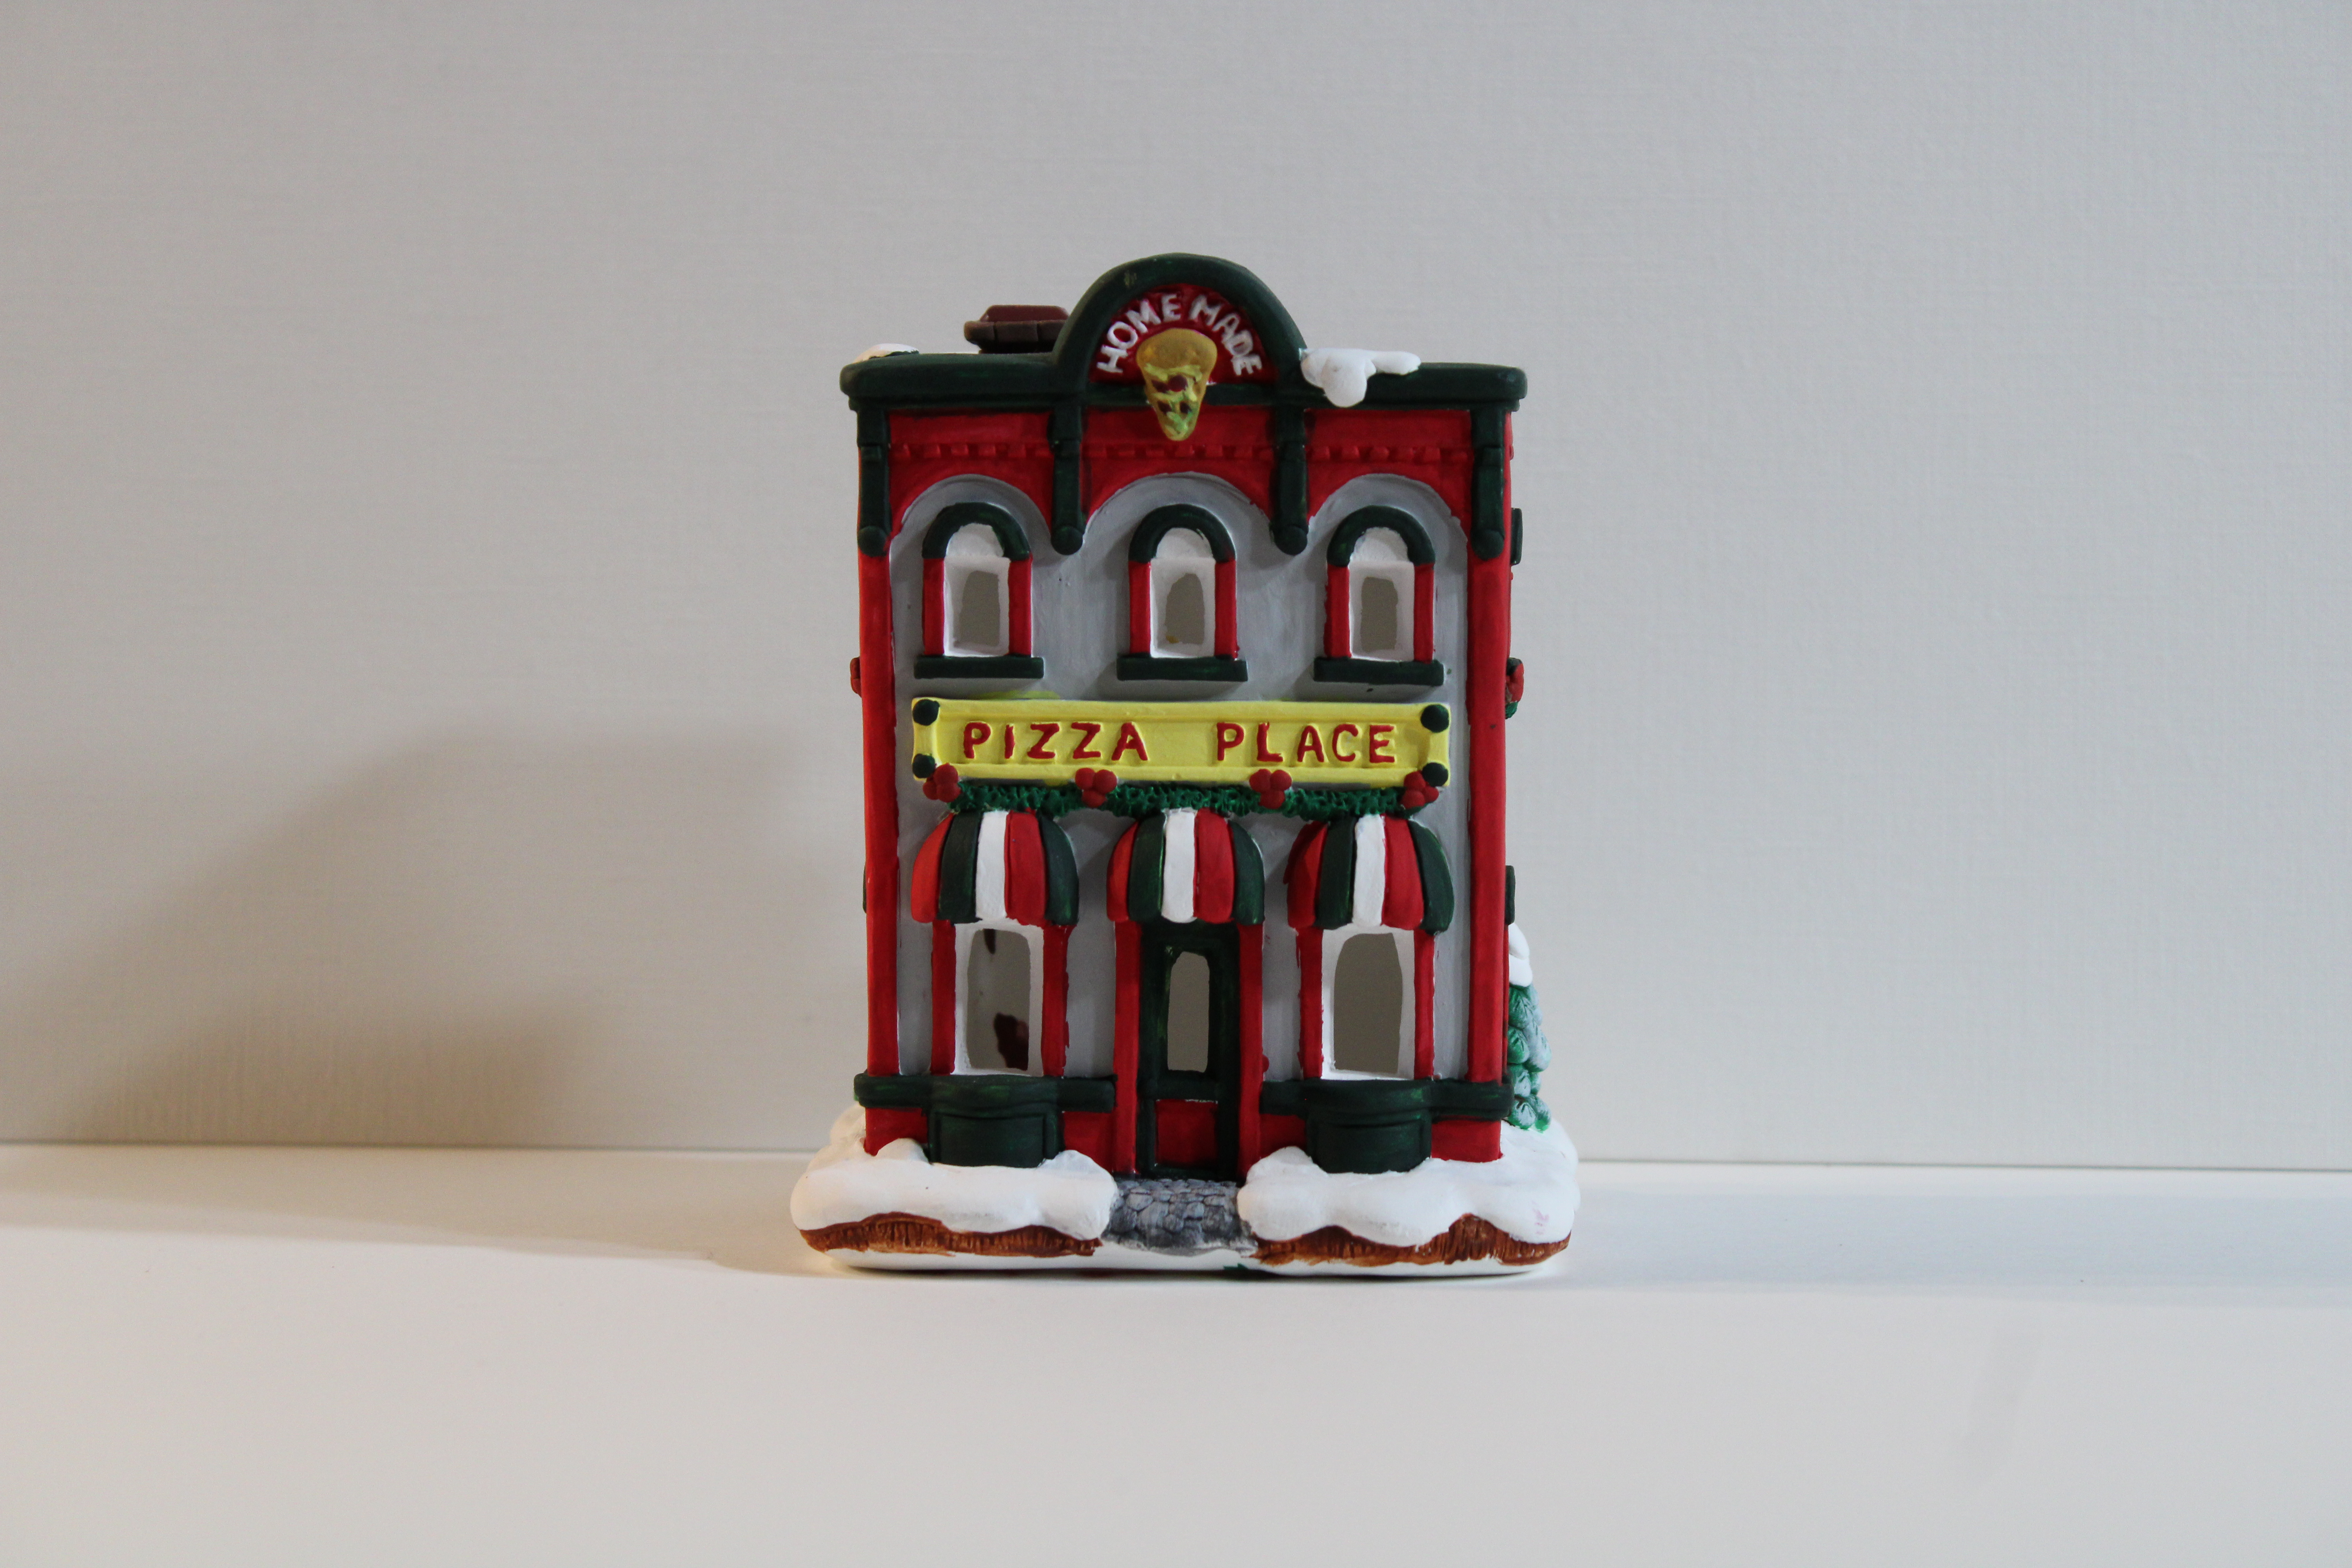
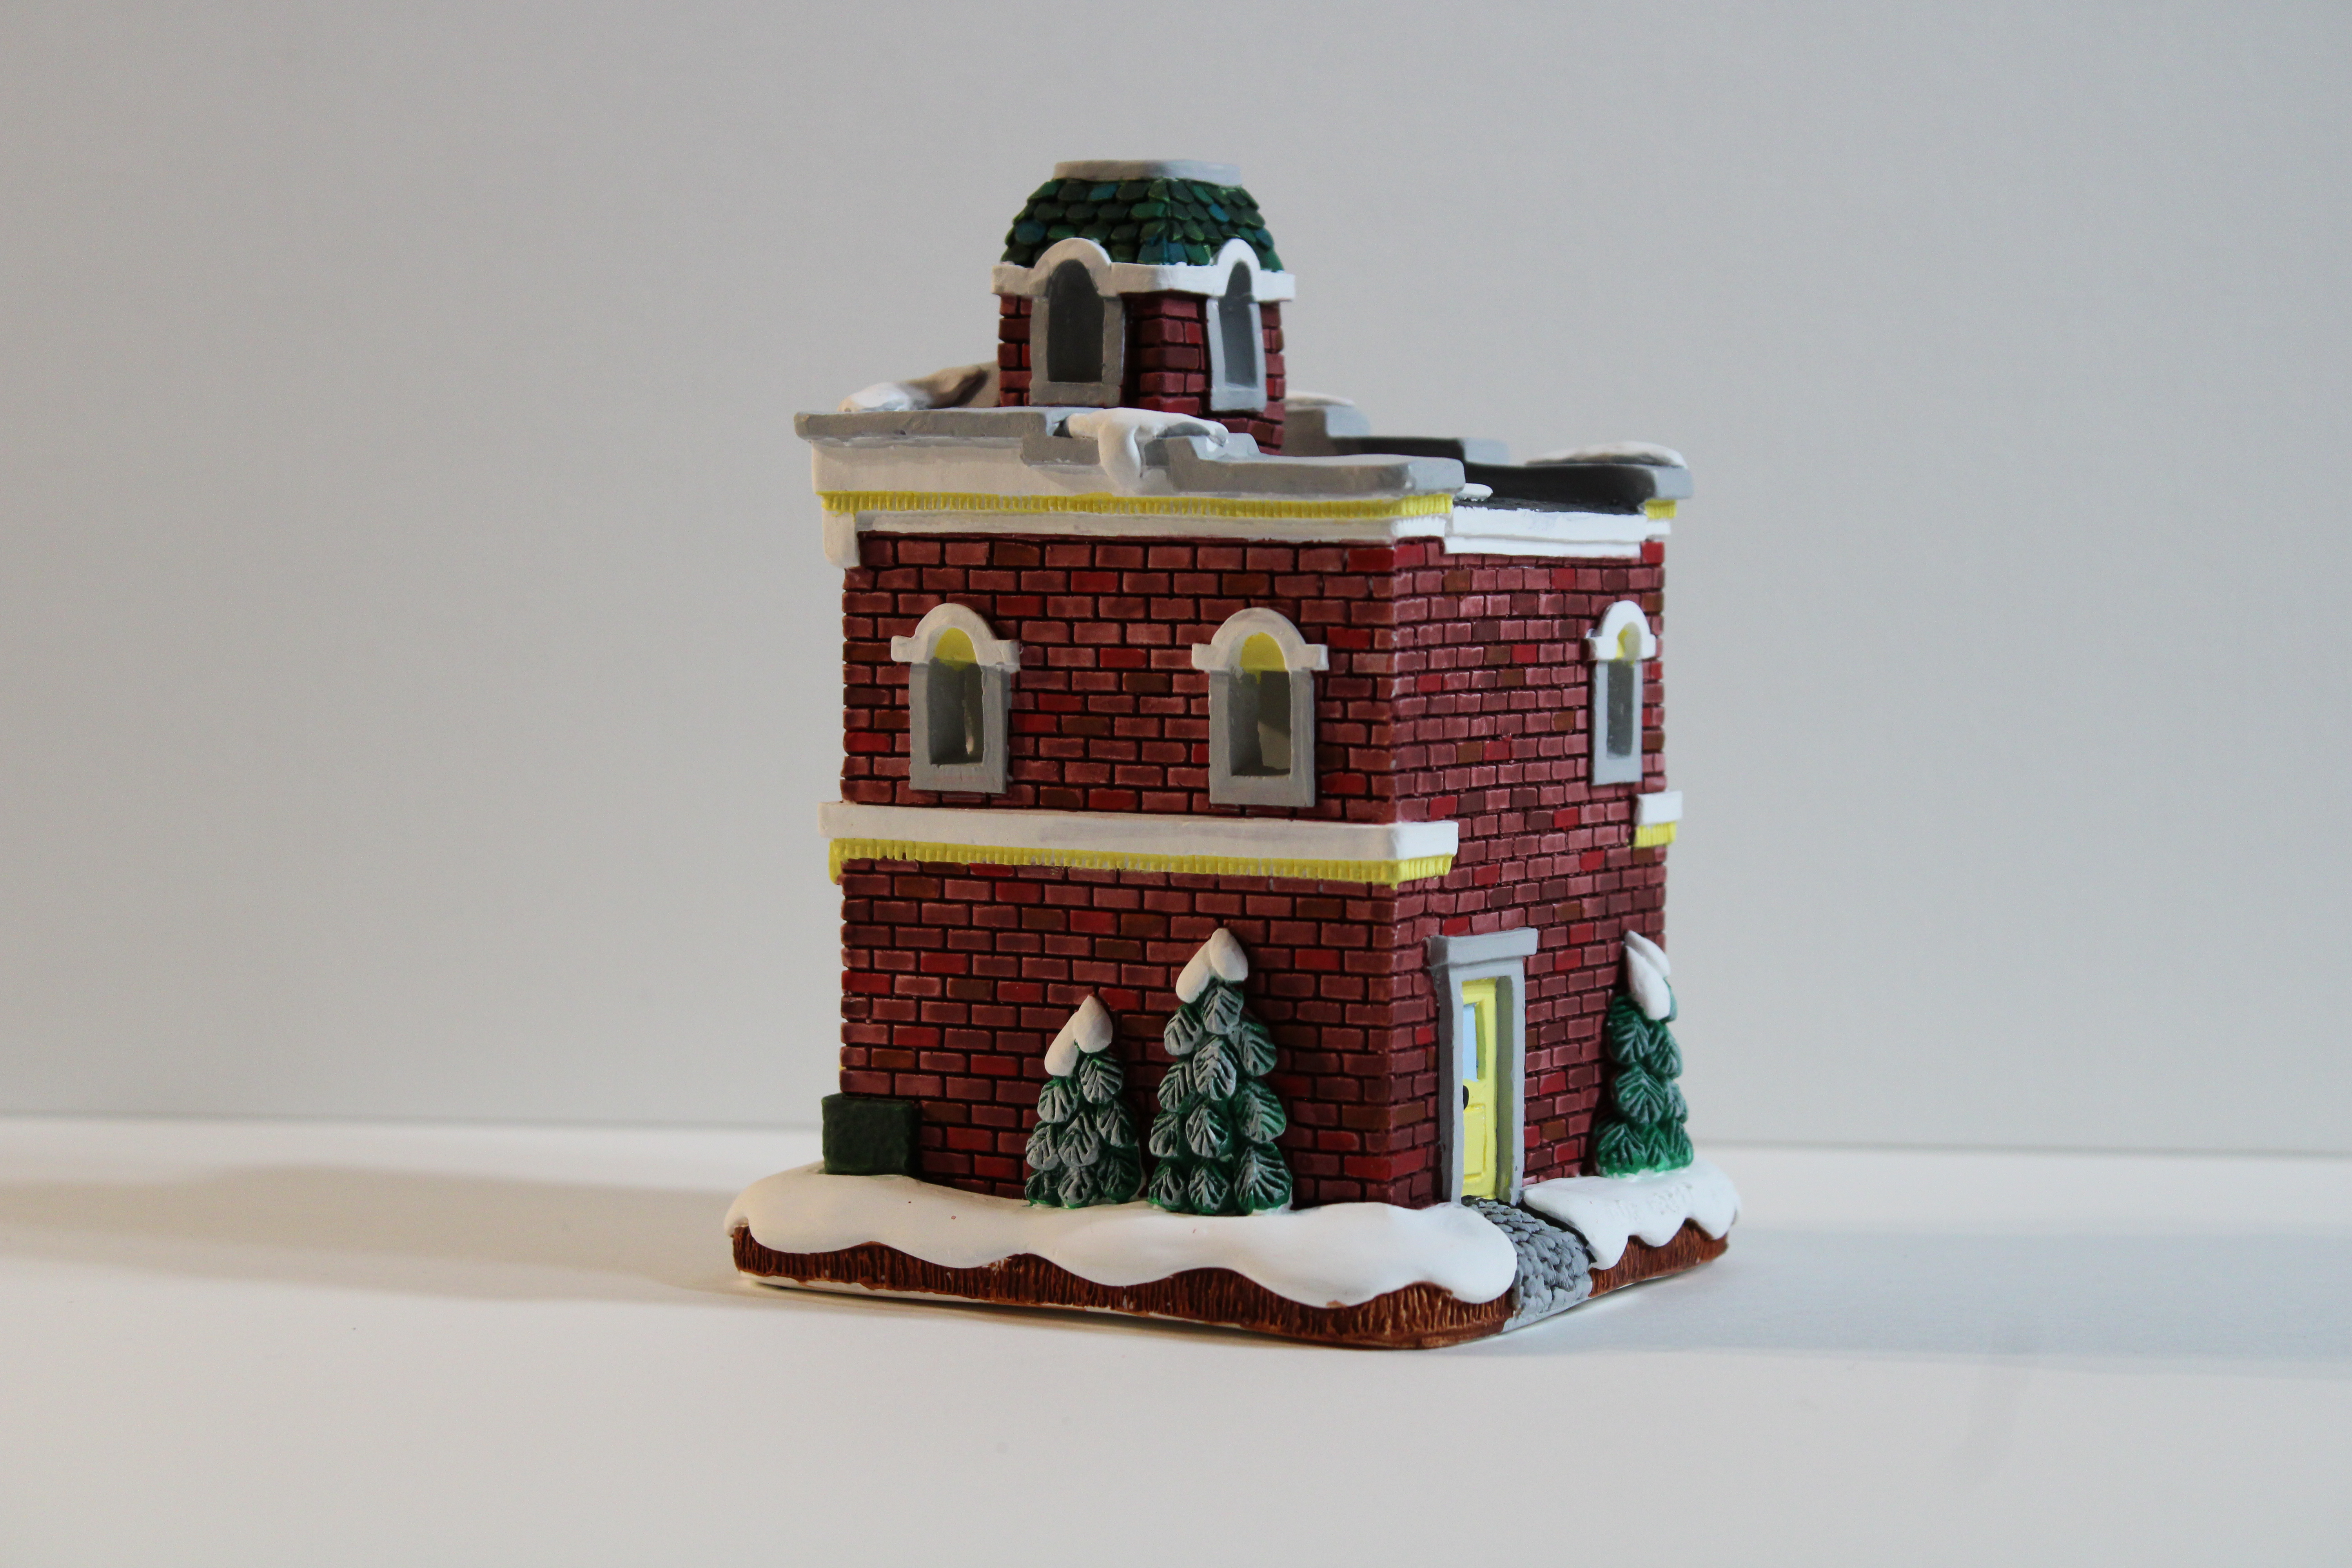
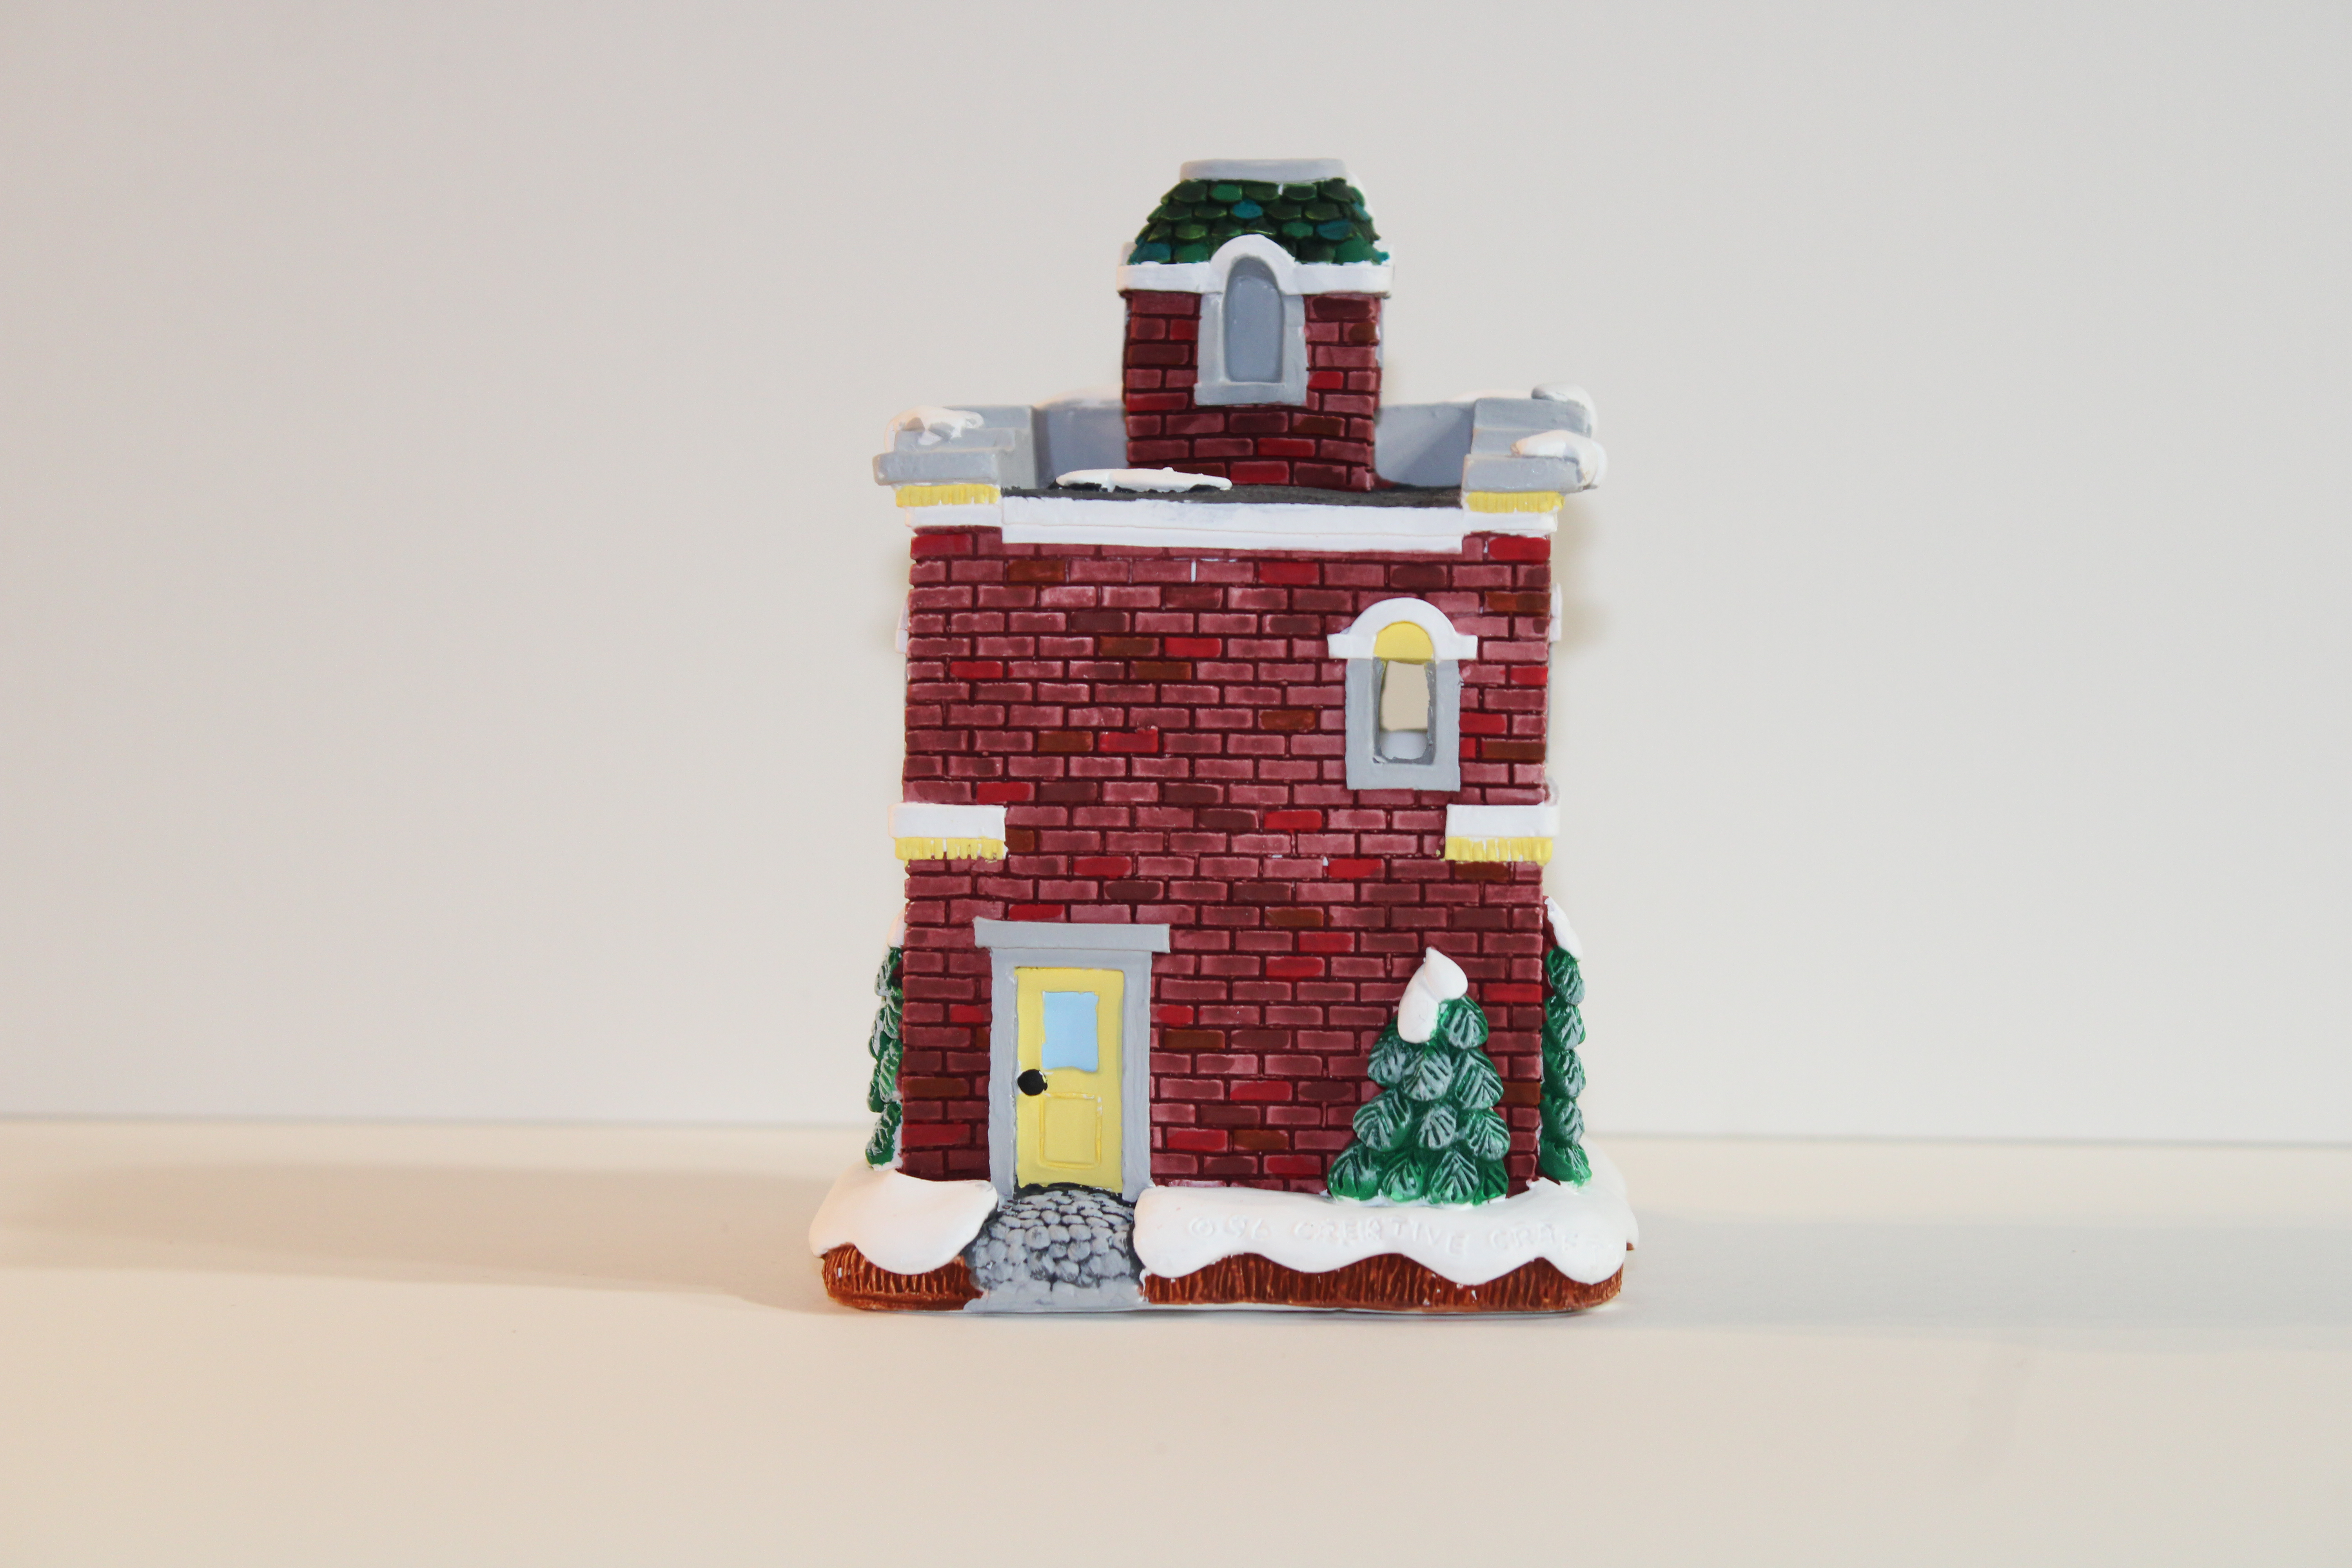
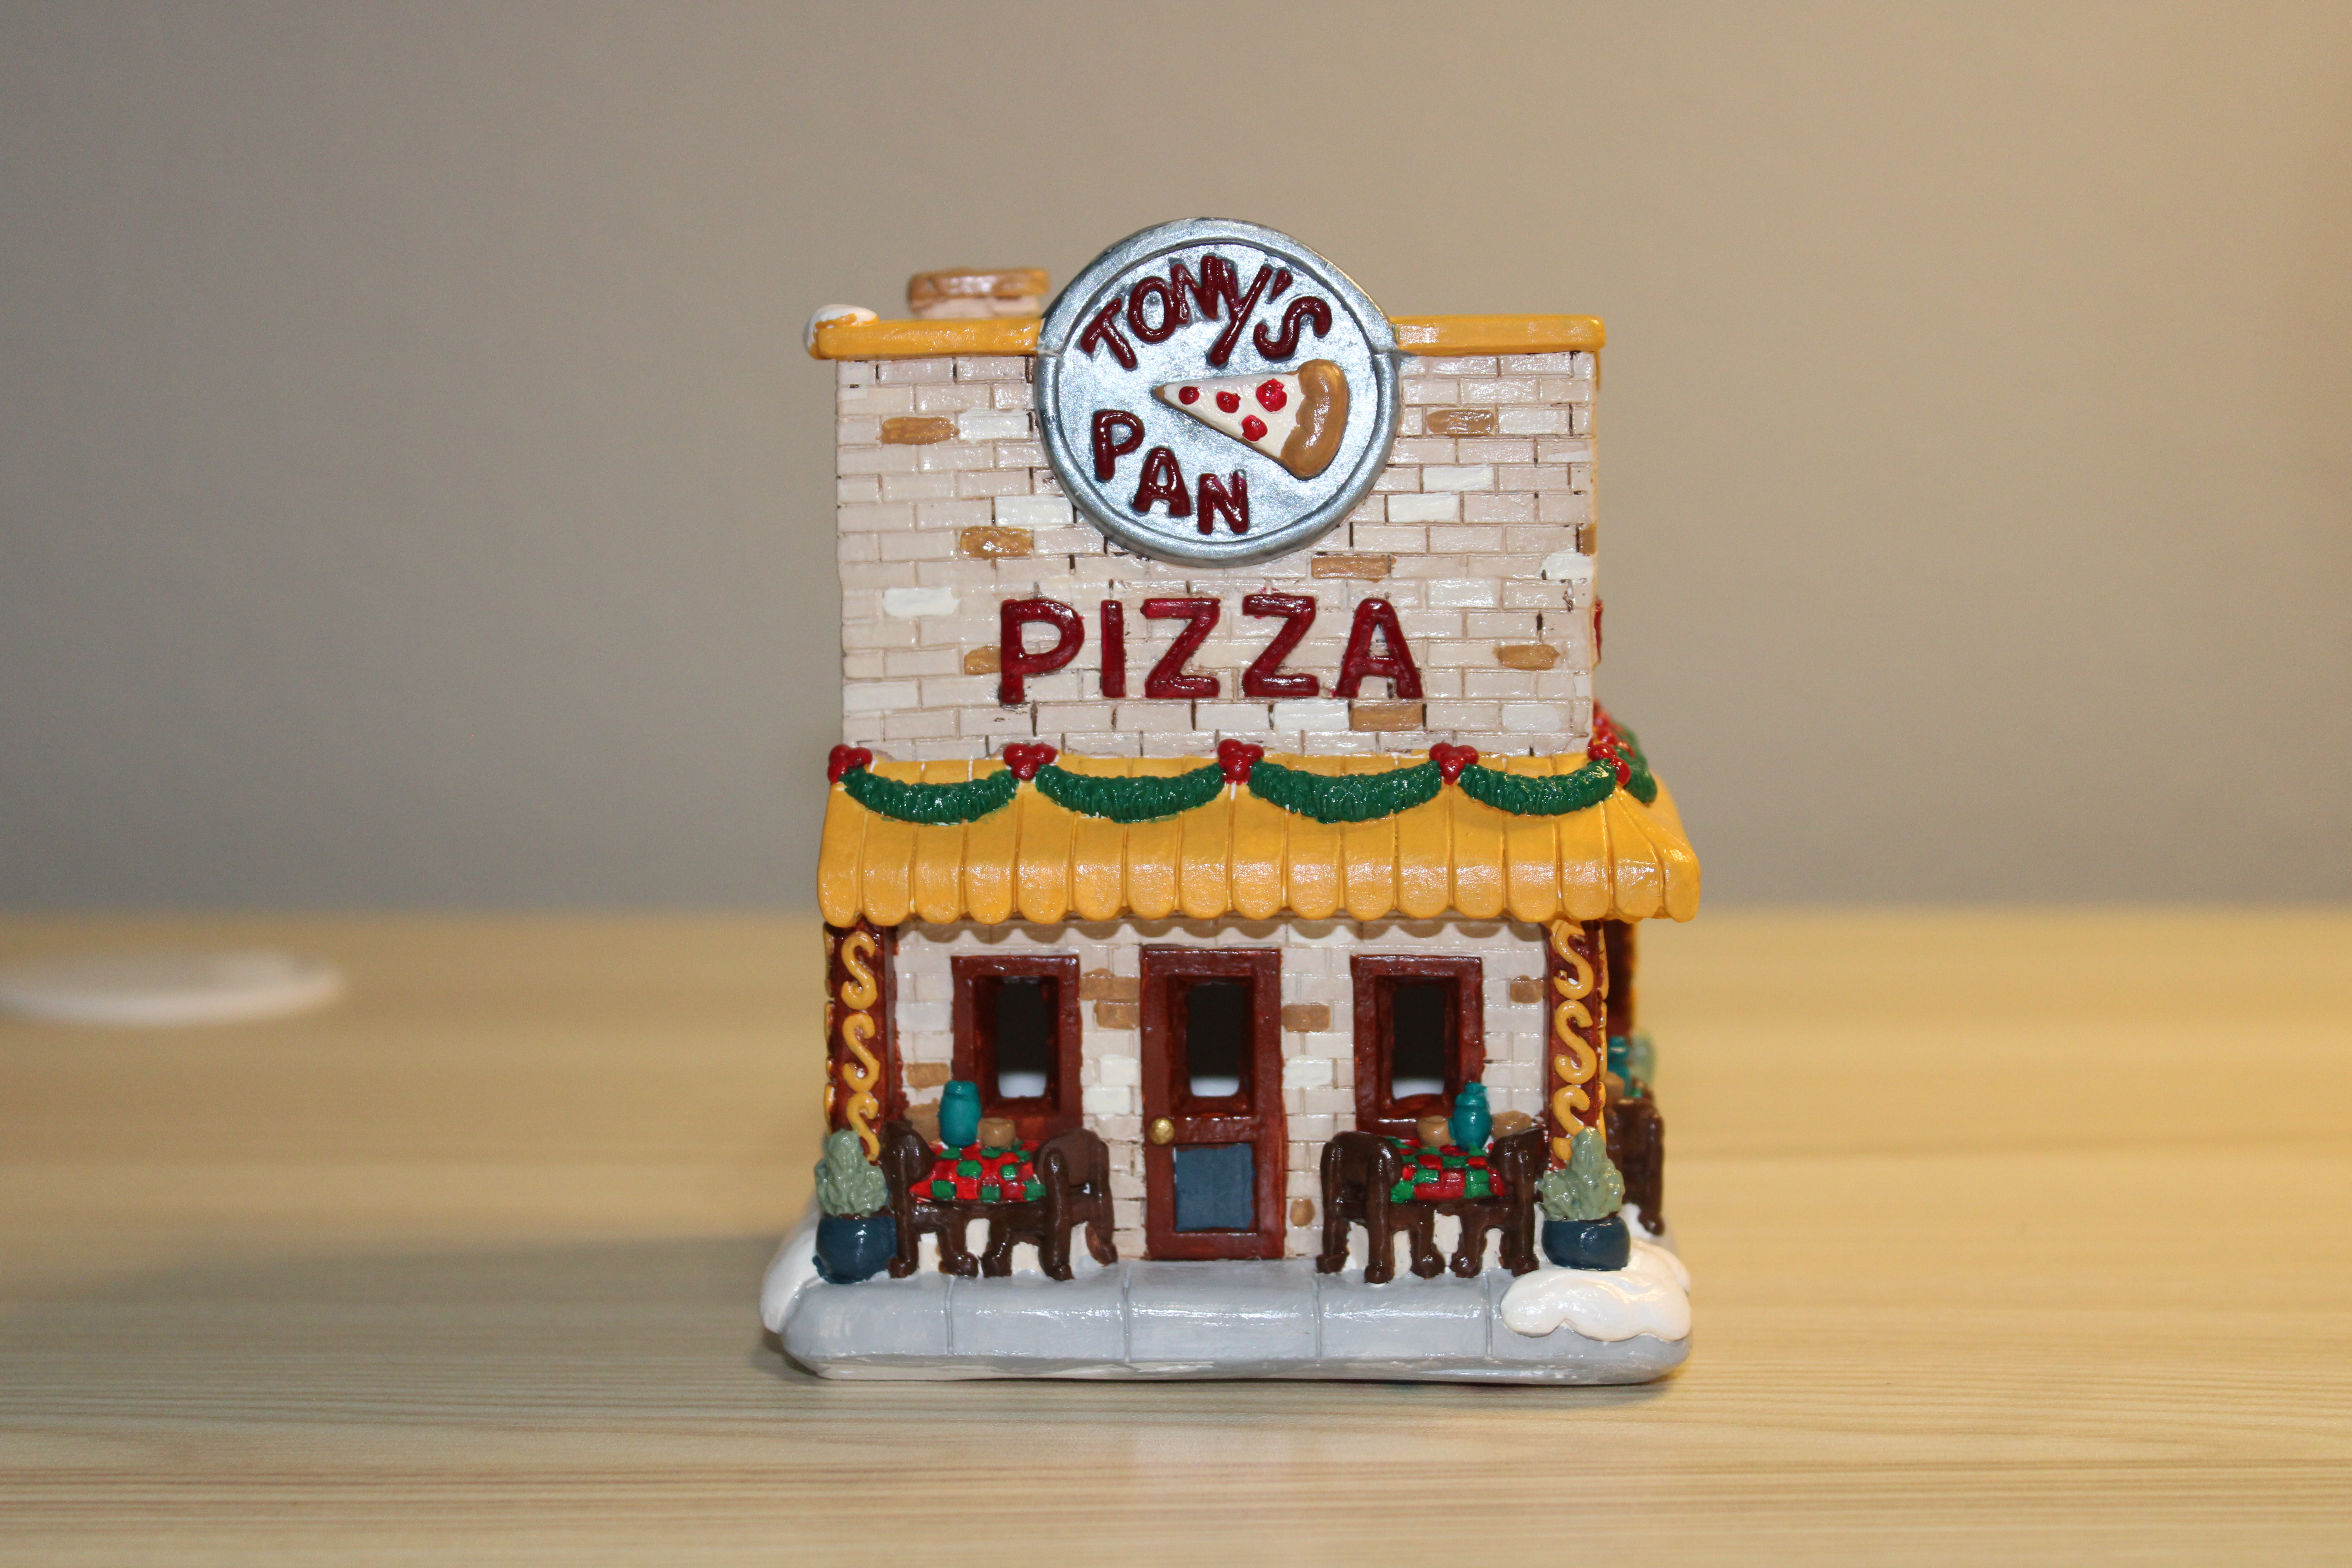
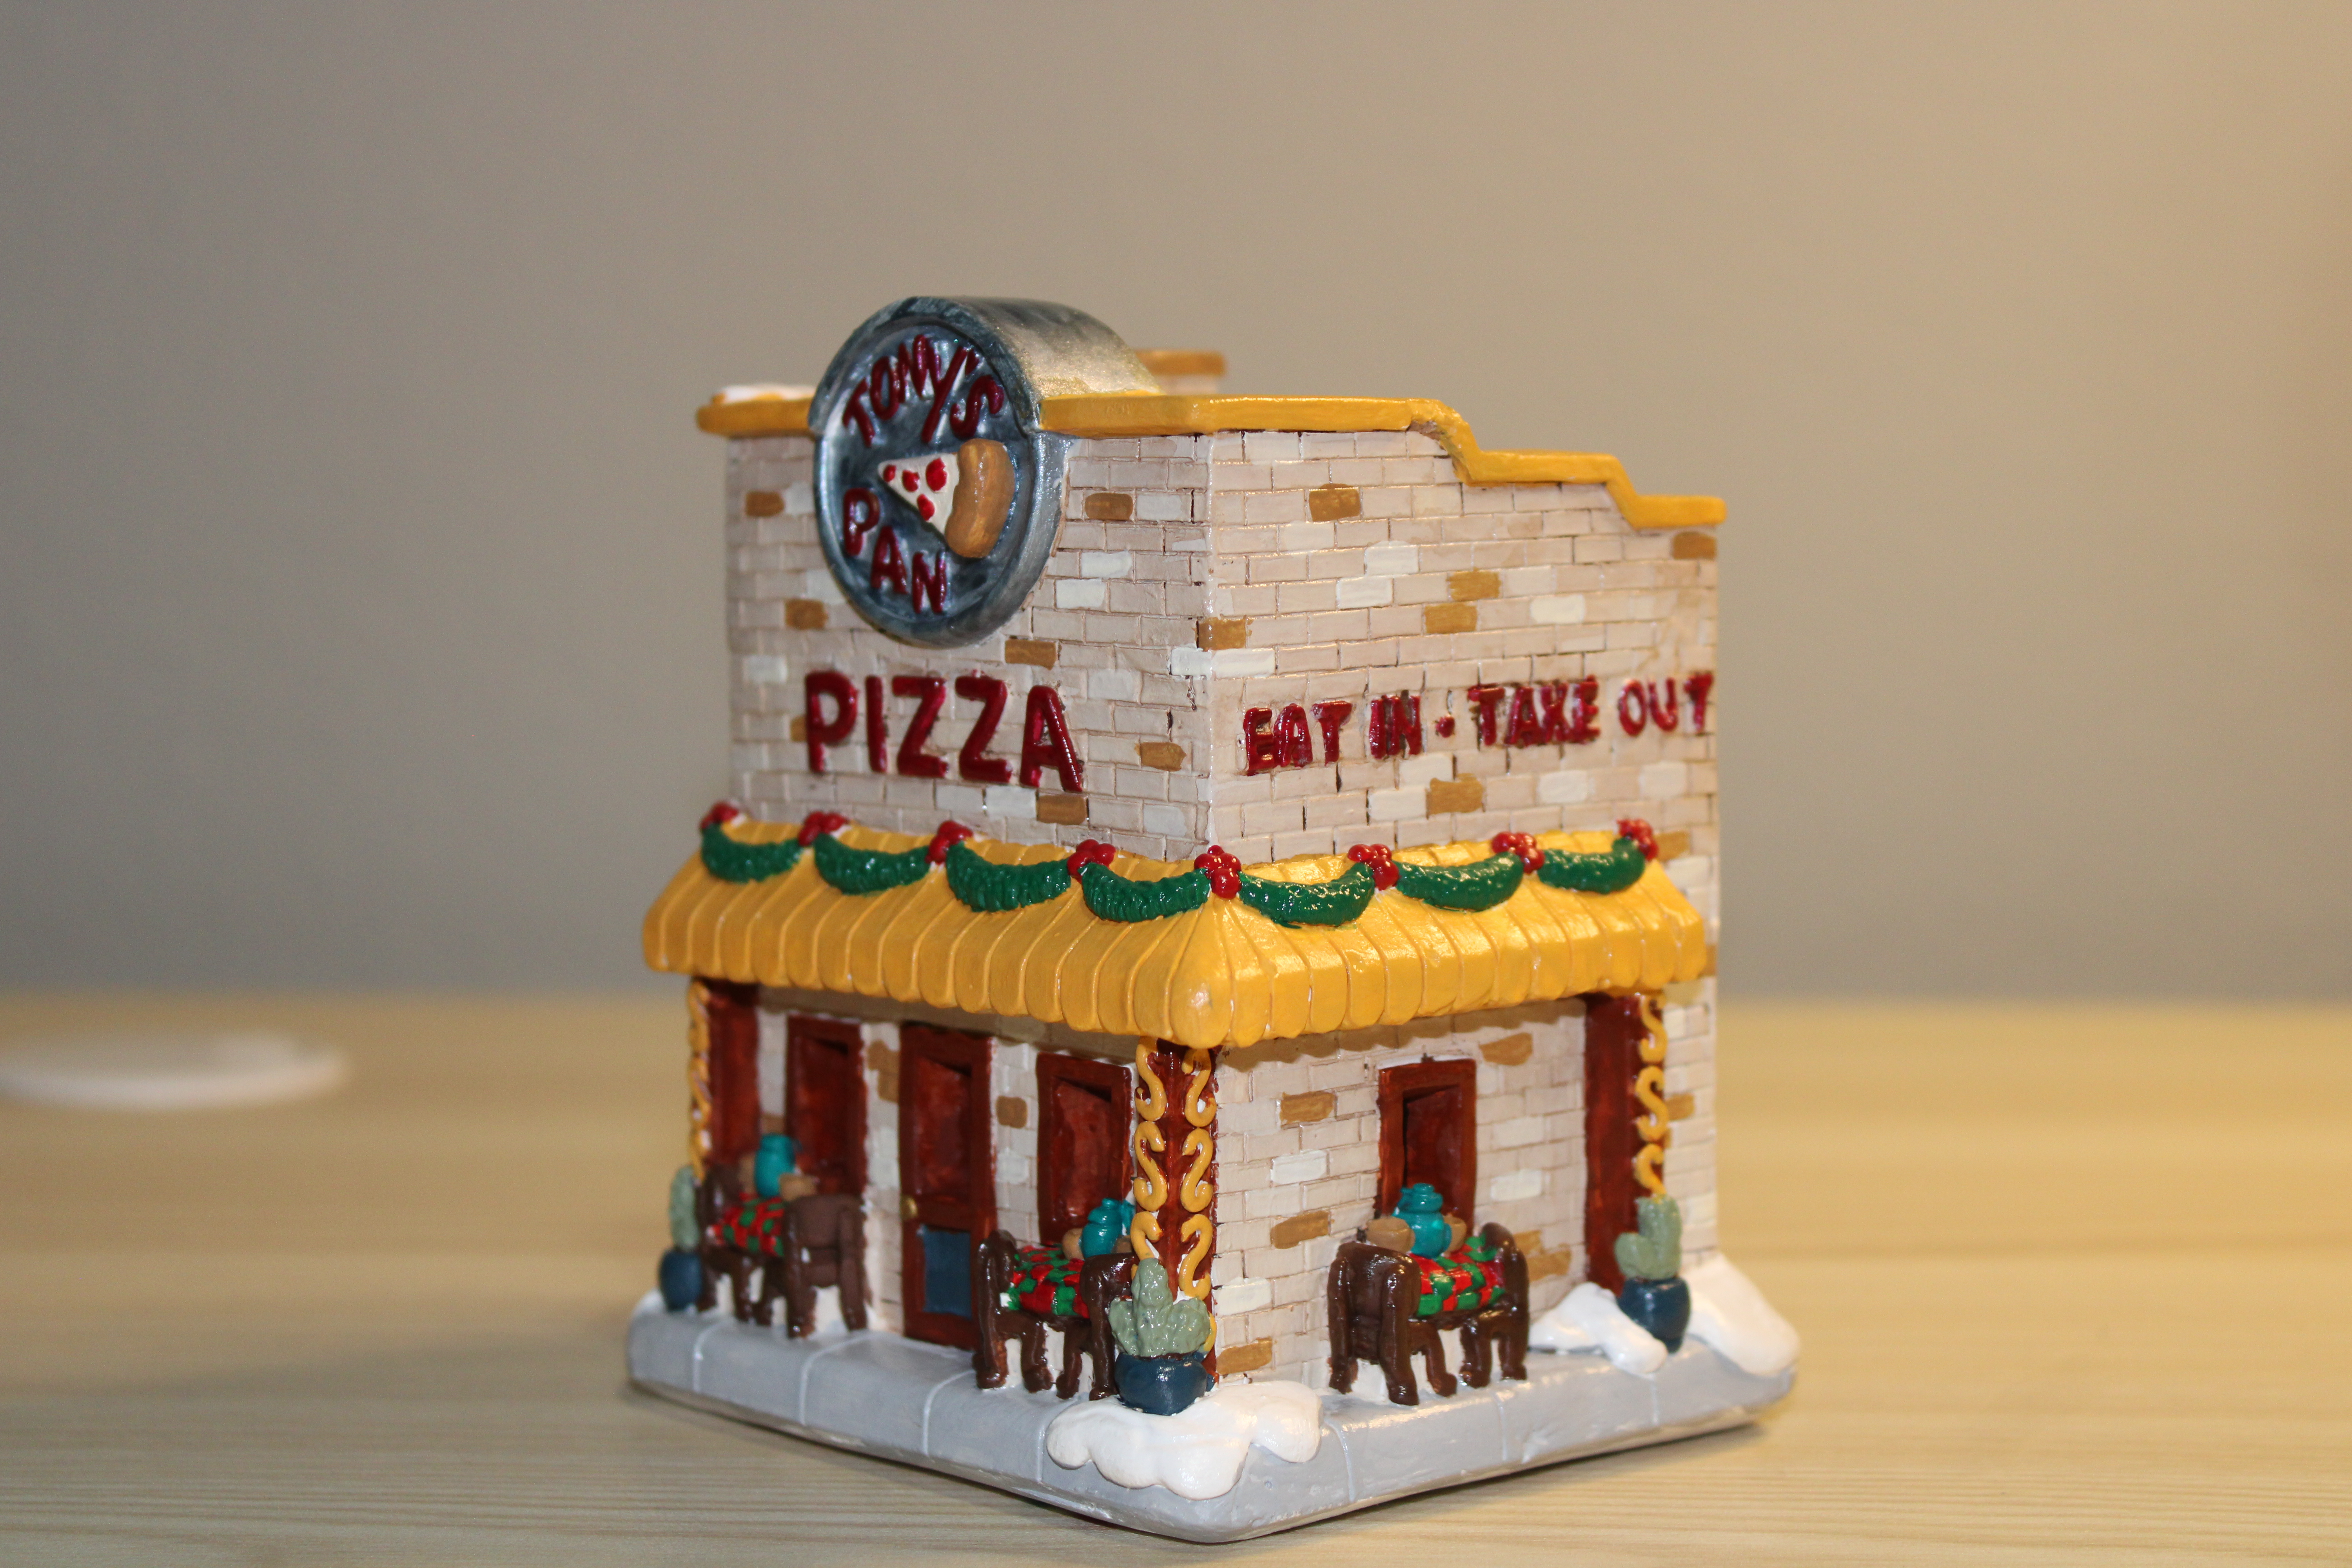
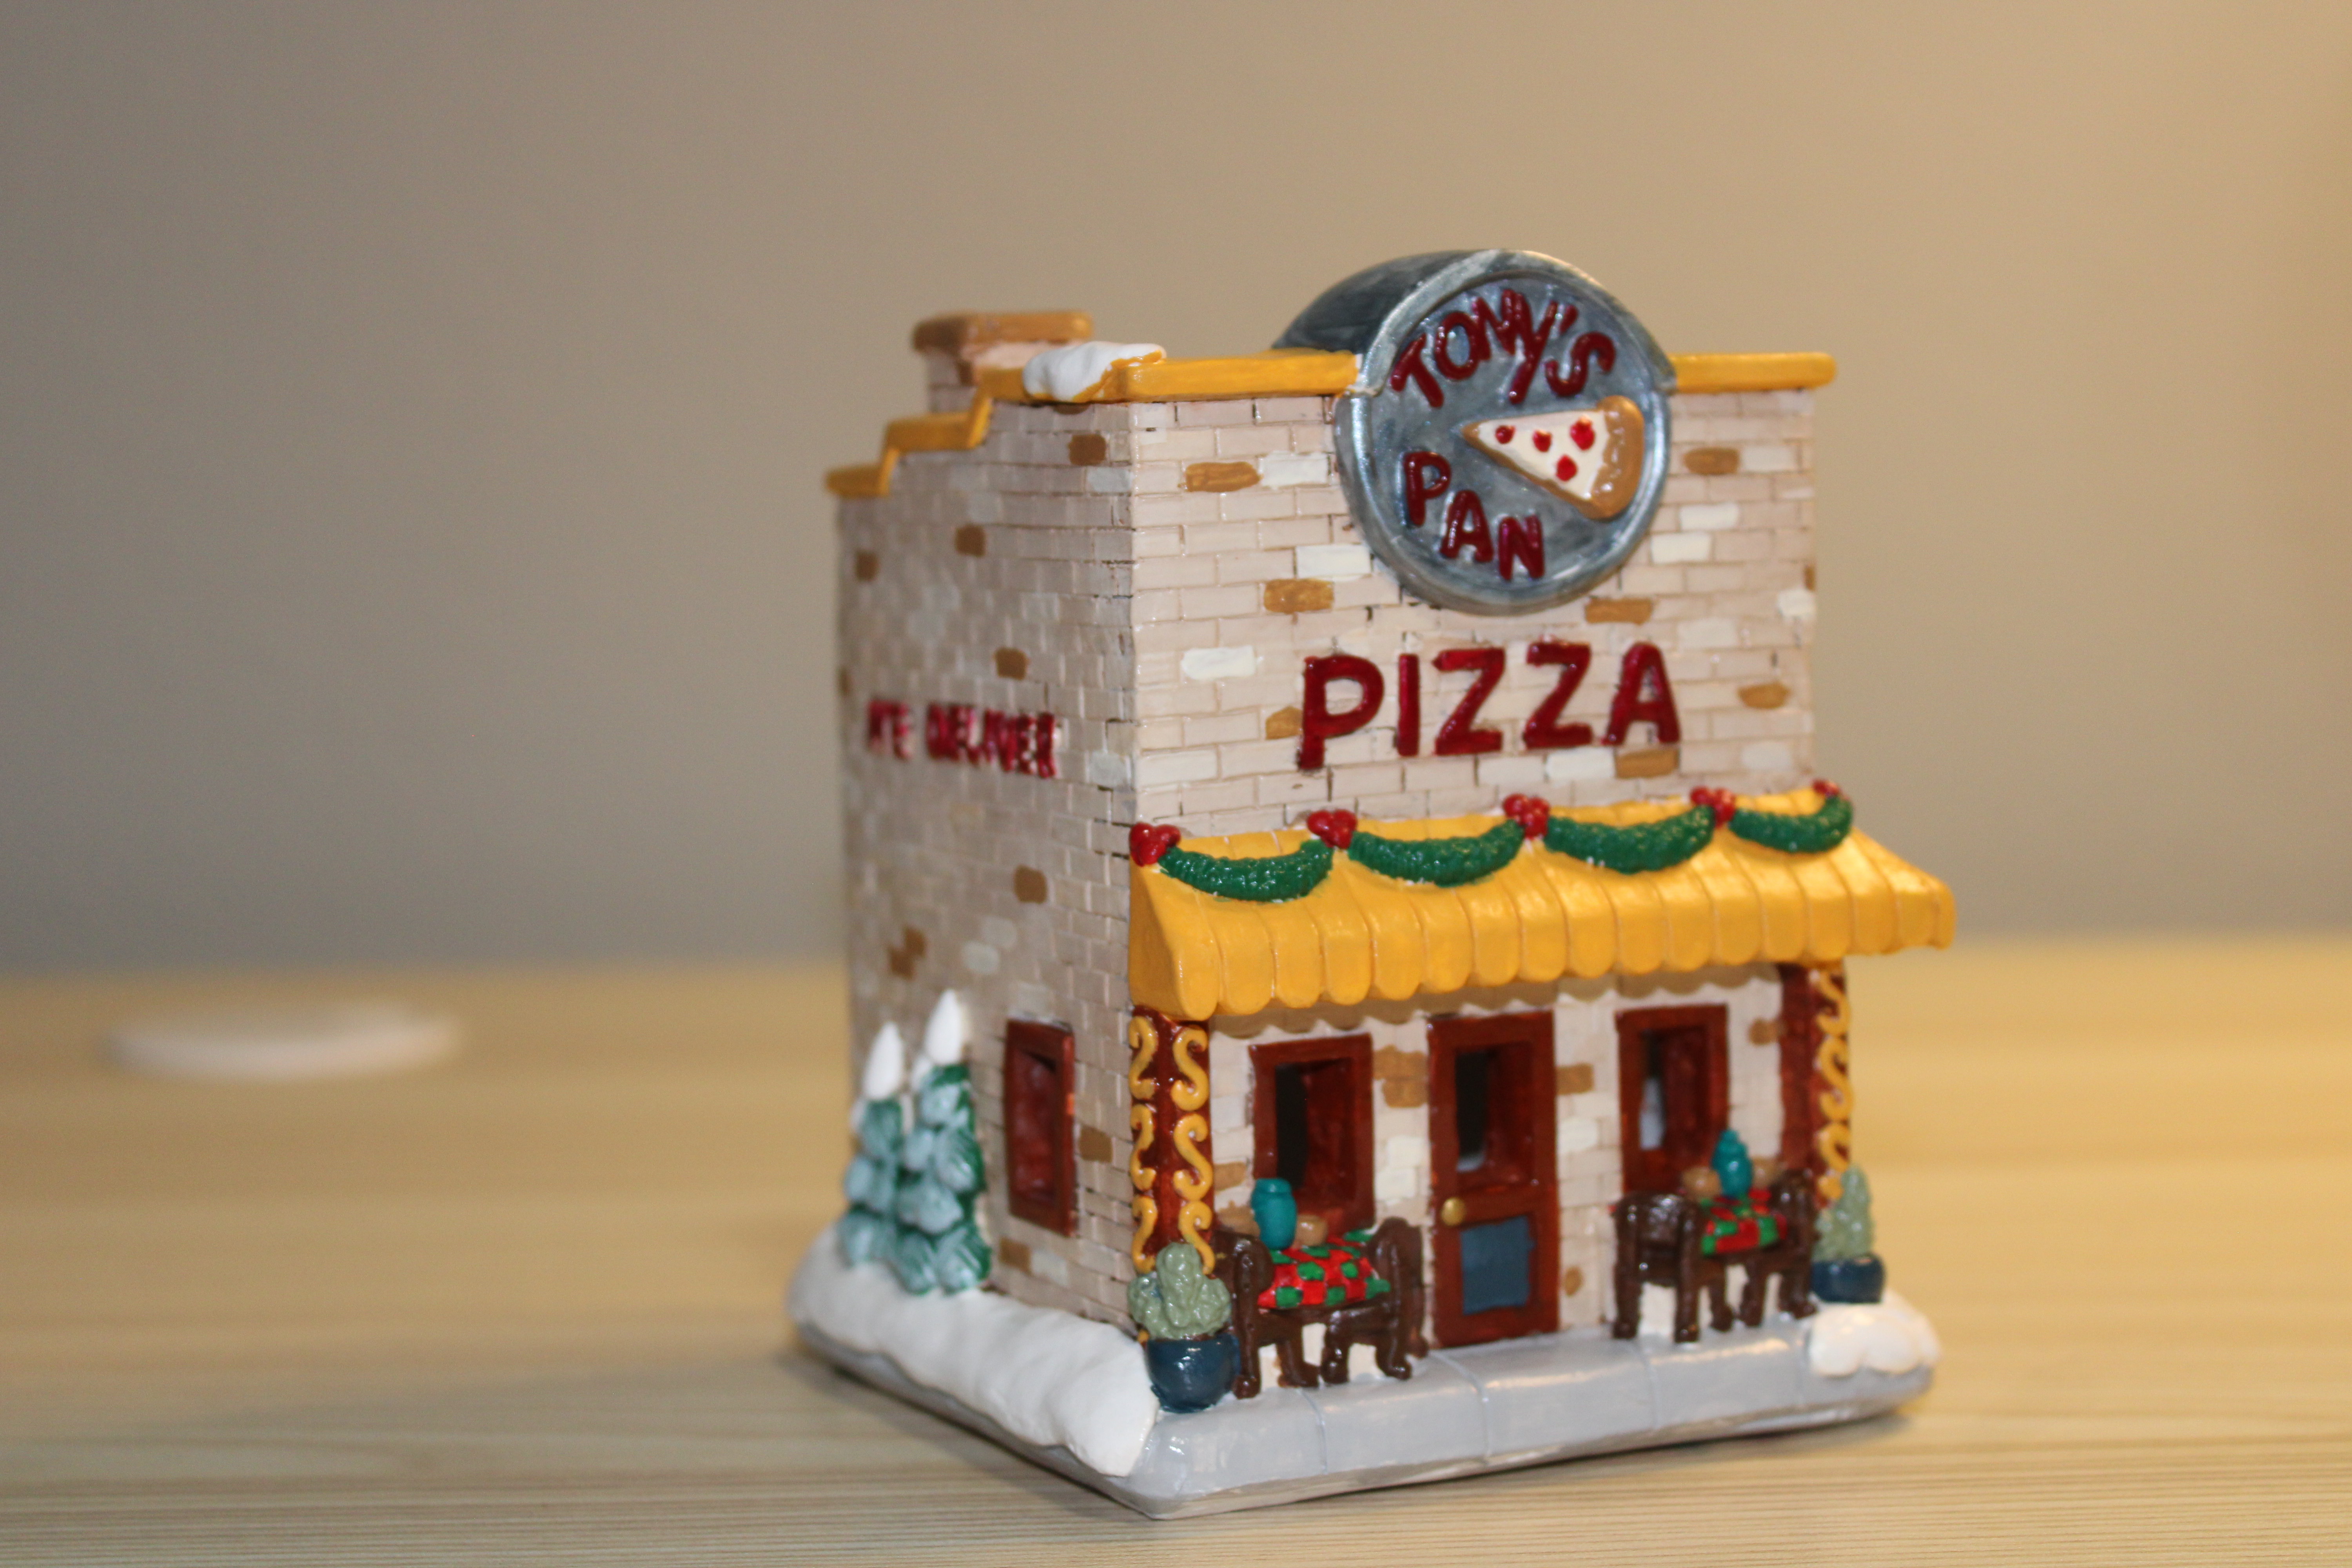
Tony’s Pizza by Creative Crafts:
This is another Rescued House. There was a little bit more damage than the Chocolate Shop, so I decided to make the building look old and worn.
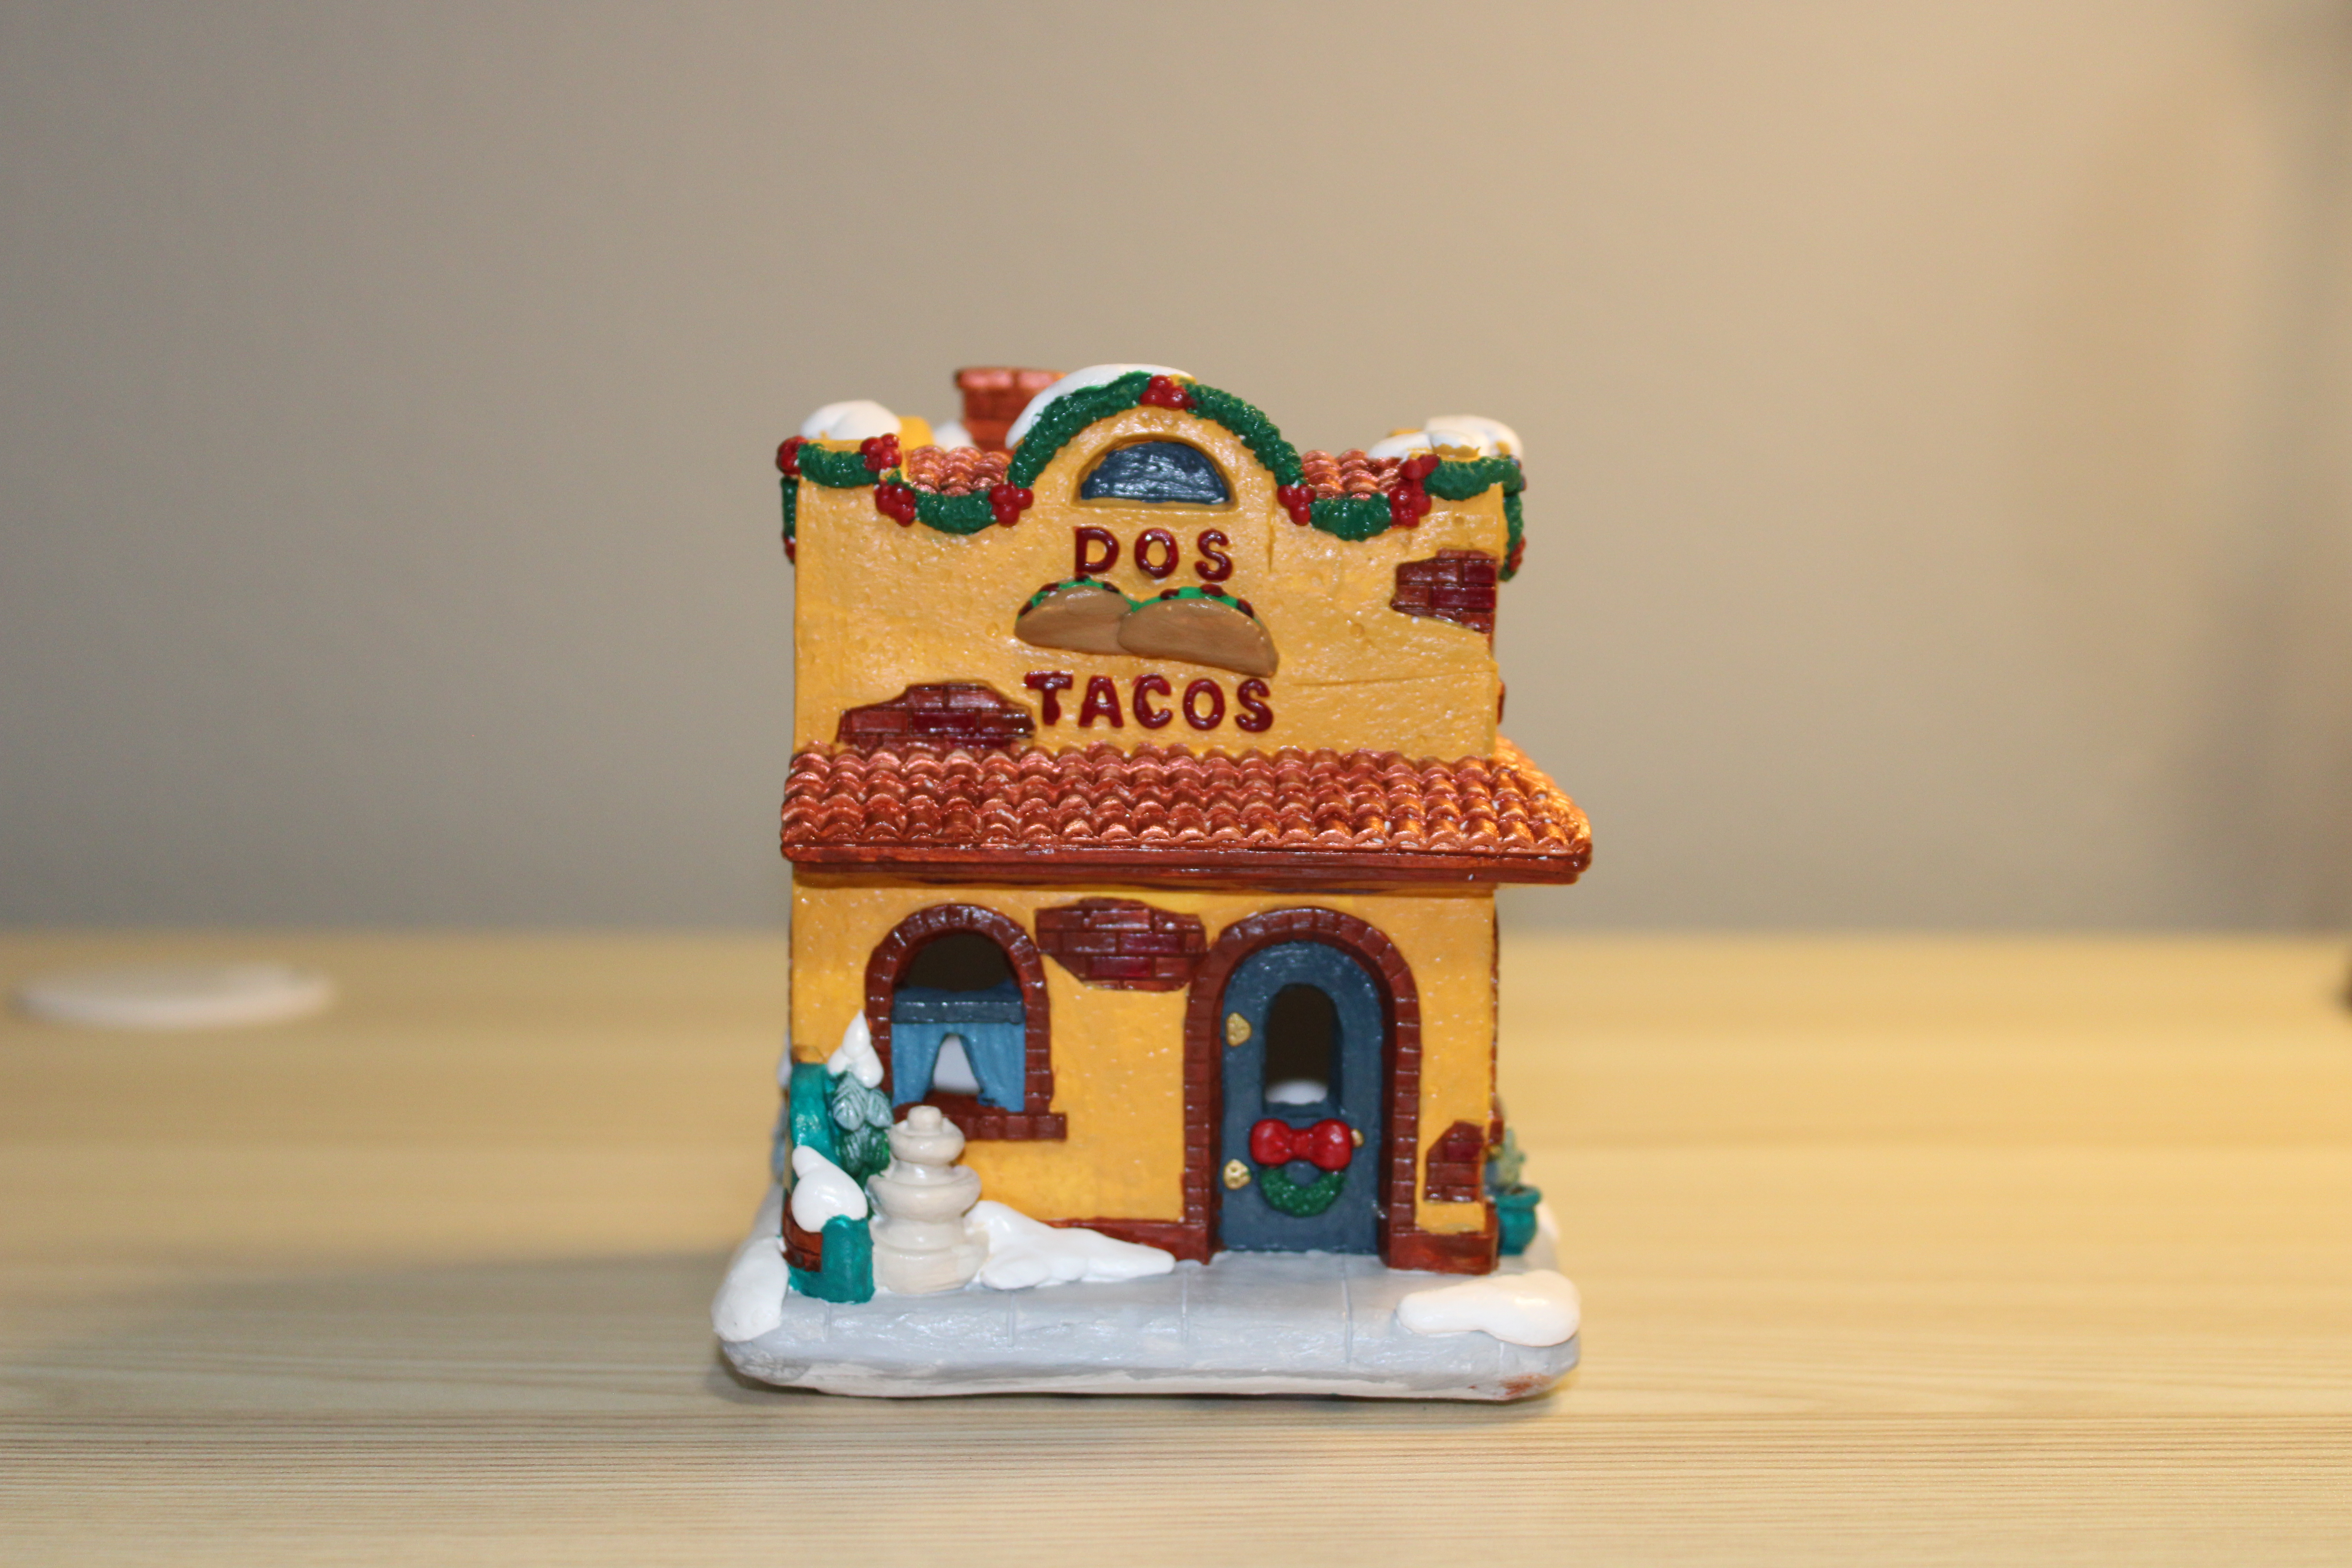
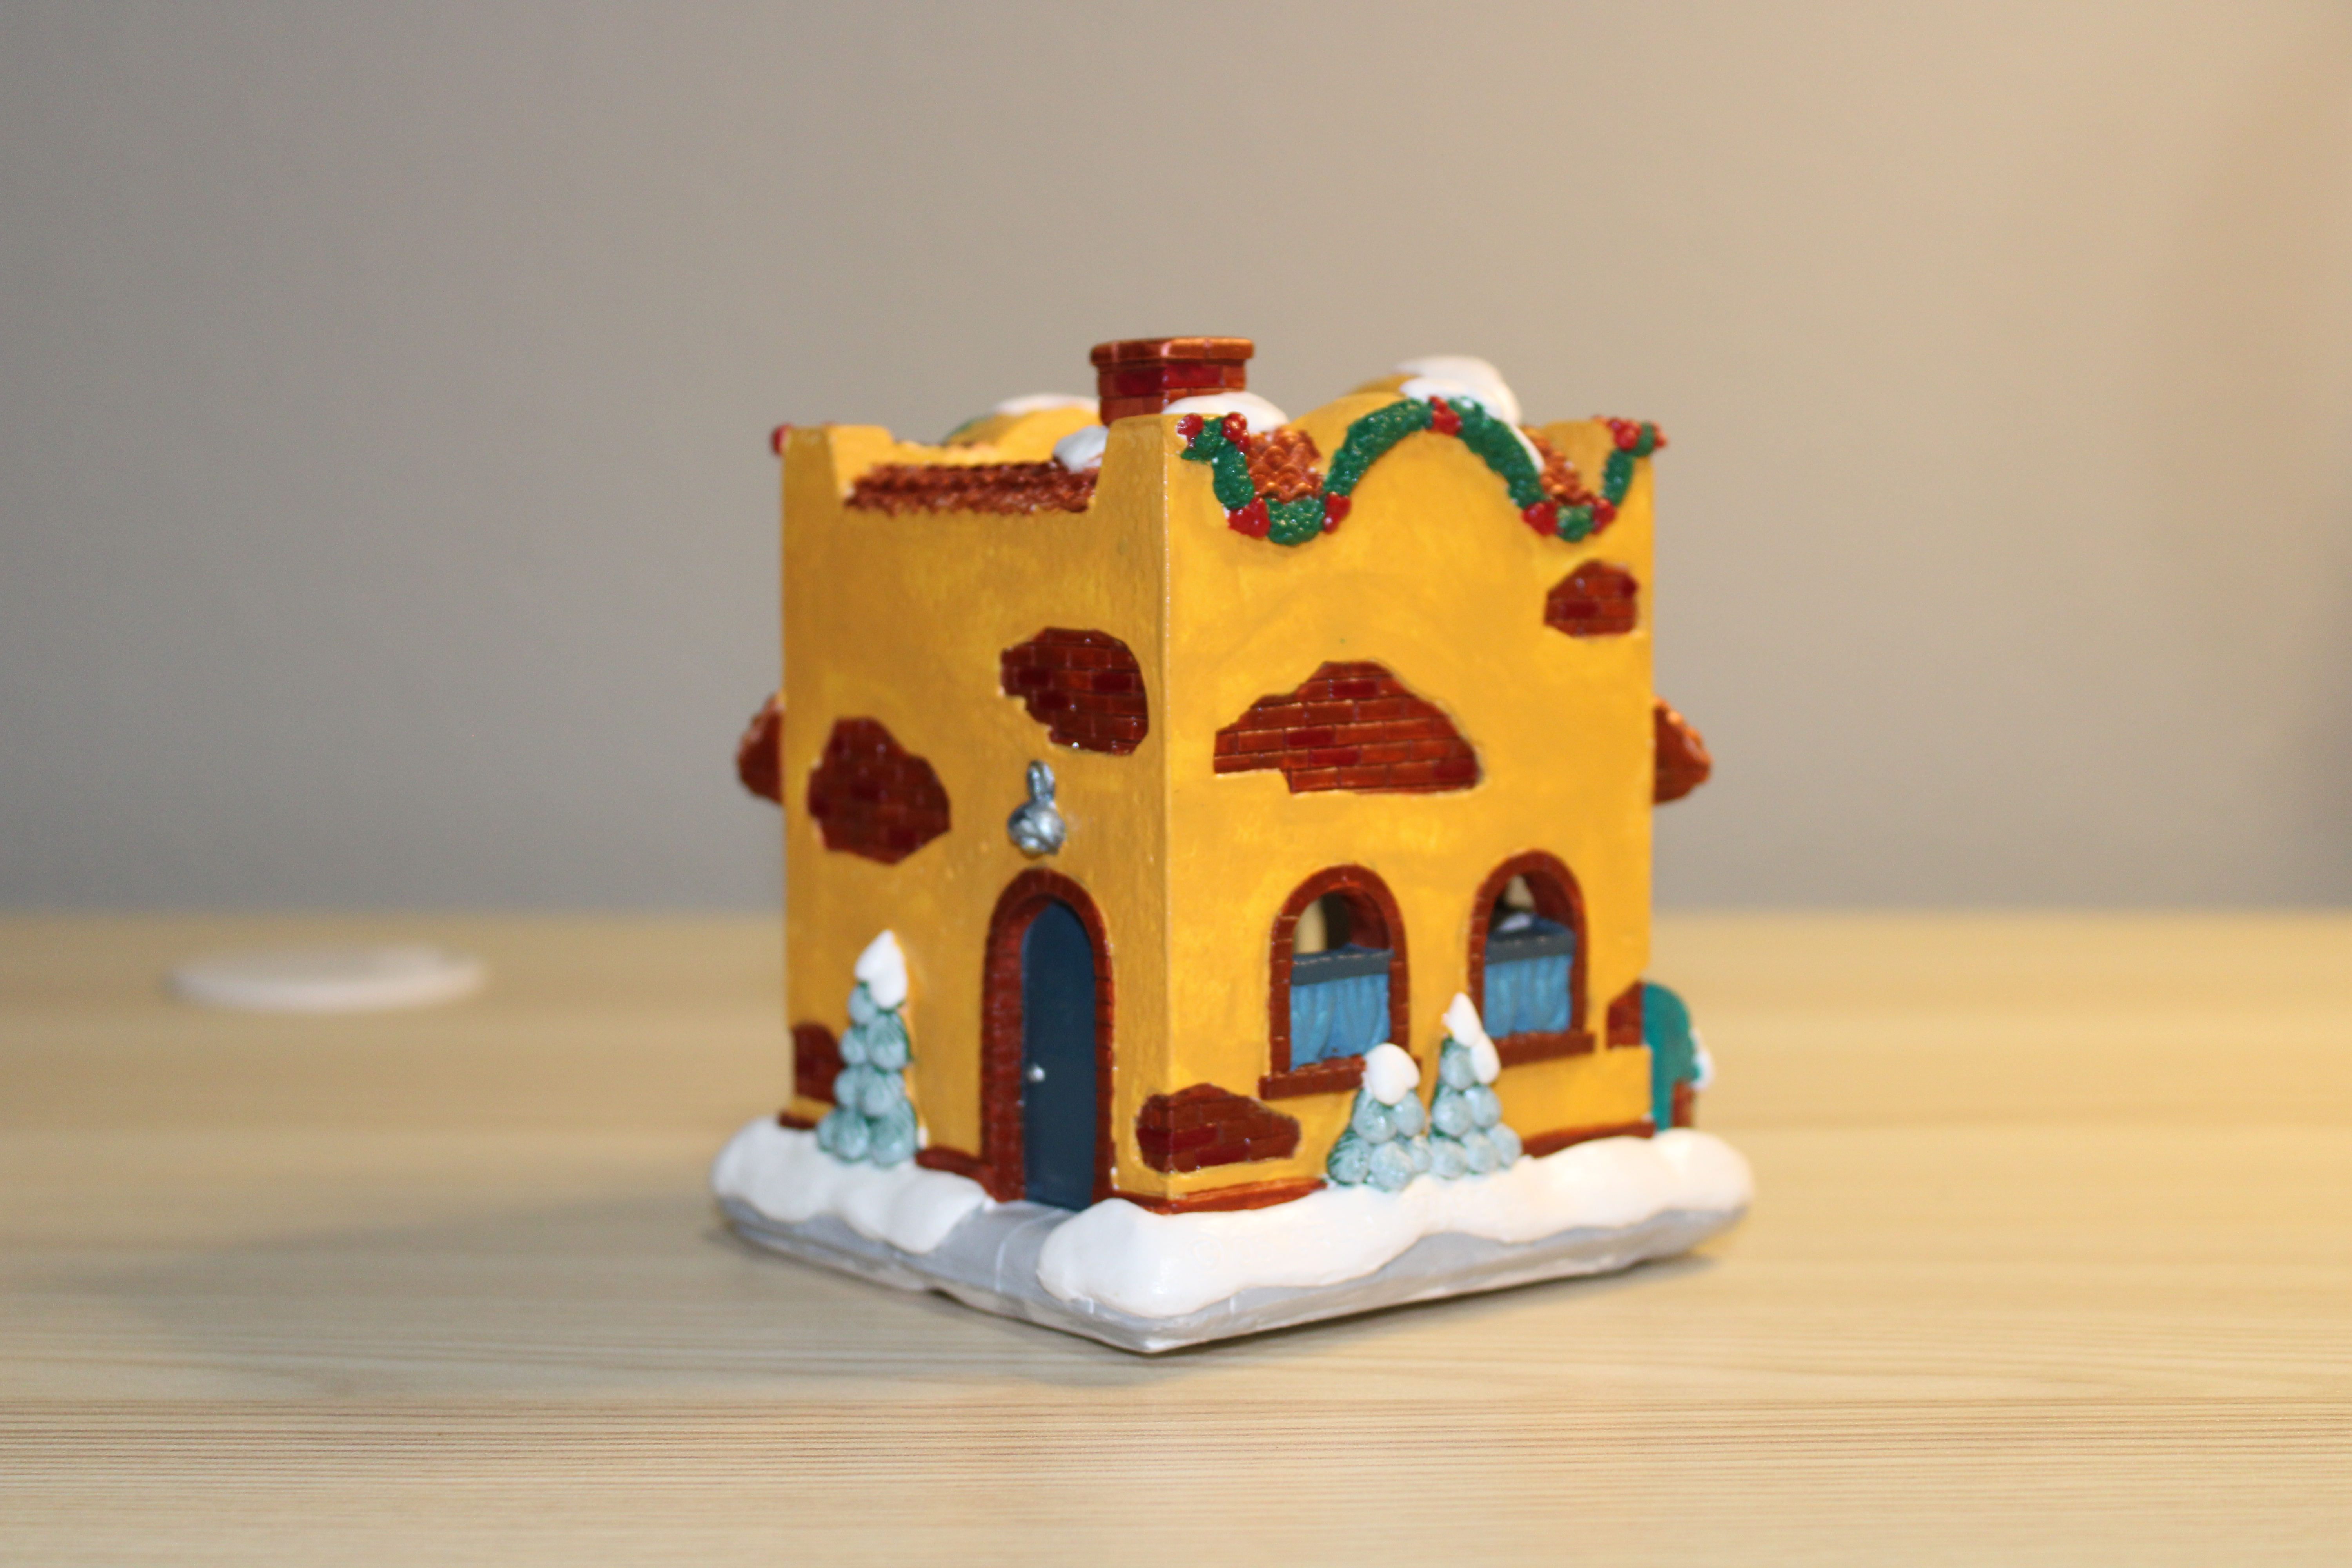
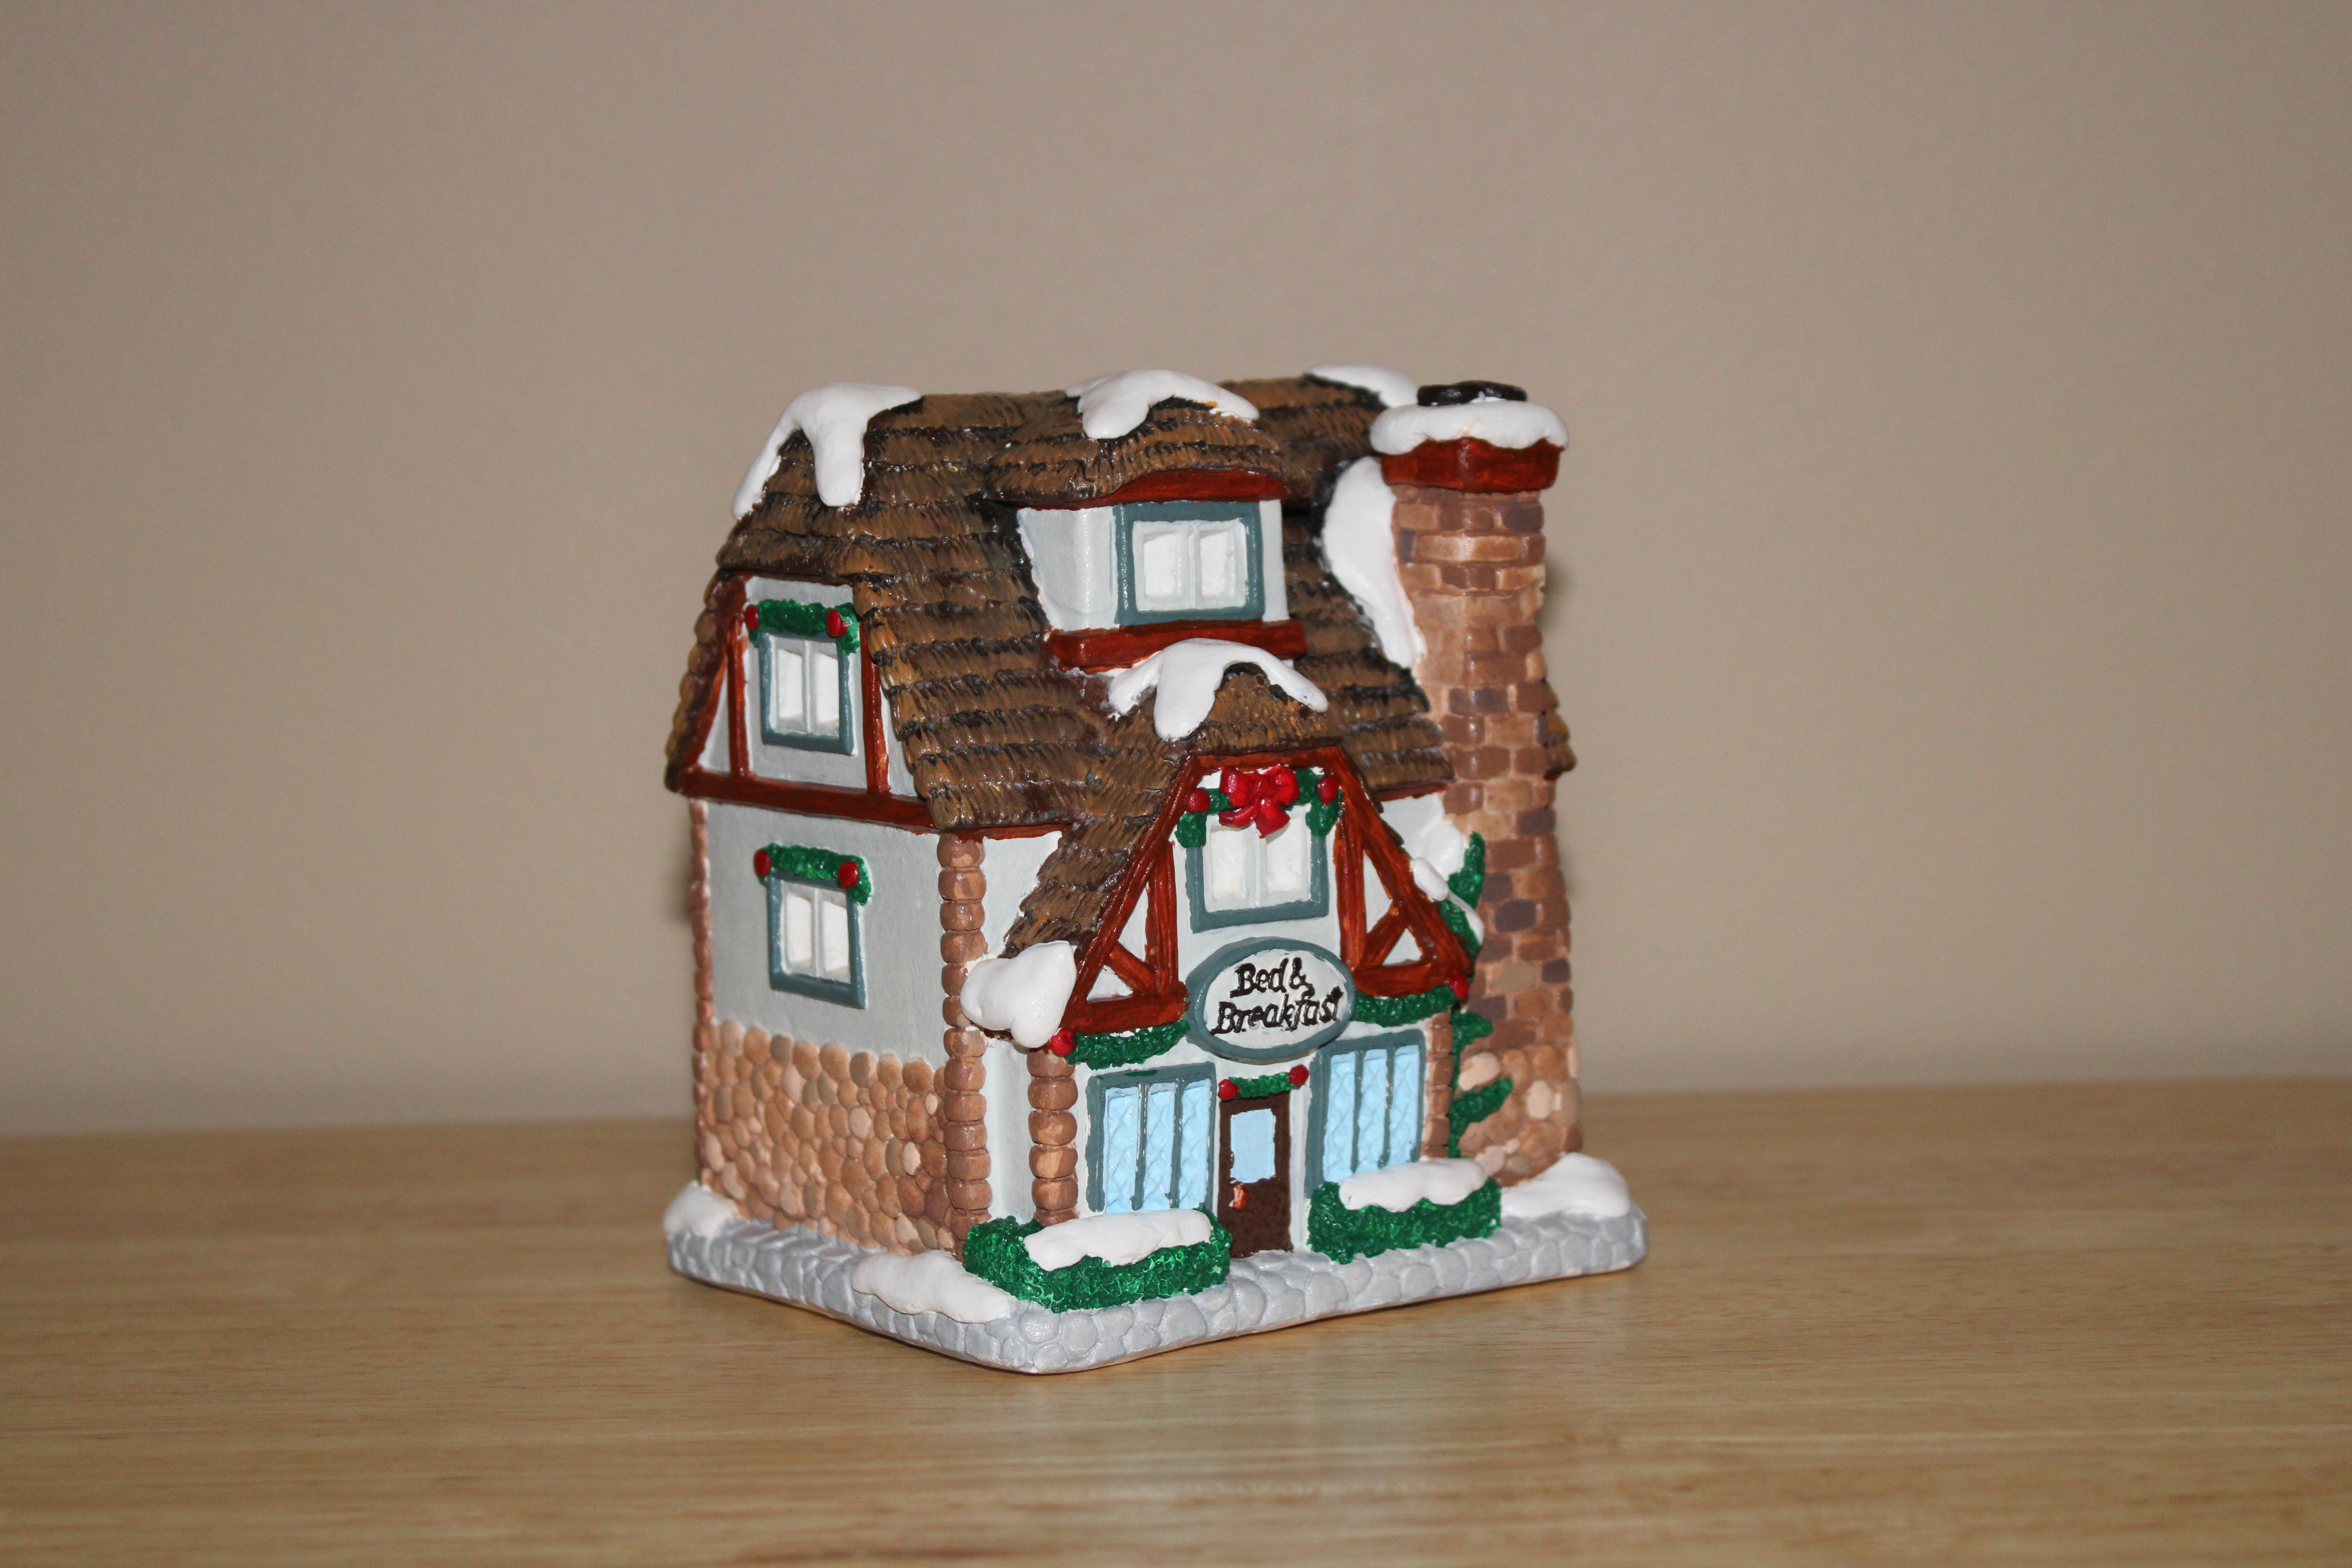
DOS Taco by Creative Crafts:
I had the paint card for this house, but I did not like the lime green curtains shown on the paint card. I went in my own direction.