I spent August and September painting a few items I had in storage, but then I went to Hobby Lobby and found two other items in their Fall collection that I just had to paint.
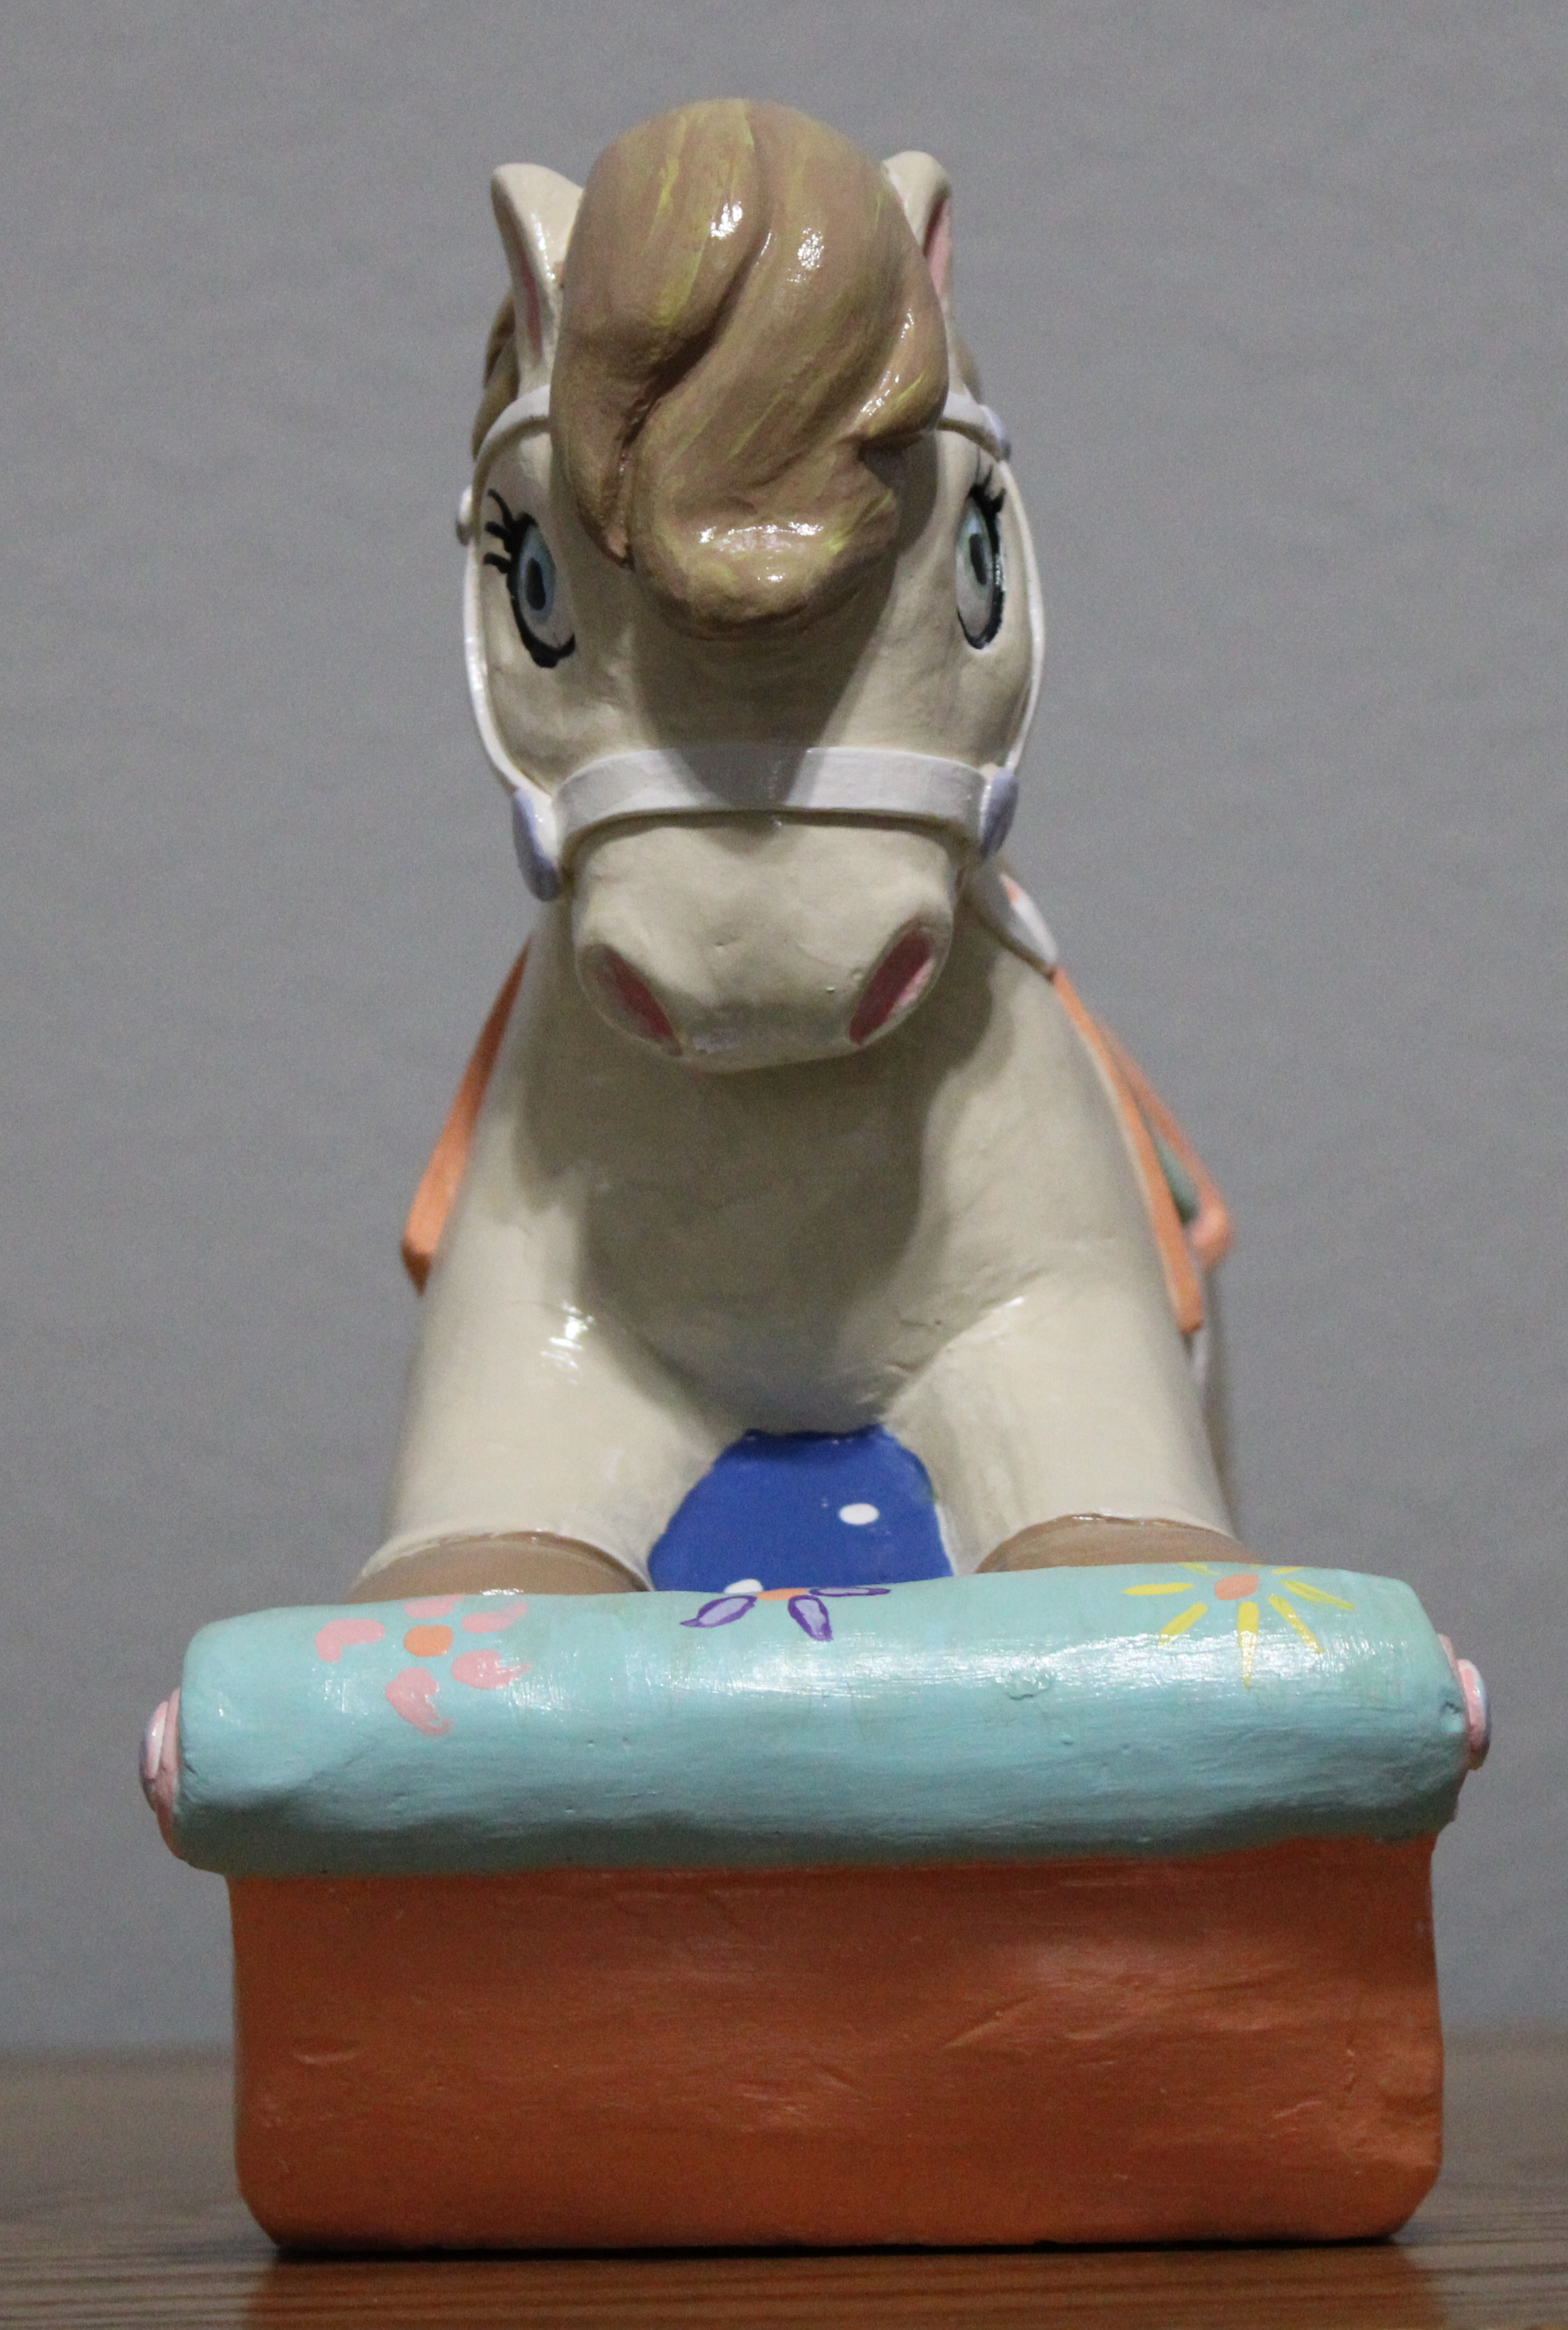
I have seventeen nieces and nephews. I purchased the horse to paint as a potential gift for one of them. It did not get painted, until now.


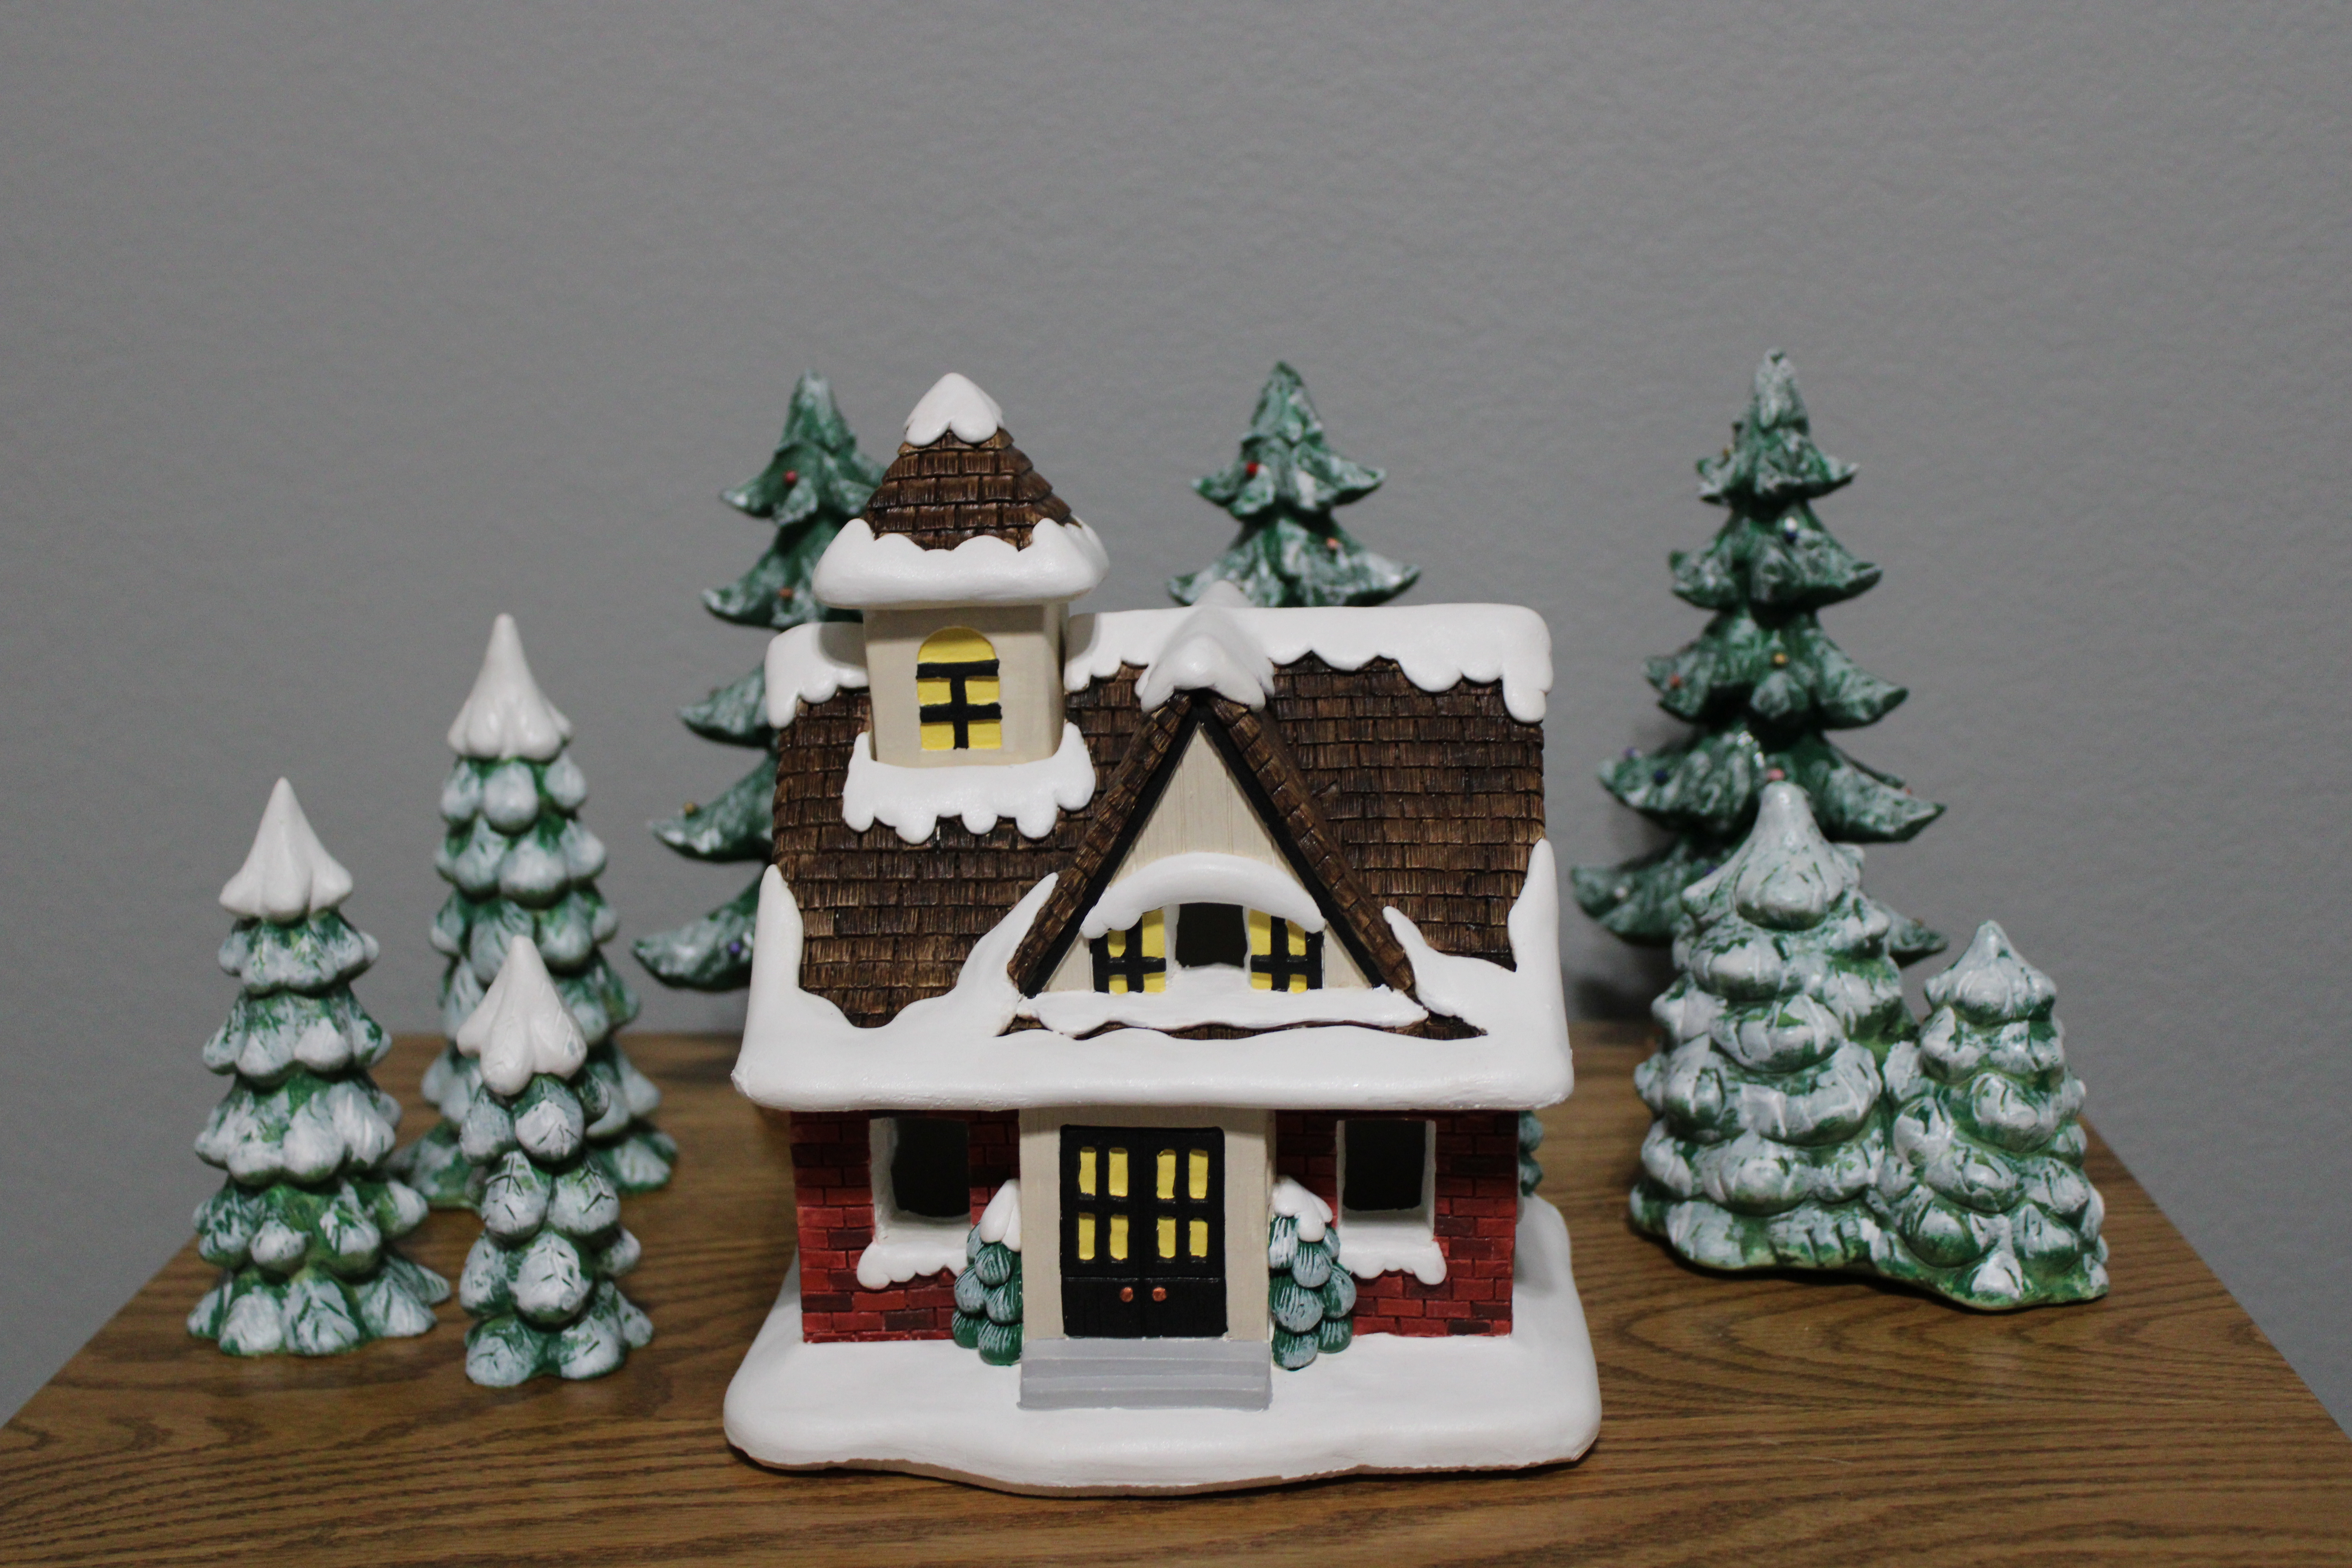
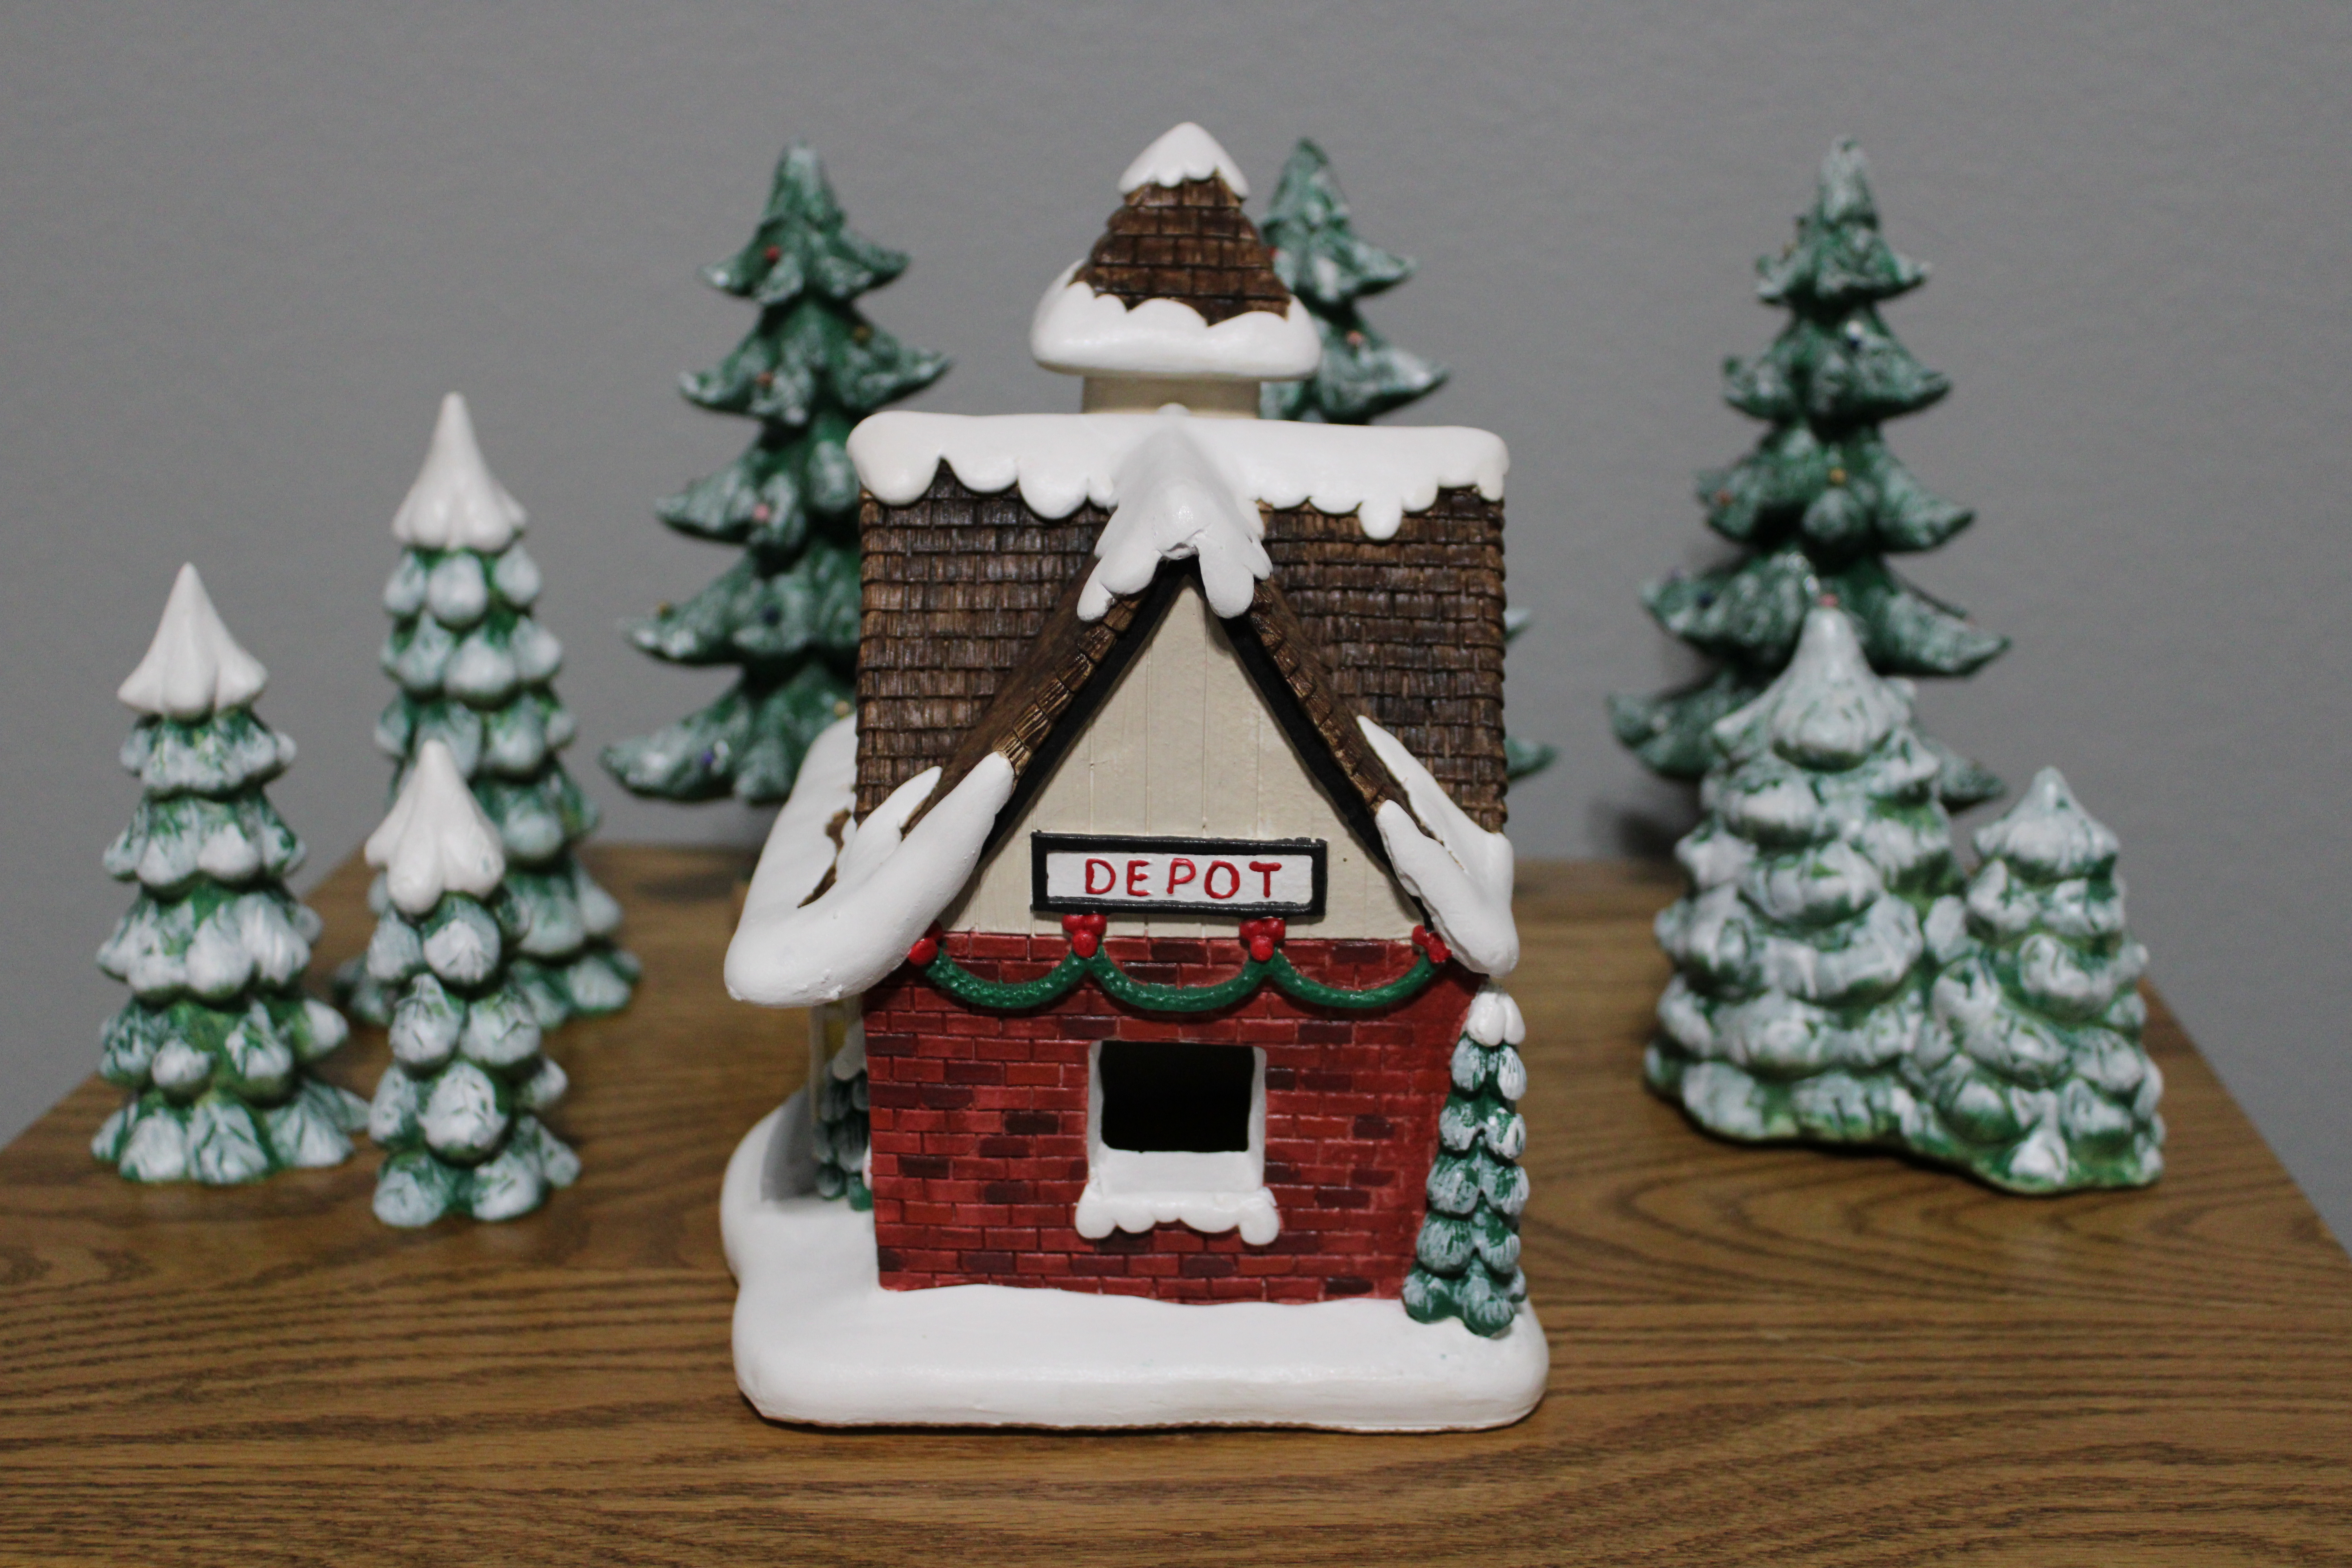
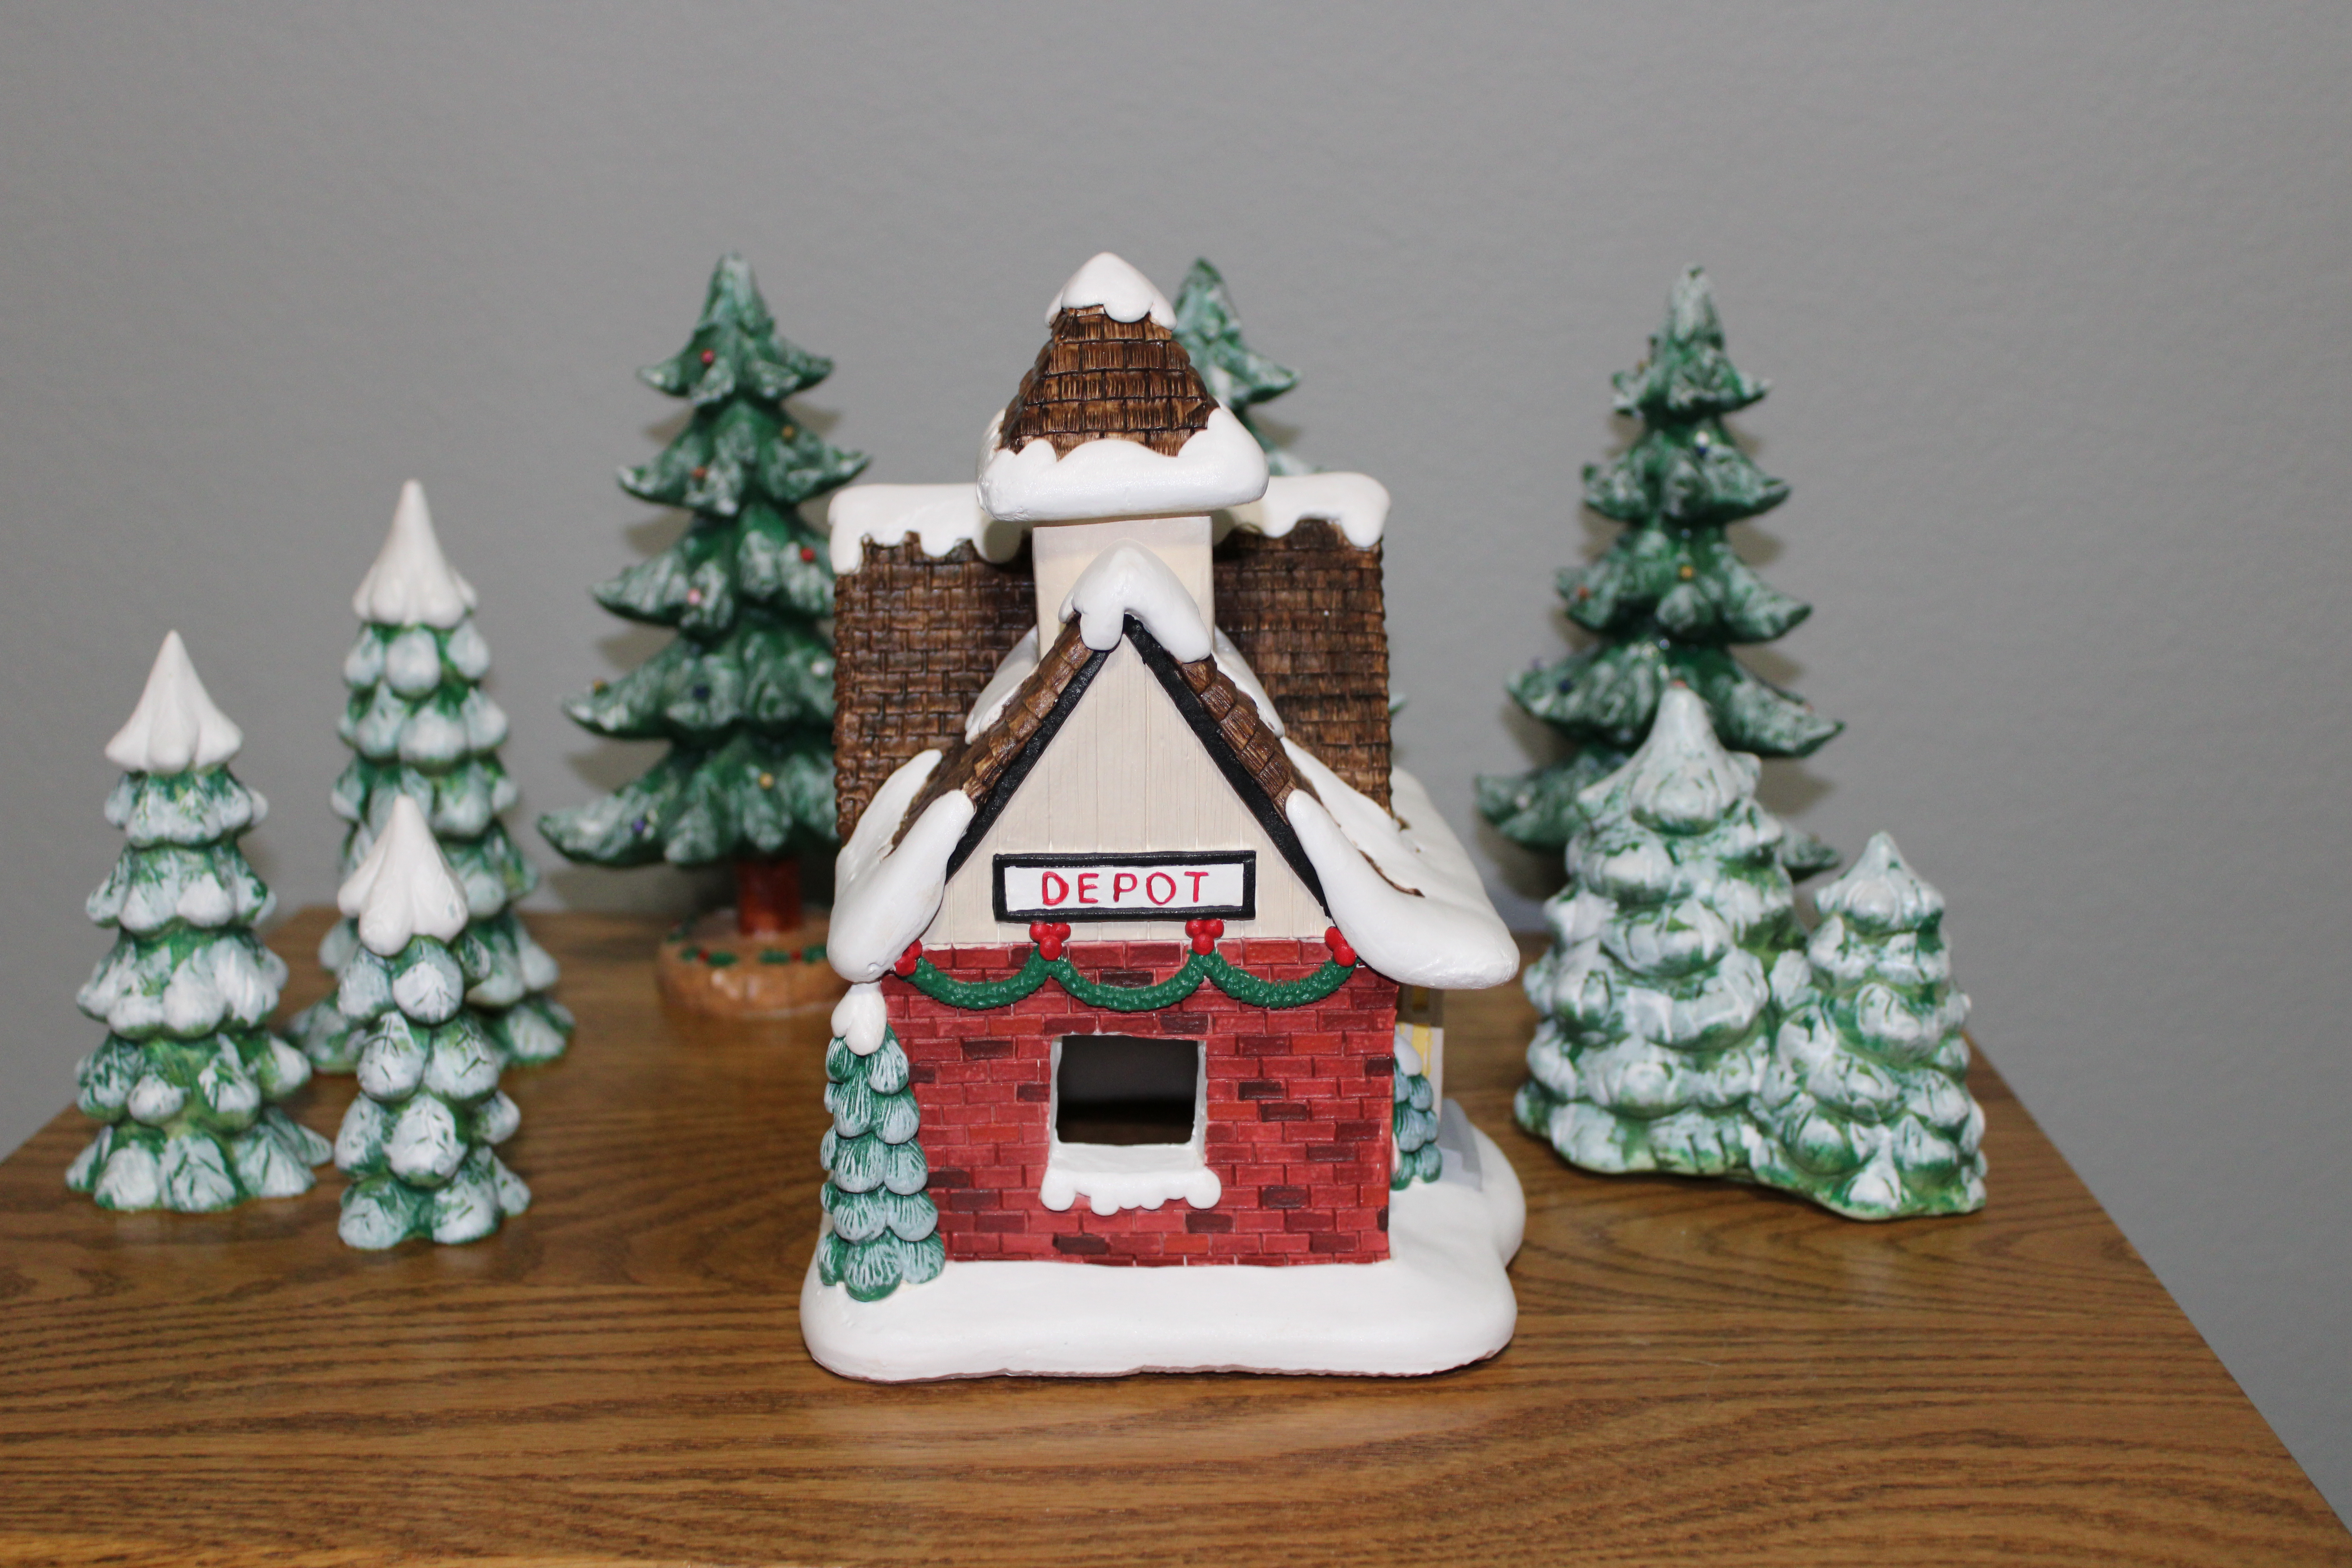
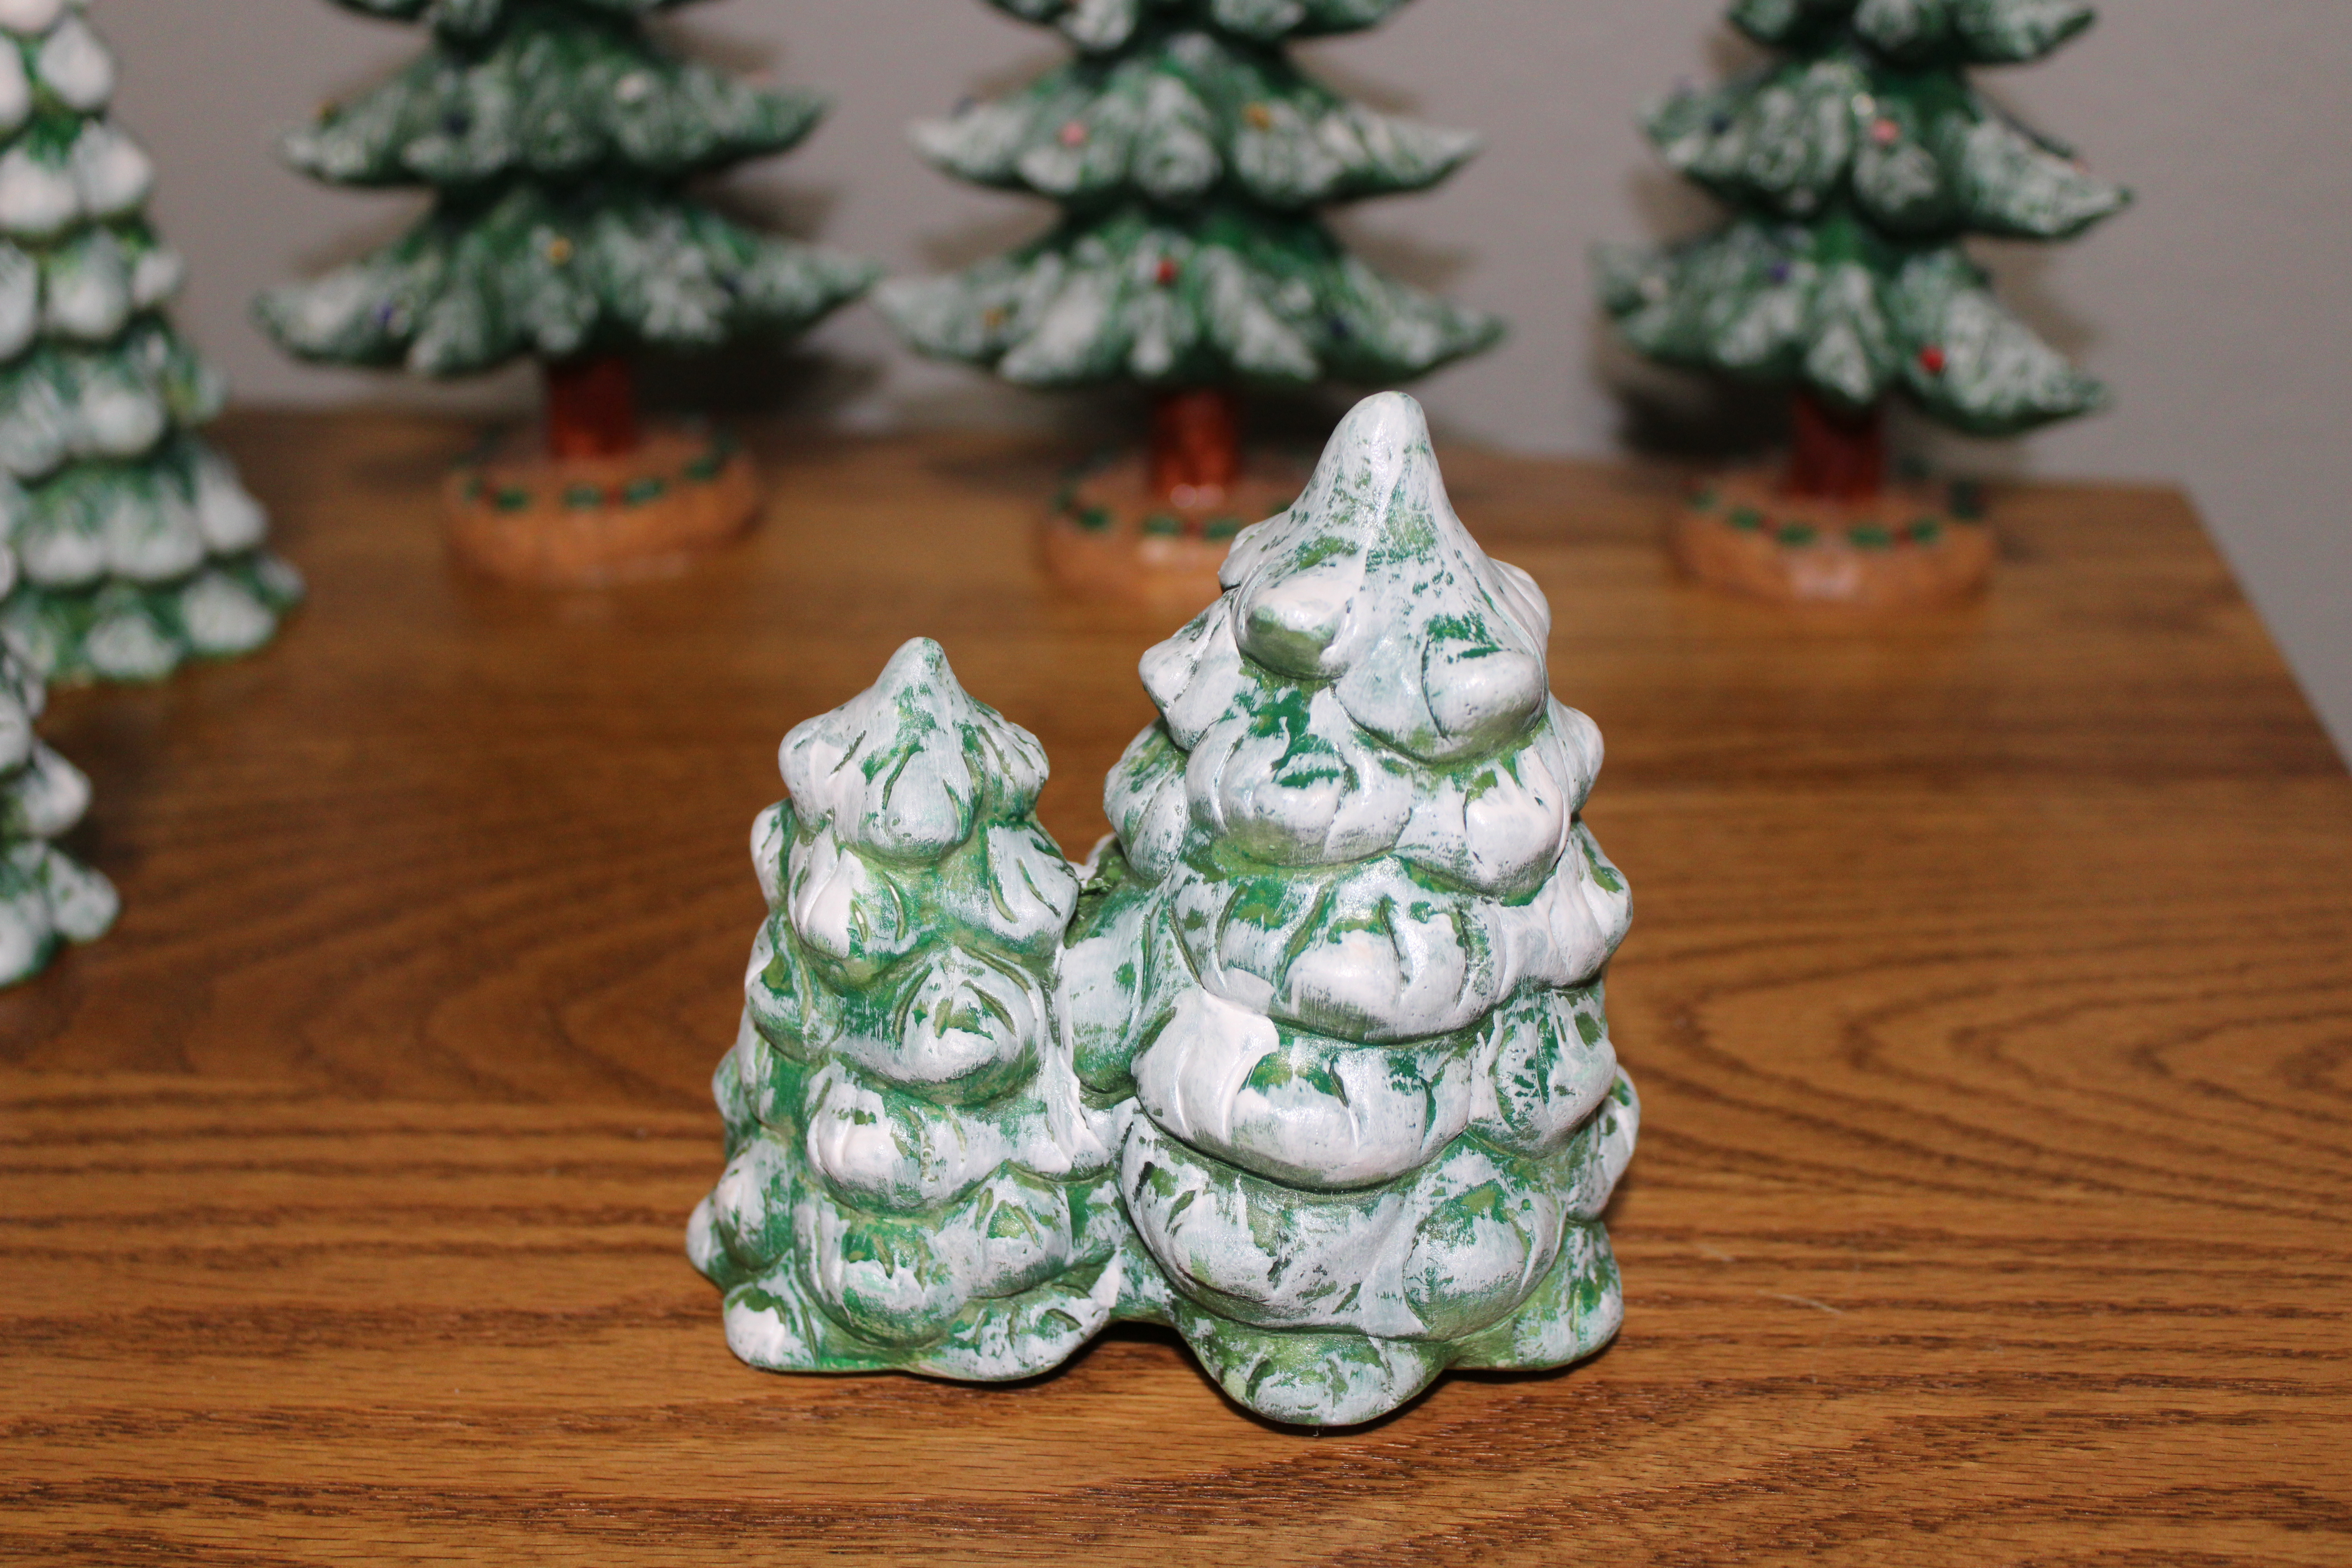
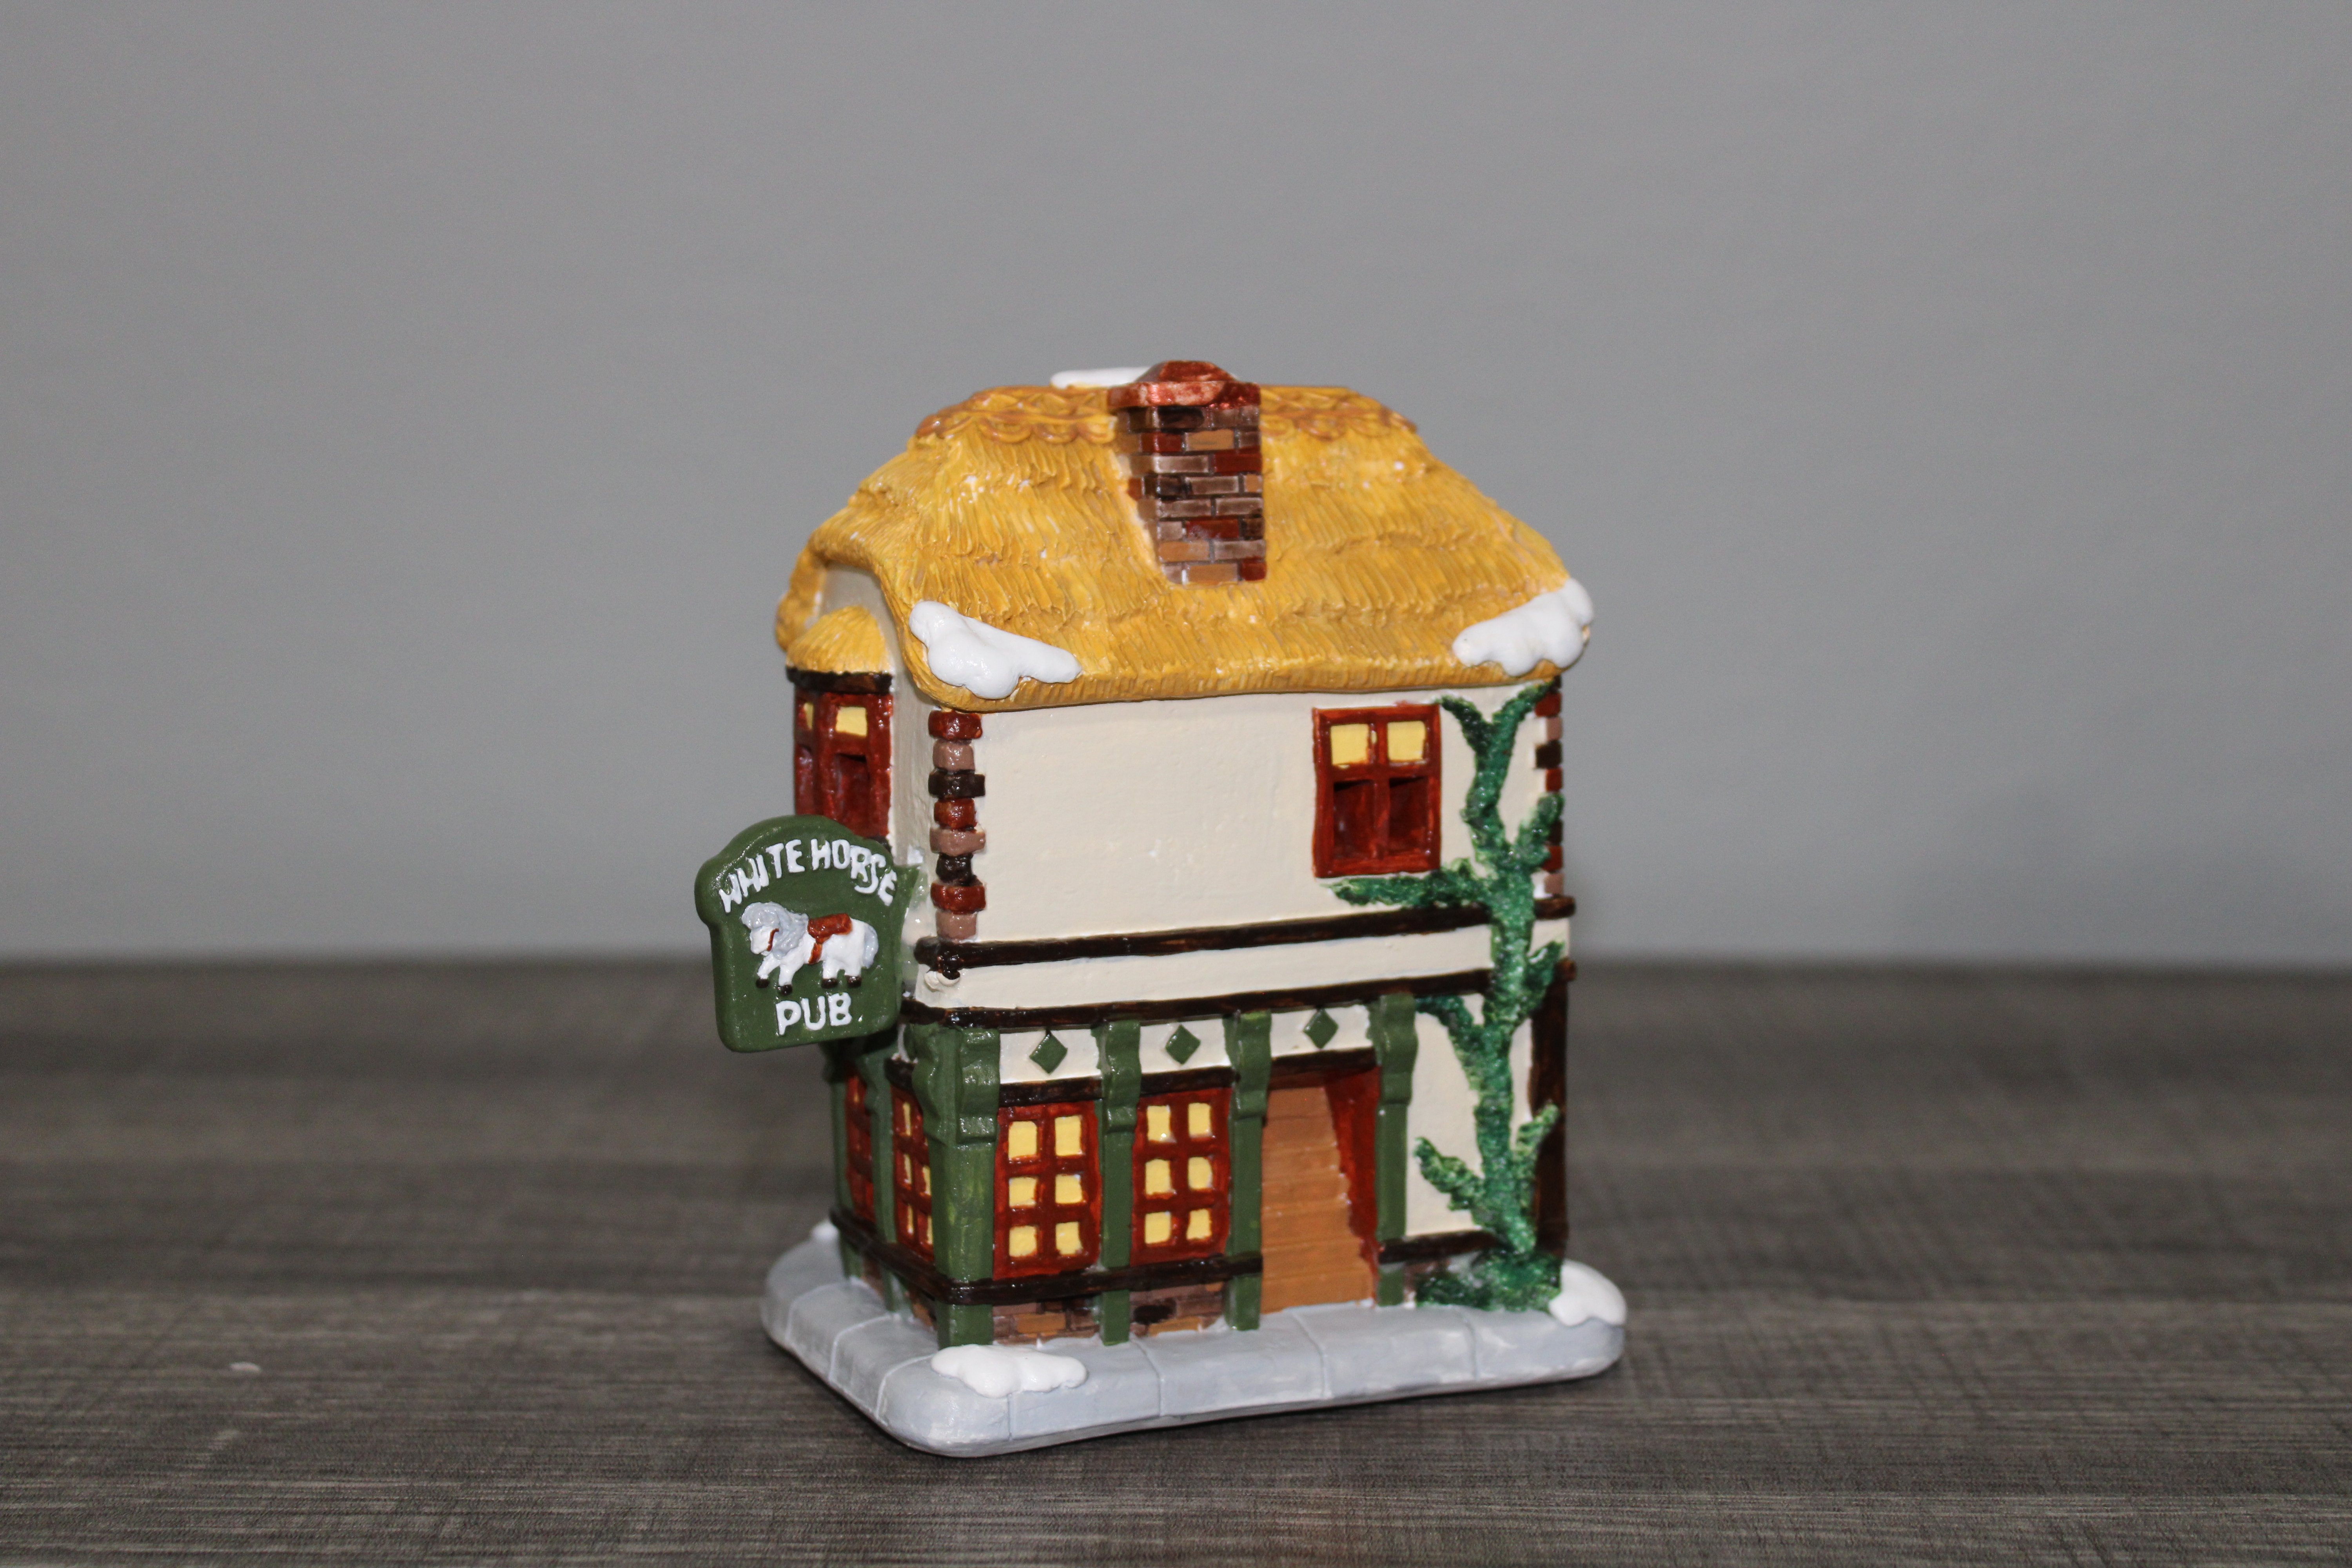
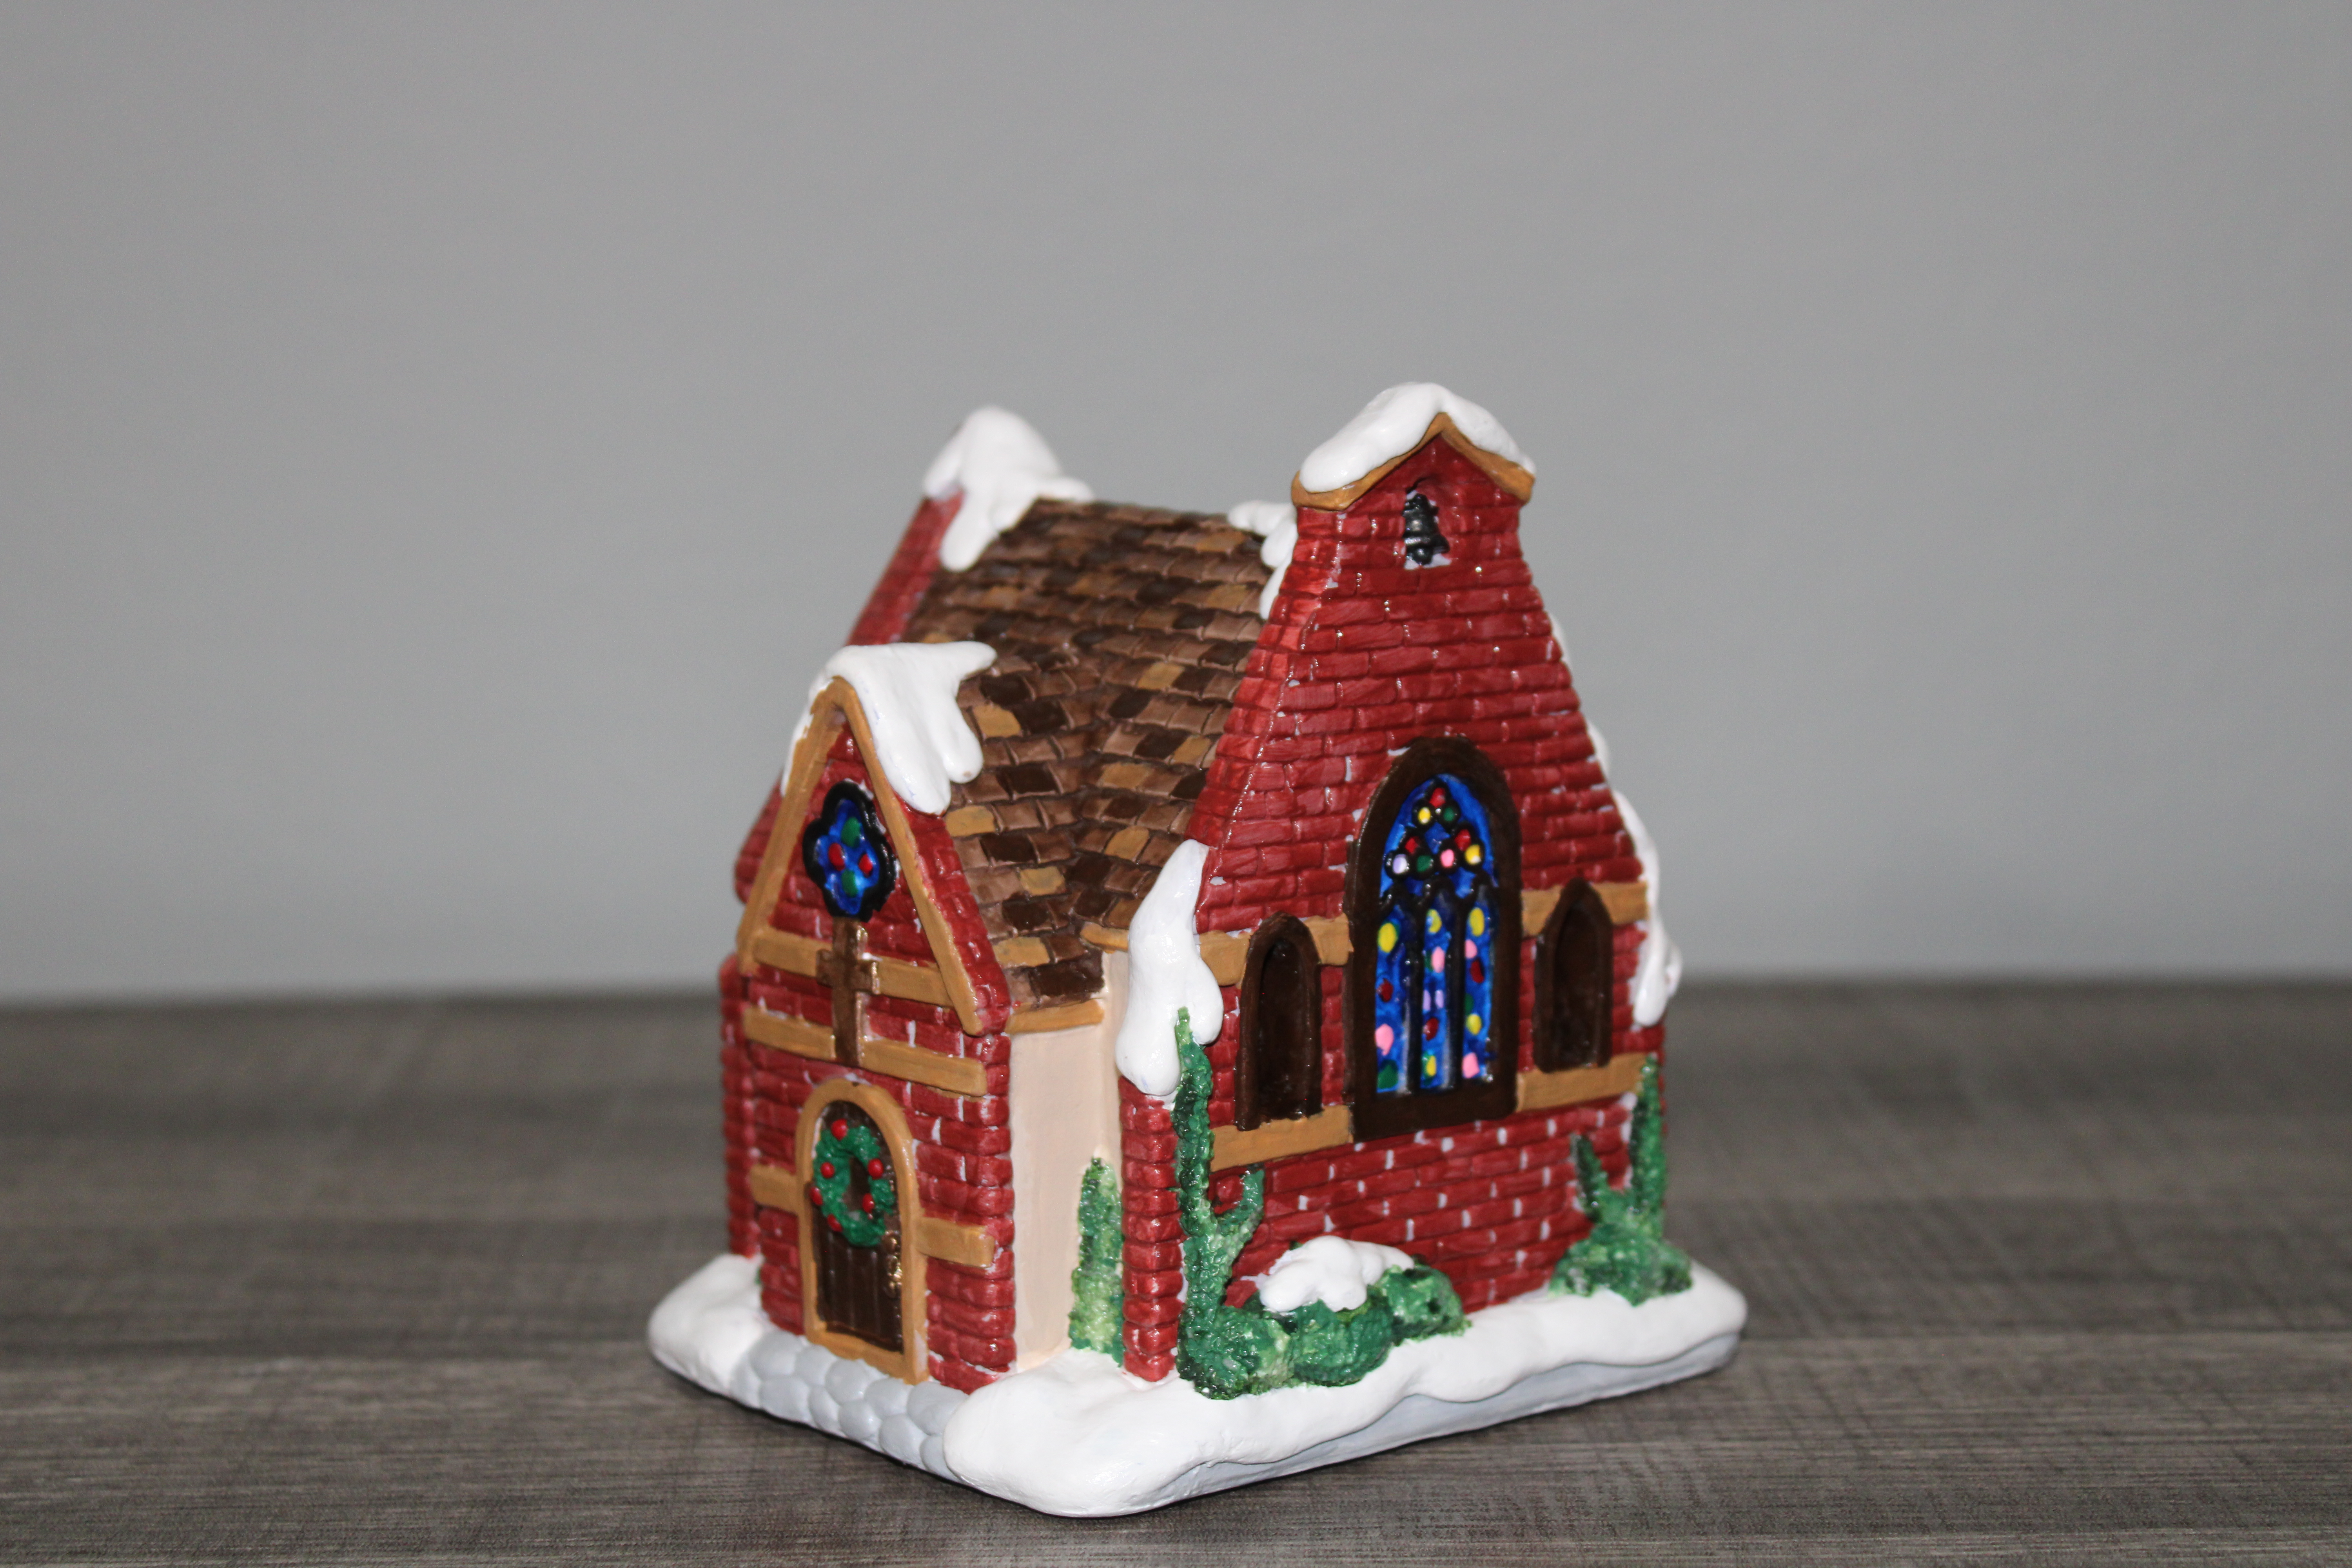
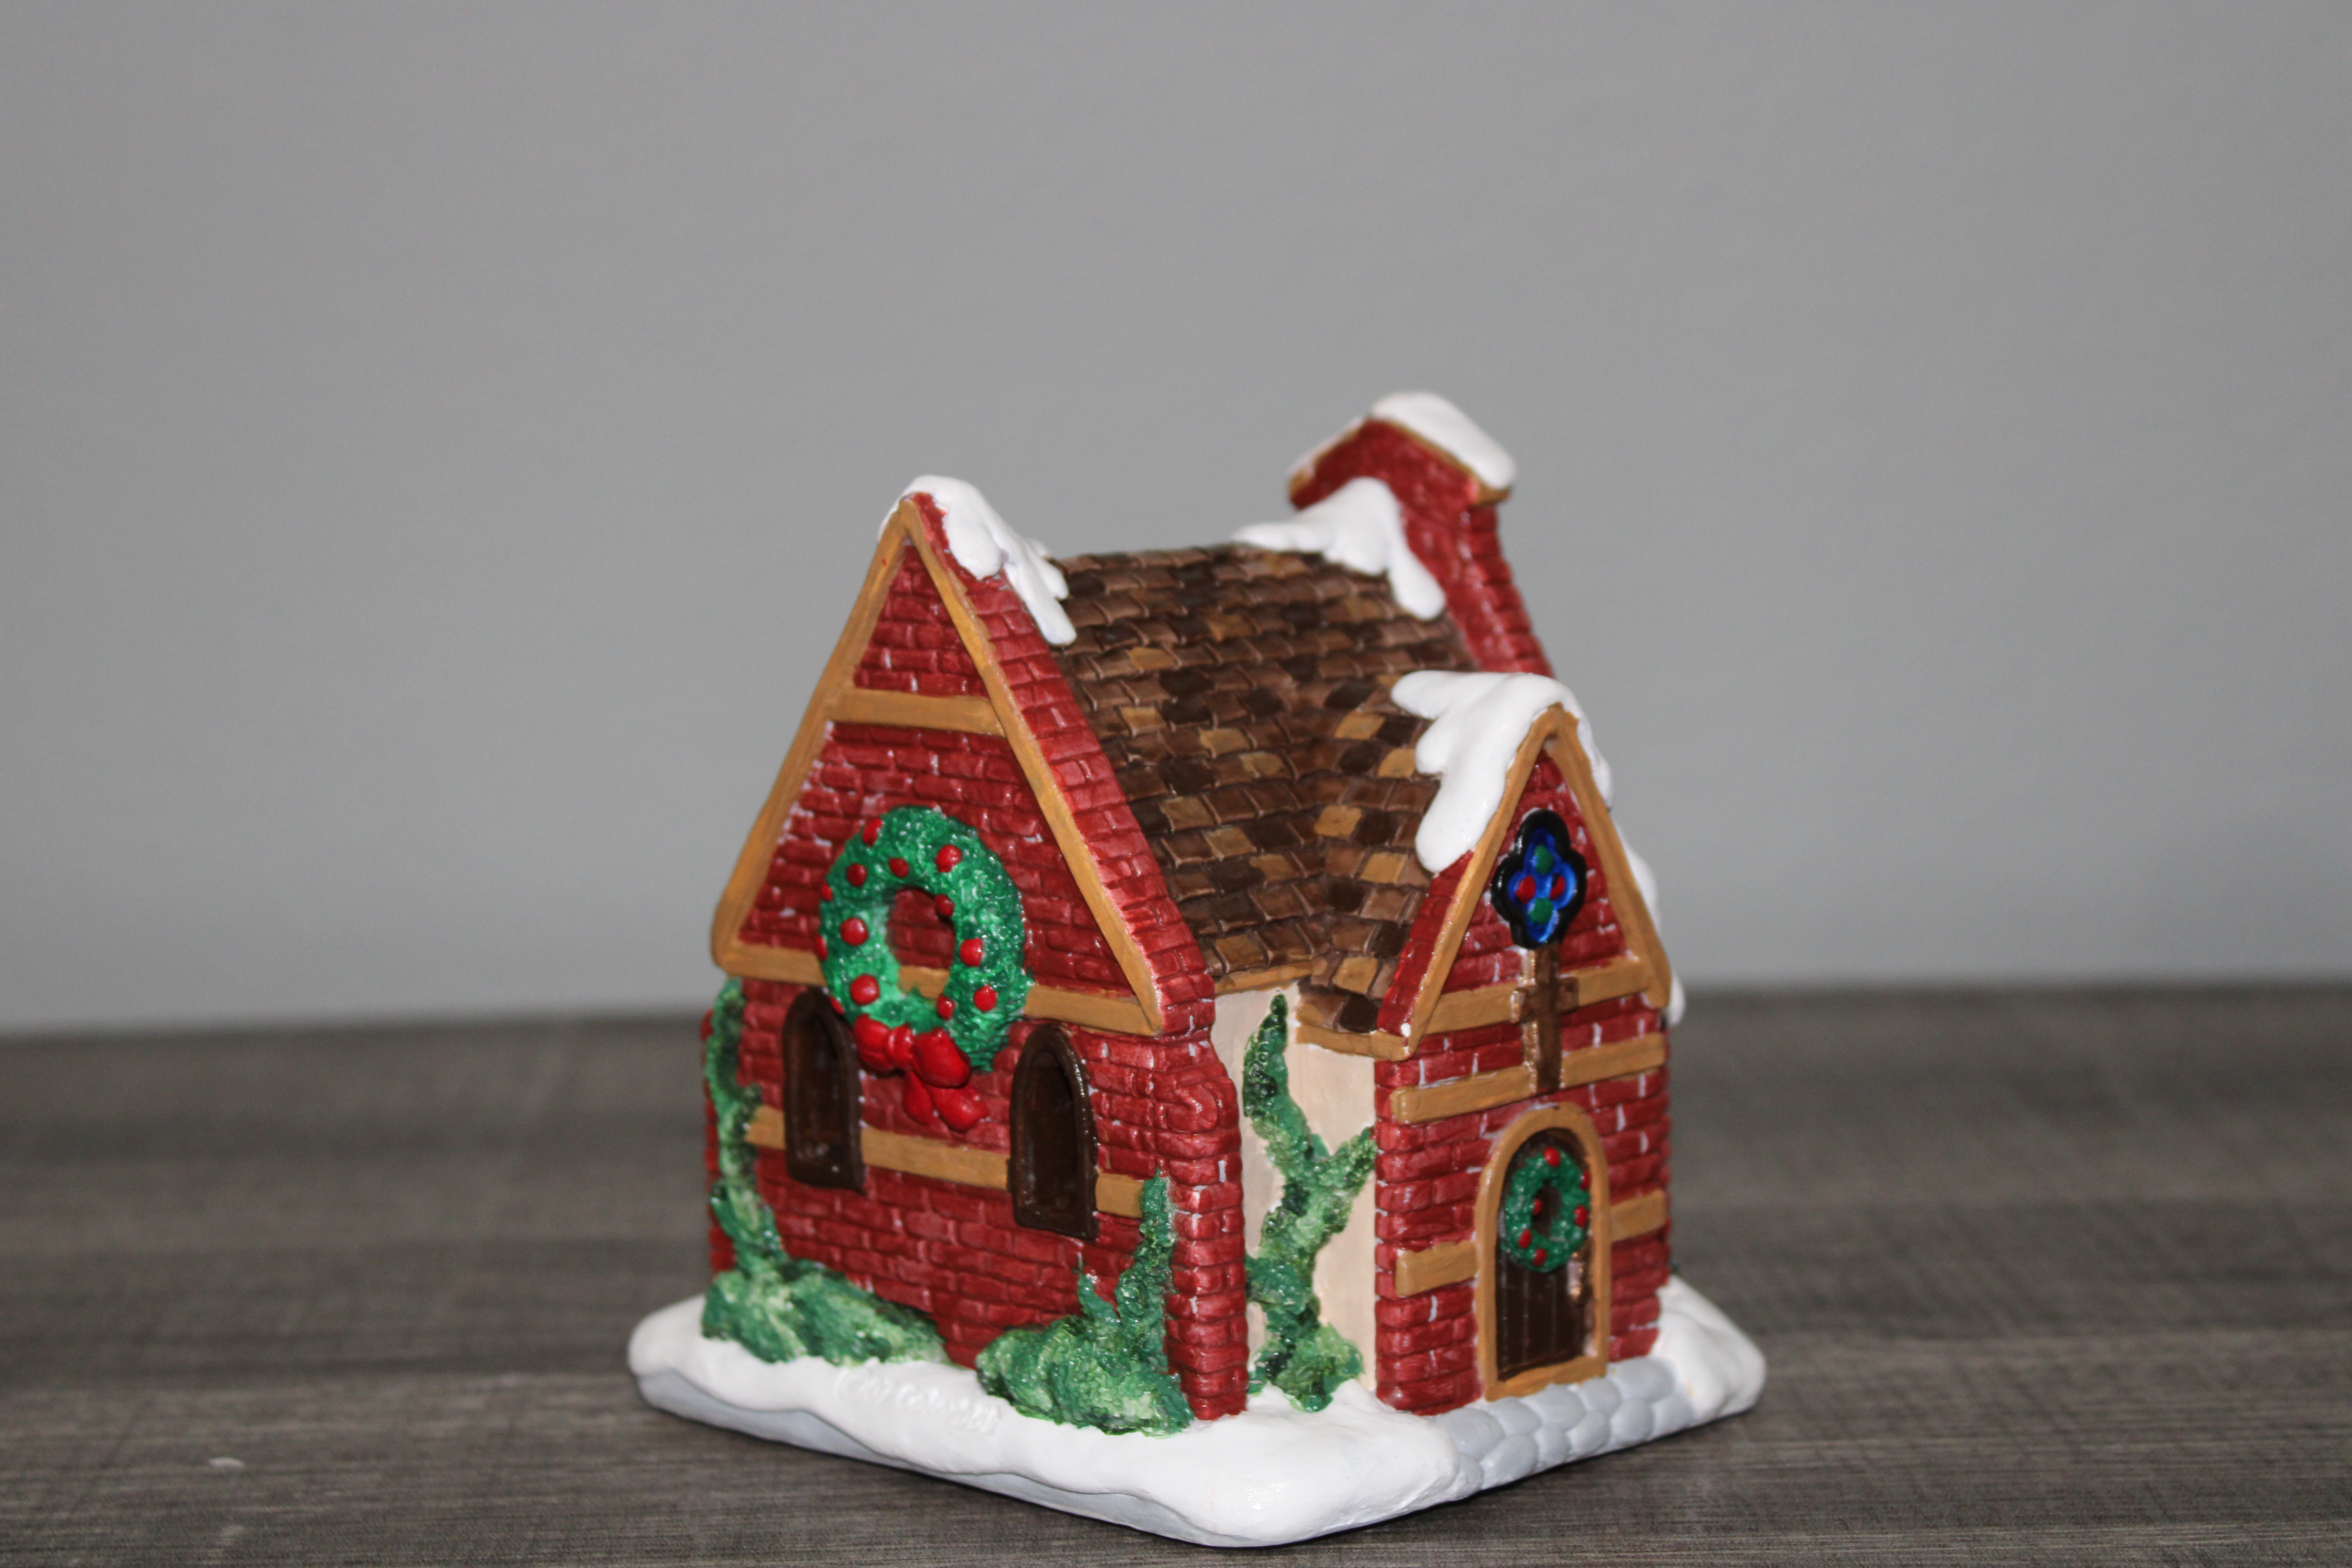
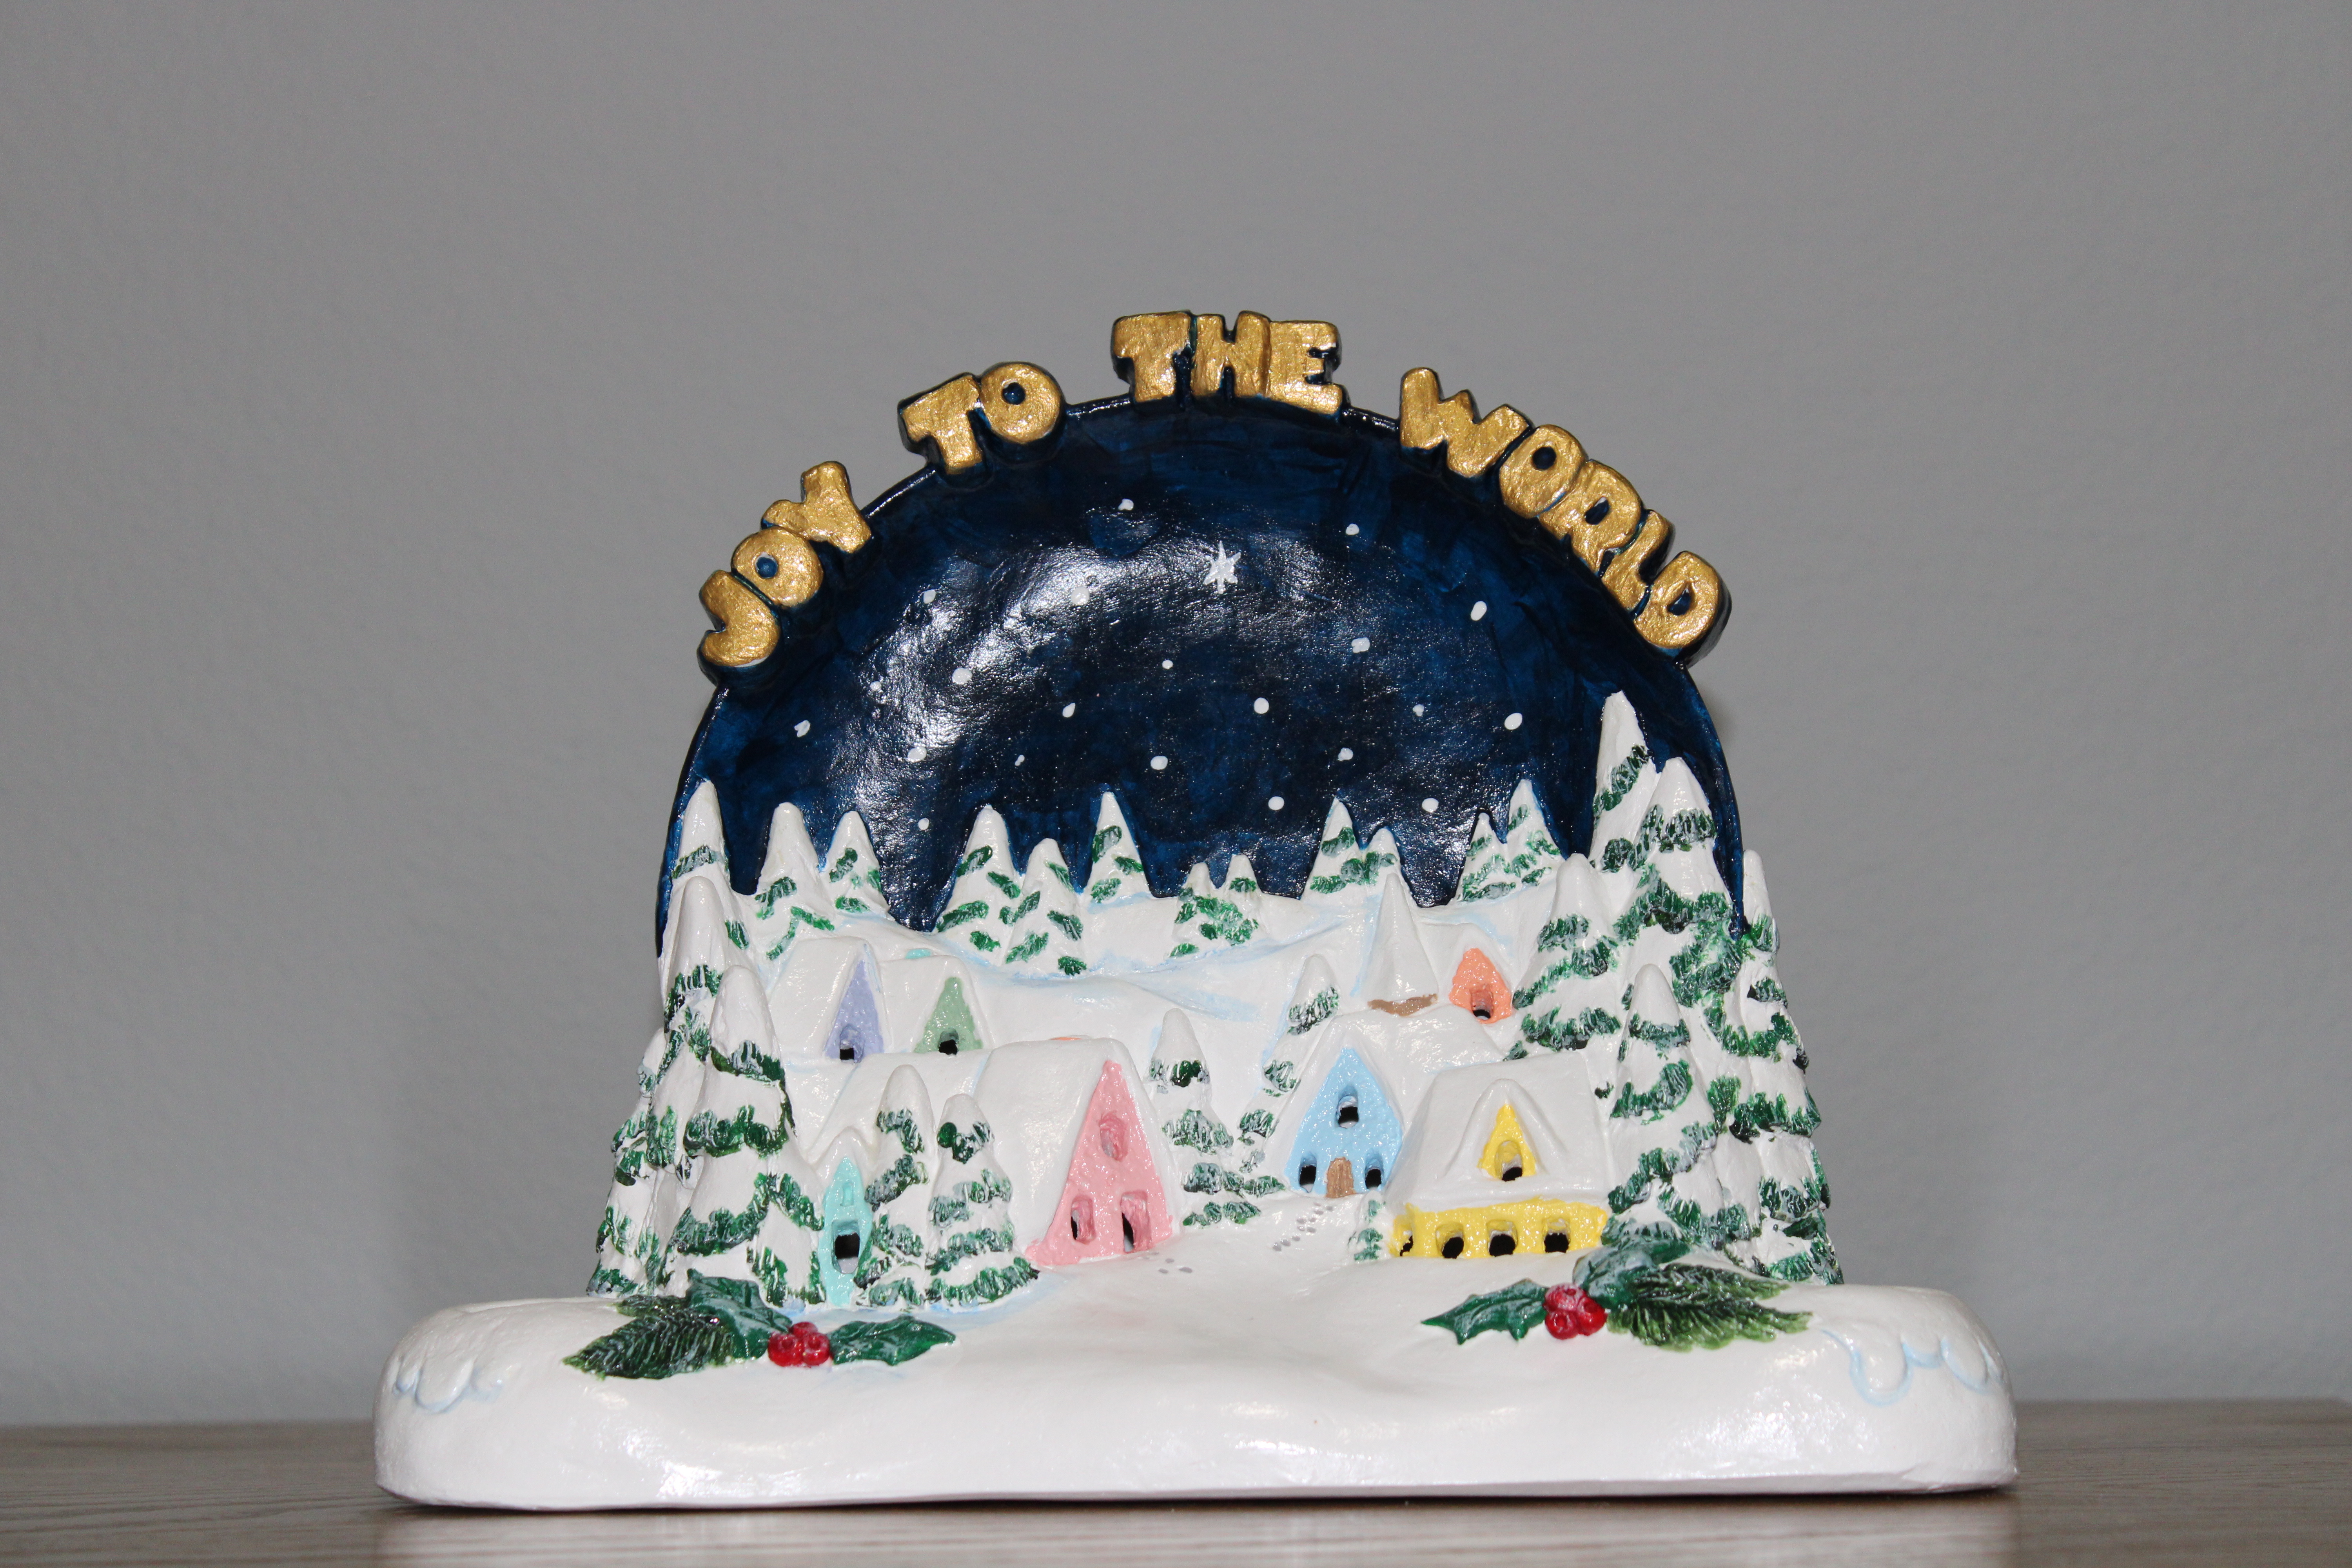
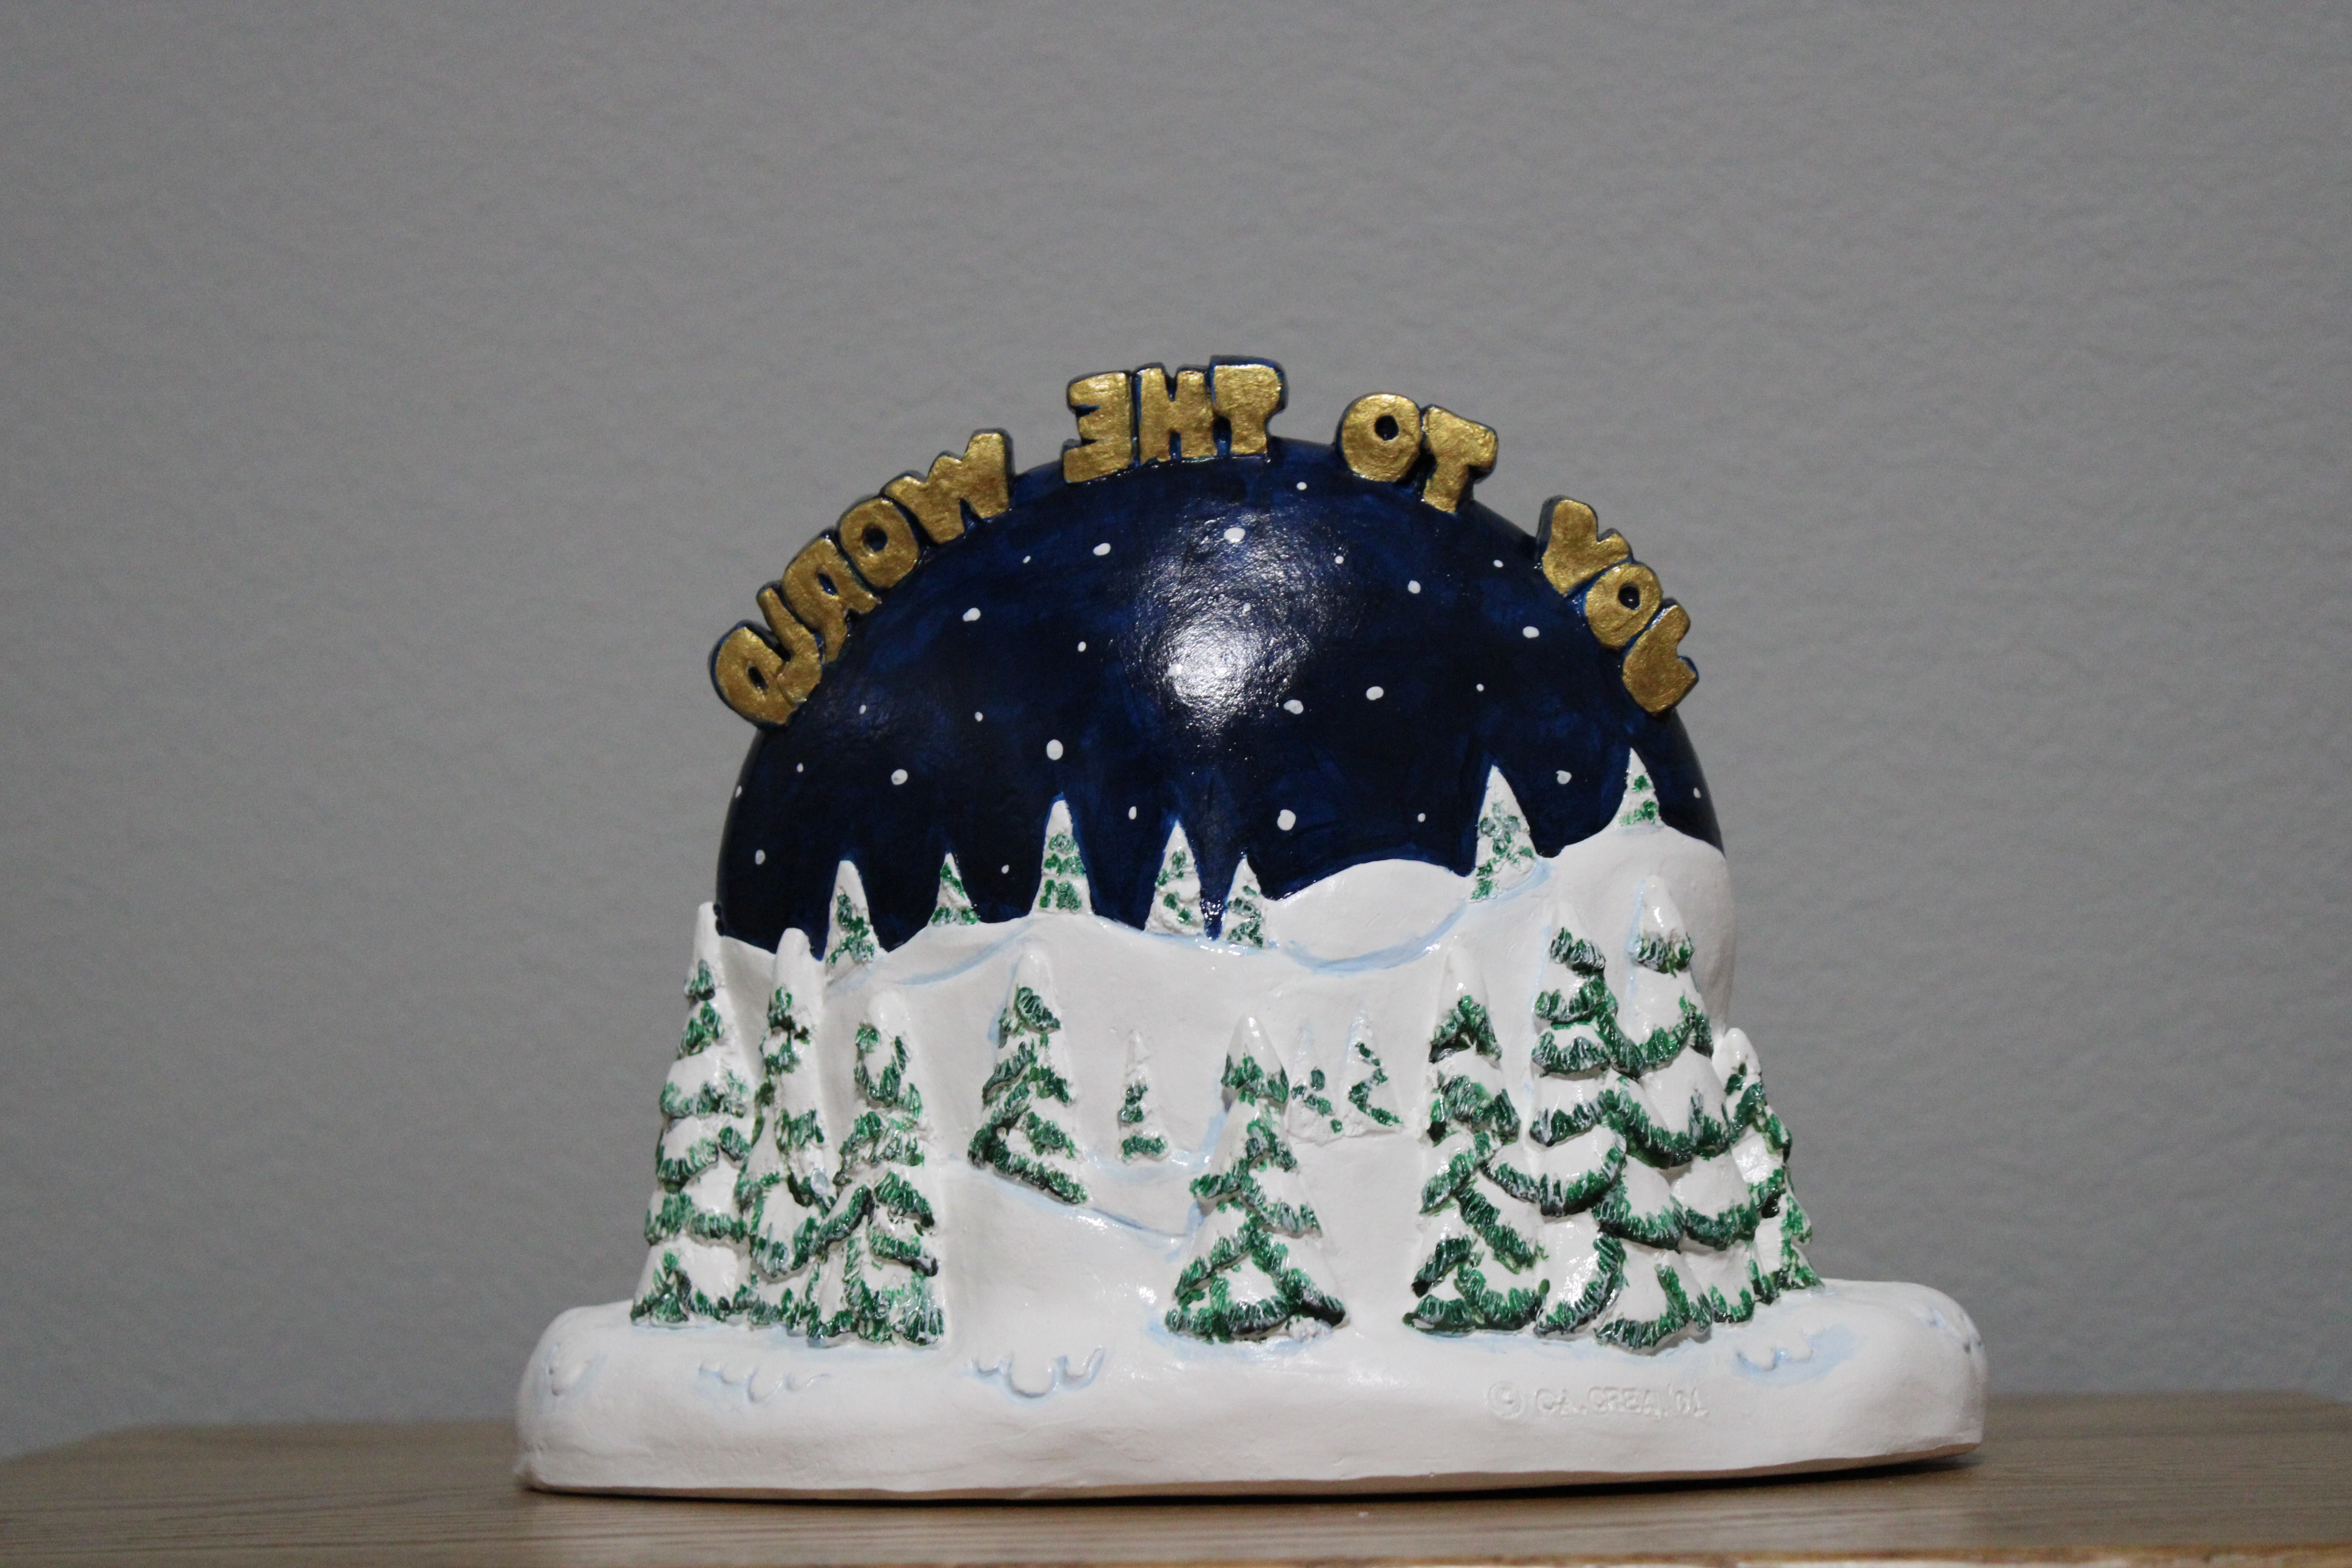
Its Christmas Time! No, it’s not! I like houses and a nice little Christmas Village to paint was the next item I selected; it was in stored for years. This piece is designed to hold candles.
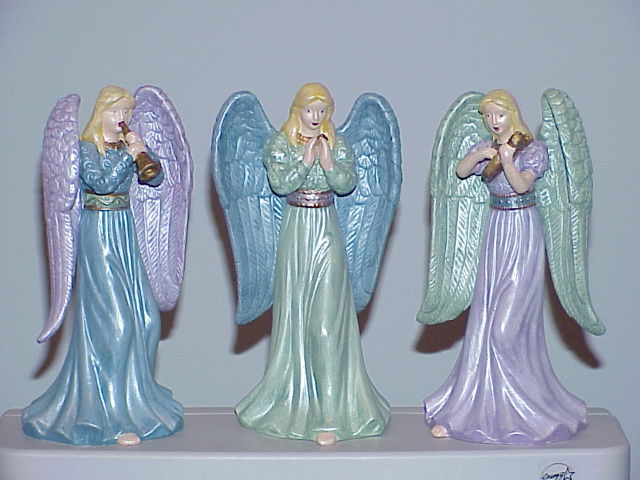
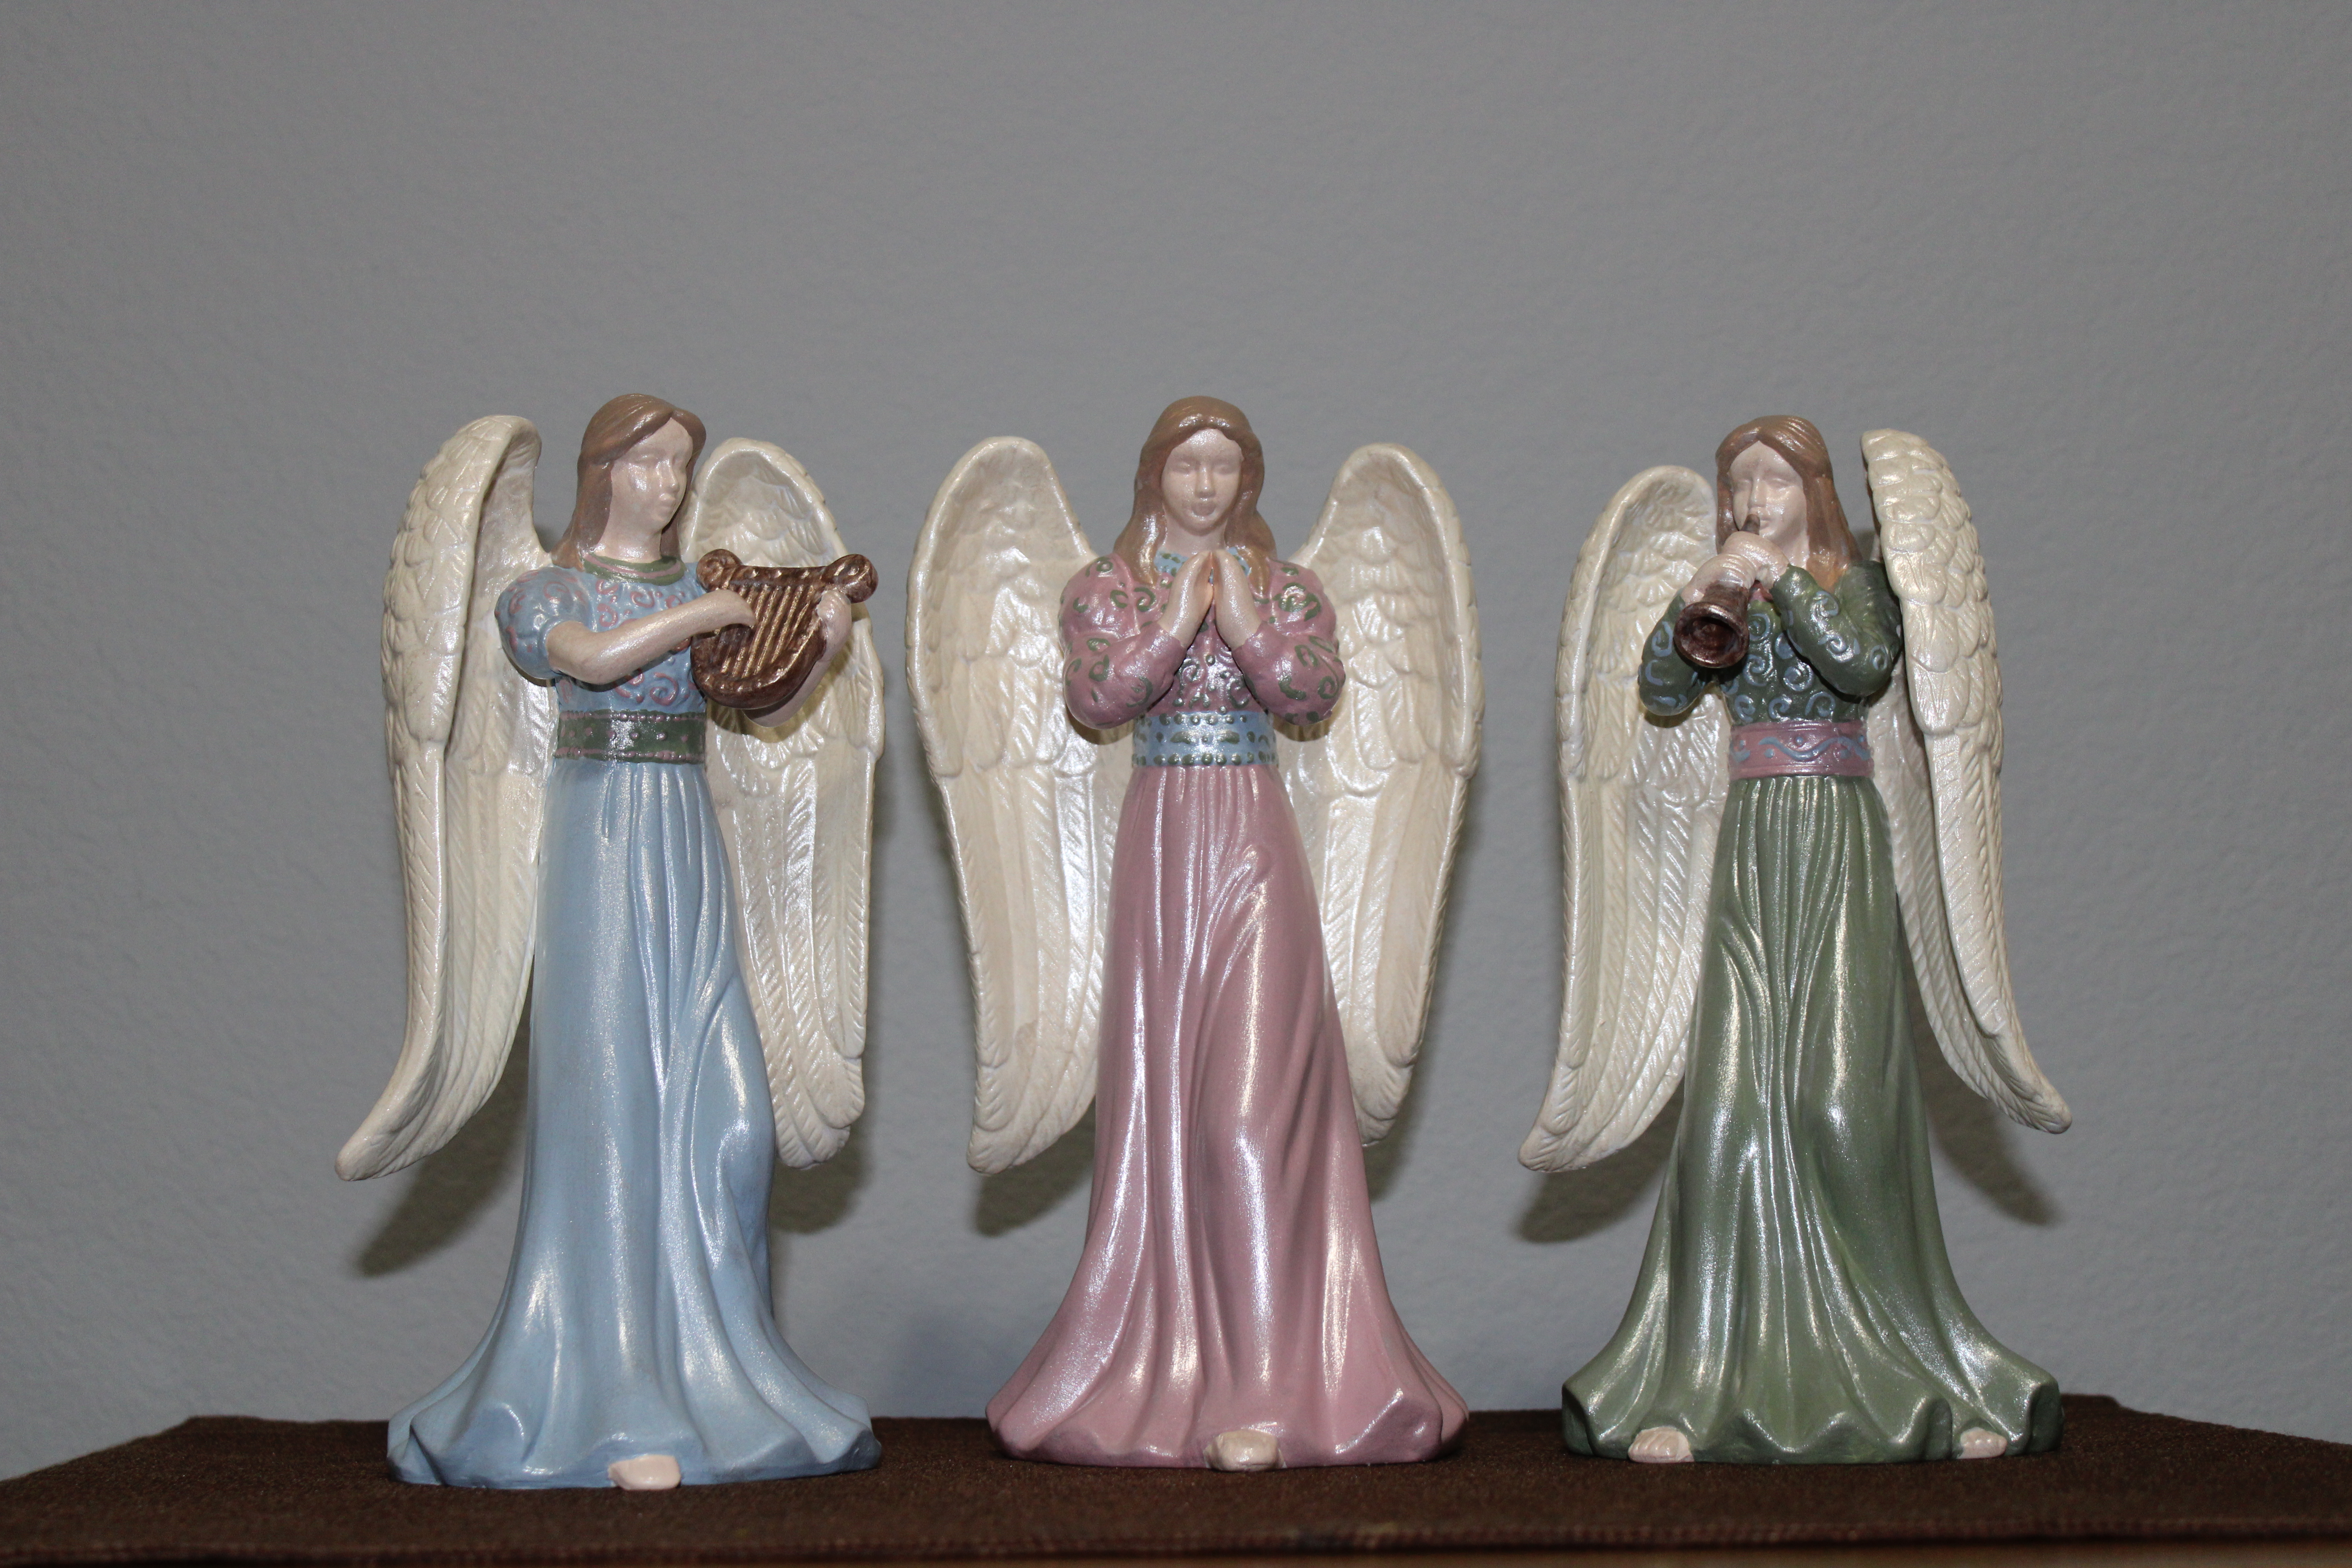
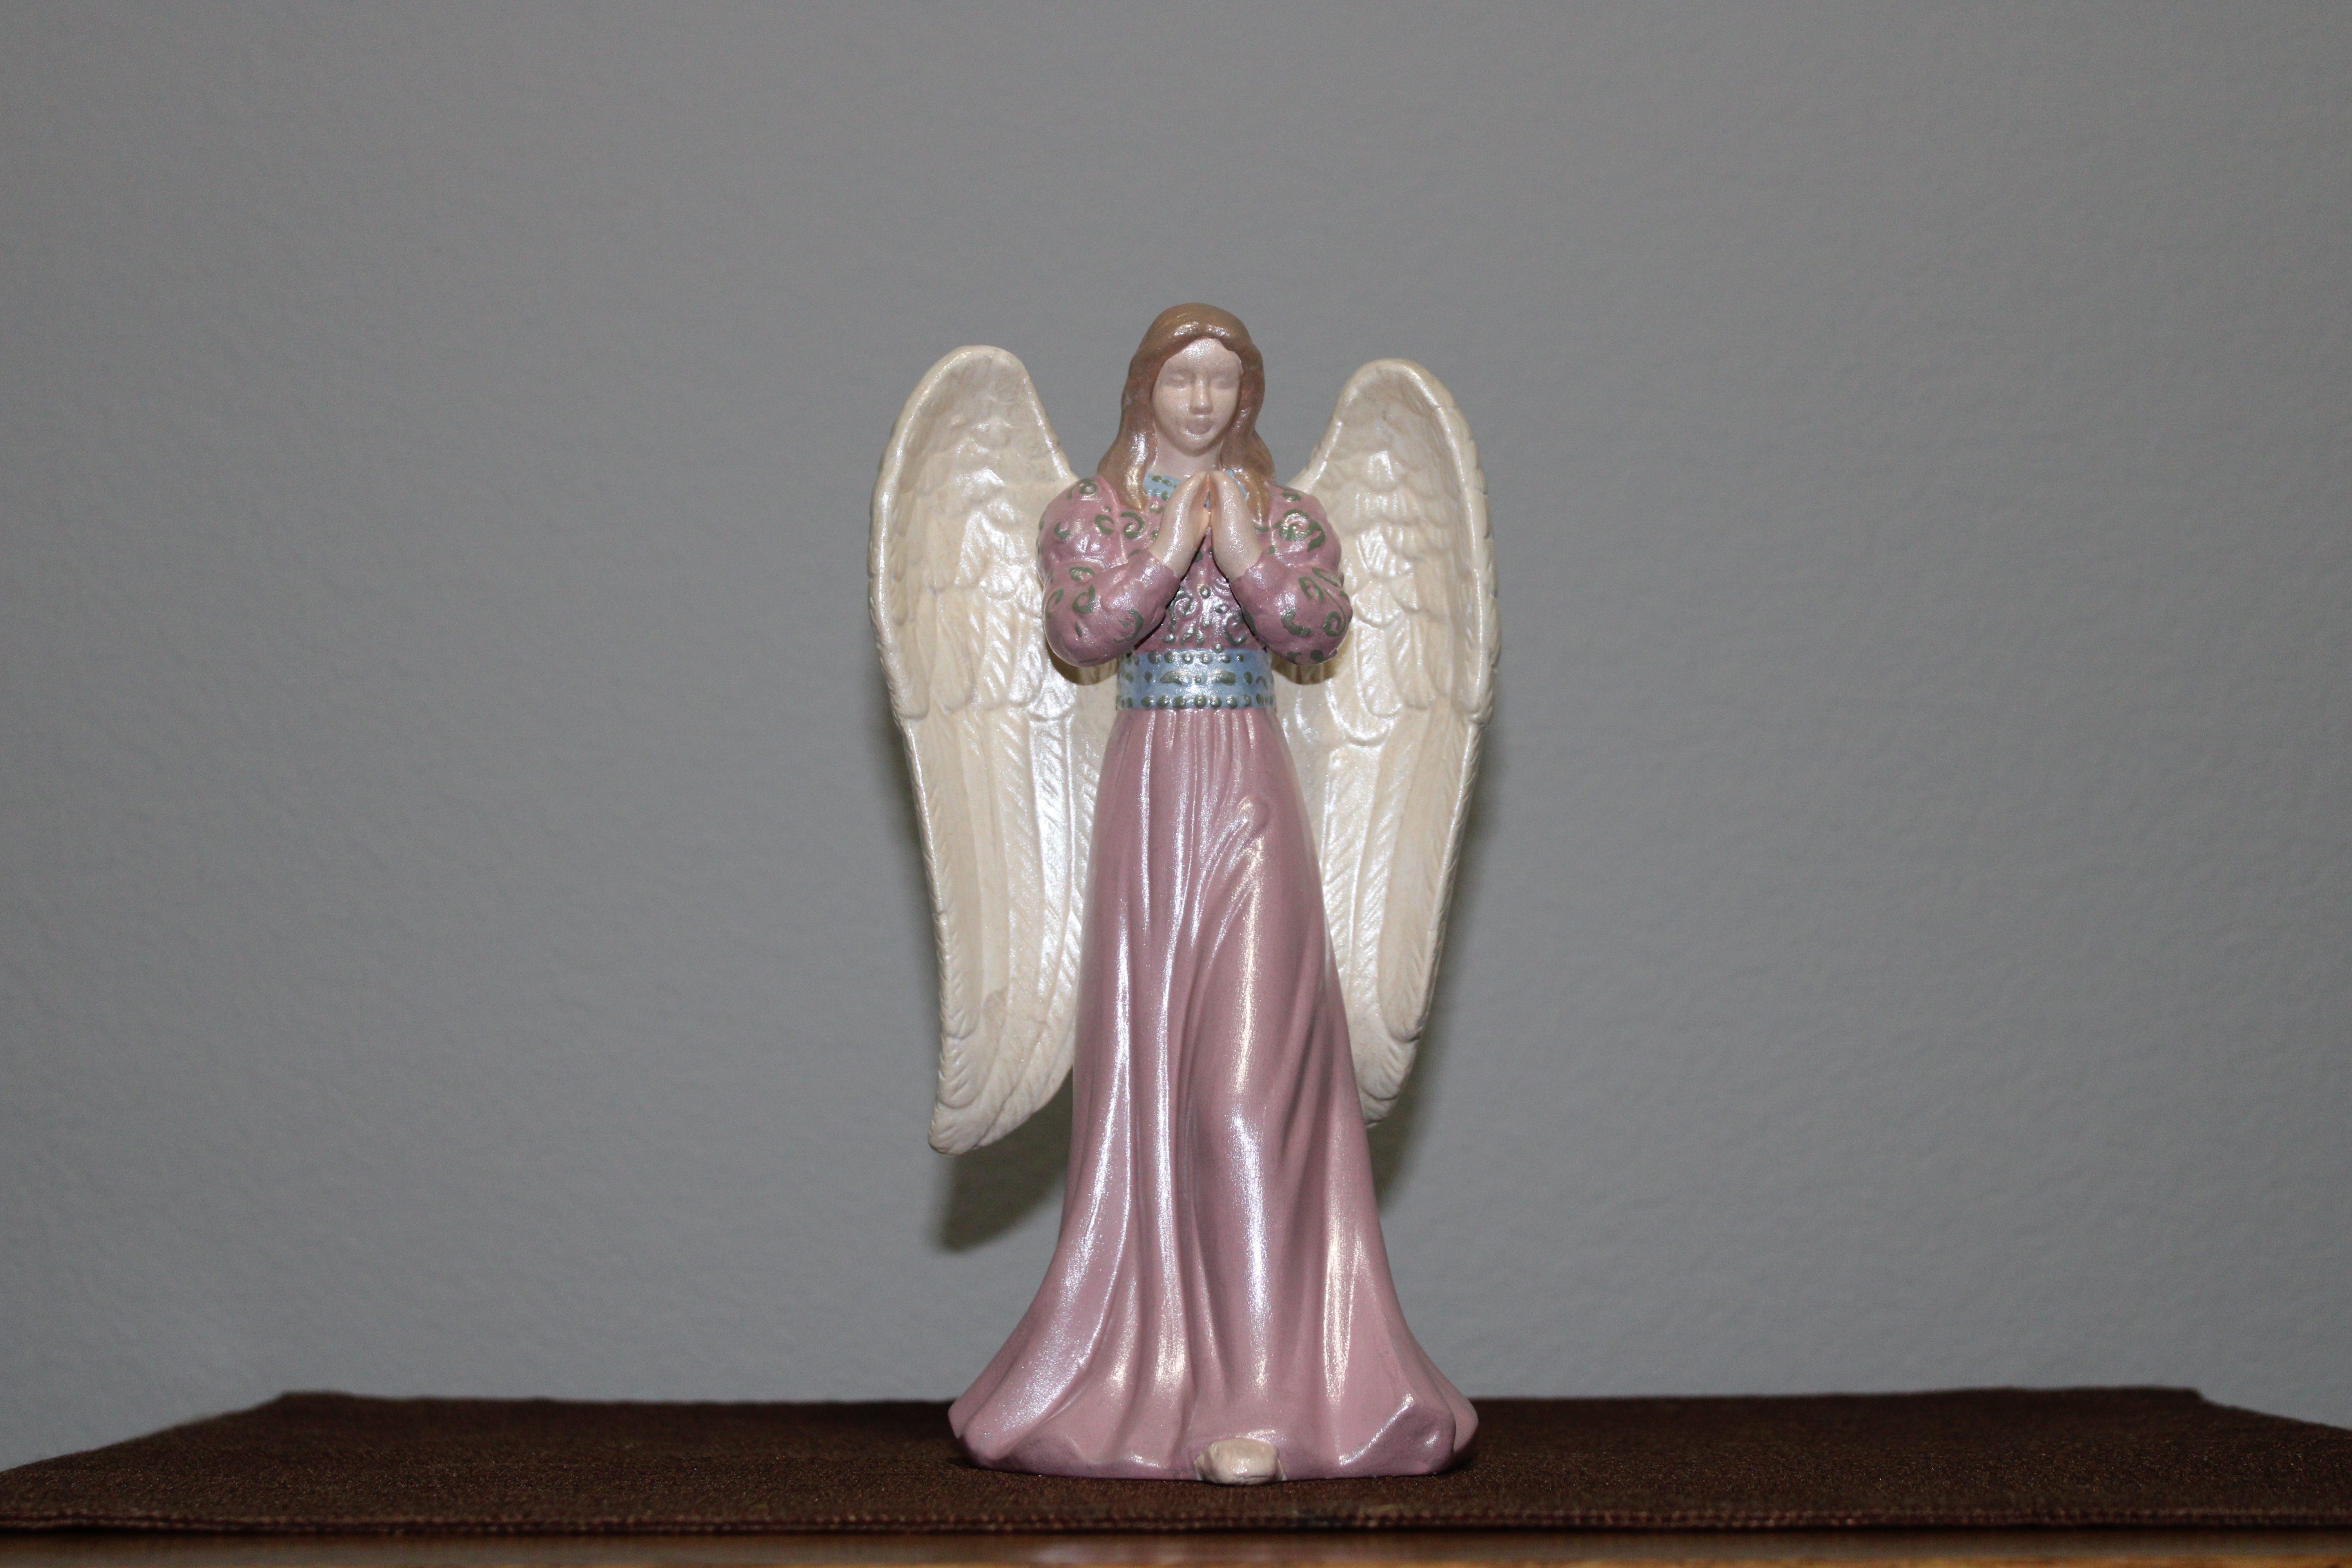
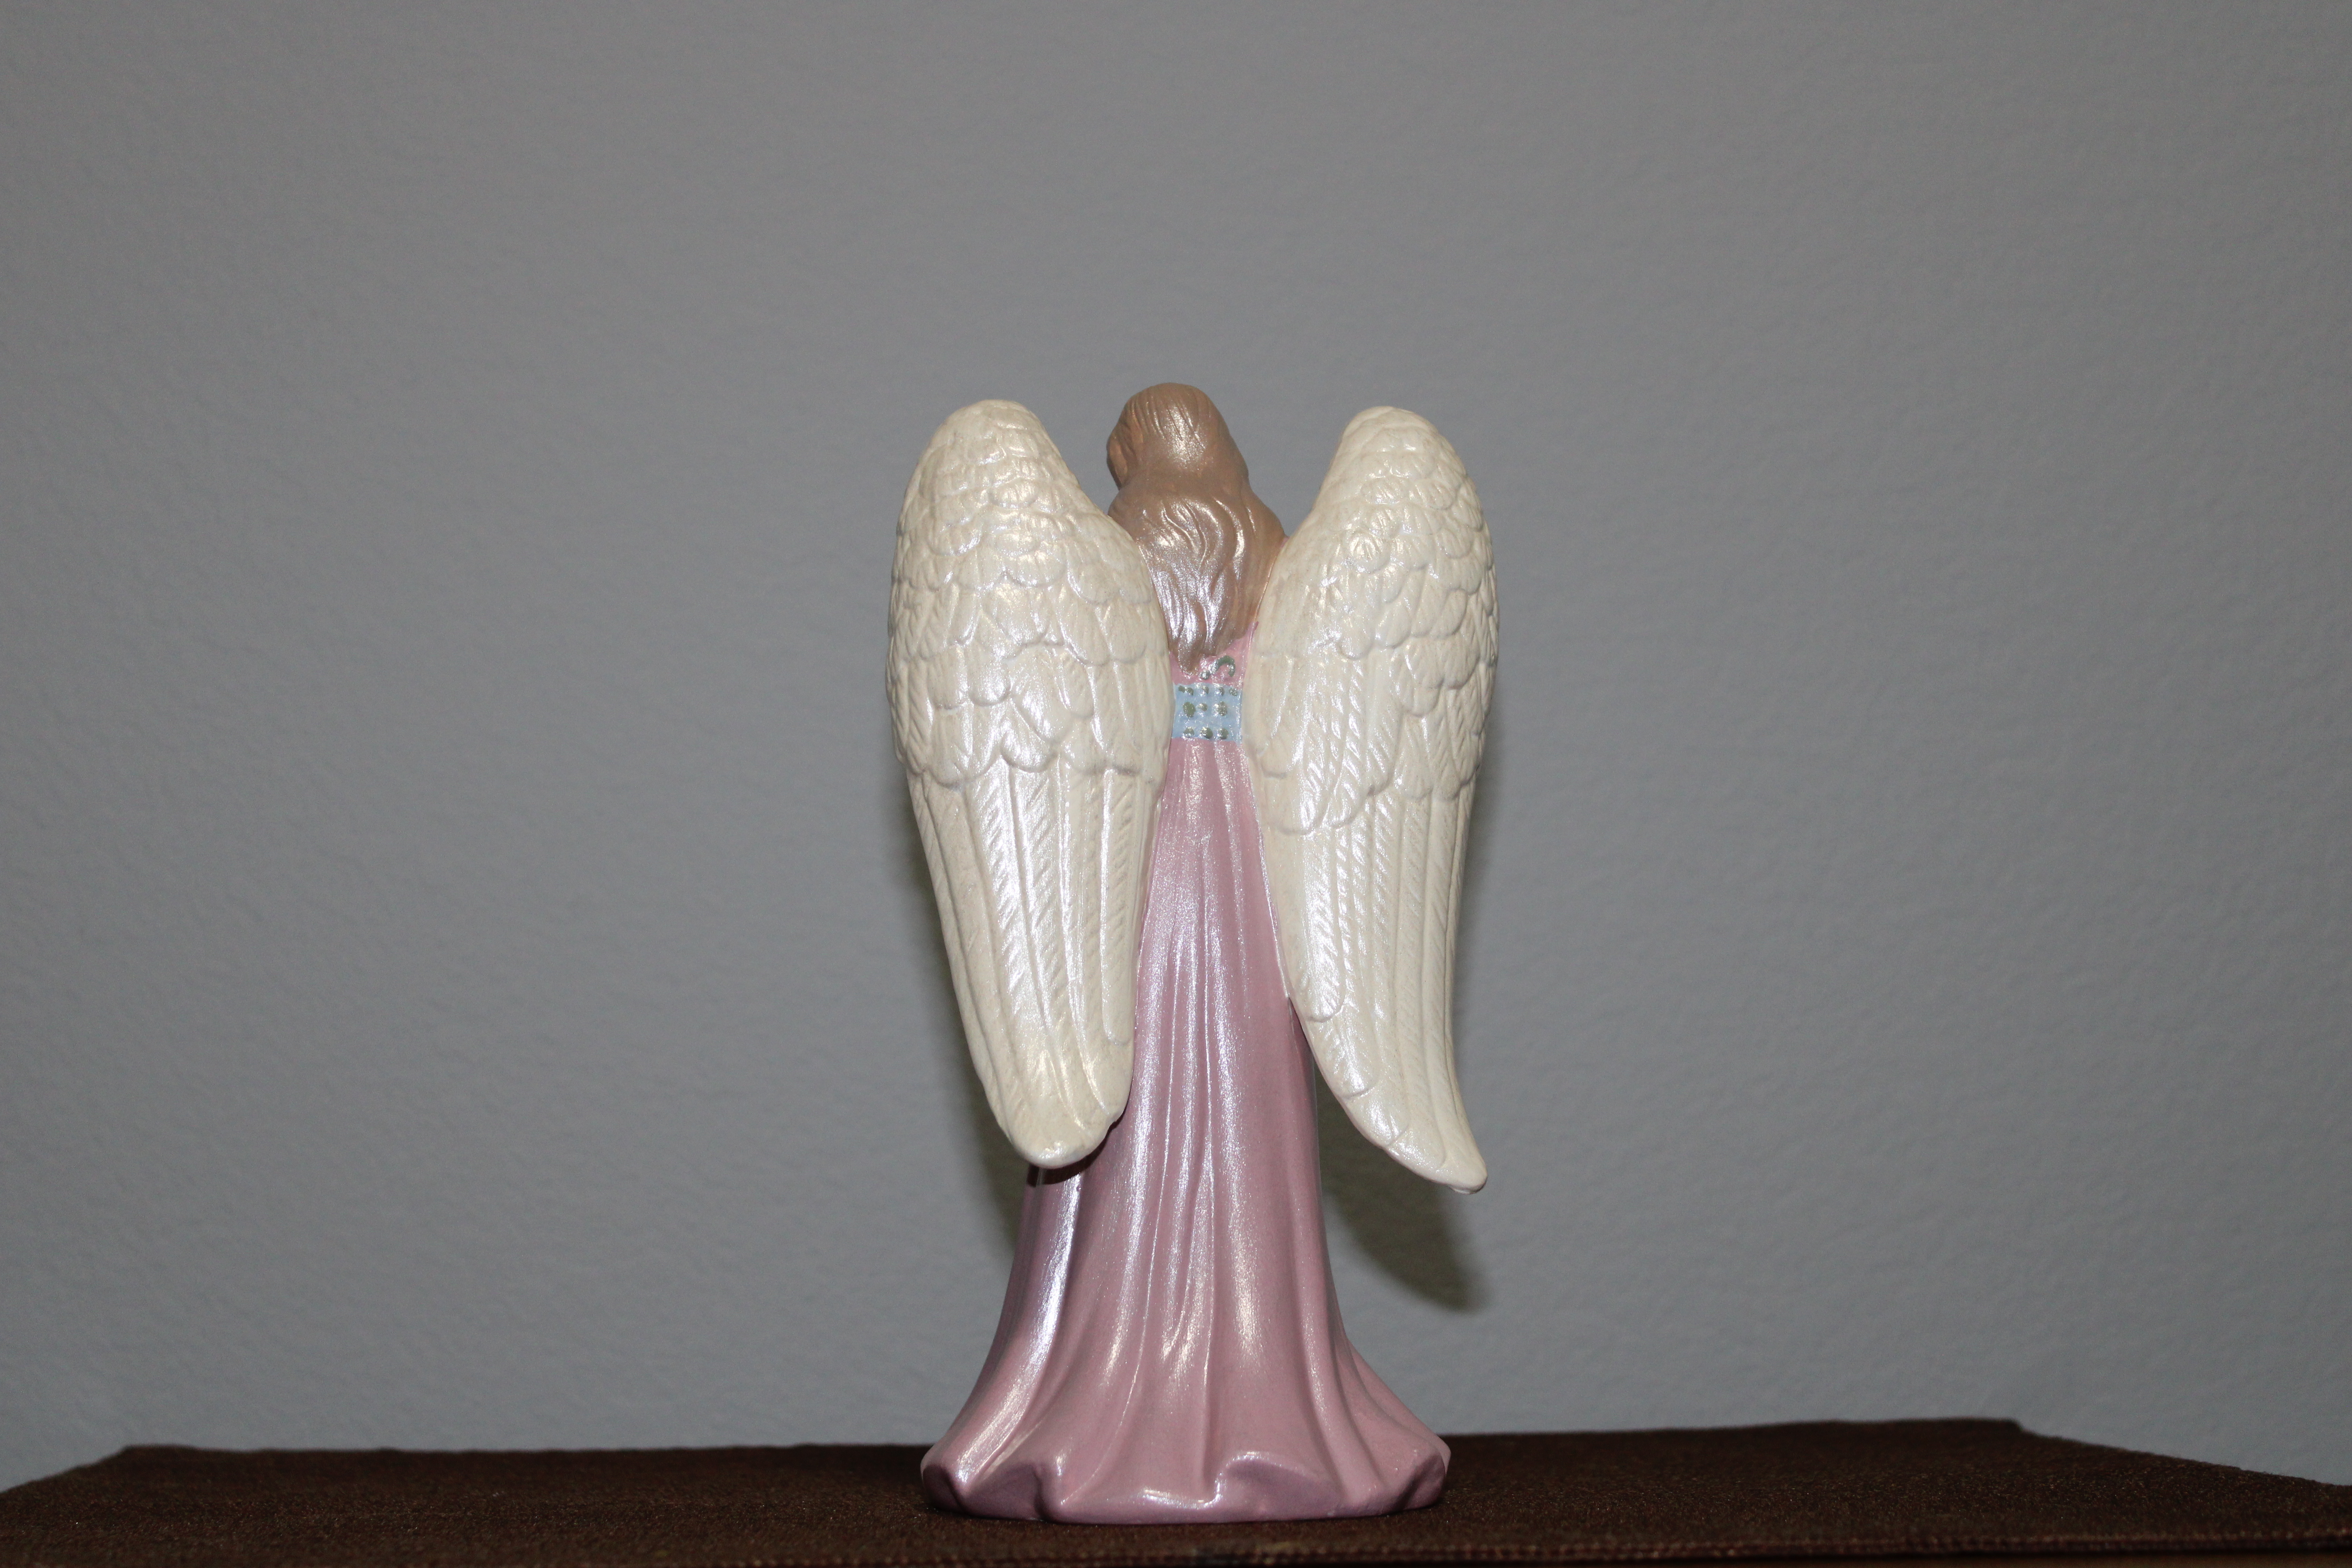
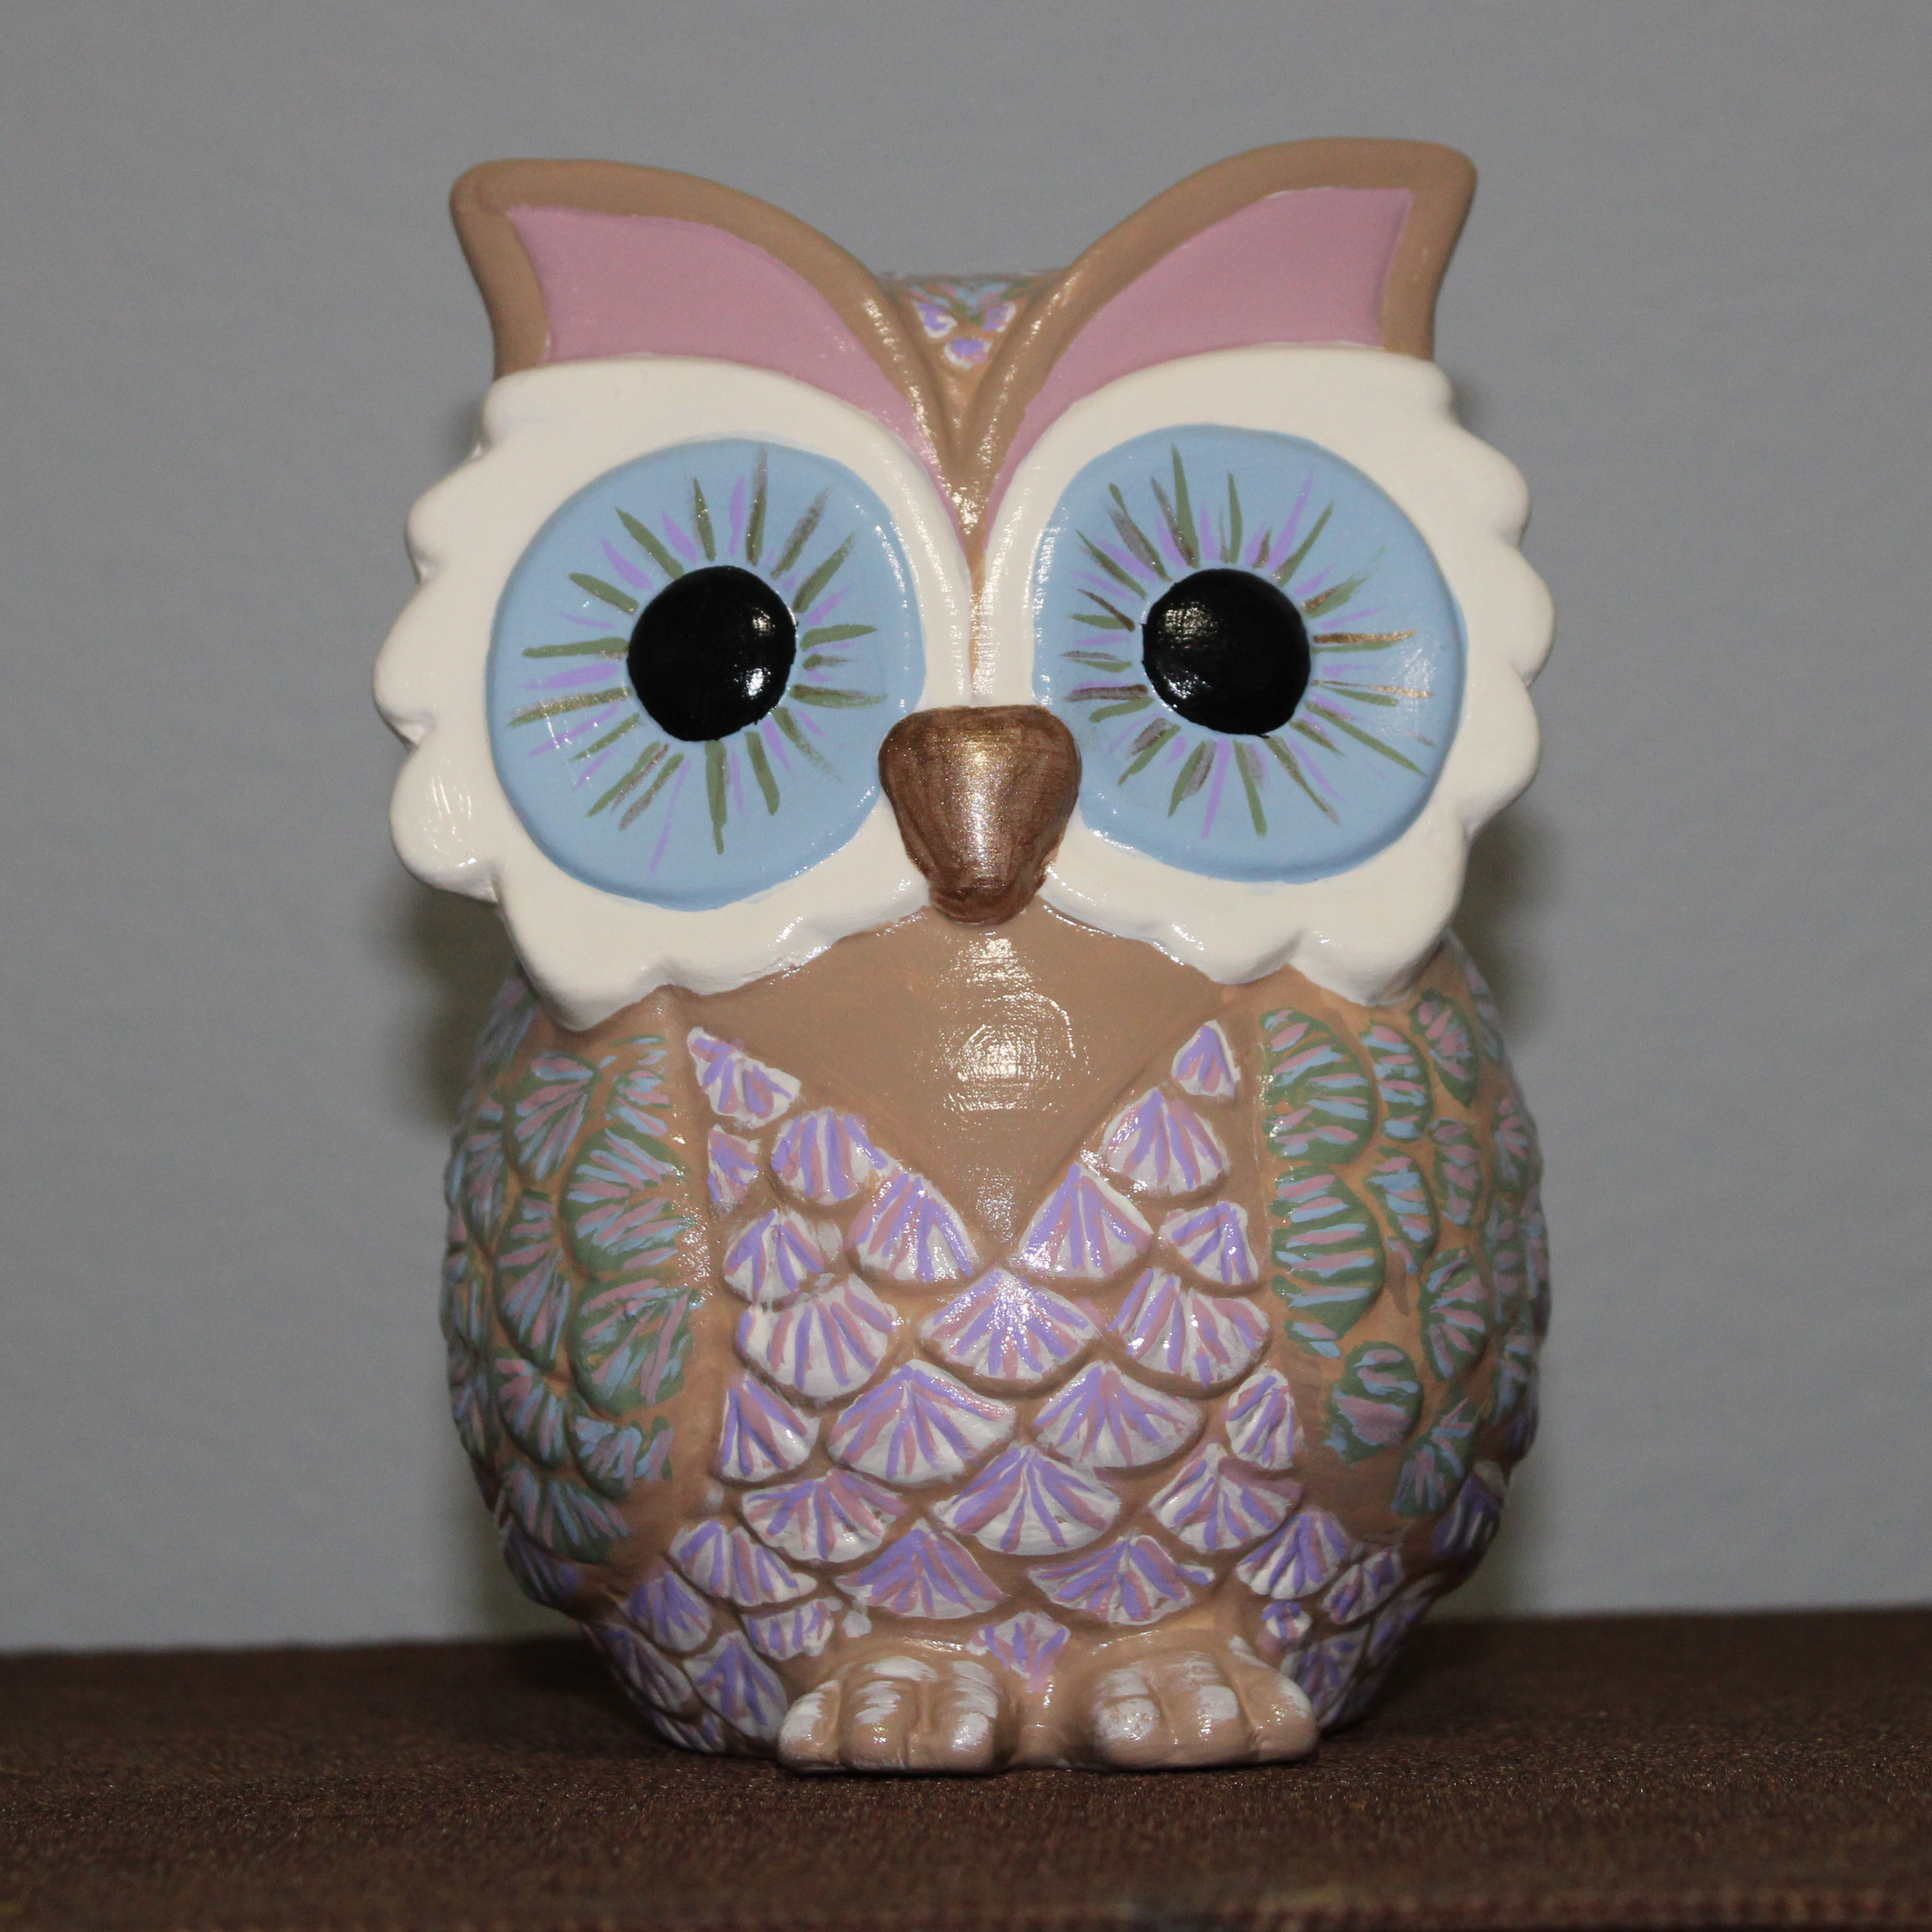
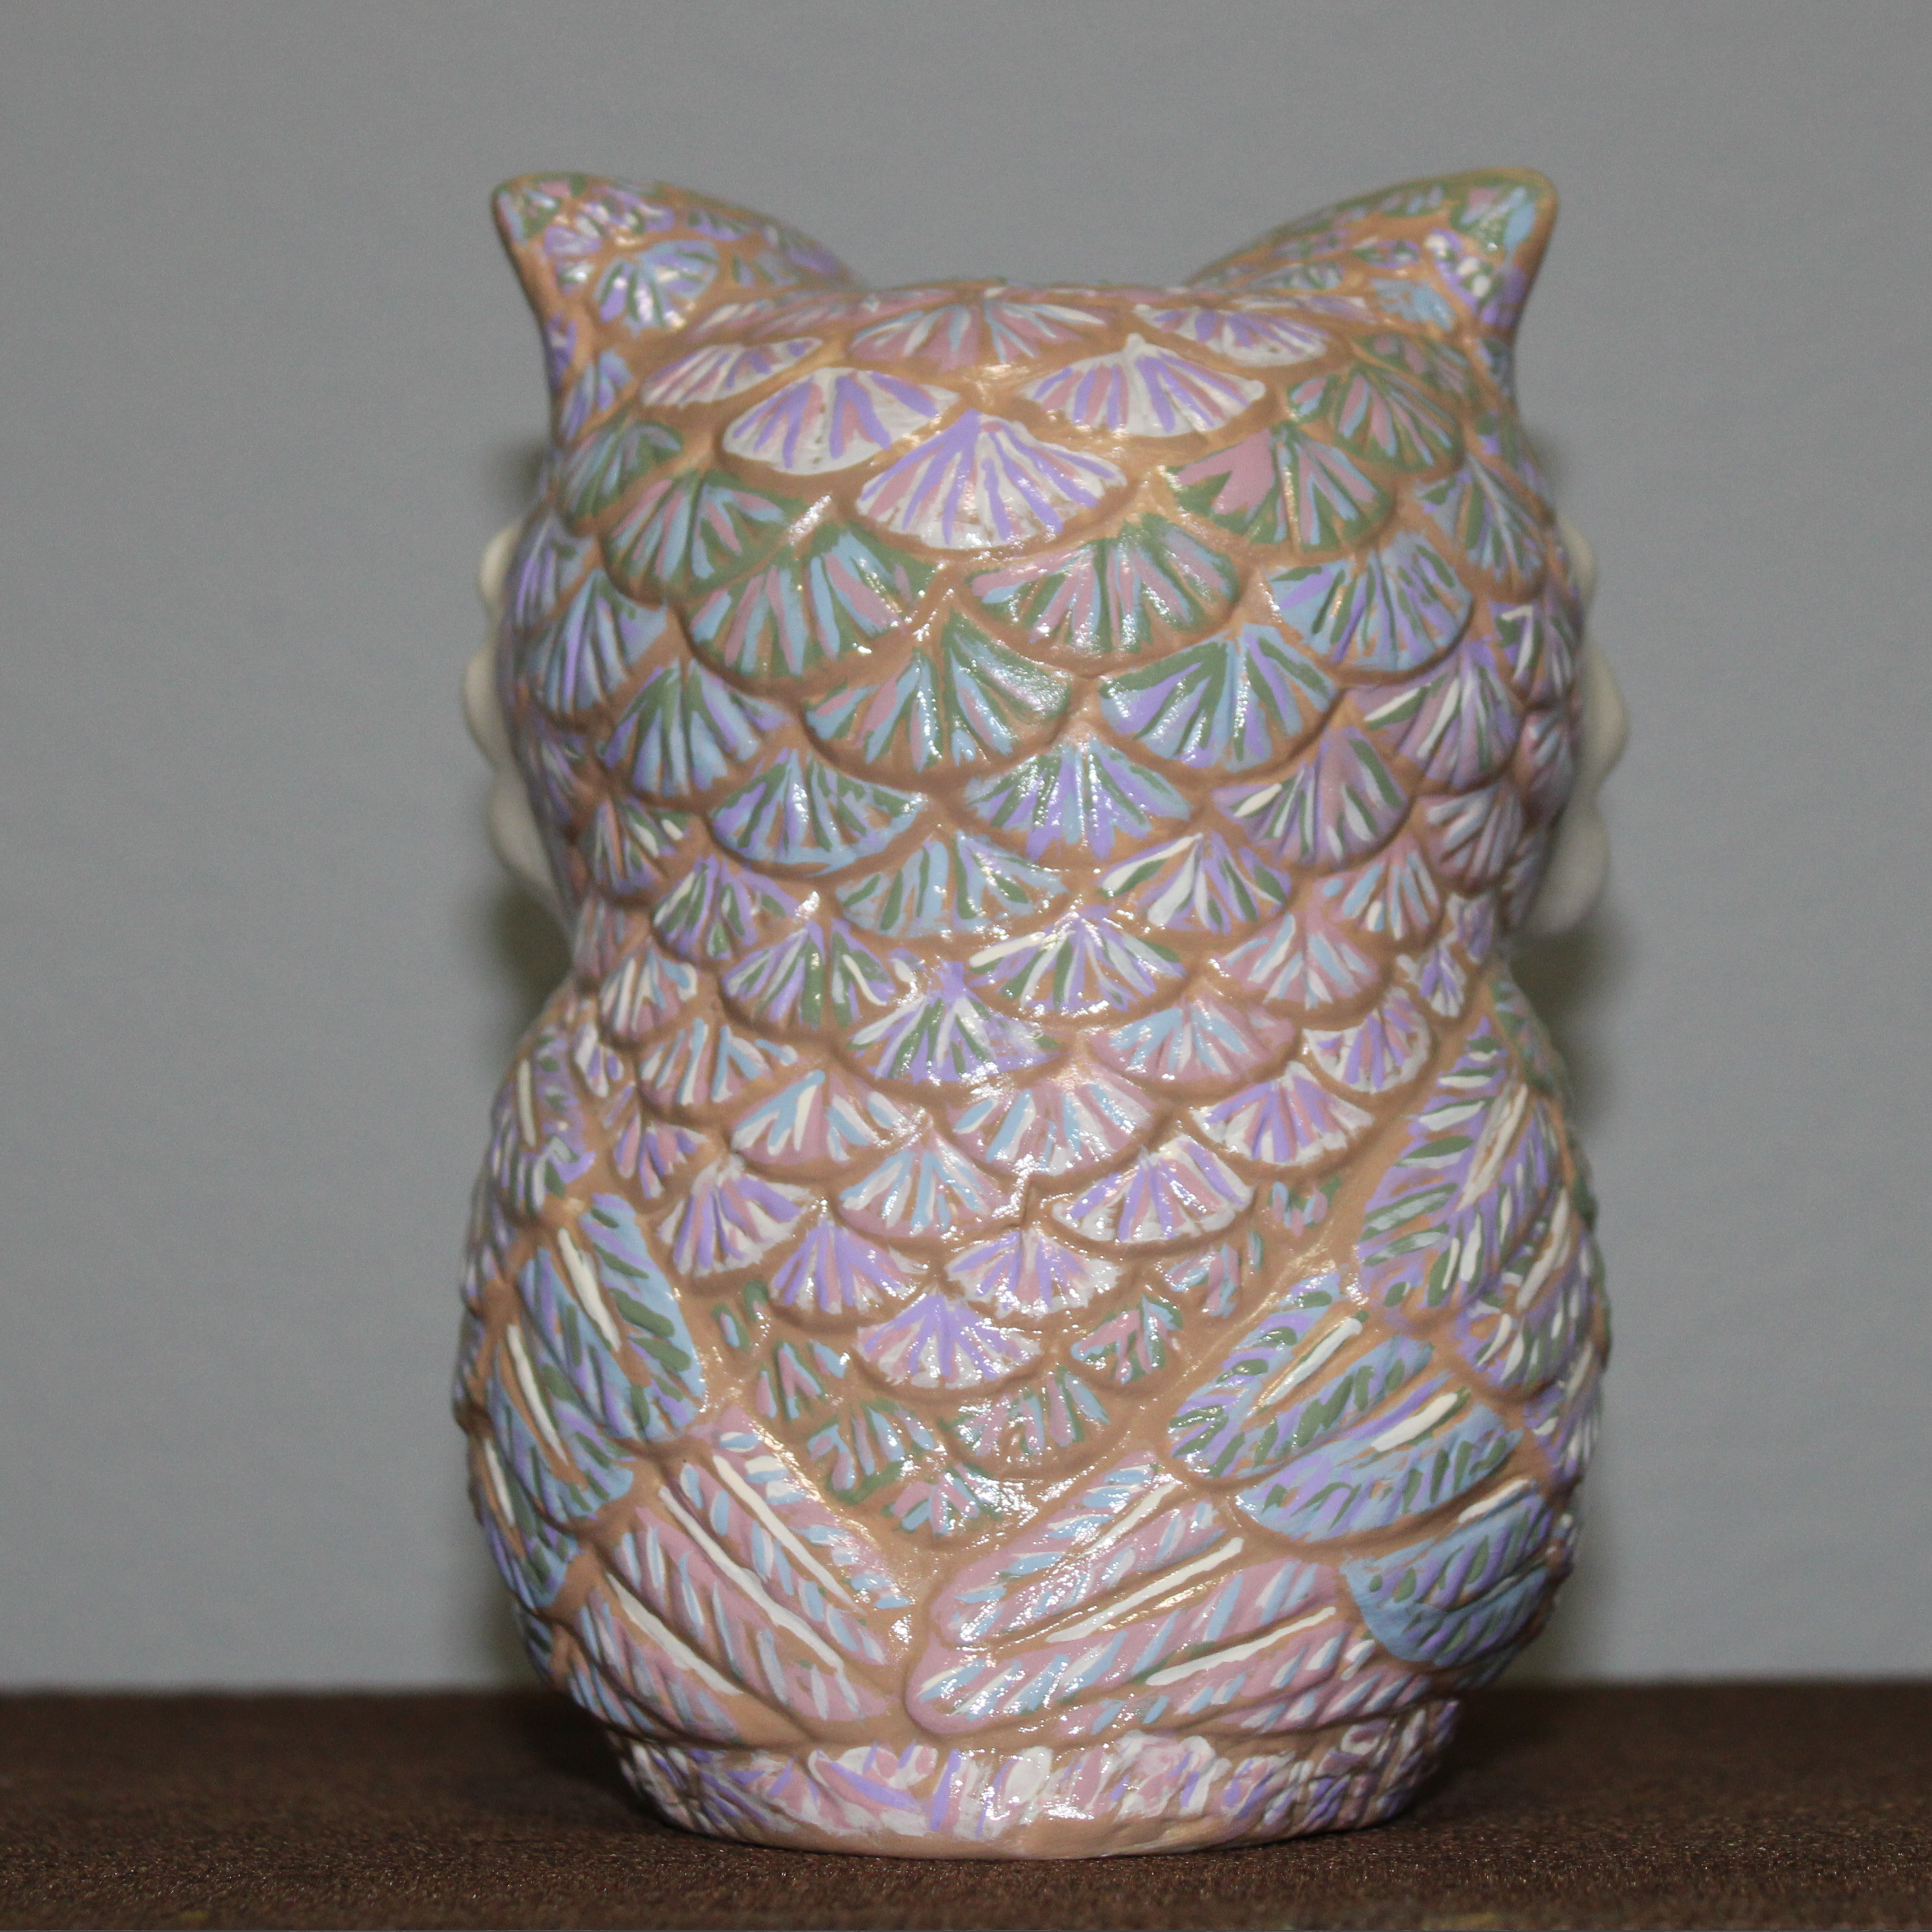
The next two piece were not in storage. They are the ones I found this year at Hobby Lobby. As you can tell I did not paint the owl in fall colors, instead I selected the colors that I used to paint the three angels. I did not paint the little white reflection in the eyes because after the gloss vanish was applied, it will allow the eyes to catch the light reflection.


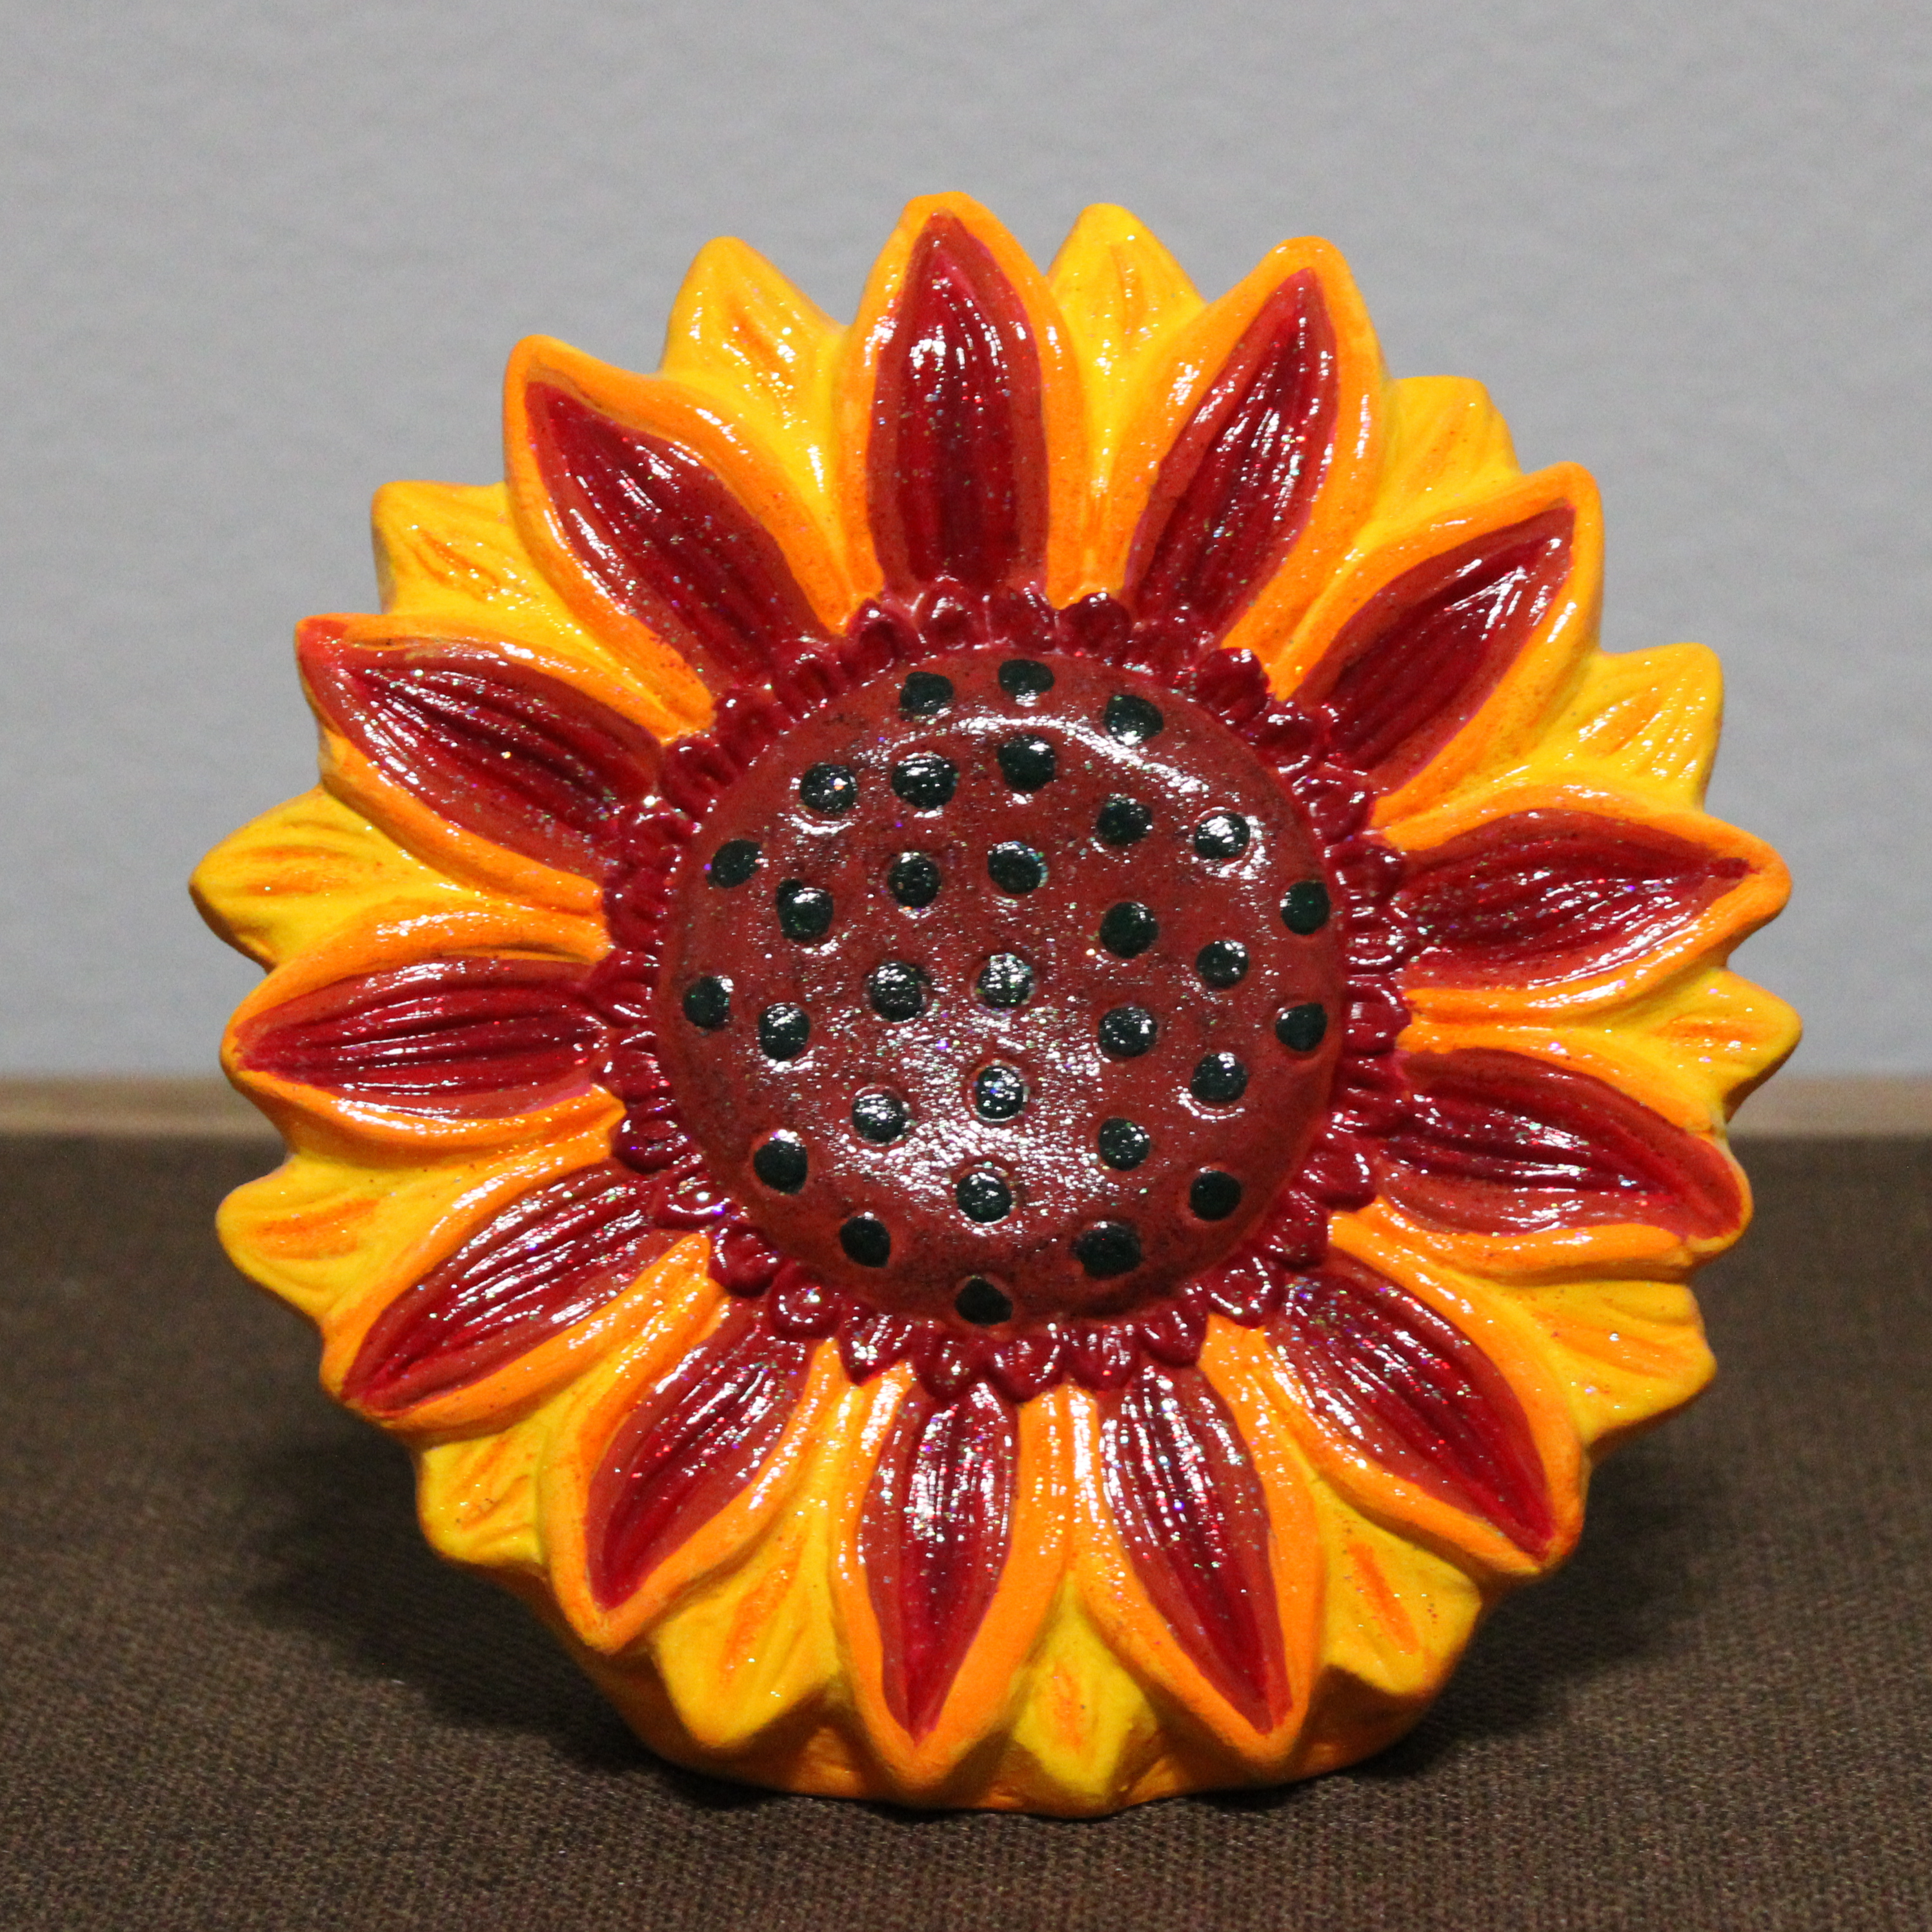
I did not want to paint the sunflower multiple shades of yellow. I wanted something a little different, so before I started painting it, I searched the internet to check if sunflowers did come in other colors besides yellow. I used multiple shades of red, orange, multiple shades of yellow, and dark green. After I was satisfied with the colors, I used yellow, red, and orange fine glitter paint. Then I used a sparkle glaze (glitter glaze) over the flower to give it a sparkle. To finish, I used gloss varnish.