I spent August and September painting a few items I had in storage, but then I went to Hobby Lobby and found two other items in their Fall collection that I just had to paint.
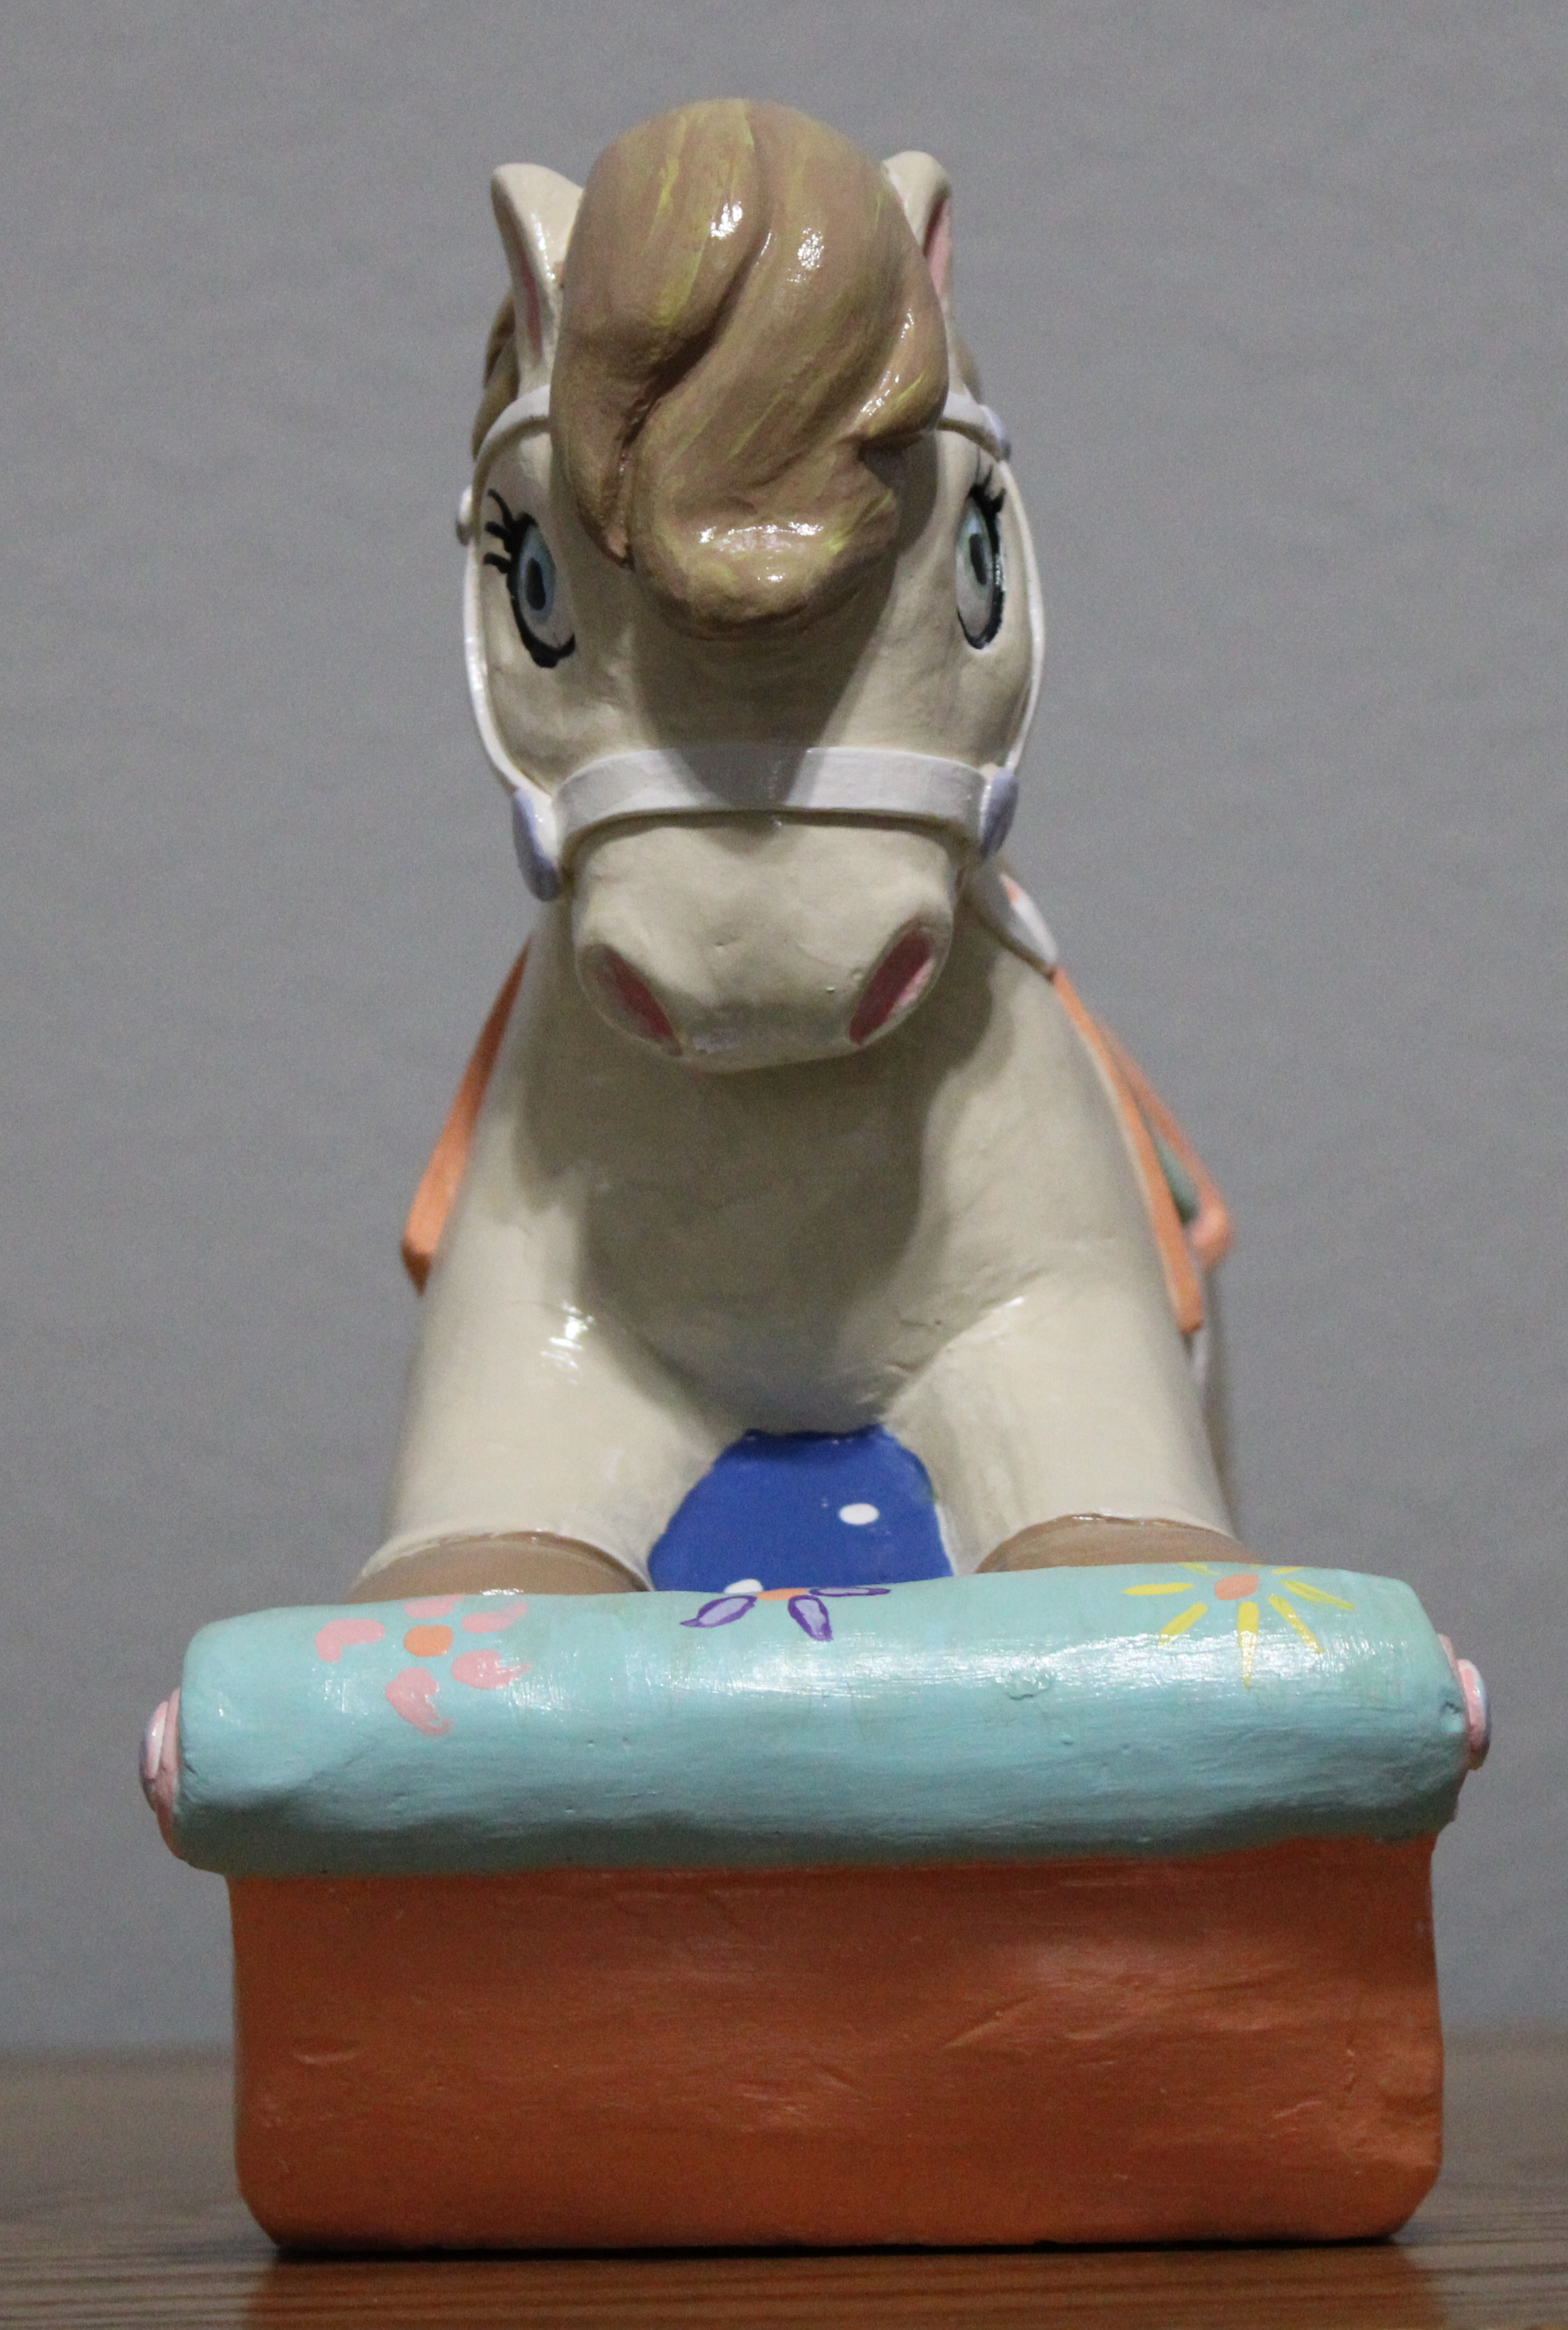
I have seventeen nieces and nephews. I purchased the horse to paint as a potential gift for one of them. It did not get painted, until now.
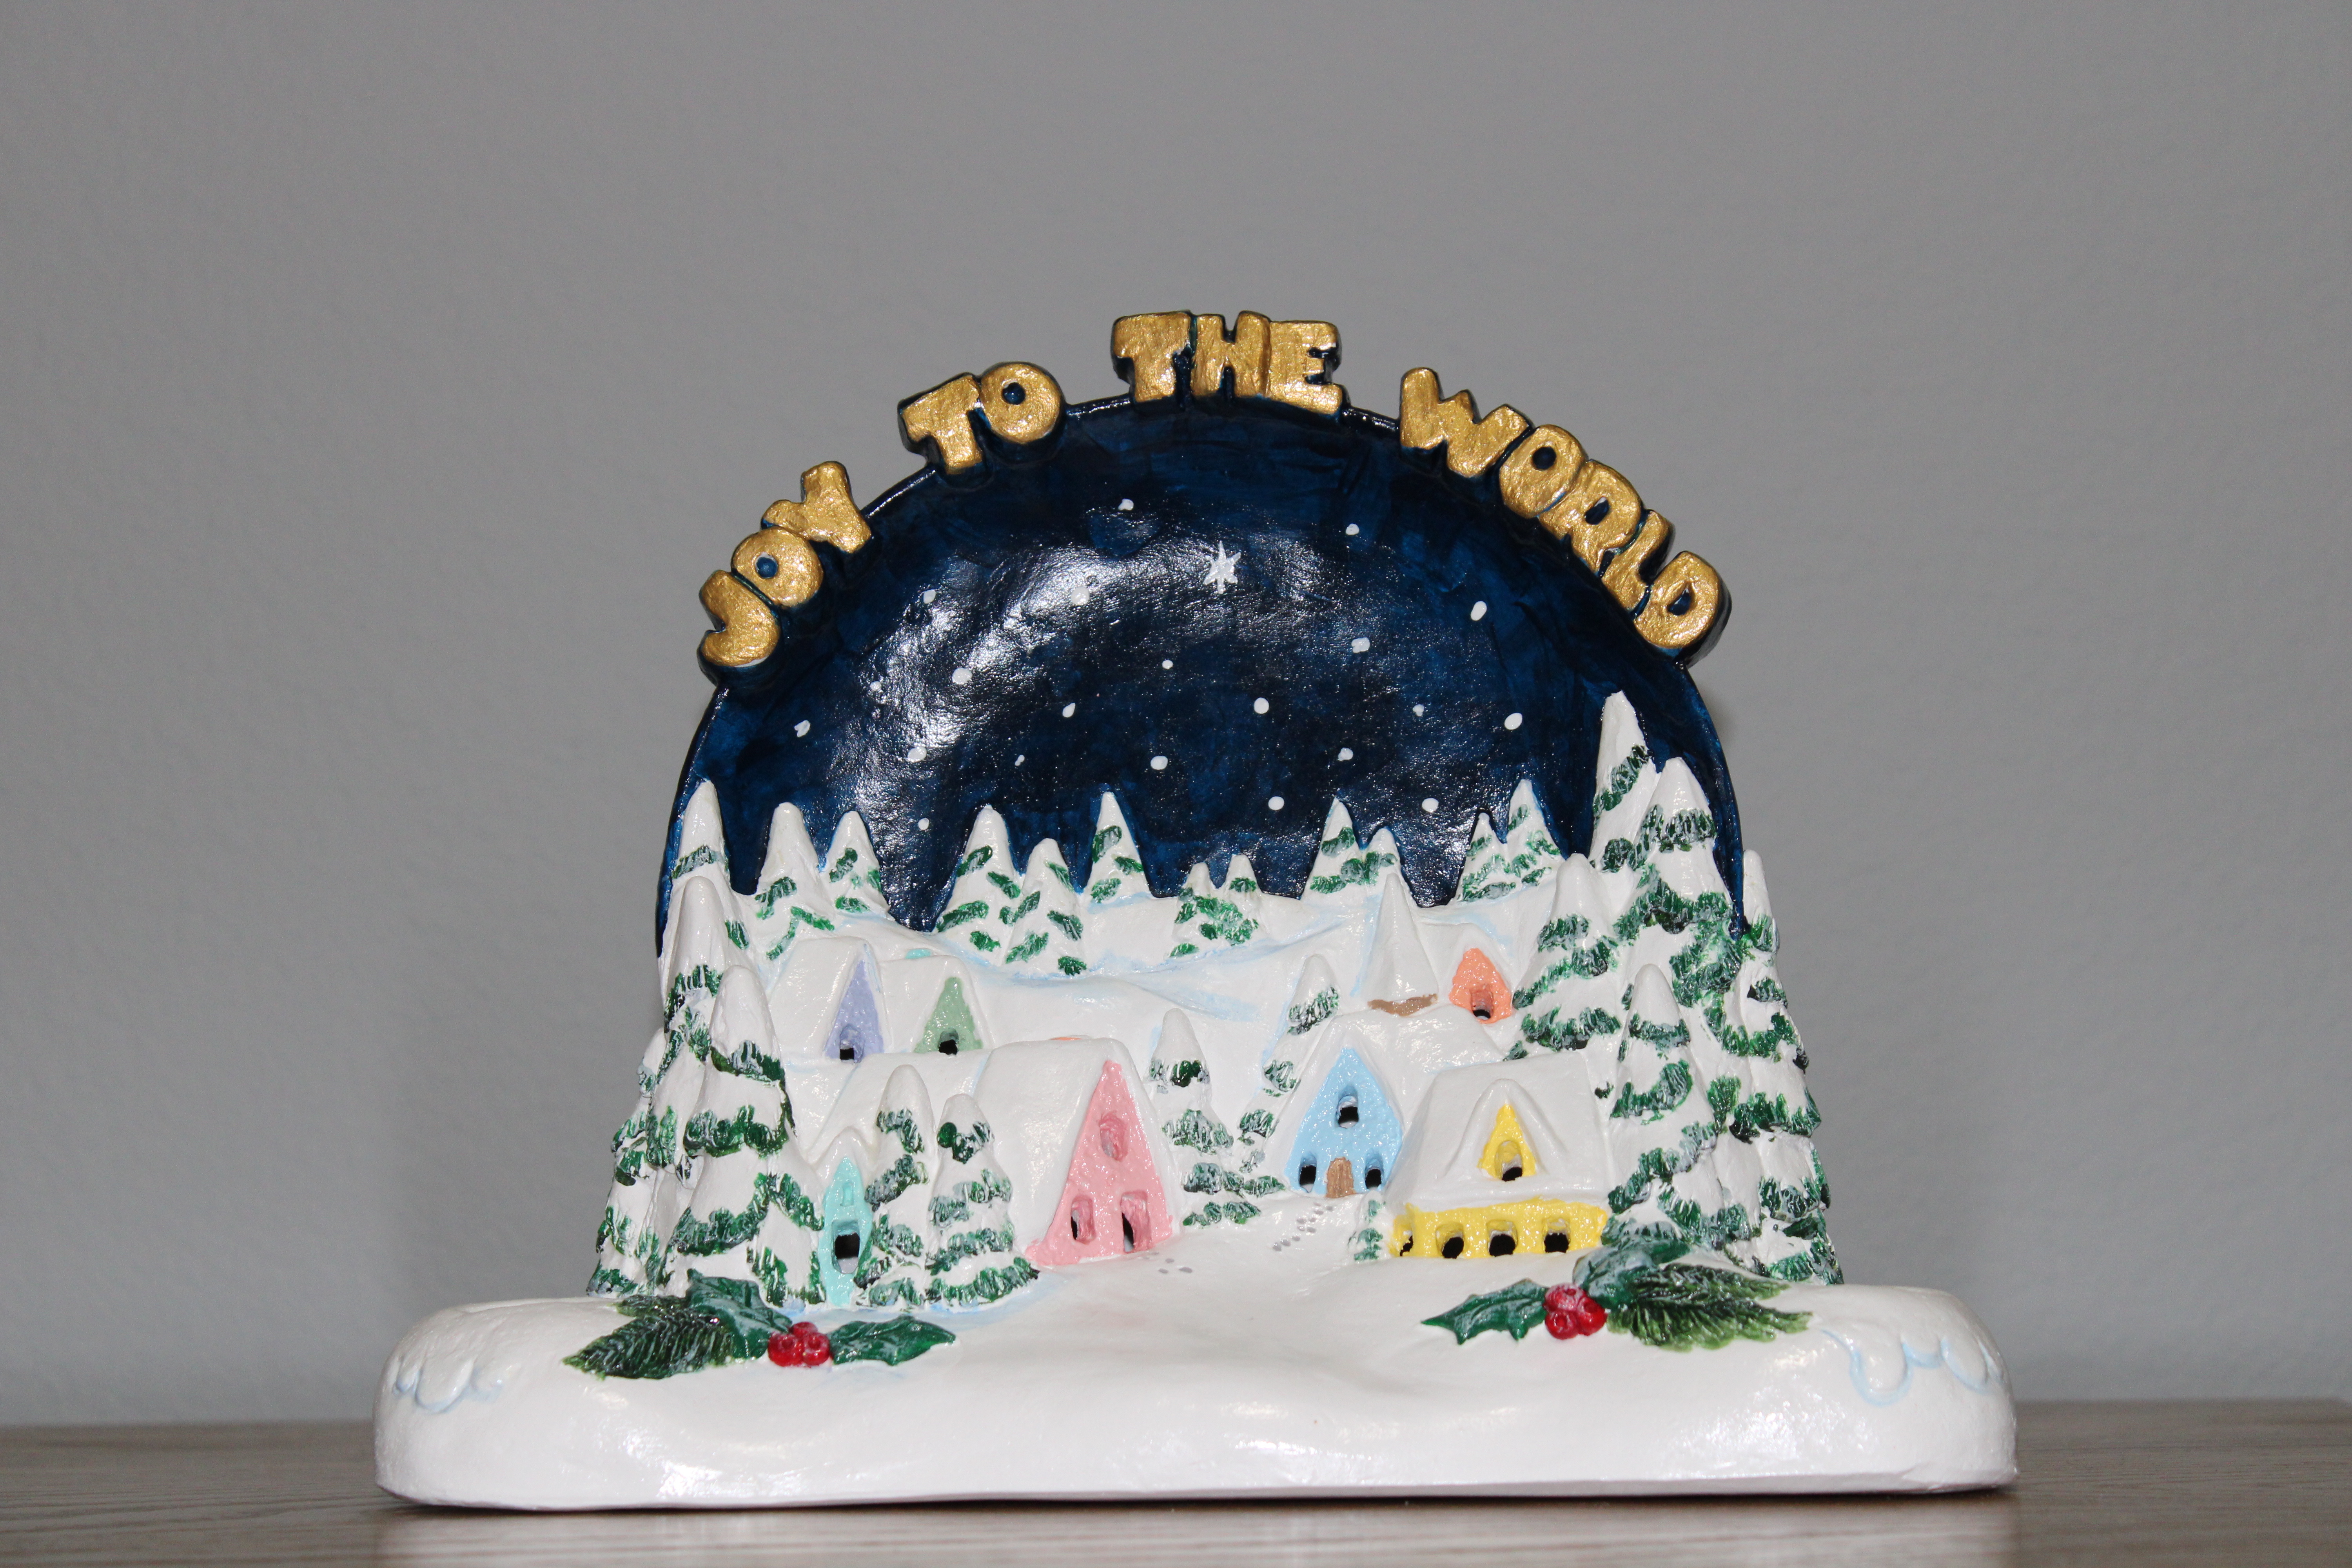
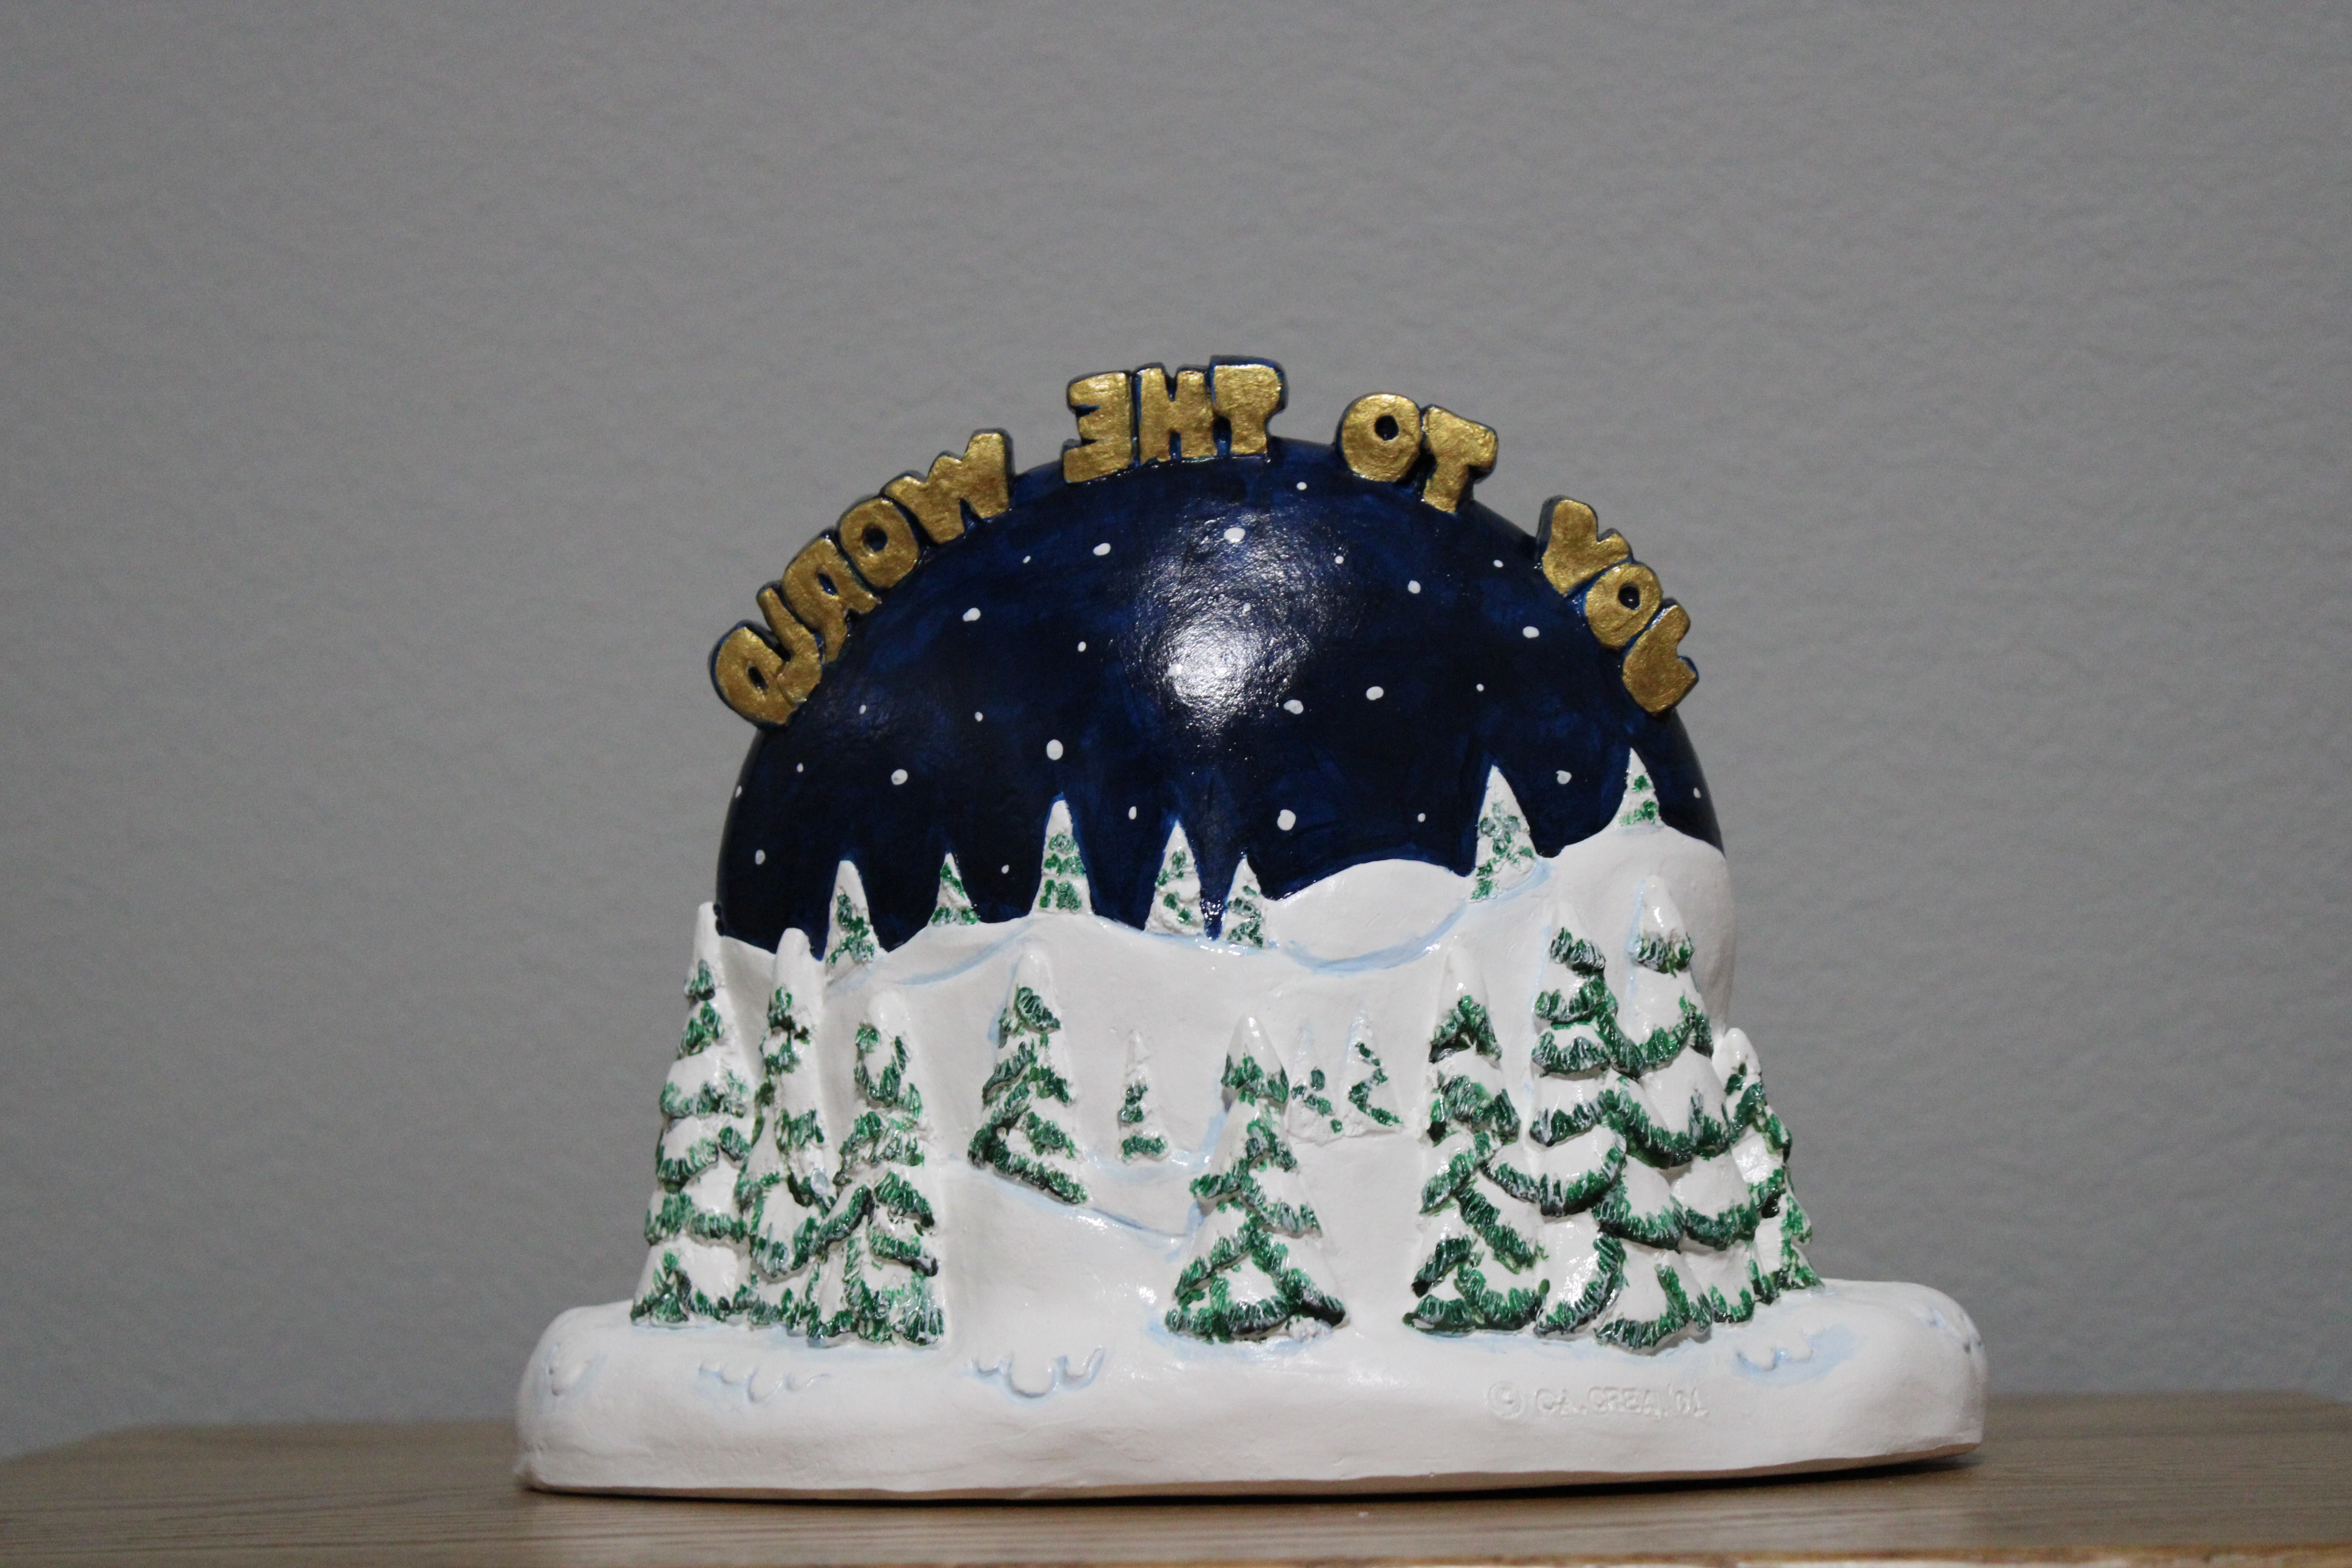
Its Christmas Time! No, it’s not! I like houses and a nice little Christmas Village to paint was the next item I selected; it was in stored for years. This piece is designed to hold candles.
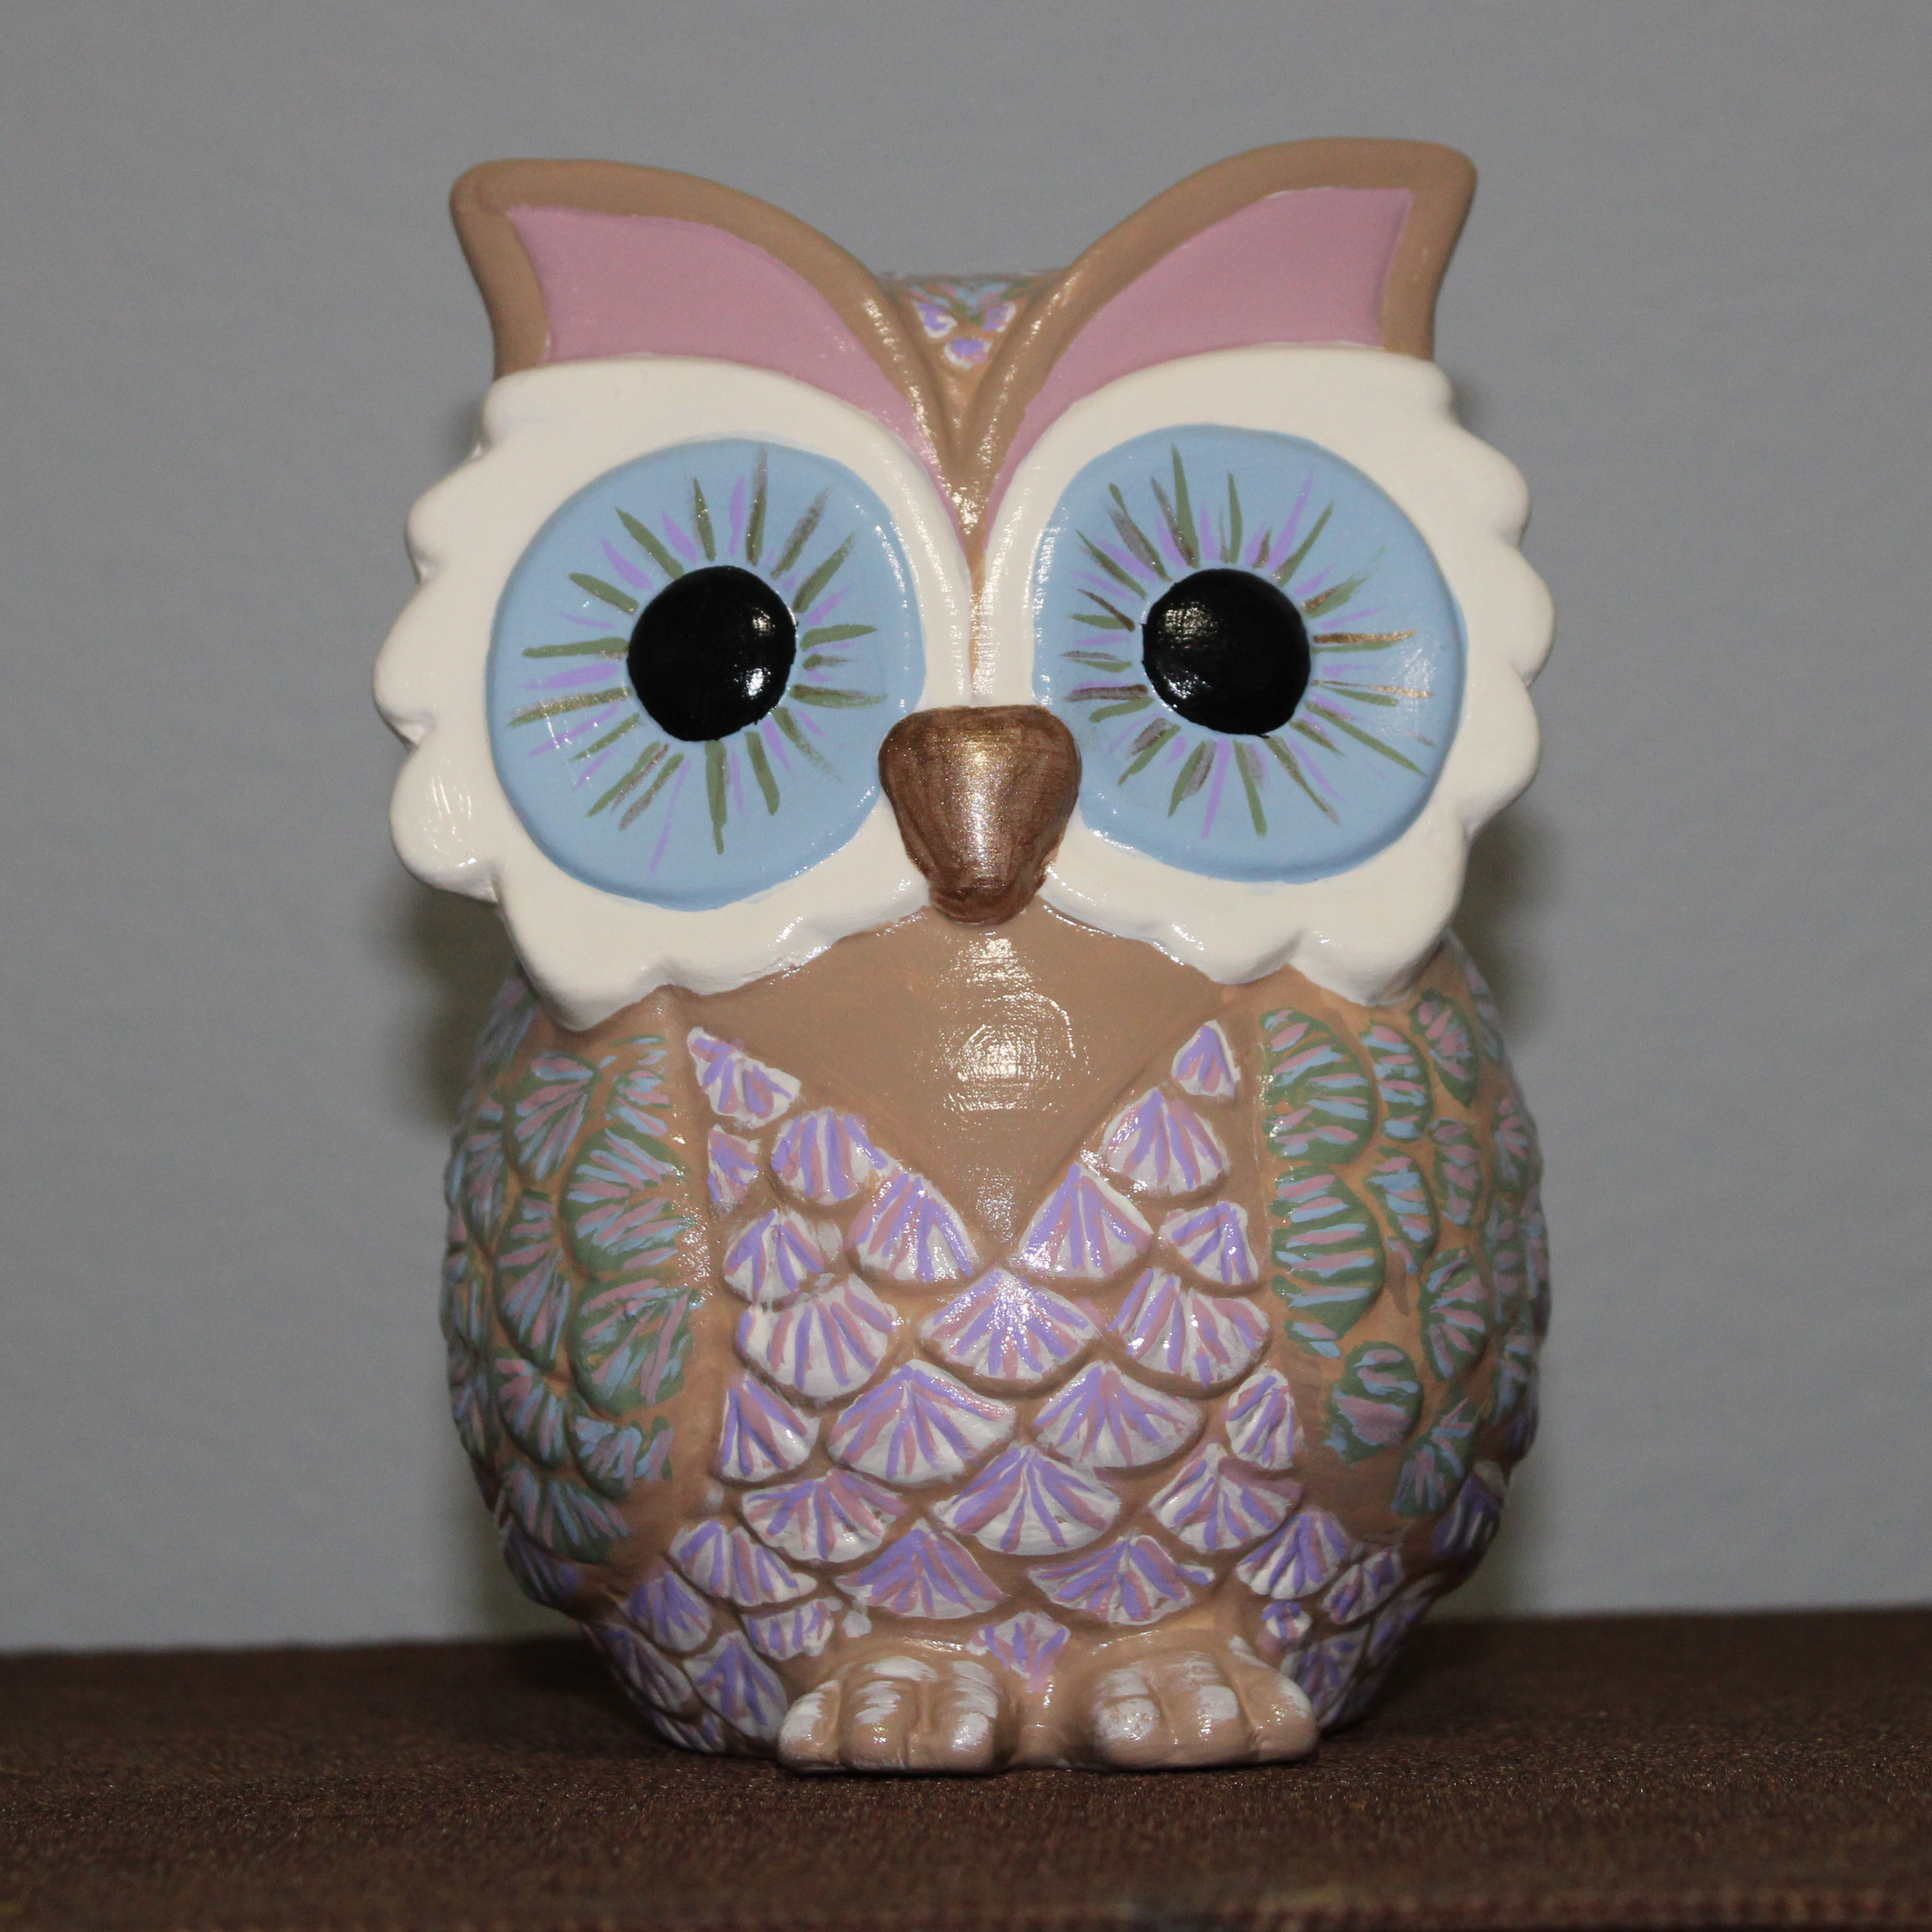
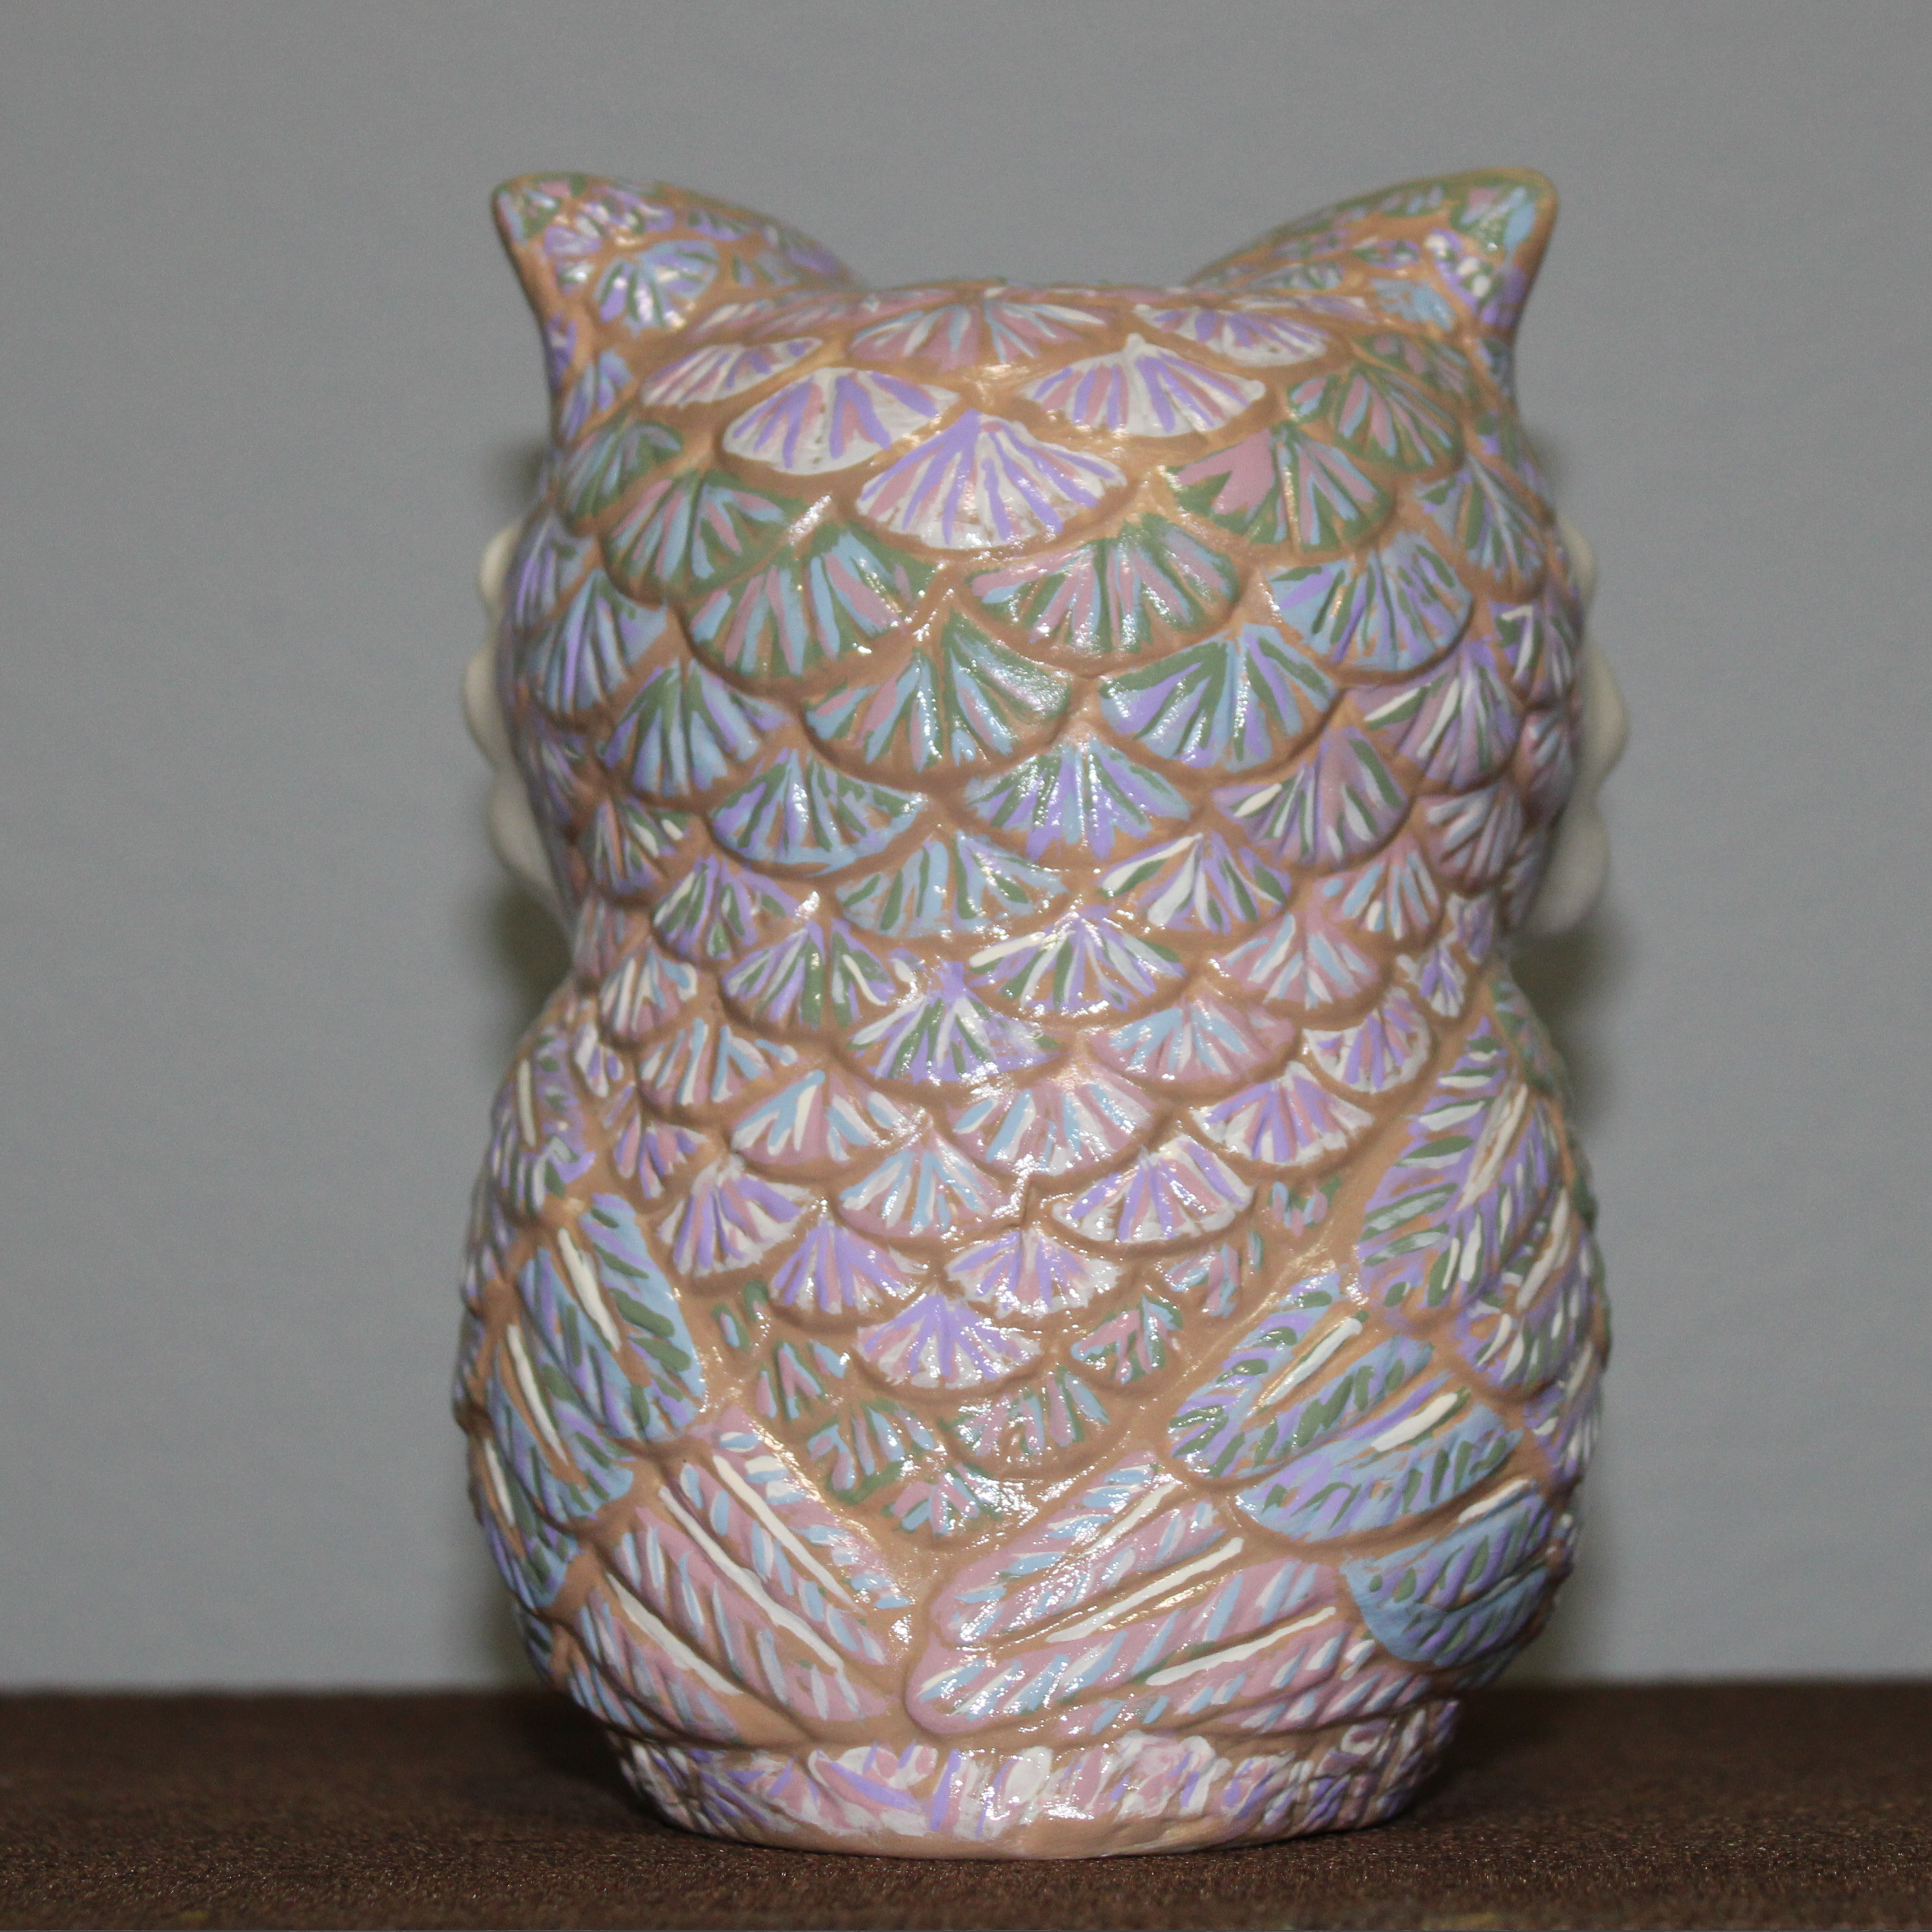
The next two piece were not in storage. They are the ones I found this year at Hobby Lobby. As you can tell I did not paint the owl in fall colors, instead I selected the colors that I used to paint the three angels. I did not paint the little white reflection in the eyes because after the gloss vanish was applied, it will allow the eyes to catch the light reflection.
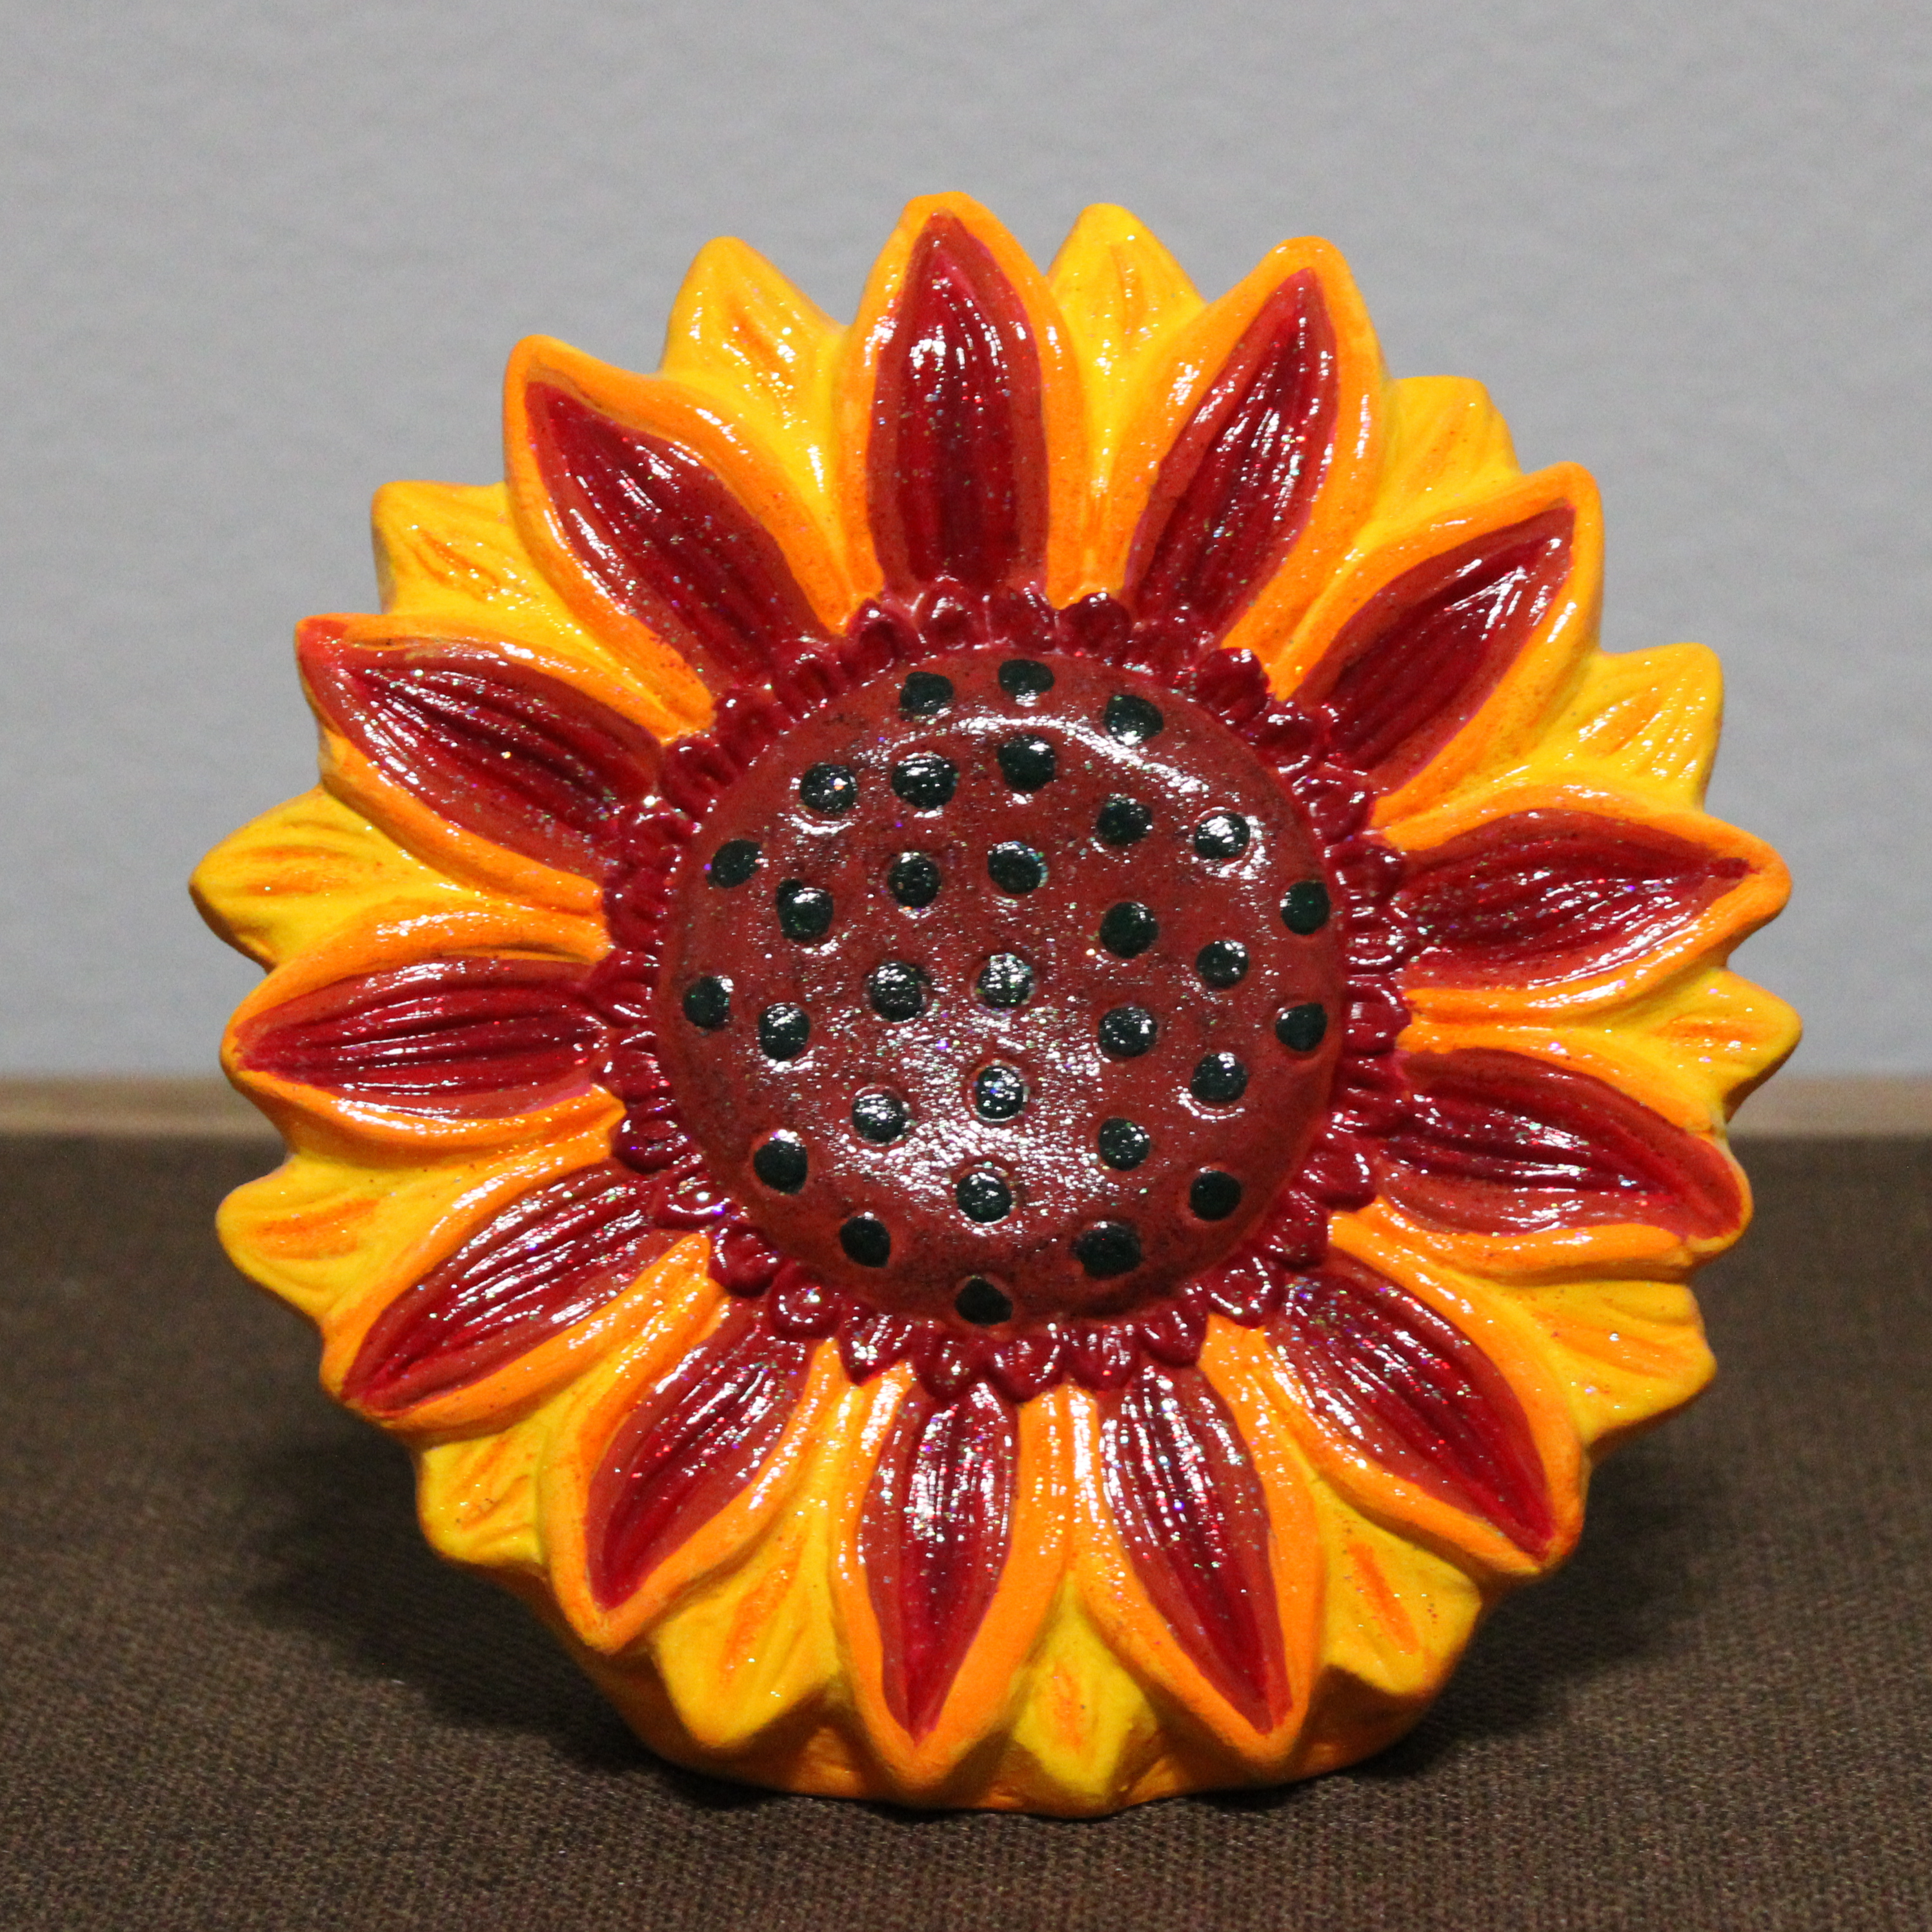
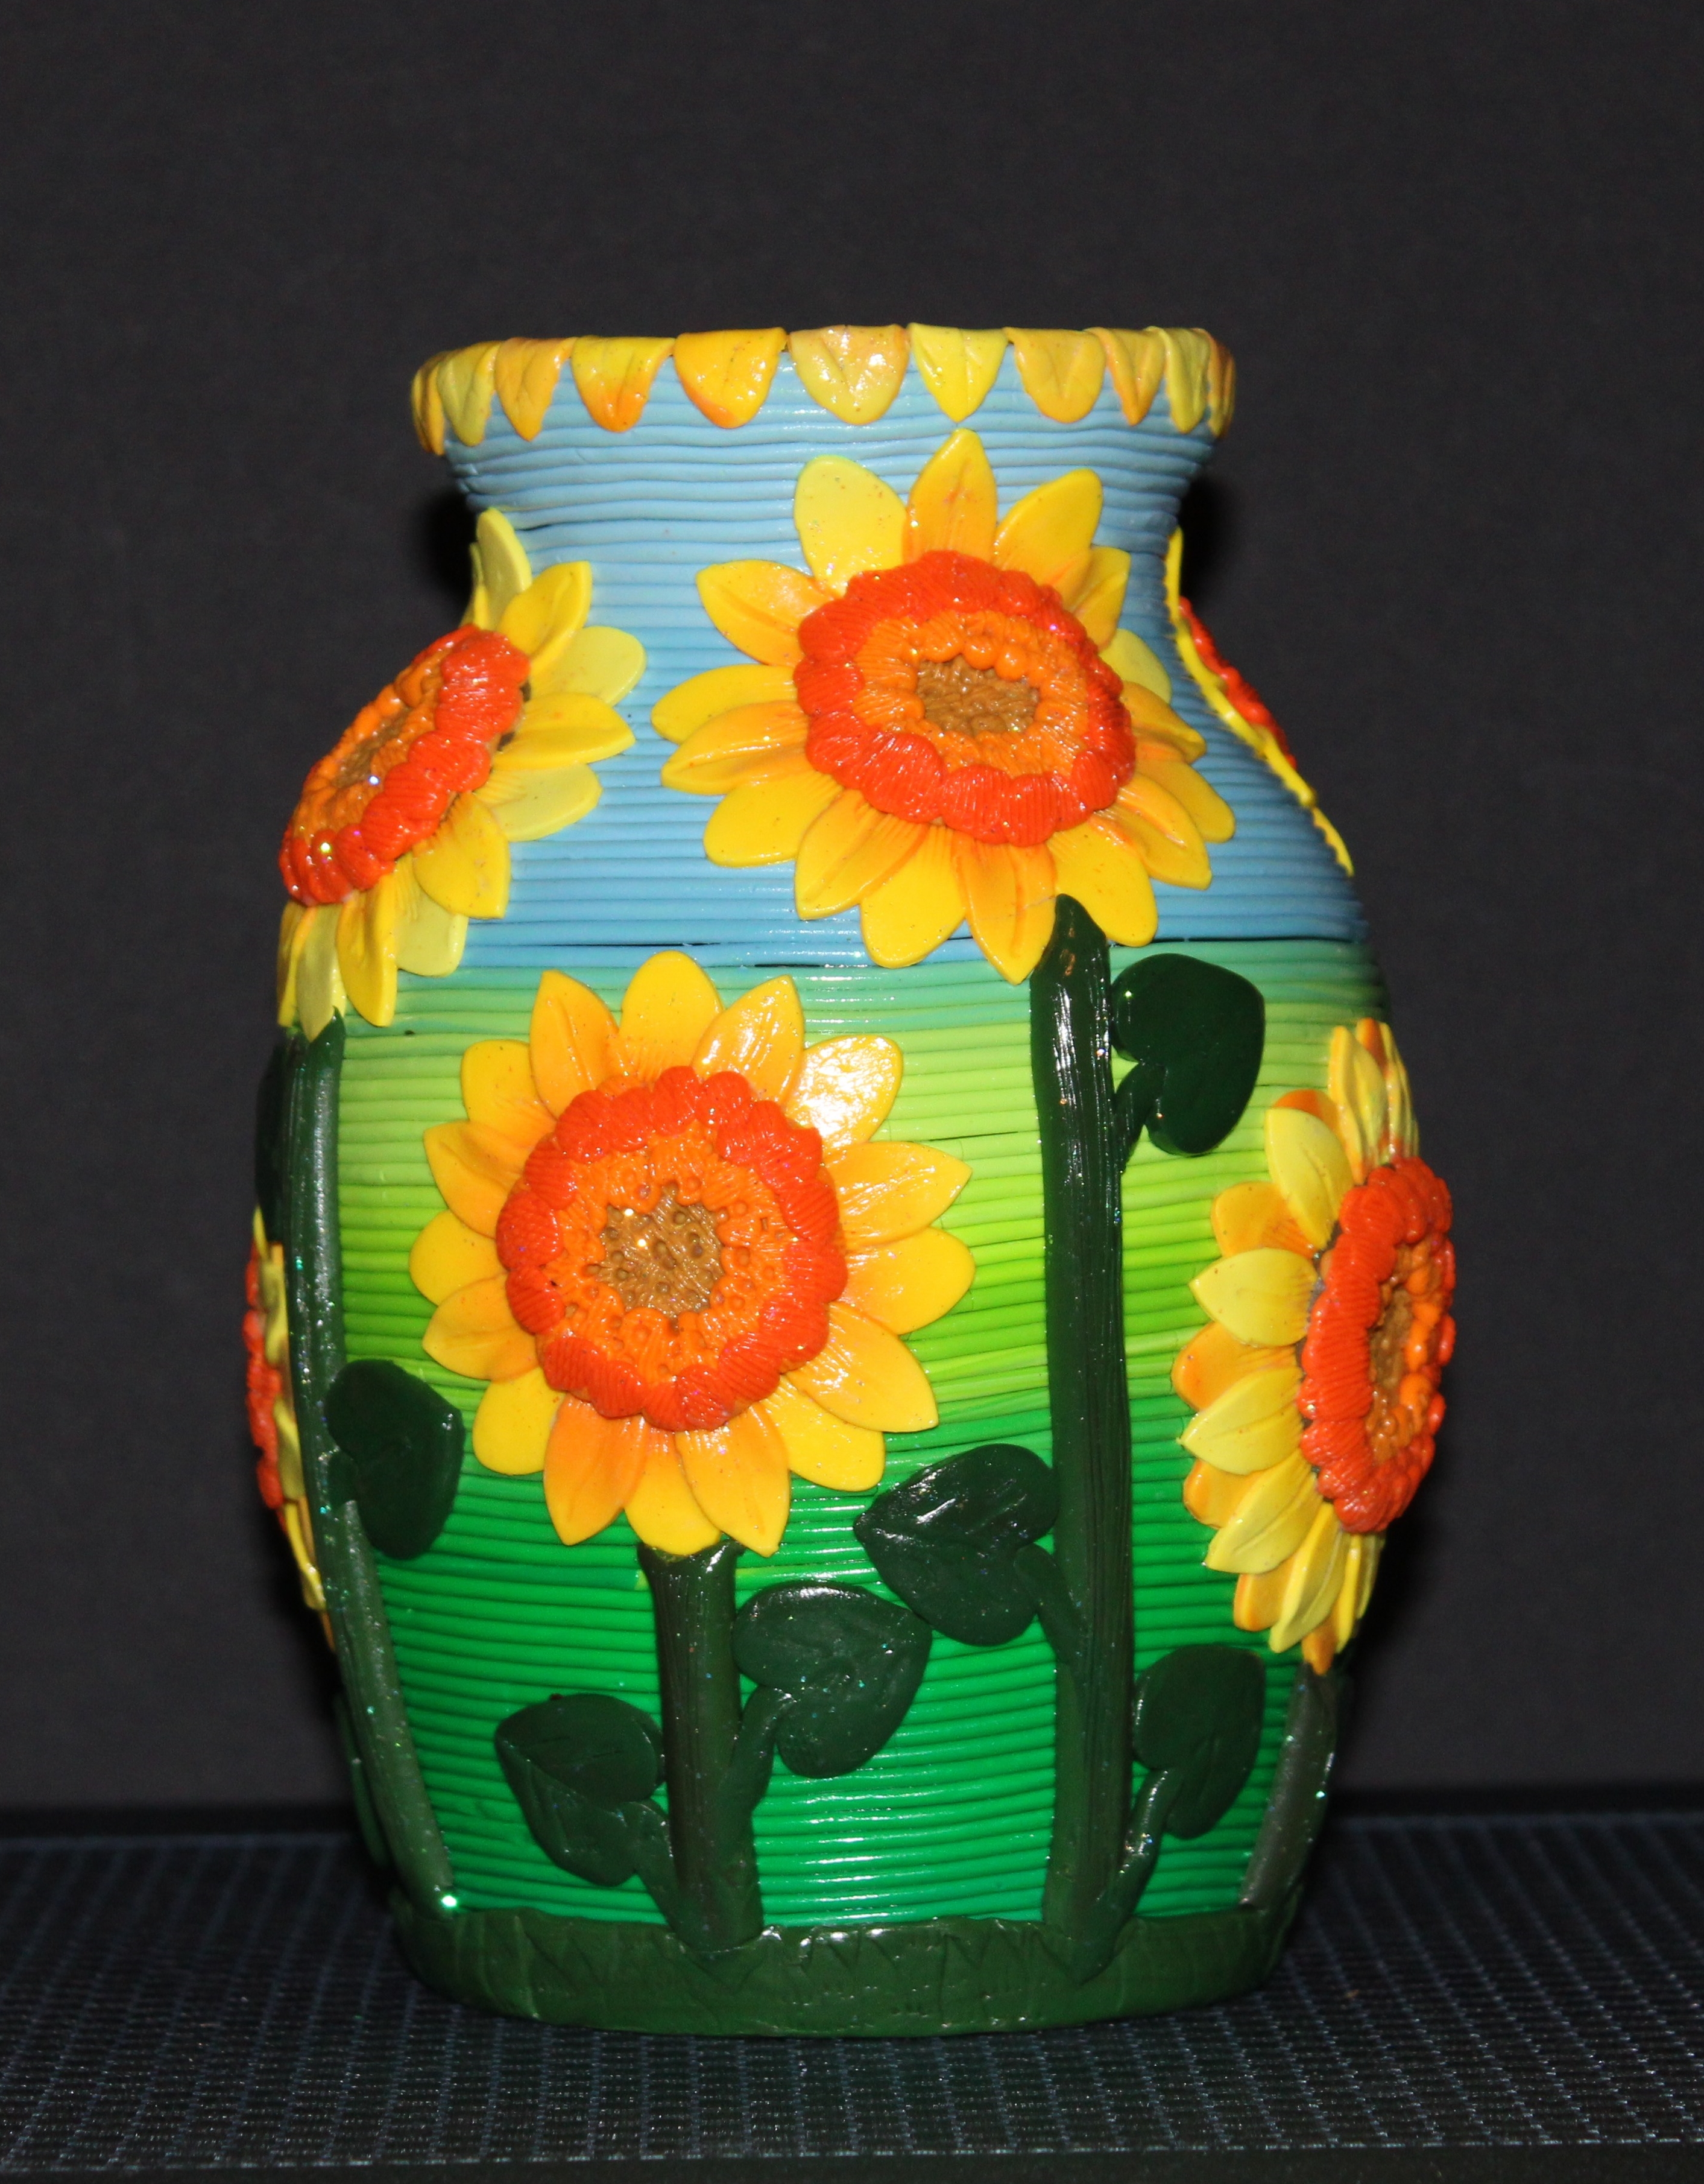
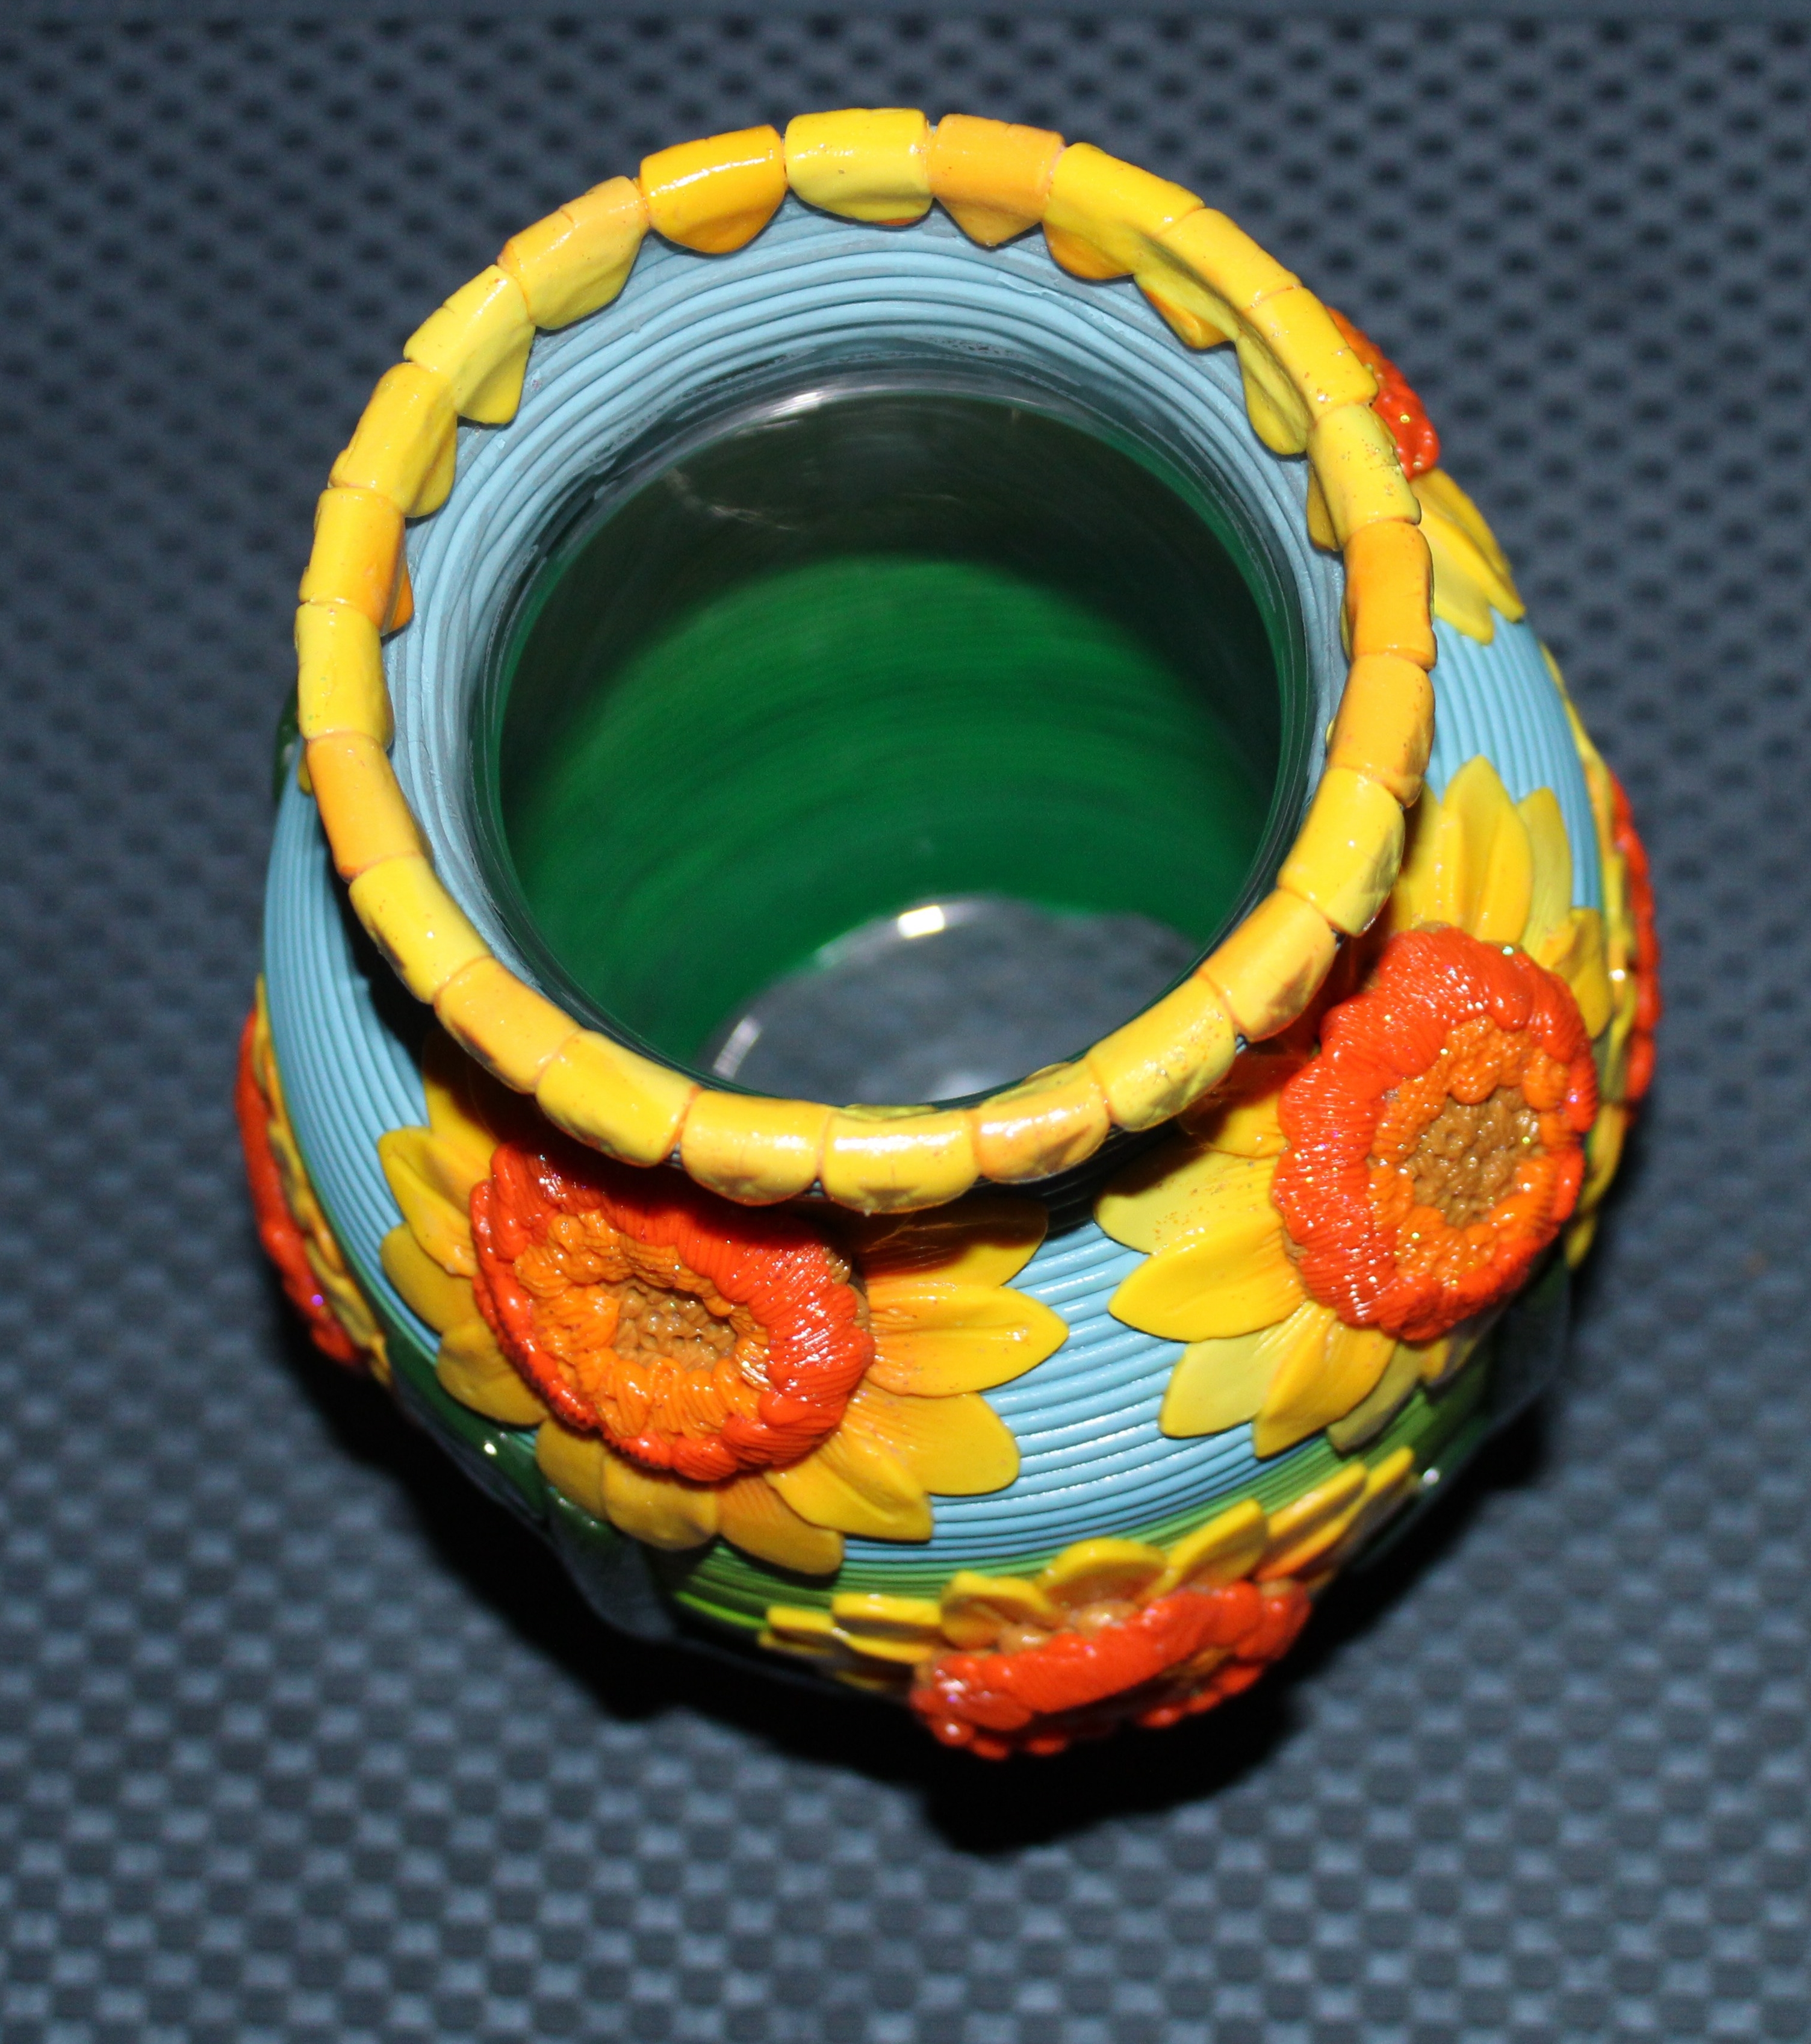
I did not want to paint the sunflower multiple shades of yellow. I wanted something a little different, so before I started painting it, I searched the internet to check if sunflowers did come in other colors besides yellow. I used multiple shades of red, orange, multiple shades of yellow, and dark green. After I was satisfied with the colors, I used yellow, red, and orange fine glitter paint. Then I used a sparkle glaze (glitter glaze) over the flower to give it a sparkle. To finish, I used gloss varnish.
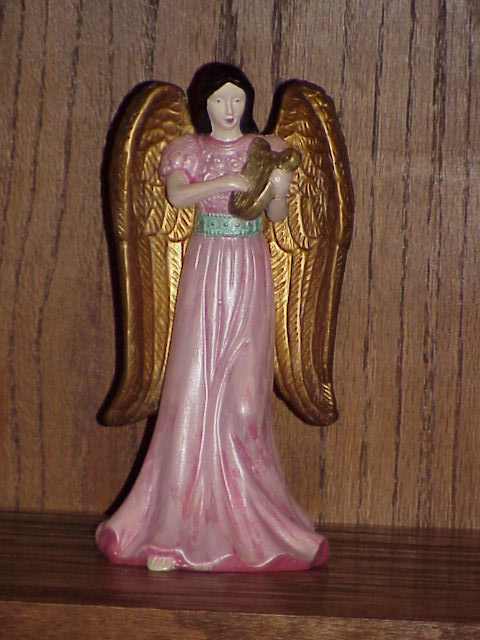
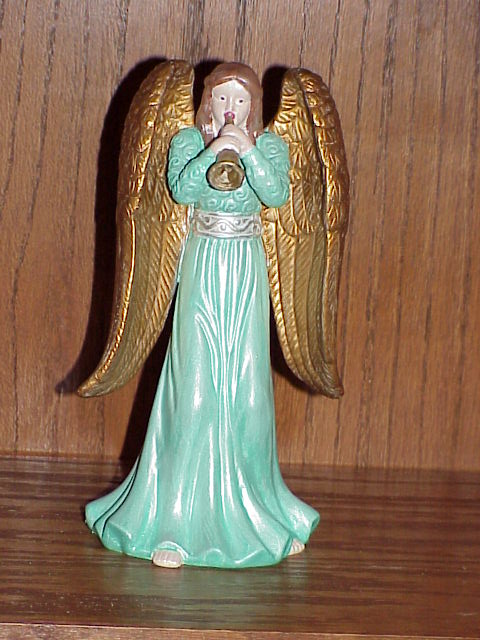
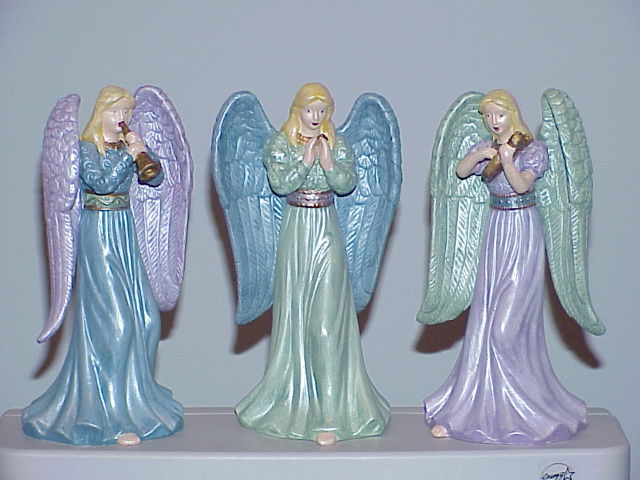
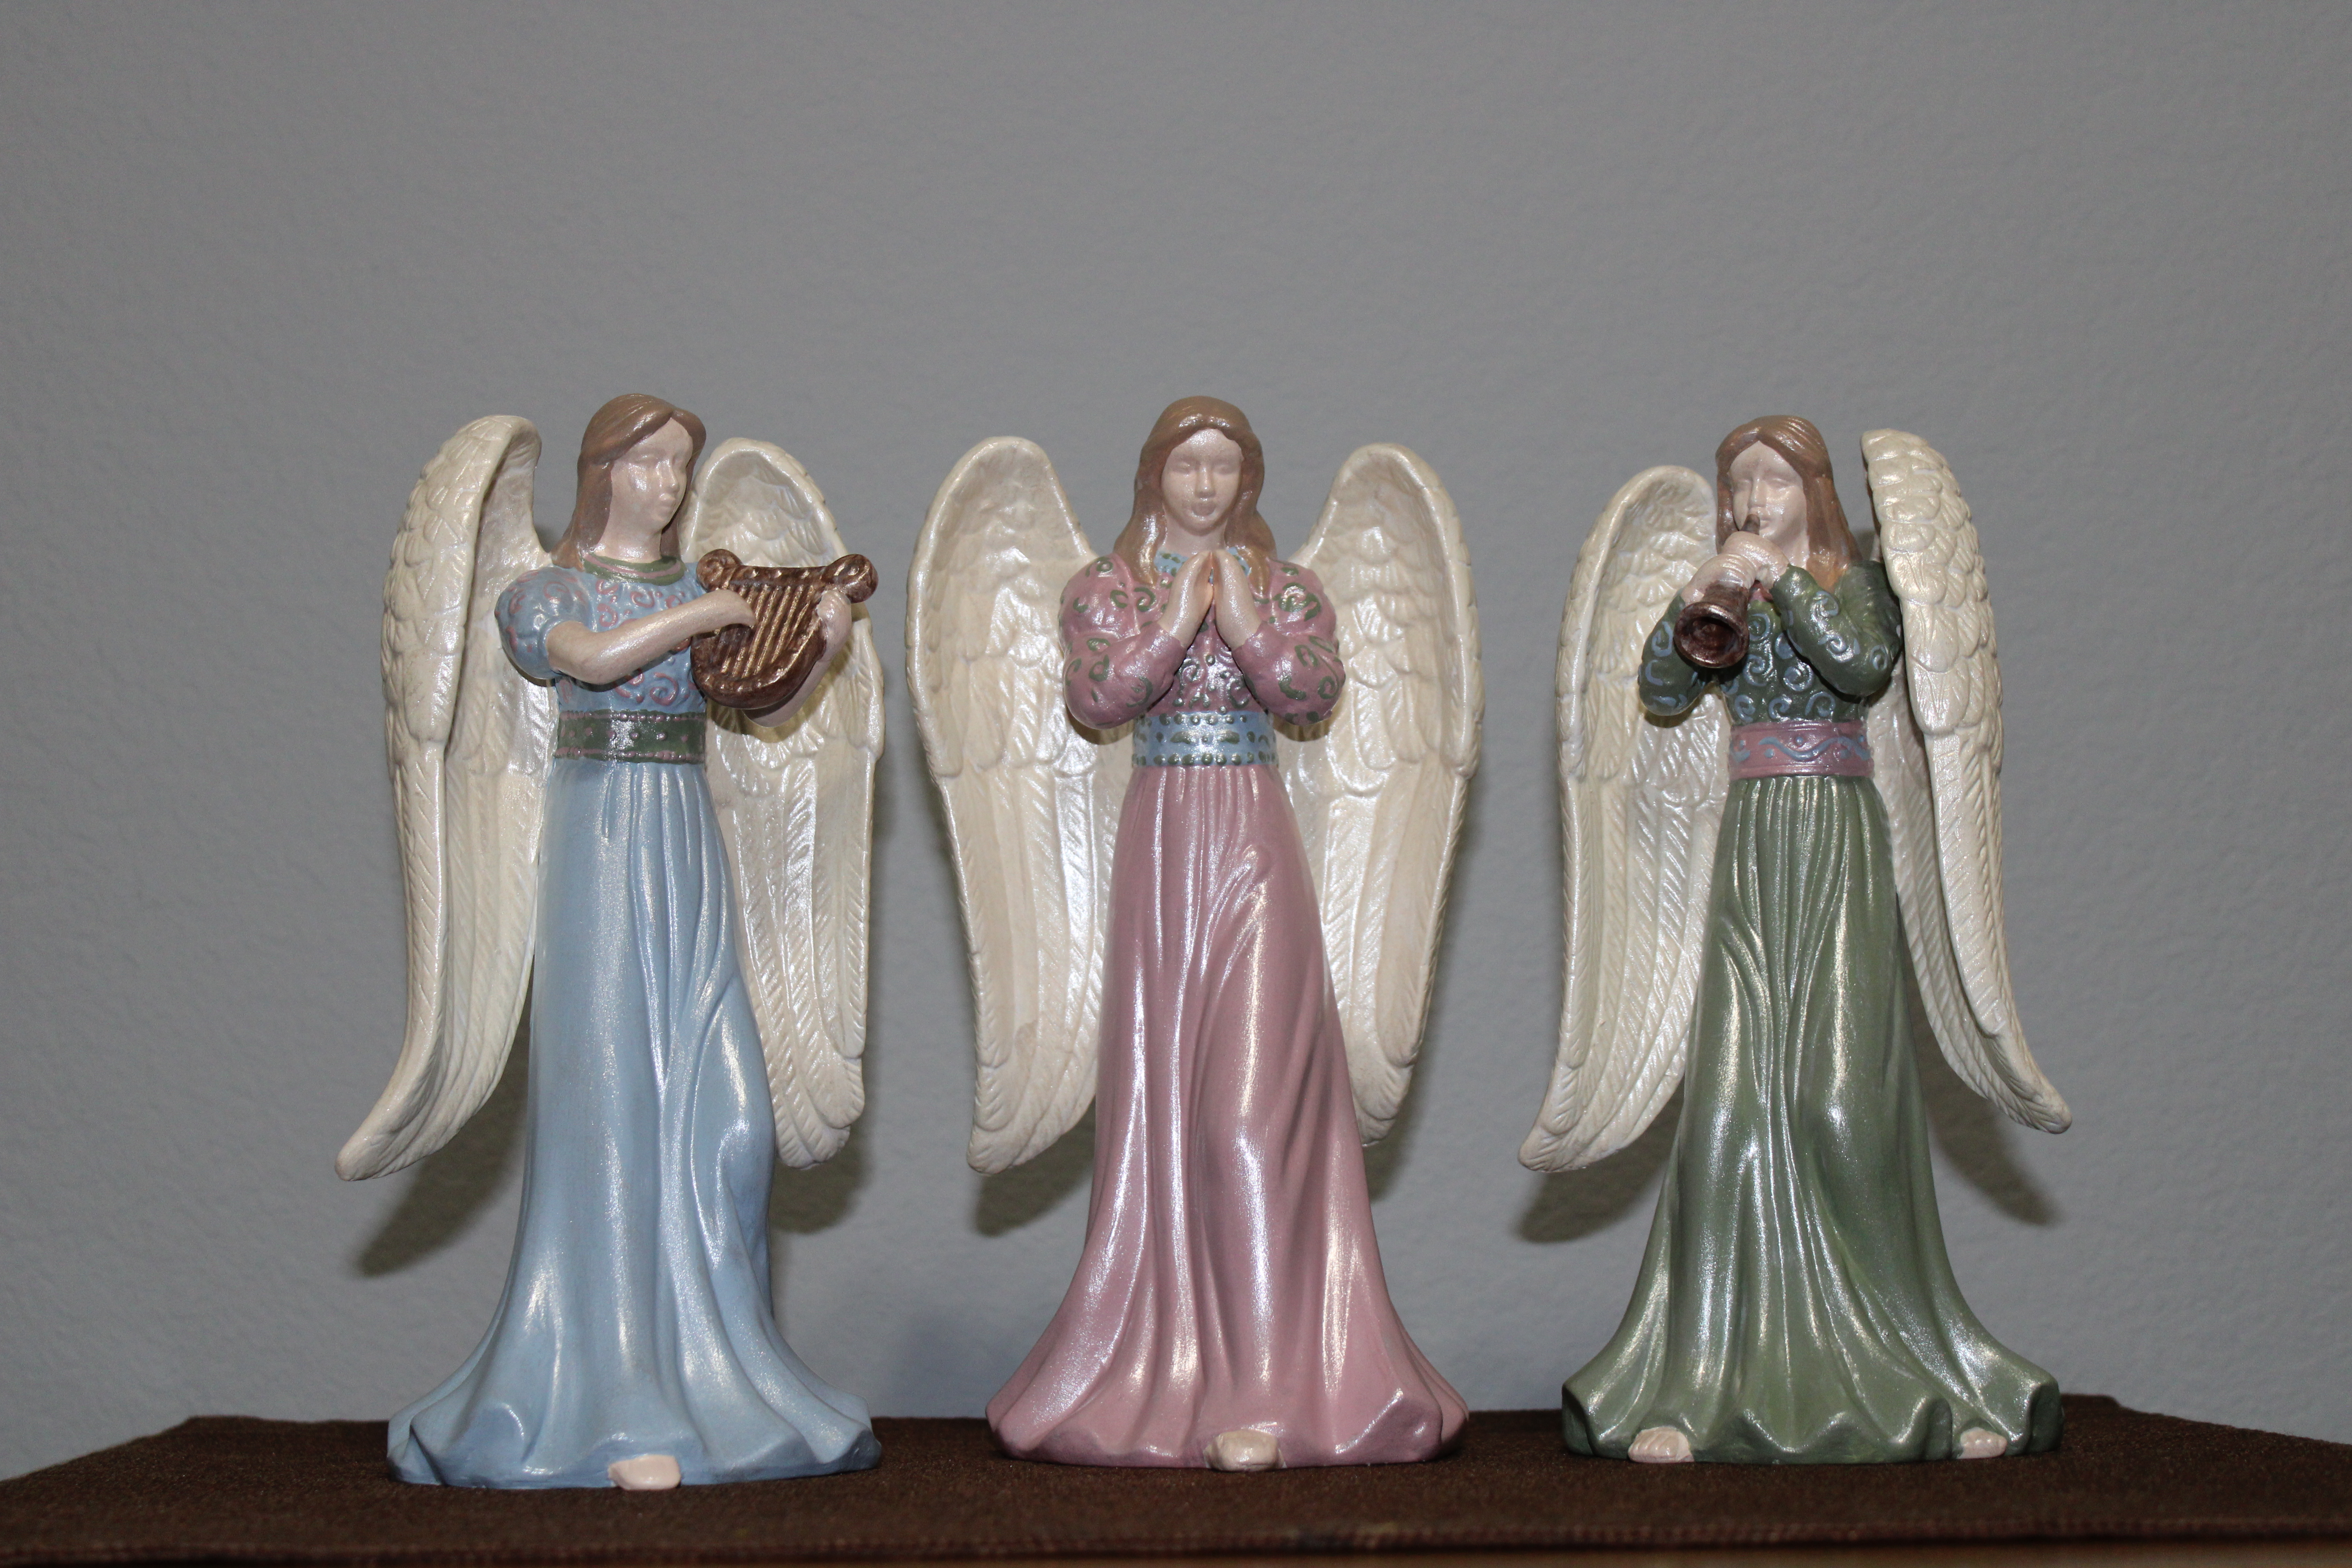
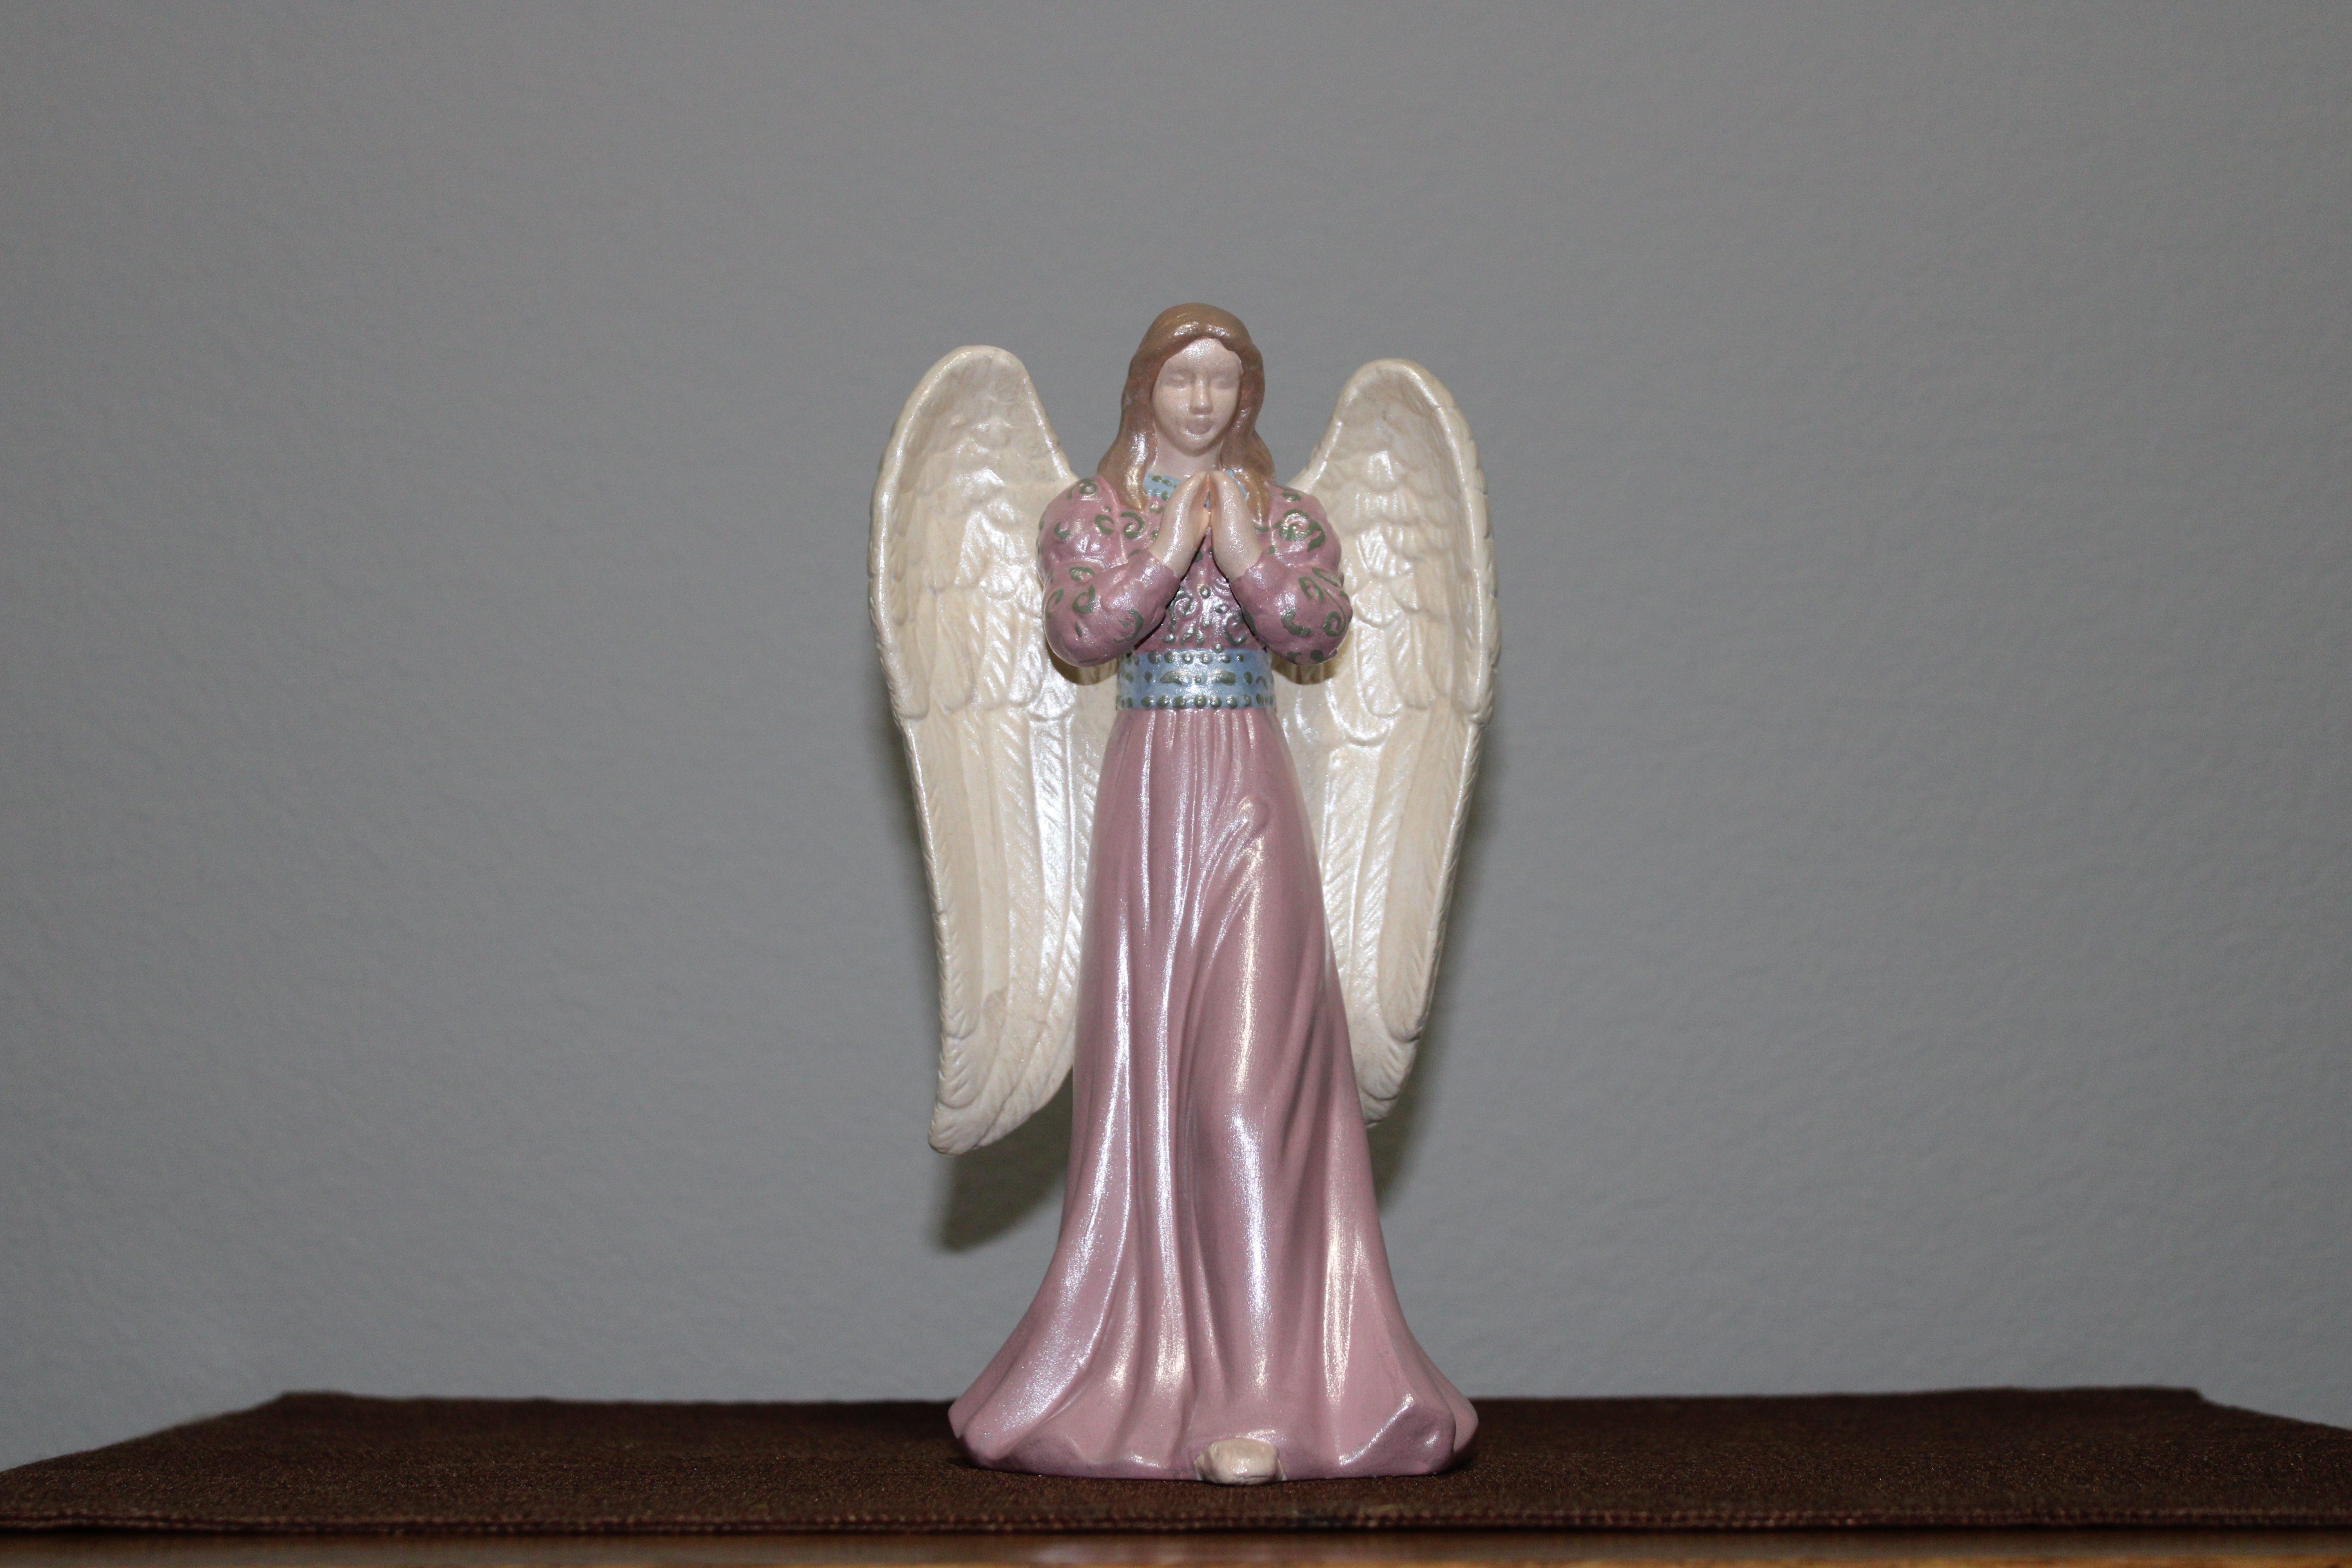
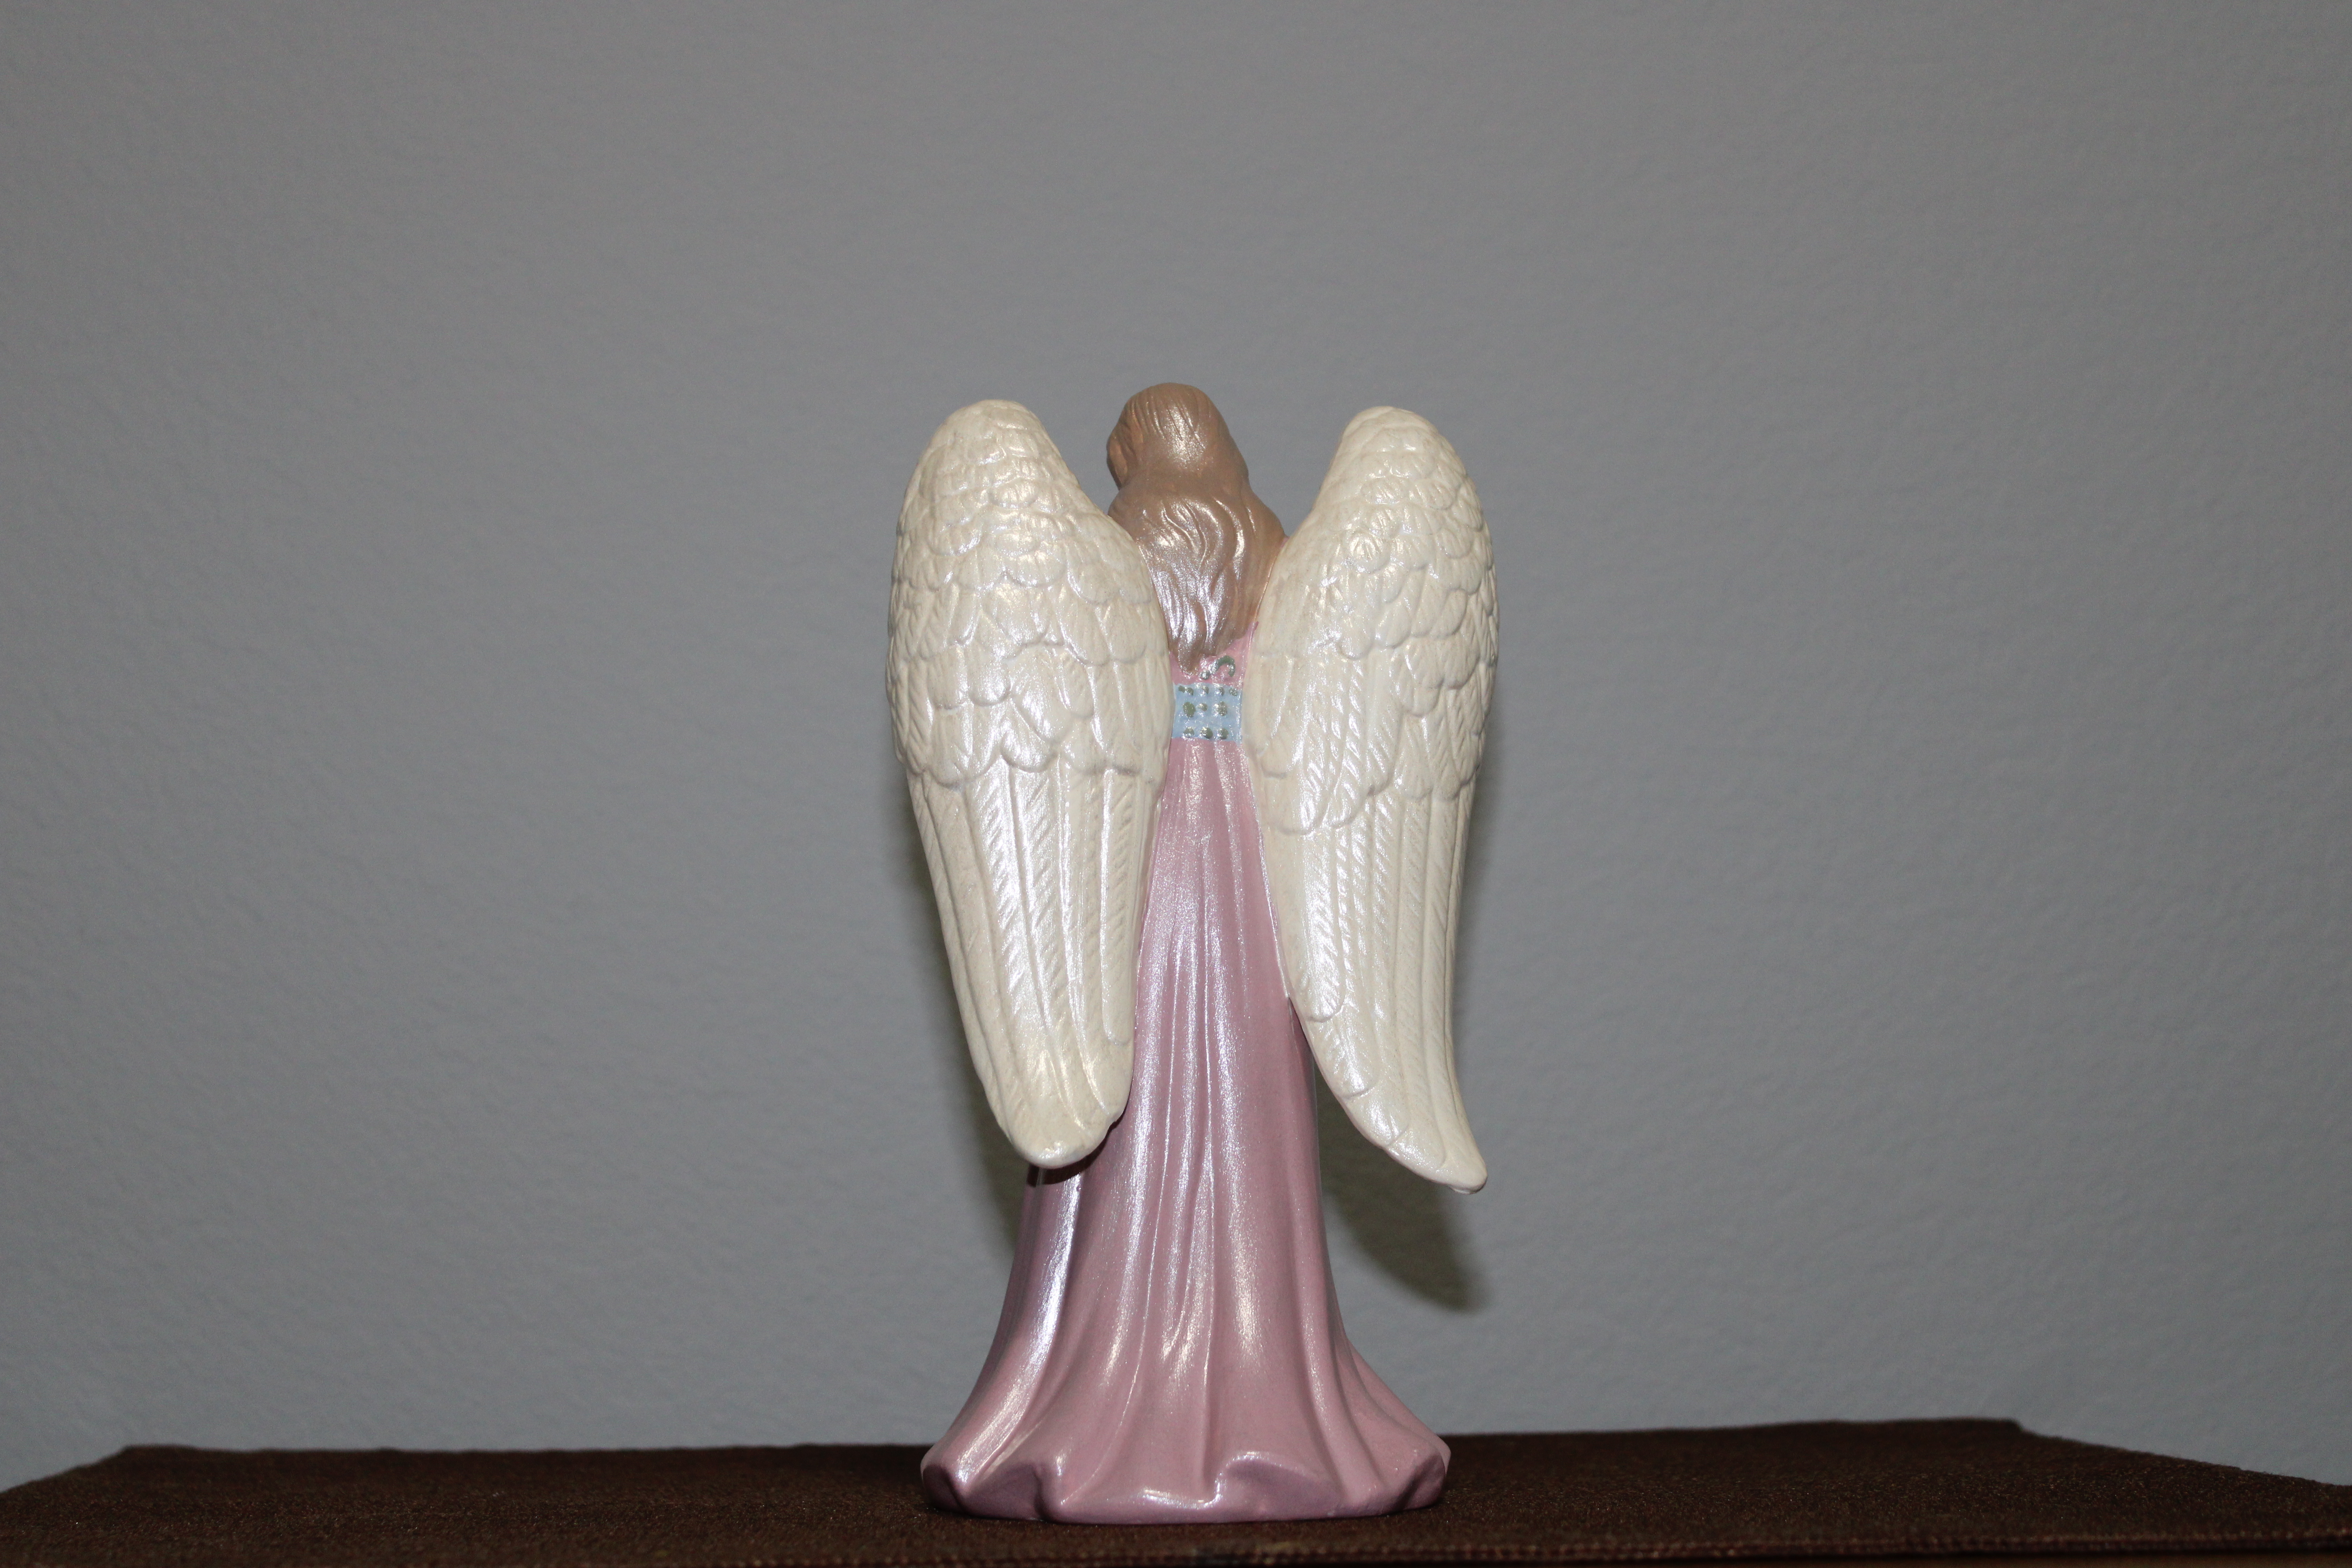
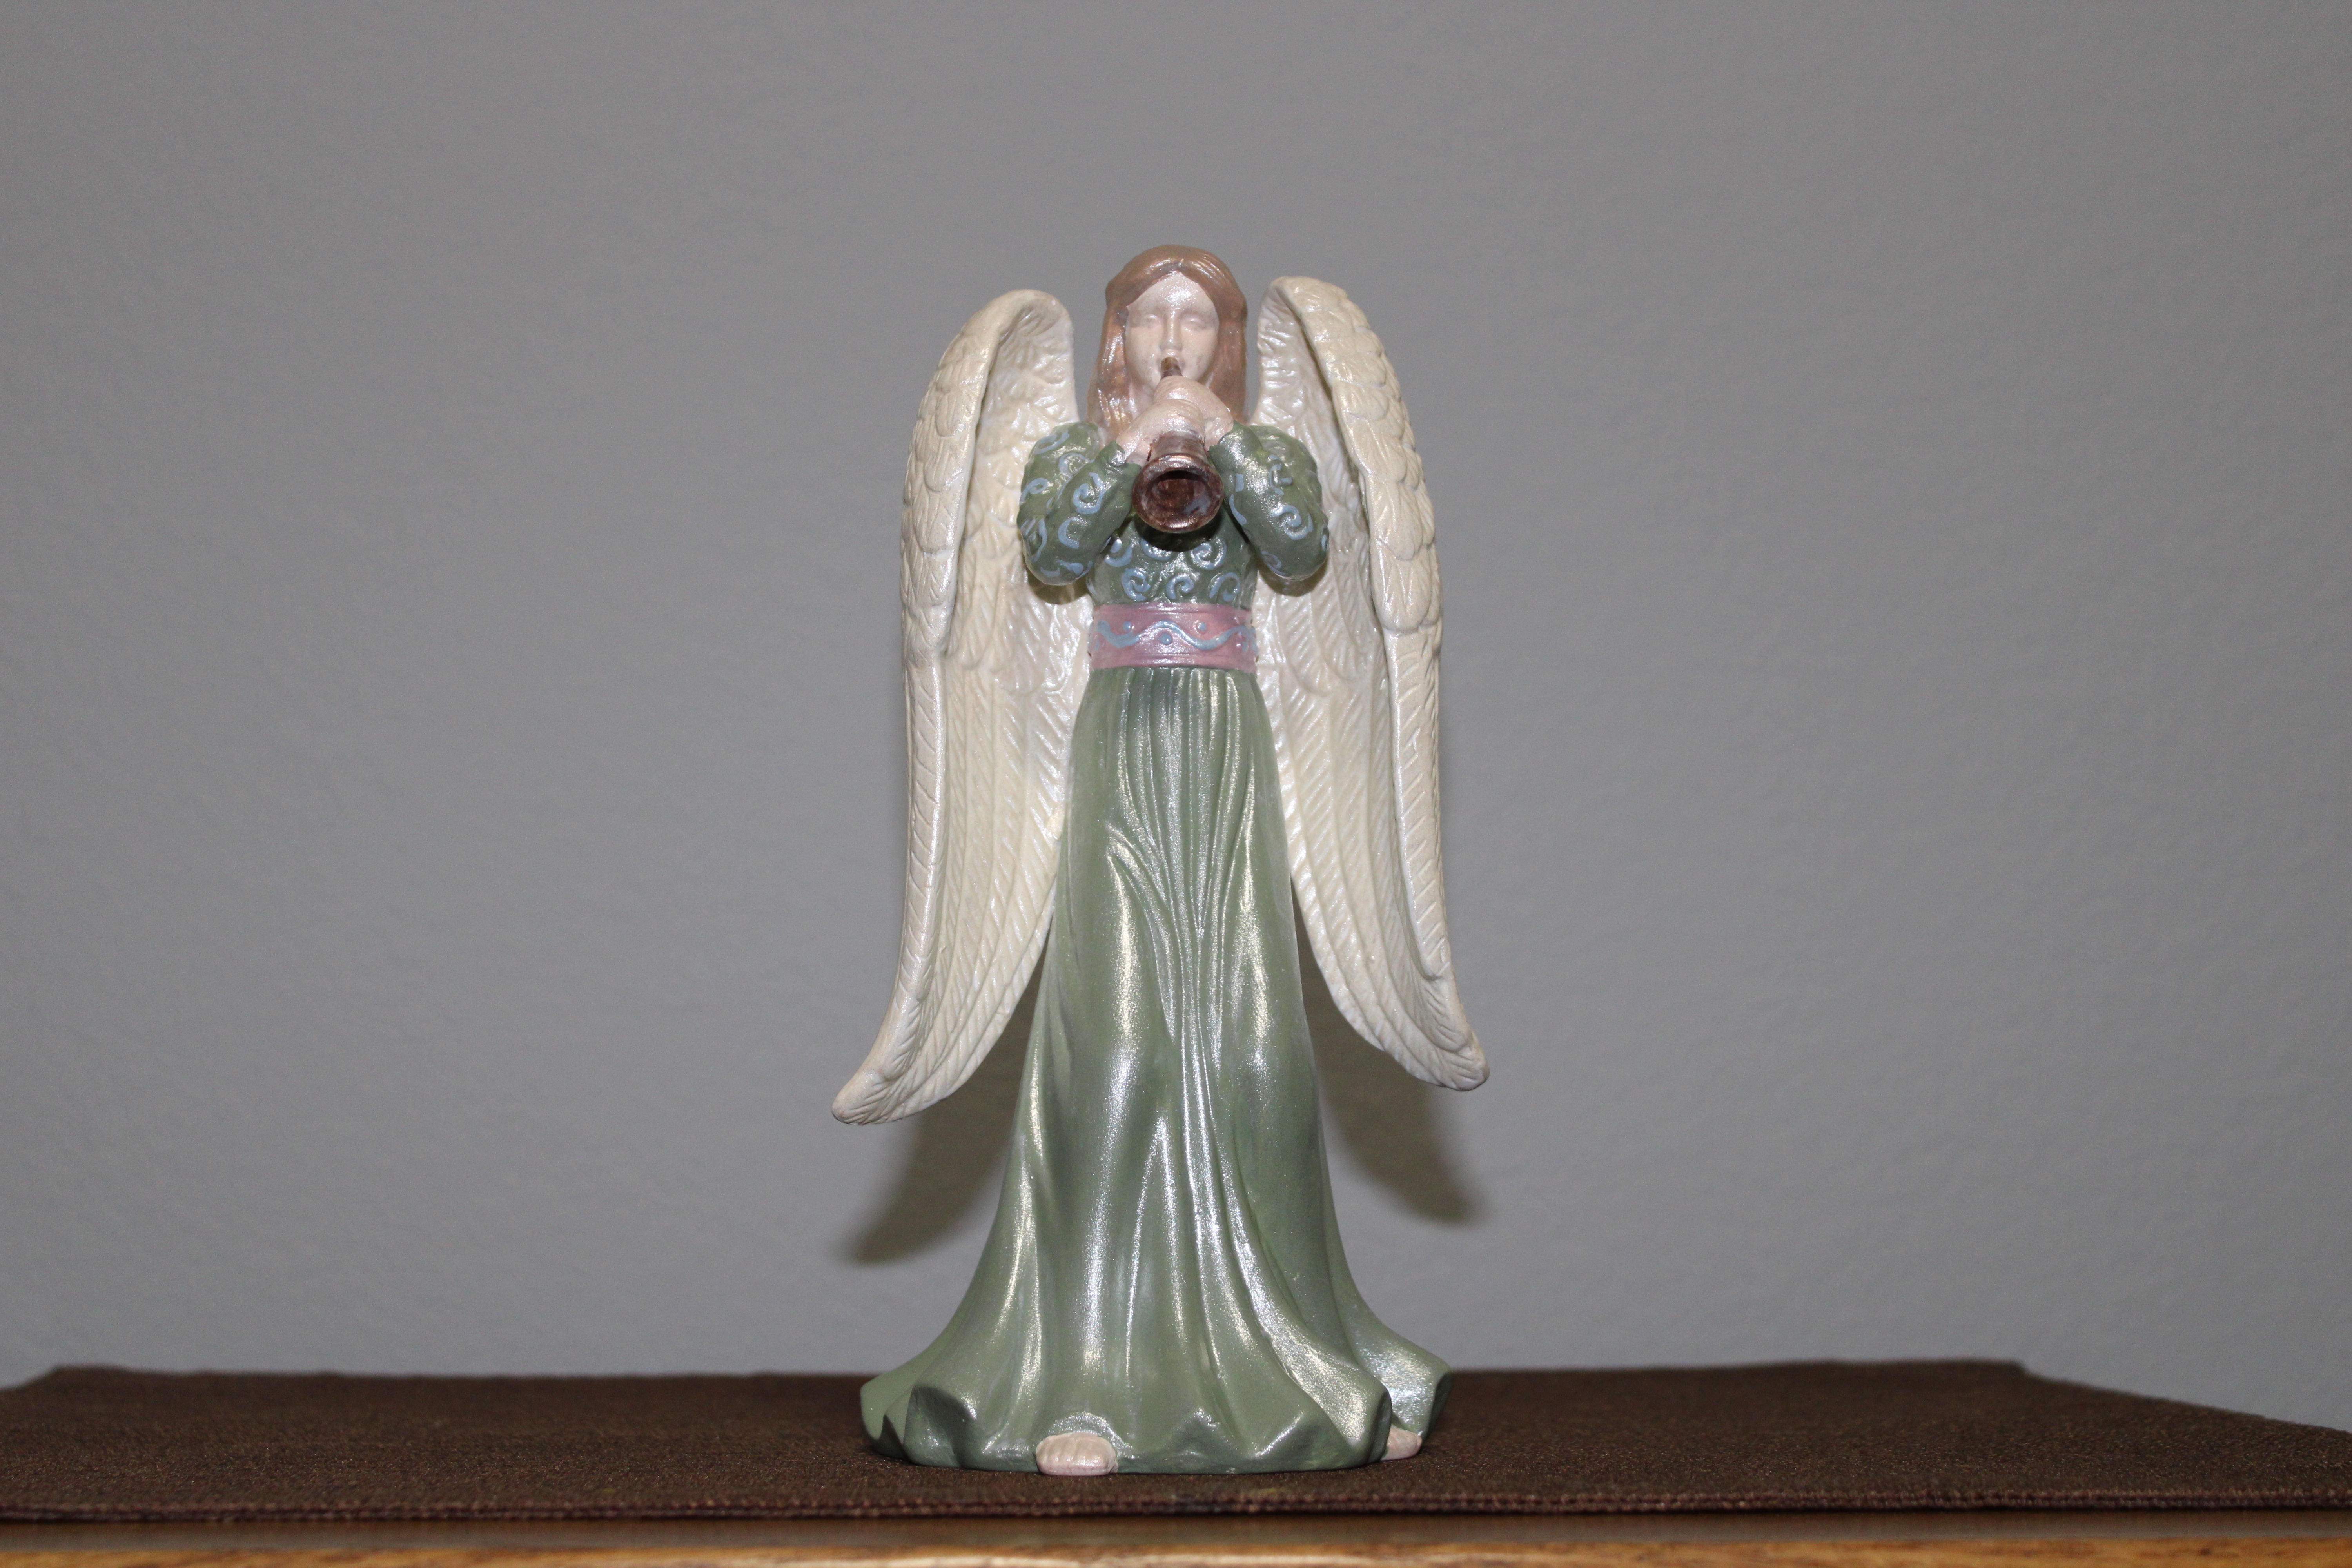
In the year 2002, I found three paintable Angels at Hobby Lobby. Each had a different pose and two were holding musical instruments. I purchased these three and painted them.
I had so much fun painting them and since they turned out beautiful, I purchased and painted three more.
The next year Hobby Lobby had some more, so I purchased three more. Those angels were placed into a box and stored. They survived several moves and a flood. They were never forgotten just a future project.
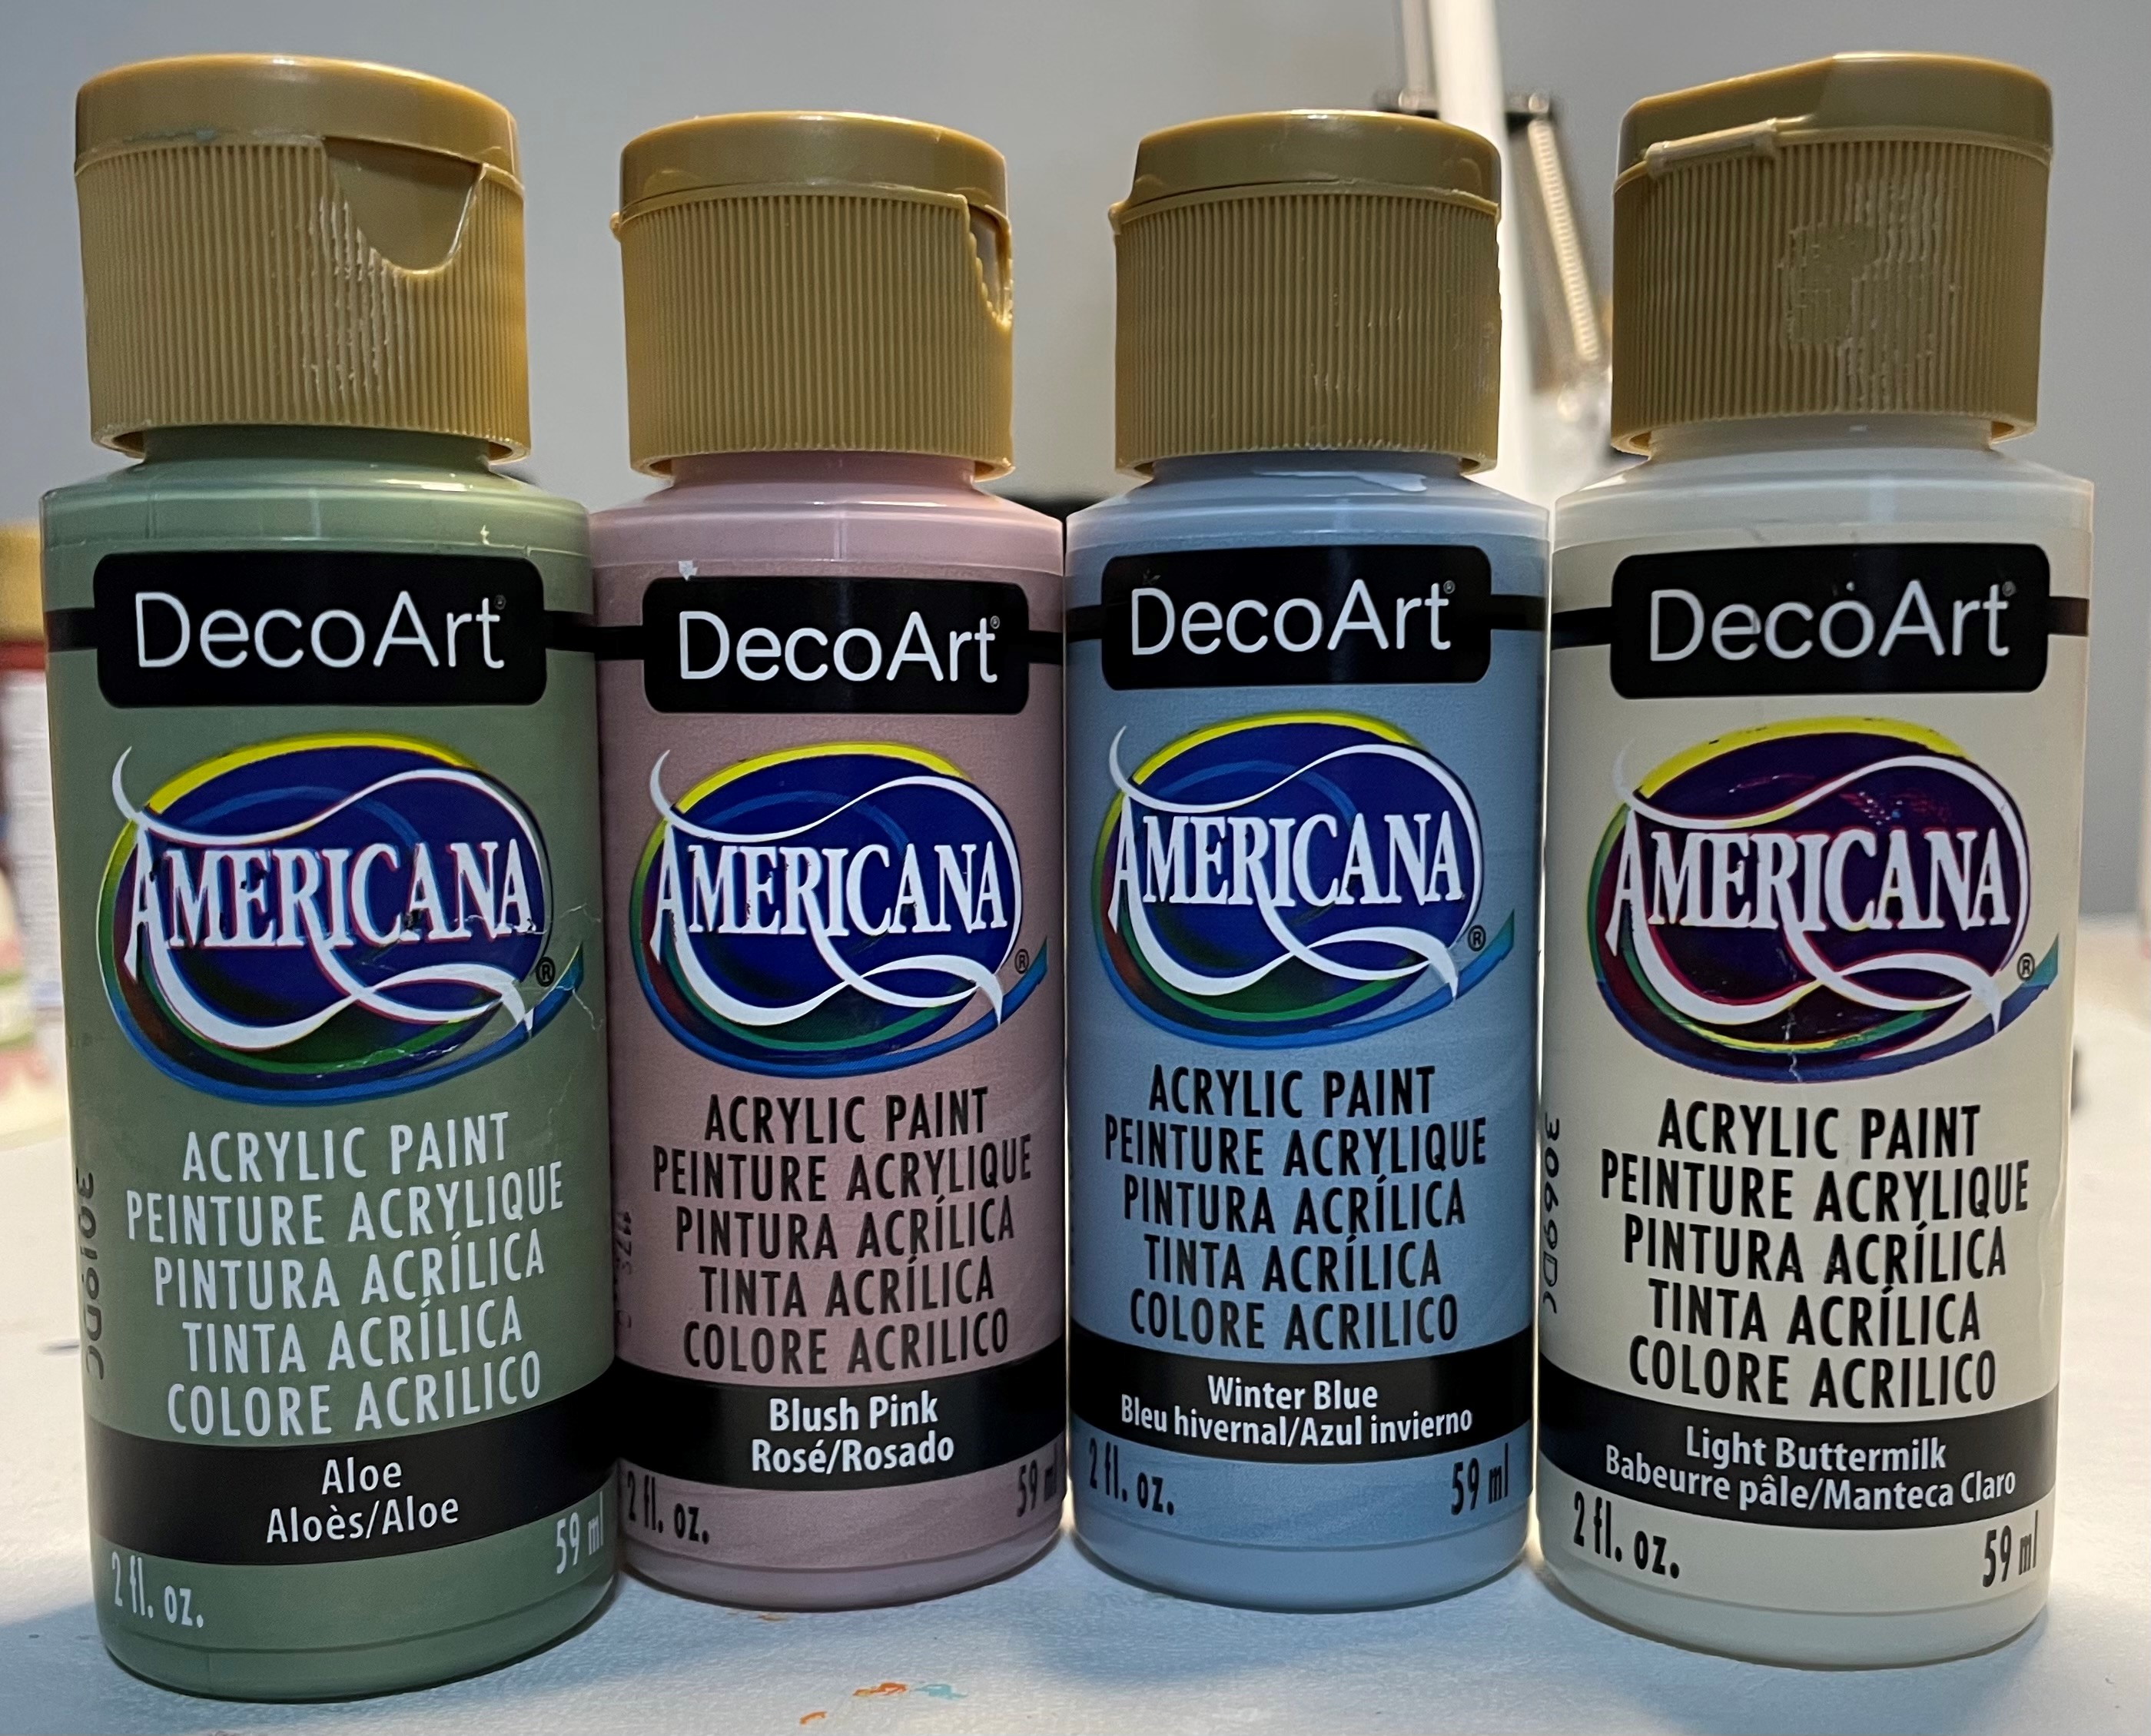
Earlier this month, I was in Michael’s and found these paint bottle. I thought those colors looked so pretty together and had to use them on something. I got the angels out and painted them.
Do I still have the first painted angels? Yes and No. I gave away some. The others were stored with the Christmas decorations, and they may or may not survived the flood and moves. I haven’t unpacked all the Christmas decorations in years and years and years.
All the angels were painted with either Delta Ceramcoat or DecoArt Americana paint. Afterwards, I used a pearlizing glaze or medium all over the angels. They were finished using satin varnish by Delta Ceramcoat or DecoArt Americana.
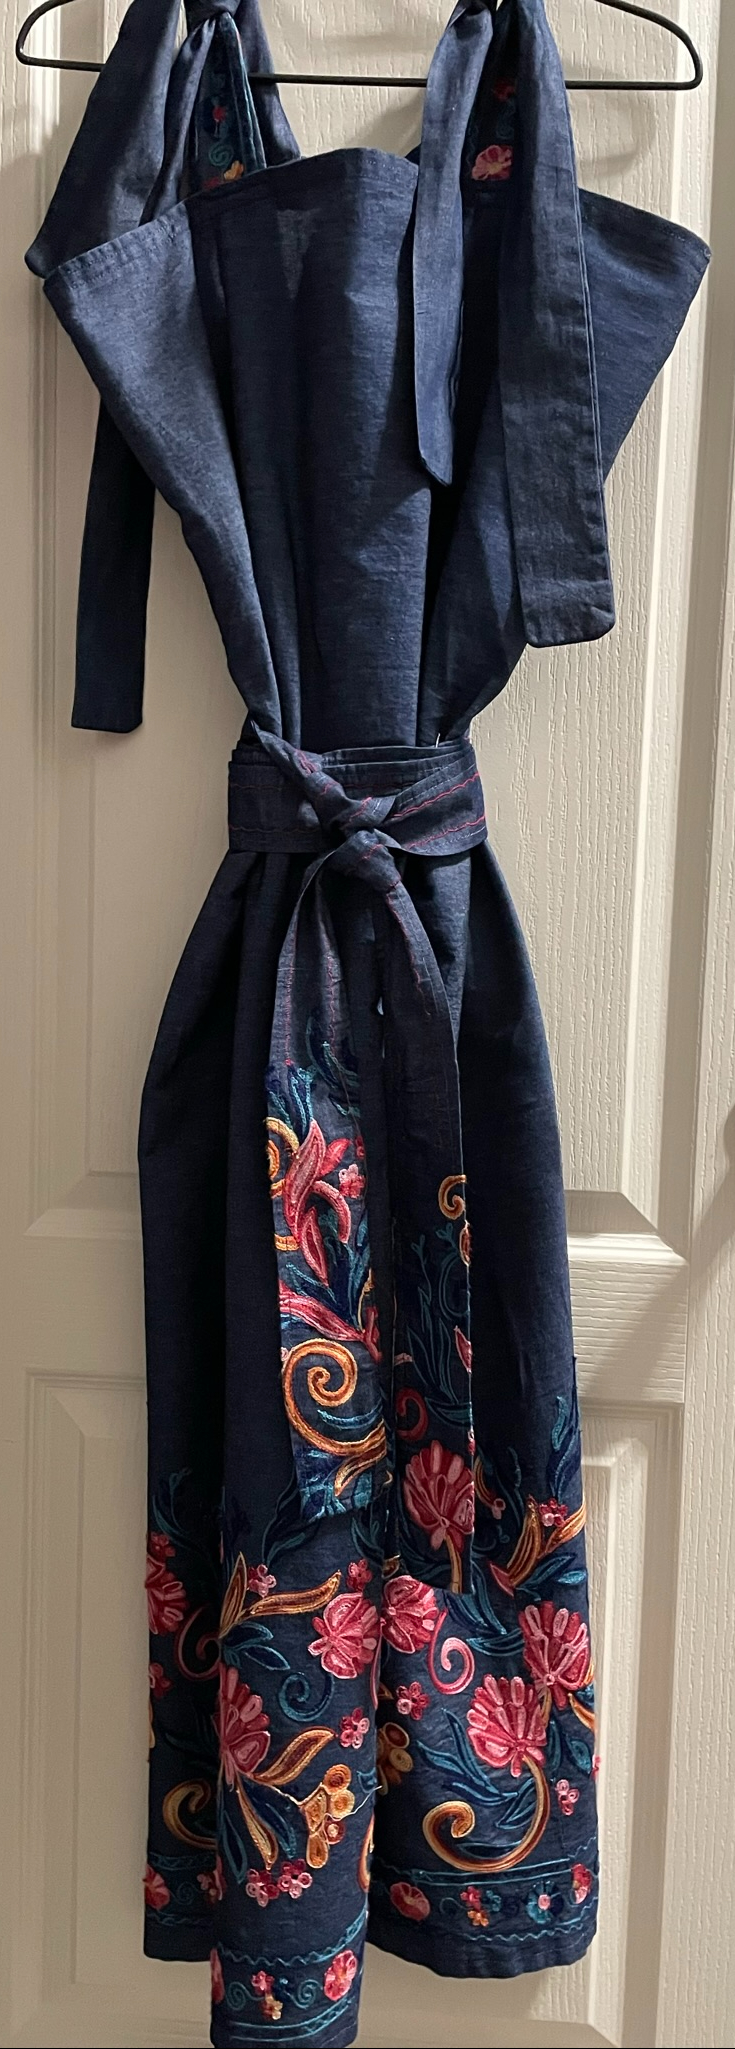
After spending a lot of time making drapes, I wanted to see if I could sew something that wasn’t rectangle. So, I attempted to sew a dress, using an idea that was in my head. This isn’t the first dress I’ve attempted; it is the second one. I was in high school, and I got so frustrated with the first dress, my sister ended up finishing it for me.
To make a dress: First, I found pretty denim fabric. It was on sale for 70% off, a definite plus. I purchased 1.5 yards of denim fabric. Had no clue how much I needed. A pattern for another dress I looked at said it needed 1.5 yards.
Professional seamstress recommends washing the material first. I did not, I thought even if I stitch the edges of the fabric, it would unravel in the wash. I did iron the material. I have learned that ironing is a key component to sewing.
For the top of the dress width, I took my measurements, hips, waist, and chest to determine which was the largest. I wanted to be able to pull the dress over my largest body part, I added a couple of inches to the largest of these measurements for the seams. I divided this measurement by 2 to get the cut width for the top of the dress.
Determining the length of the dress was next. I took a measurement from my arm pit to the floor. Subtracted a couple of inches so it would be above my ankles. Keeping in mind, the dress would have at least a 3/4″ hem at top and bottom.
It occurred to me at this point if I wanted to move in the dress, the dress would need to have some flare to it. Or else, I would not be able to sit, bend over, kneel down, or walk normally. To add the flare, the bottom needed to be wider than the top. I added 8″ inches to the top width measurement for the bottom of the dress measurement. I then divided that measure by 2 to get the cut width for the bottom of the dress.
Here is the pattern I had in my head for the dress.
The length of the dress with seams was shorter than the length of the material. My first cut to the fabric was for the length of the dress. I wanted to make a belt for the dress, and I could use the extra fabric for the belt.
I folded the material in half and tried to match the pattern. Okay, I am not that good of a seamstress. That endeavor was quick abandoned.
I marked the top and bottom of dress measurements onto the center of the fabric and drew a chalk line from the top of the fabric to the bottom of the fabric on both sides. I pinned both sides, checked that the top and bottom measurements were correct, and cut the material.
I sewed the hem on the bottoms of both pieces of fabric.
I needed some shoulder straps to hold the dress up. I am not flexible enough to determine the exact length of the shoulder straps I would need, so I decided to make straps I could ties. I cut eight pieces from the fabric scraps about 18″ long and 3″ wide. After sewing the fabric together, I had four 2″ straps.
How do I determine where to place the straps on the dress? I could Google is, but every woman is a different size. Then I realized; I had the measurement on me, I would measure the distance between my bra straps. I took this measurement, center the measurement on the top of the dress and marked the location for the straps on both pieces of fabric. I pinned the straps into the top seam of the dress, then I sewed the seams at the top on both pieces of fabric, which sewed the straps into the seam.
I then sewed the sides of the dress together. I officially, had a dress.
However, my last task was to sew the belt. The belt finished width was 2.5″ wide and 54″ long. Yes, I used the entire width of the fabric, plus some to make the belt. I wanted to be able to wrap the belt around the waist multiple times.
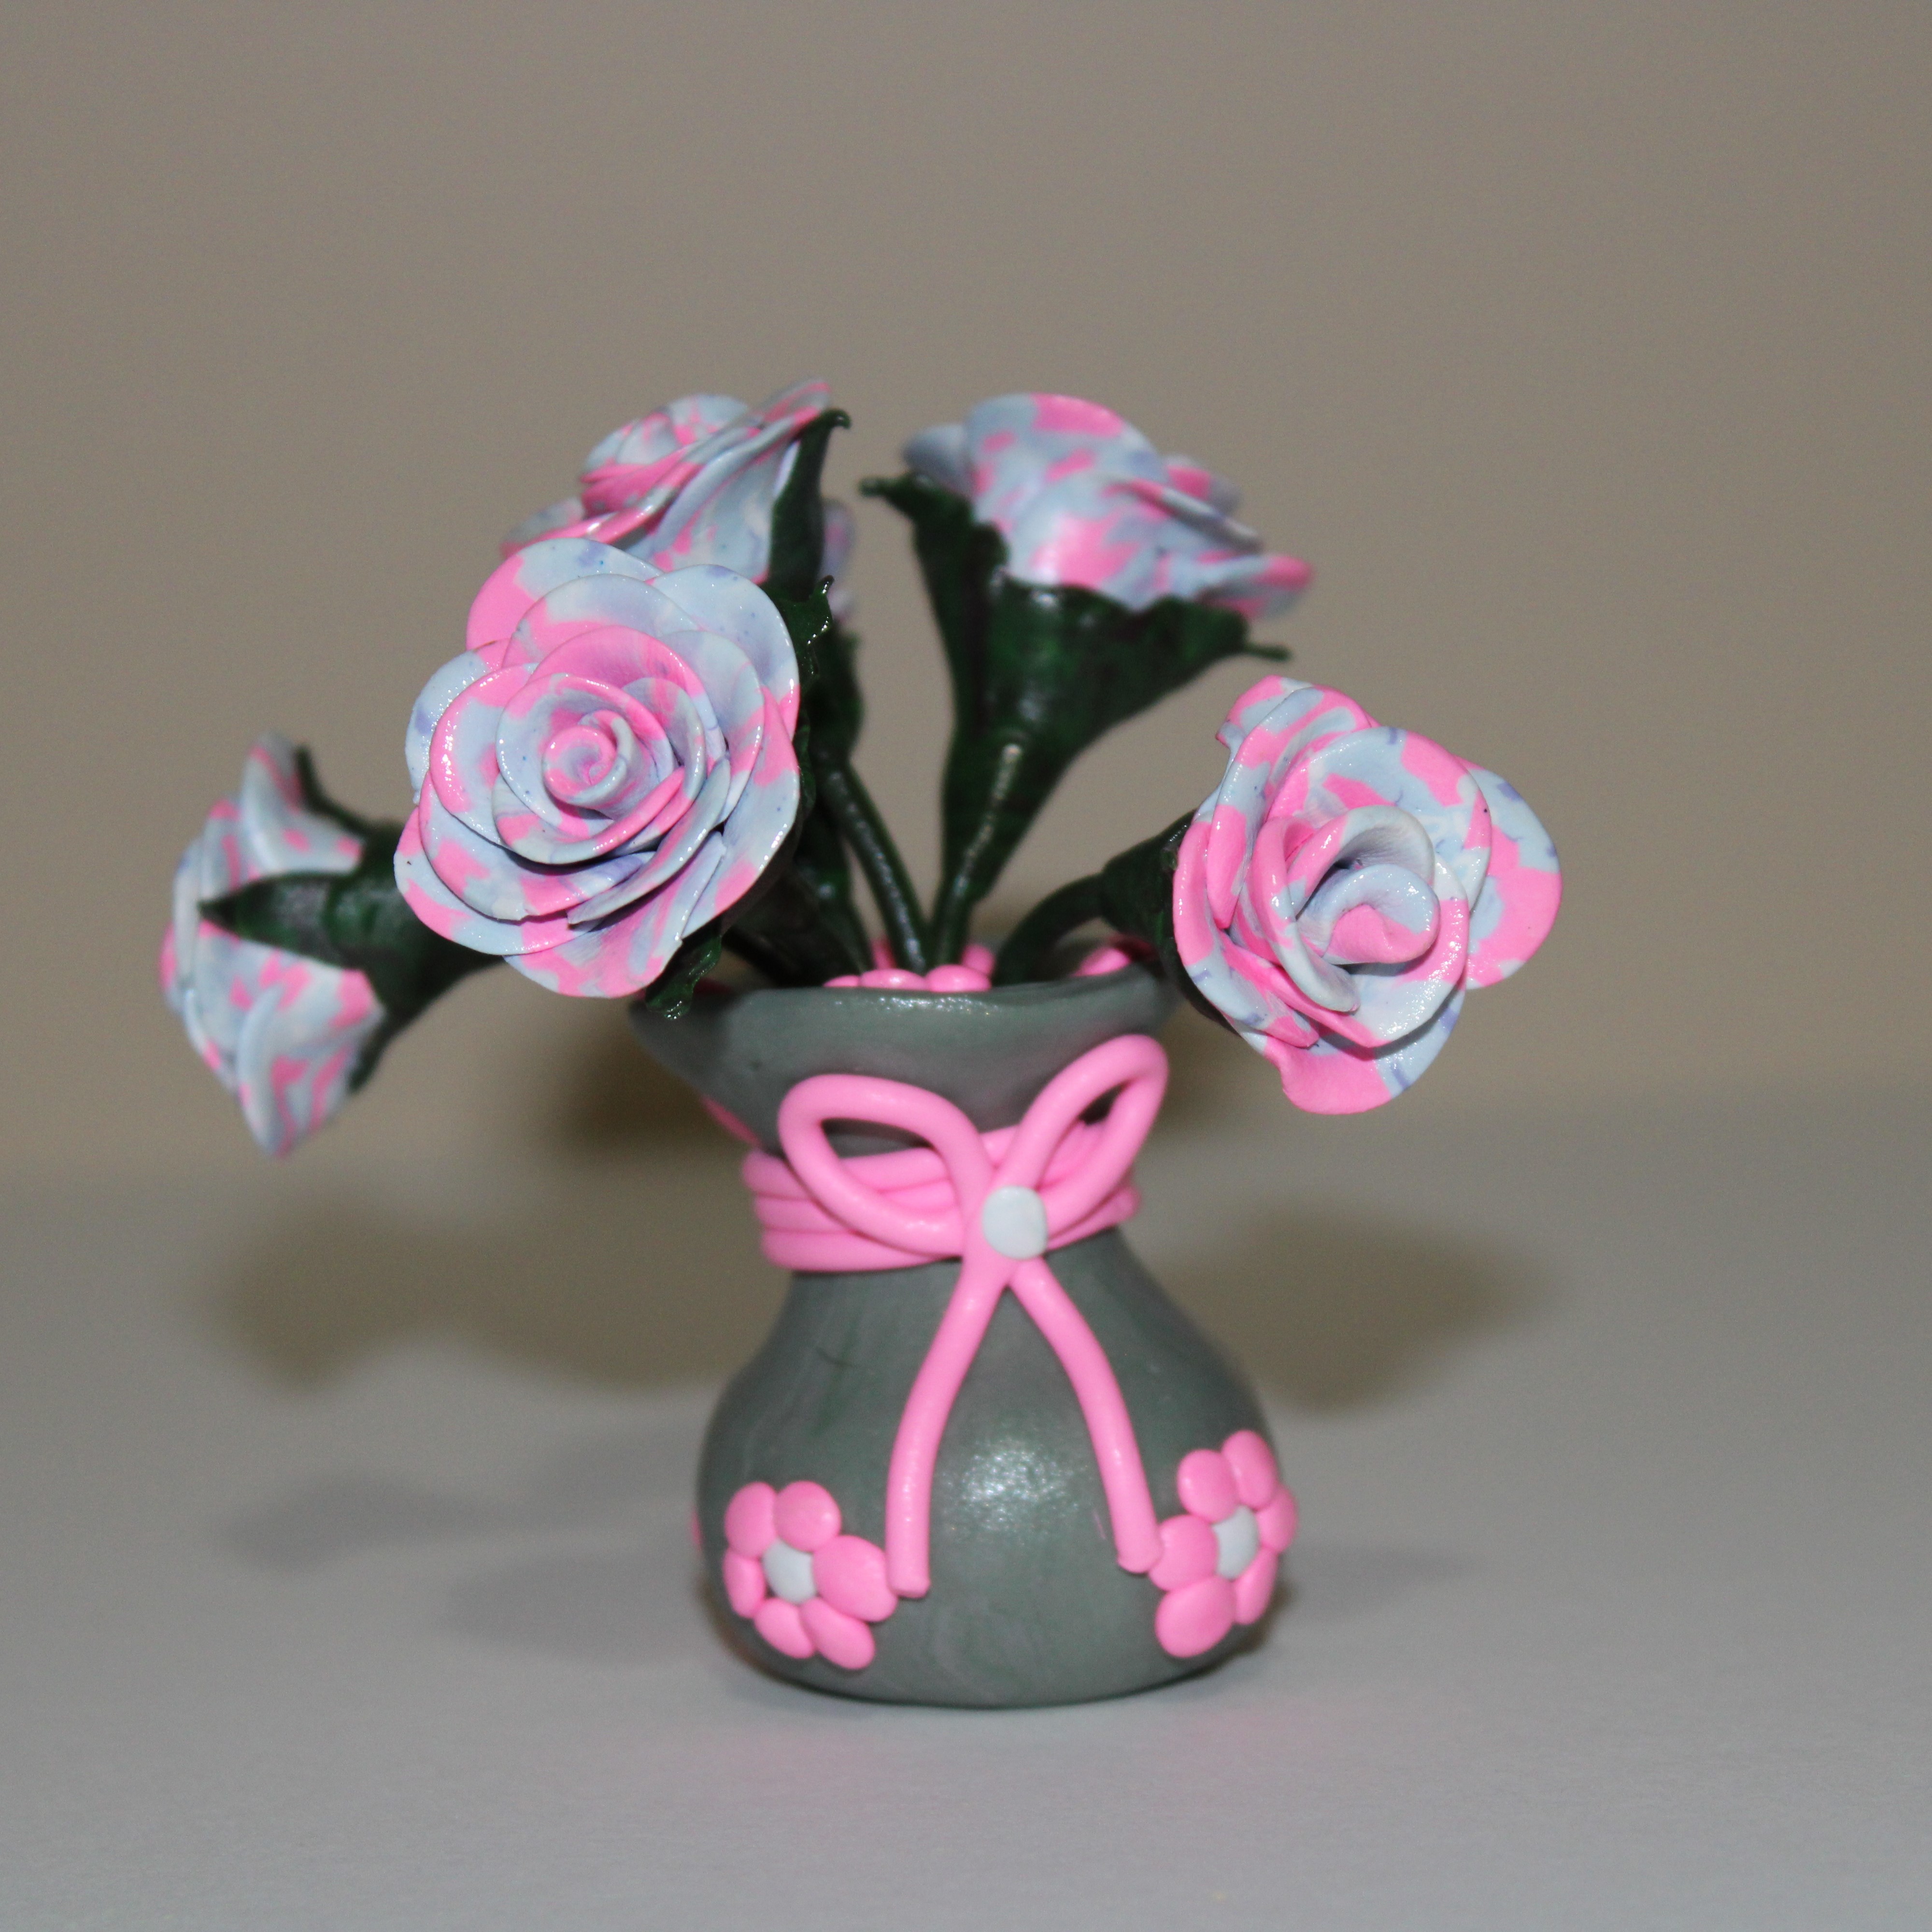
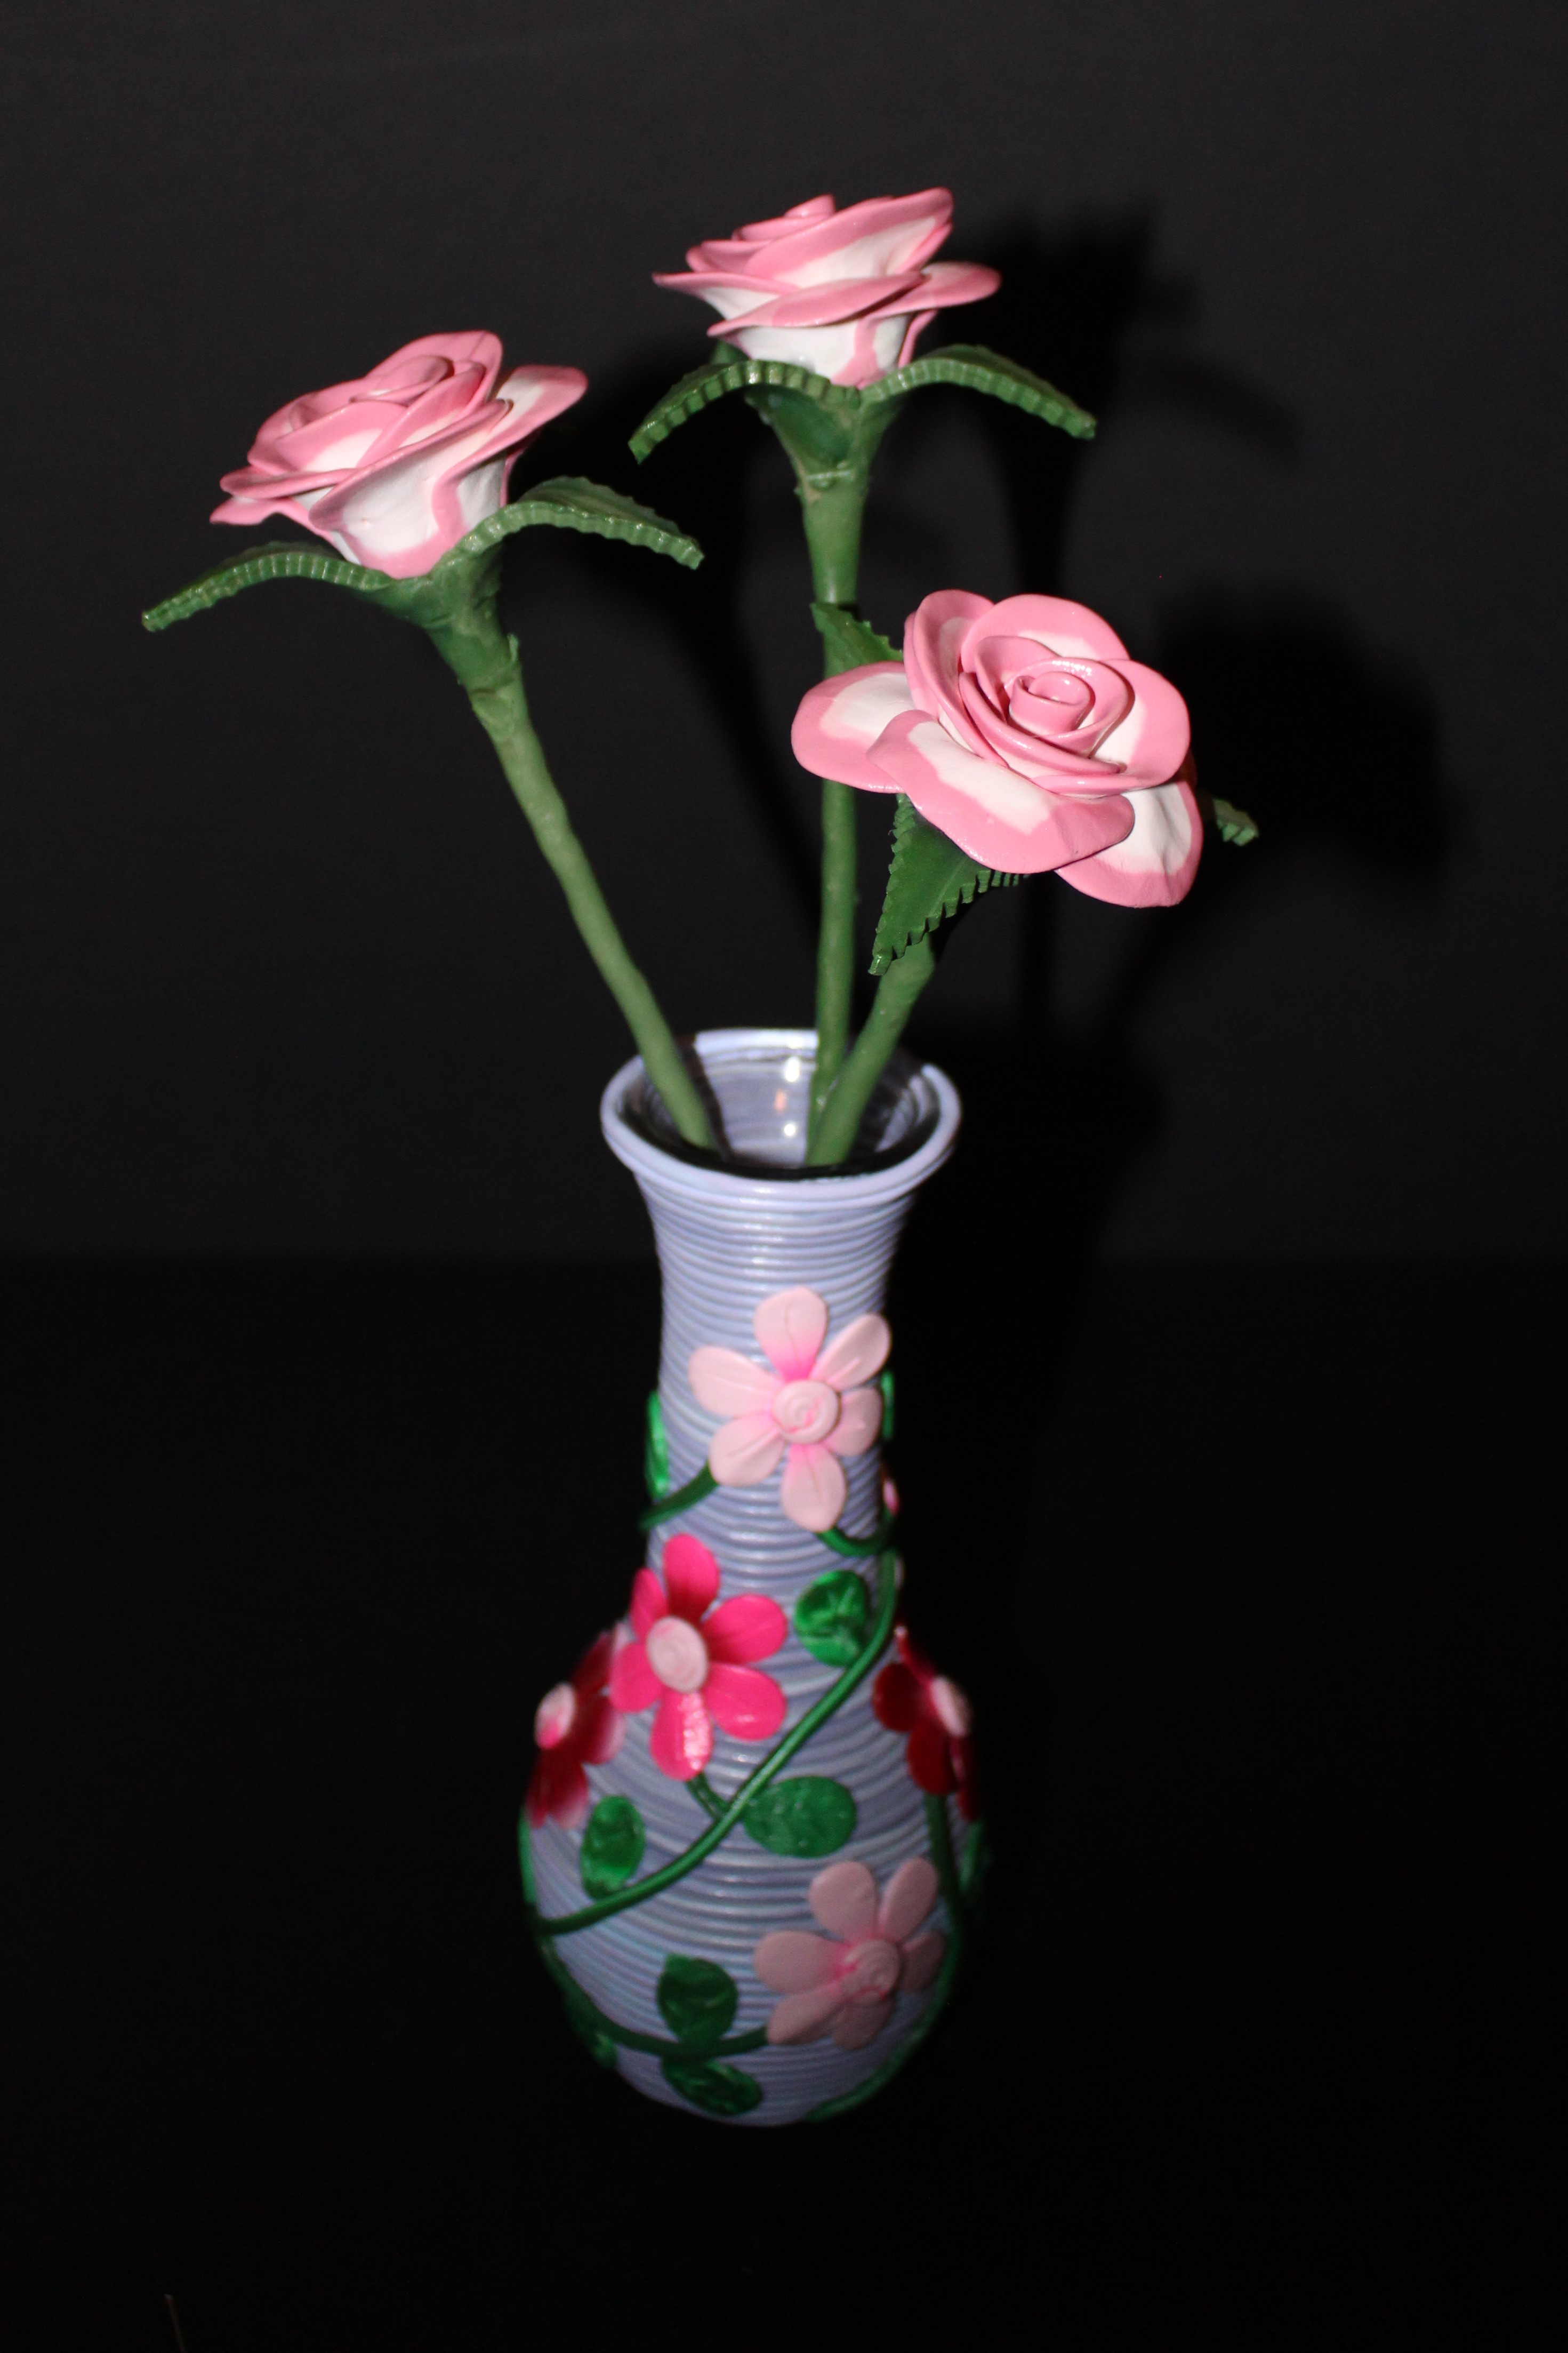
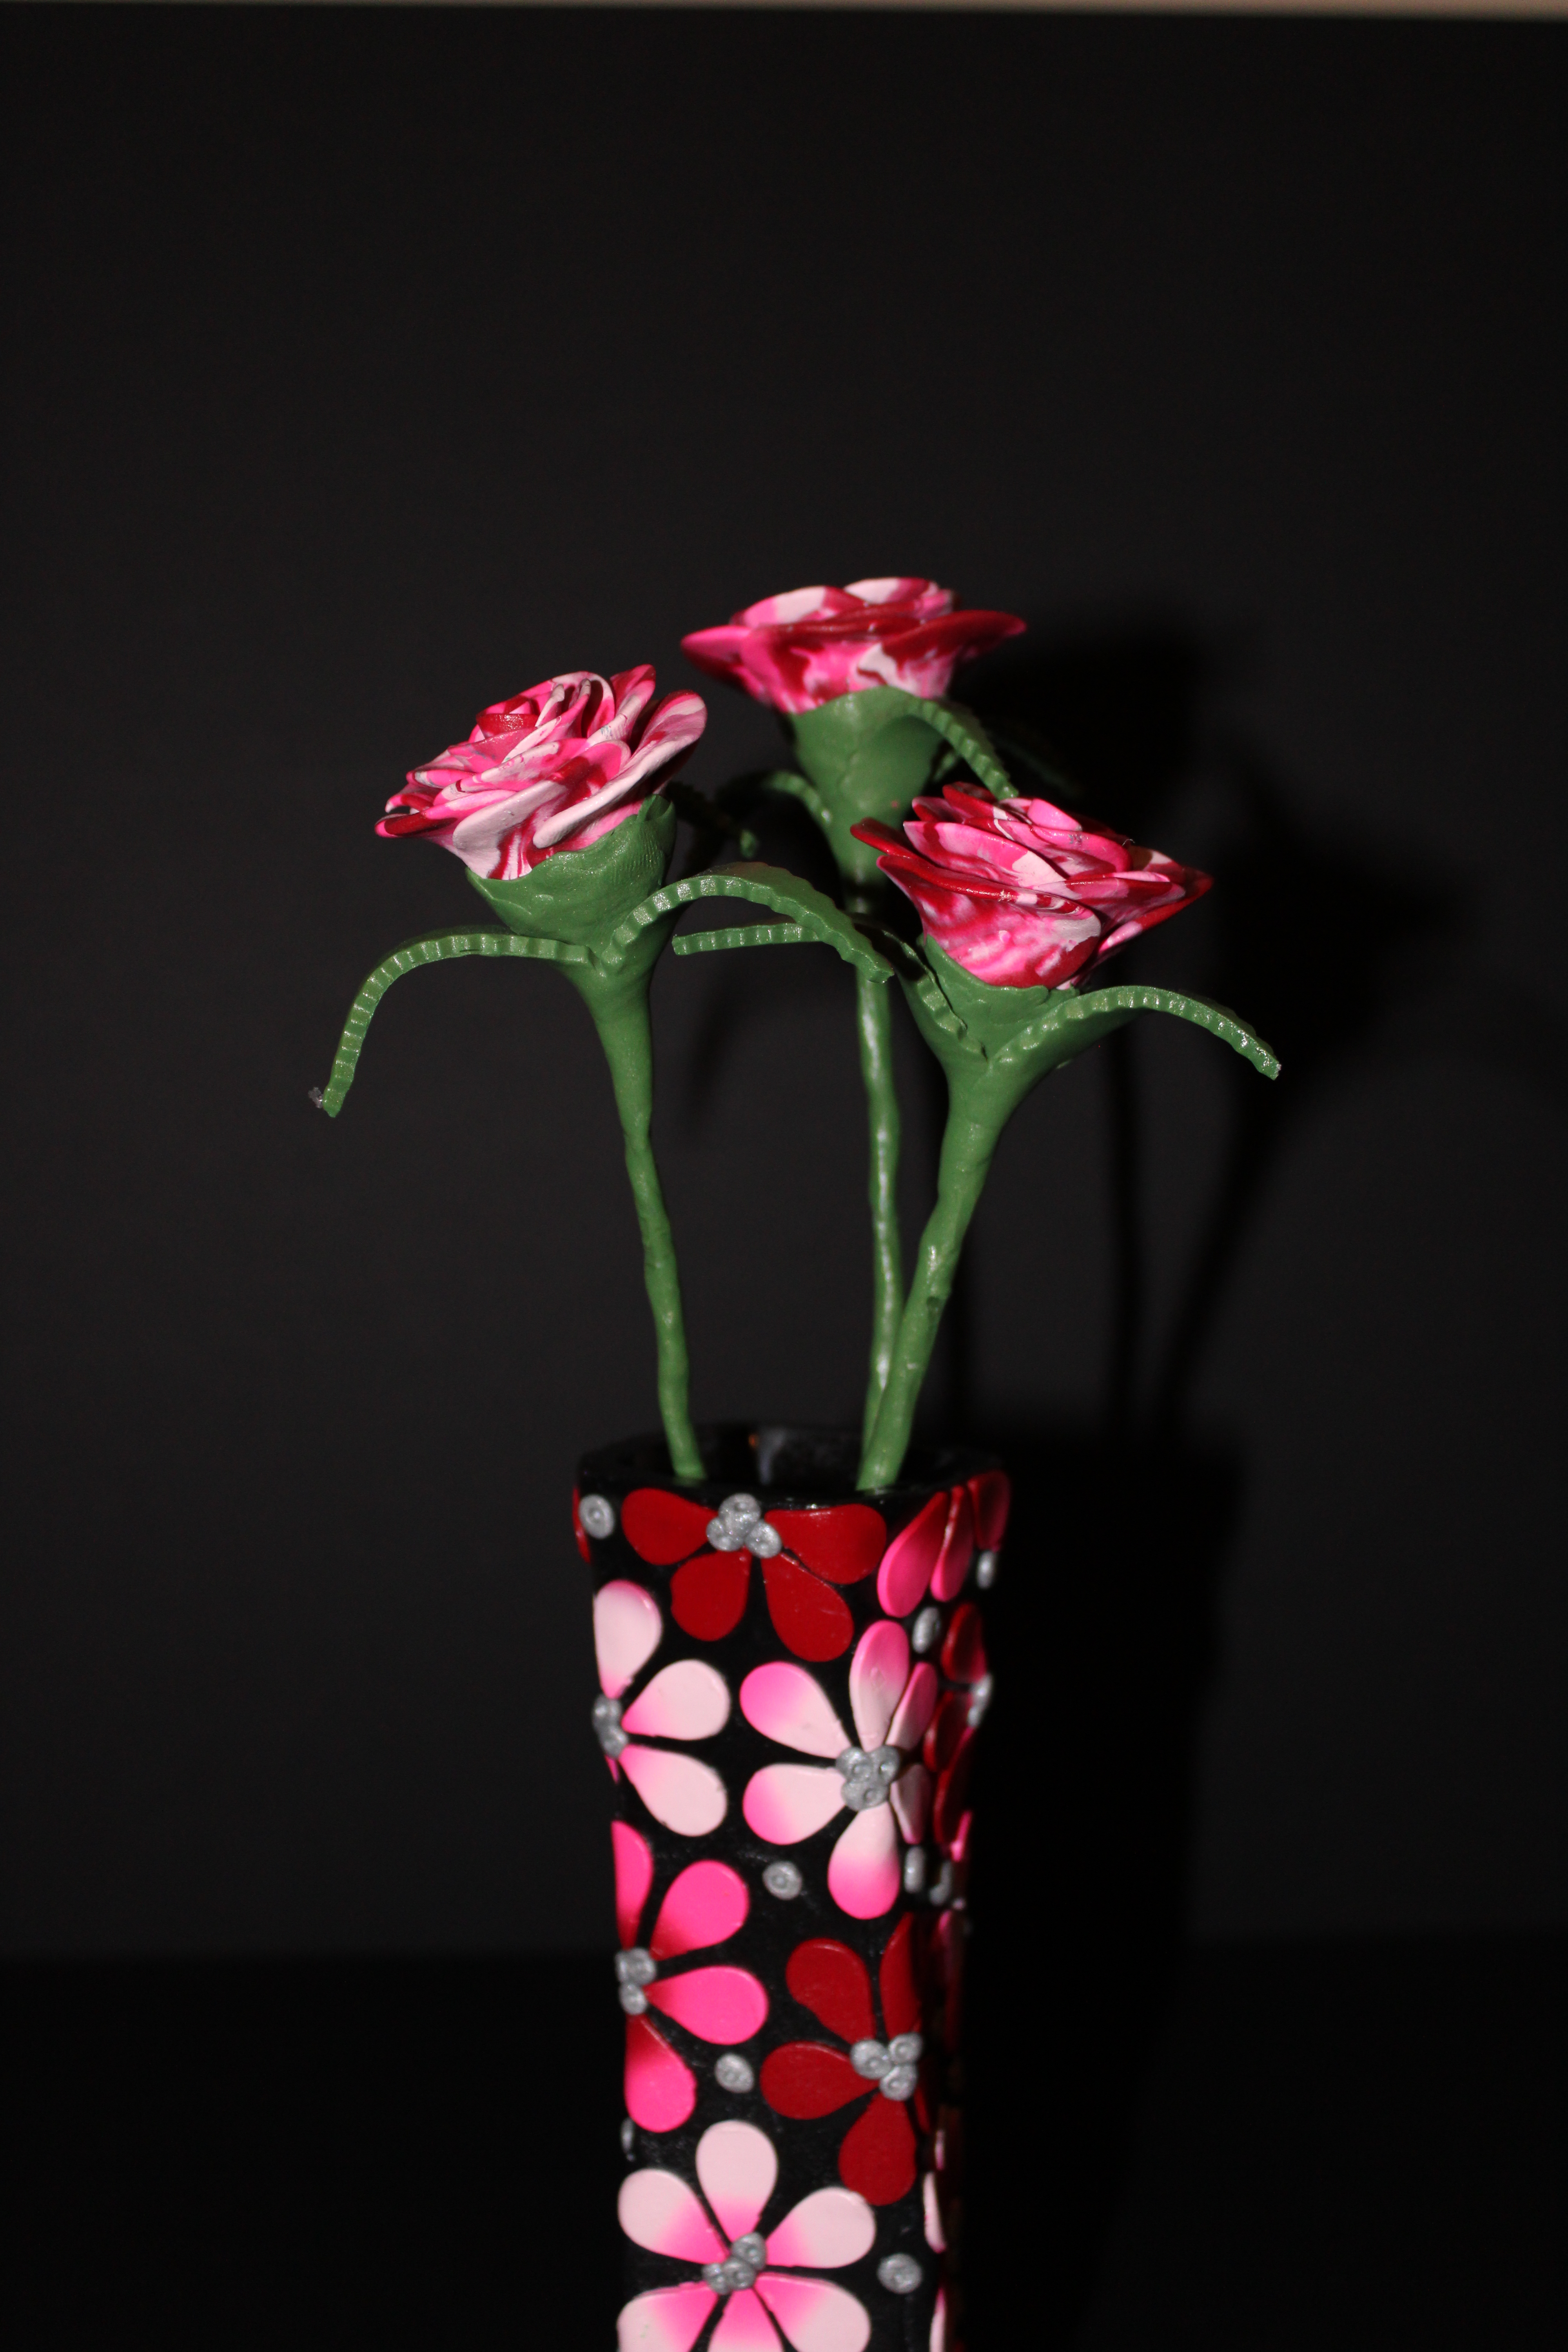
The parts for this tiny vase have been laying in my craft area for a long time, and I finally got around to assembling flower arrangement. It was made with left over Sculpey clay and baked in the oven. I sprayed the arrangement with polyacrylic varnish. The flower arrangement is approximately 4″ tall.
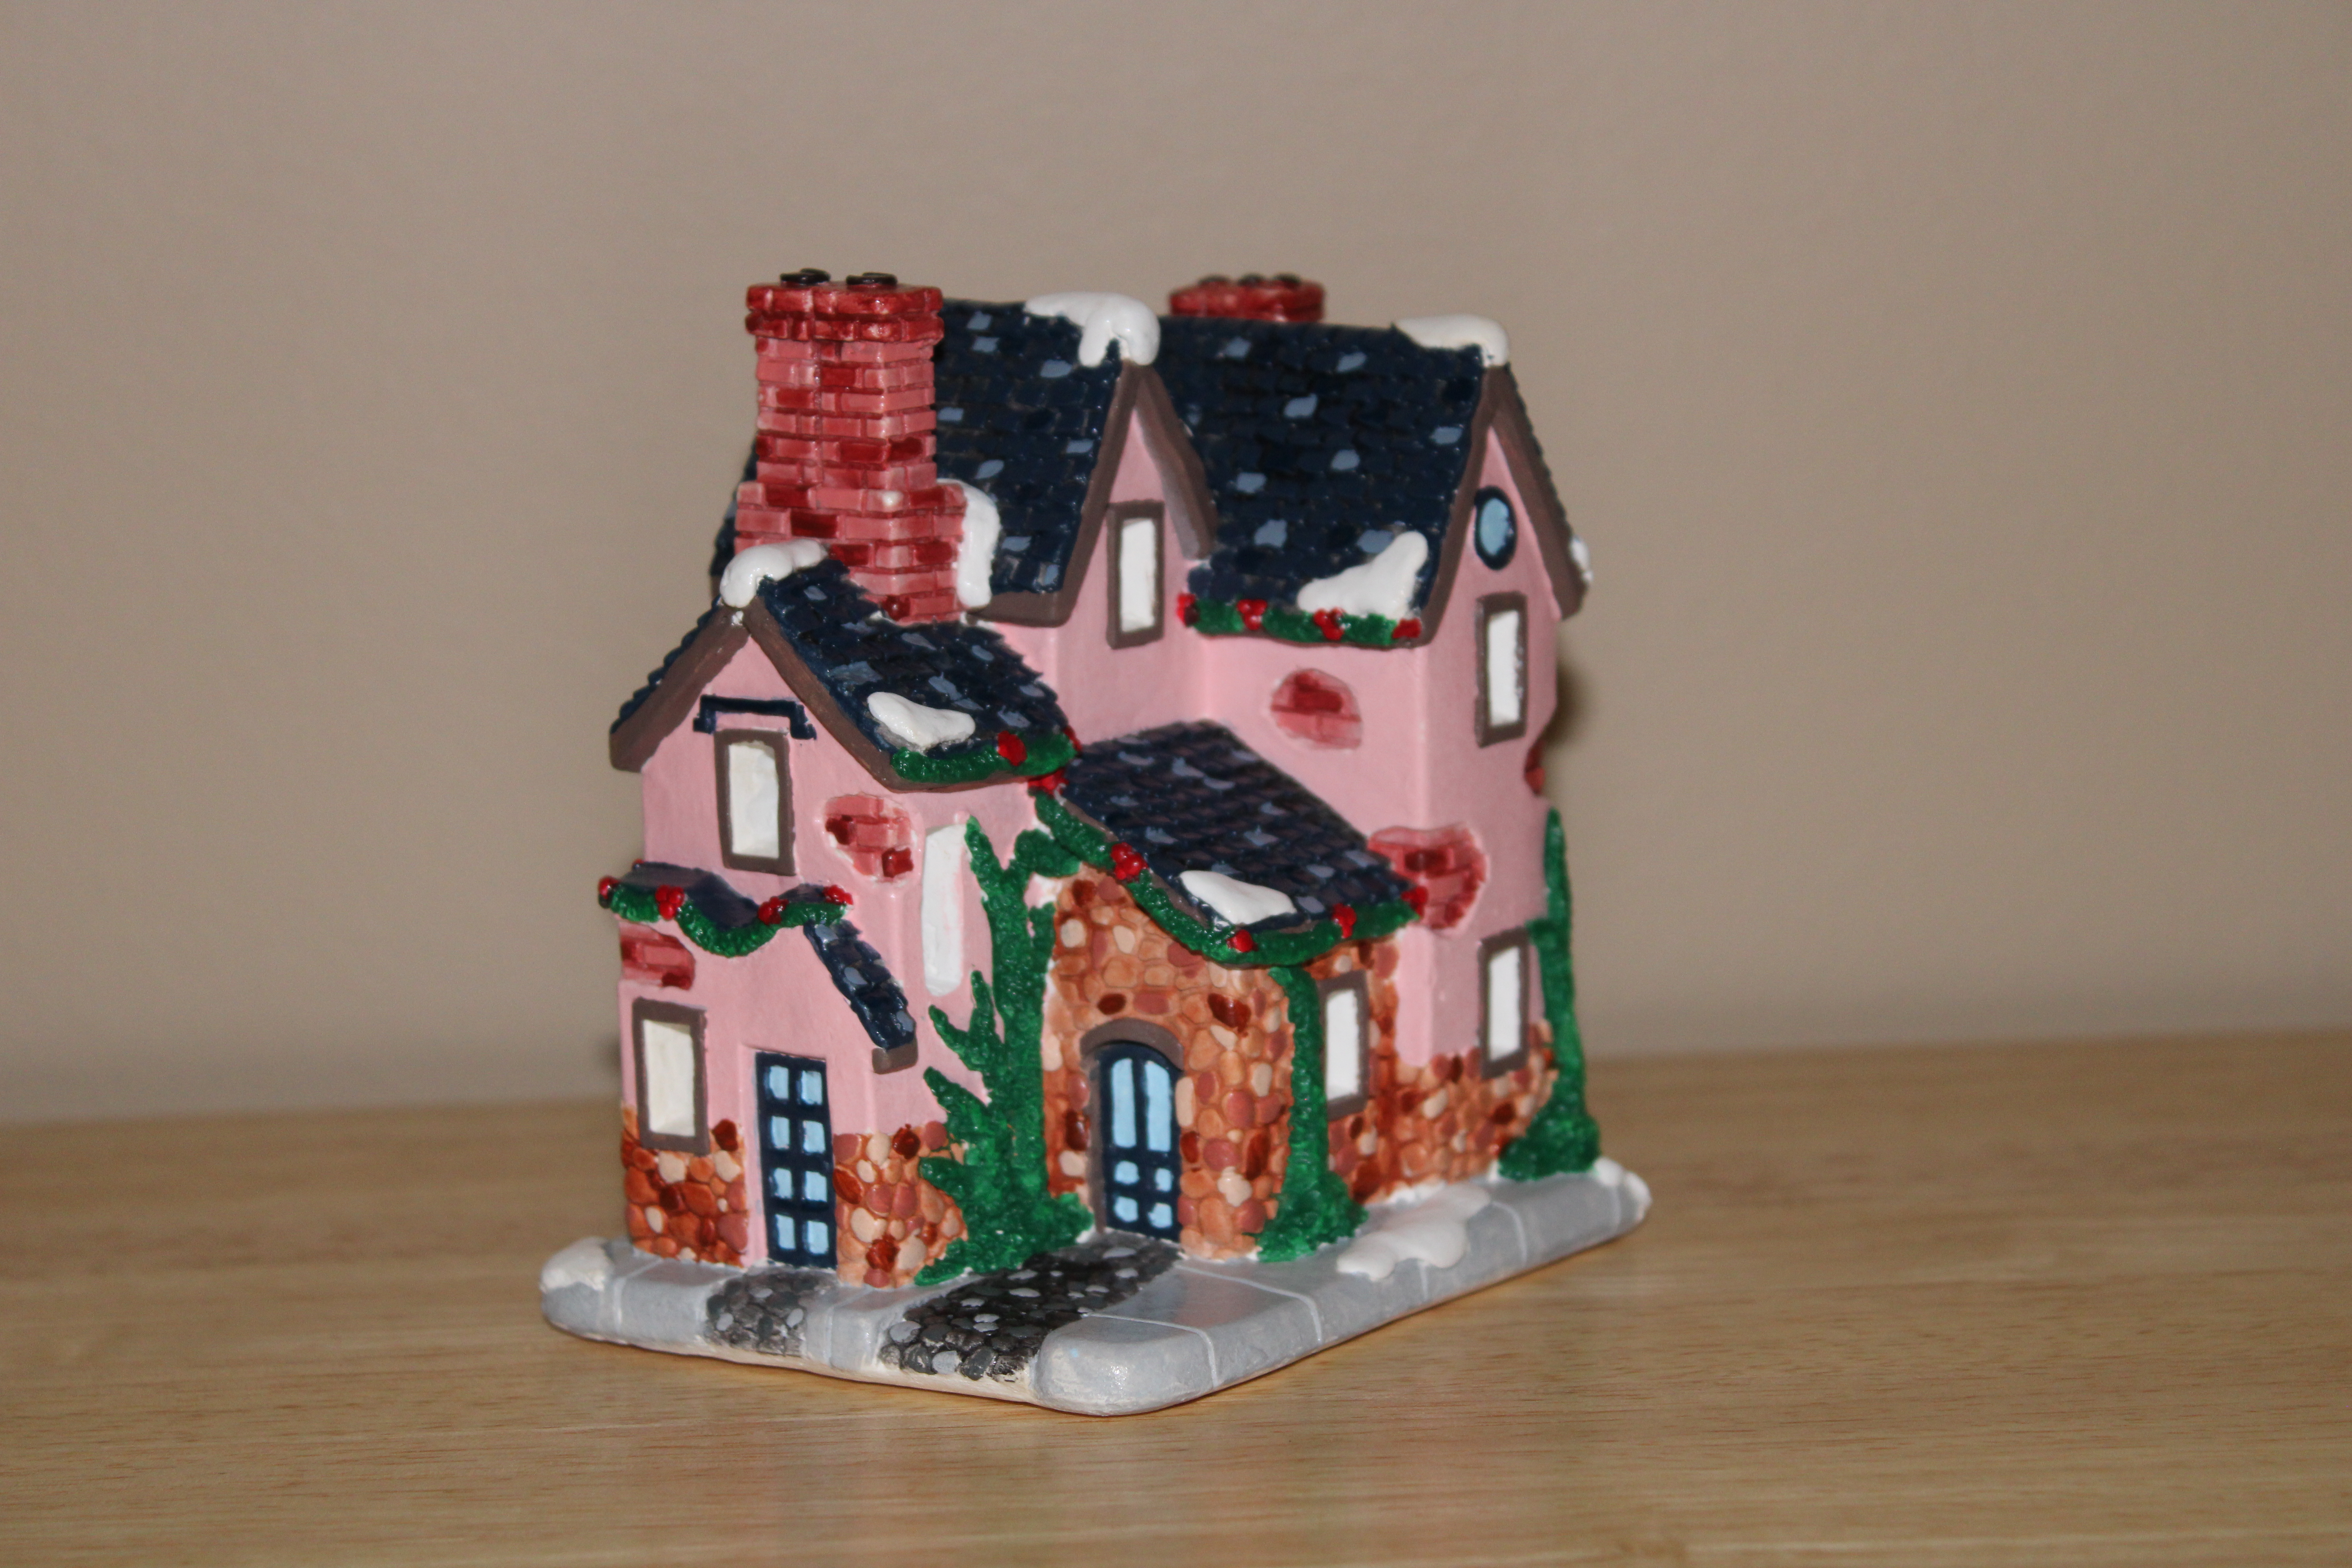
Yes, it appears that I only painted two houses in 2019. I did not get a chance to seal the houses until a few weeks ago, because of cold weather and Covid-19. (I can’t varnish if someone in the household sinuses gets upset around paint and varnish.)
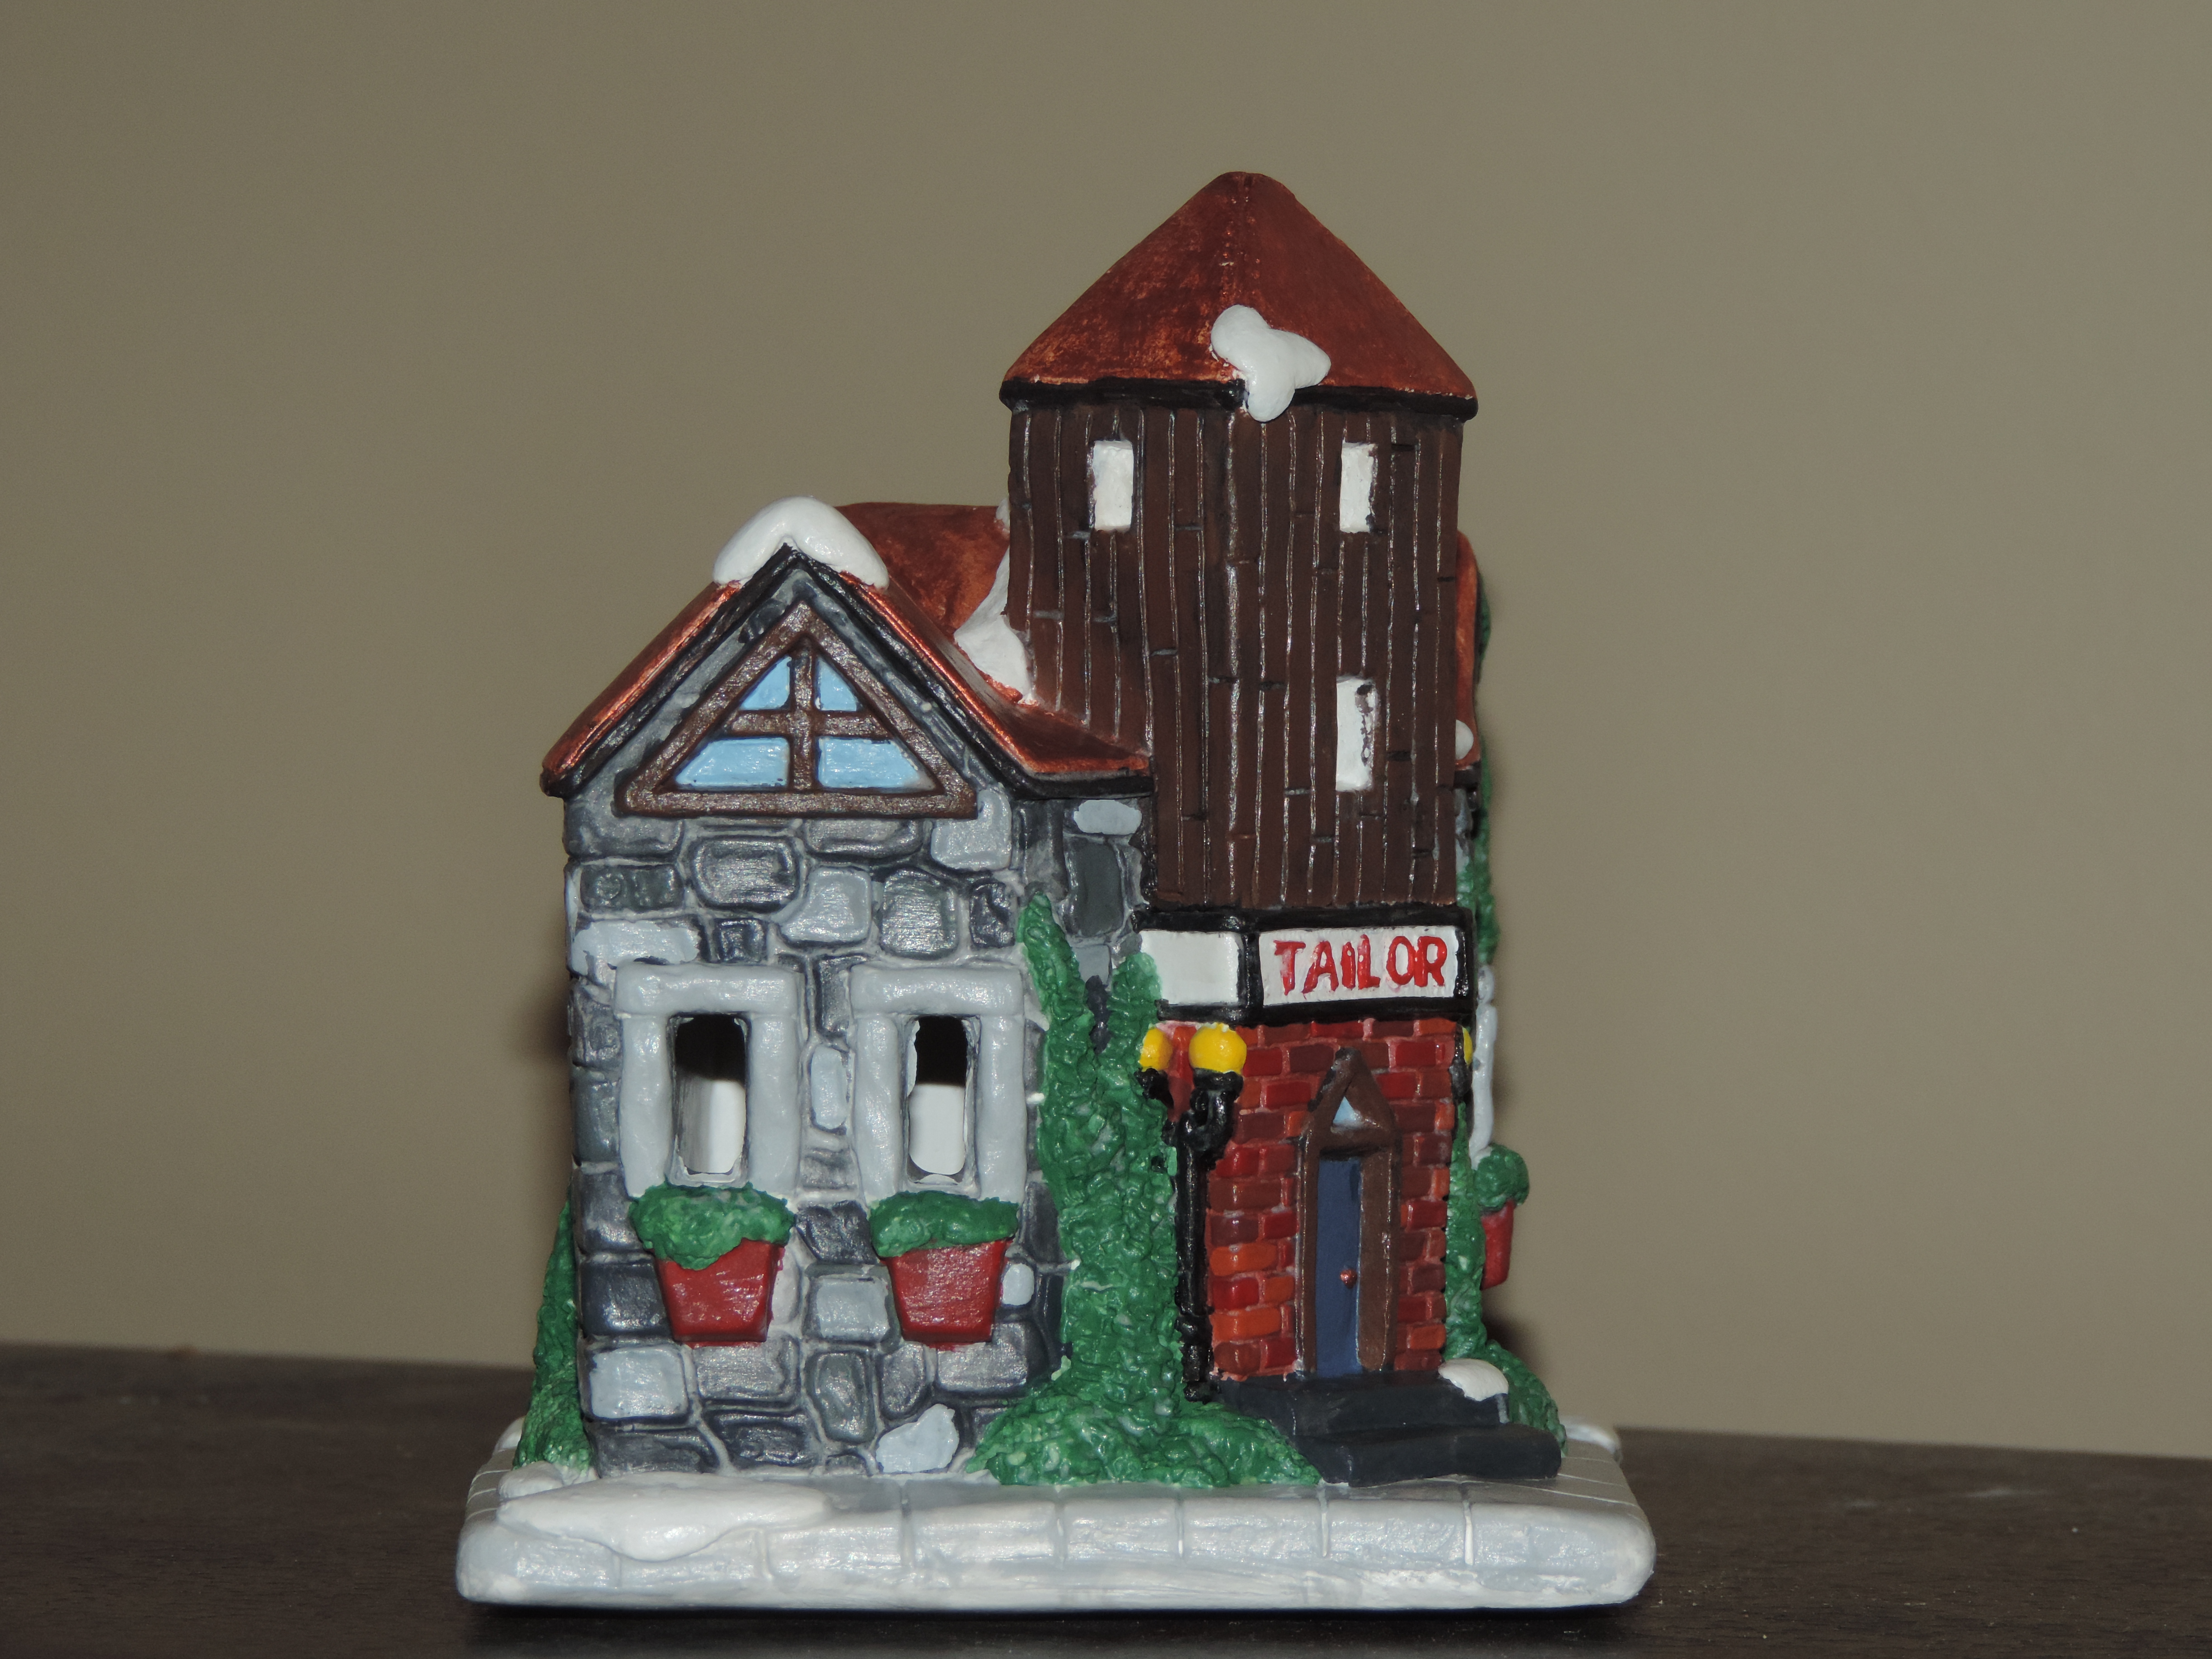
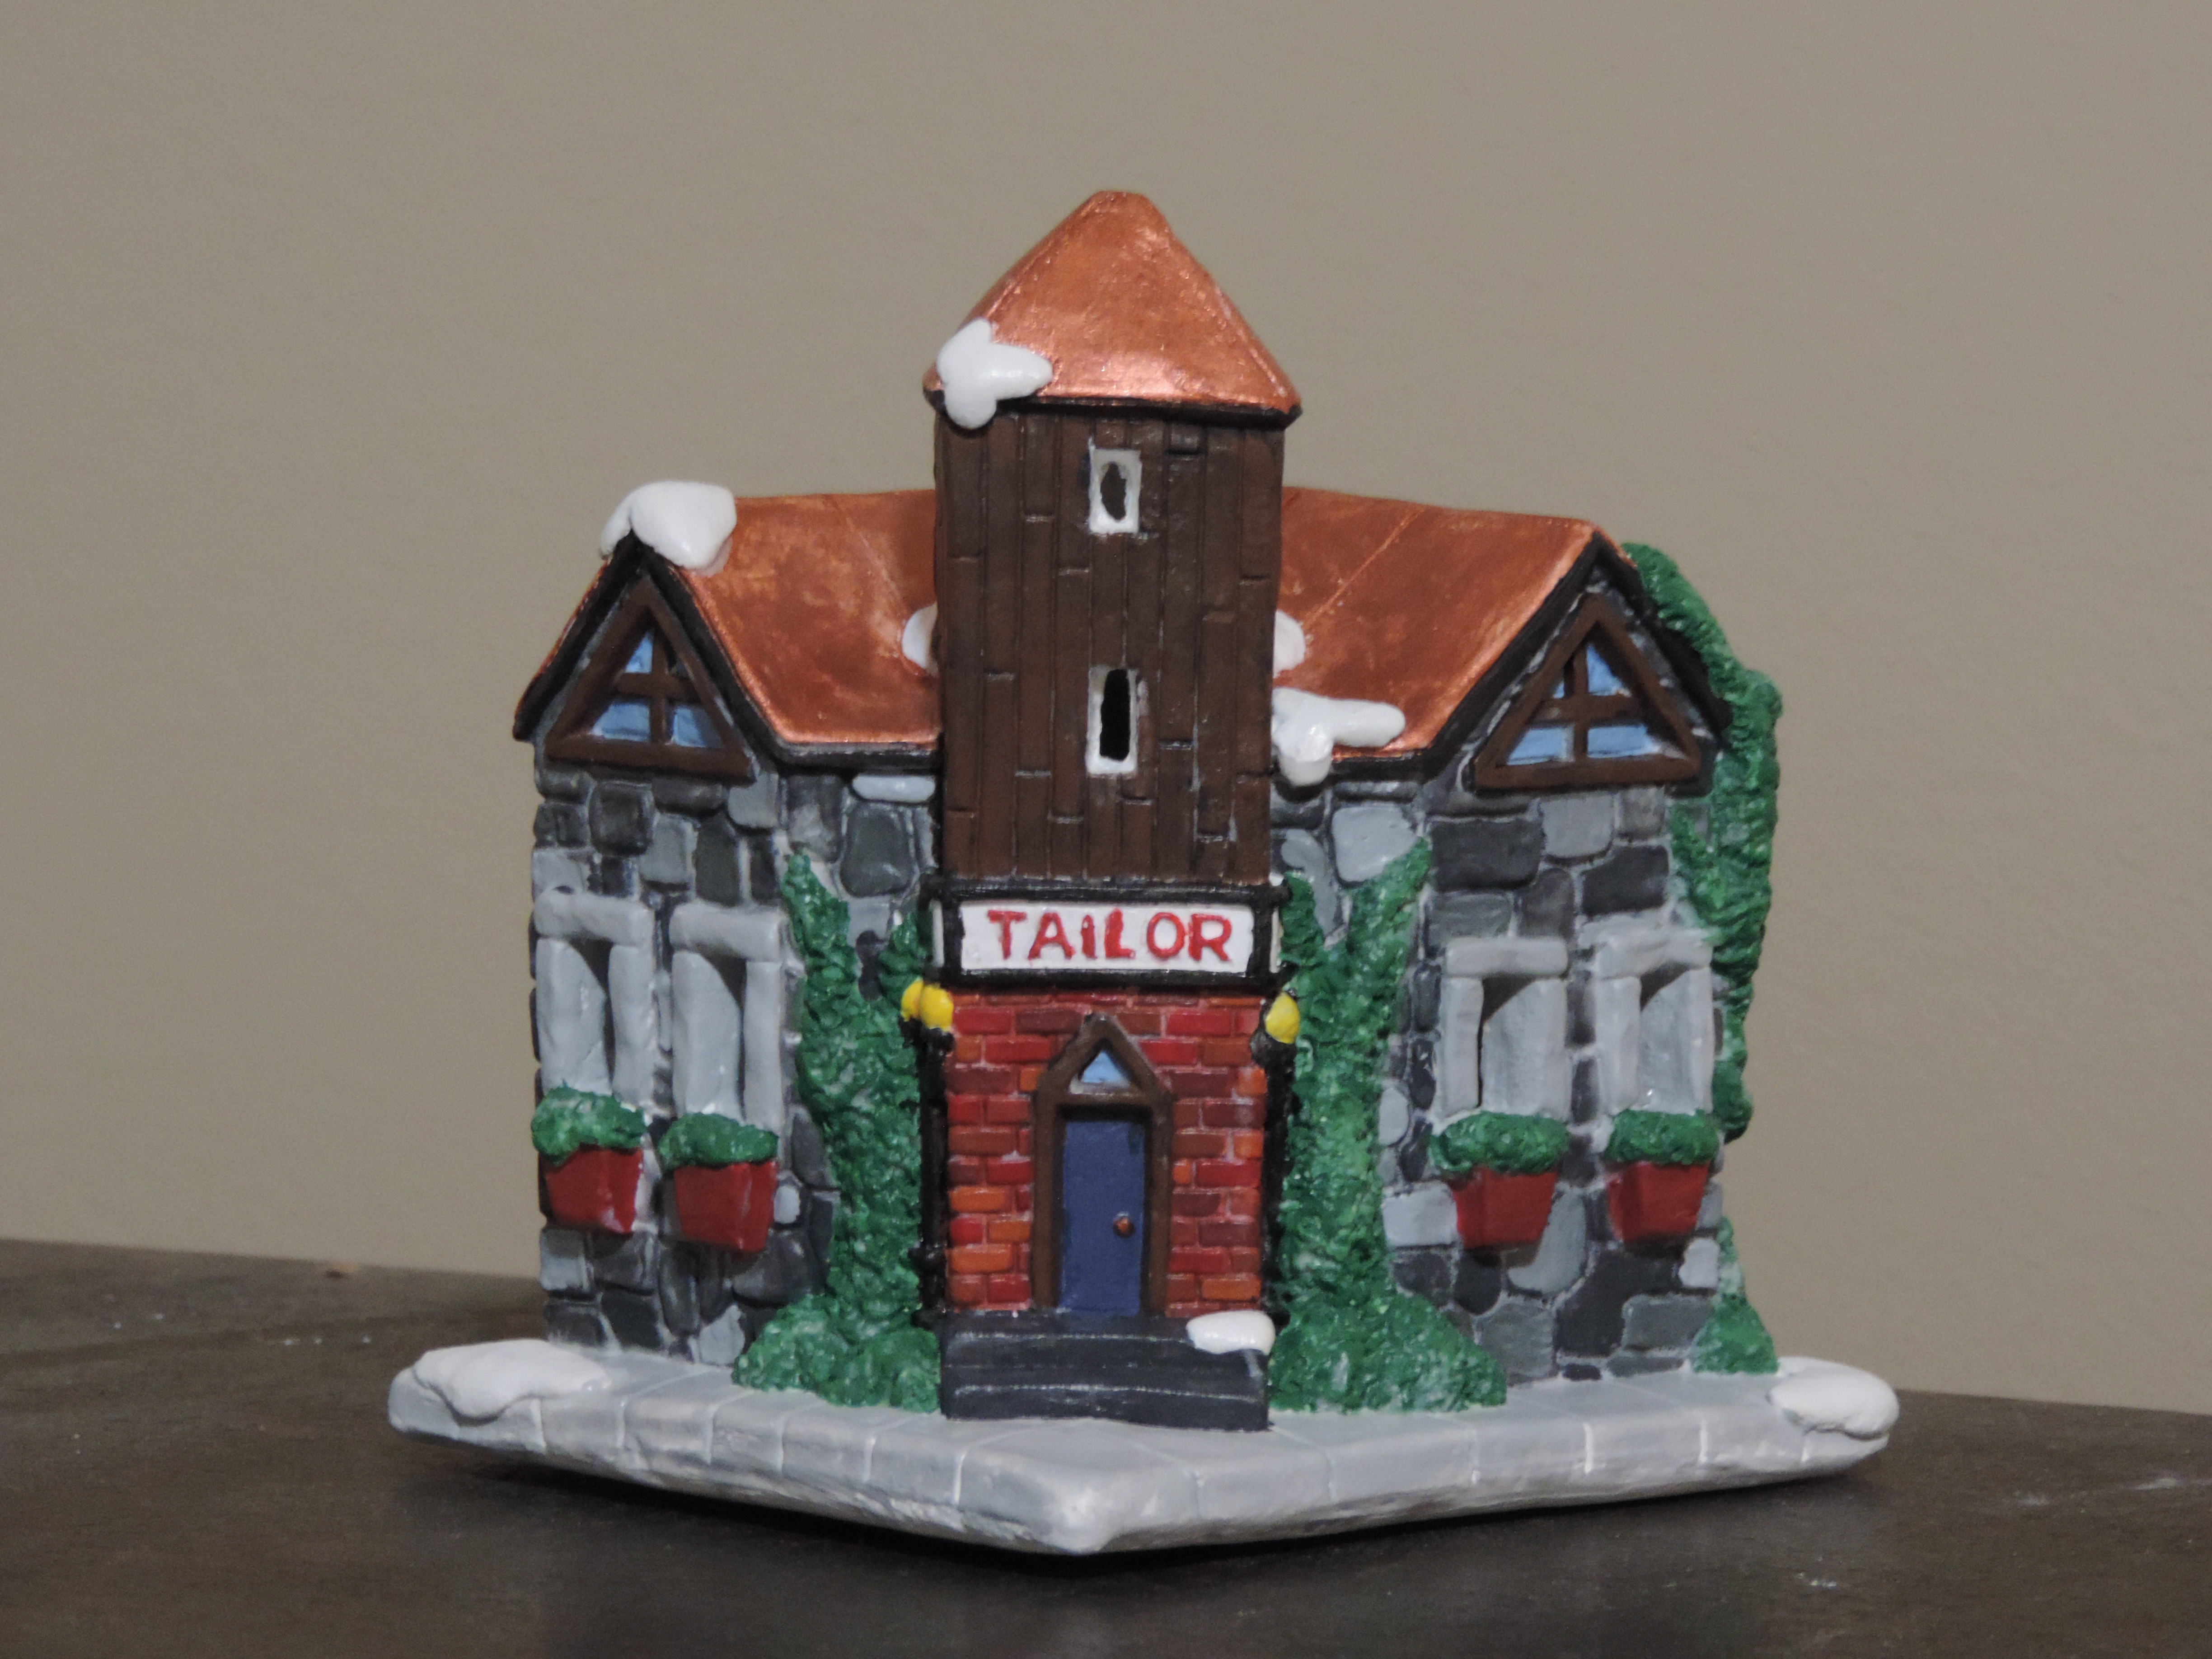
These are California Creations houses. The company went out of business in the early 2000s. Yes, these have been in storage waiting for me to paint them.
Here are my latest vases done with polymer clay. I took some blue and mixed in a little black to get the dark blue color. I wrapped the glass vases with the dark blue and added the flowers. I wanted the vases to have an oriental feel to them.
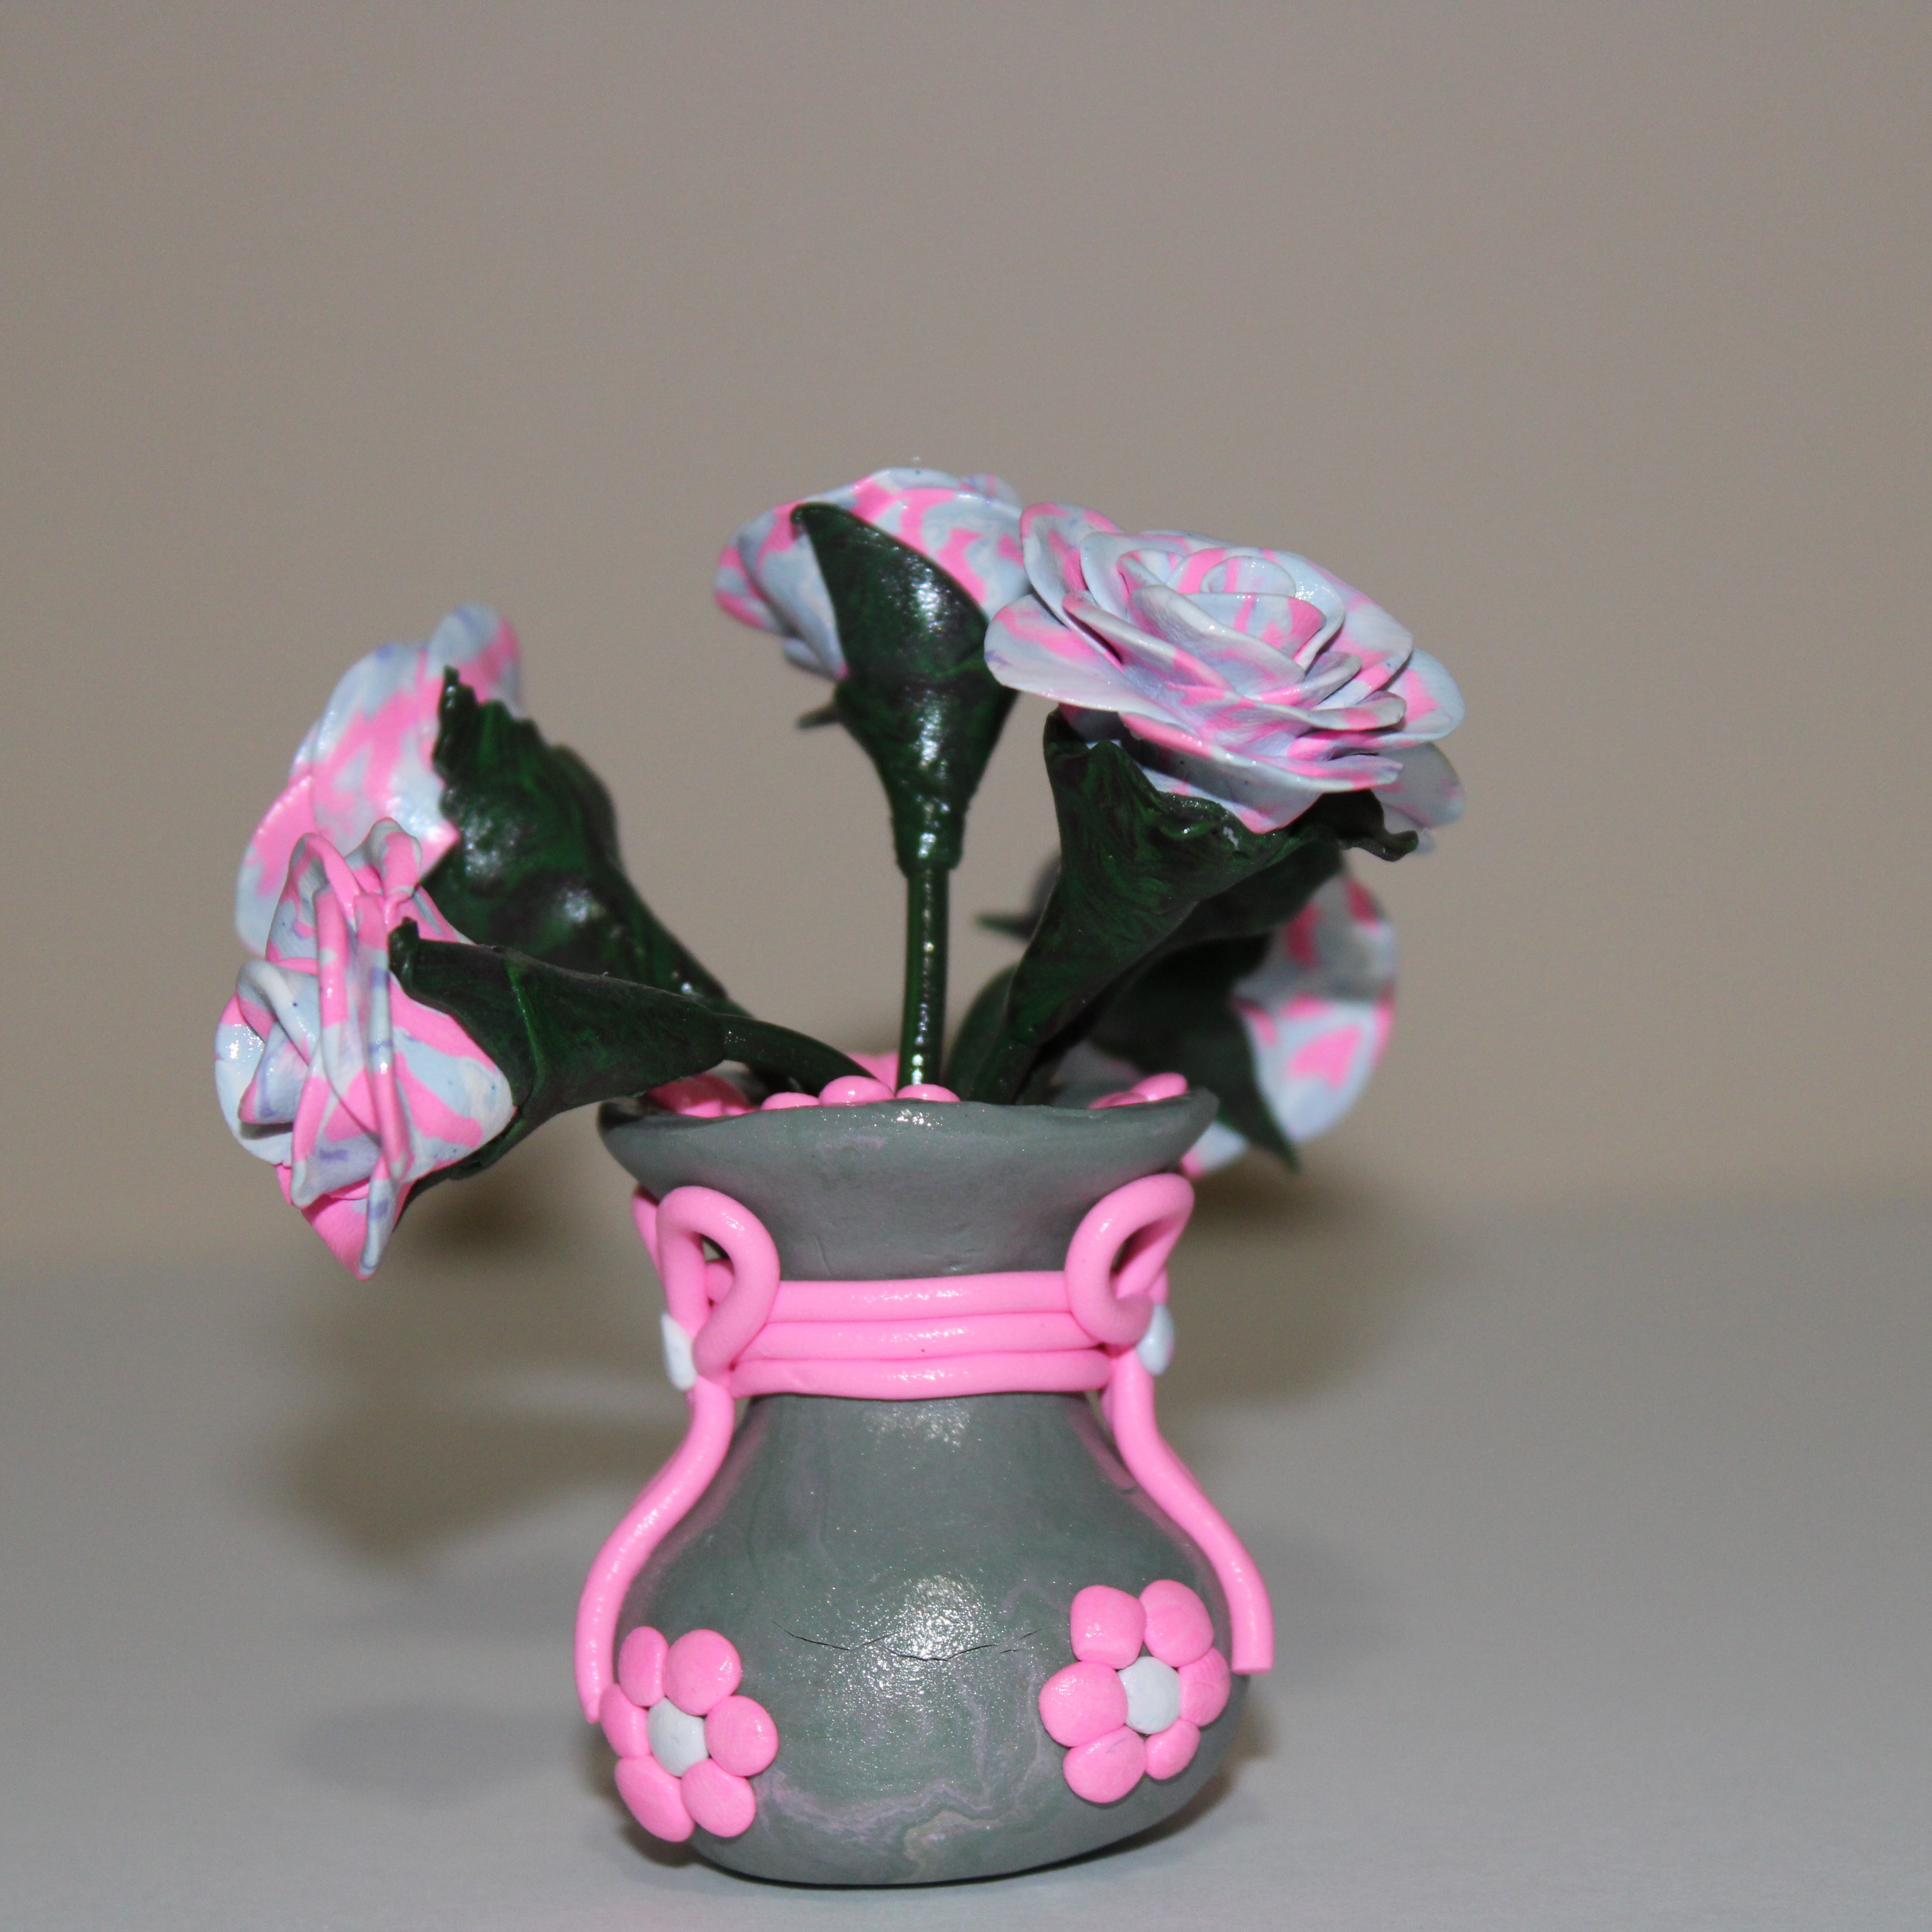
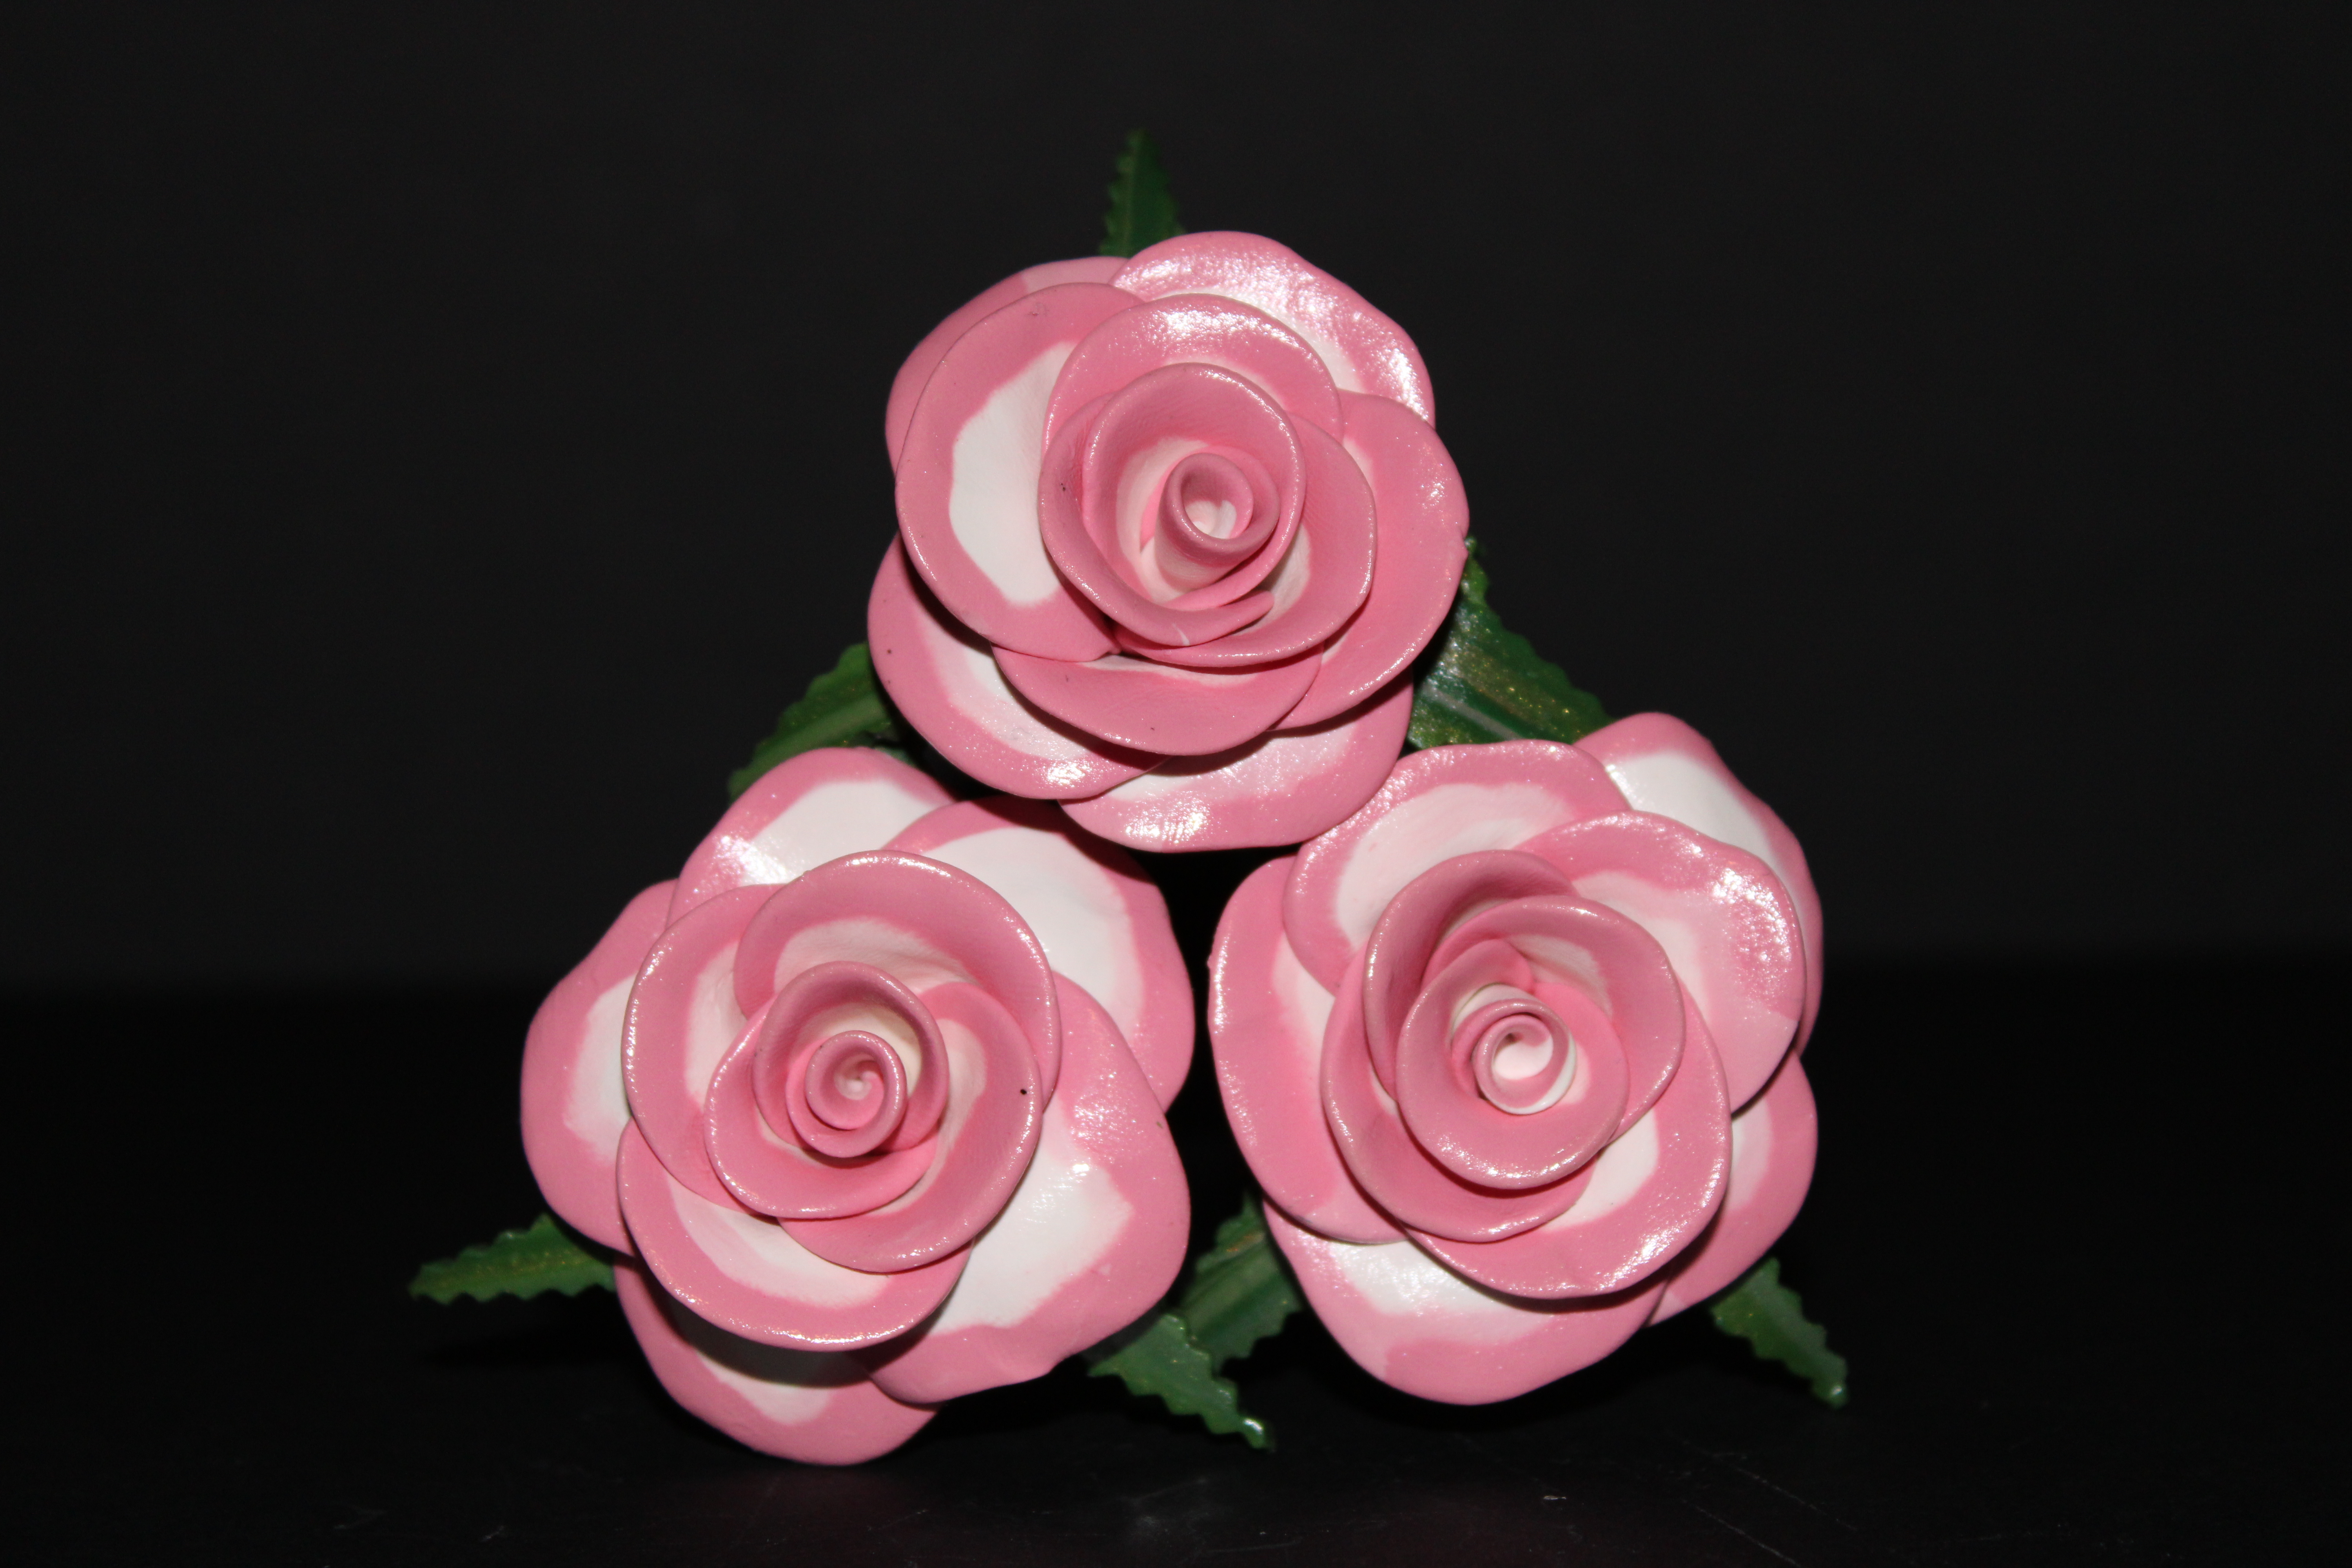
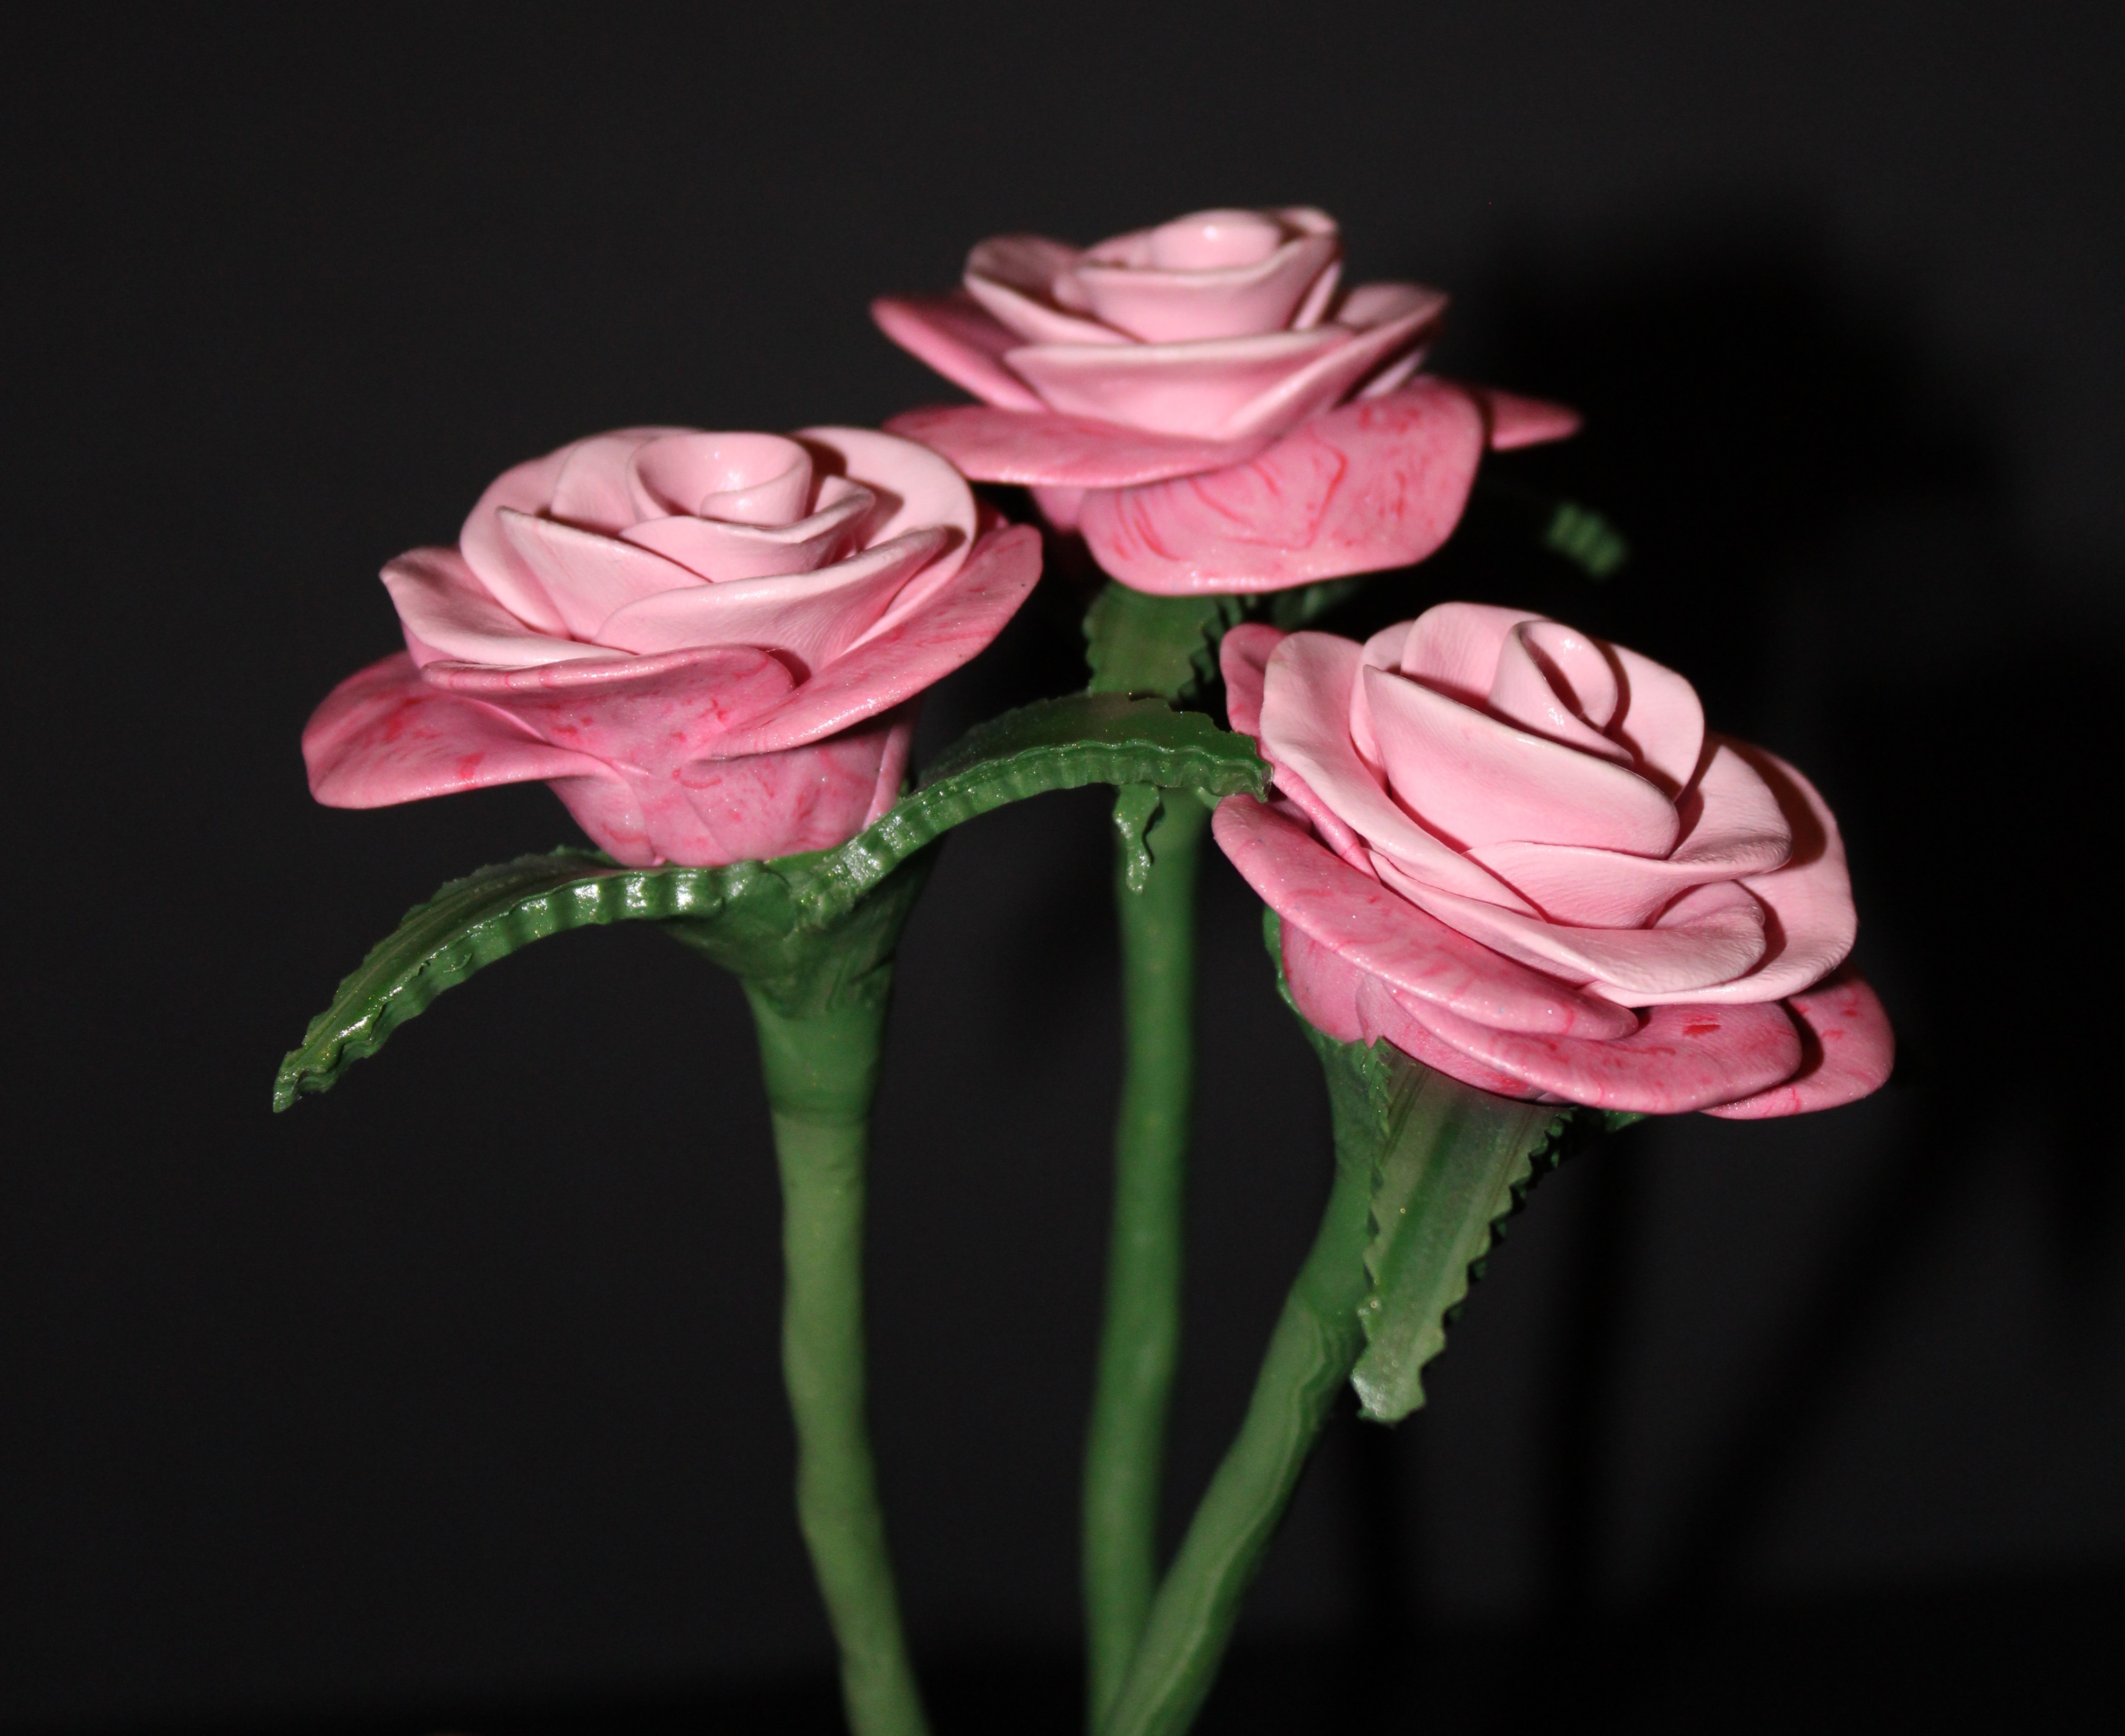
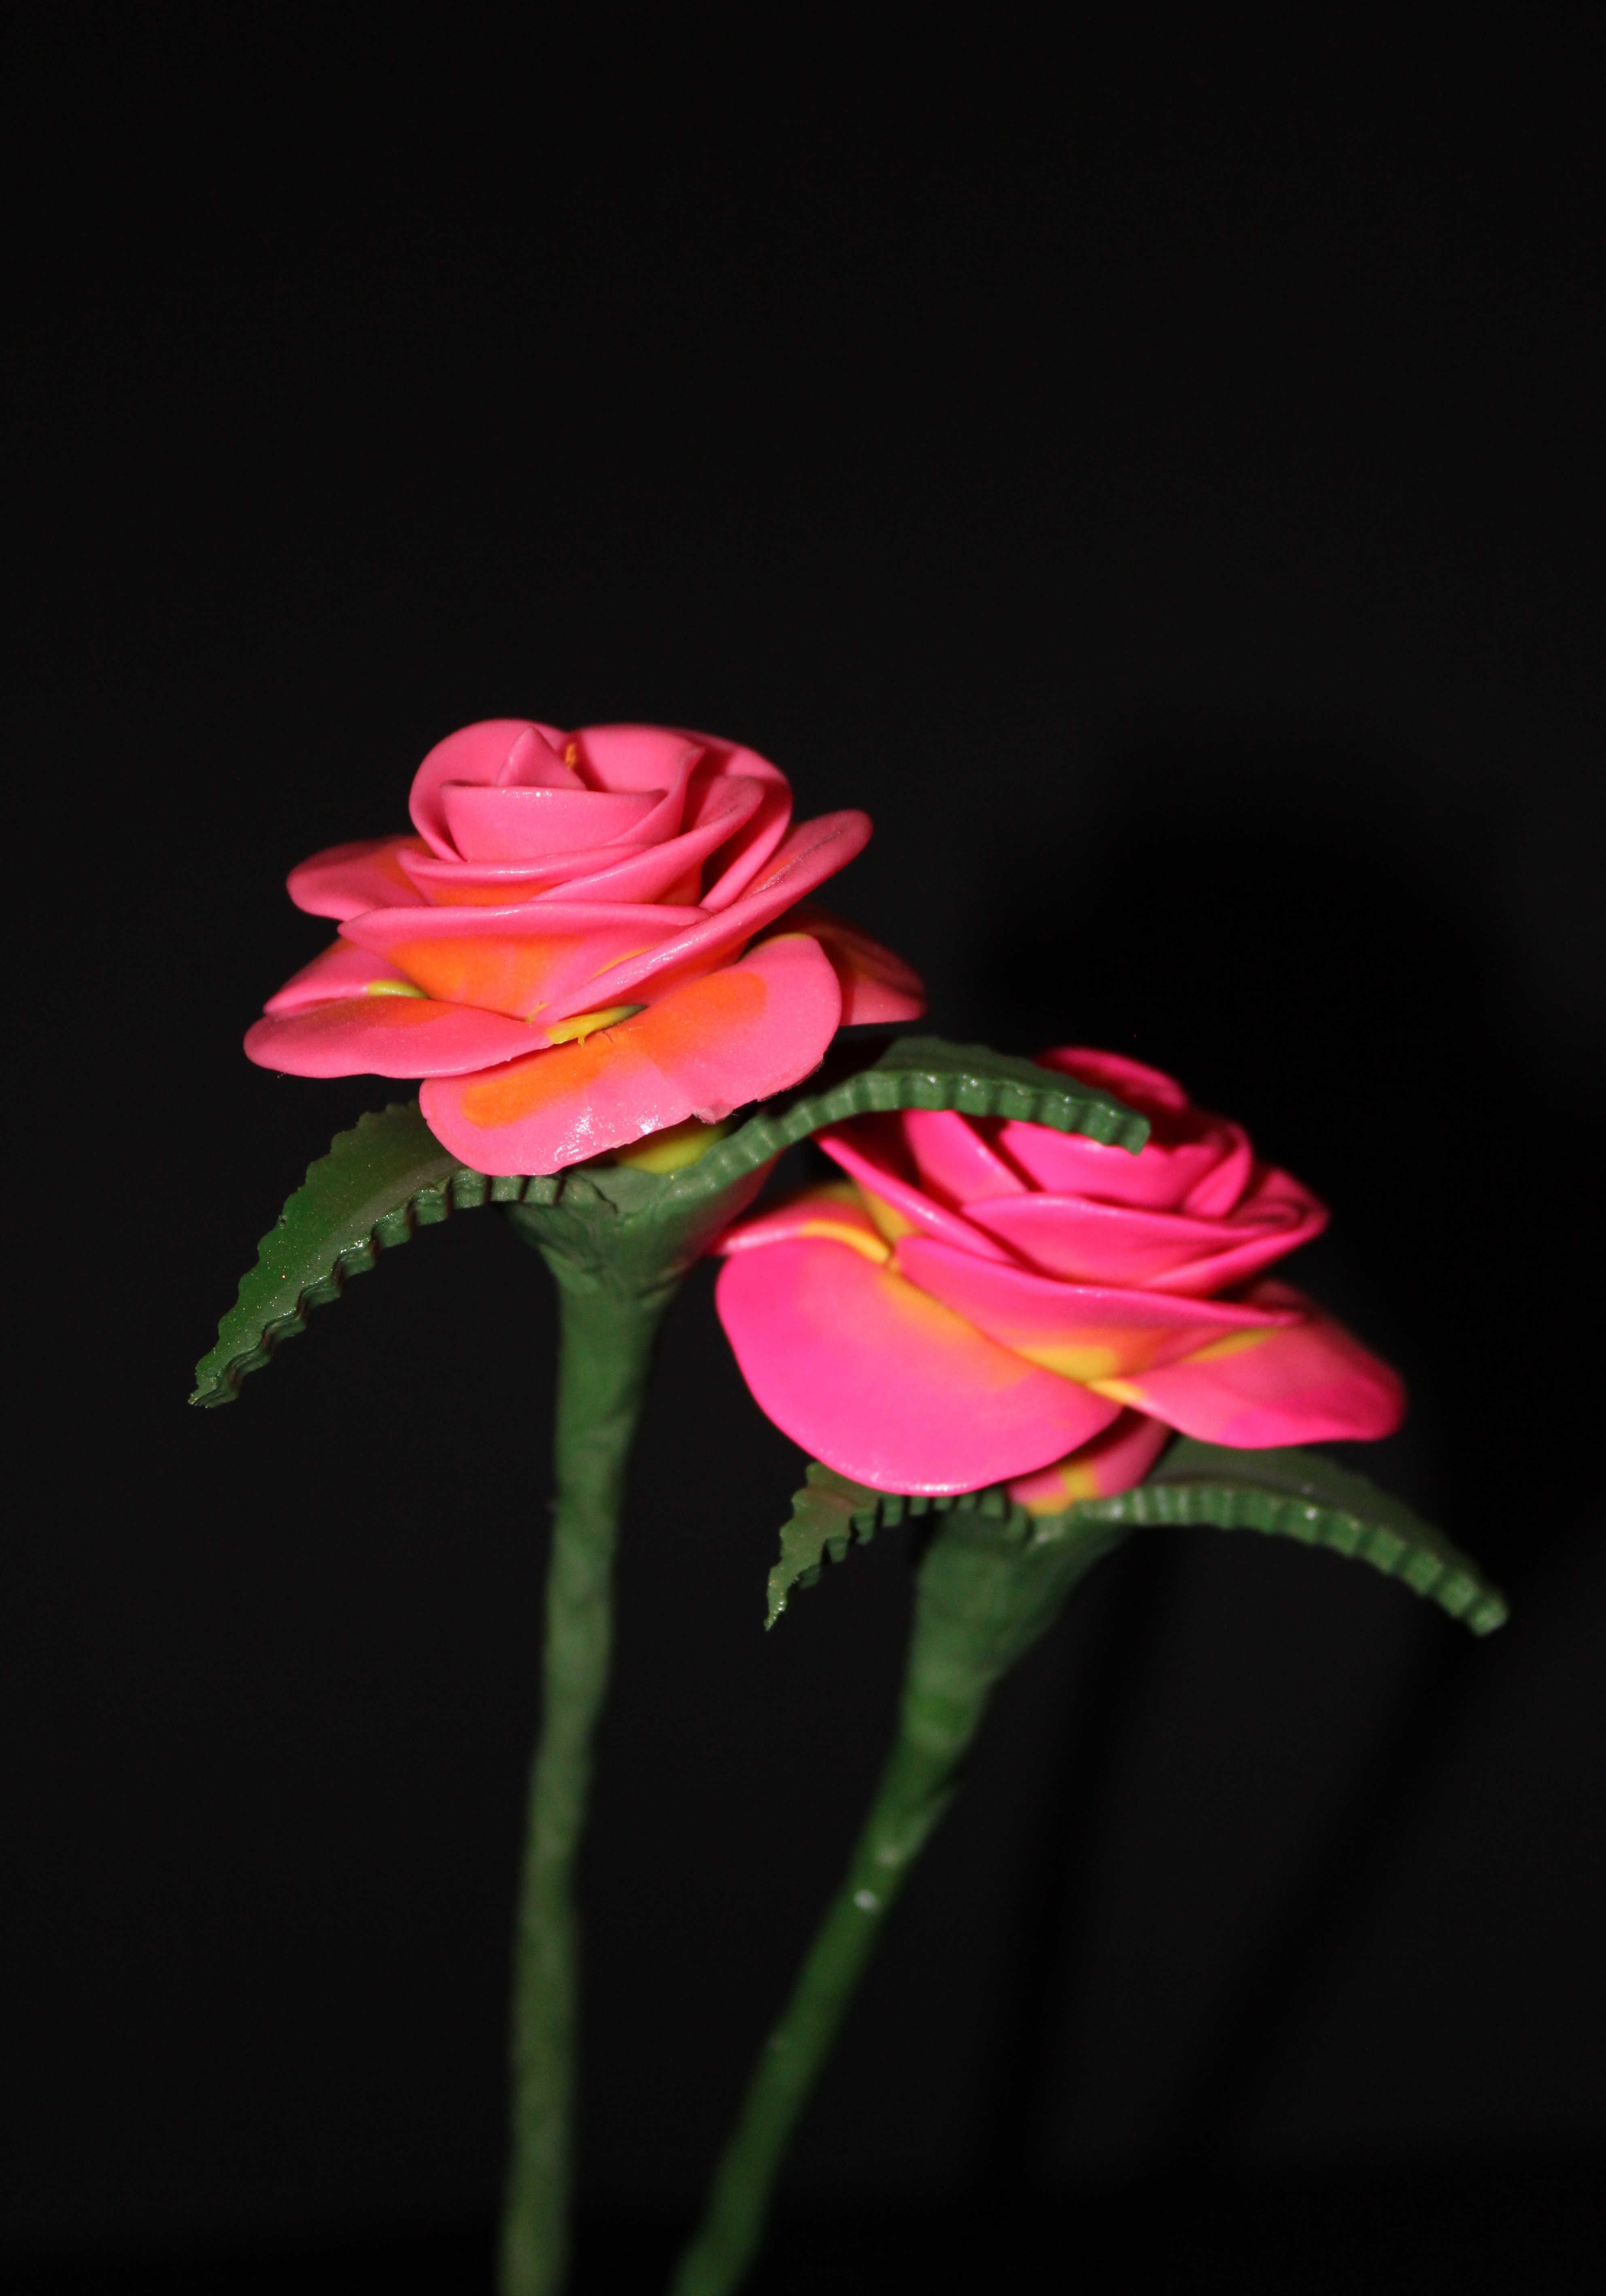
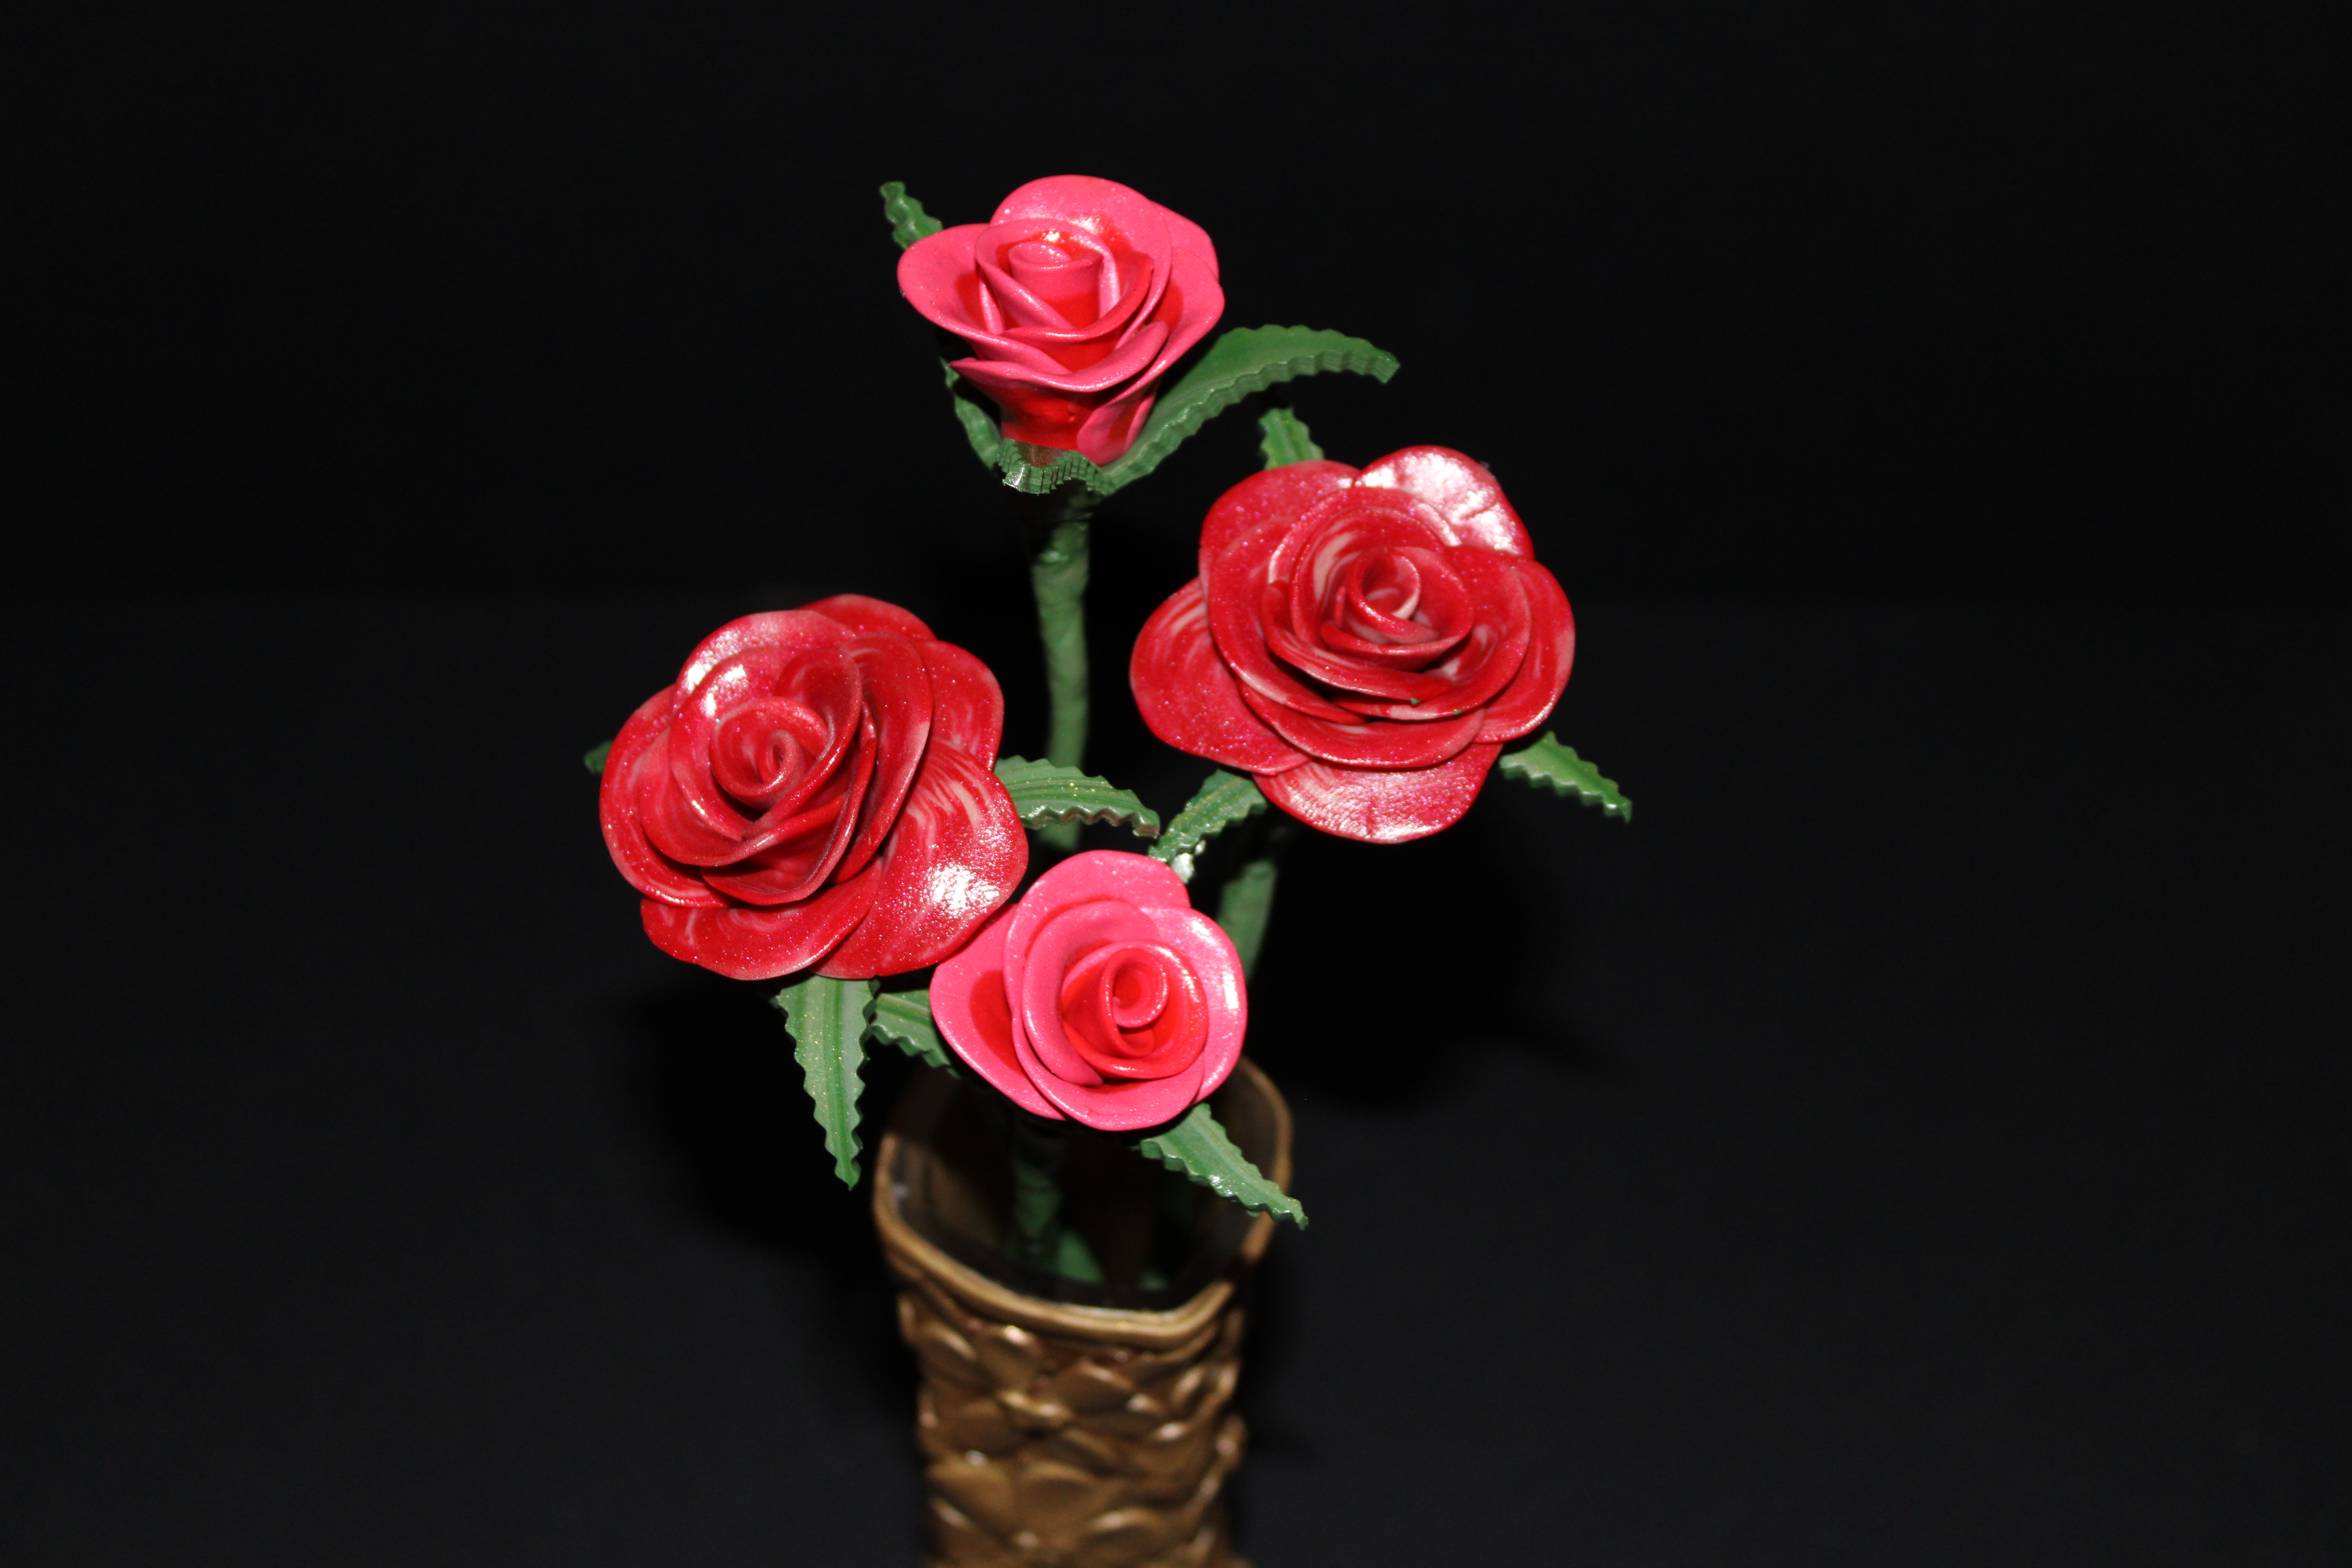
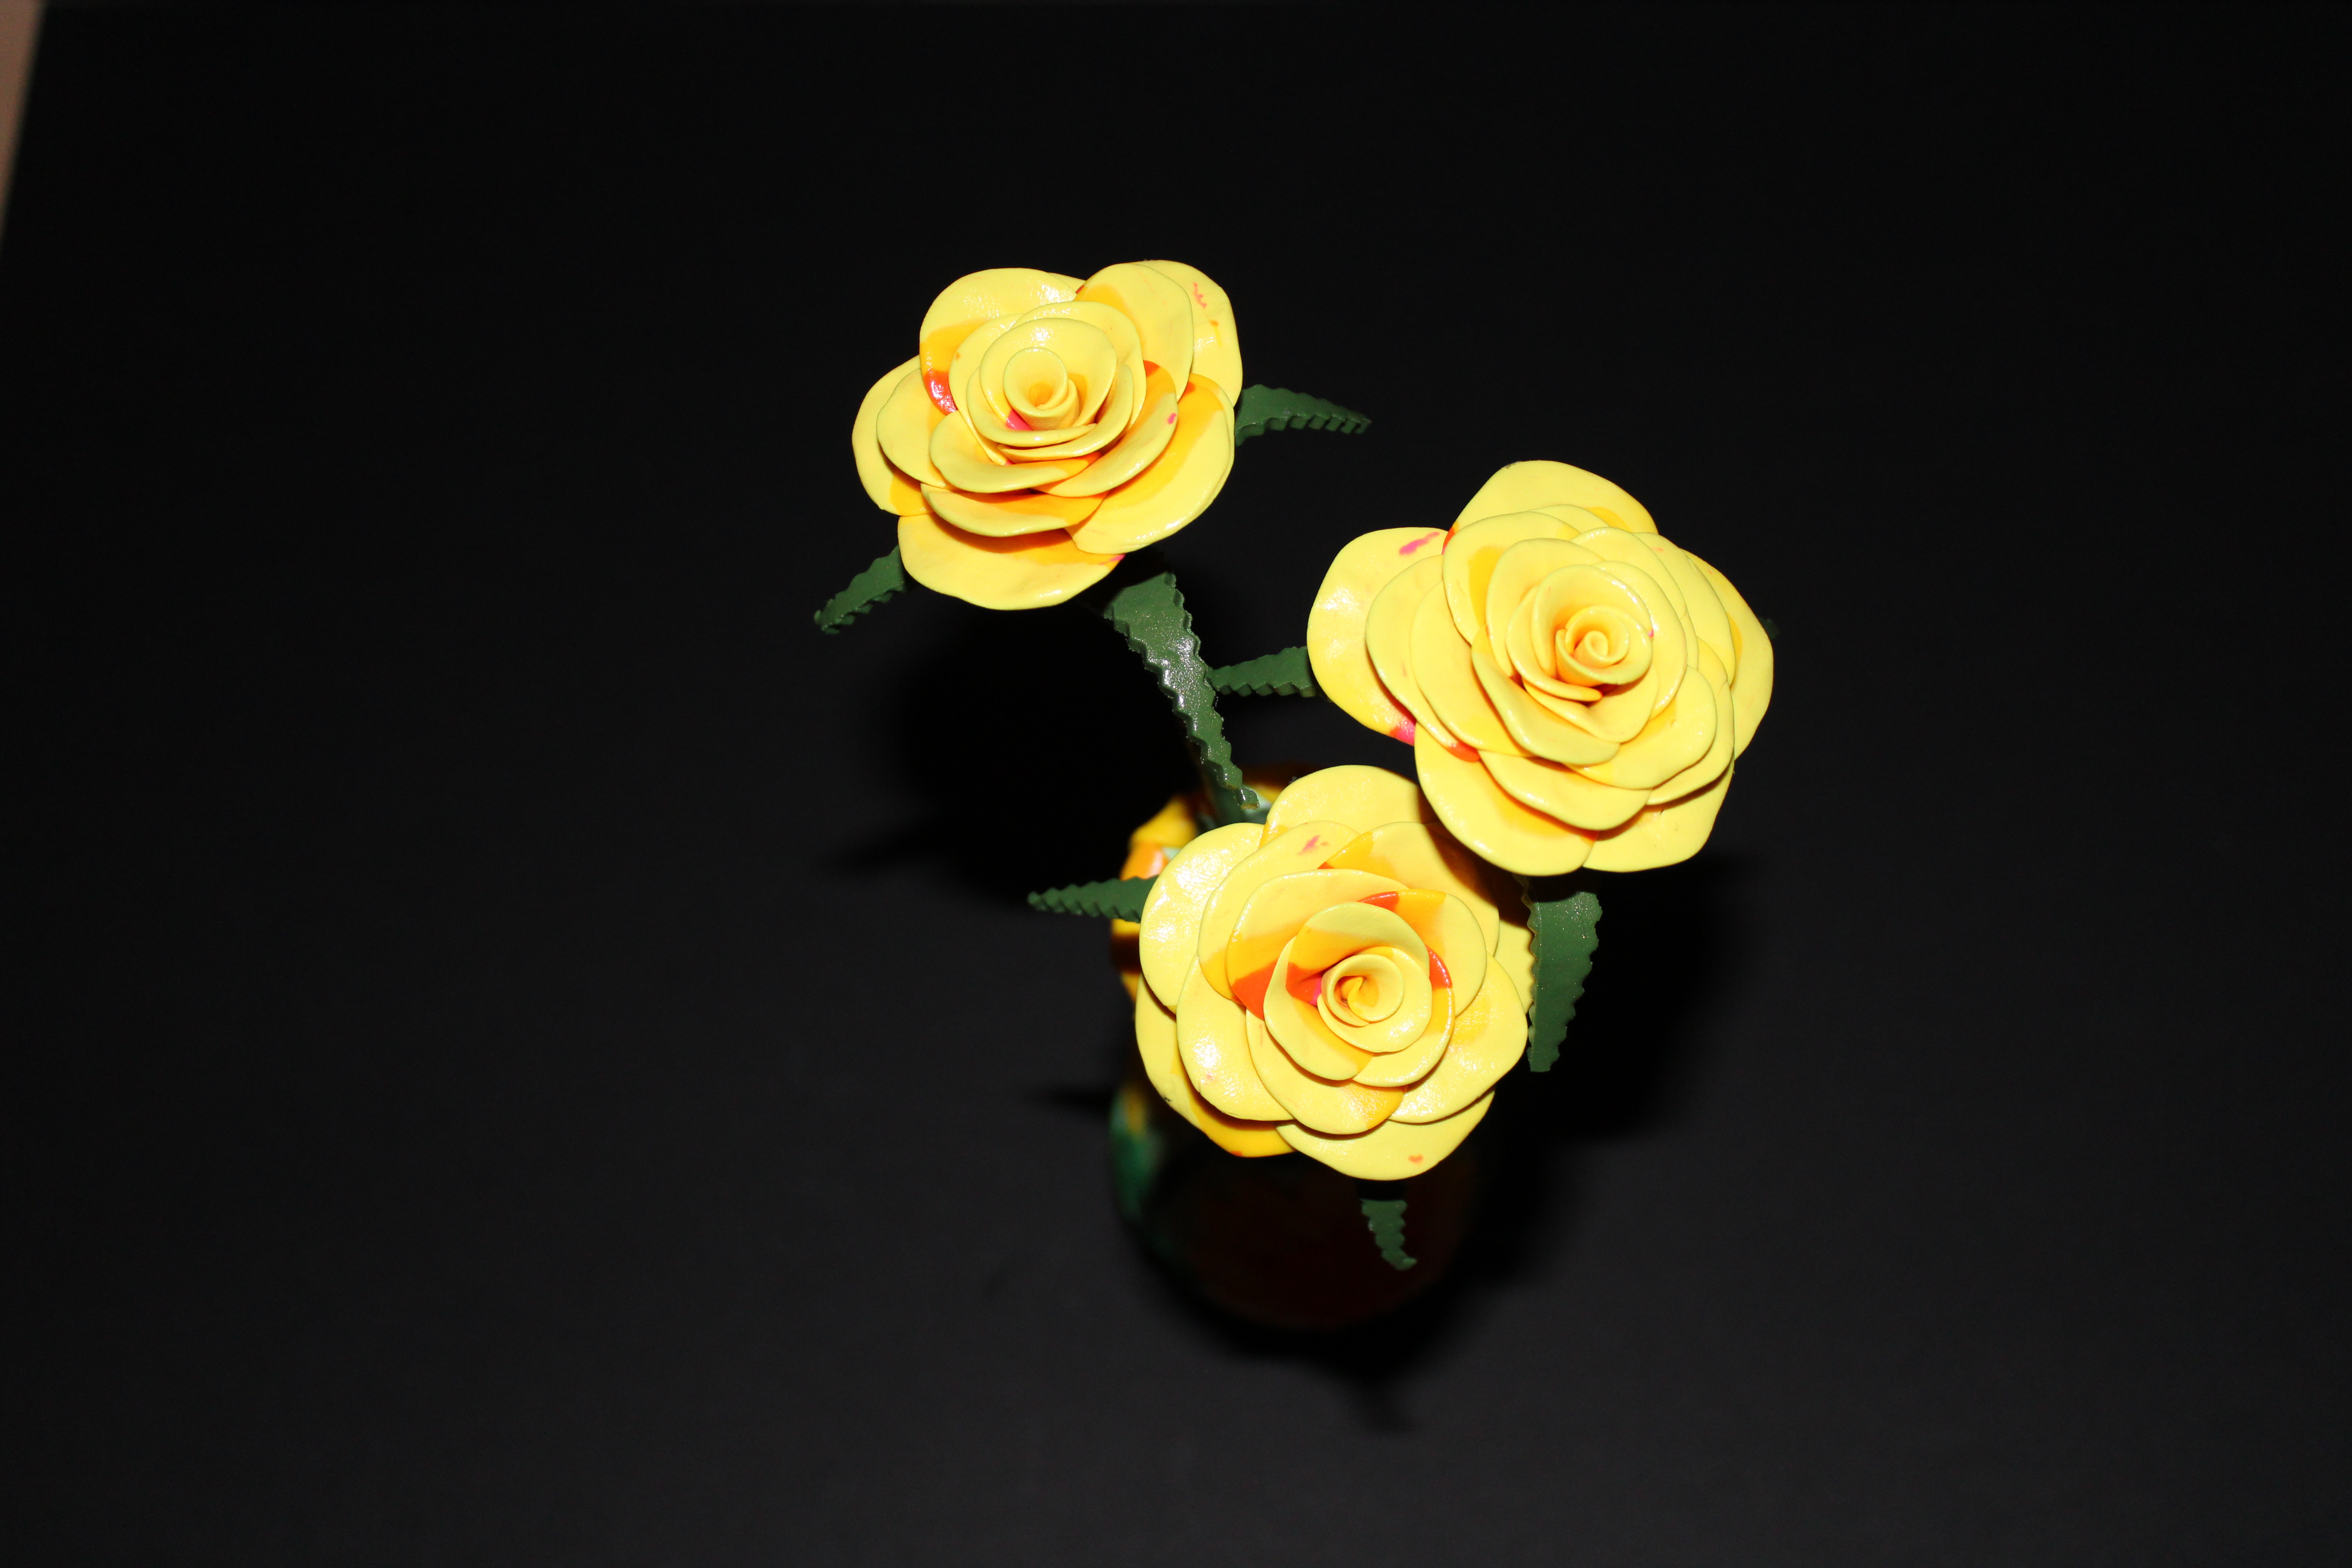
Below are batches 2, 3, 4, 5, 6 and 7 of my polymer clay roses with leaves and stems.
Batch 2:
I took some white clay and blended one edge with some pink clay. The leaves and stems contains three shades of green and gold clay.
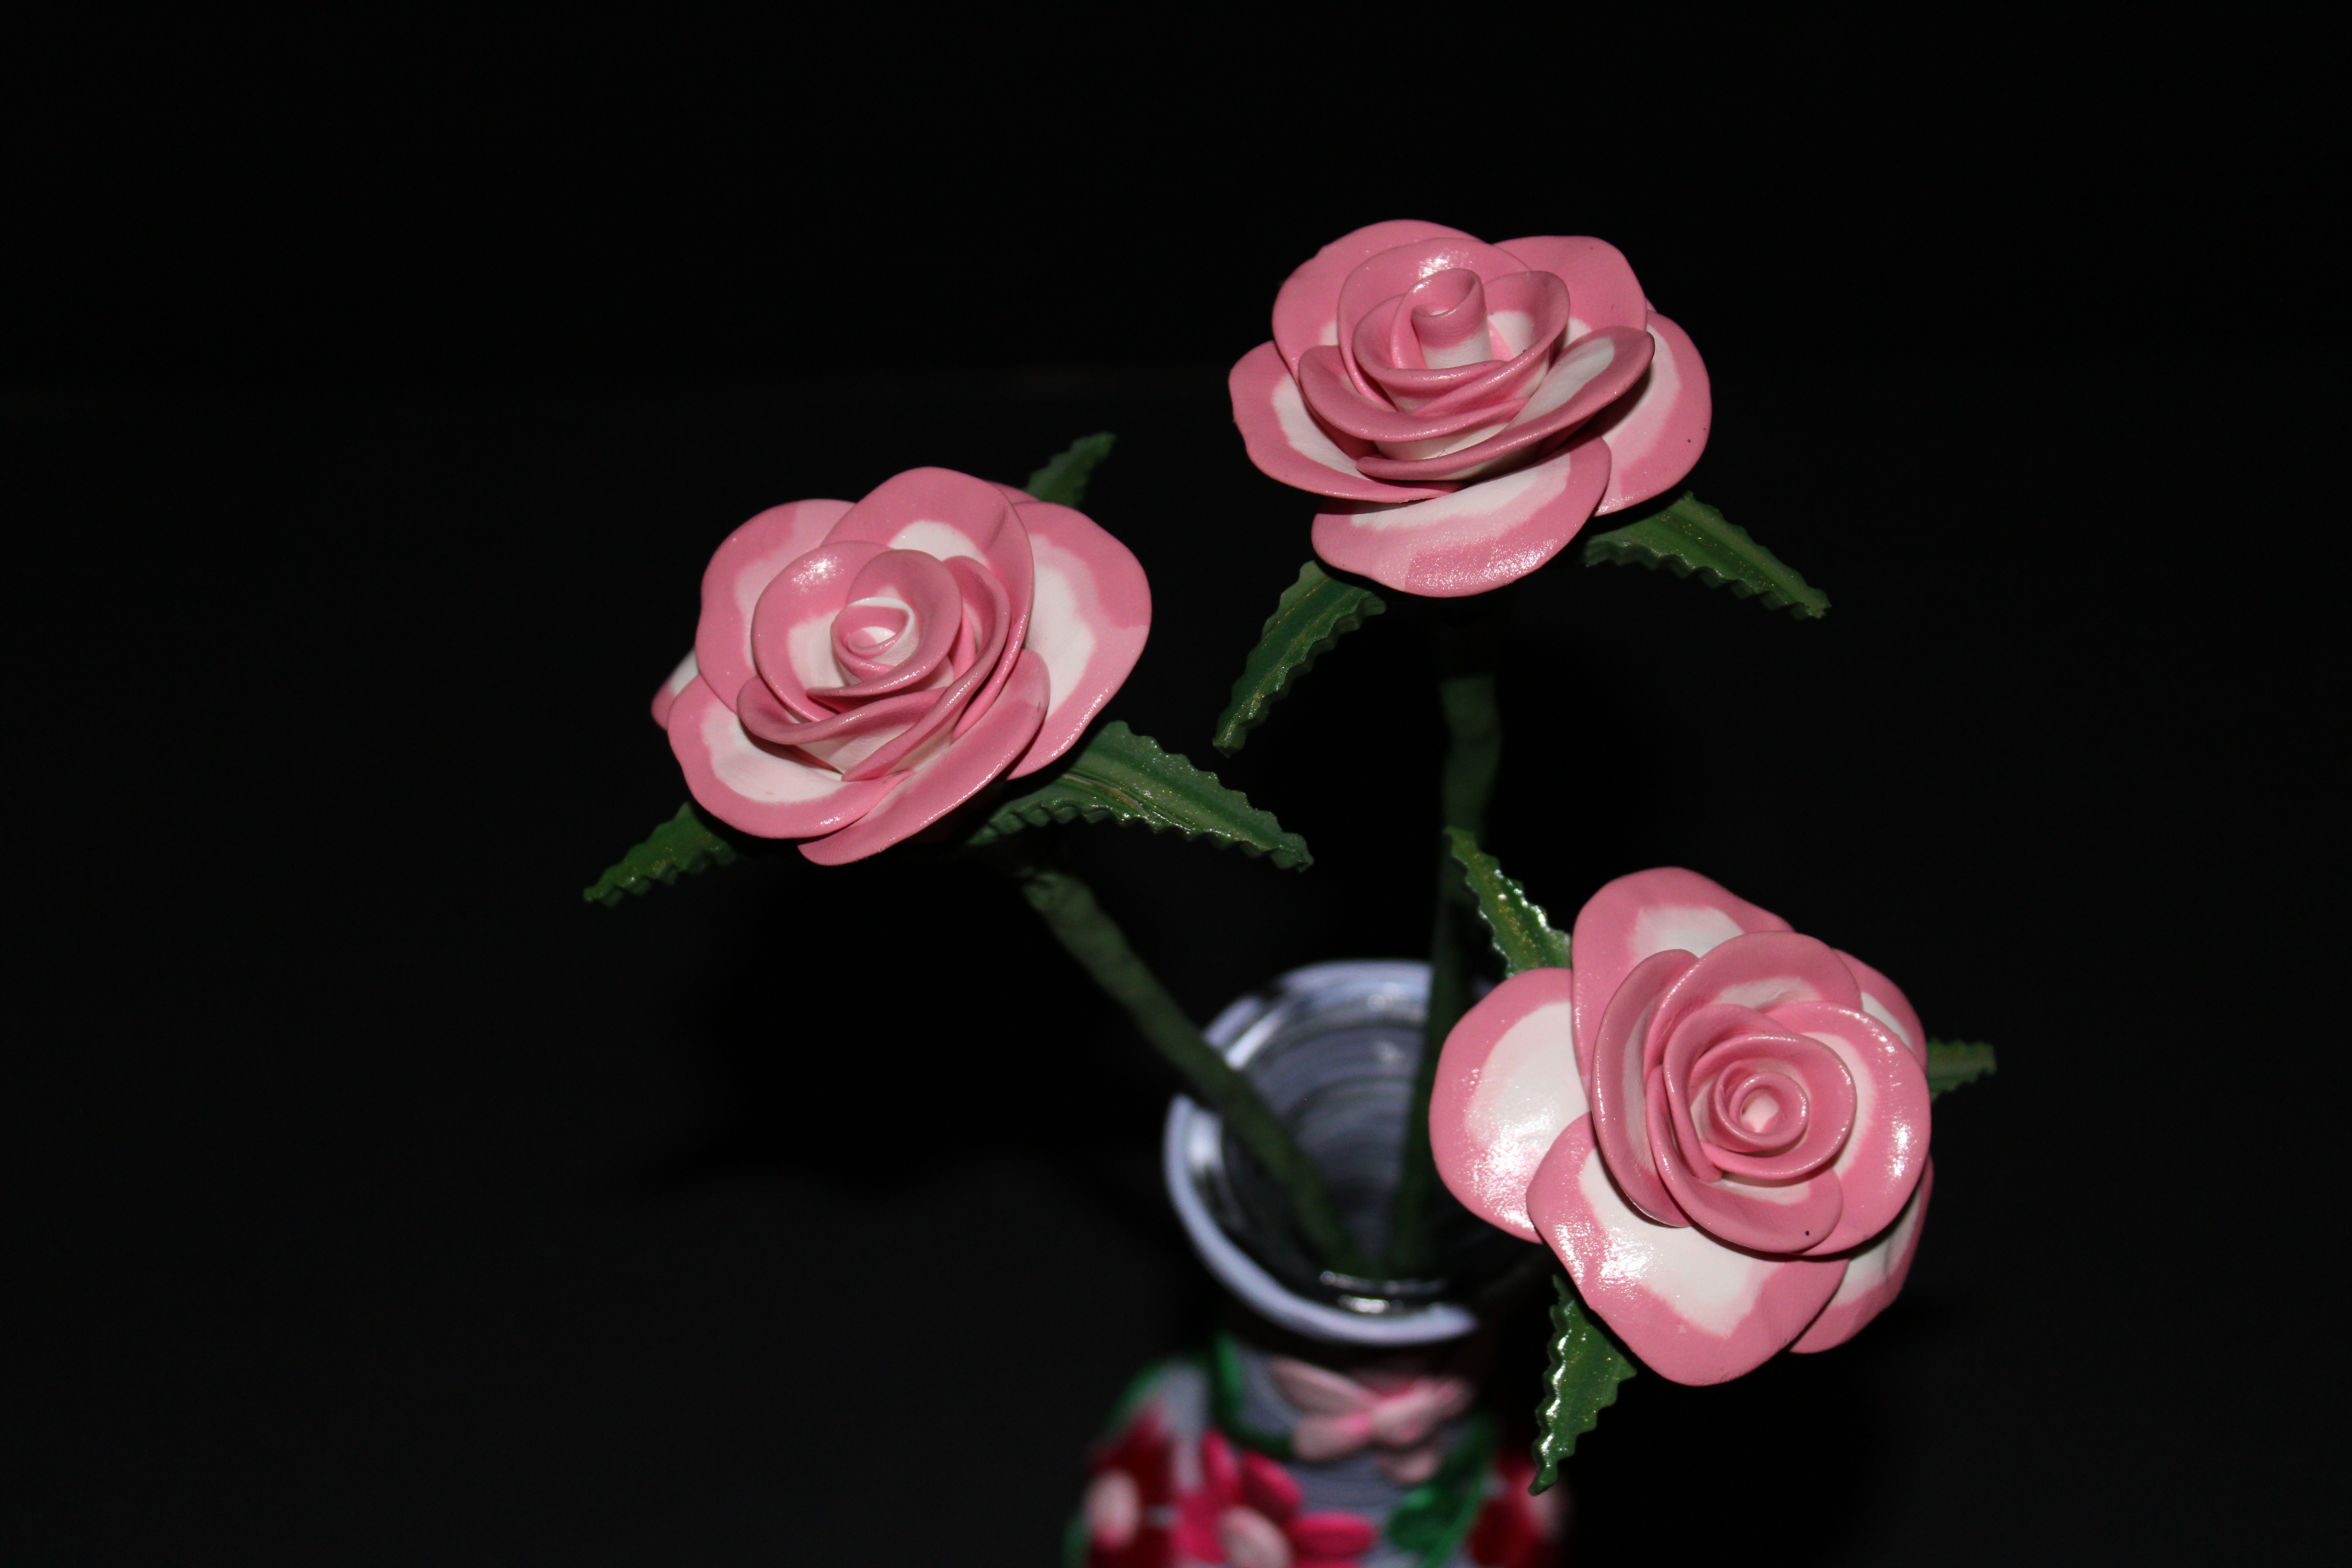
Batch 3:
The center of the roses were made from the clay left over from Batch 2. However, there wasn’t enough for three flowers, so I mix a little red with the pink and white for the outer petals.
Batch 4:
I wanted some flowers that glowed in the dark. I mixed bright pink, yellow, and orange clay with some florescent clay.
Batch 5:
These red roses were also mixed with some florescent clay, but they do not shine as well as the pink roses in Batch 4.
Batch 6:
I had just finished the yellow sunflower vase and wanted some yellow roses to put in the vase. But, yellow roses would just be too plain. The rose color from stem to the petal tips are hot pink, orange, yellow, and lemon yellow.
Batch 7:
Some more vase inspired flowers. I used the leftover clay from the vase. I gently it mixed together to make the roses.
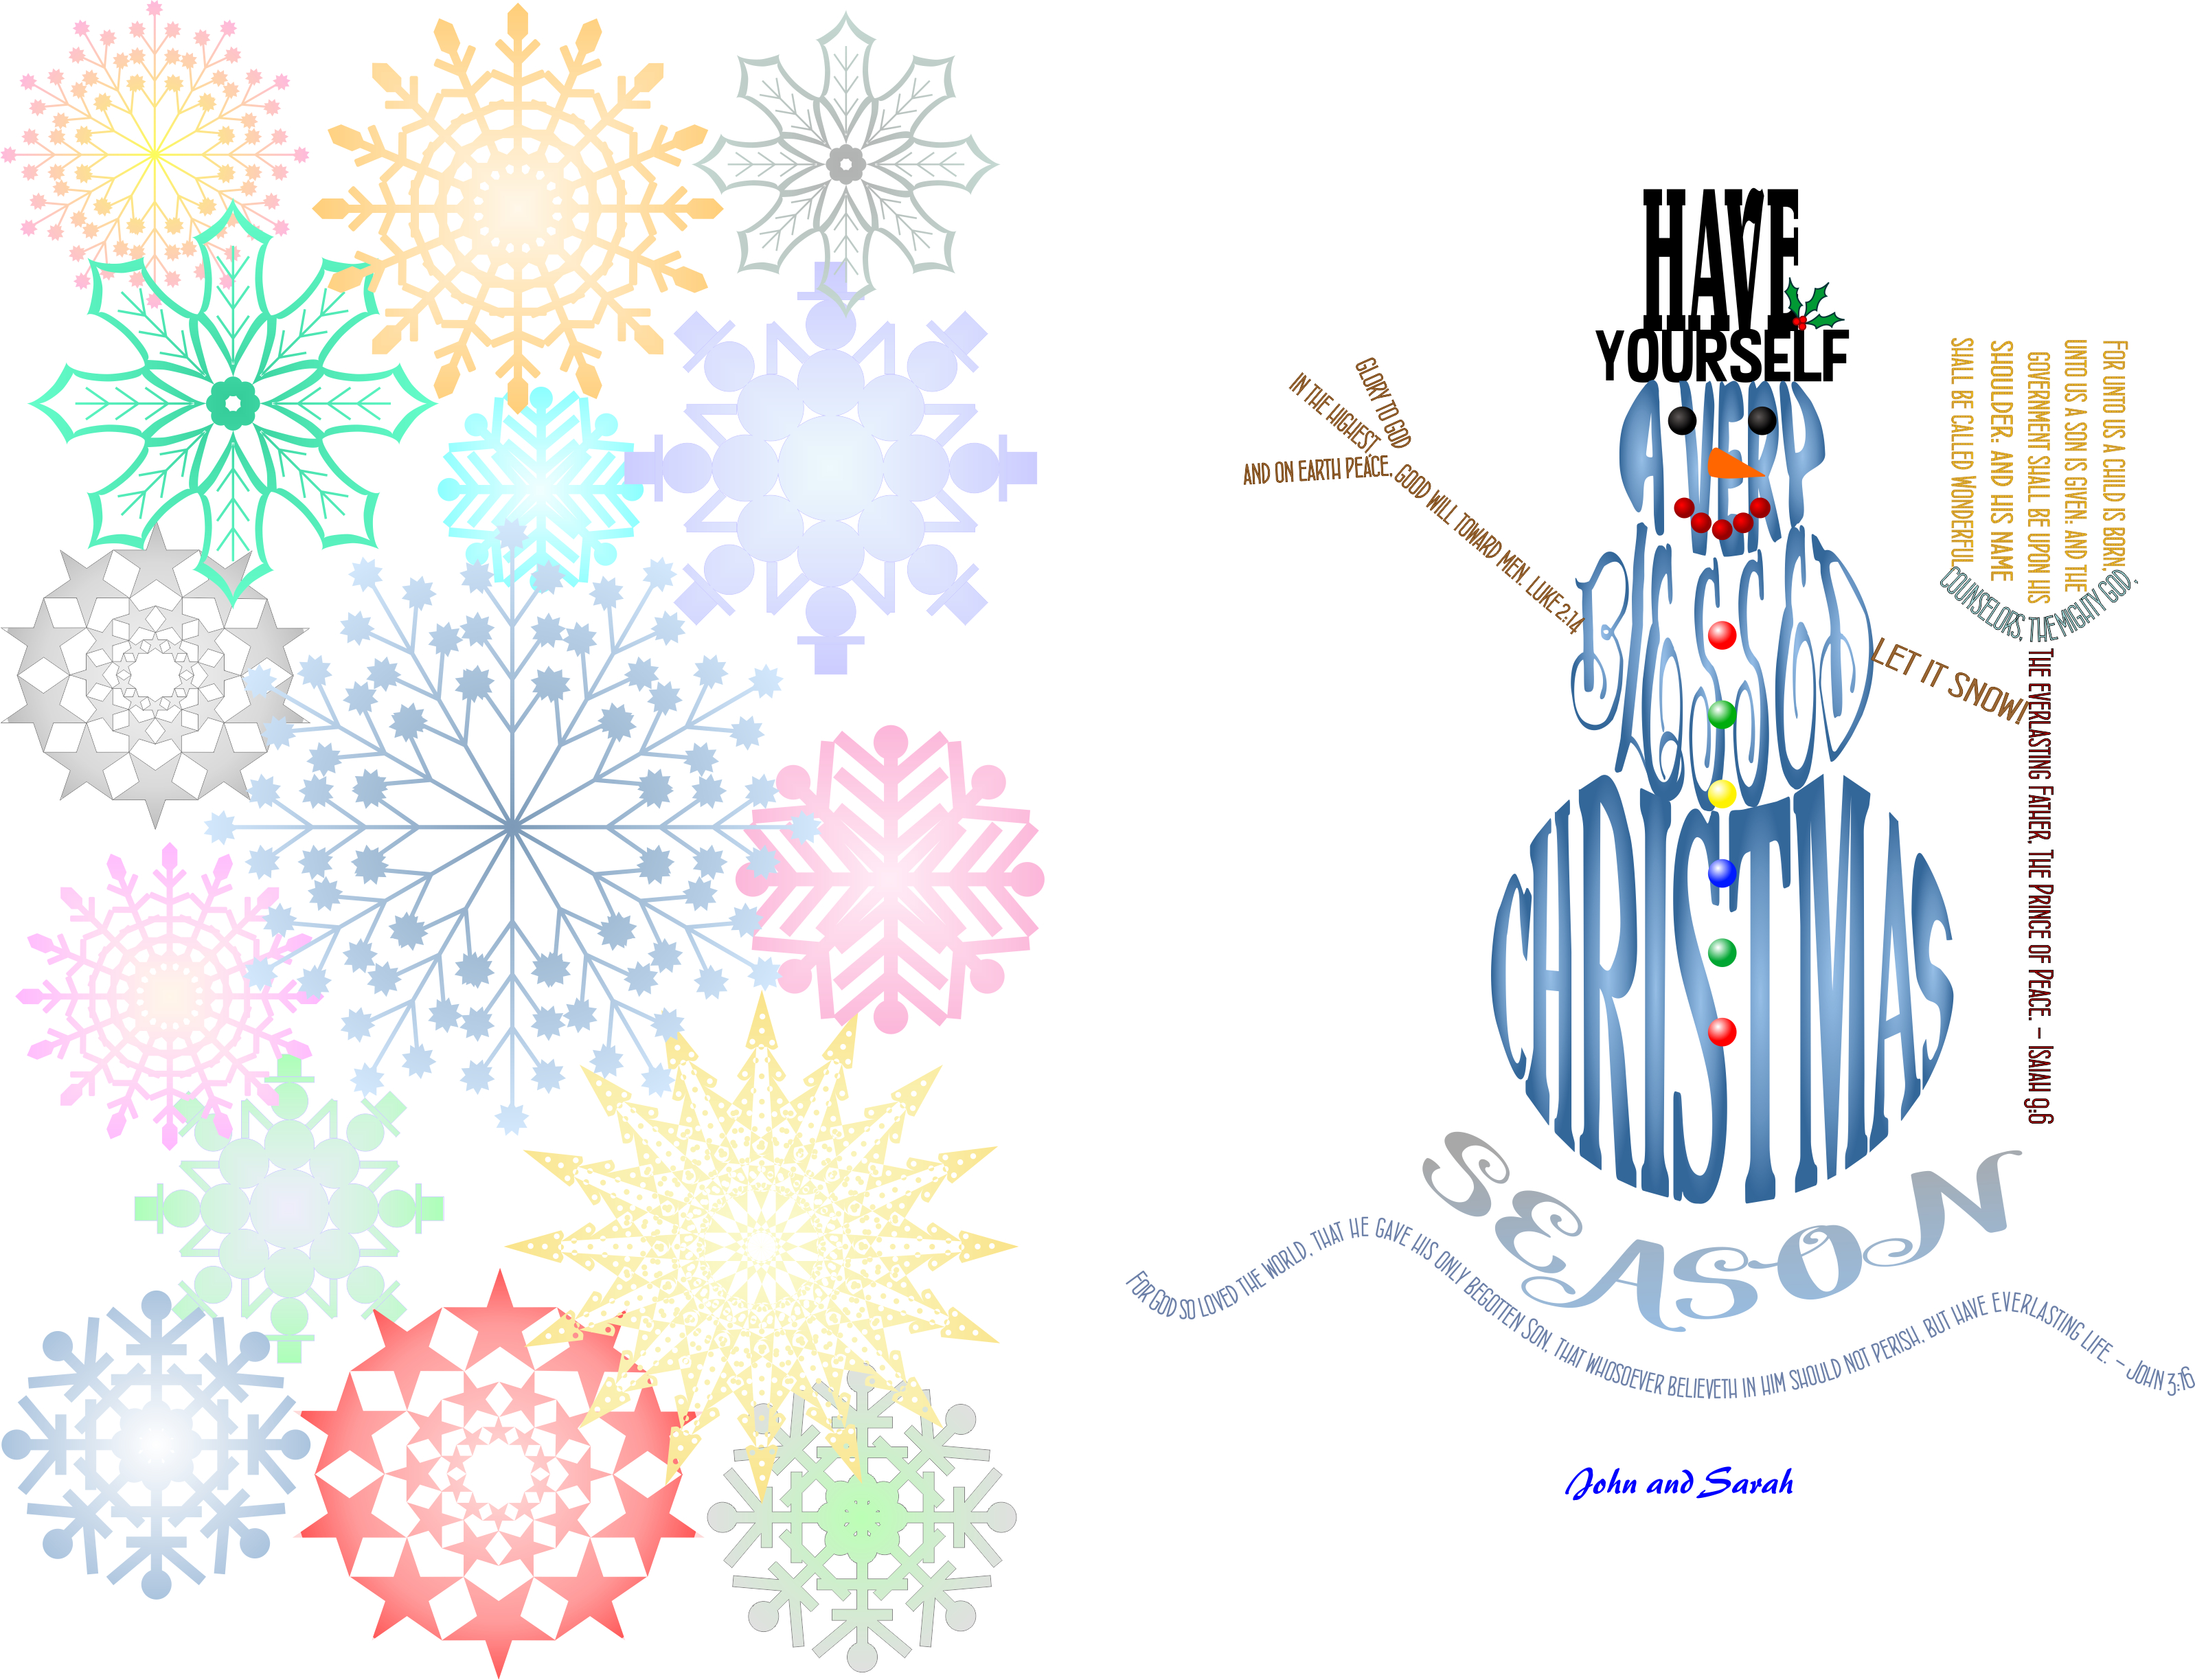
It is the Christmas Season! All the presents are wrapped and all the cards have mailed; it is time that I share with you my Christmas Card of 2017.
I usually start thinking about my Christmas Cards around July. If I wait until Thanksgiving, I sure that disasters will strike and I would be force into buying Christmas cards from the store. This year the ideal was a Snow Globe Christmas card. I researched the ideal and knew it was possible.
But, I didn’t really want to put a piece of plastic wrap or it’s equivalent on the card. And, than I found Jullibean Soup’s Large Circles by Hampton Art. It was a quick Click and Order from Amazon. Once the circles came in, I started to work on the card.
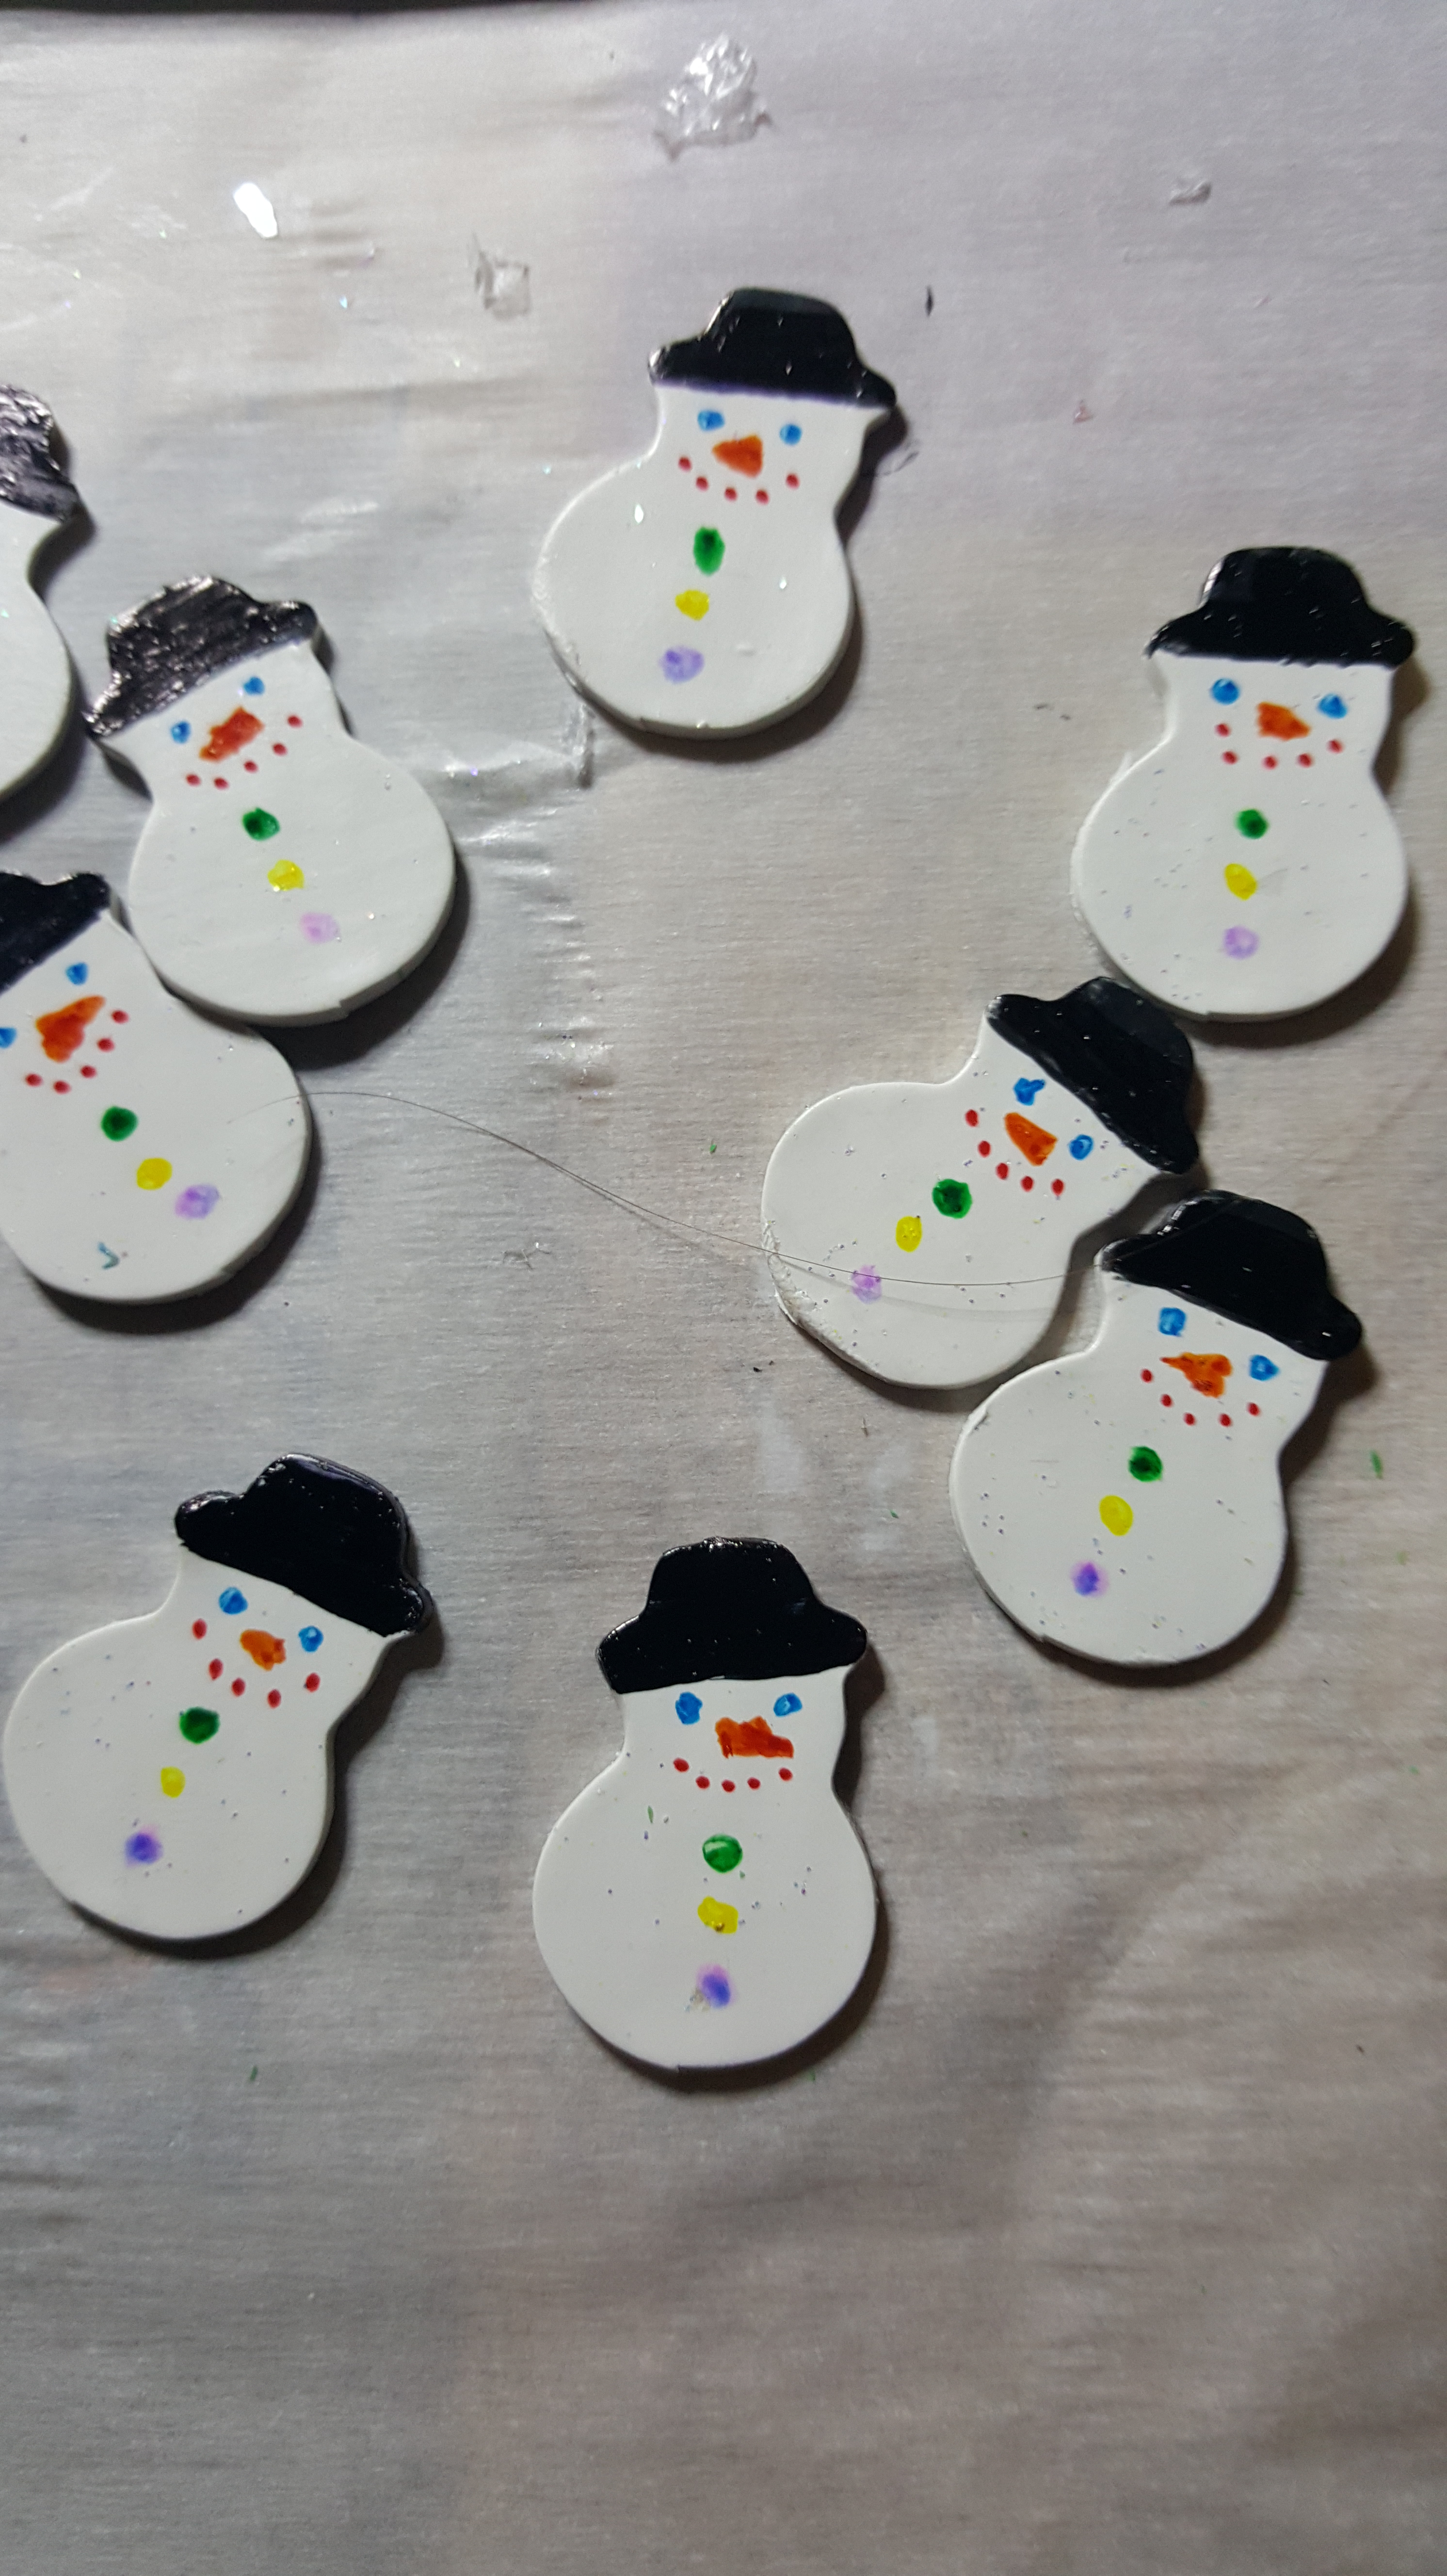
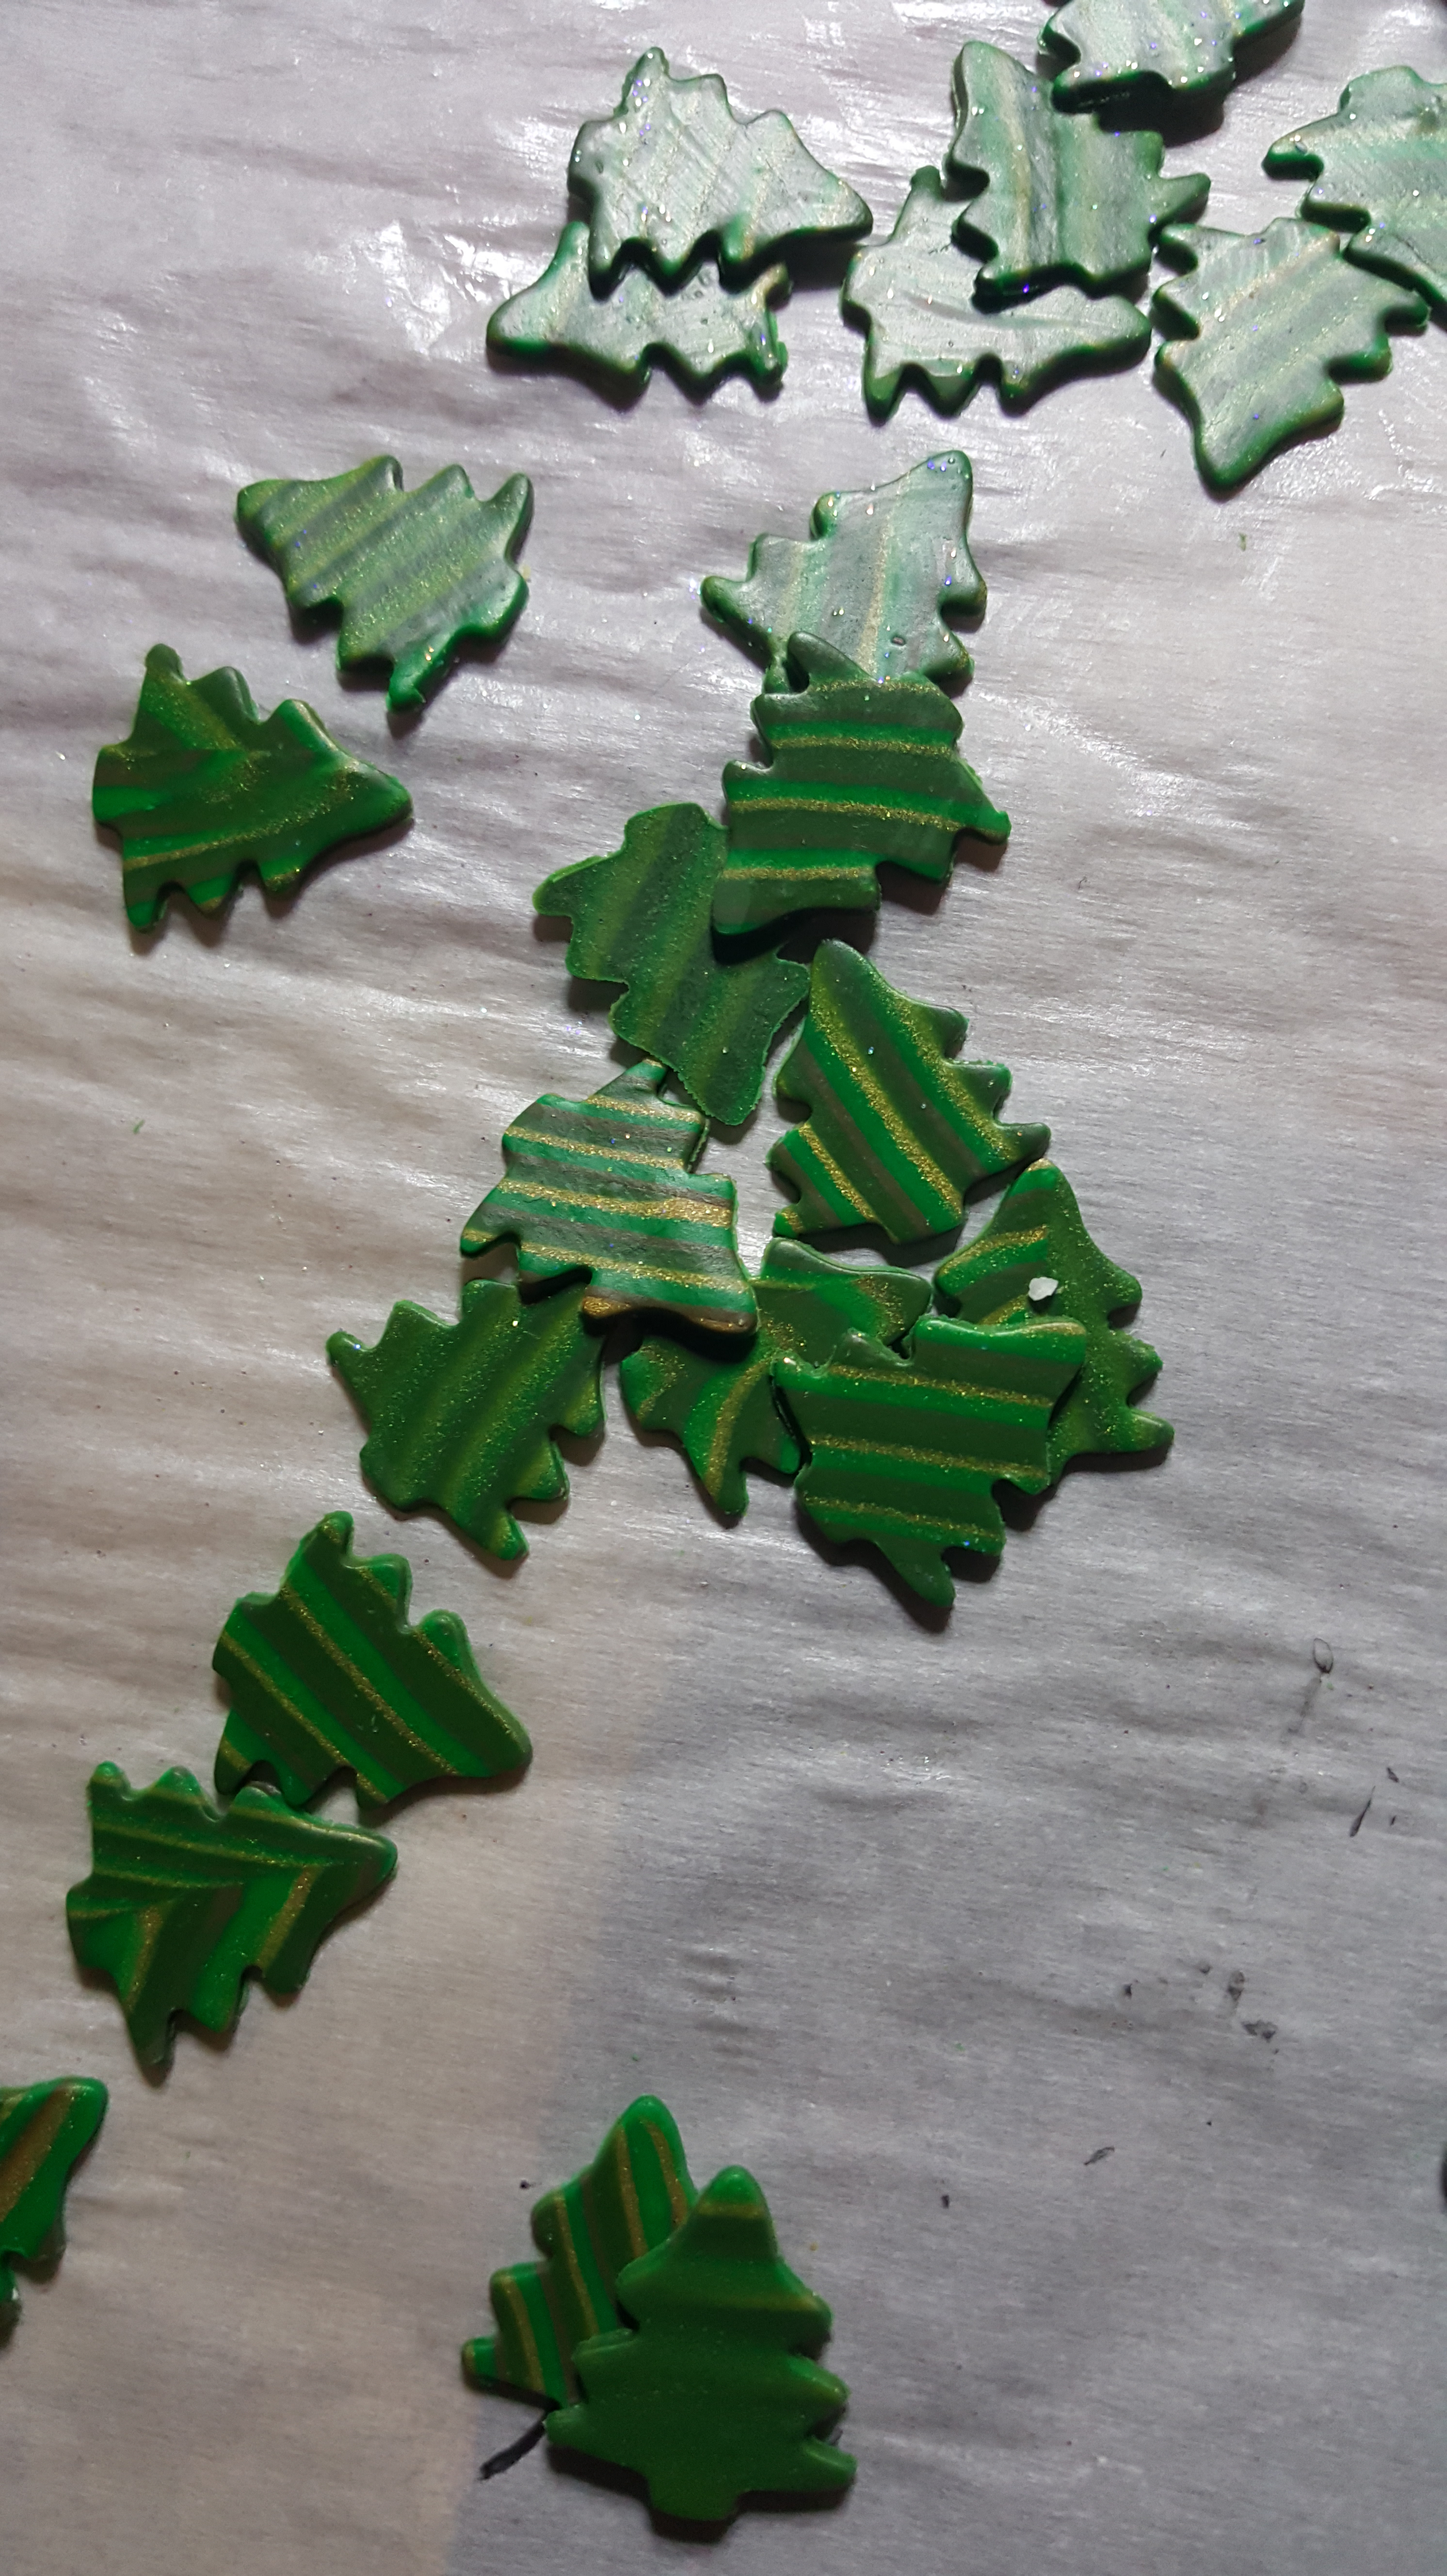
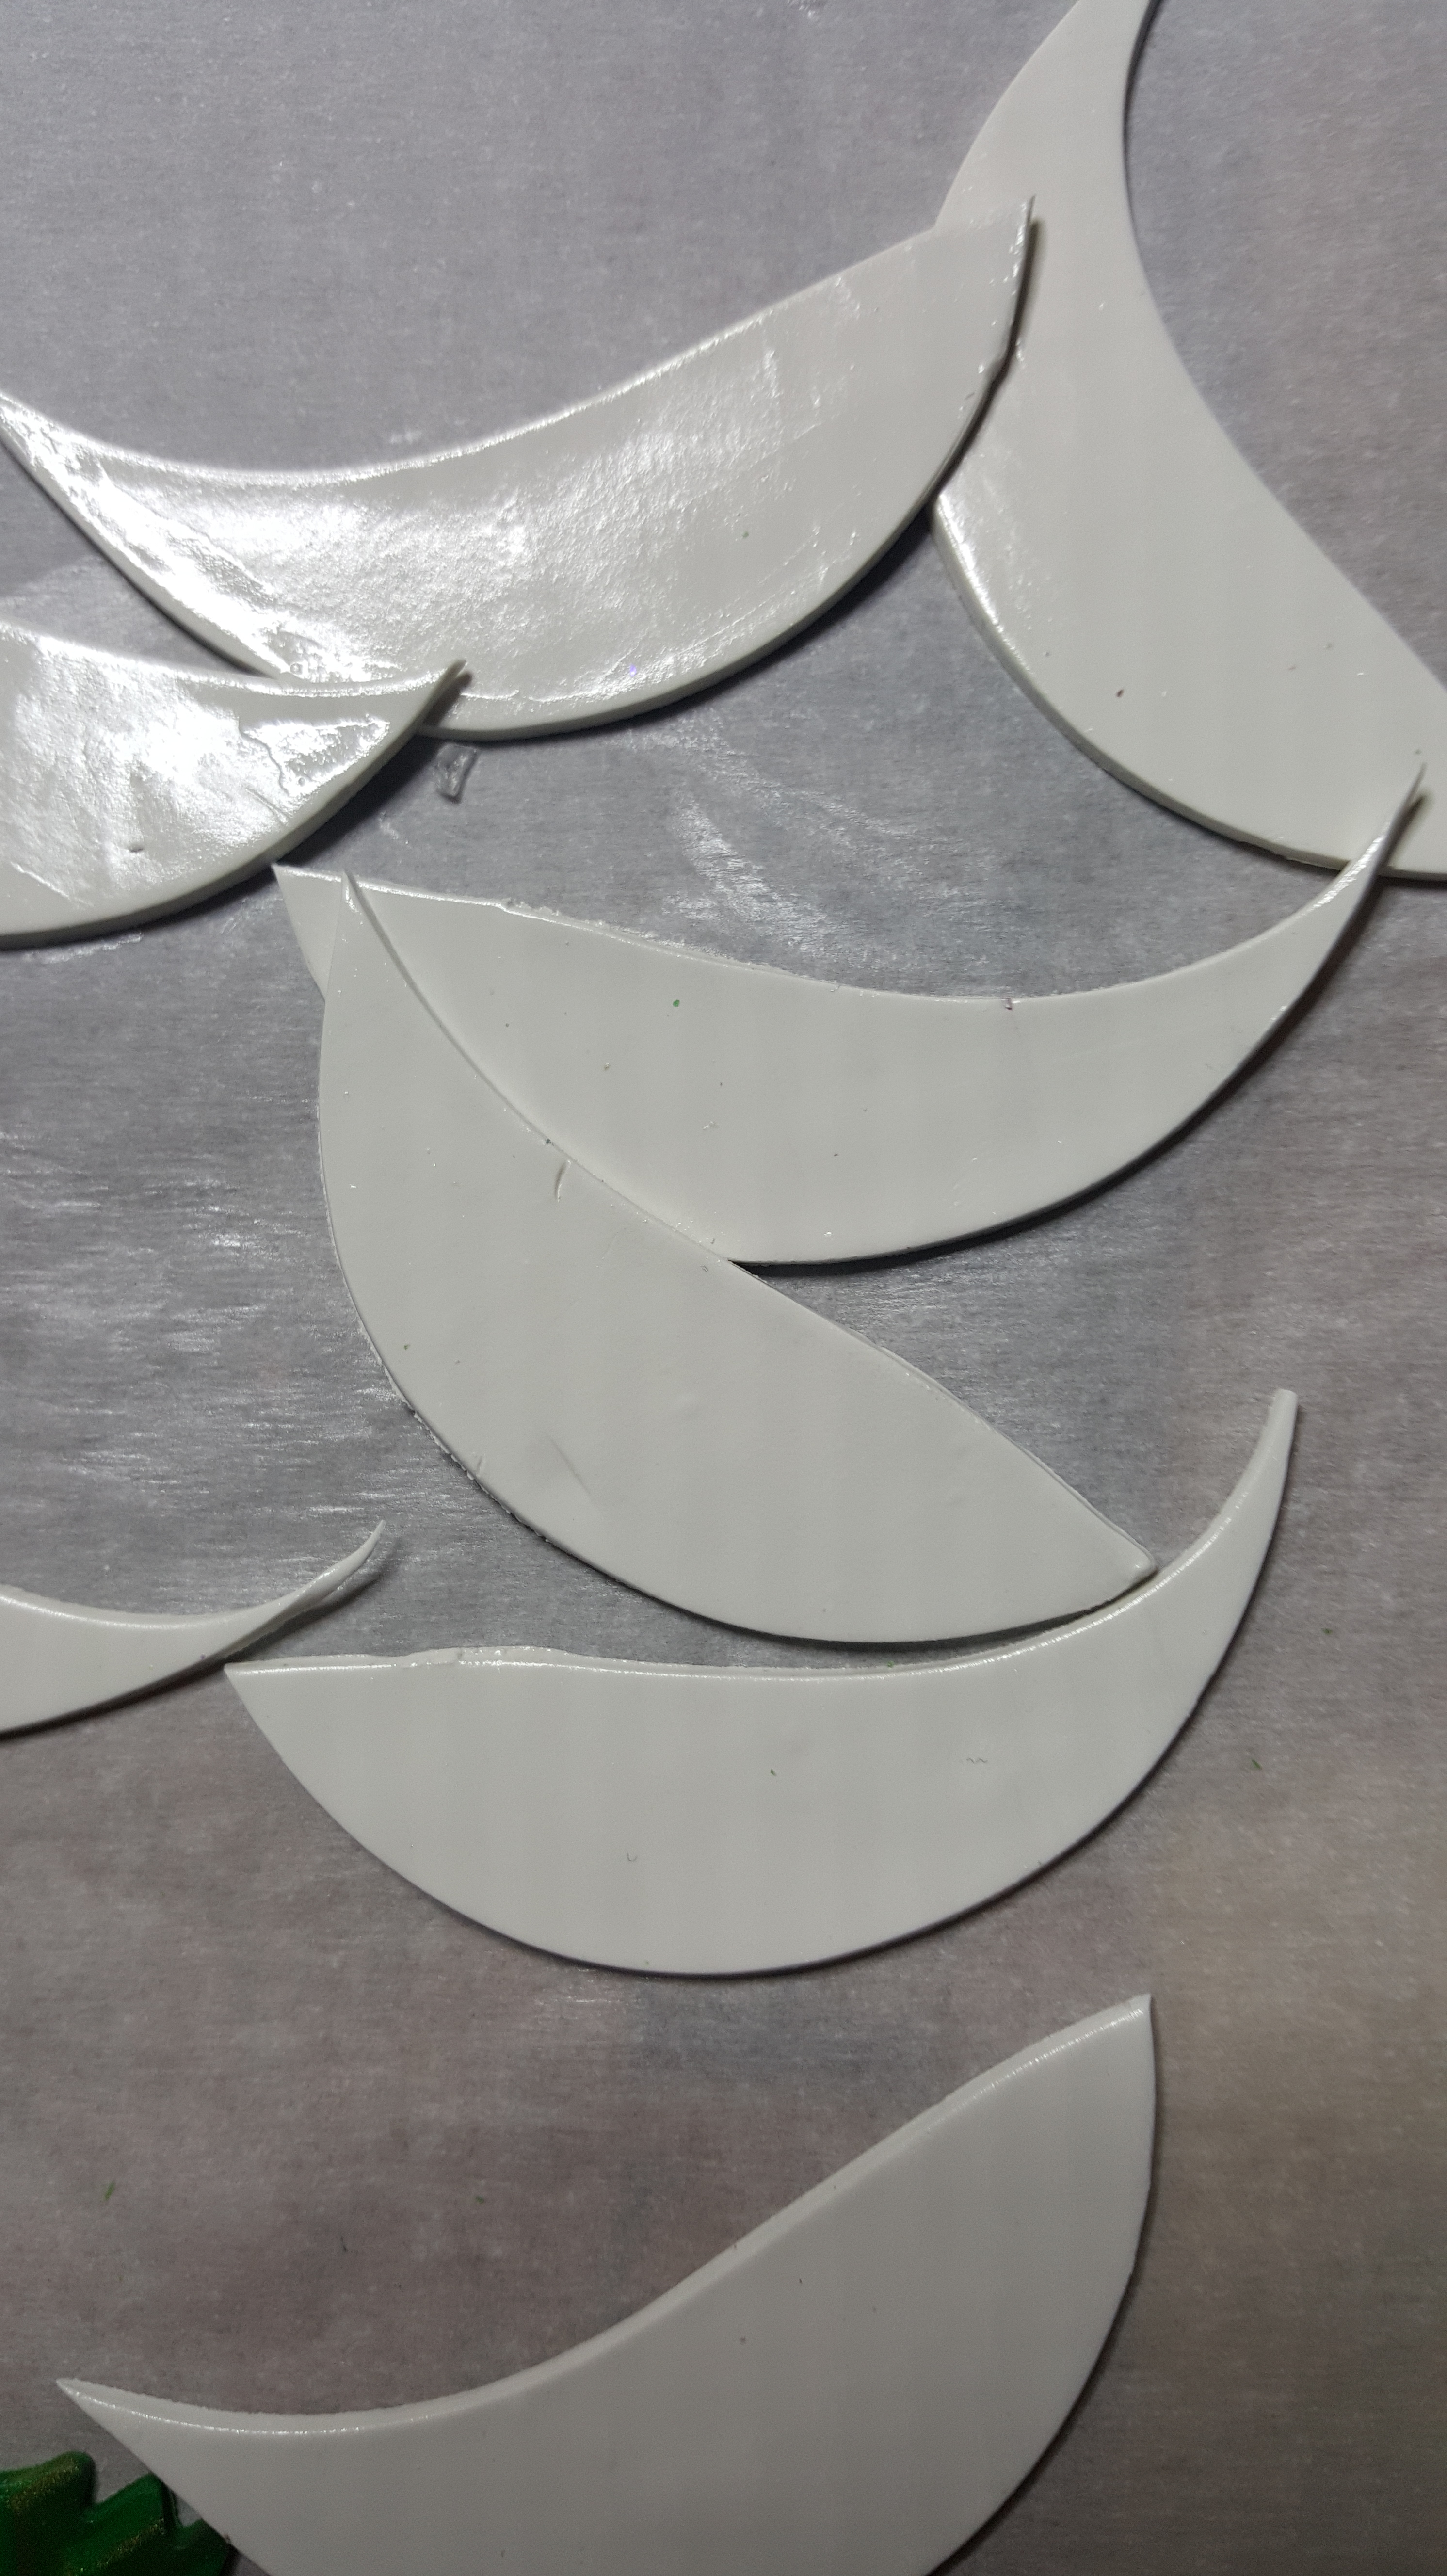
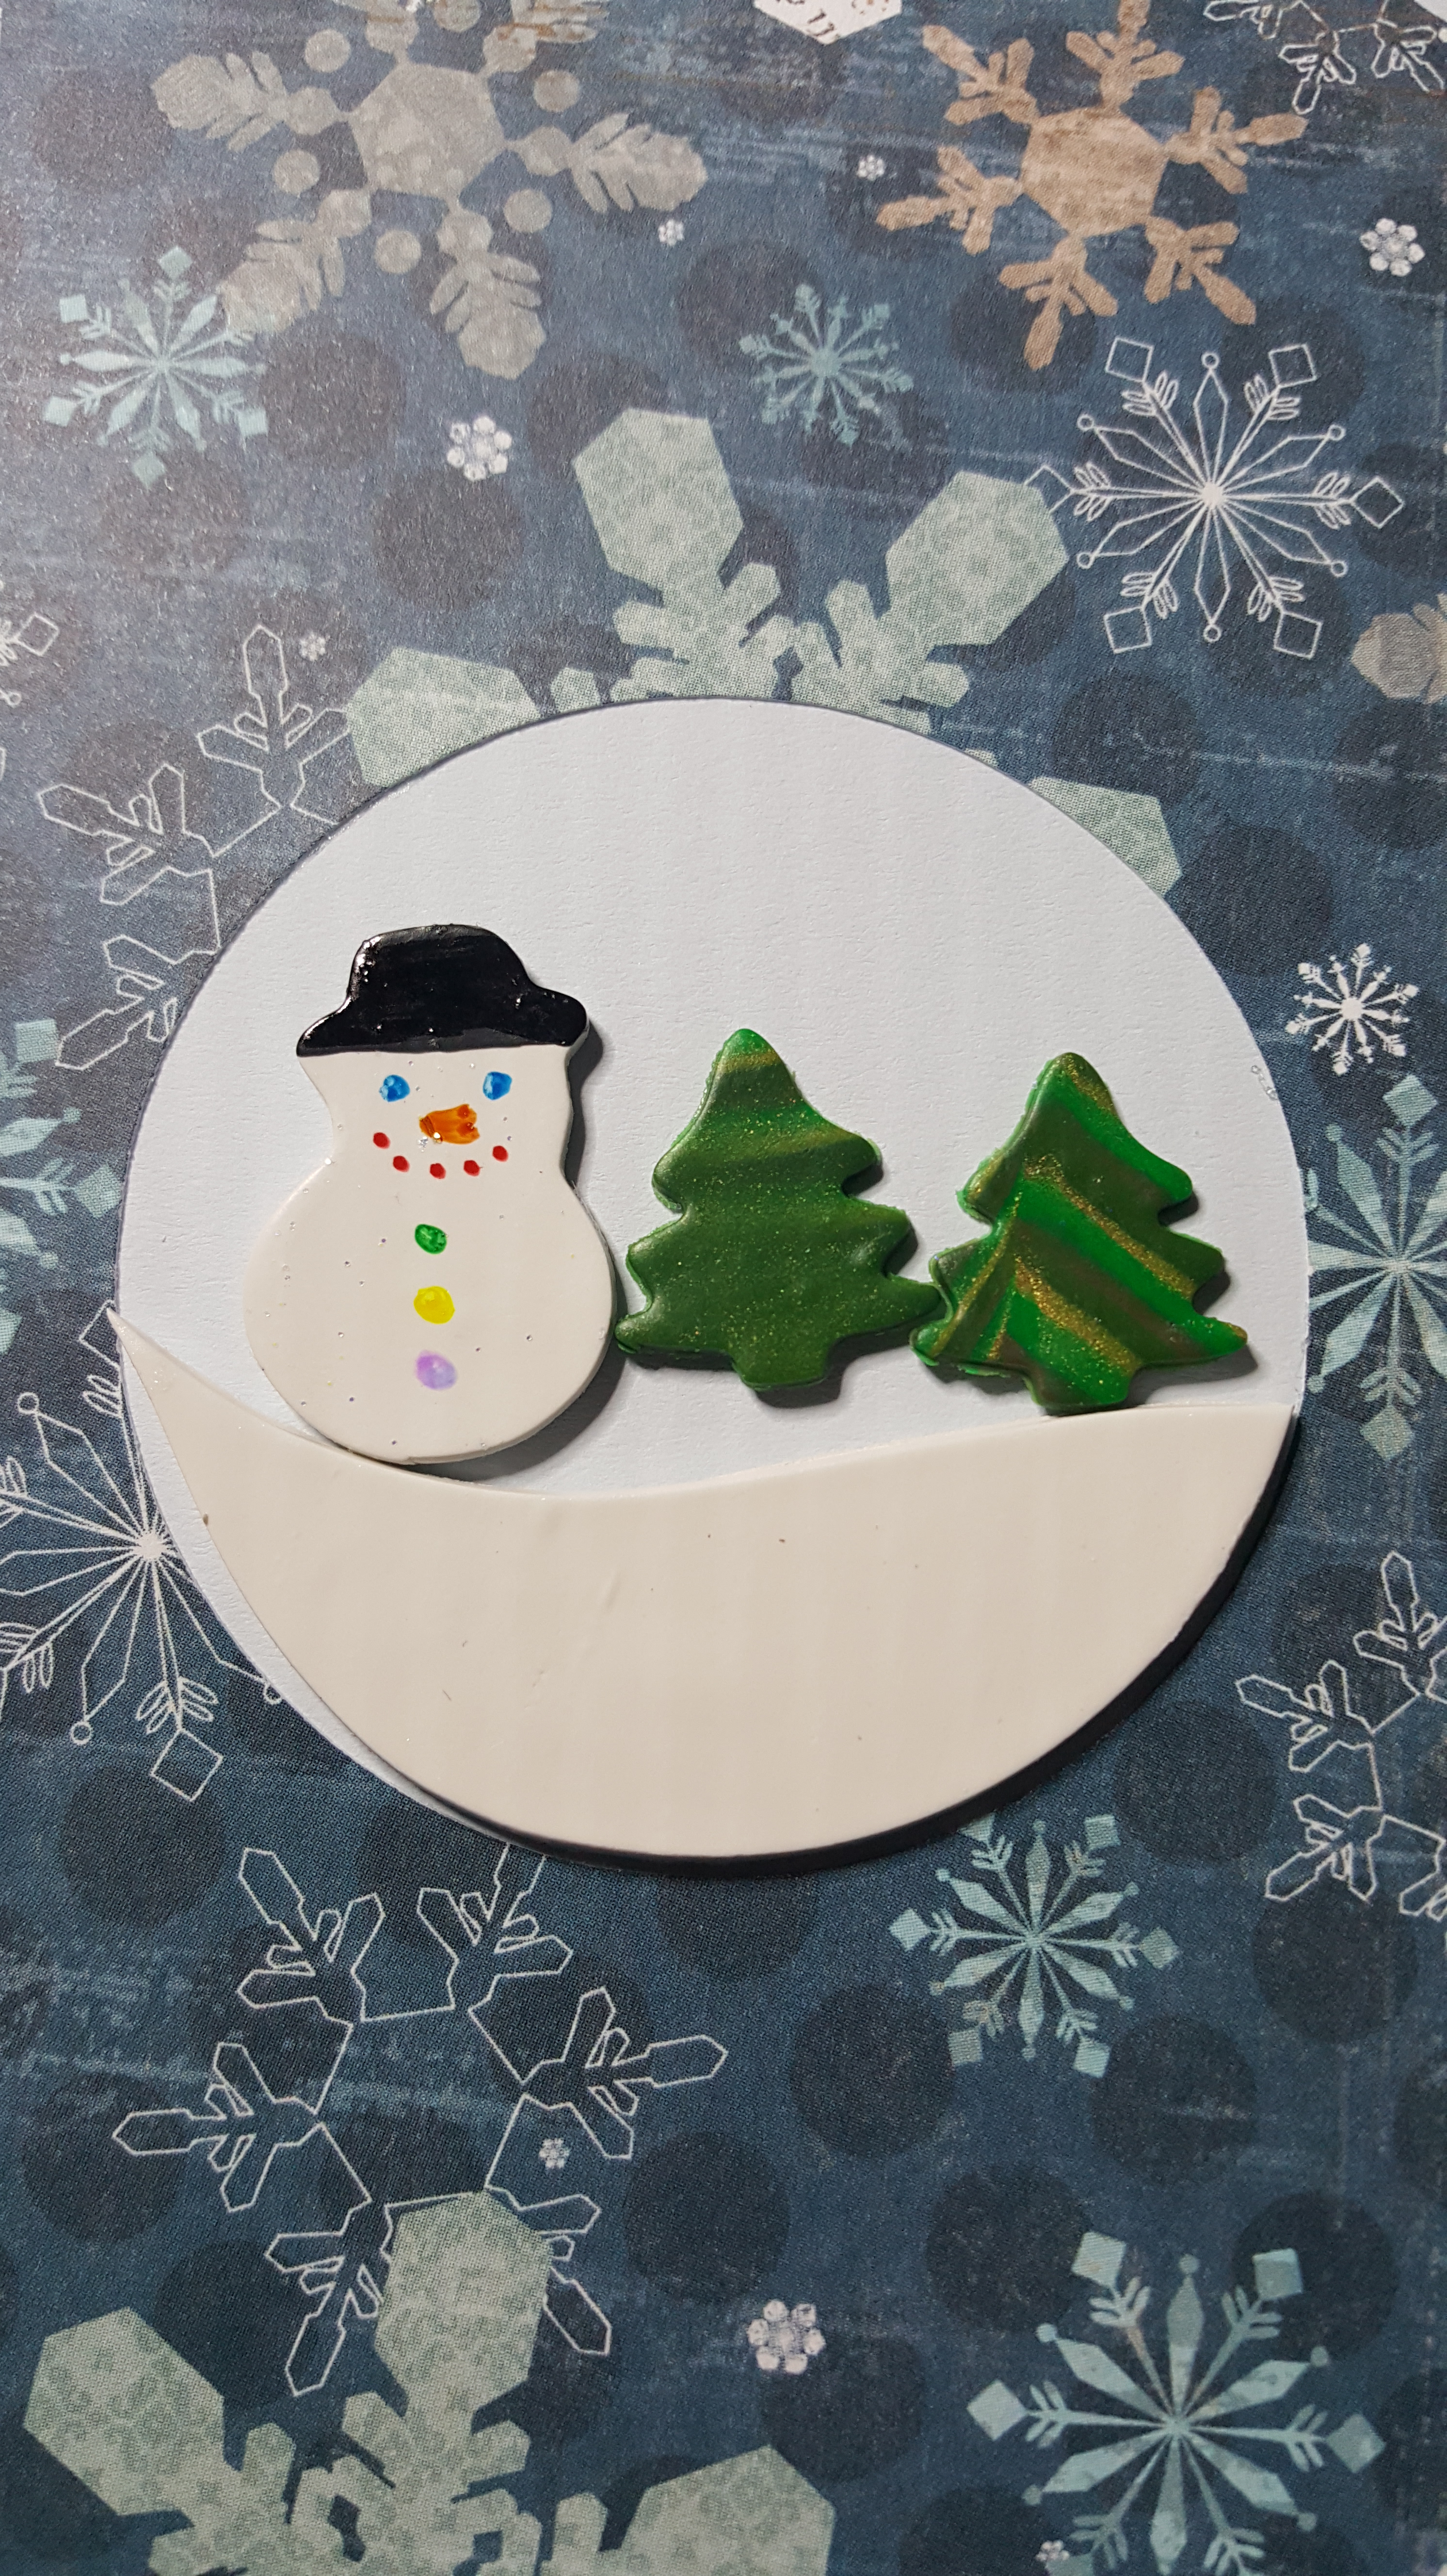
I thought about designing a village scene to put inside the snow globe, but I wanted a little deep. Then it occurred to me; I have polymer clay, I have cutters for snowman and trees. The card was coming together.
The snowman, trees, and snow were made with Sculpey Polymer Clay using a setting of 3 in the pasta machine and cut with “cookie” cutters, bake and covered with sparkle varnish. (Which was the first mistake.) However, I need to draw the face and buttons, and color the hats on the snowman. I got out may Sharpie pens and colored the hats. They looked awful. I should not have varnished the snowmen first. What was I going to do, paint all the snowmen? Nooooo! I had just recent purchase a set of Chameleon Pens, which worked with beautiful results. It even covered where I used a Sharpie.
Since the Snowman were coming together, I could now design the inside of the card. This was done using Corel Draw. I probably spend too much time making snowflakes, but I was having so much fun. I hope the shading on the snowman gives it some dimension.
At Office Depot, I found dual color cardstock. It was light blue on one side and white on the other side. This was perfect for my card. It would give me the blue sky I wanted behind the snowman scene on the front and white on the inside. I found the snowflake paper at Hobby Lobby. I found some nice light blue glitter paper at JoAnn’s and had the silver paper left over from last year.
The Jullibean Soup circle comes with adhesive around the circle, so it was not necessary to stick it through the first layer of paper and glue everything down. I used Silhouette Studio to design the silver snow globe and the cut for the top paper layer. Everything was cut using my Silhouette Curio. I was really dreading gluing it all together.
More research. I found this wonderful blog that talked about ways to glue paper together. Did you know you can put cheap plastic wrap between two piece of paper and use a hot iron to fix them together. I didn’t use plastic wrap. The blog also talk about Xyron Creative Station for sticking paper together. This is the best machine I have bought all year. It did exactly what I expected. It basically creates stickers when you roll your paper through the machine. Afterwards, you just peel it off and stick it where you want it. It even handled the delicate “Merry Christmas”.
To assemble the card:
First step: print the inside of the card on cardstock on the correct side of the paper and cut everything. Run the snowflake paper, the silver snow globe, and the Merry Christmas through the Xyron Creative Station.
Second step: stick the snowflake paper to the correct side of the card.
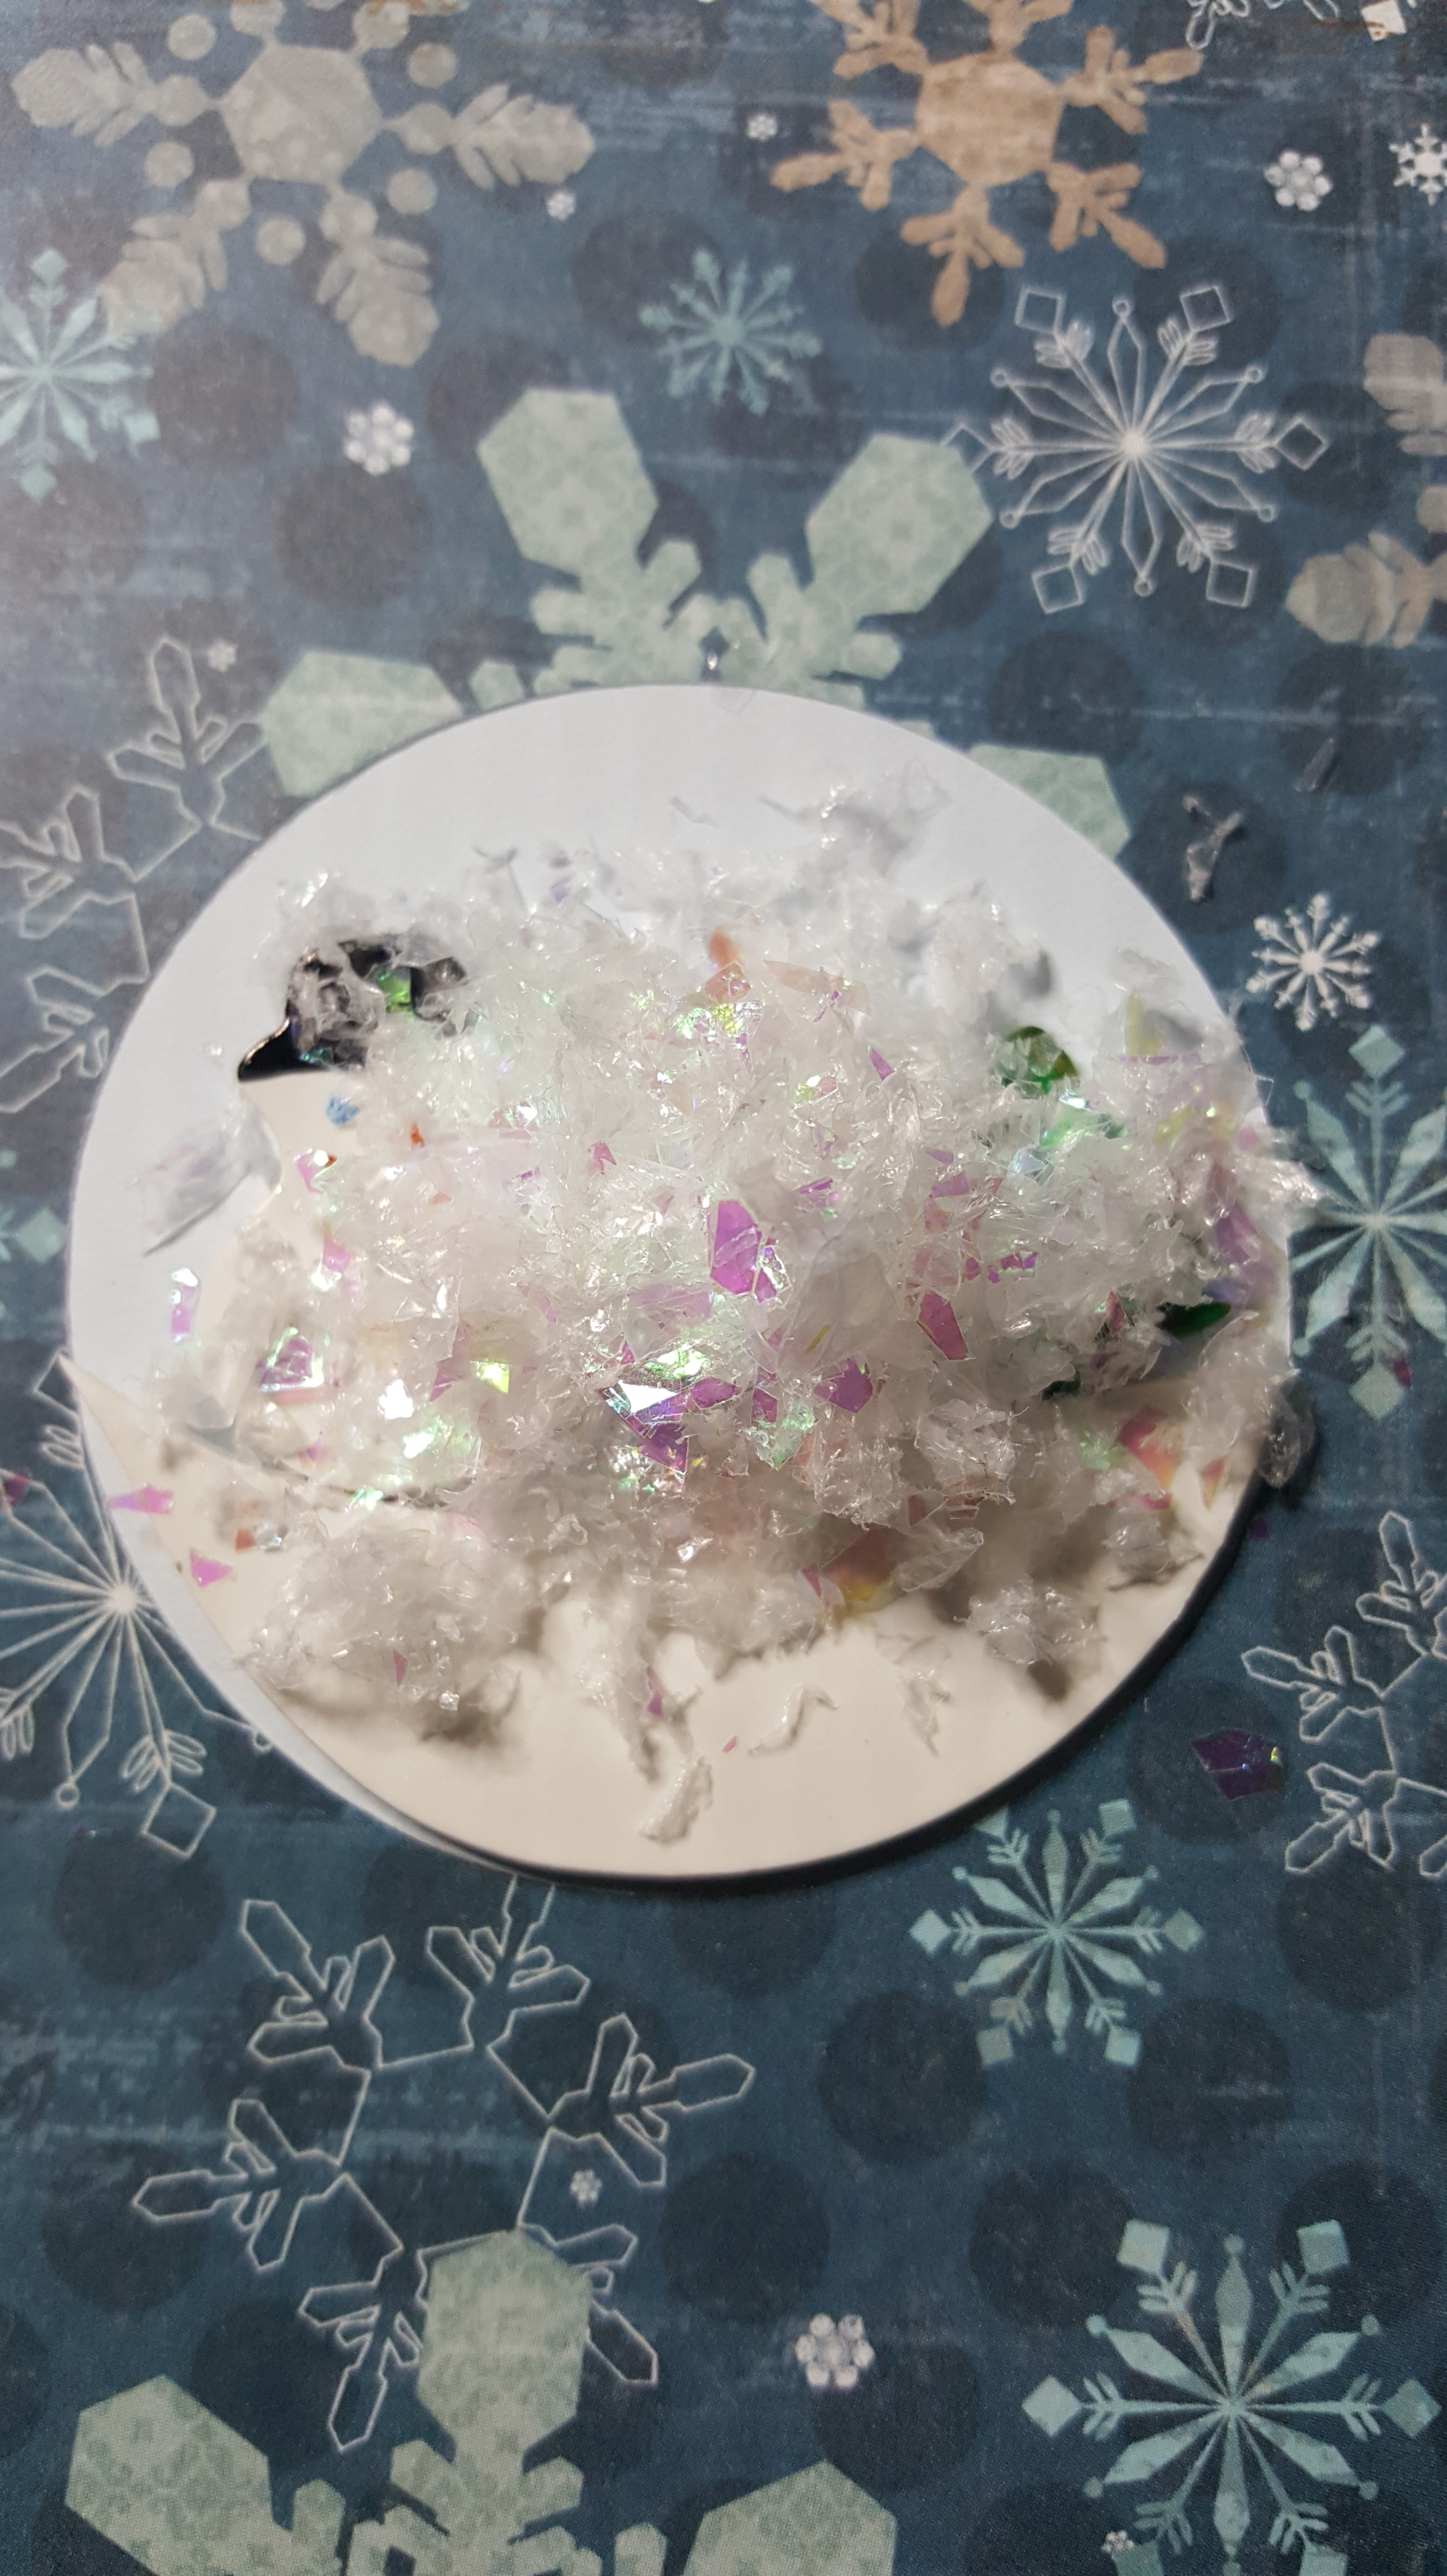
Third step: Use glue dots to fix the snowman, trees, and snow to the card. Top with snow. (Second mistake.) After sitting in a box for several weeks, the trees and snowman started to come loose. The problem was I did not use permanent glue dots for those items. I had to gently open up at least half of the cards and redo the inside. I am glad I switched glue dots during the assembly.
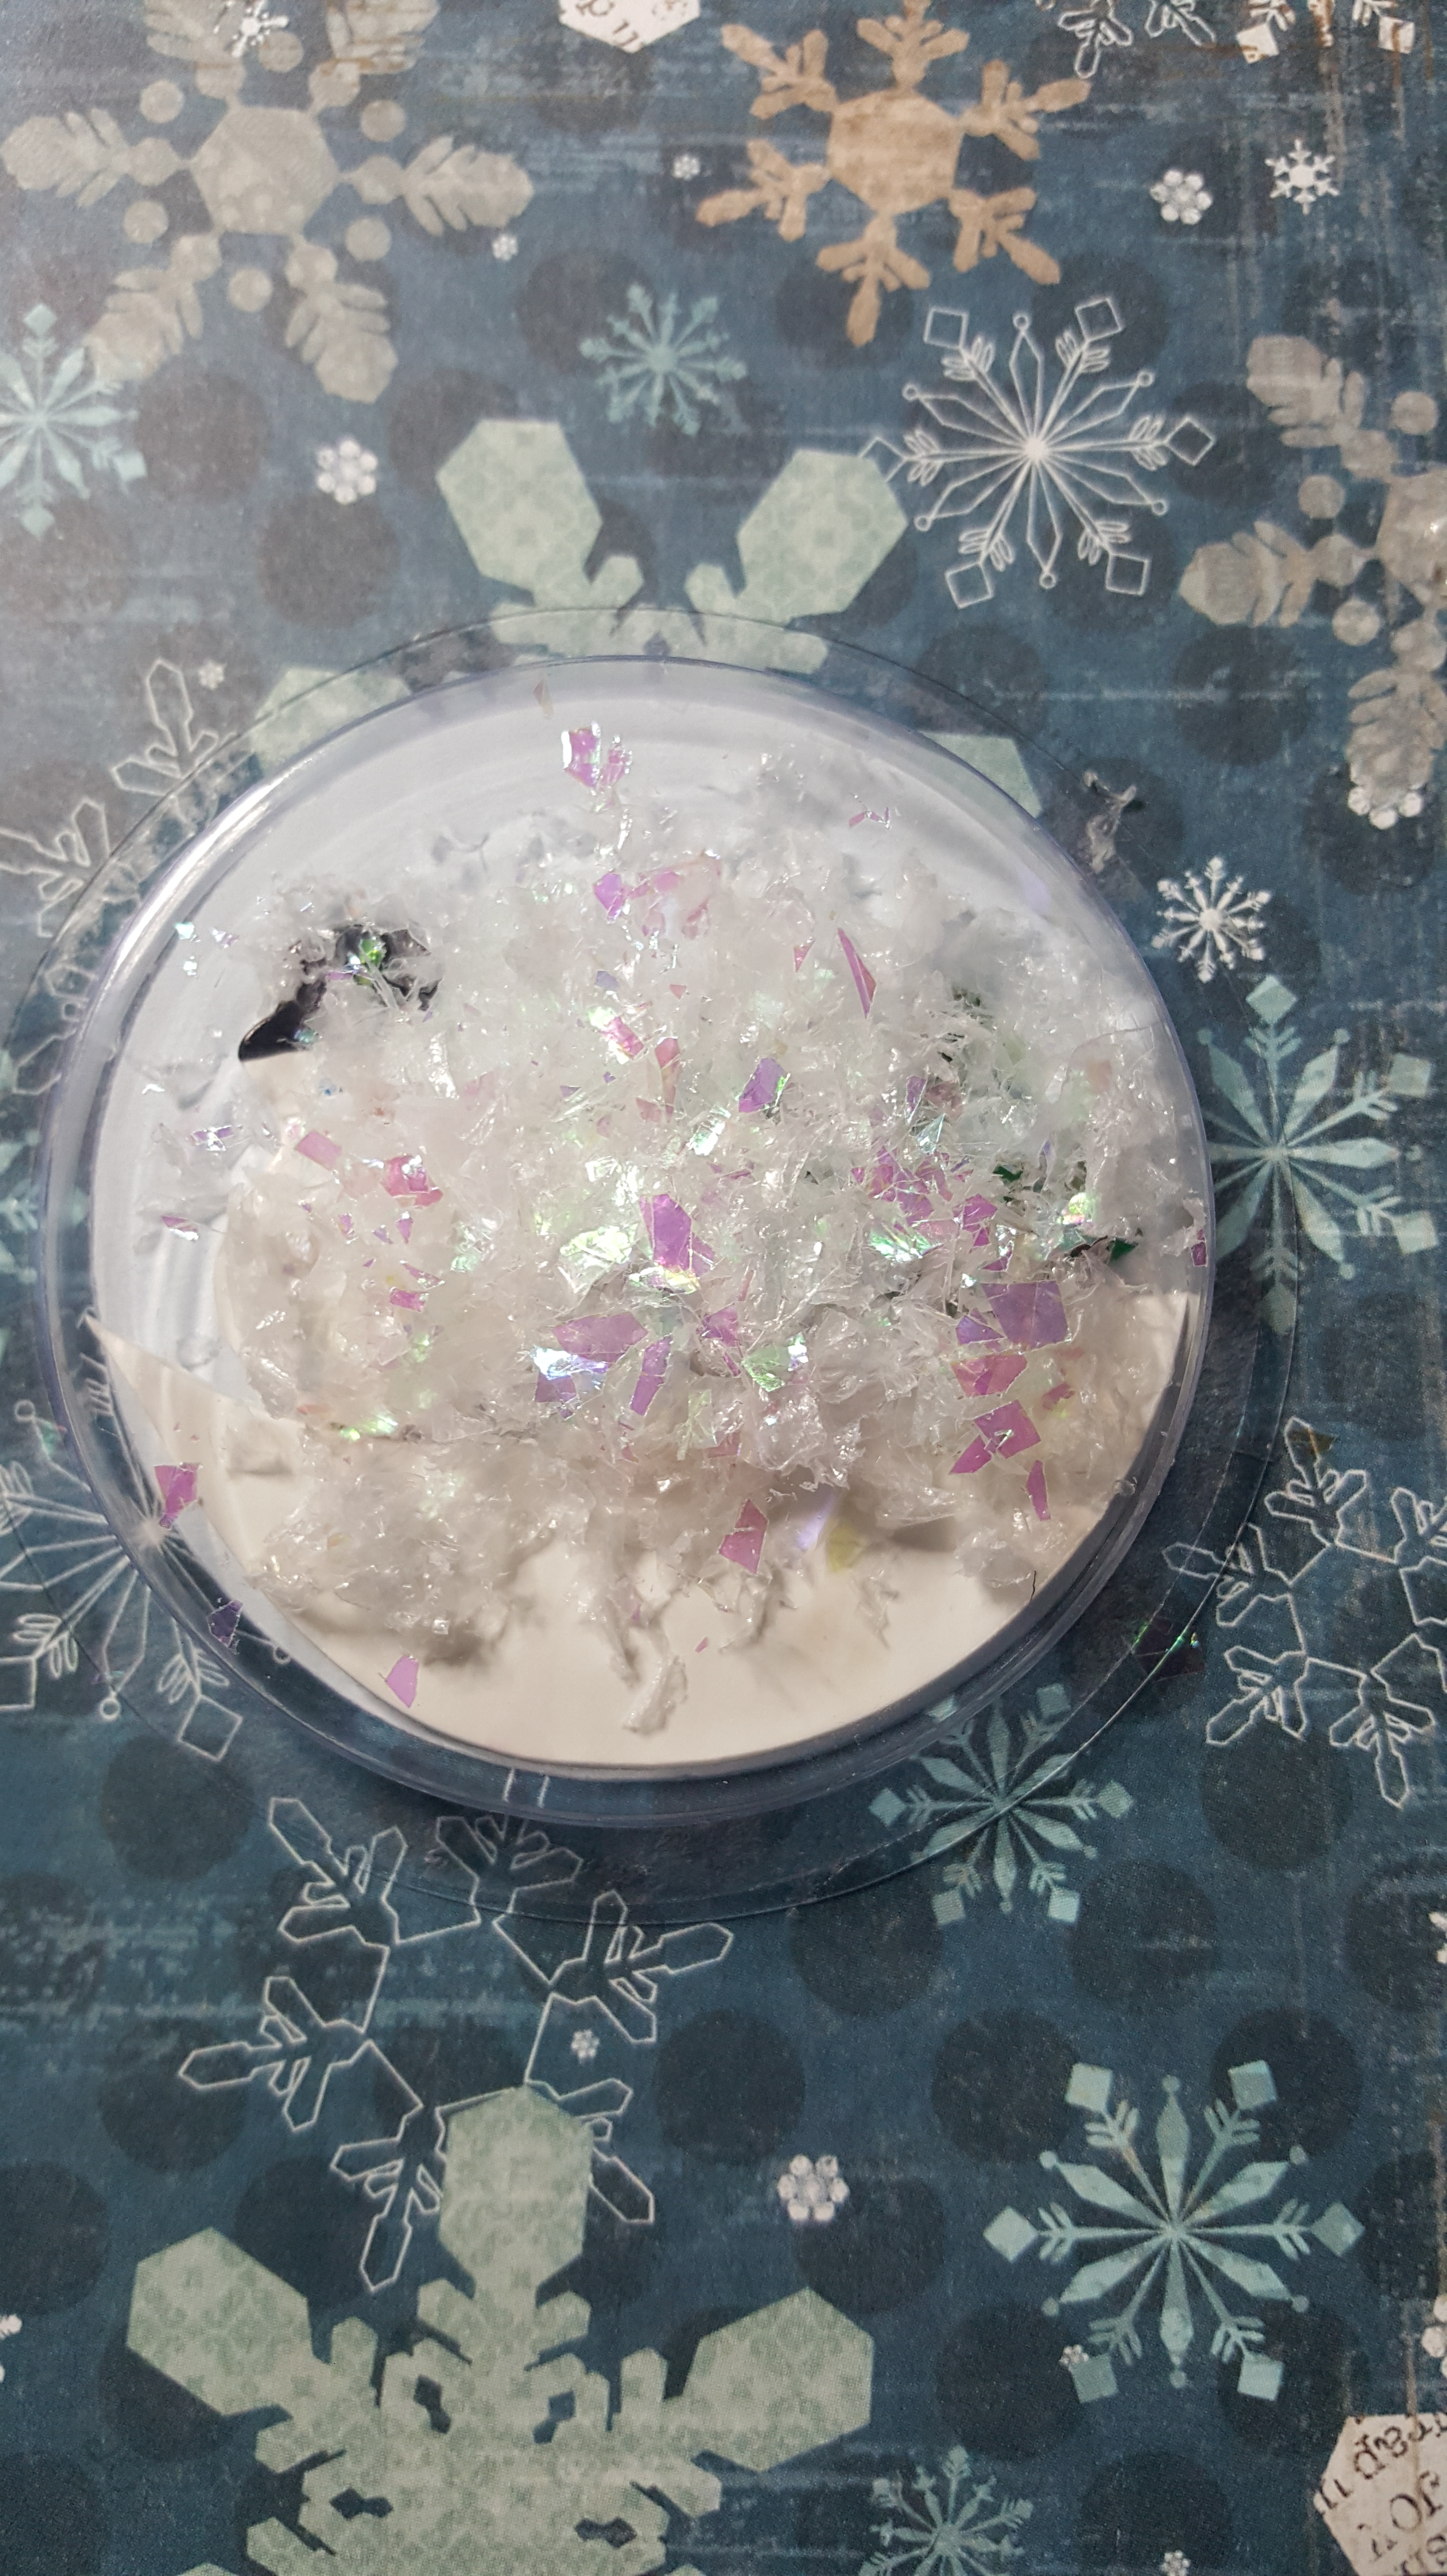
Fourth step: Place plastic circle on tope of snowman and snow.
Fifth step: Place silver globe around circle and add Merry Christmas.
We have a finished card. Well, almost. It needed something else. I used glitter glue to around the border to give it more sparkle.
I put the card in an envelope that I stamped with snowflakes. Both, envelope and card was mail in a bubble mailer. Any thicker and the card could not be sent First Class mail.
In August 2016, my storage unit flooded when areas of Louisiana received over 25 inches of rain within 24 hours. I was going to abandon the houses that sat in flood water for over a week, but my sister rescued them.
I was excited to paint these house, because they were interesting and unique.
Tailor Shop: Yes, it needed a cooper roof. I had trouble deciding on a color for the door, so I decided to let it stand out.
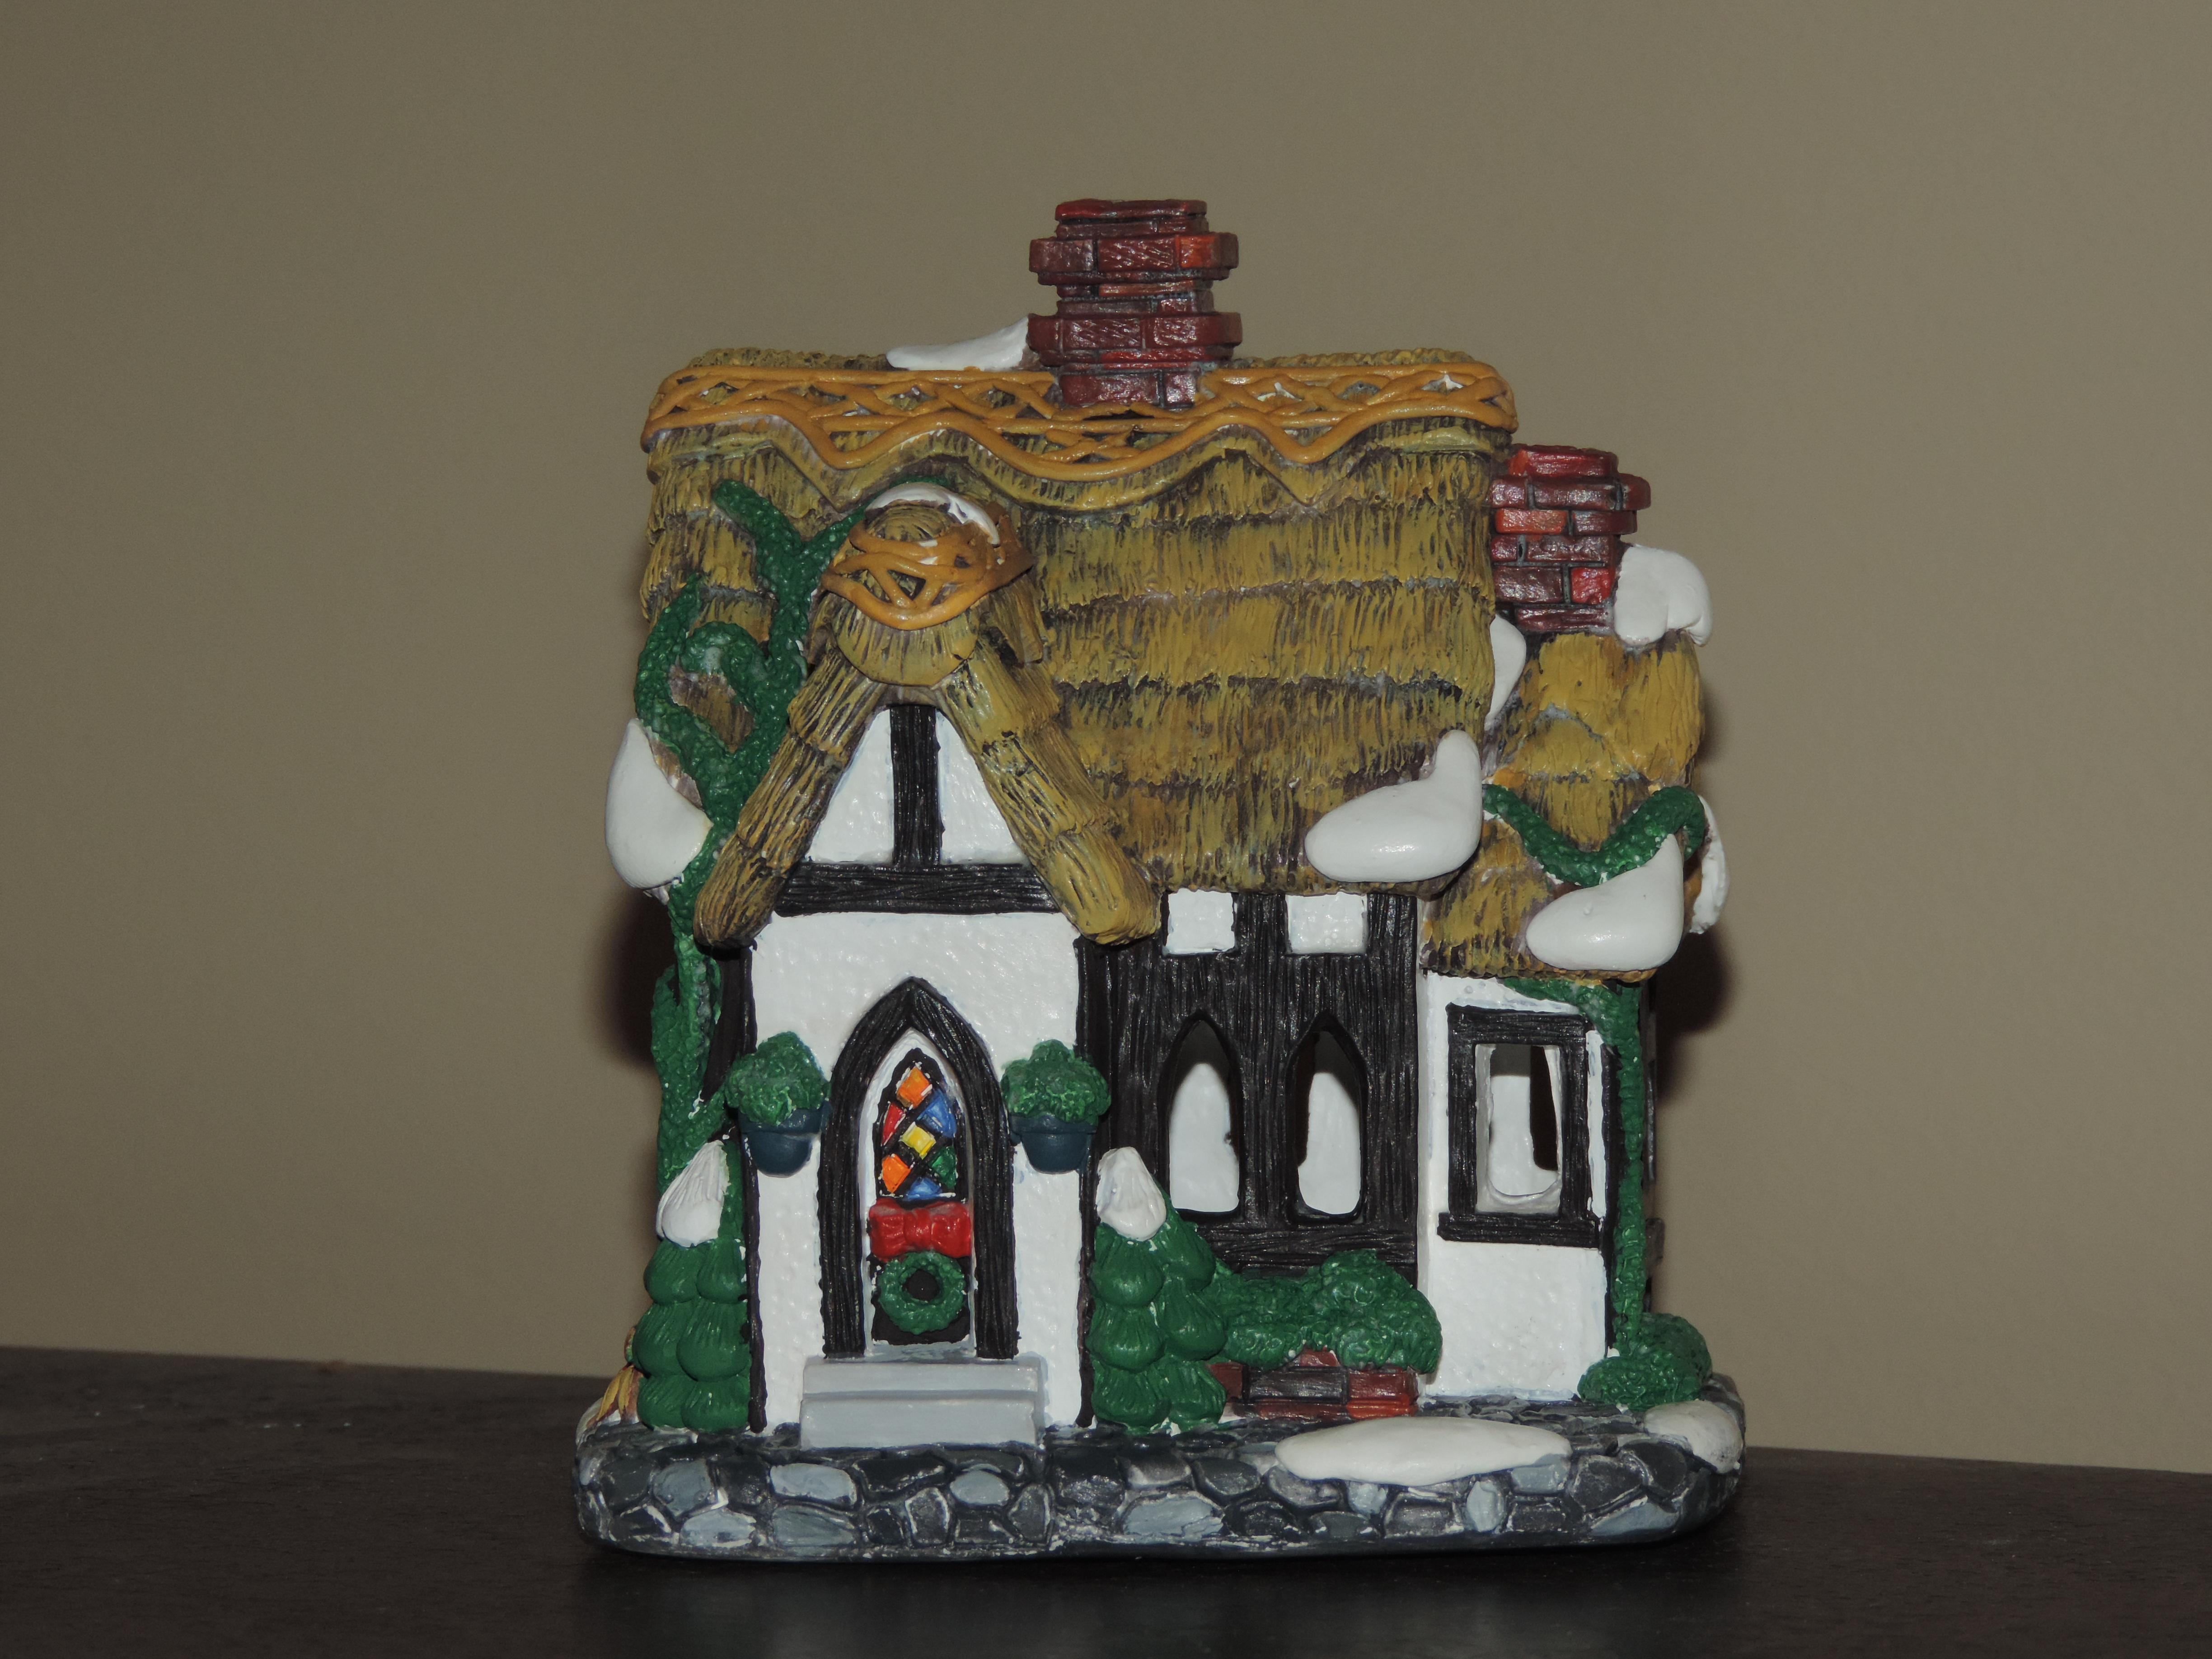
English Cottage: Painted it a traditional colors. The front door needed to be stained glass colors.
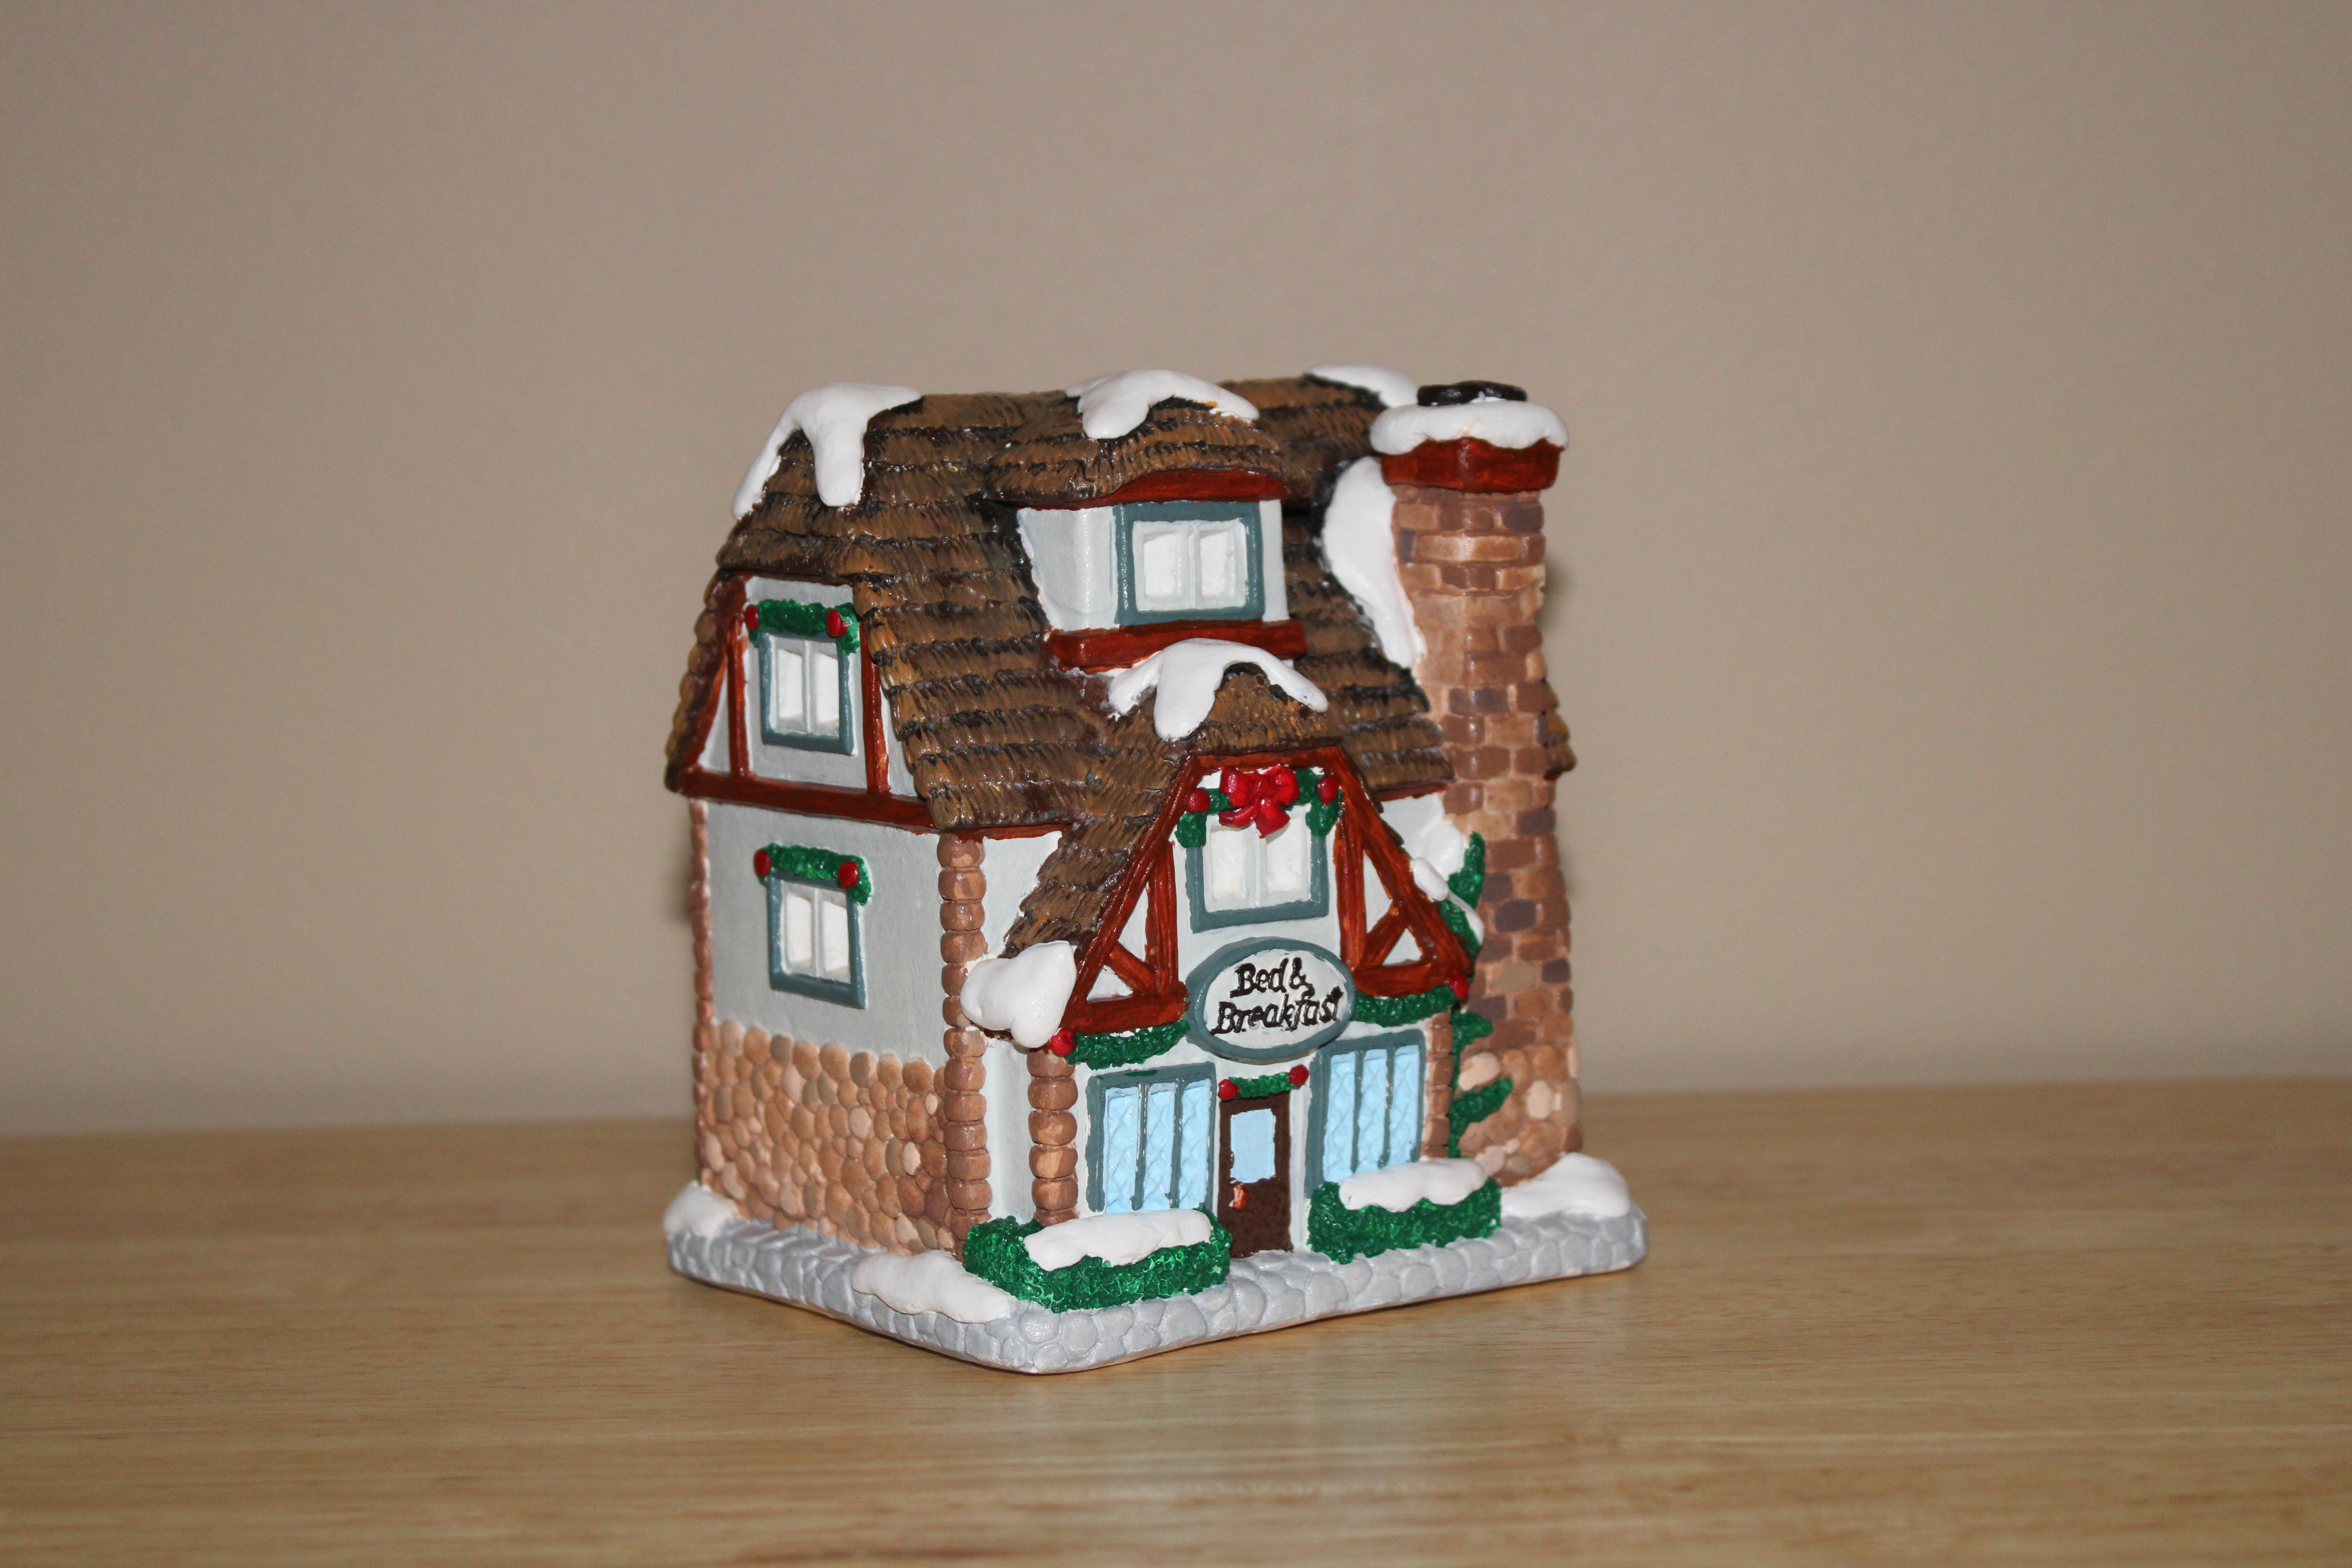
Bed and Breakfast: I wanted my Bed and Breakfast house to have a white porch, but I didn’t want the house to be too dark or pink. I wanted the roof to be a grayish blue.