There are plenty of March birthdays in my family. I needed cards. Someone suggested buying gift cards for my dad. So, I needed some gift card boxes. Out comes the Corel Draw, the Silhouette, and the Ultimaker 2 to handle two of the birthdays.
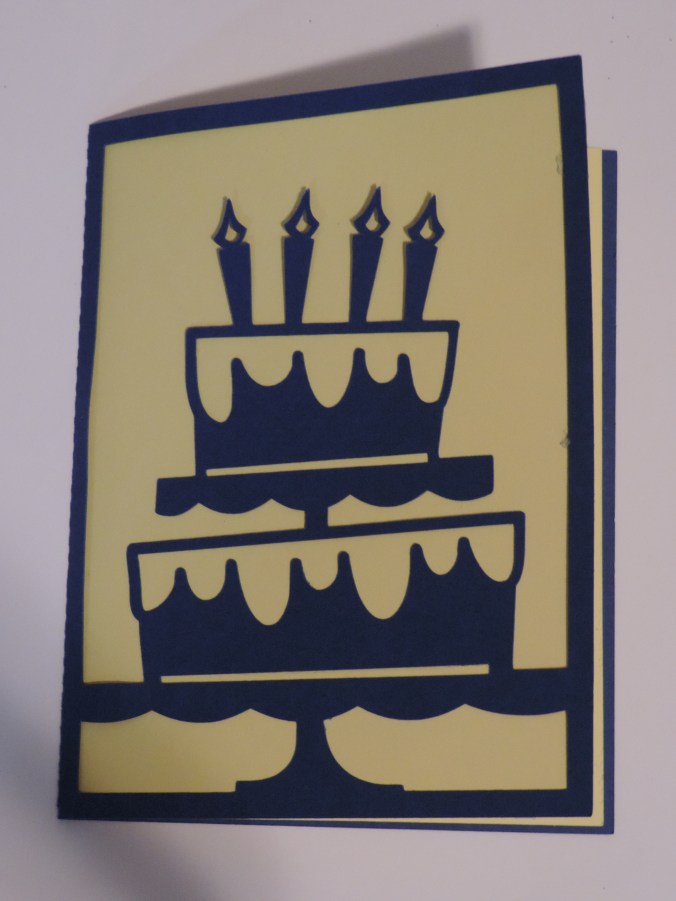
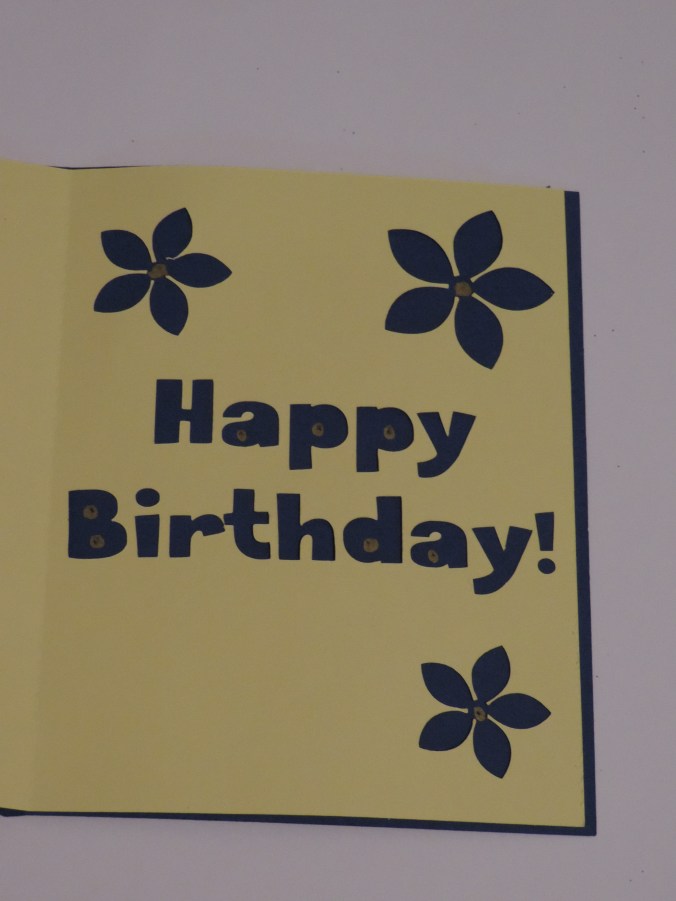
Dad’s Birthday!
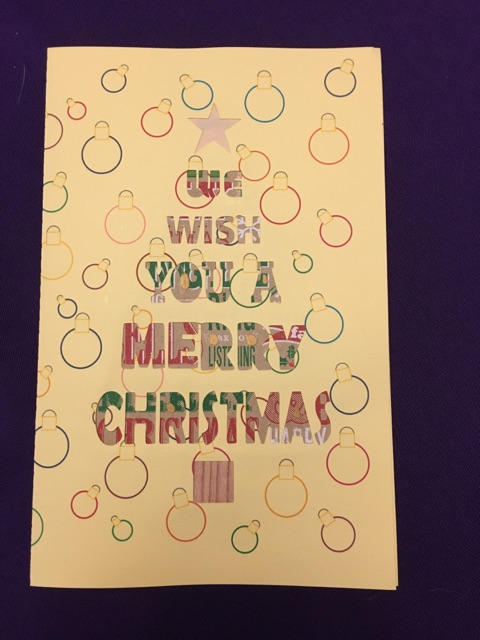
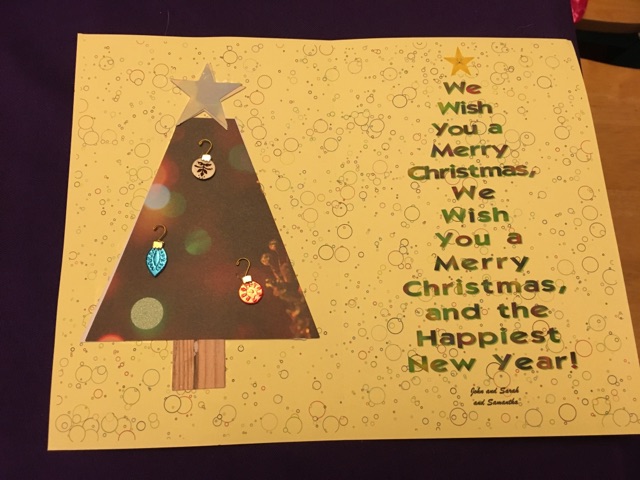
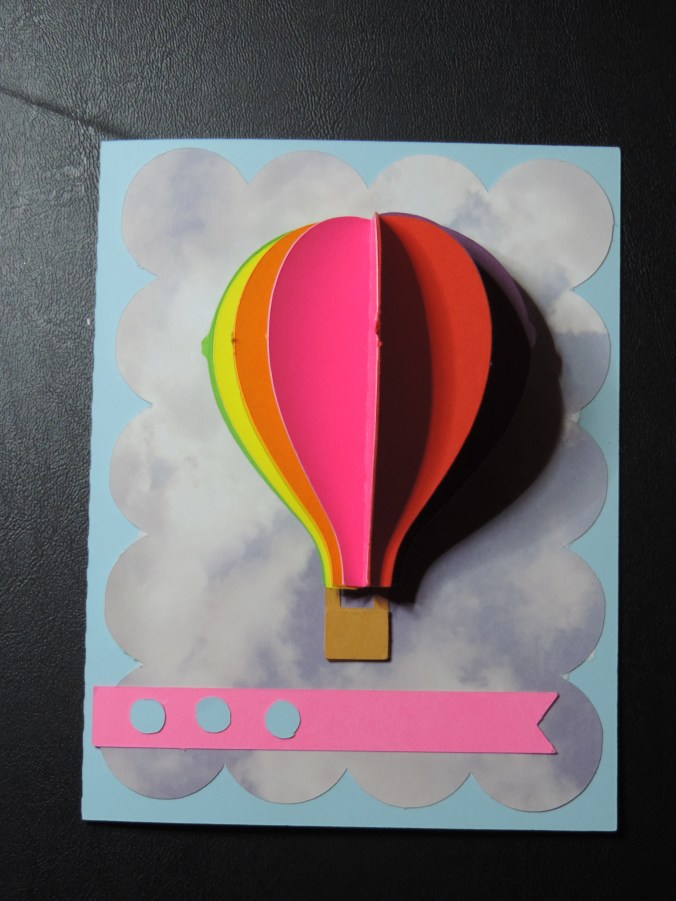
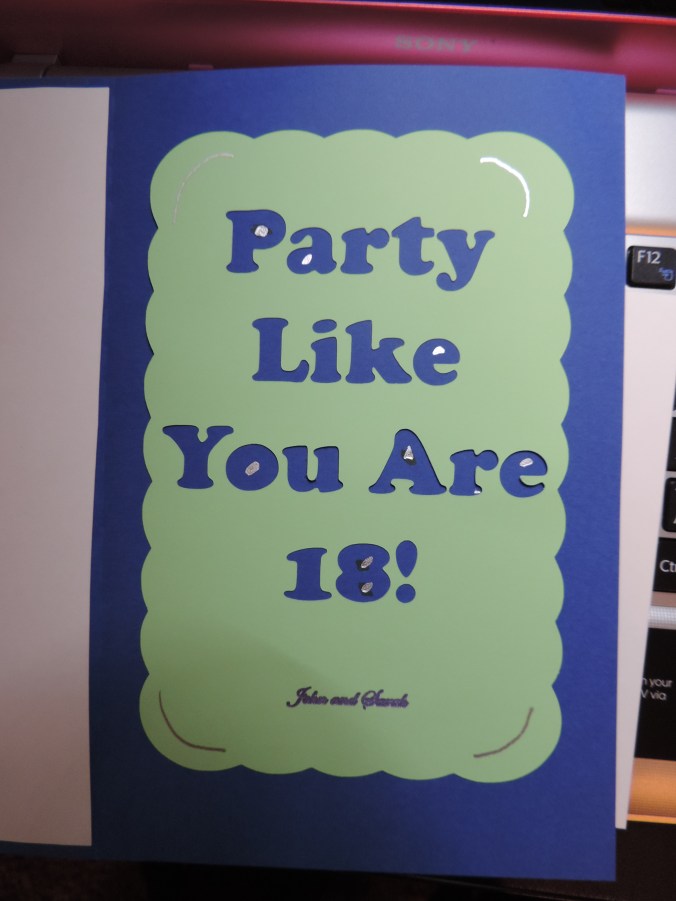
I used Corel Draw to create the background, then I printed it on metallic photo paper. I designed the rest of the card using Silhouette Studio.

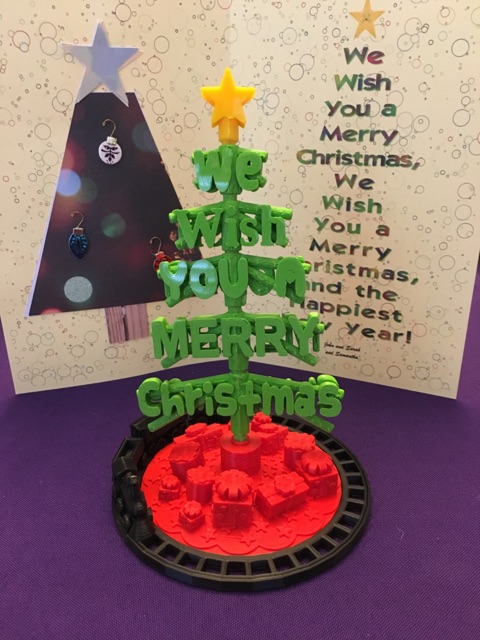
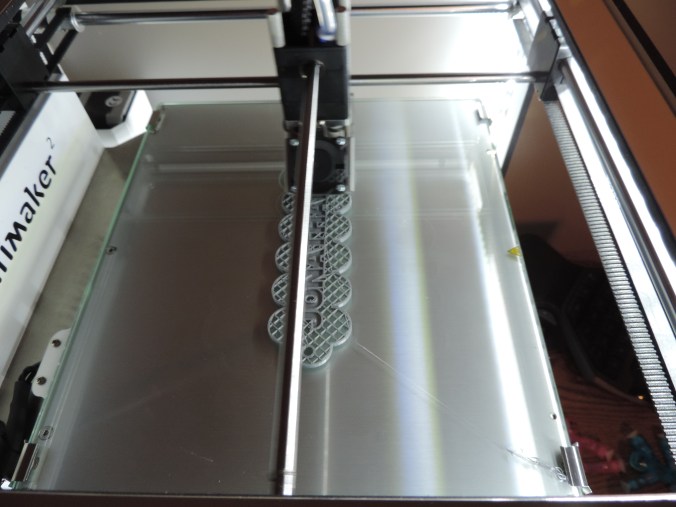
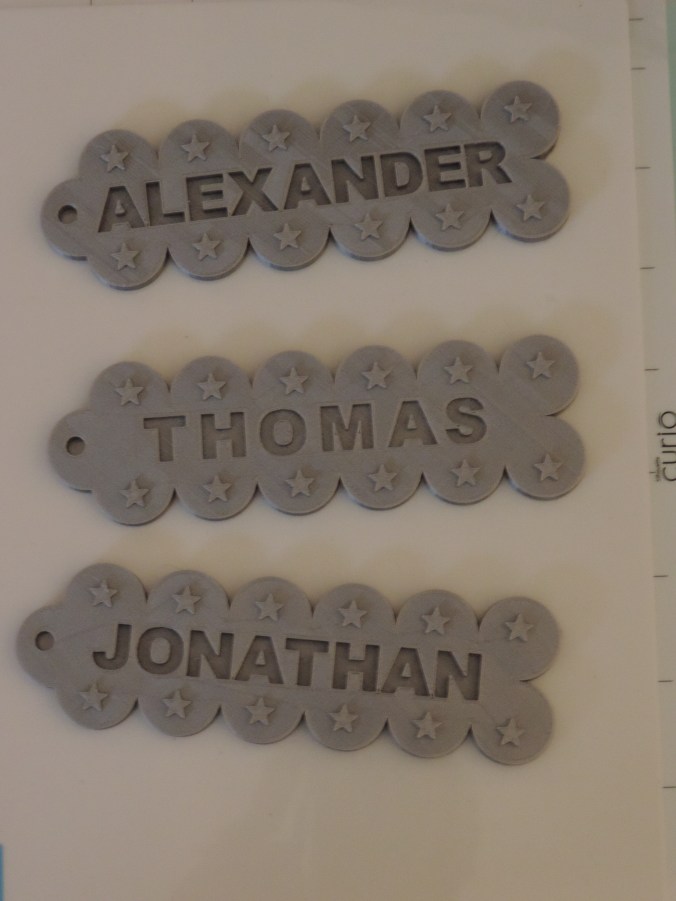
I designed the gift card box in Tinkercad getting the dimension from a credit card. The box was printed on the Ultimaker 2 using semi-transparent filament.

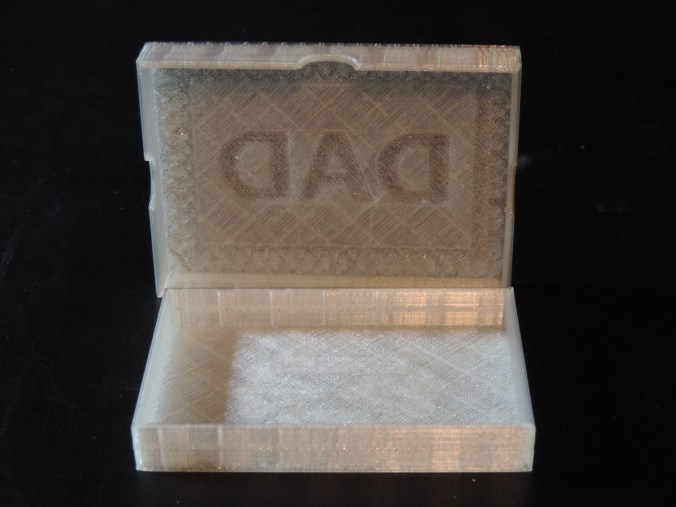
Print Time: 3 hours 45 minutes
Filament: PLA – 5.22 meters 41 grams
Layer height: 0.1 mm
Shell Thickness: 0.8
Object Size (W, D, H): 100.001, 164.001, 12.701 mm (Both pieces printed together)
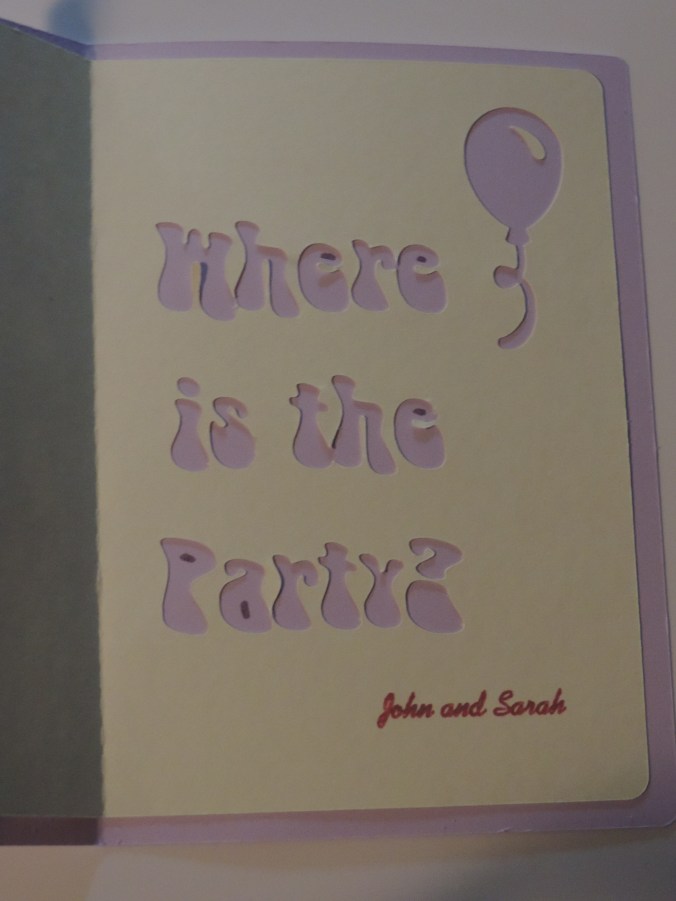
Amanda’s Birthday!
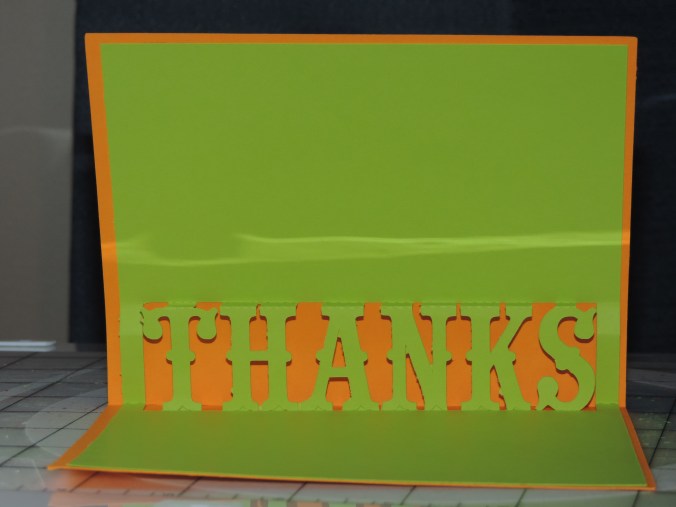
I used a template for Amanda’s card and cut it on the Silhouette. However, I did design the envelope since no envelope was a good size.. Alas, I didn’t get a picture.

I tweak the gift card box after the other one was printed to make the top smaller and fit better. It was printed using pink filament.


Print Time: 3 hours 45 minutes
Filament: PLA – 5.25 meters 42 grams
Layer height: 0.1 mm
Shell Thickness: 0.8
Object Size (W, D, H): 100.001, 163.501, 12.701 mm (Both pieces printed together)
The boxes was printed with the top and bottom laying flat on the printer bed to make the boxes smoother.