A new coloring page is available for downloading. The Color Not Coloring Page would be good for coloring or as a string for Zentangle designs.

Below is an example of how I colored the Color Not.

A new coloring page is available for downloading. The Color Not Coloring Page would be good for coloring or as a string for Zentangle designs.
Below is an example of how I colored the Color Not.
The Curves and Swirls Coloring Page is available to download. It started out as just a potential outline for a drawing, but once it was done, I decided it would make an interesting Coloring Page.

Below is one example of how I decided to color the design.

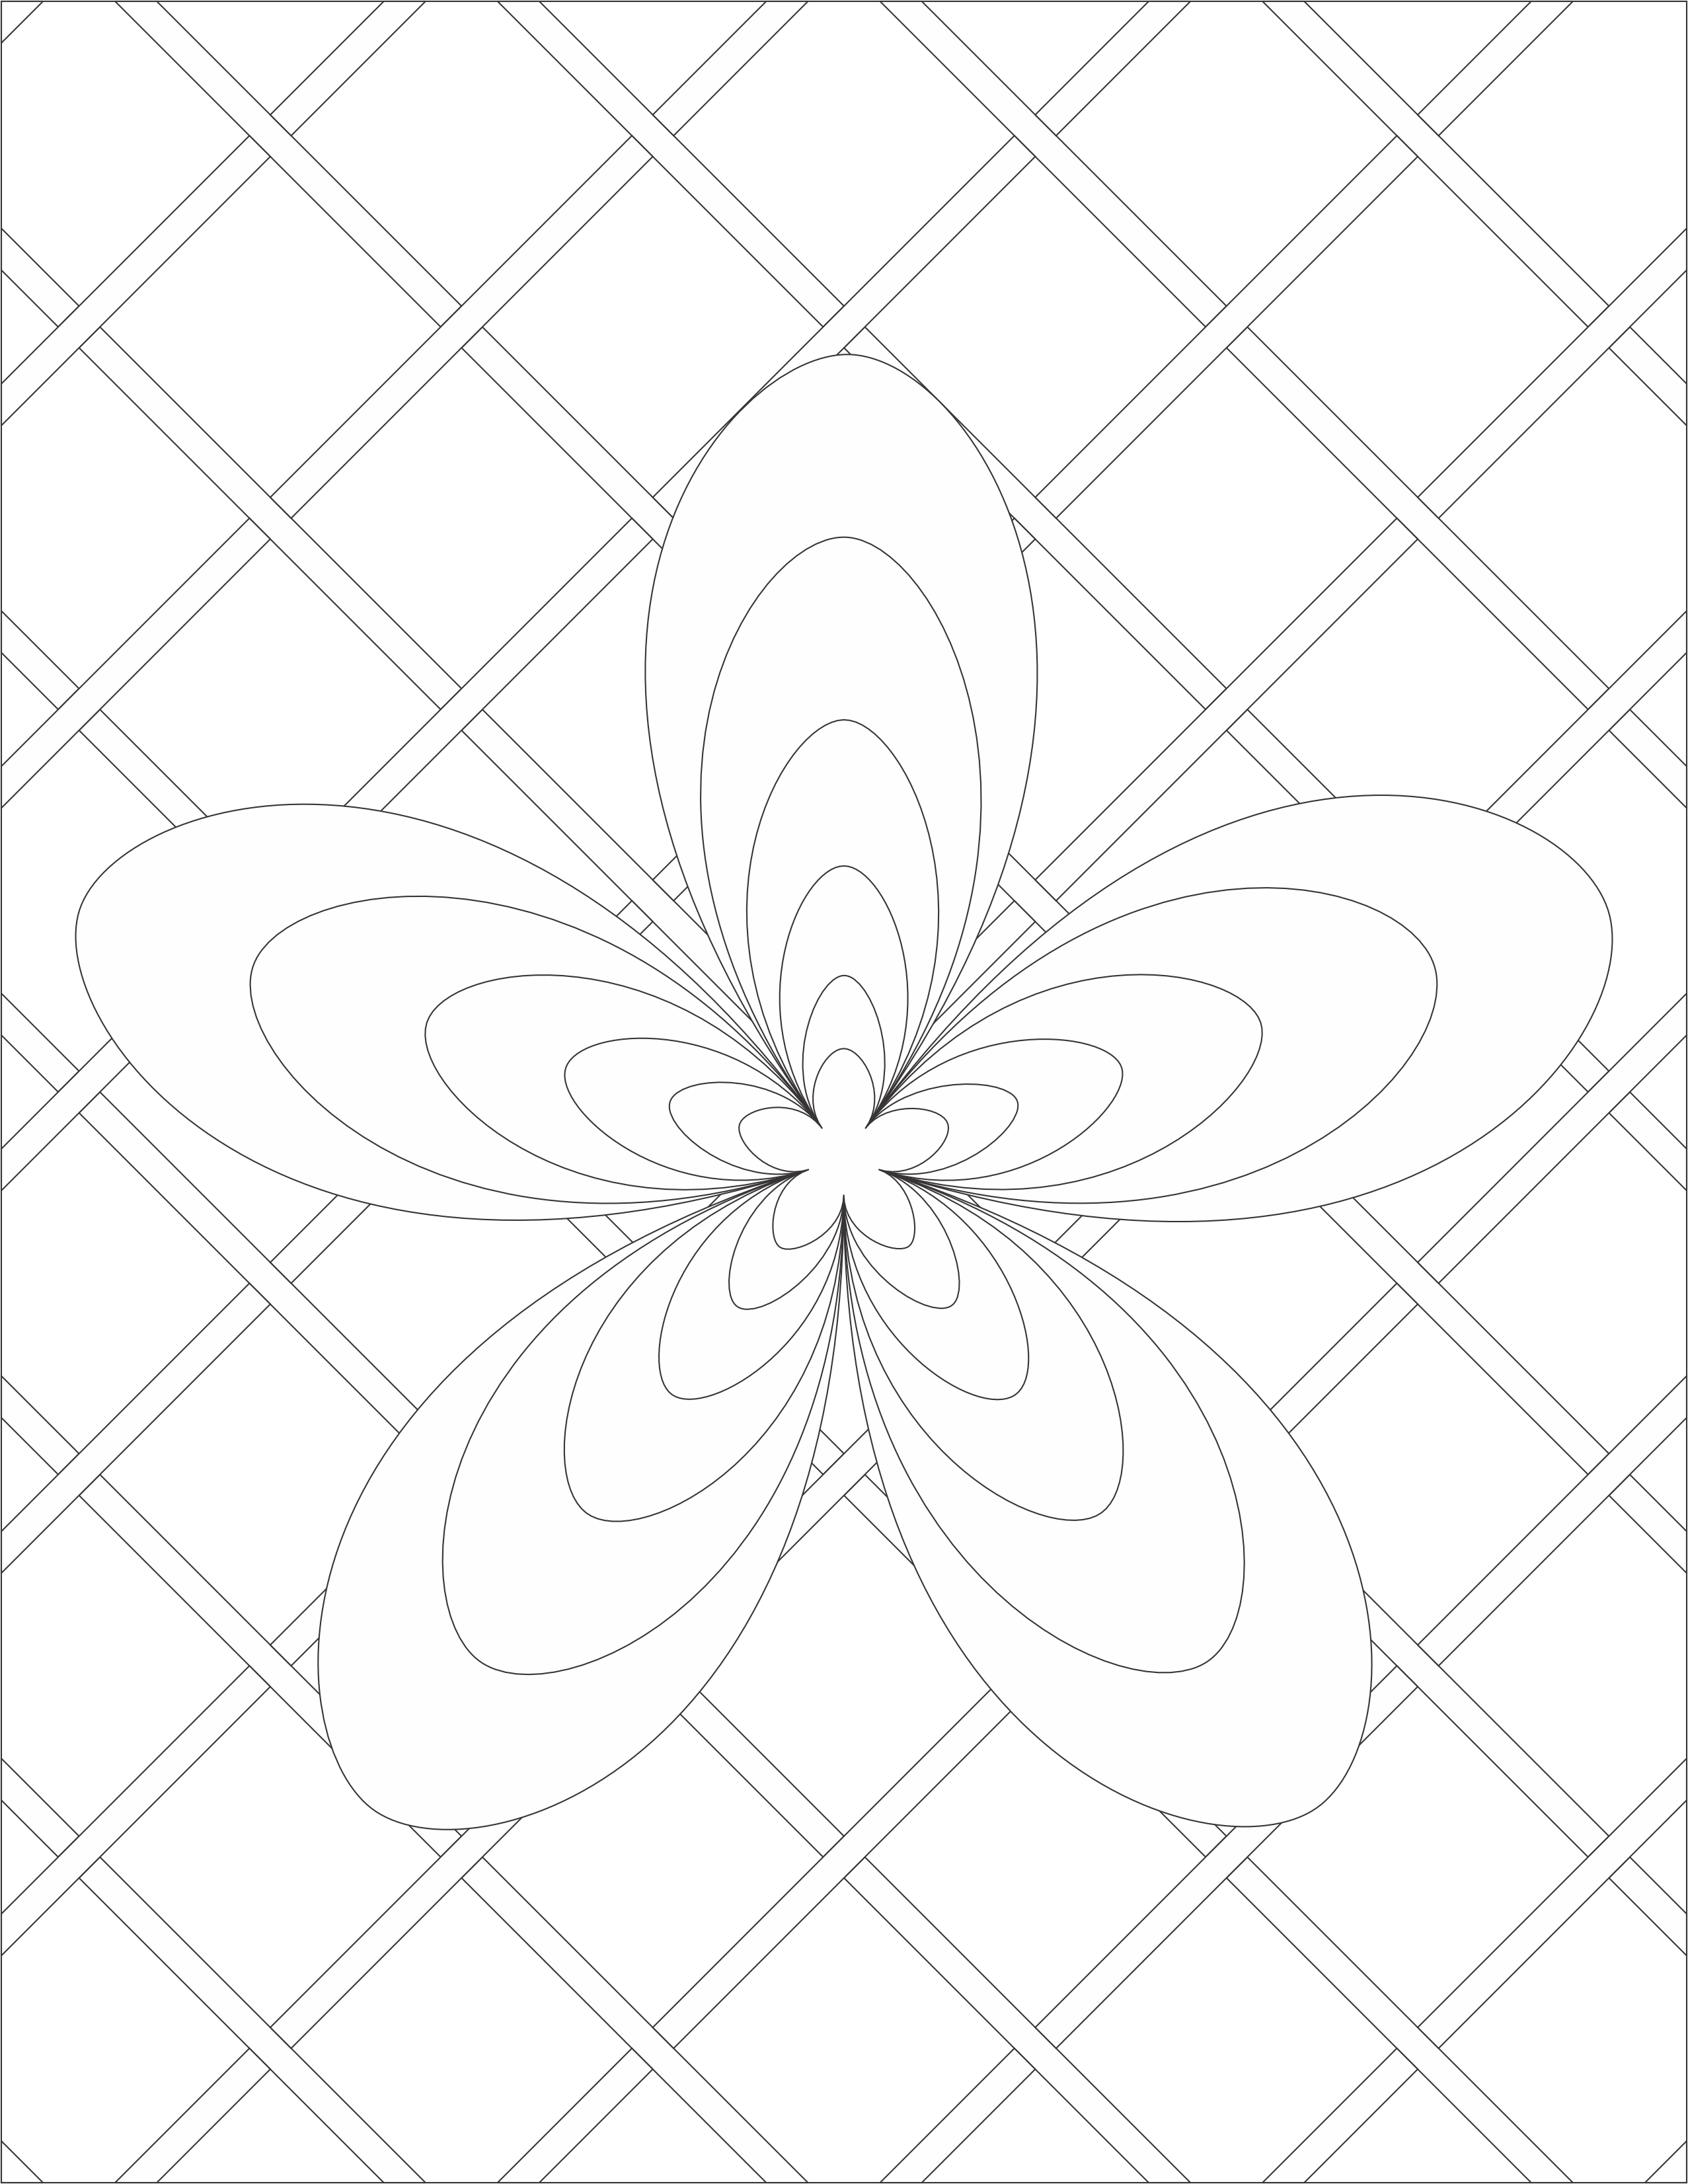
Six new coloring pages are available for download. All of the new pages are based on flowers. Below are the links to the PDF files, and examples of how I colored each of the designs.
Being Single by Sarah:


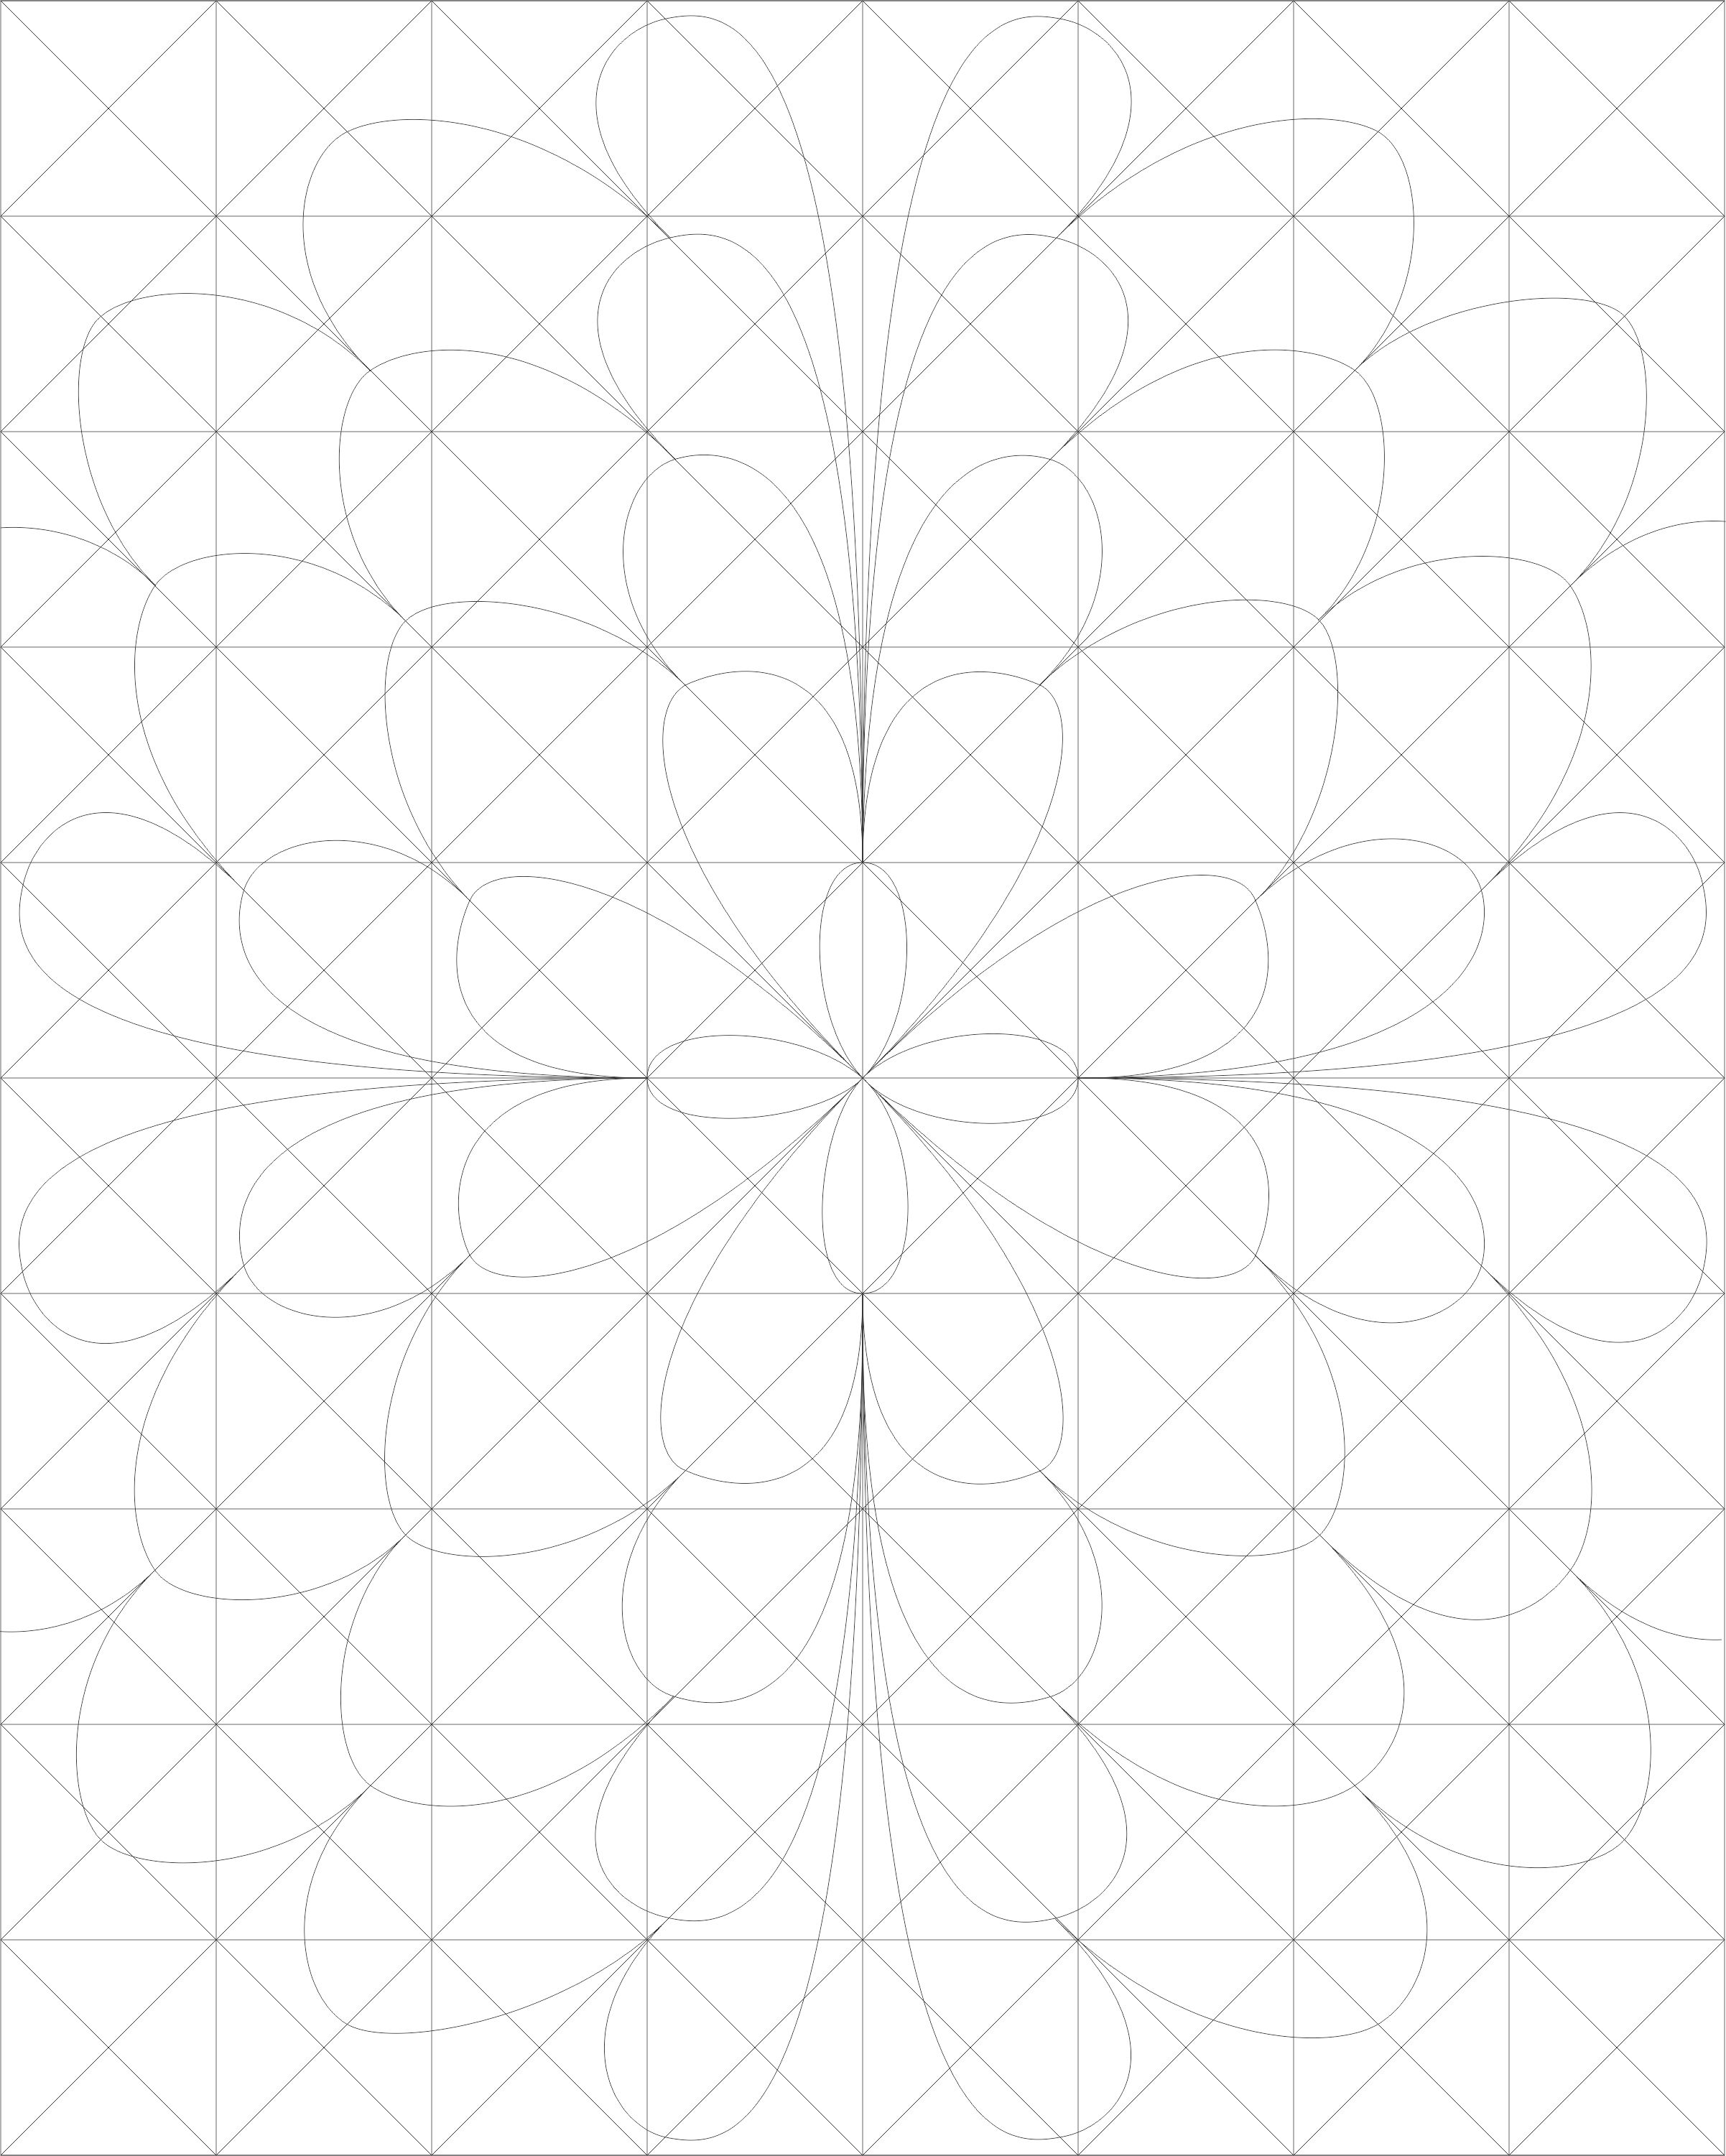
Flower Explosion Coloring Page:

Flower Explosion by Sarah:

Flowers on Flower Coloring Page:

Flowers on Flower by Sarah:


Leaf Burst by Sarah:


Simple Flower by Sarah:

Spin Flower

Spin Flower by Sarah:

Here is another coloring page I created that is available on the Coloring Page. It’s title Five by Four because if you look closely, you can see a group of five petals going down and four petals going across. If shading is used, it will add dimension to the design.
Below are some examples of the designs I created using this coloring page.


A new coloring page is now available for download titled “Circles of Designs“. Beside coloring the page, it can also be used as a string for tangles.

Below are a couple of examples how I used this coloring page:


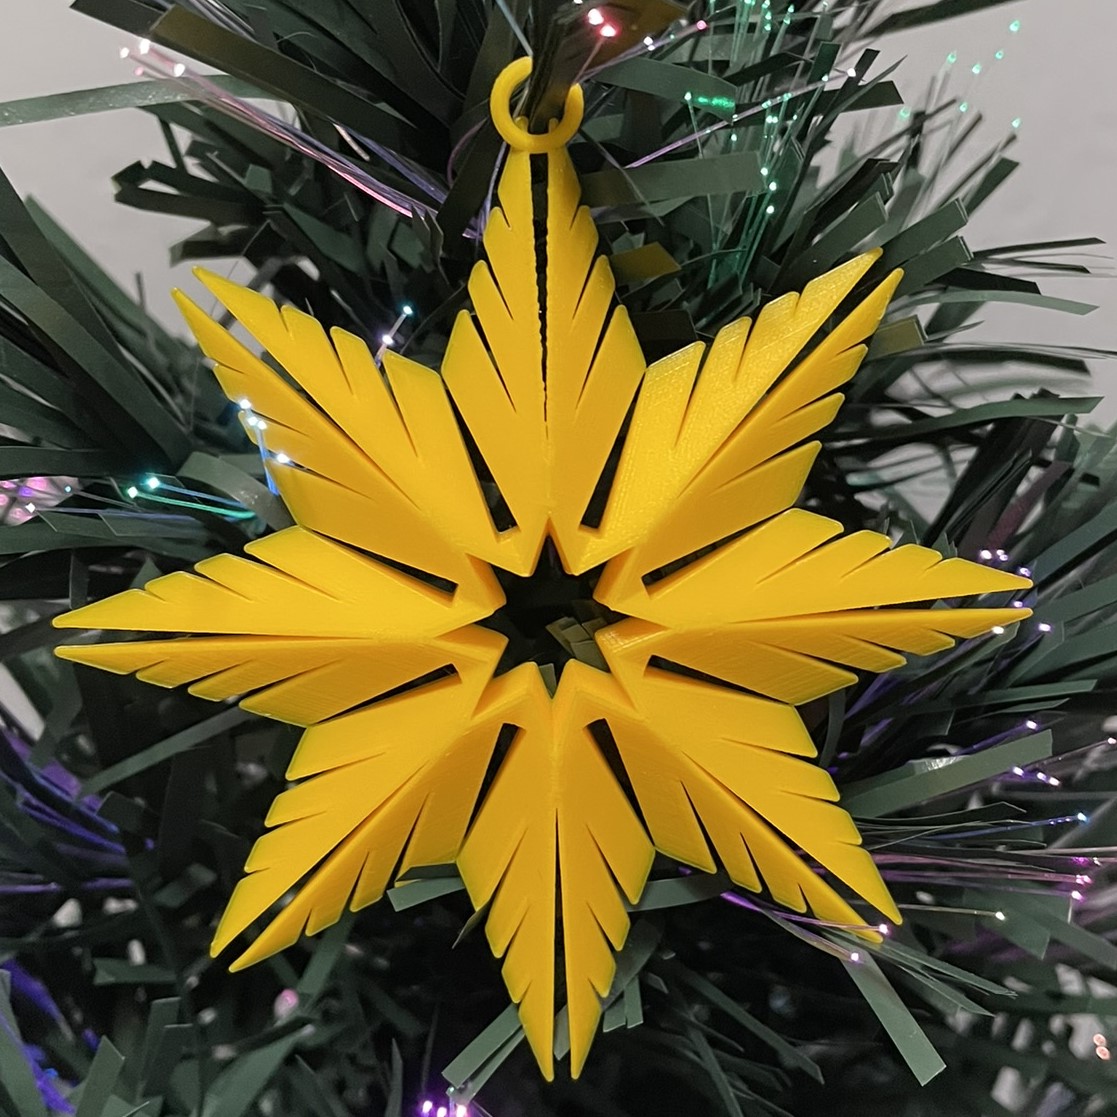
I created a tutorial in Instructables on how to create a snowflake in Tinkercad. There are a several great tutorials for creating snowflakes:
This tutorial, Creating a Snowflake Using Tinkercad, focuses on using a Star shape to create a snowflake and using other shapes to put holes in the star.
I got the inspiration seeing an office that was decorated with paper snowflakes. Each one was unique because they were created by hand. If you are interested in learning how to create a paper snowflake, check out CYNICALifornia’s Paper Snowflake instructions. The first thing I did was create a paper snowflake.

The next step was creating one in Tinkercad. But I did not stop at one, I created seven snowflakes.
Below is the first one I created. It uses the only the Star shape and the Roof Shape. Even the back looks good.


My tutorial (Creating a Snowflake Using Tinkercad) focuses on how to create a snowflake with heart shaped holes.


This is the link (Snowflakes) to the seven snowflakes I created in Tinkercad. I encourage you to copy the design and deconstruct the snowflakes to see how they were designed. Then create your own snowflake using the tutorial and information you learned by viewing my design.
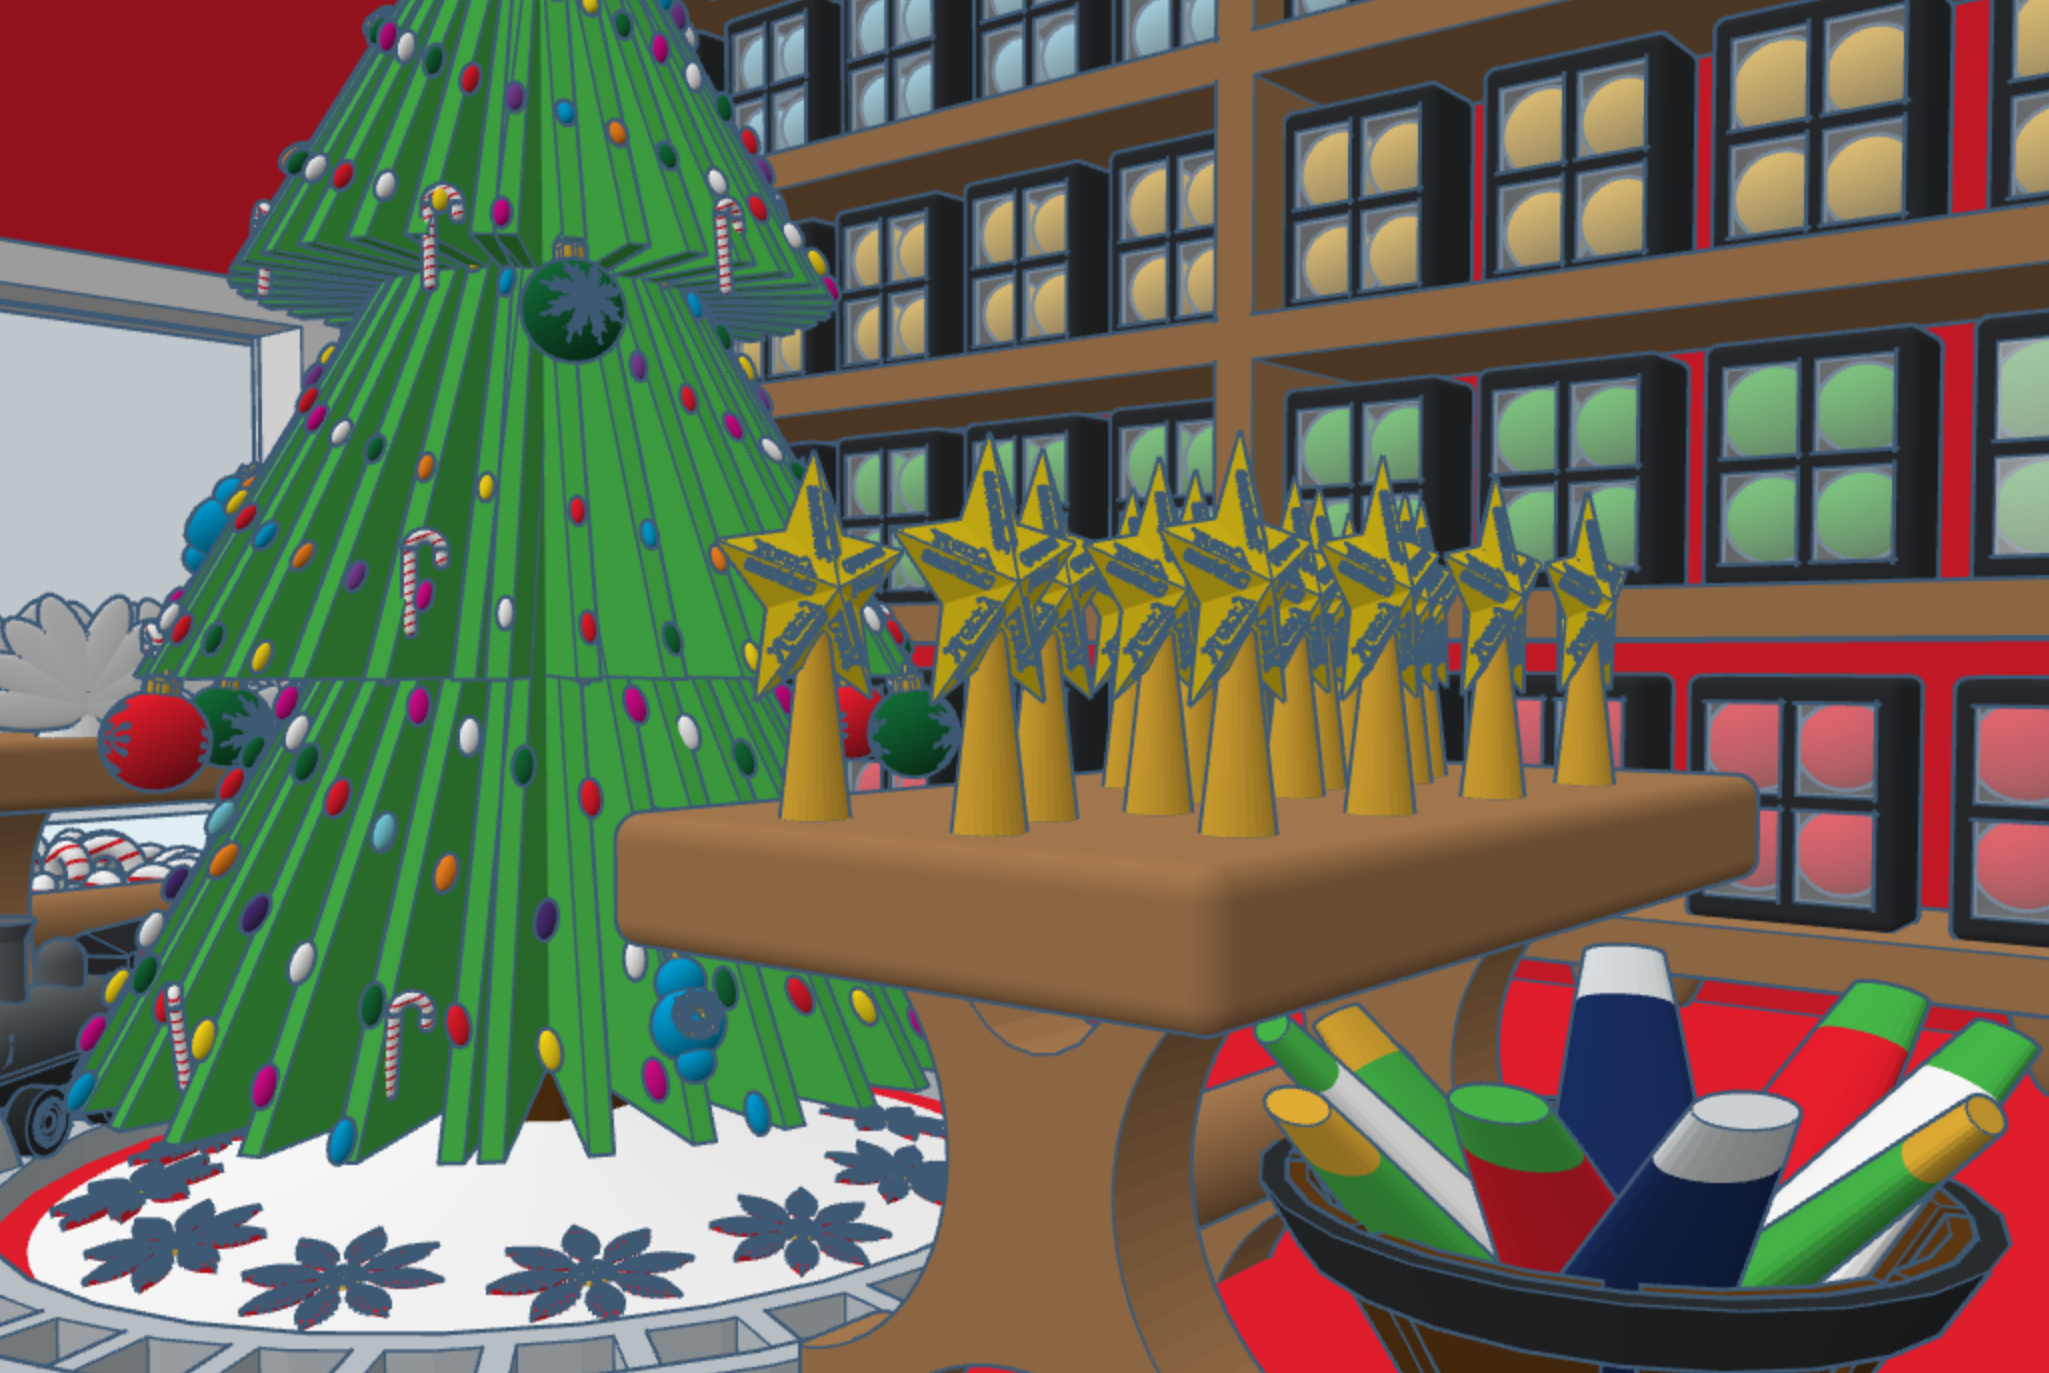
This year, for Christmas, I decided to design a North Pole Christmas Tree Farm in Tinkercad, with a barrel train to take visitors around the farm. I placed the shop inside the barn, I guess some of the reindeer gave up their lodging for the season. The shop sells tree decorations. You can copy this design and add your own objects to Tree Farms.
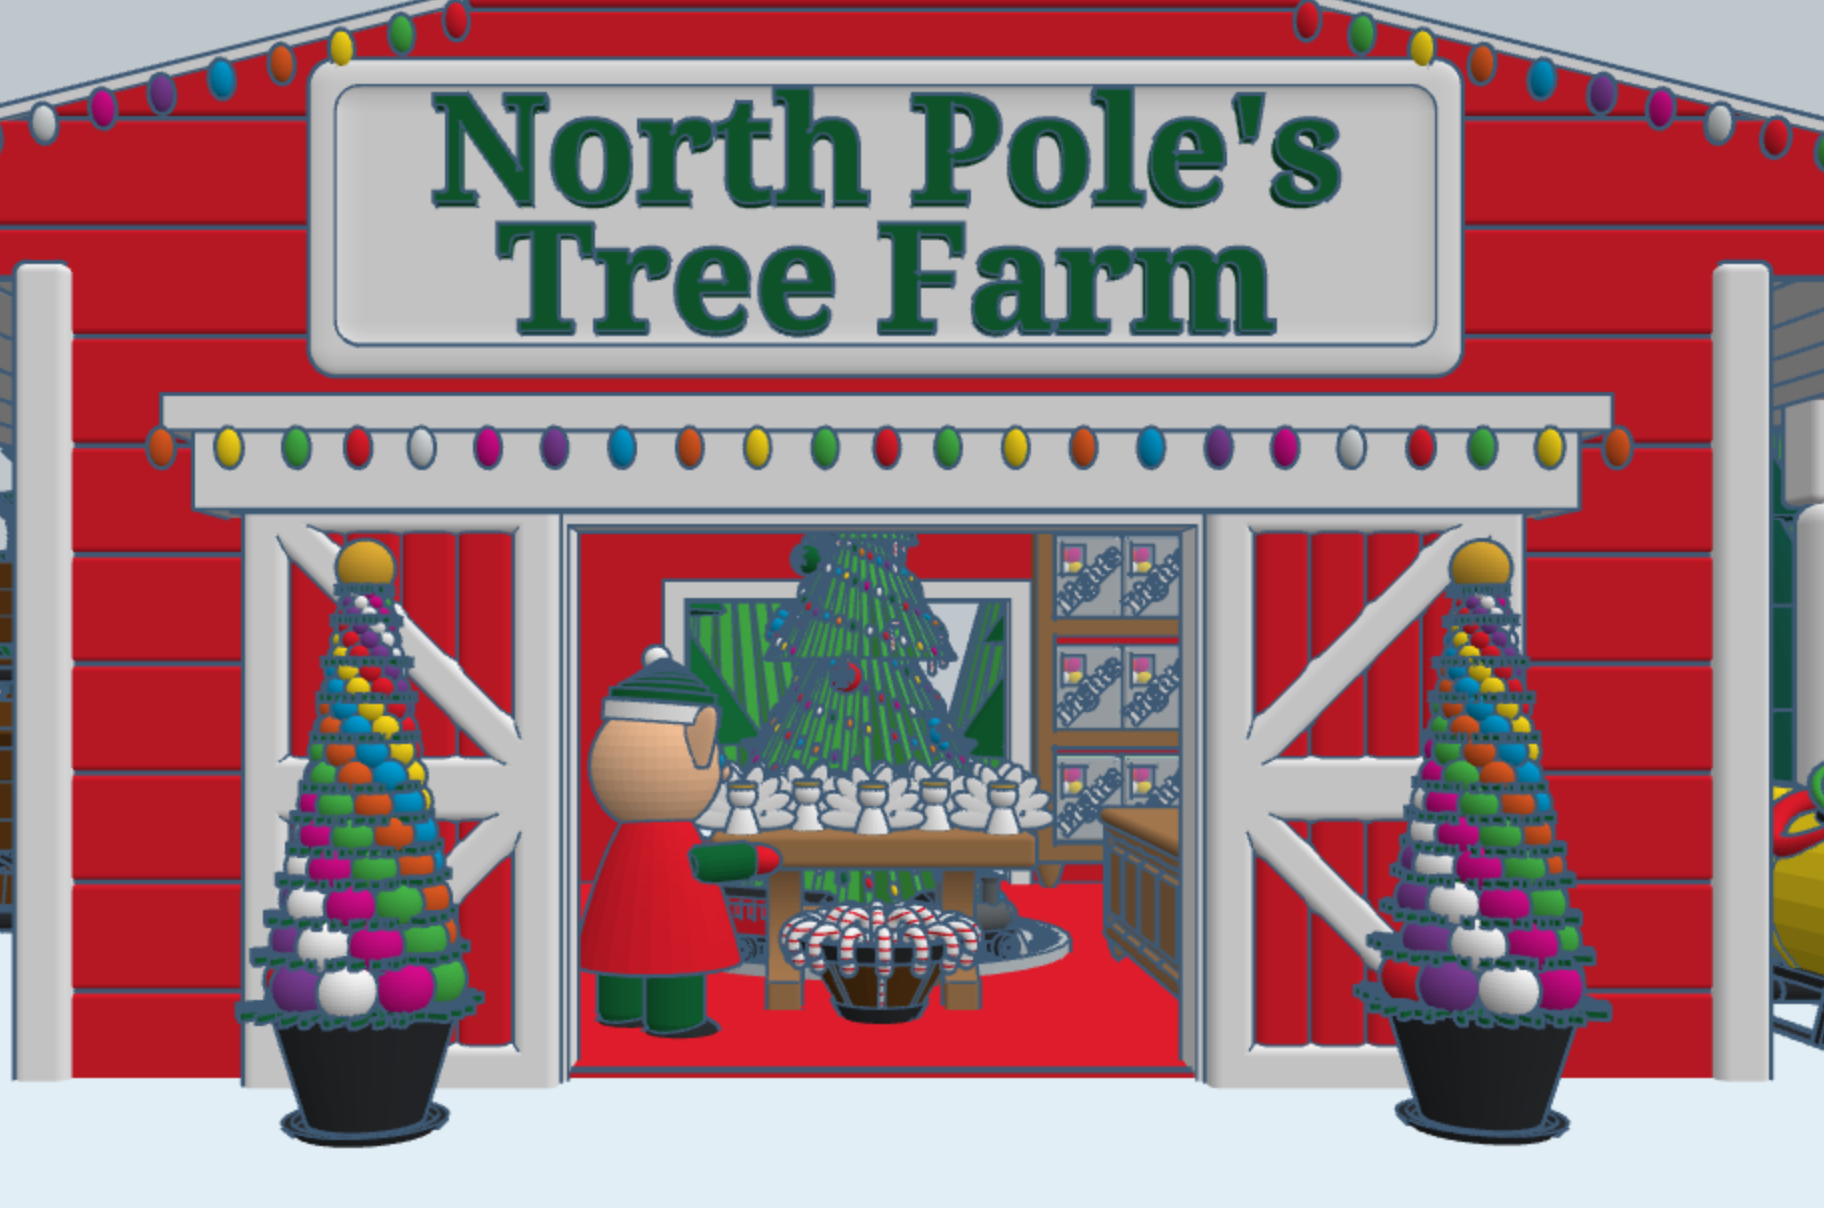
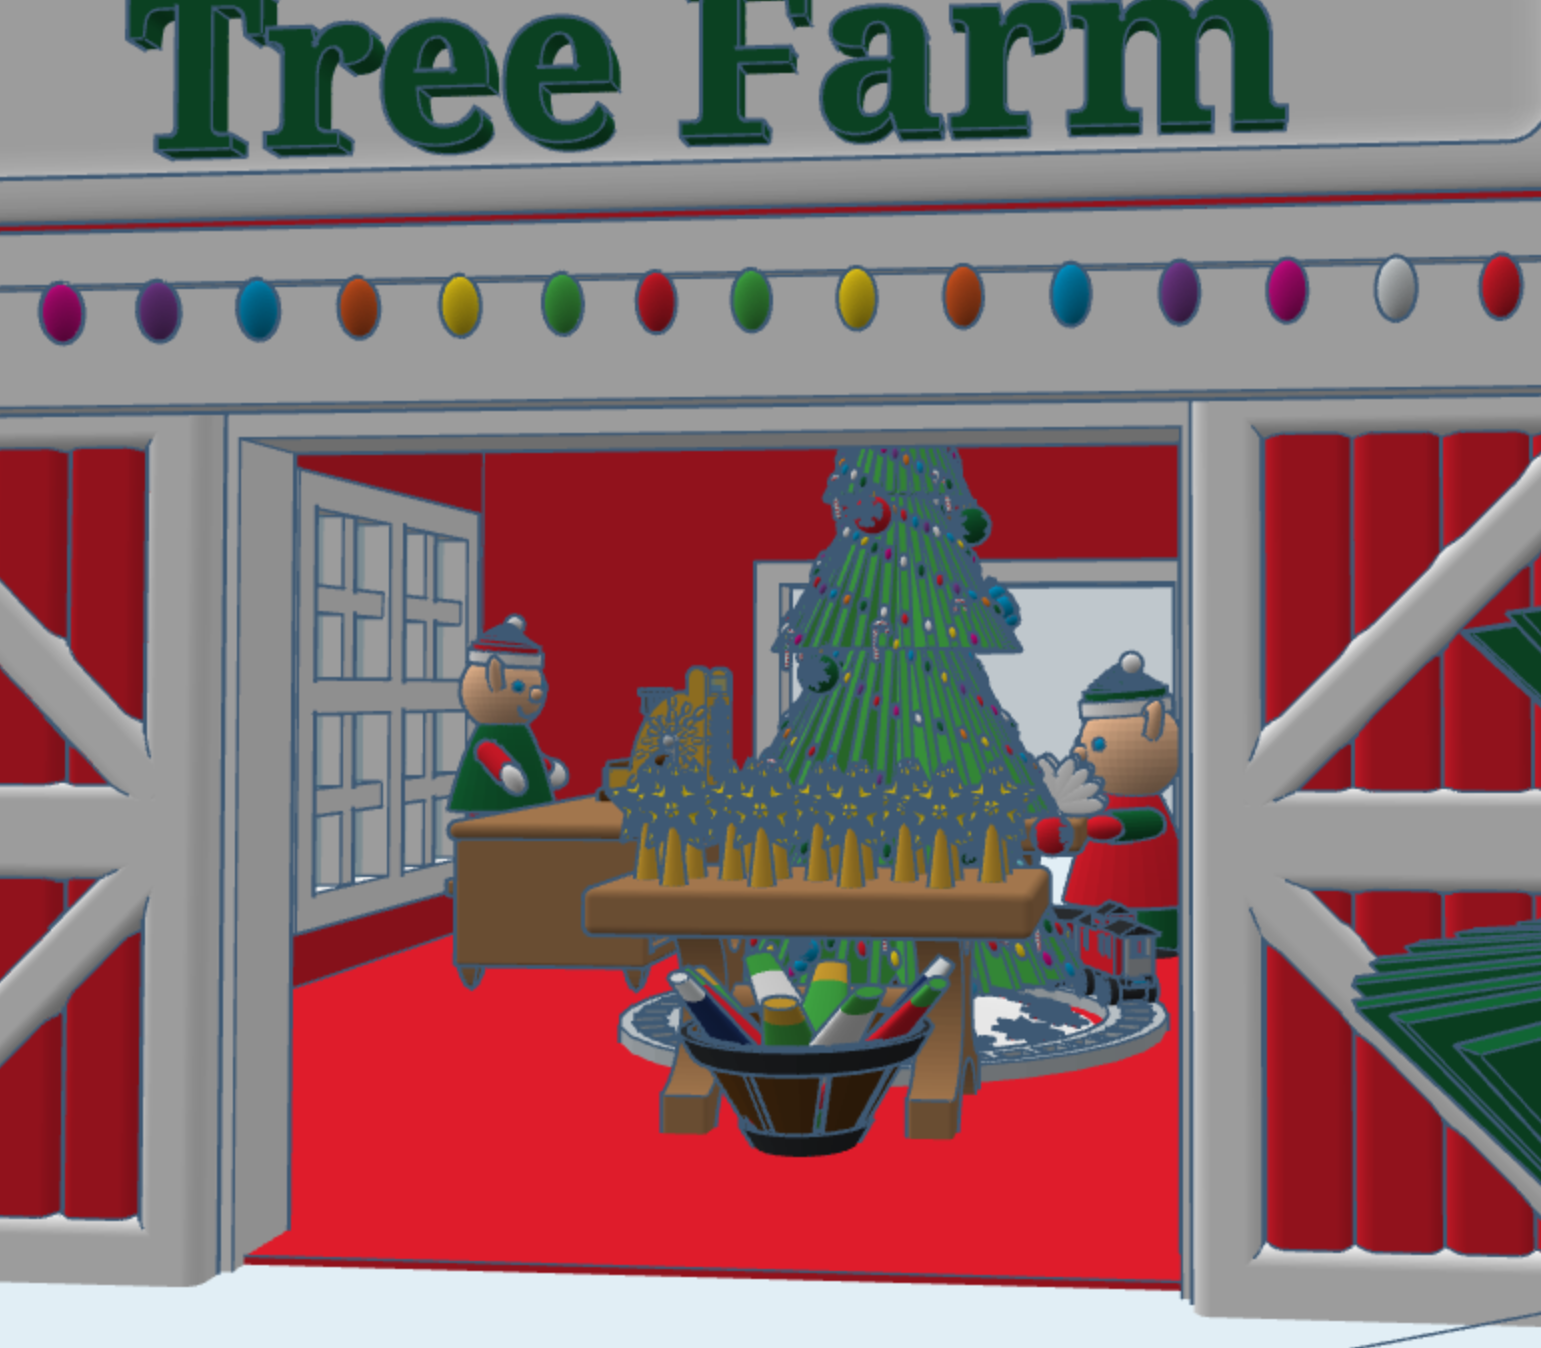

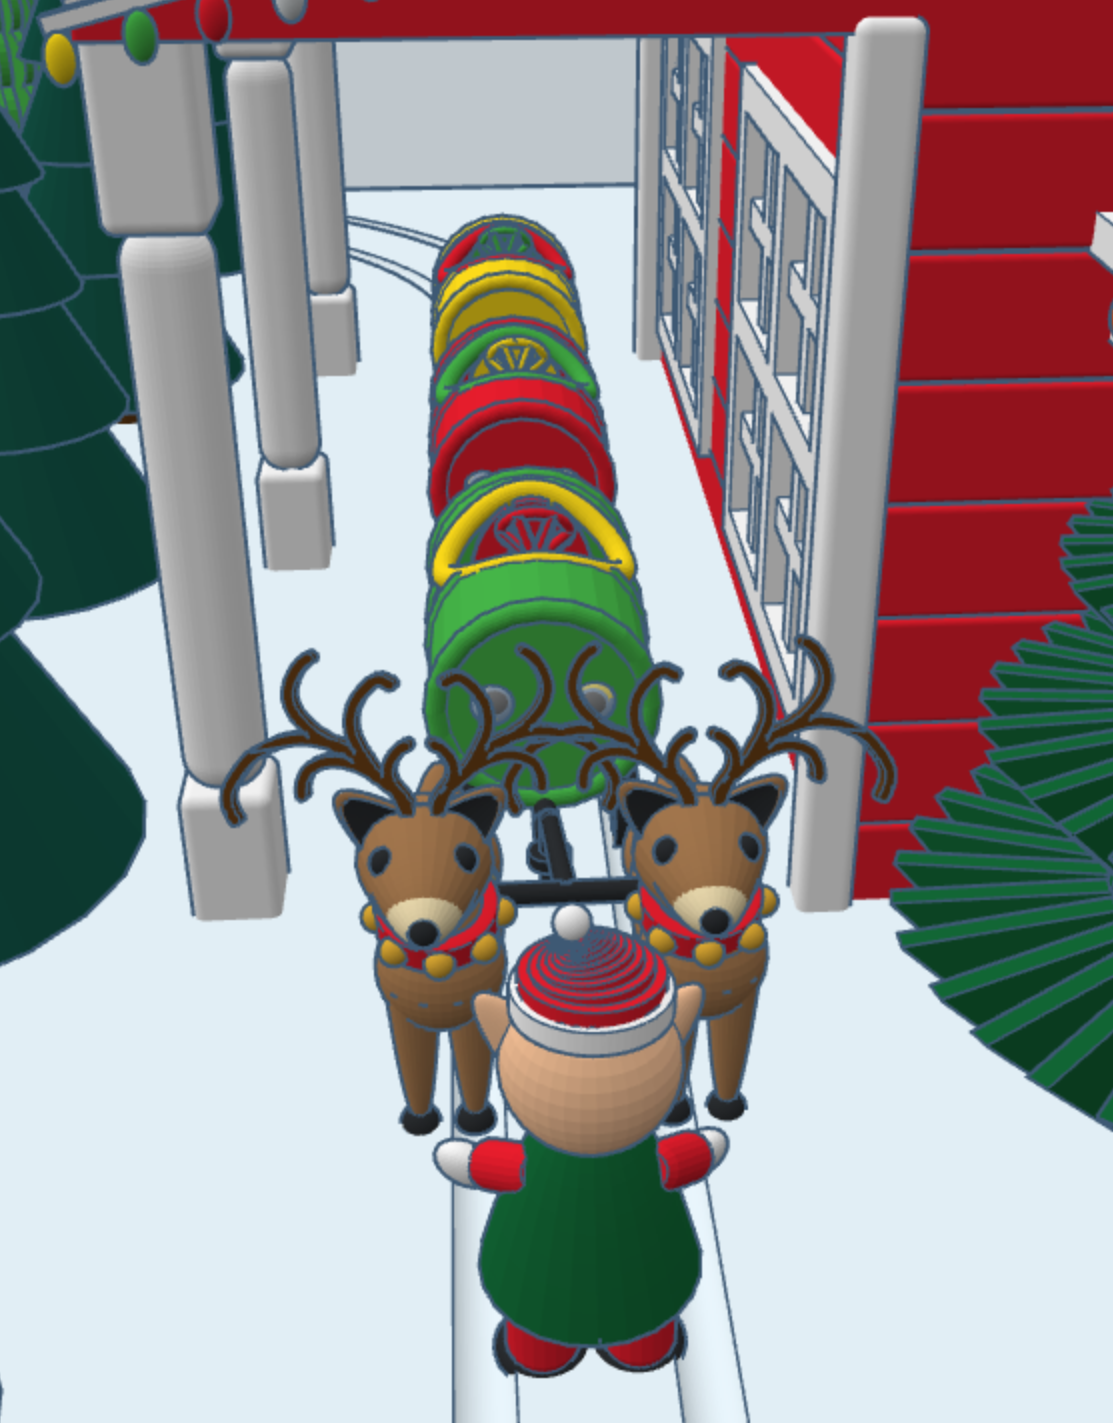


The barrel train was created in a different design. One train set has skids for use on snow, and another train set has wheels for use on the ground. You can copy the train, but you will have to design your own form of propulsion.

Over the past few weeks, I have been creating pictures with Microsoft Bing Image Creator. It’s AI created some wonder images. It works by describing the picture you want to see, and the AI creates the picture.
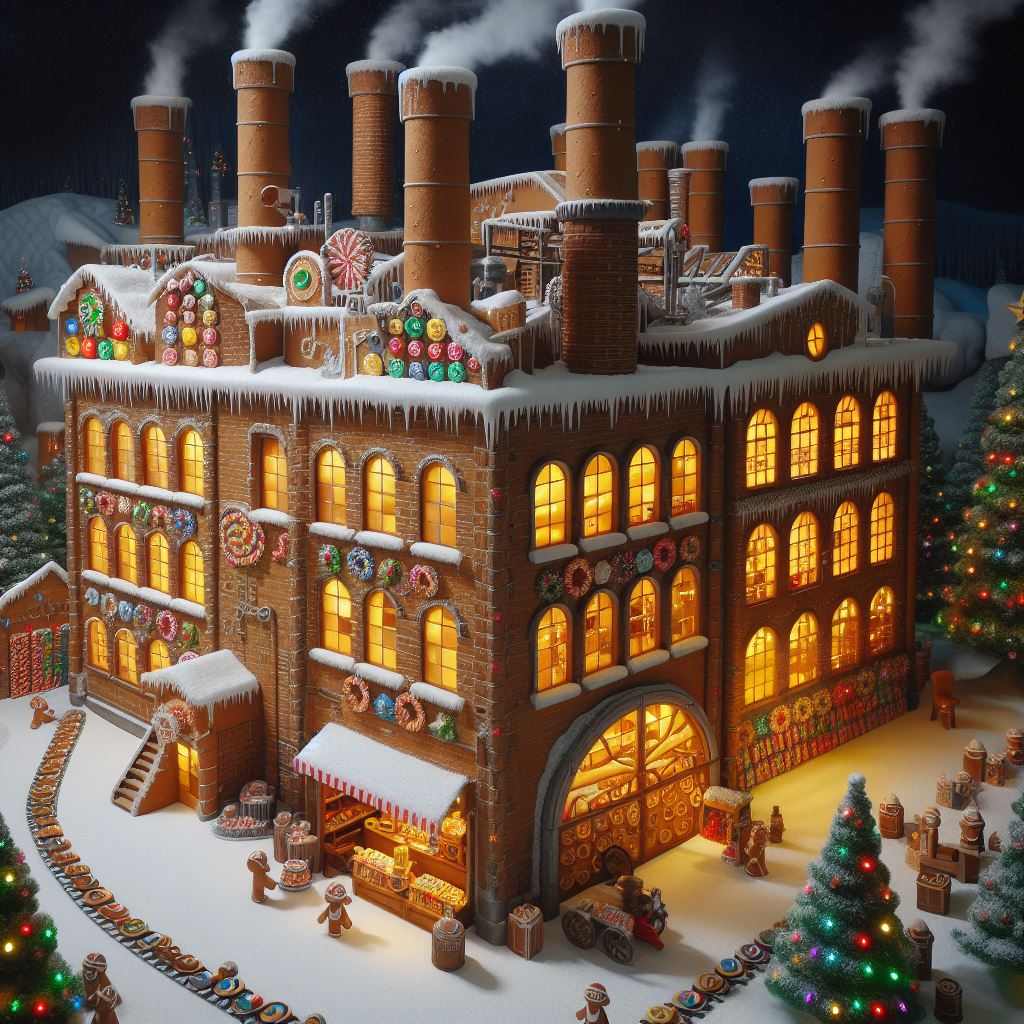
One prompt I used was: “candy manufacturing plant made of gingerbread located in the north pole that is run by Santa’s elves”. Below are the images the AI returned.


To use Bing Image Creator, you must have a Microsoft account. If you are a new user, Microsoft will provide you with 15 boosts. My Microsoft account is many years old, and I was provided 80 boosts.
In the prompt field you type a description of the picture you would like to see, then you press the Create button. After a short period of time, the AI will show you four pictures it created. You then have the option to download the pictures or rework the description. Each time you submit a description, it will use one of the boosts.
Below are more descriptions I used and the pictures the AI created.
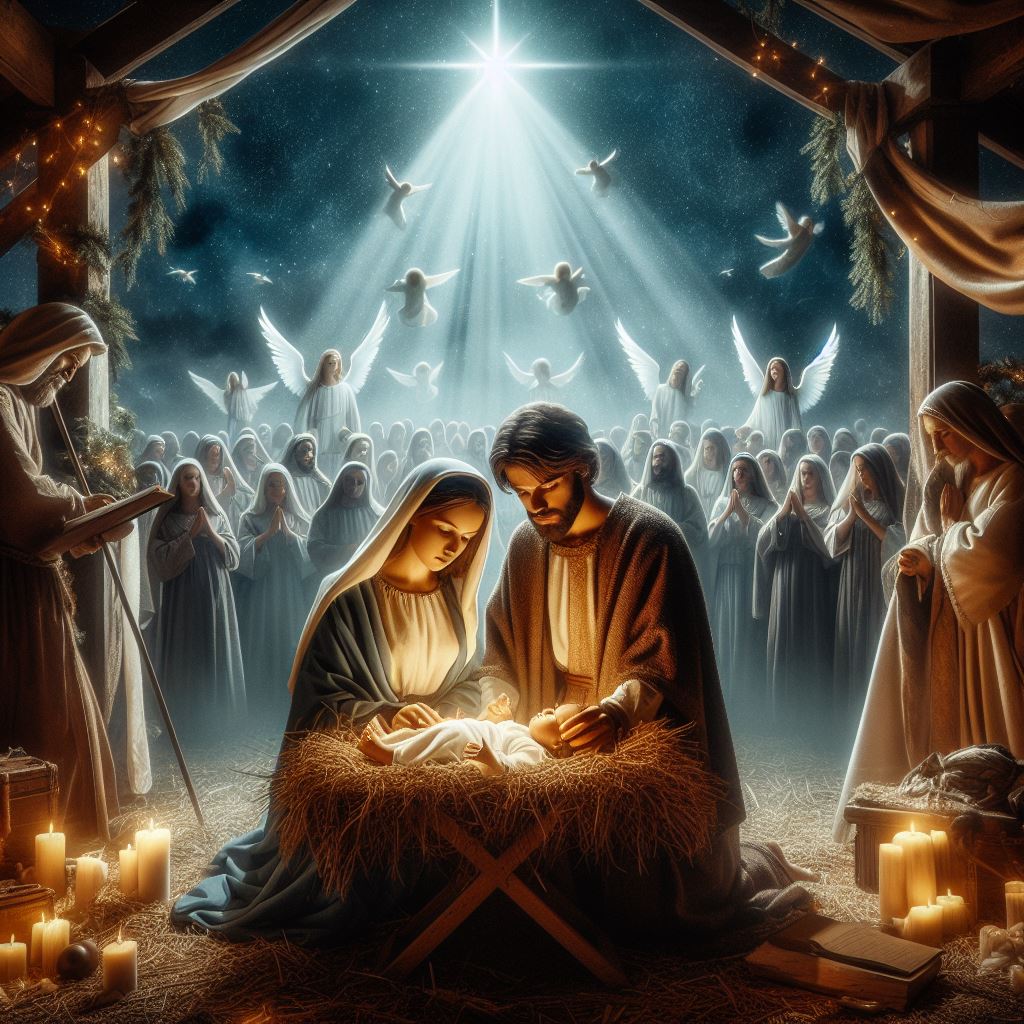
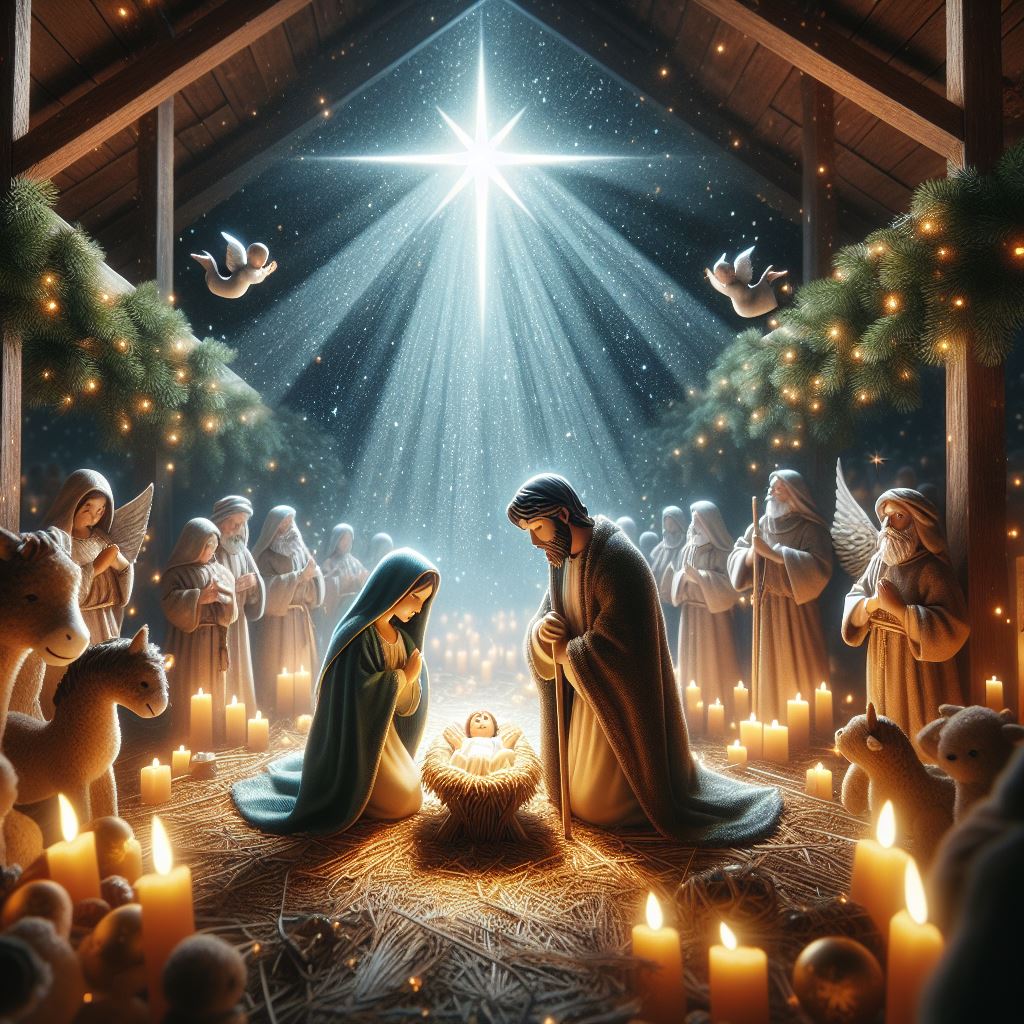
Description: a nativity scene with Mary, Joseph, and baby Jesus in a manger with the Bethlehem Star shining down on the stable. In the background show choir of angels in the background.


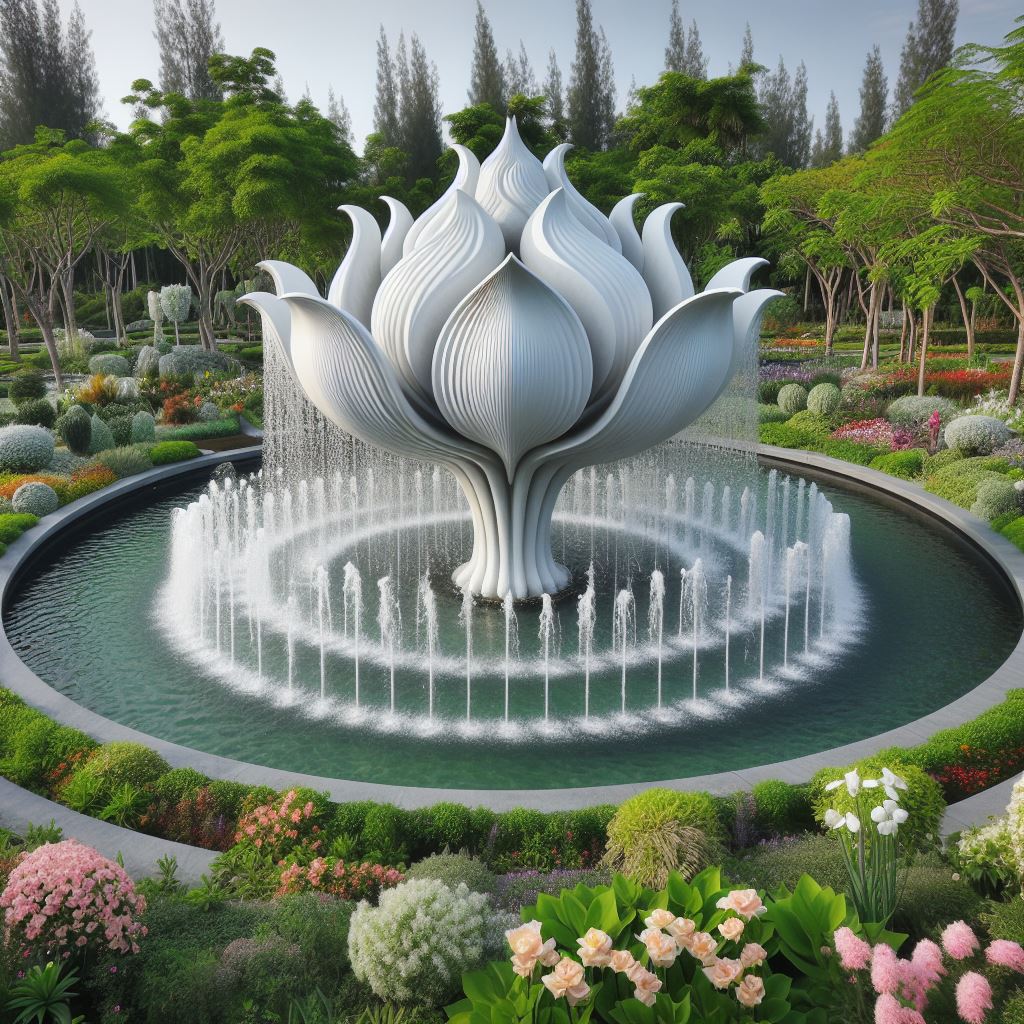
Description: The garden with variety of trees and flowers. The garden features a fountain sculpted from white marble, resembling an open flower. Within the fountain, 40 water sprouts shoot up into the air, cascading back down like rain into the crystal-clear pool.


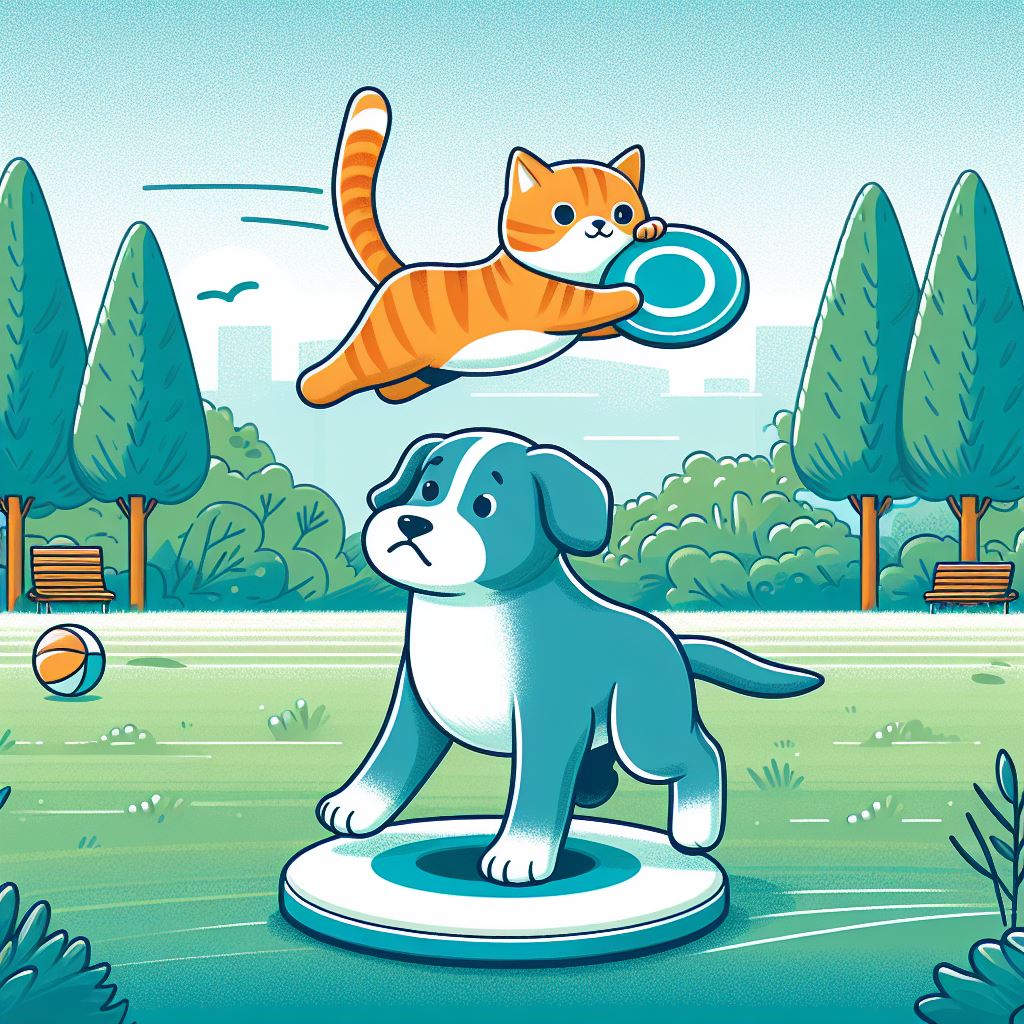
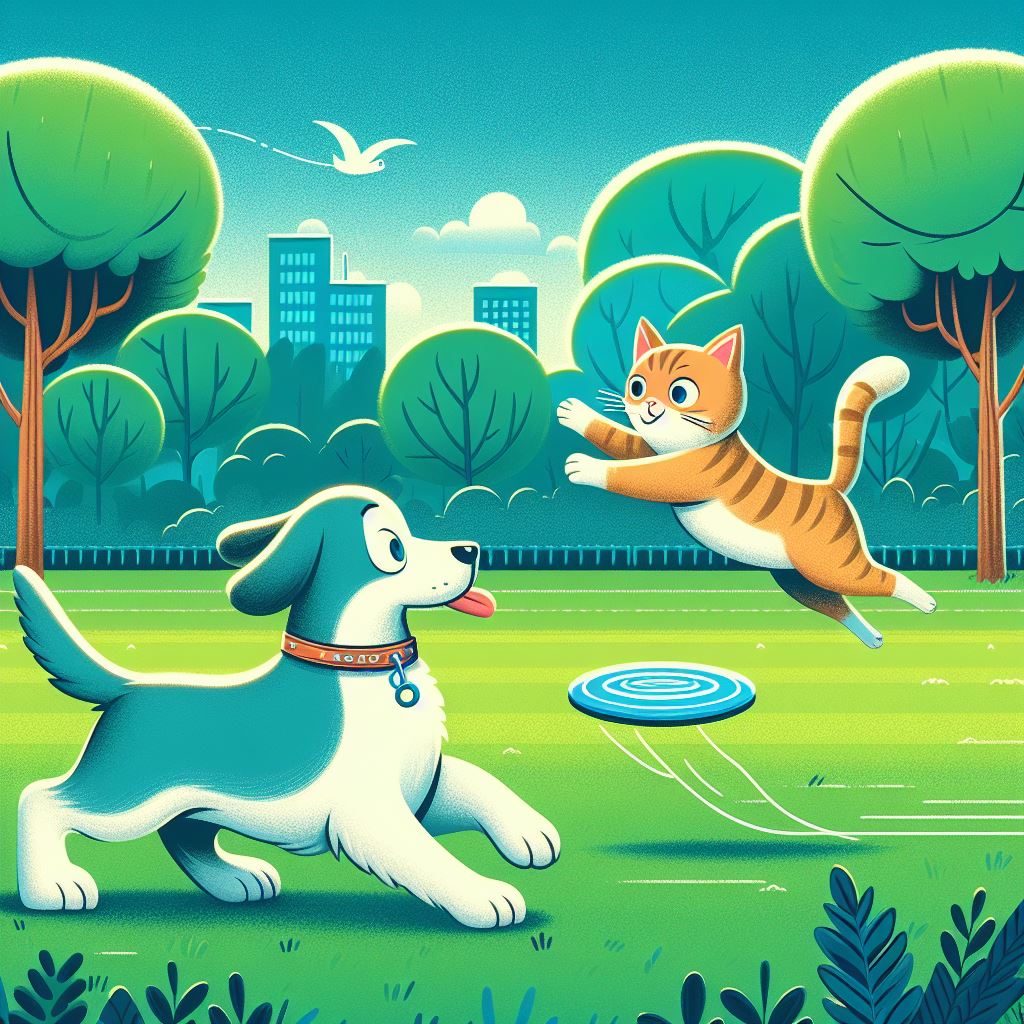
Description: A dog playing frisbee and cat riding on the frisbee. They are in a park which has a bluish green field surrounded by a variety of trees.


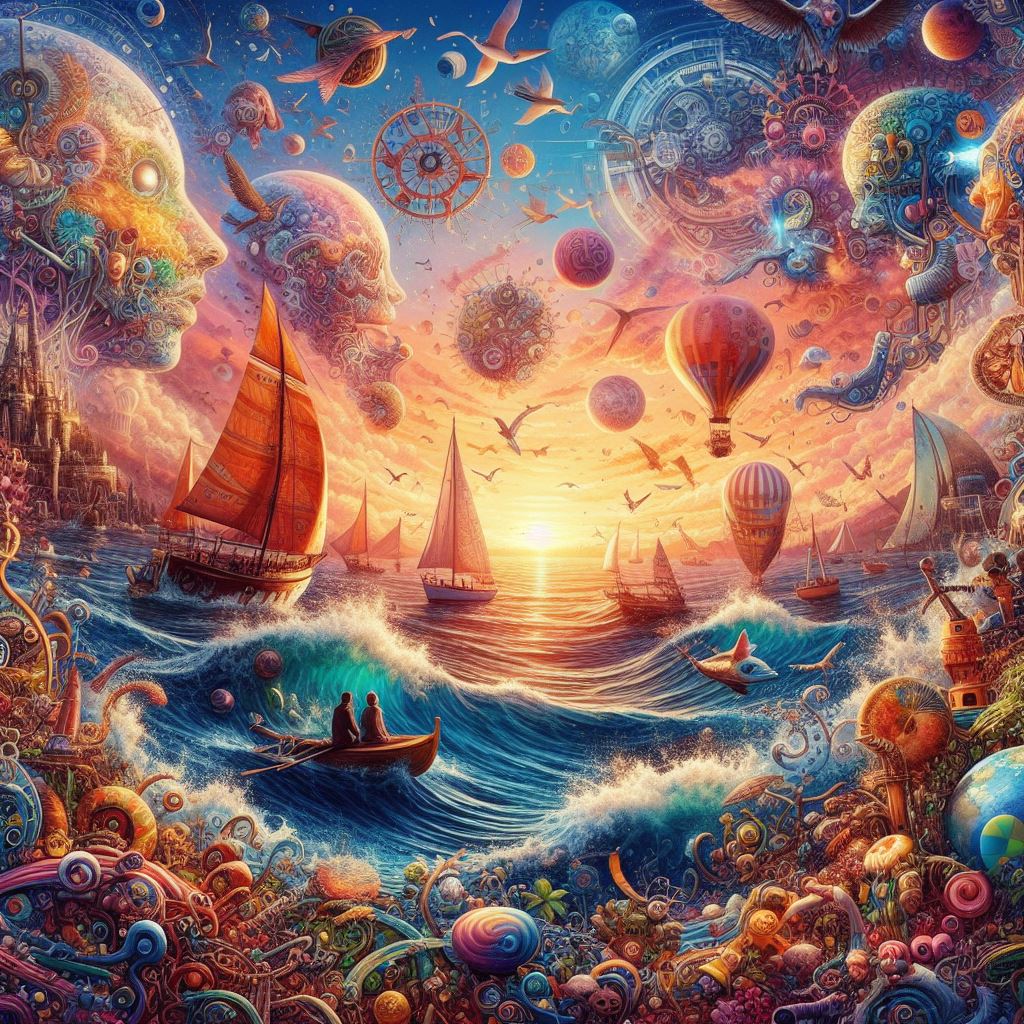
Description: Need a image that I can use to give credit to Microsoft Bing Image Creator for the wonder images the AI creates.


Microsoft only provides the image in a JPEG format and limits the size to 1024 x 1024 pixels. Which is good enough for posting on a Social Media platform or this blog.
There is no guarantee that you will get that same pictures every time you enter a same description multiple times. Nor, is it guarantee that someone else will not get the same picture created with a description you used.
I tried other AI picture generated programs like PIXLR and FOTOR. Both have more features than Microsoft’s Image Creator. FOTOR I ran out of boost before I finished my research. In the PIXLR Licensing Agreement, it states that no image can be used unless you have a subscription.
In my opinion, Microsoft Image Creator generated better pictures. In the other programs missed sometimes in what I was trying to create. For example, I asked for a yellow bird whispering in a dog ears. It returned a few examples, but one had a dog’s head on a bird’s body.
My Tinkercad design’s Santa Workshop can now be copied through Christmas. The 2023 changes to the design include a sled, a present, and elves pulling and riding the sled. Because the design is detailed, I decided to keep the changes minimal.
The sled can be seen in 3d or copied from this link: Red Sled
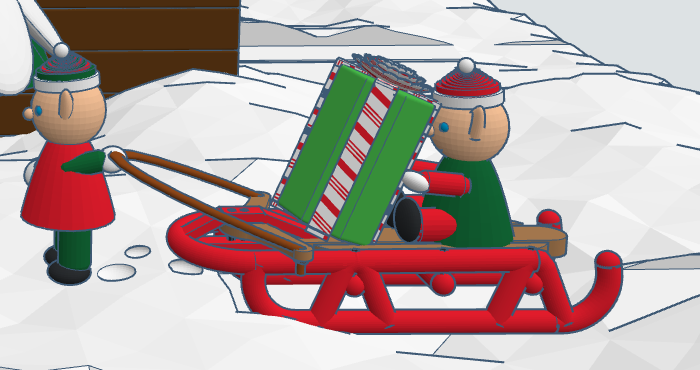
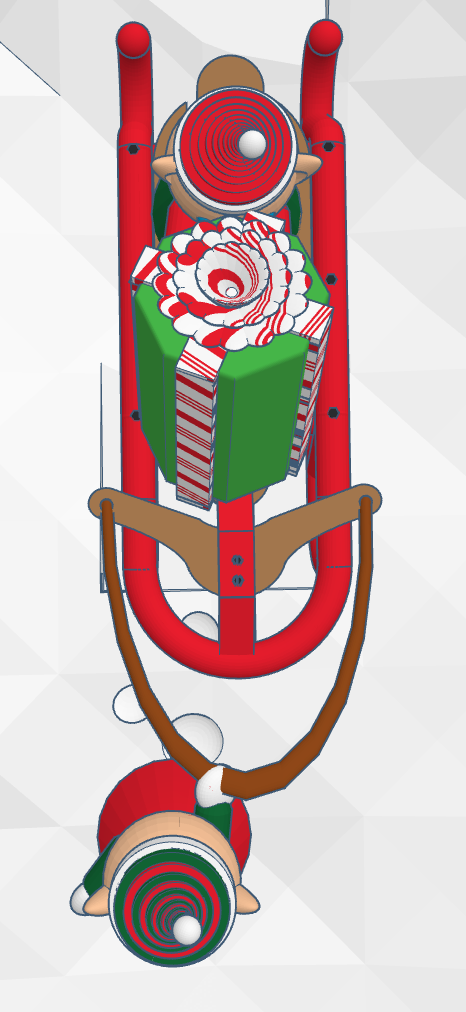
For the present, I wanted to give the ribbon and bow a candy cane pattern. I created a gradient Candy Cane gradient block. I can copy and used to give almost any design a candy cane coloring. Link: Candy Cane Gradient.

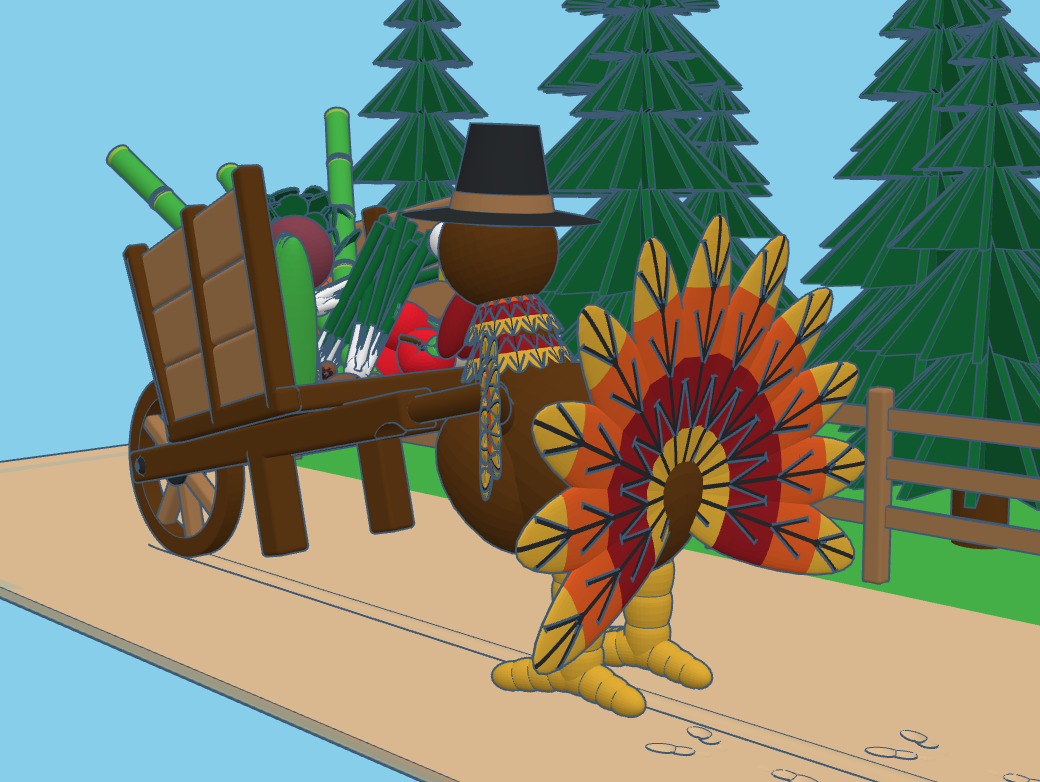
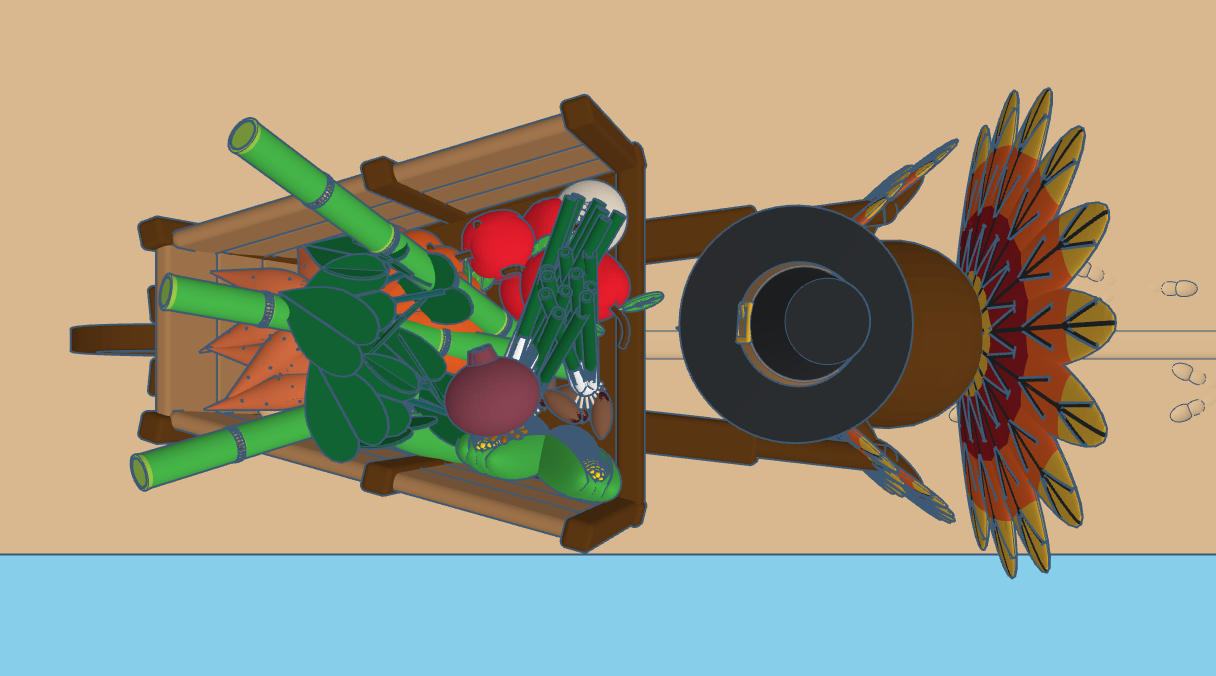
I turned around and boom it was Thanksgiving time. This year, I decided to make some designs in Tinkercad to celebrate the holiday. I stared with the wheelbarrow to fill with crops from the field. Next, I designed the turkey. It took the longest time. The feathers were not the problem, I couldn’t decide on how I wanted to create the neck and head.


Filling the cart with food was simple. All the food was created in separate design files and entire saved as a shape or copied into the Thanksgiving Harvest design file.

Below are the links to the food designs I used in Thanksgiving Harvest:
All these designs are available to copy. All I asked, if you use one of my designs, that you give me some type of credit for using the design. A shootout in the Designs Description is acceptable.
