Tinkercad regularly has challenges that tinkers can participate in. I decided to participate in the House Challenge. Why, because I love buildings. I like to explore buildings that are older and unique. I am not limited to mansion or plantations. It could be a building like a simple church or and old manufacturing building.
Tinkercad defined its challenge as: “Dive into the Tinkercad House Challenge, a space where big ideas and bold designs come to life. Create a house that’s entirely your own, using imagination and architectural thinking to shape it into a dynamic 3D build.” You can read about the entire challenge at this link: https://www.tinkercad.com/challenges/jq8yddObGqU-house-challenge
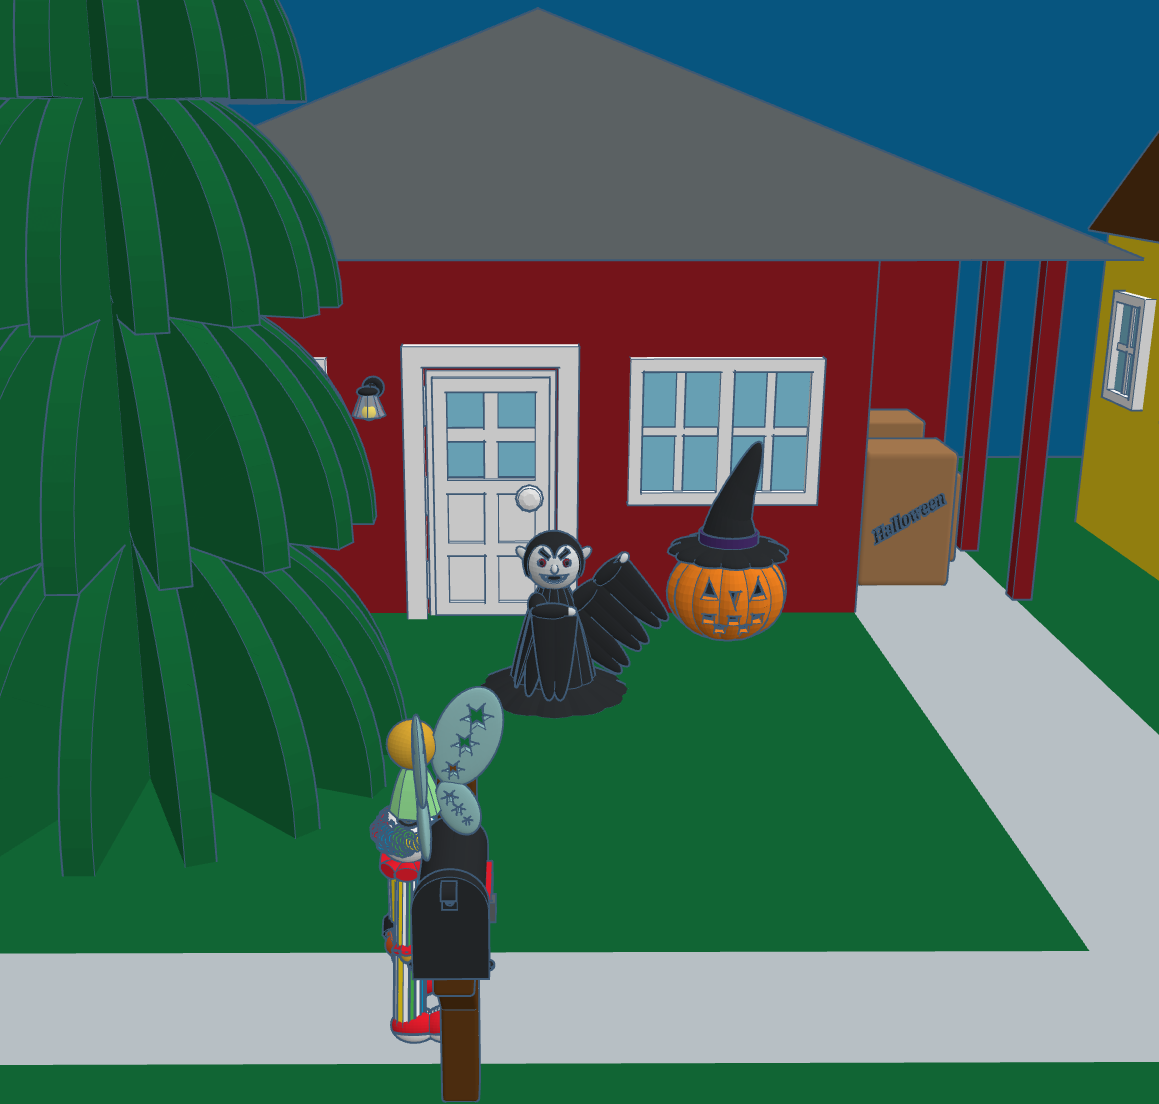
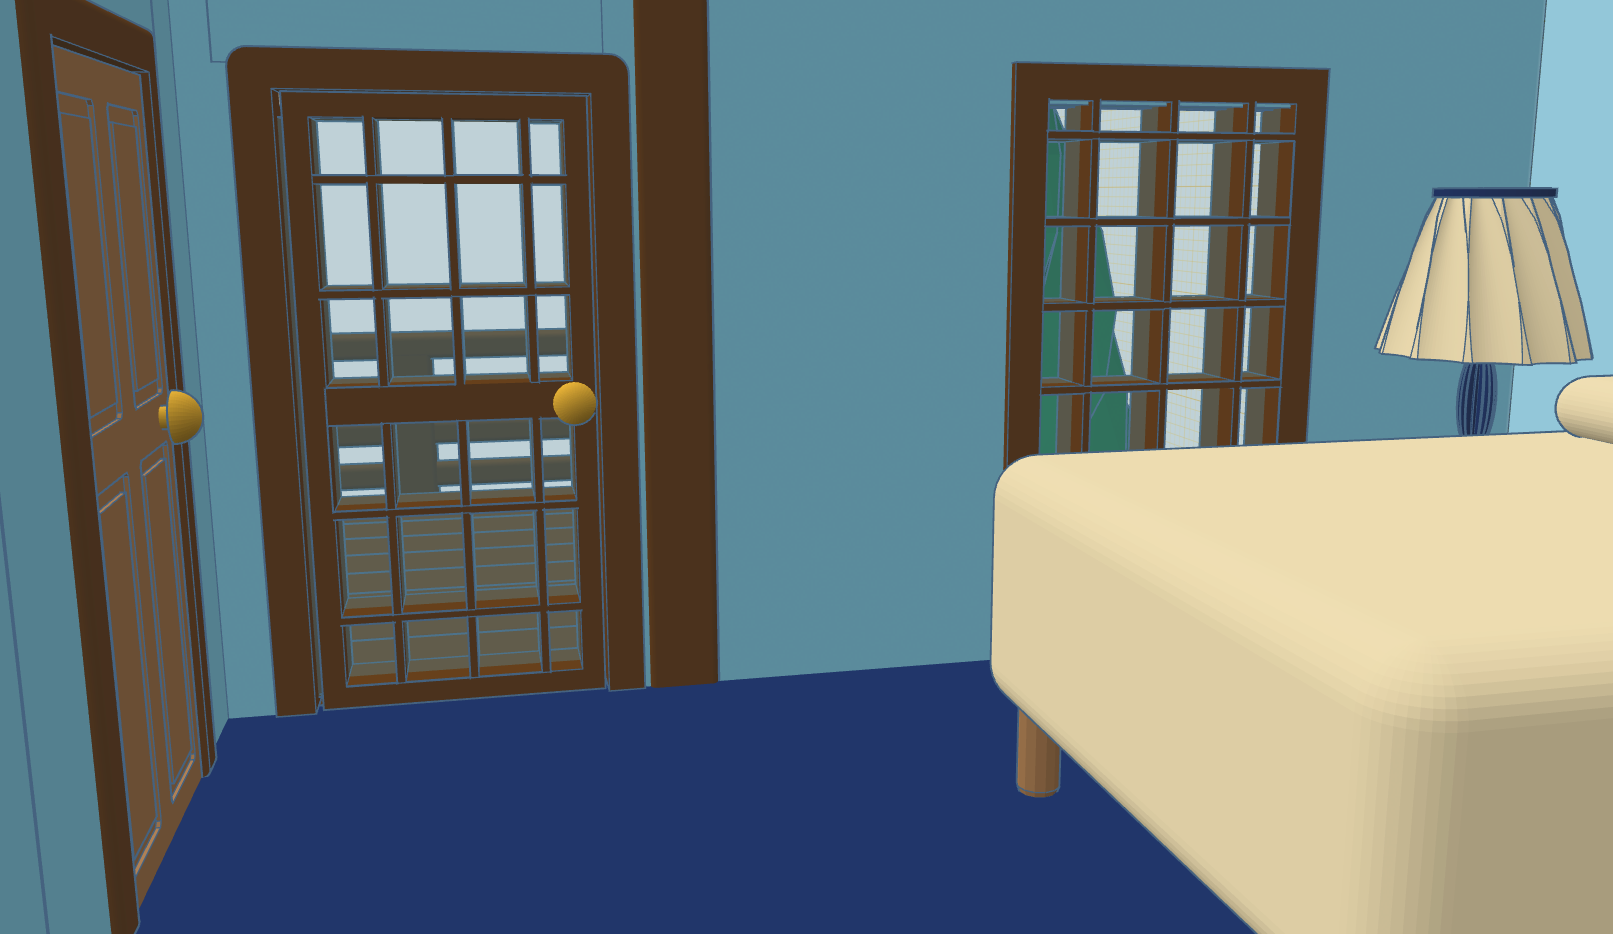
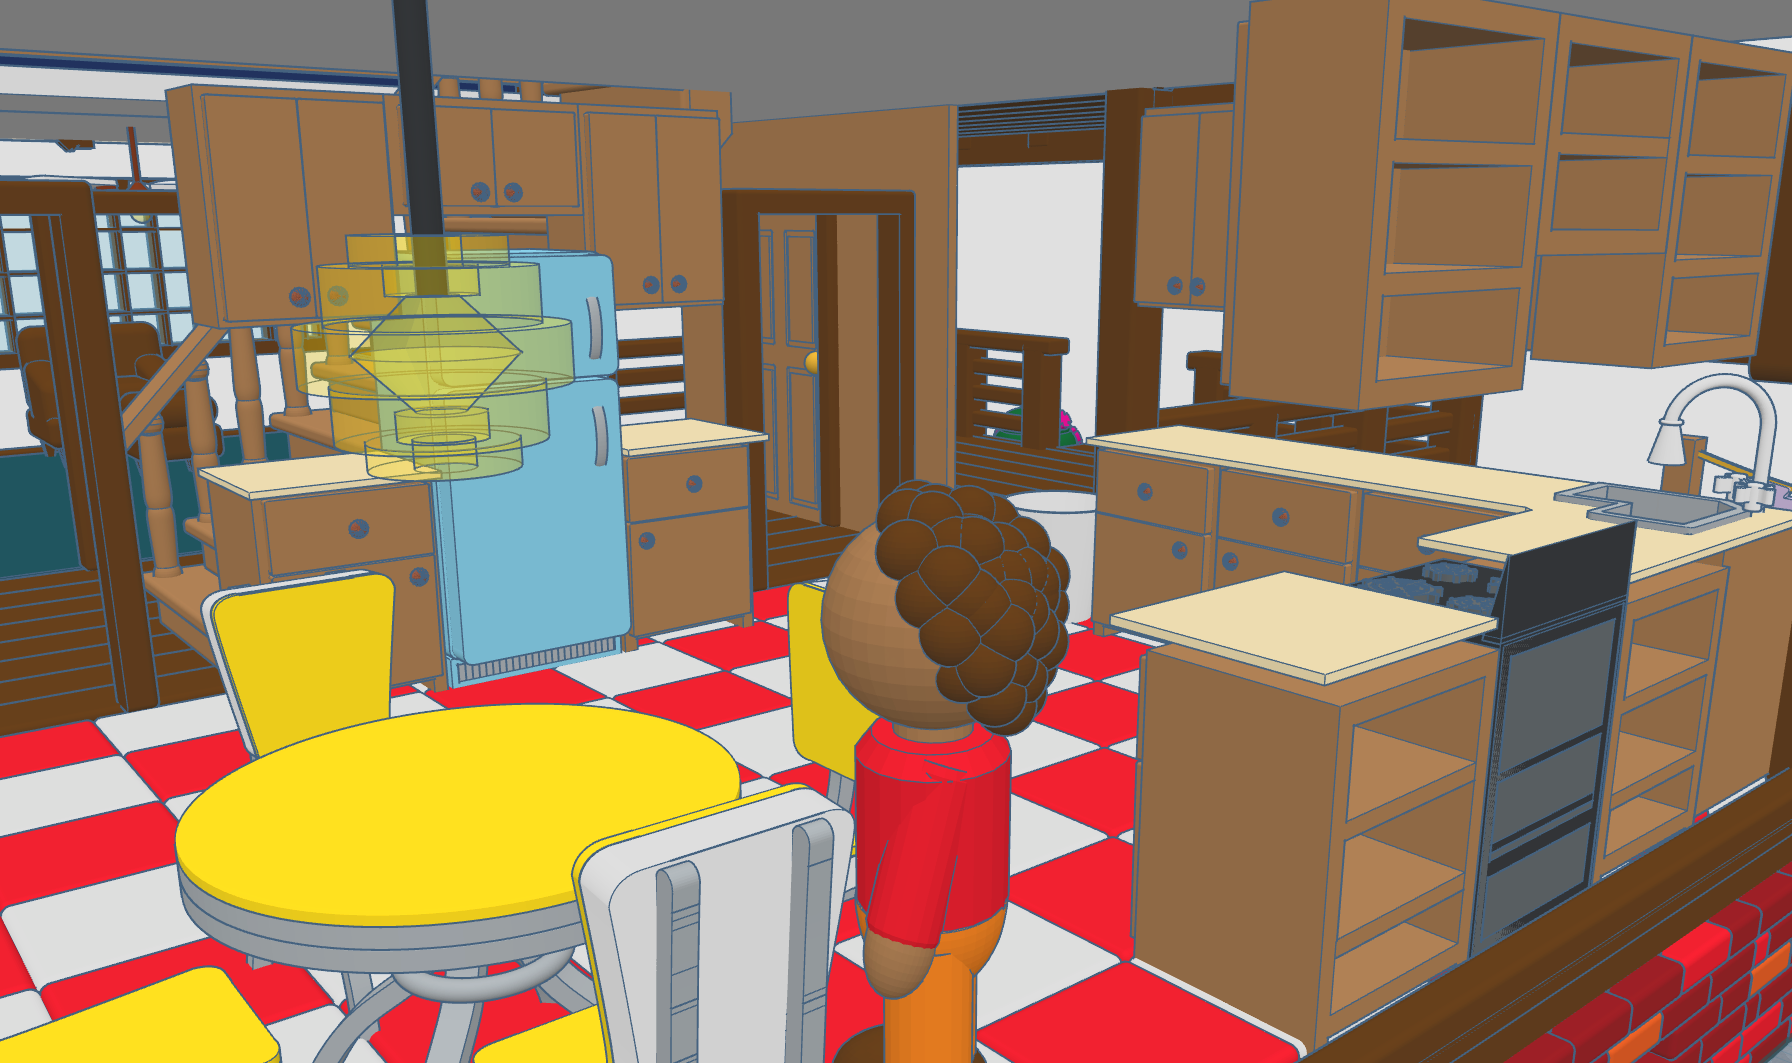
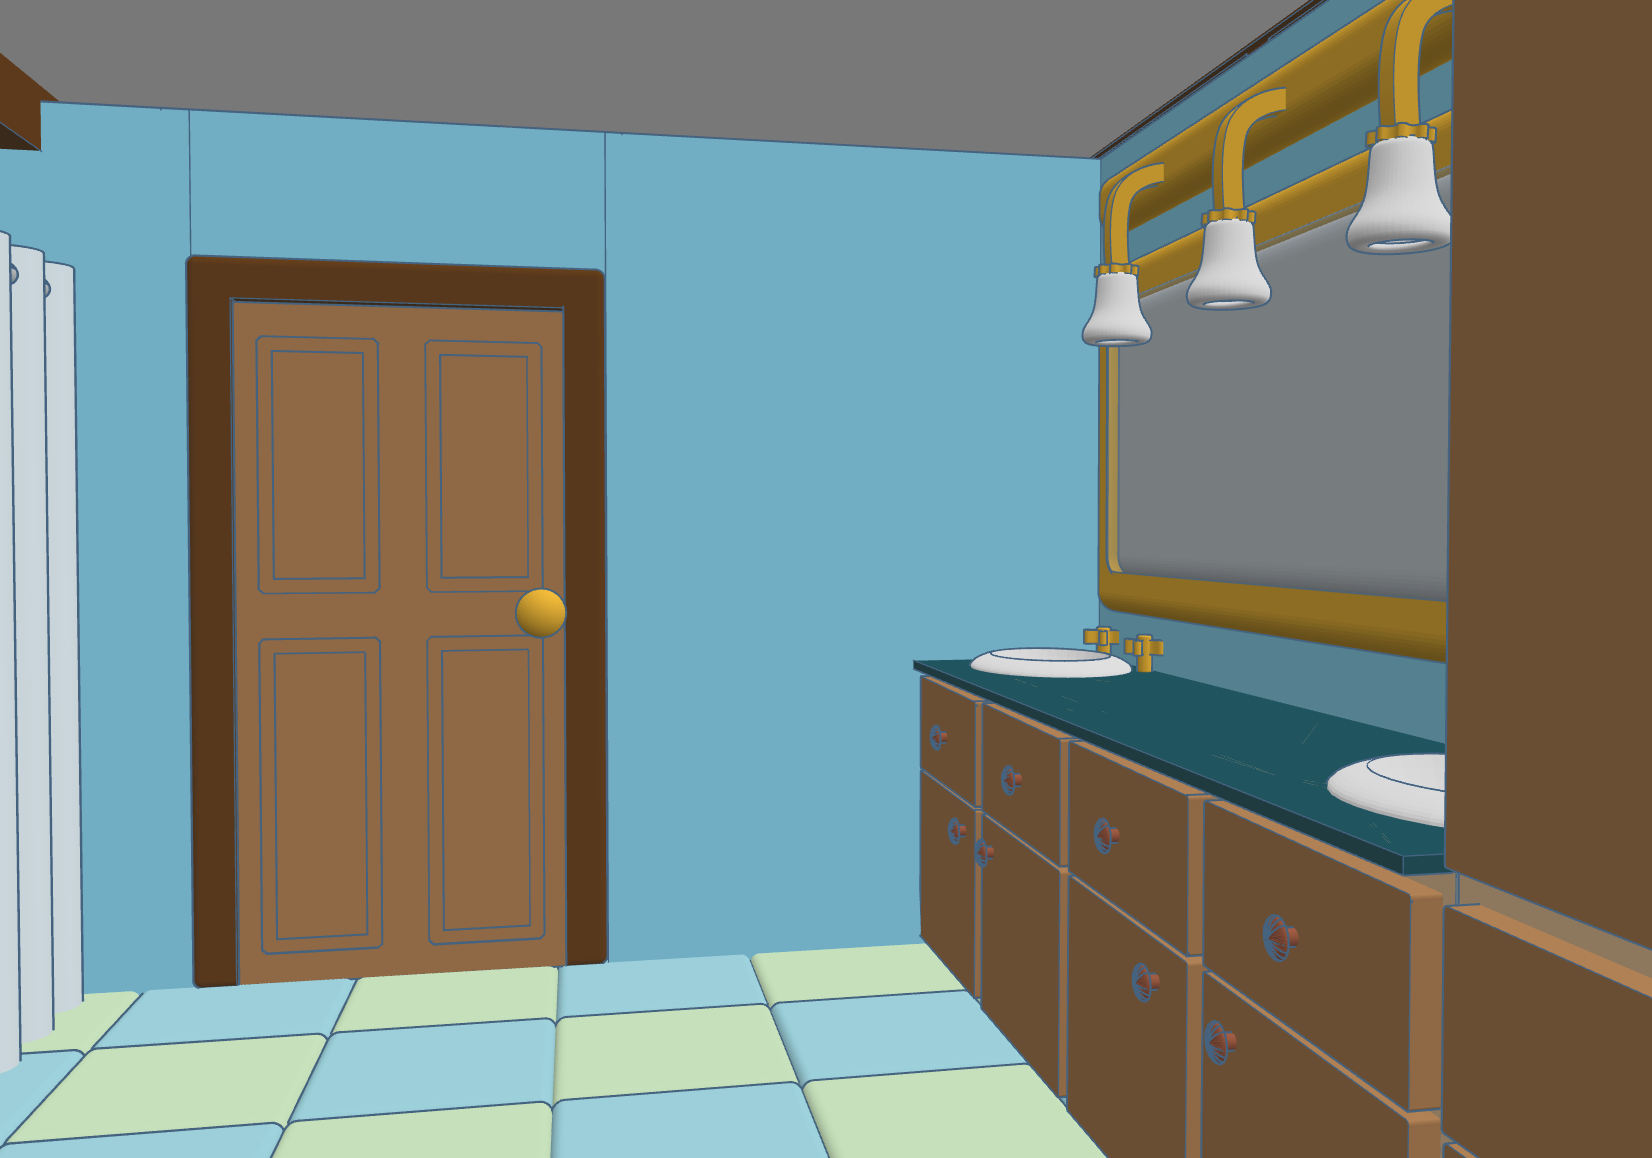
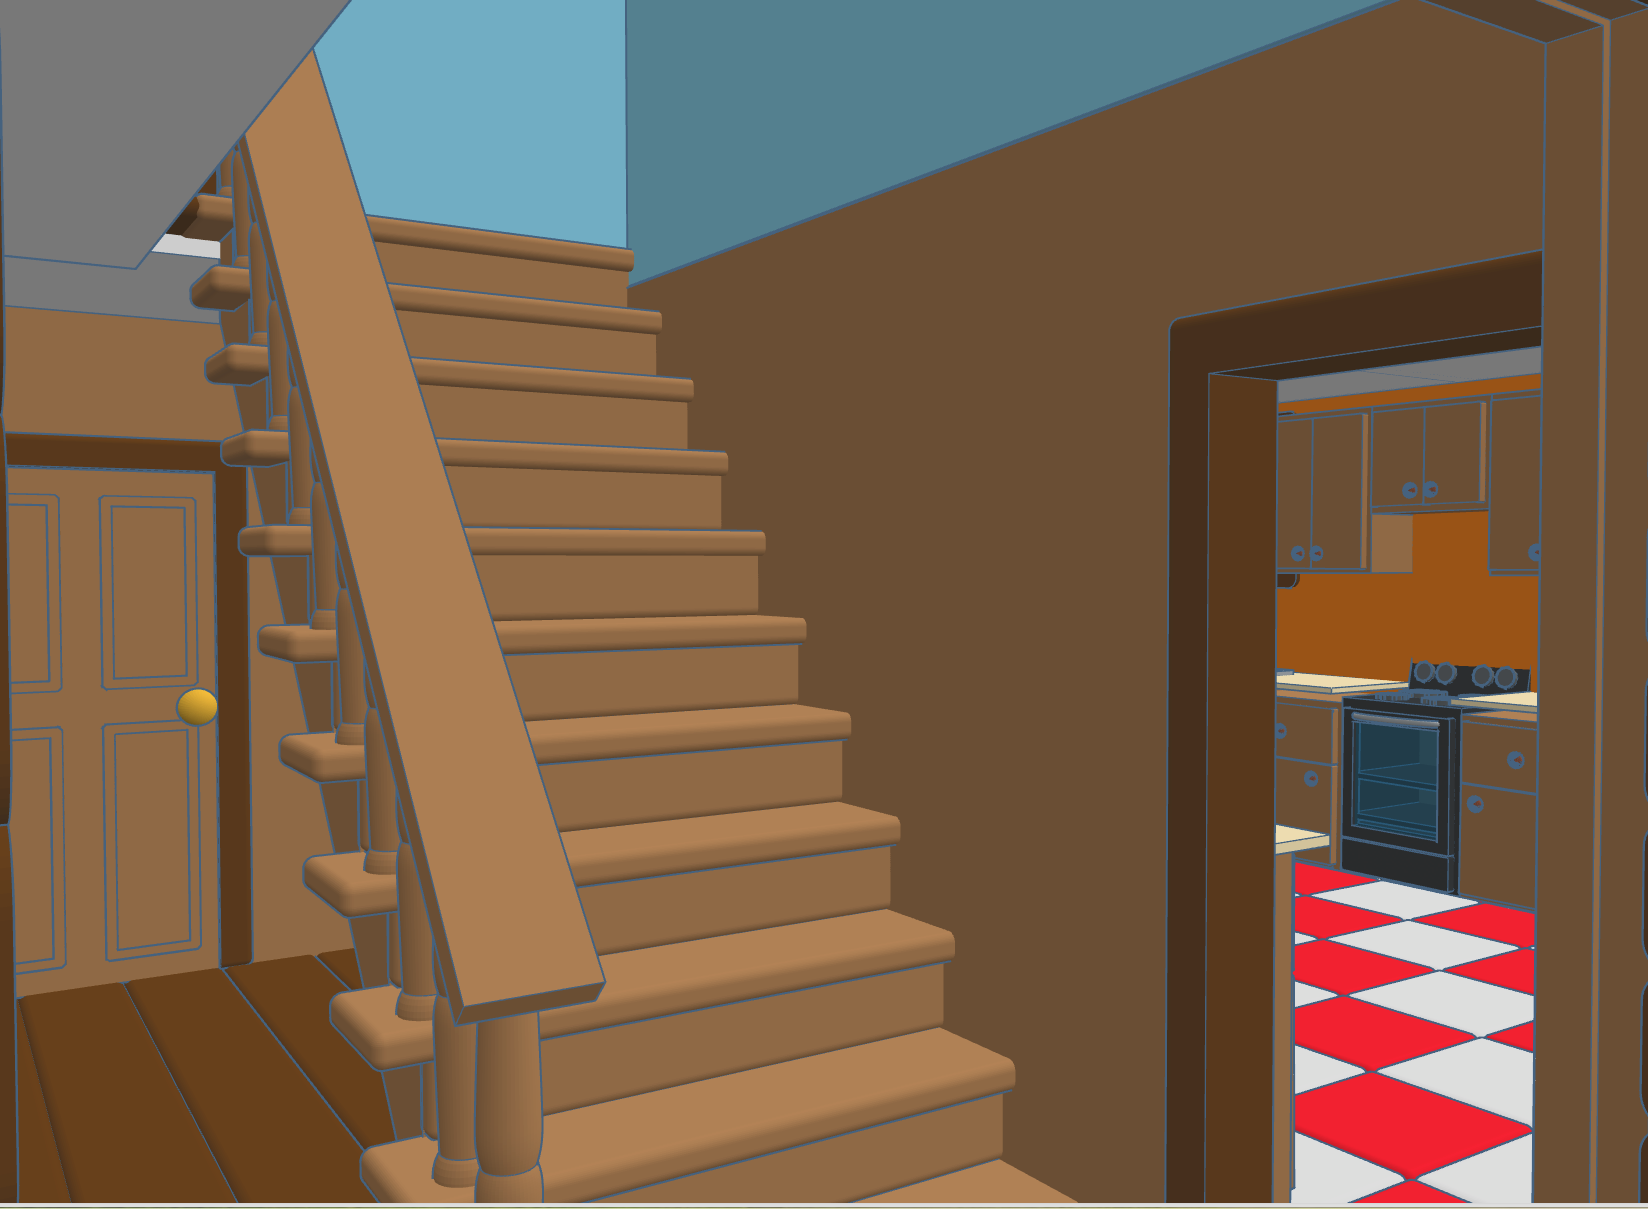
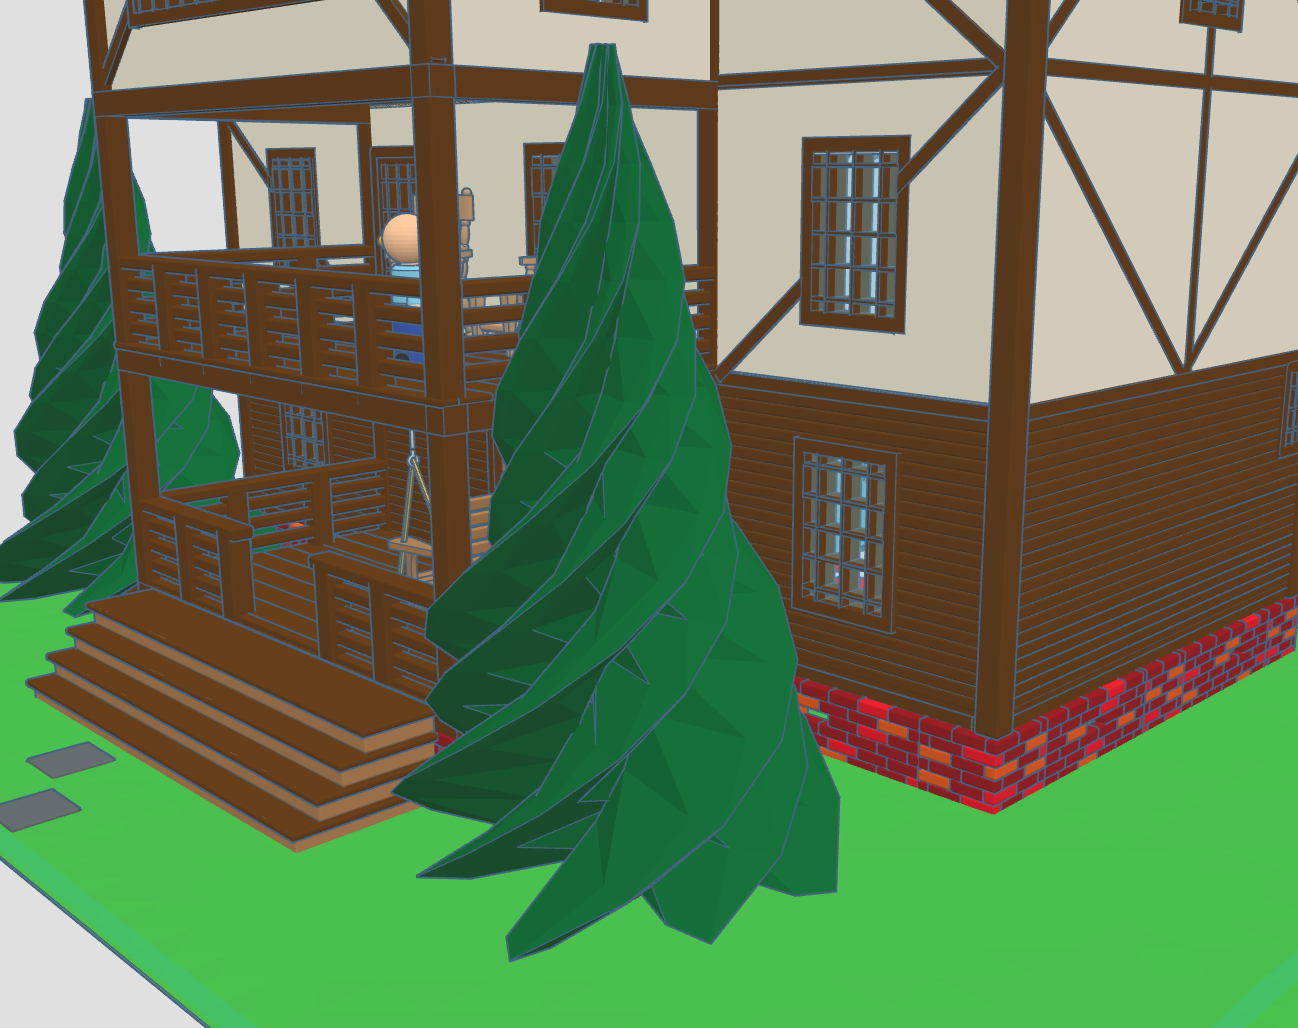
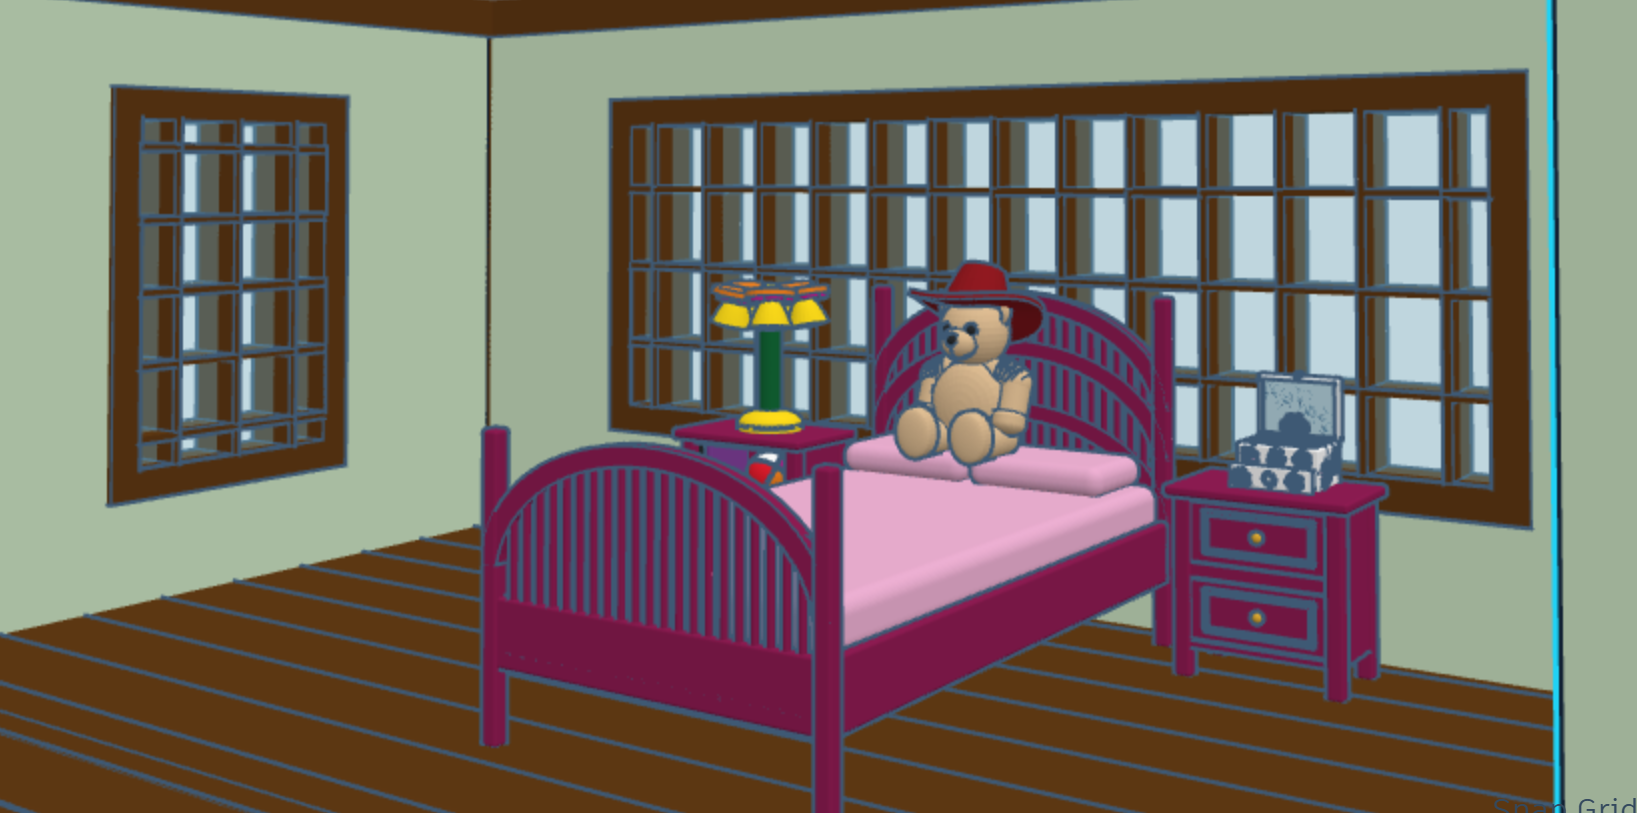
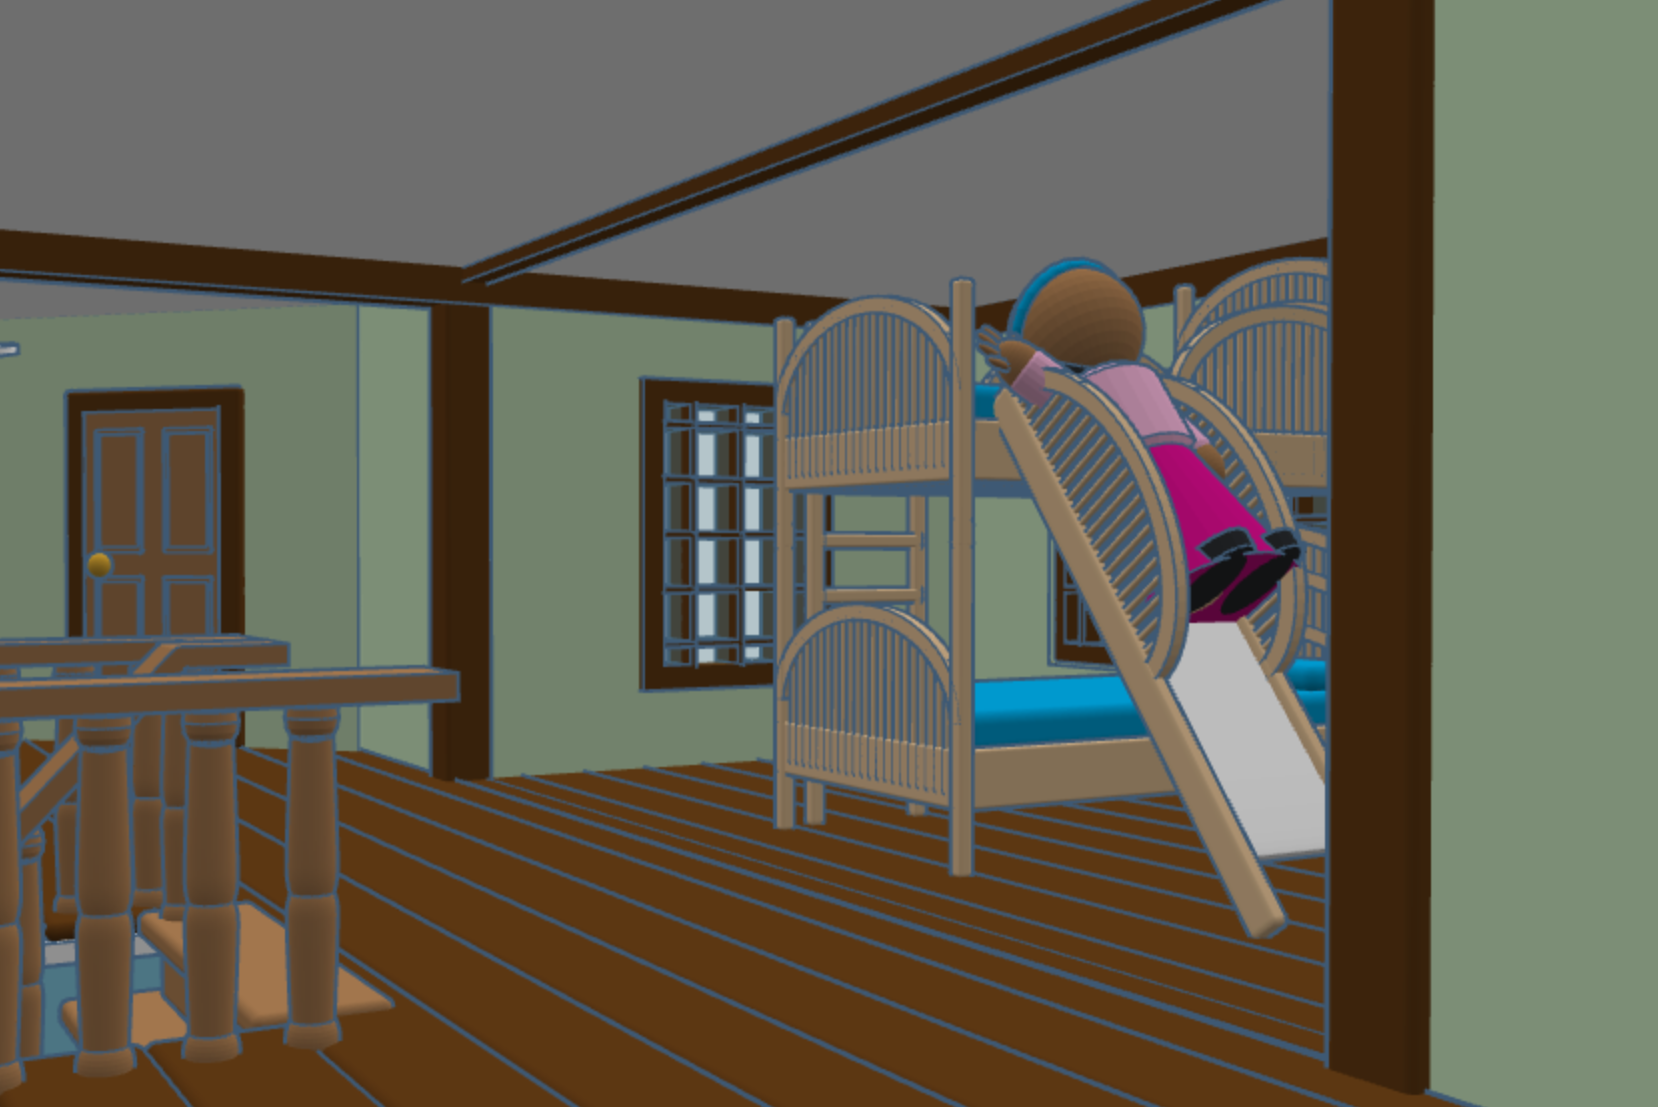
After looking at the template they provided, I wanted to create a small, but tall house. I quickly decided against that, because if the house had five rooms, that would be a tall house. Then I decided on two rooms per floor. 1st floor – kitchen and den. 2nd floor – bathroom and adult’s bedroom. 3rd floor – children’s room. I debated if the children’s room should have access to a bathroom on their floor and if the children should have access to a balcony from their rooms. I decide no. Most older houses only had one bathroom. A balcony off the children’s room would probably be too dangerous. Yes, if my room had a balcony I would have tried to jump off of it or climb down to the lower level. When I extended the floor over the balcony and added a window, this gave it the feel of a tutor house. So, I added the wood effects and colored it accordingly.
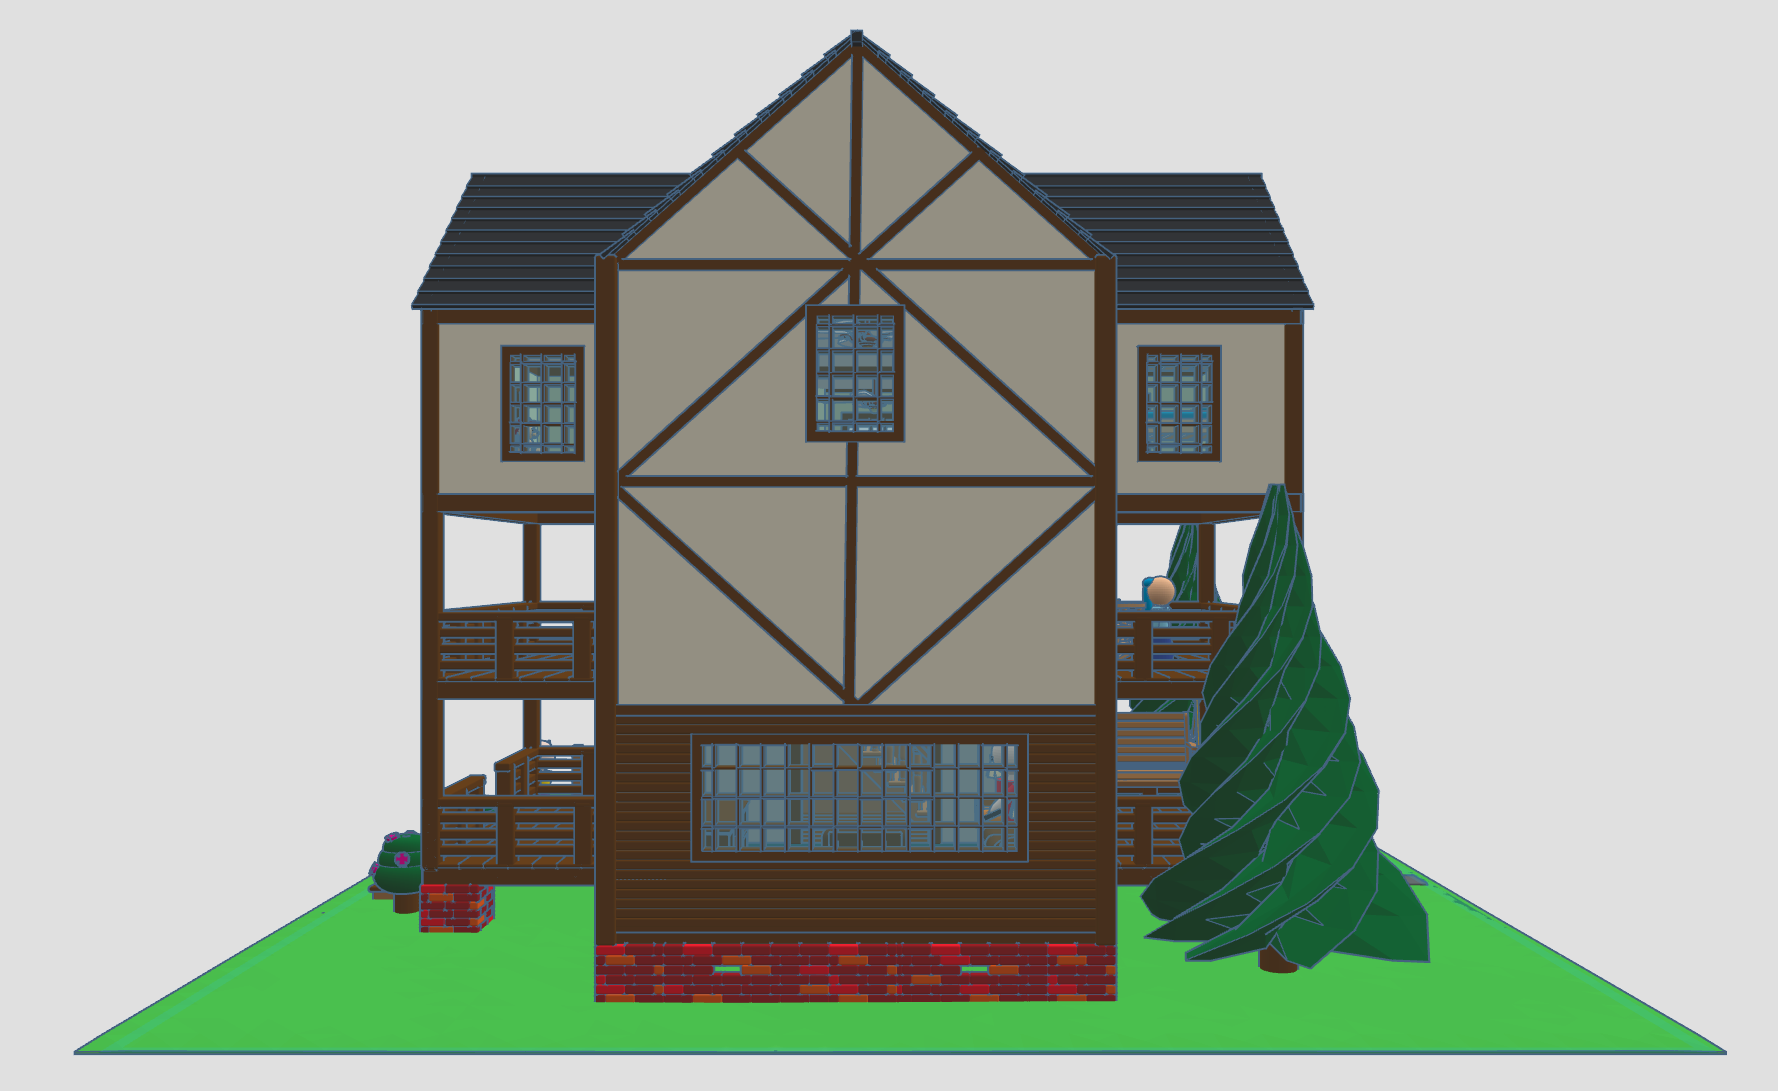
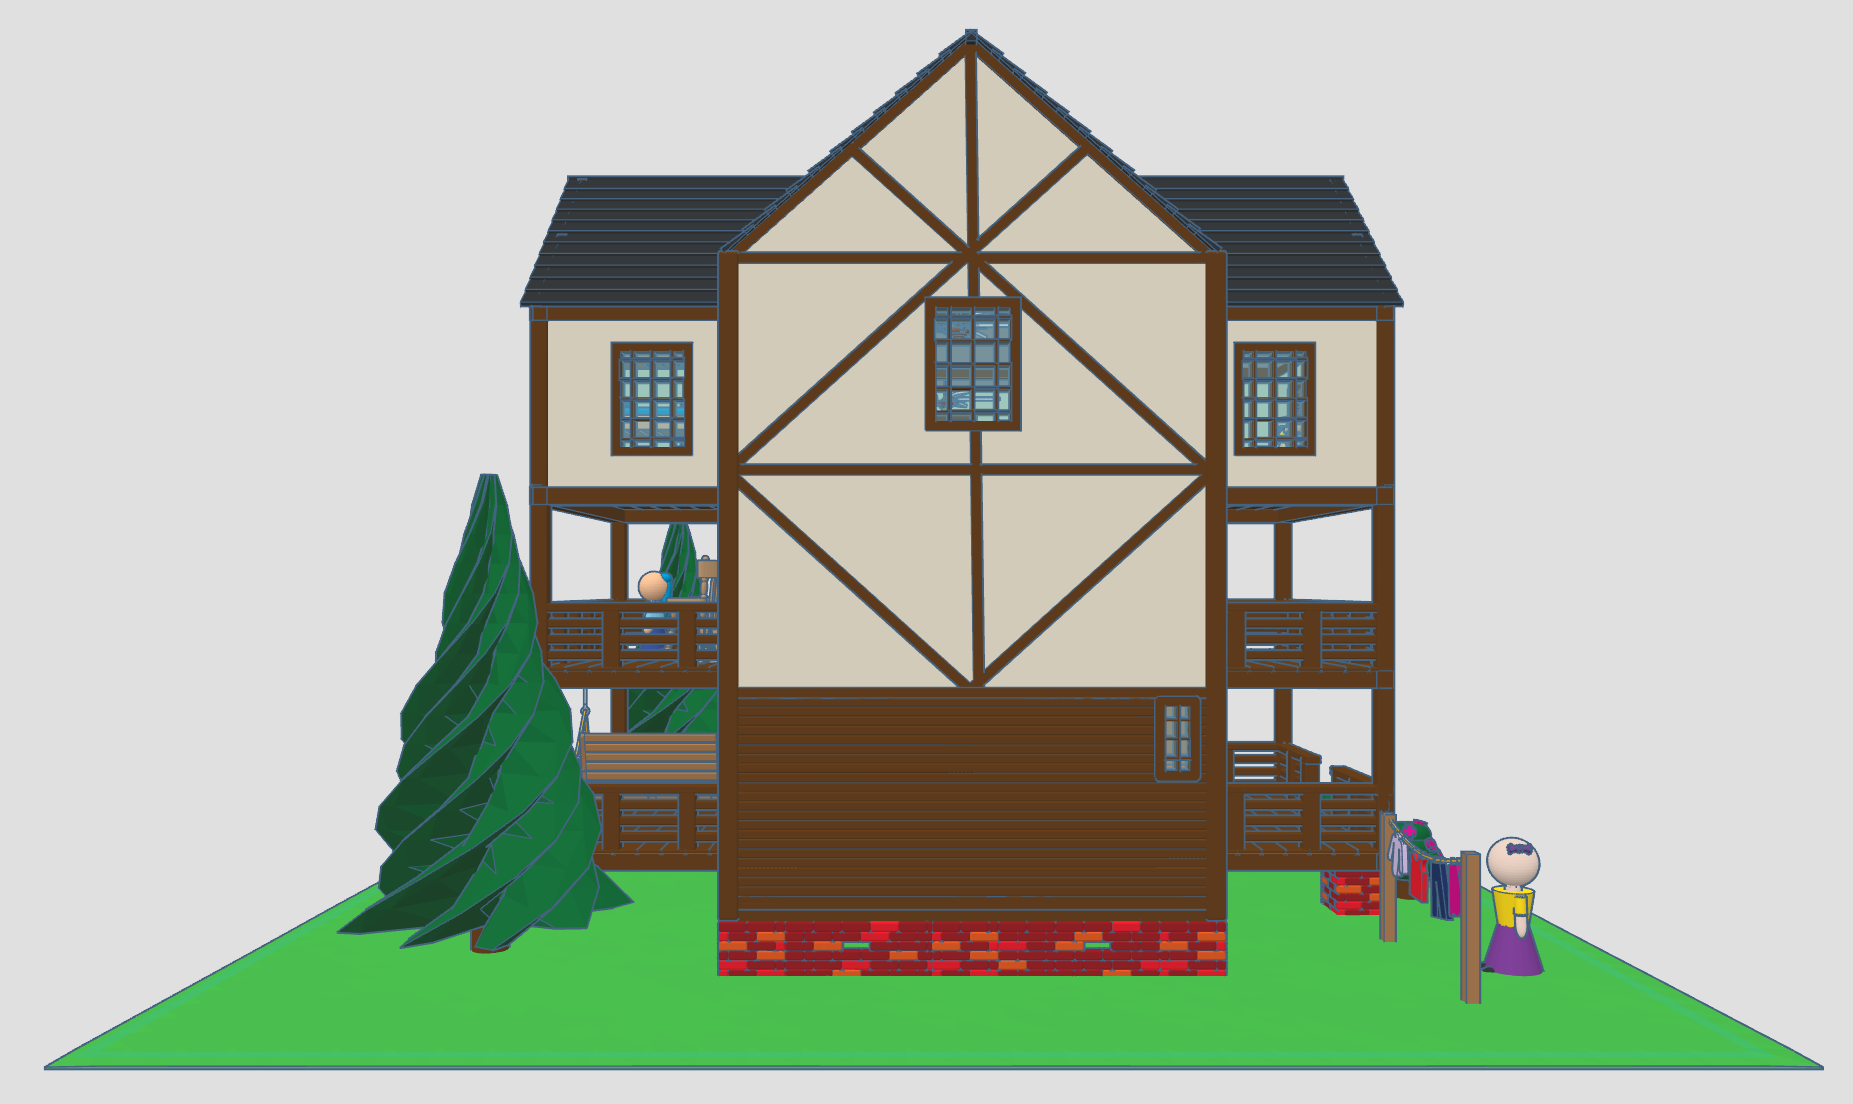

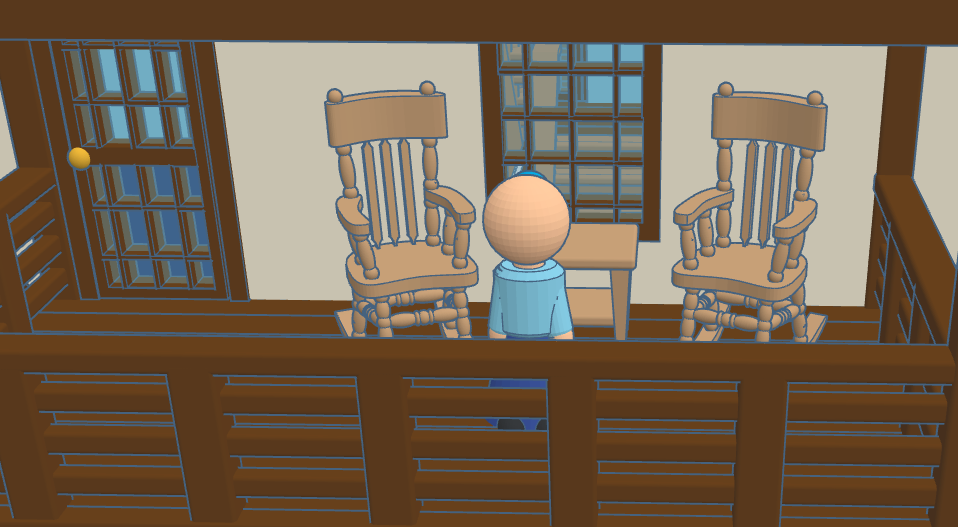
A lot of the feature of the house were created with Tinkercad’s extrude sketch shape. Wow, I have not reached the limits of what I can do with that shape. The room, windows, upper outside doors (except the knobs), table, chairs and cabinets (except for the knobs) were made entirely using extrude sketch.
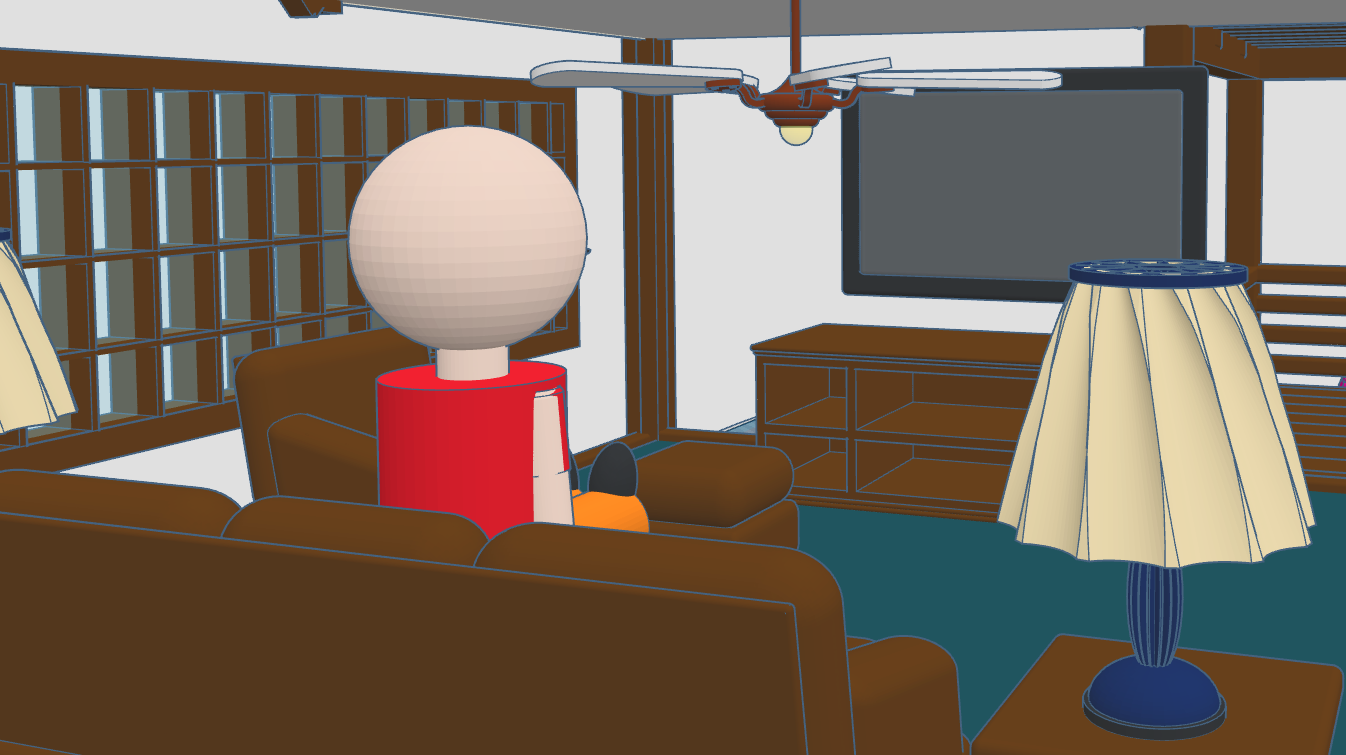
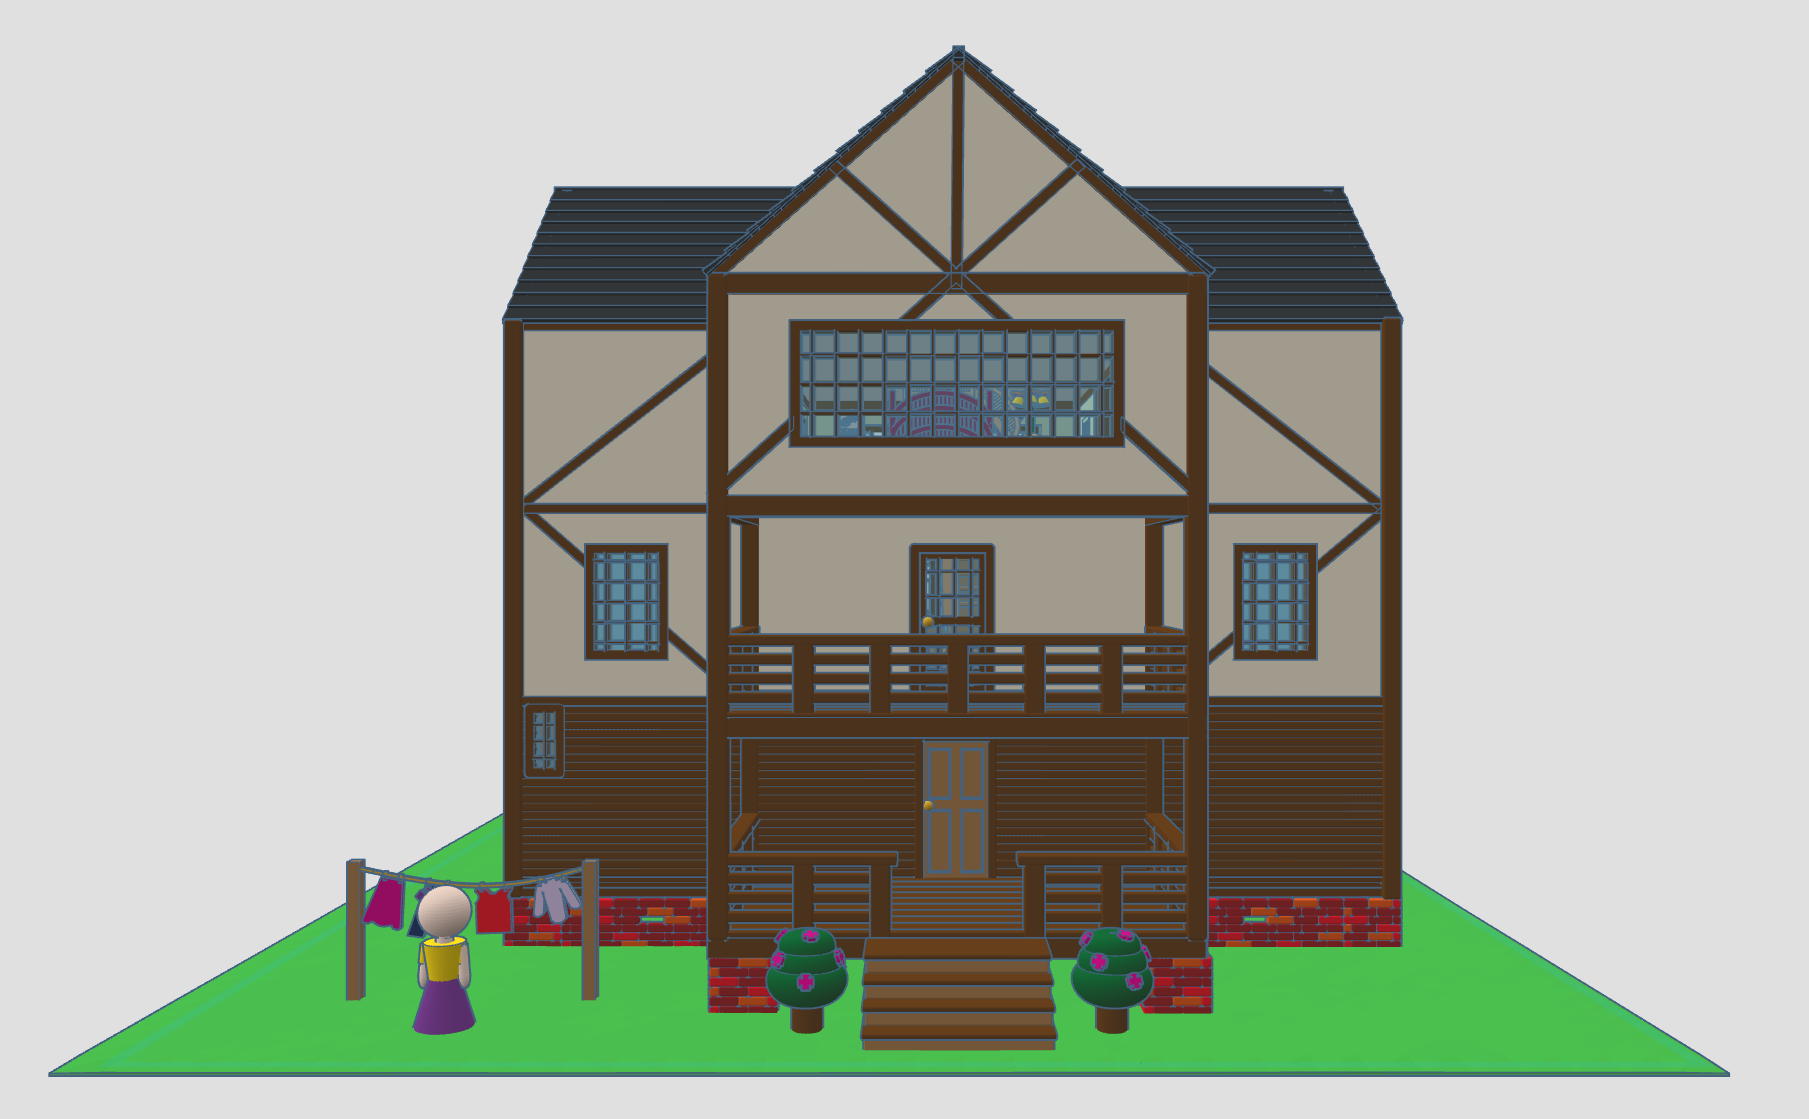
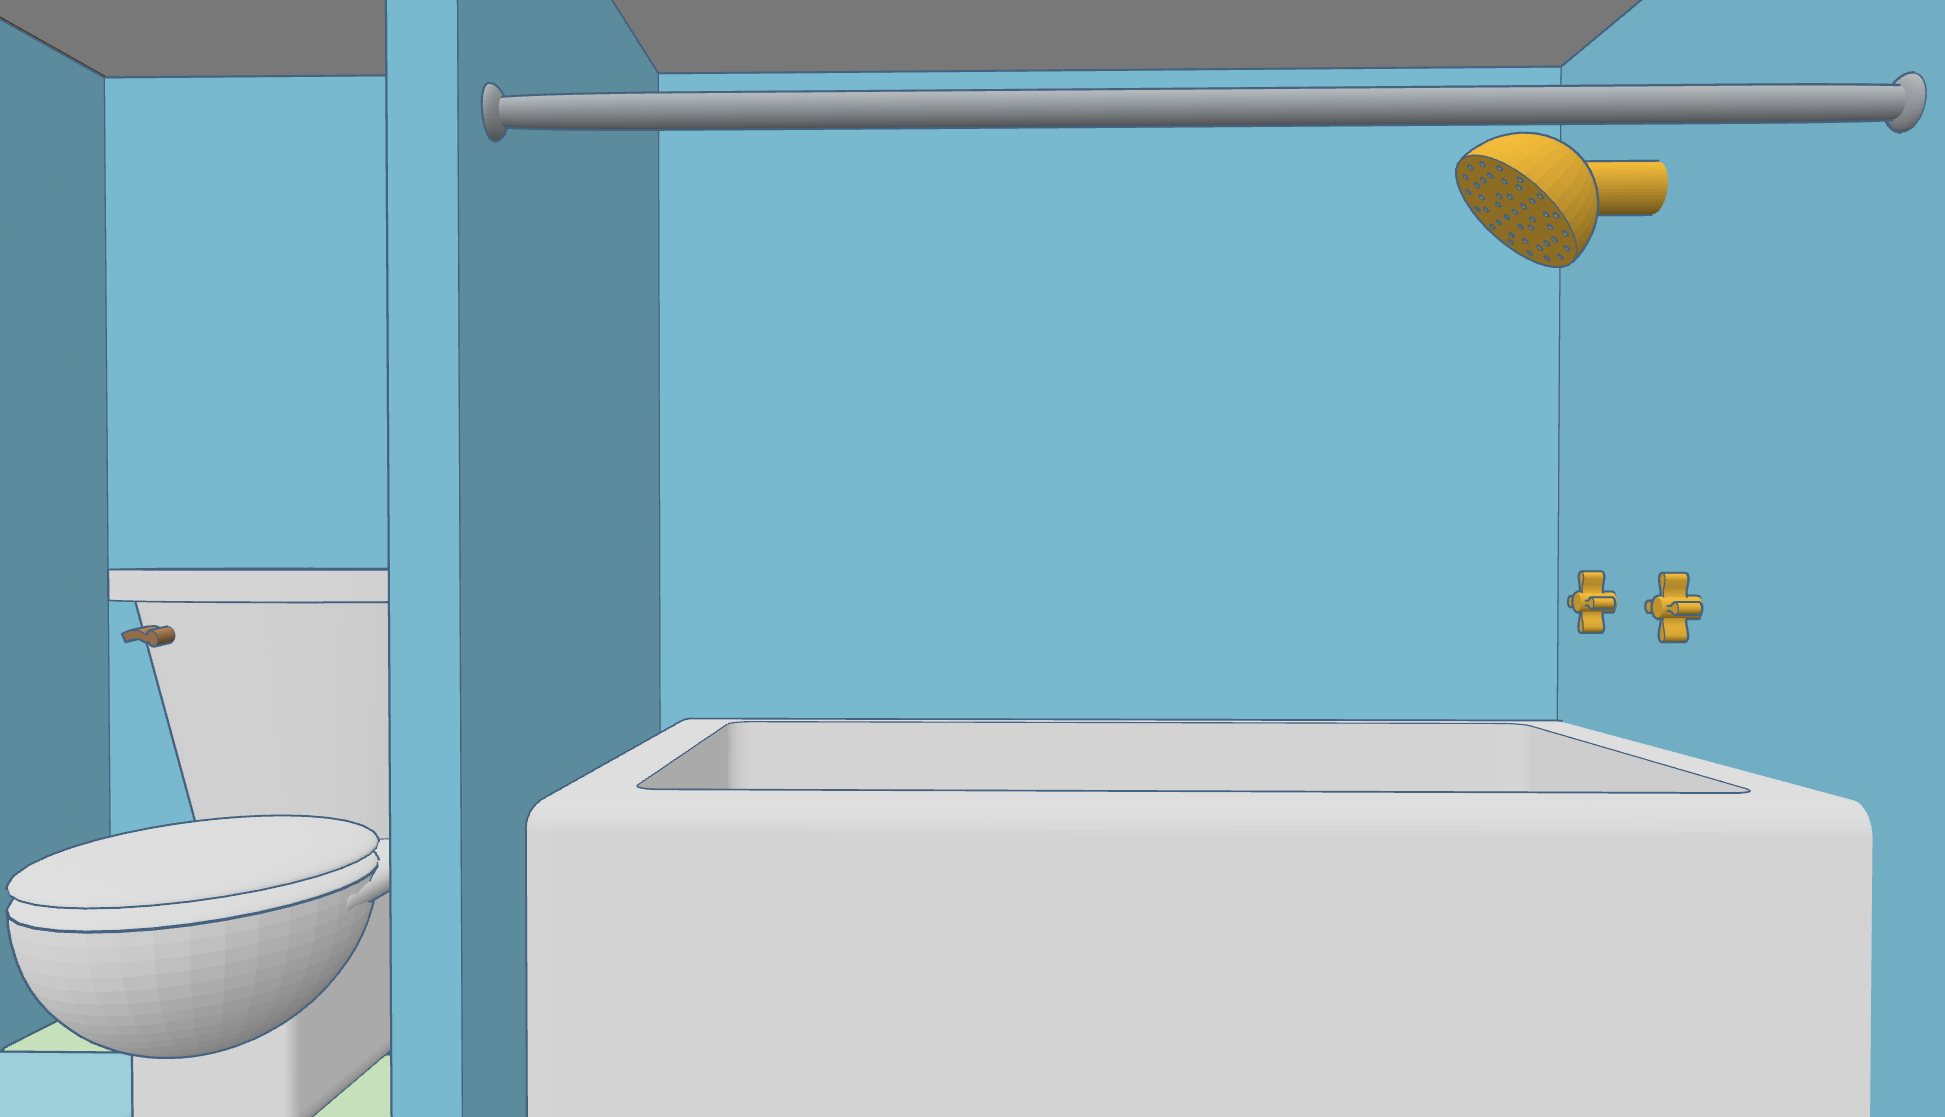
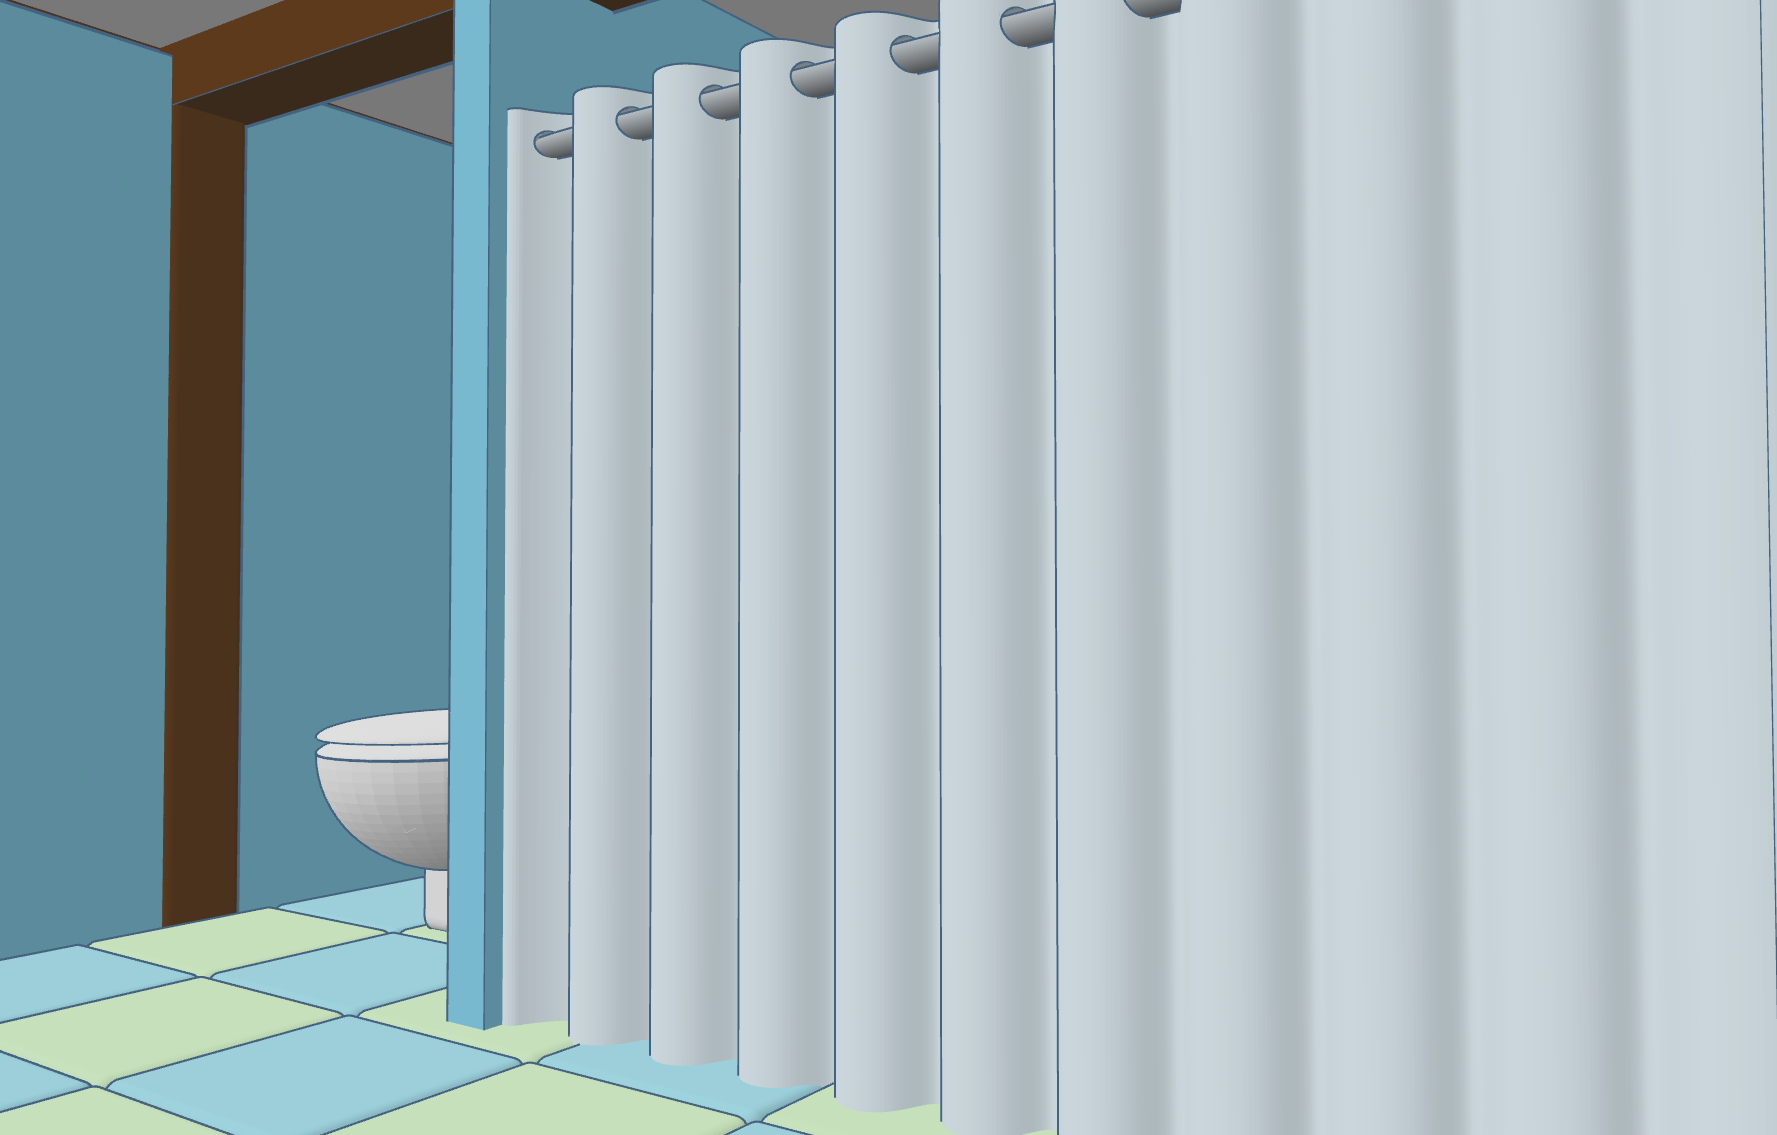
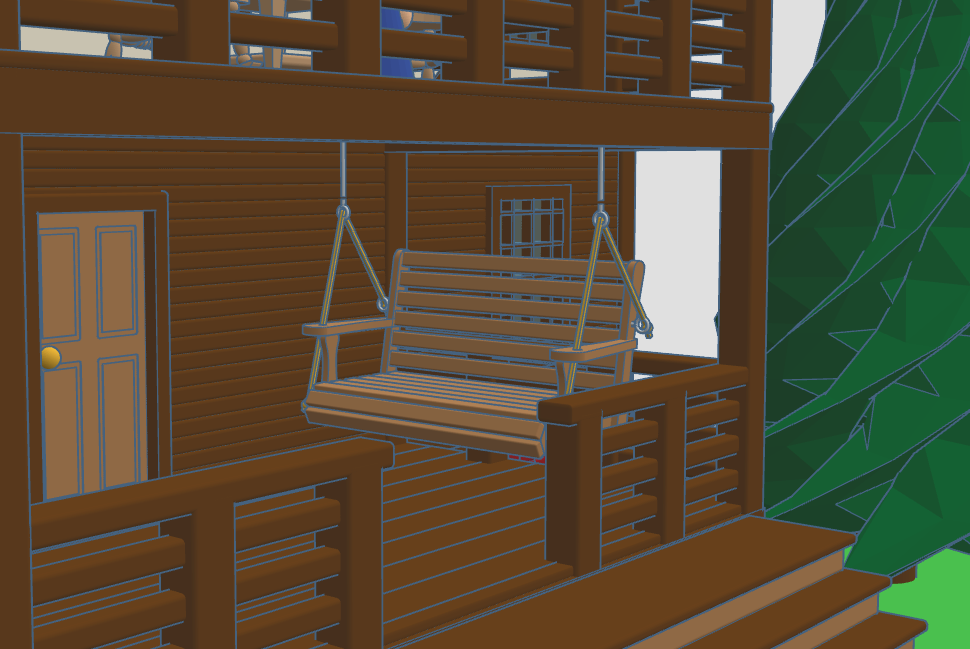
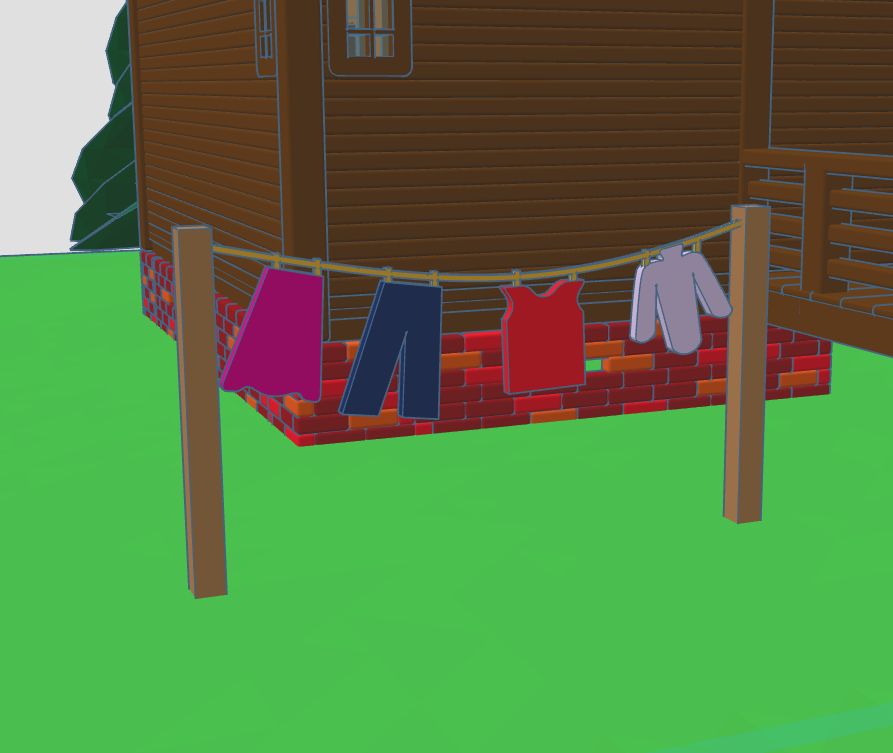
The trees, bushes, clothesline, swing, stairs, doors, oven, refrigerator, toilet, ceiling fan, shower curtain and faucet knobs were made partially with extrude sketch.
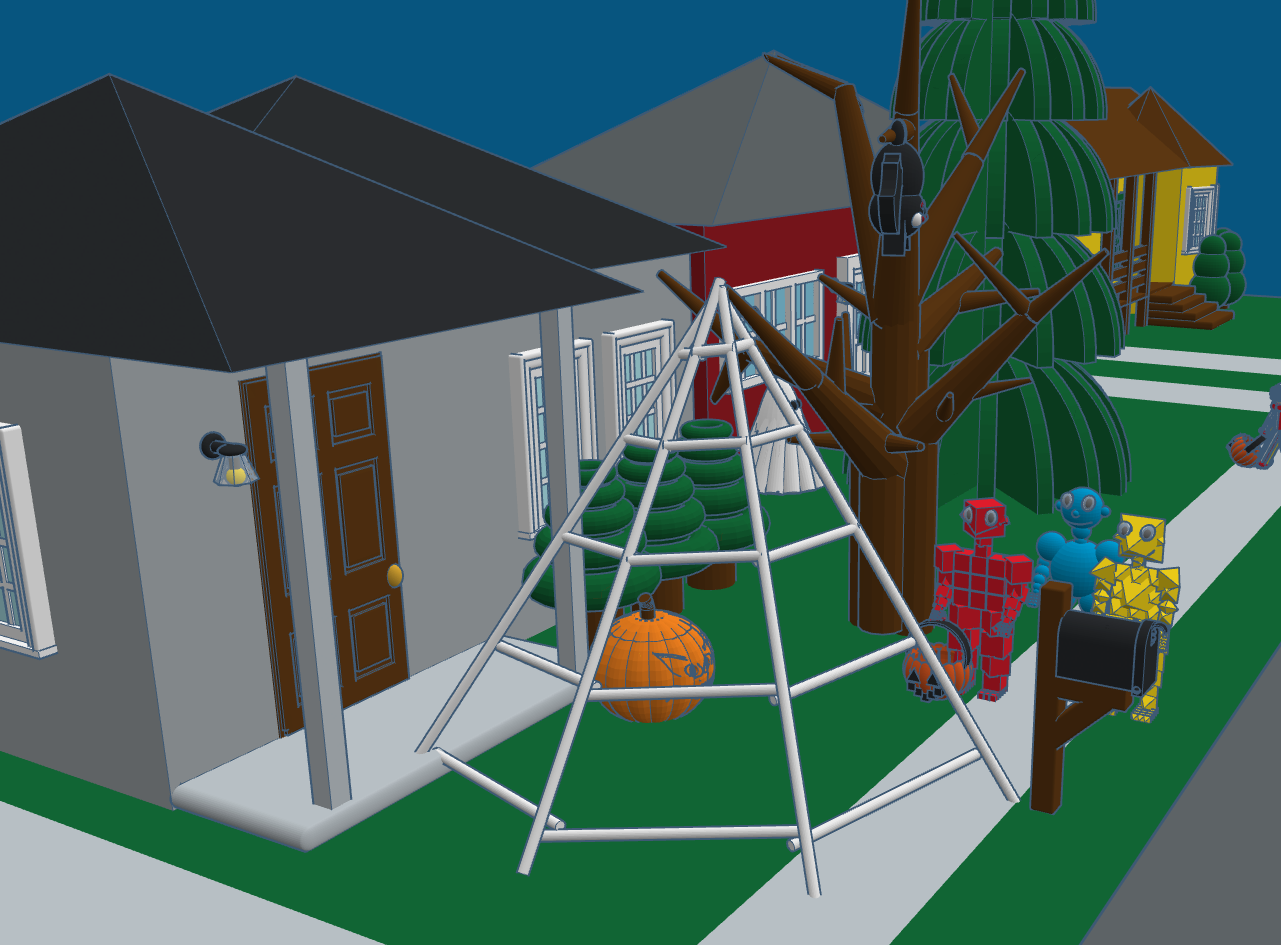
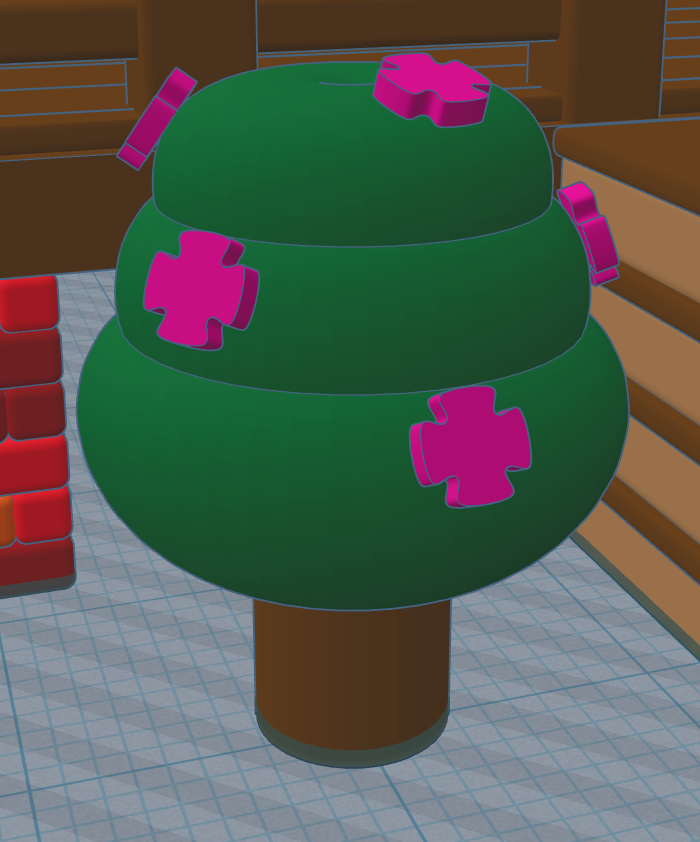
The bushes and trees:
The bush was made with a cylinder for the bush’s trunk and Tinkercad’s new shape, revolve sketch. The flower on the bush was created with extrude sketch. As I was working on the house, Tinkercad introduce new features into it Extrude Sketch shape. Twist and Scale. I could adjust the top and bottom of the shape and twist it. The tree was created.
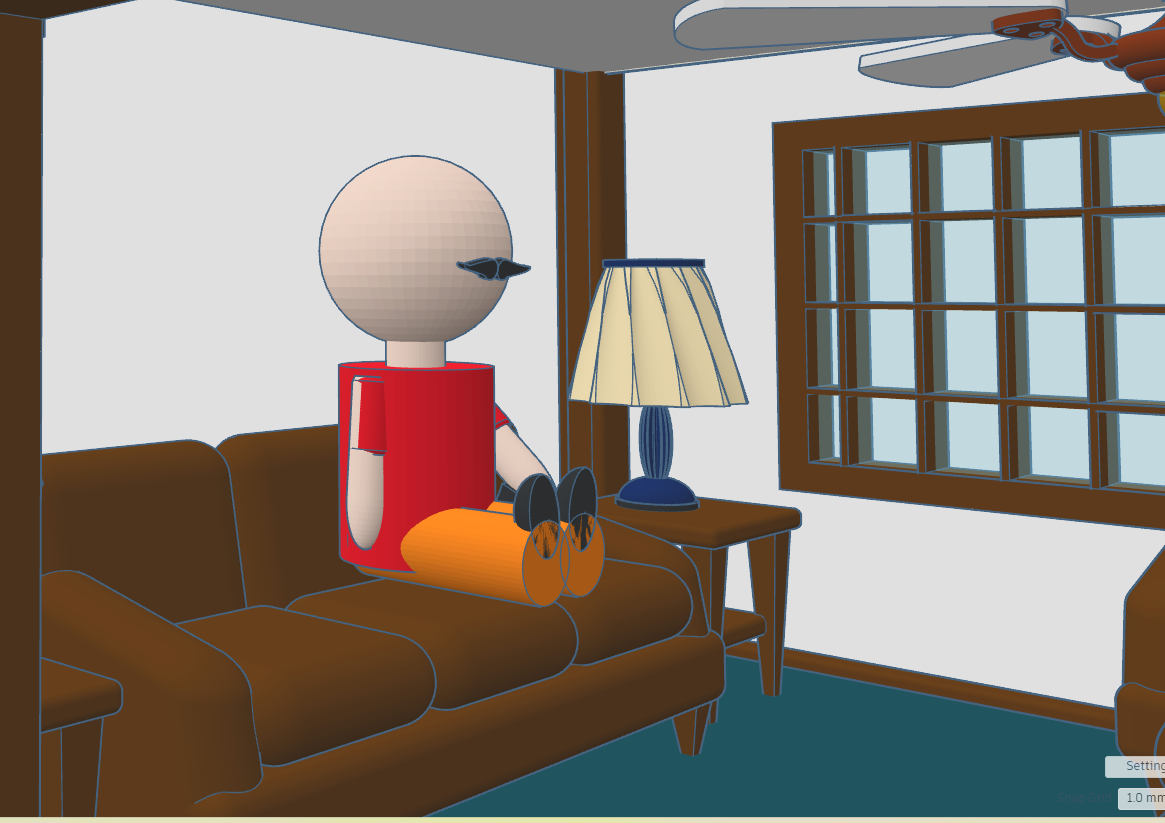
All the items in the house were created by Sarahcath. Maybe not this year, or last year. I did take some items from my other designs. Plus, I made two adults. Dad (mustache made with extrude sketch) sitting on the couch with a remote in his hand, and mom hanging laundry.

Here is the link to the house in Tinkercad: 3d Design Modified Tutor House by Sarahcath. You can look at the house, copy it, download it from the link. I sure I am missing some aspects of the house. Take a look.