I painted these ornaments in 2023 around Christmas. However, they have been hanging for months, and months, and months waiting to be varnished. The ornaments got a coat of varnish when I varnished every other project I was working on.


I painted these ornaments in 2023 around Christmas. However, they have been hanging for months, and months, and months waiting to be varnished. The ornaments got a coat of varnish when I varnished every other project I was working on.
In 2020, I haven’t painted much, nor have I drawn much. Most of my time being creative was spent in Tinkercad. I used Tinkercad to create a replicate of the Houmas House. I have created many building for my Railroad Town. Other designers are asking “How?” or “Teach me!” Since it is Christmas Time, I decided to provide instructions on how I created a Christmas Tree using Tinkercad. The instructions on instructable: https://www.instructables.com/Designing-a-Christmas-Tree-With-Tinkercad/. Or you can watch the video:
Yes, I also created an angel to go on top of the tree.

You need to watch to video to see how I created the Angel.
On Thanksgiving, I asked my husband if he had any preferences for when I put up the Christmas tree. He said “No.”
On Black Friday, late in the afternoon, a brought the Christmas tree and the tree skirt up from the basement. My husband told me “You are suppose to do that while I am at work.” I think he just wanted me to cook supper and watch TV with him.
This is how my tree looked on Friday.

On Saturday, I added decorations.

My husband told me “You can put up the tree. It looks like you really want to.” I told him “No, I will put it up on Tuesday when I bake cookies.”
Sunday, I added lights to the tree.
Husband shakes head.
Monday, I put an angel on top of the tree.

Husband roll eyes.
I did get a letter from Santa.
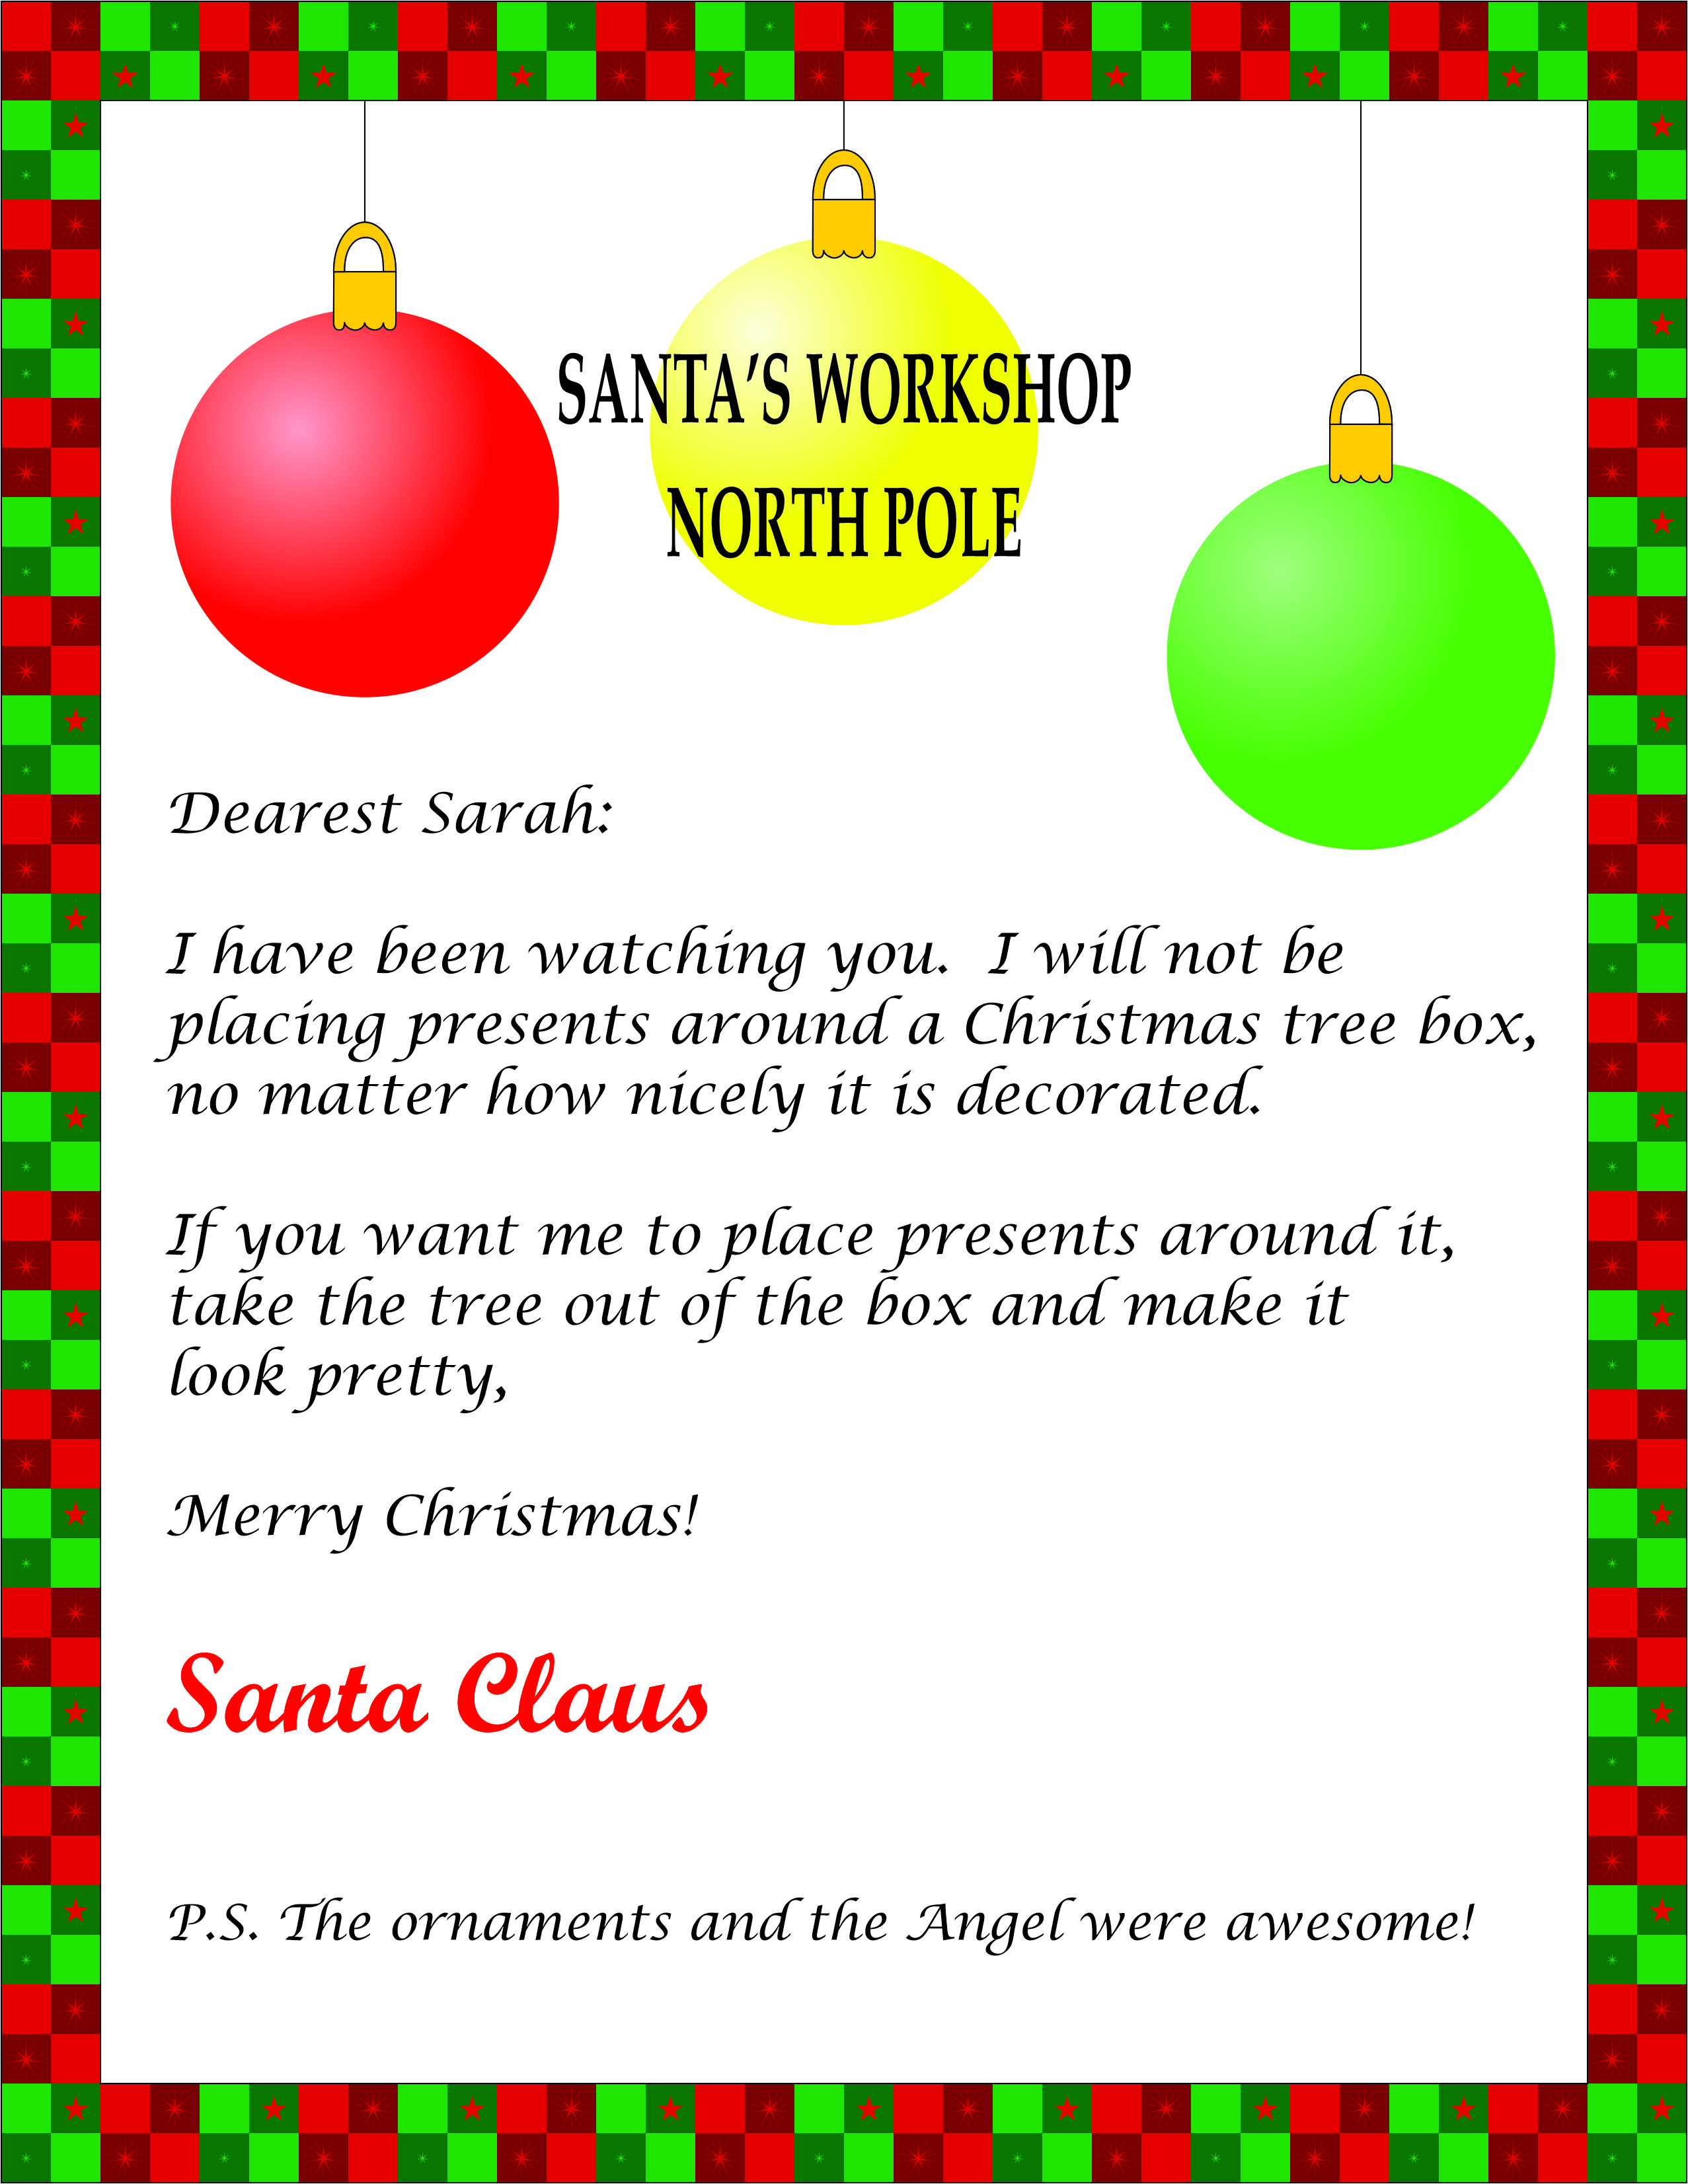
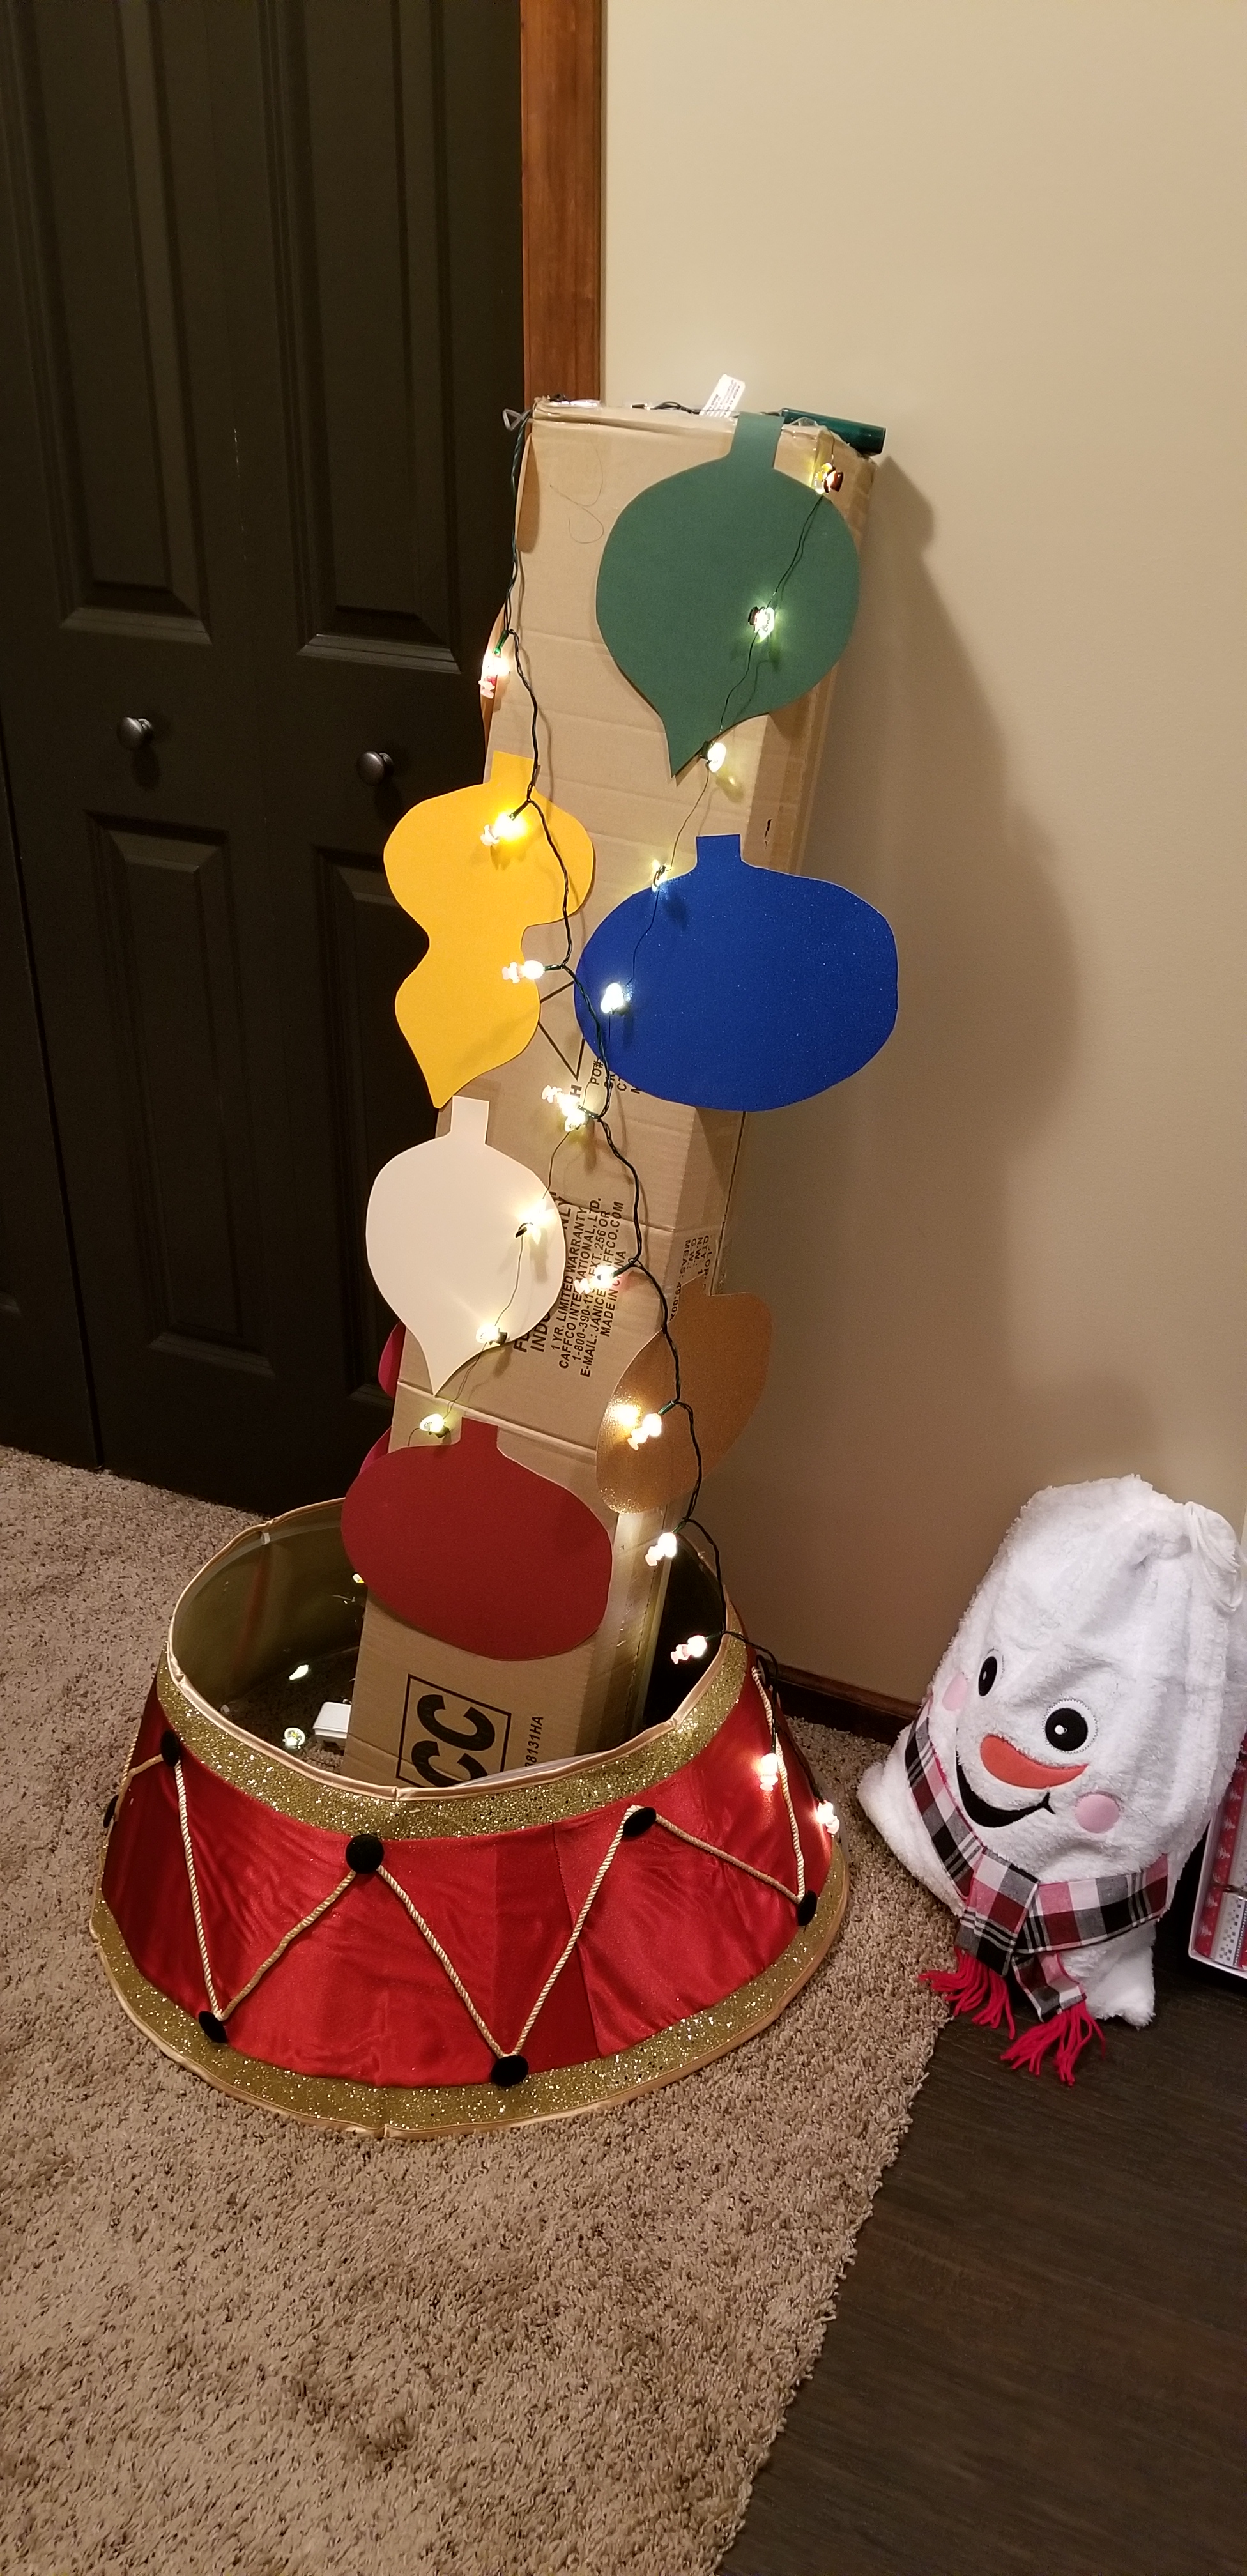
Tuesday, I took the tree out of the box.

Husband comes home at lunch and asks what I did with the nicely decorated tree box.
Husband gets a look from me.
Here’s the decorated tree. Can a tree have too many ornaments?
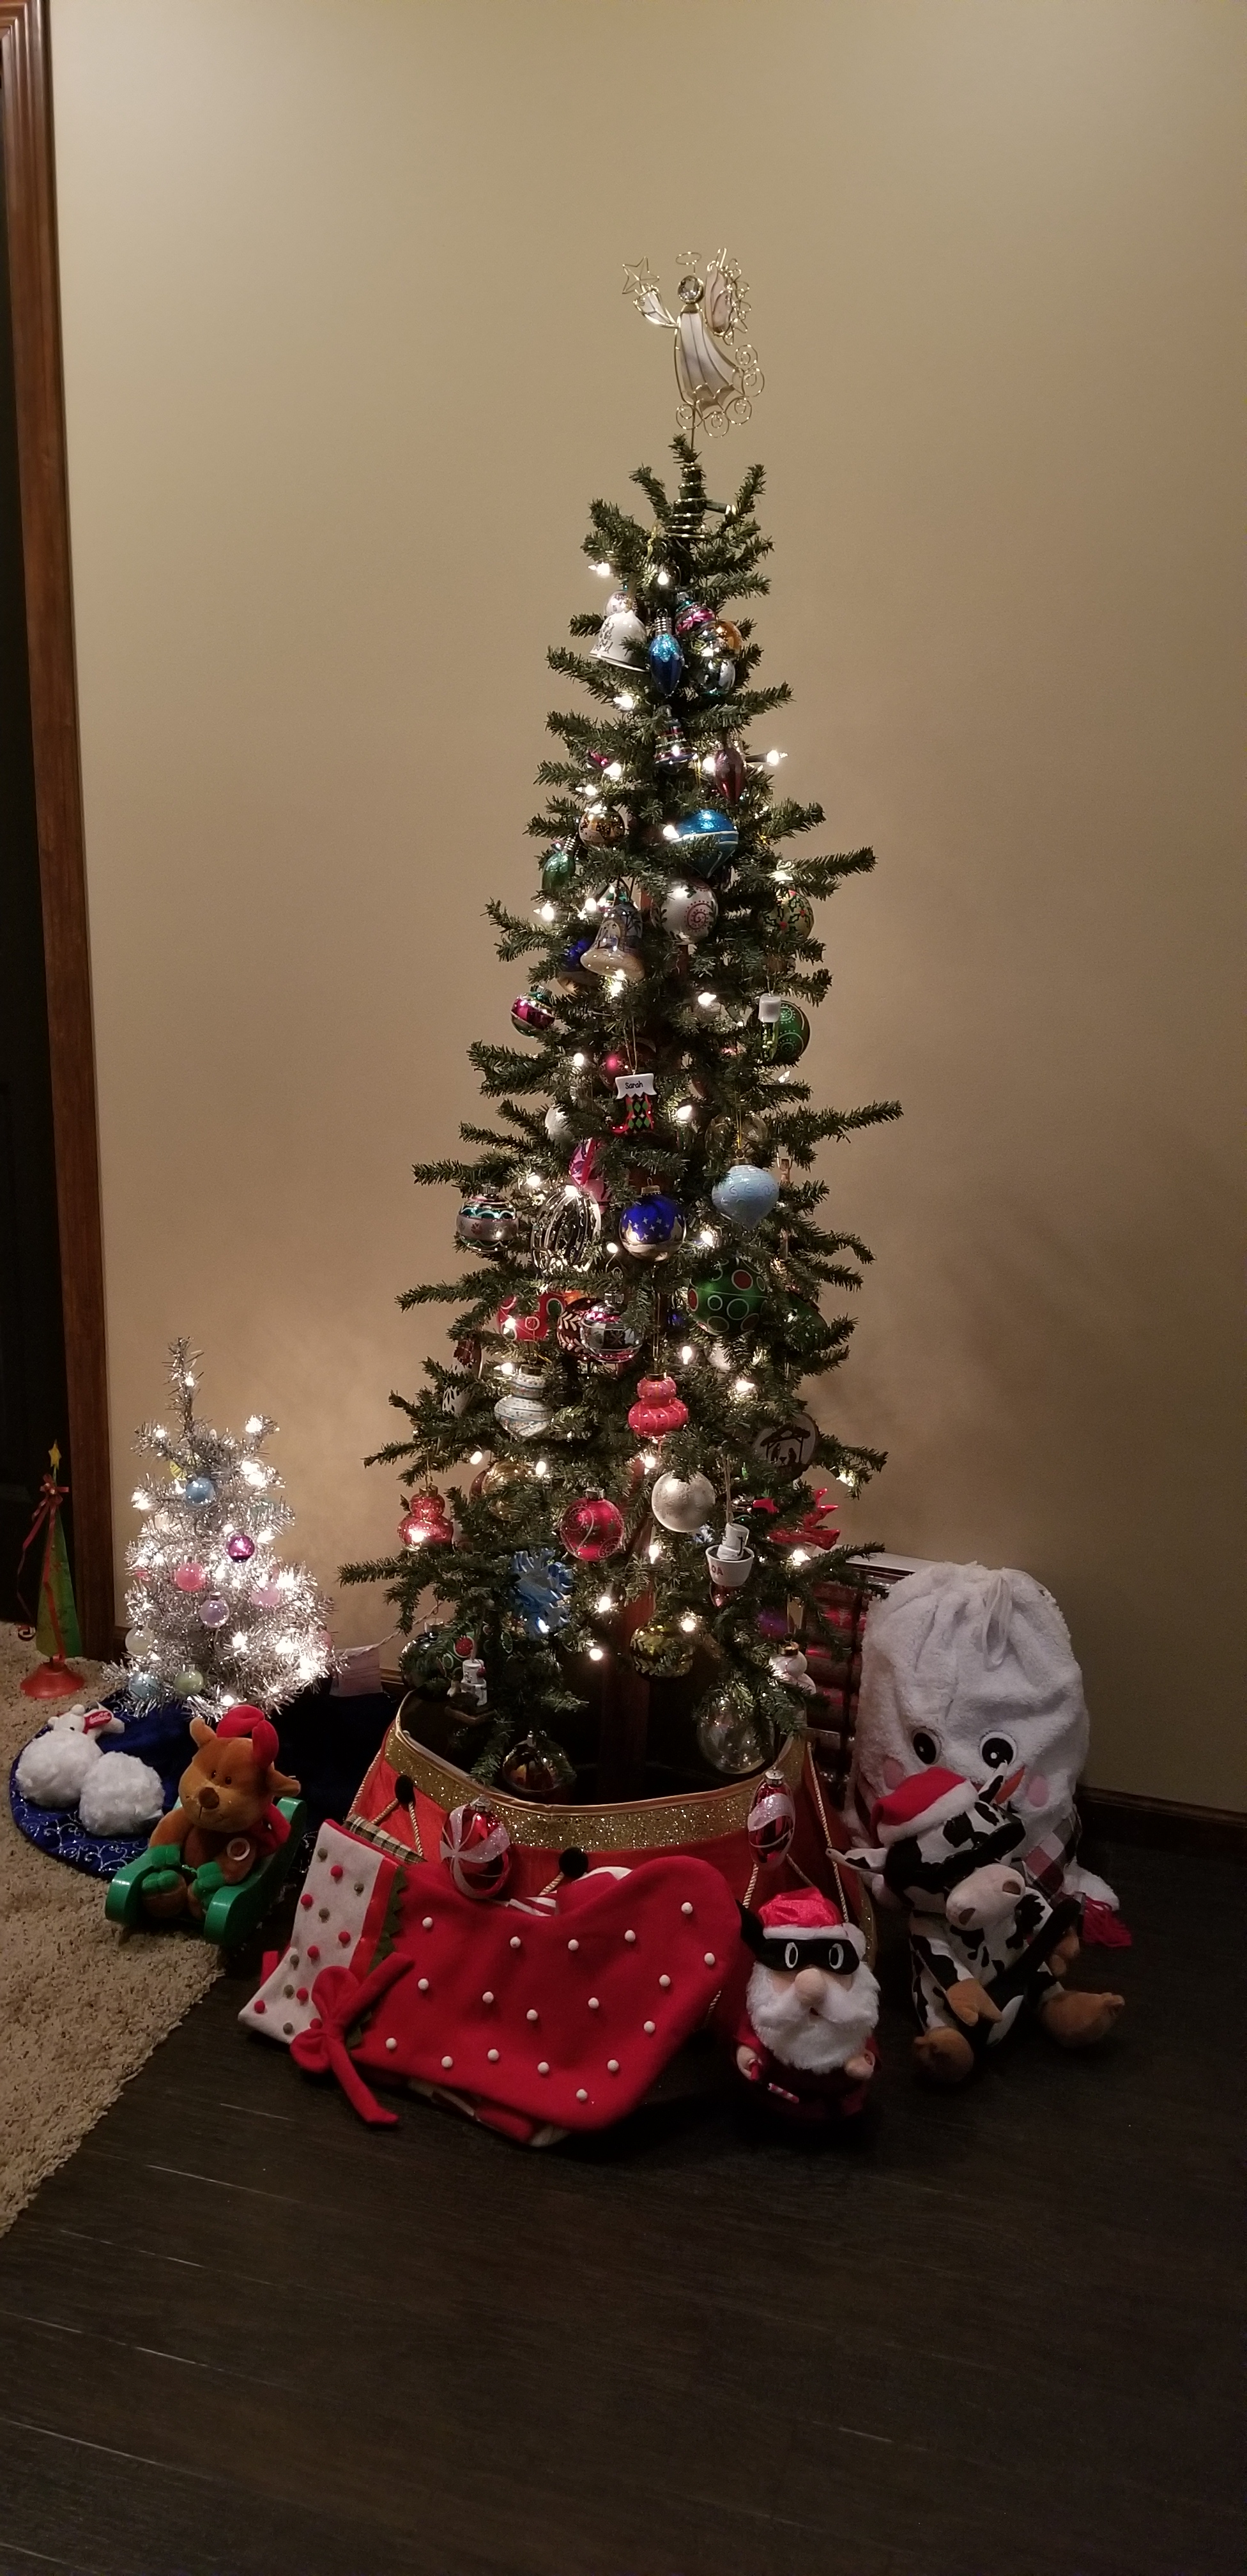
I have come to realize, if I just left the tree in the box, I wont have to wrap presents because all the Amazon boxes would have match the tree.
This tree at the Hasting Museum, which they hid down in the “basement” had the most interesting ornaments of any of the other trees. The ornaments were either decorated or made from beads.

I do not need another craft, especially one that requires handling tiny beads and thin wires. The Midwest Beaders should be proud of their beautiful work.


My Christmas Cards are mailed. Enough time has passed that most of the cards should have reached their destinations. Now, I can share the cards on my blog.
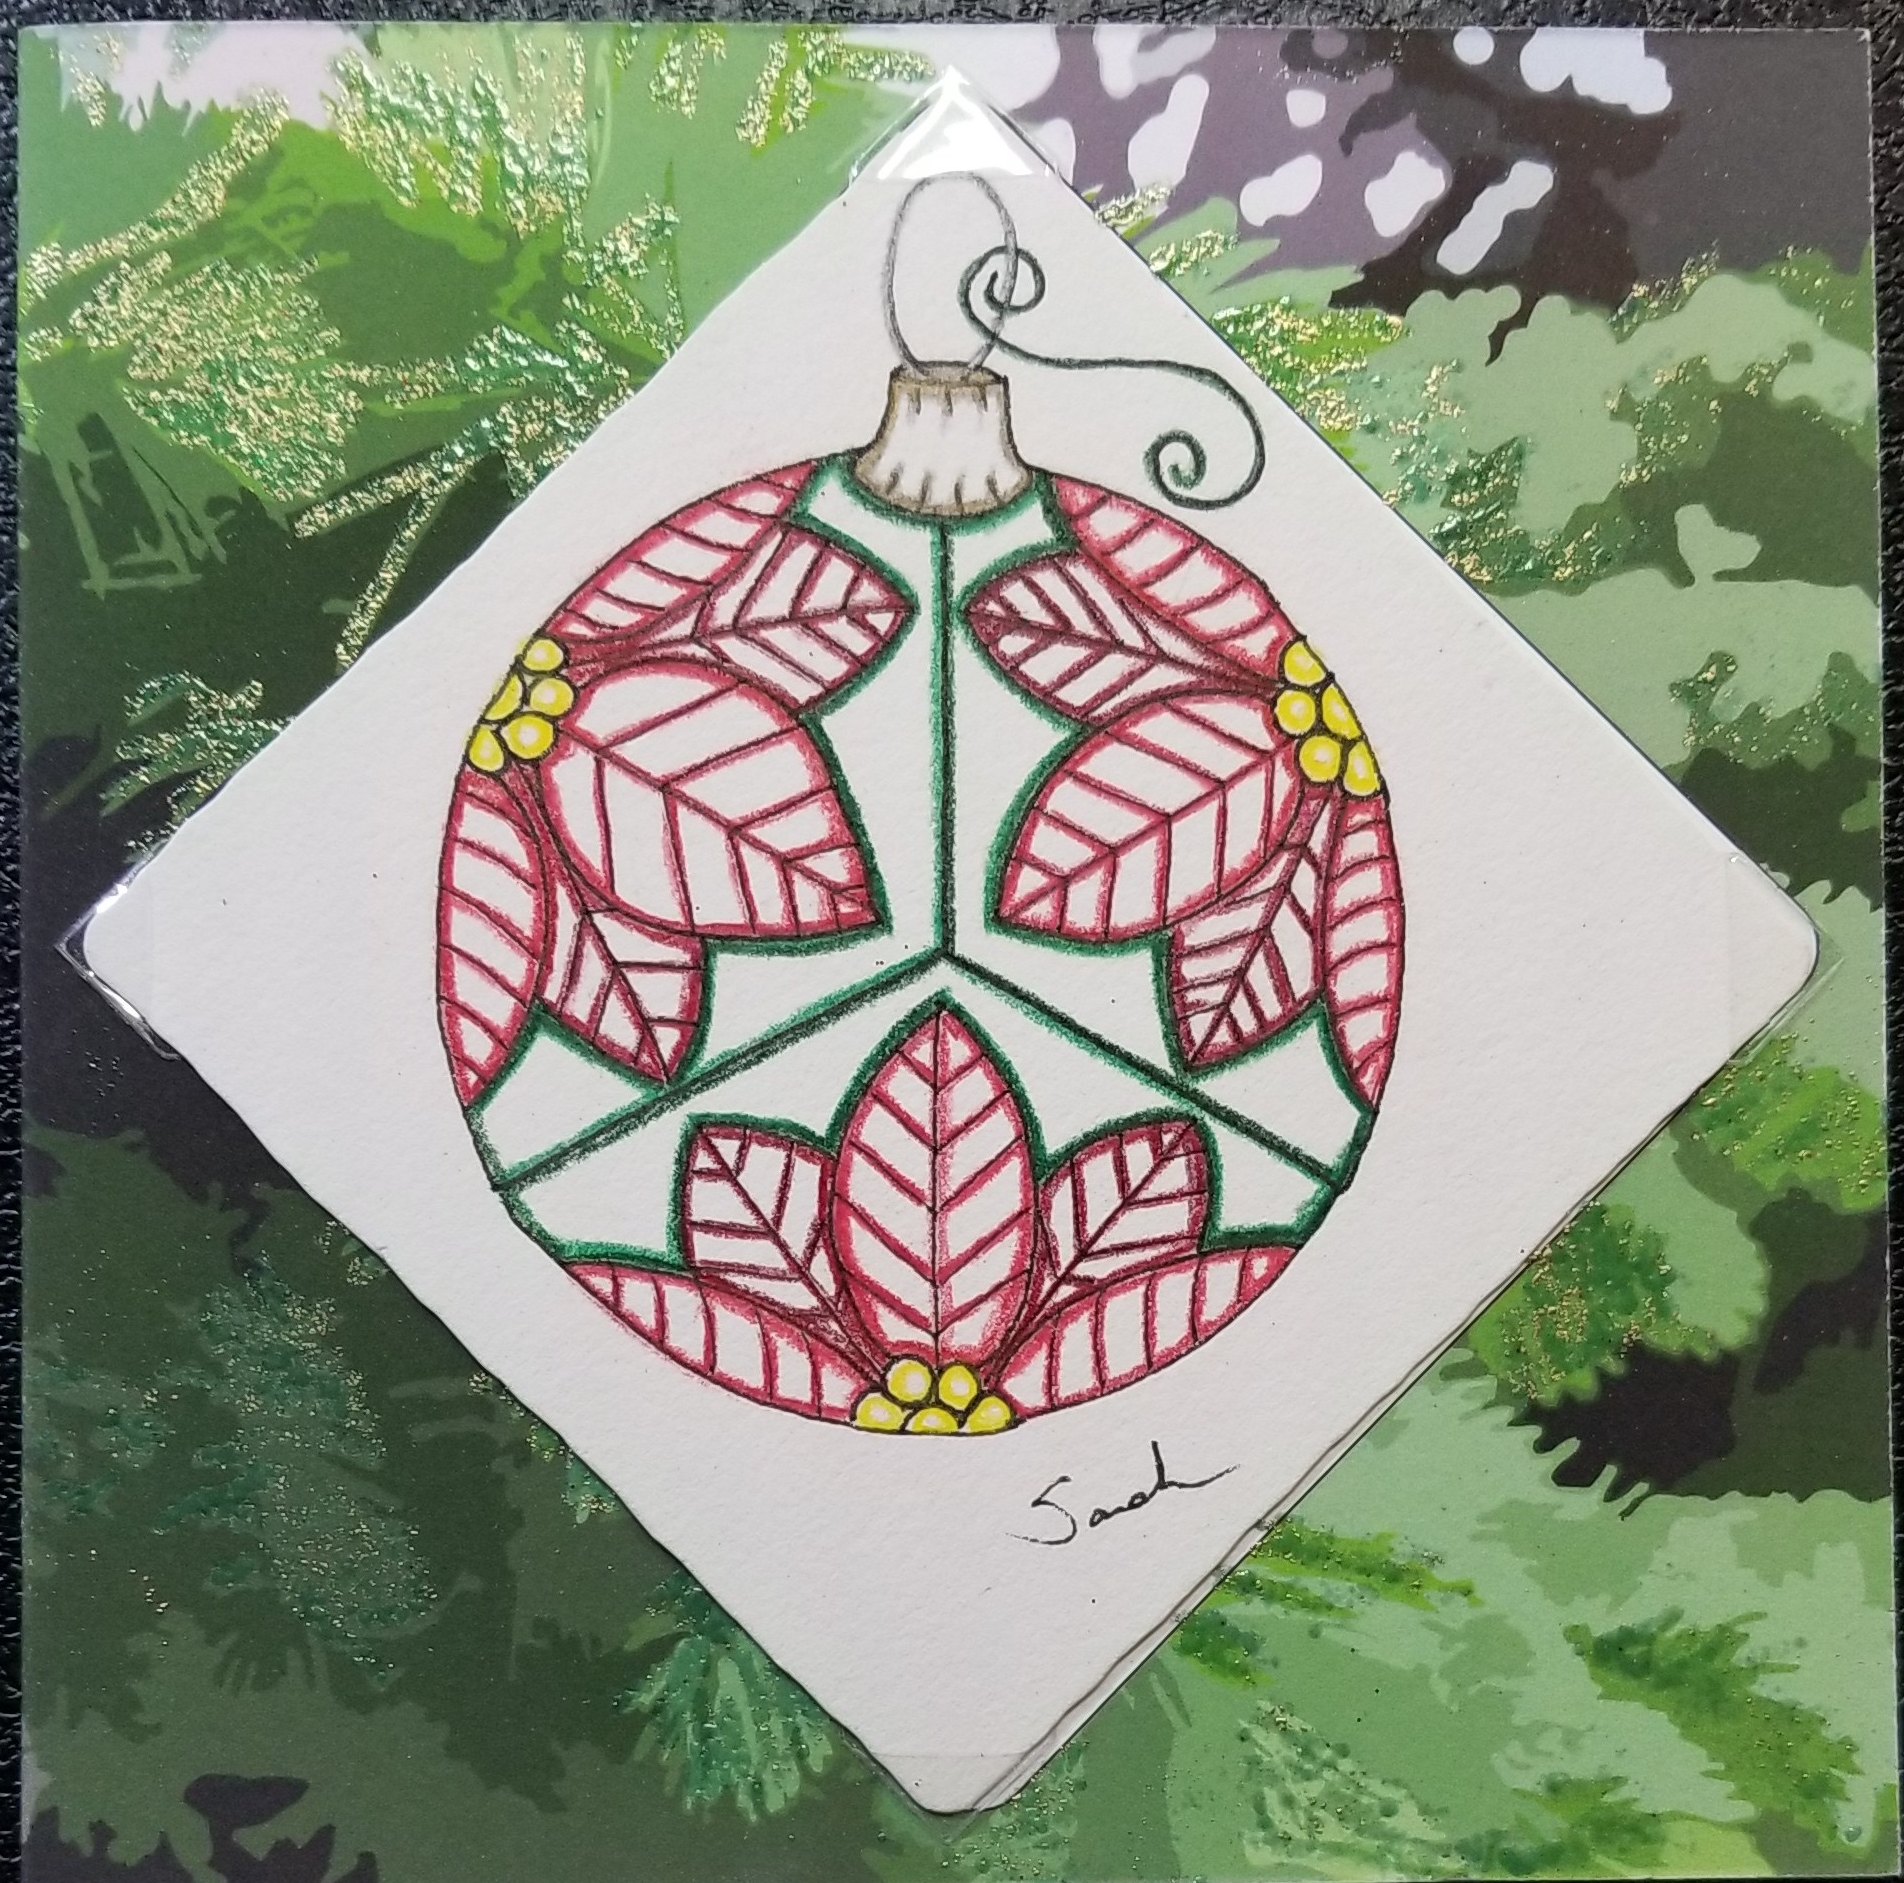
This year I drew ornaments on 3.5″ square tiles. I selected the high quality tiles, because I wanted to color on the tiles. I keep the color to a minimum because I wanted the ornaments to look delicate like glass Christmas ornaments. Below are a few of the tiles. All of the tiles are located on Drawing page.


I designed the card in CorelDraw. I converted the picture below to an outline drawing to use as a background on the card.

I created an area on the card to put the tile. I have been placing the same symbol with my name on all the back of all my cards since 2004.

Outside
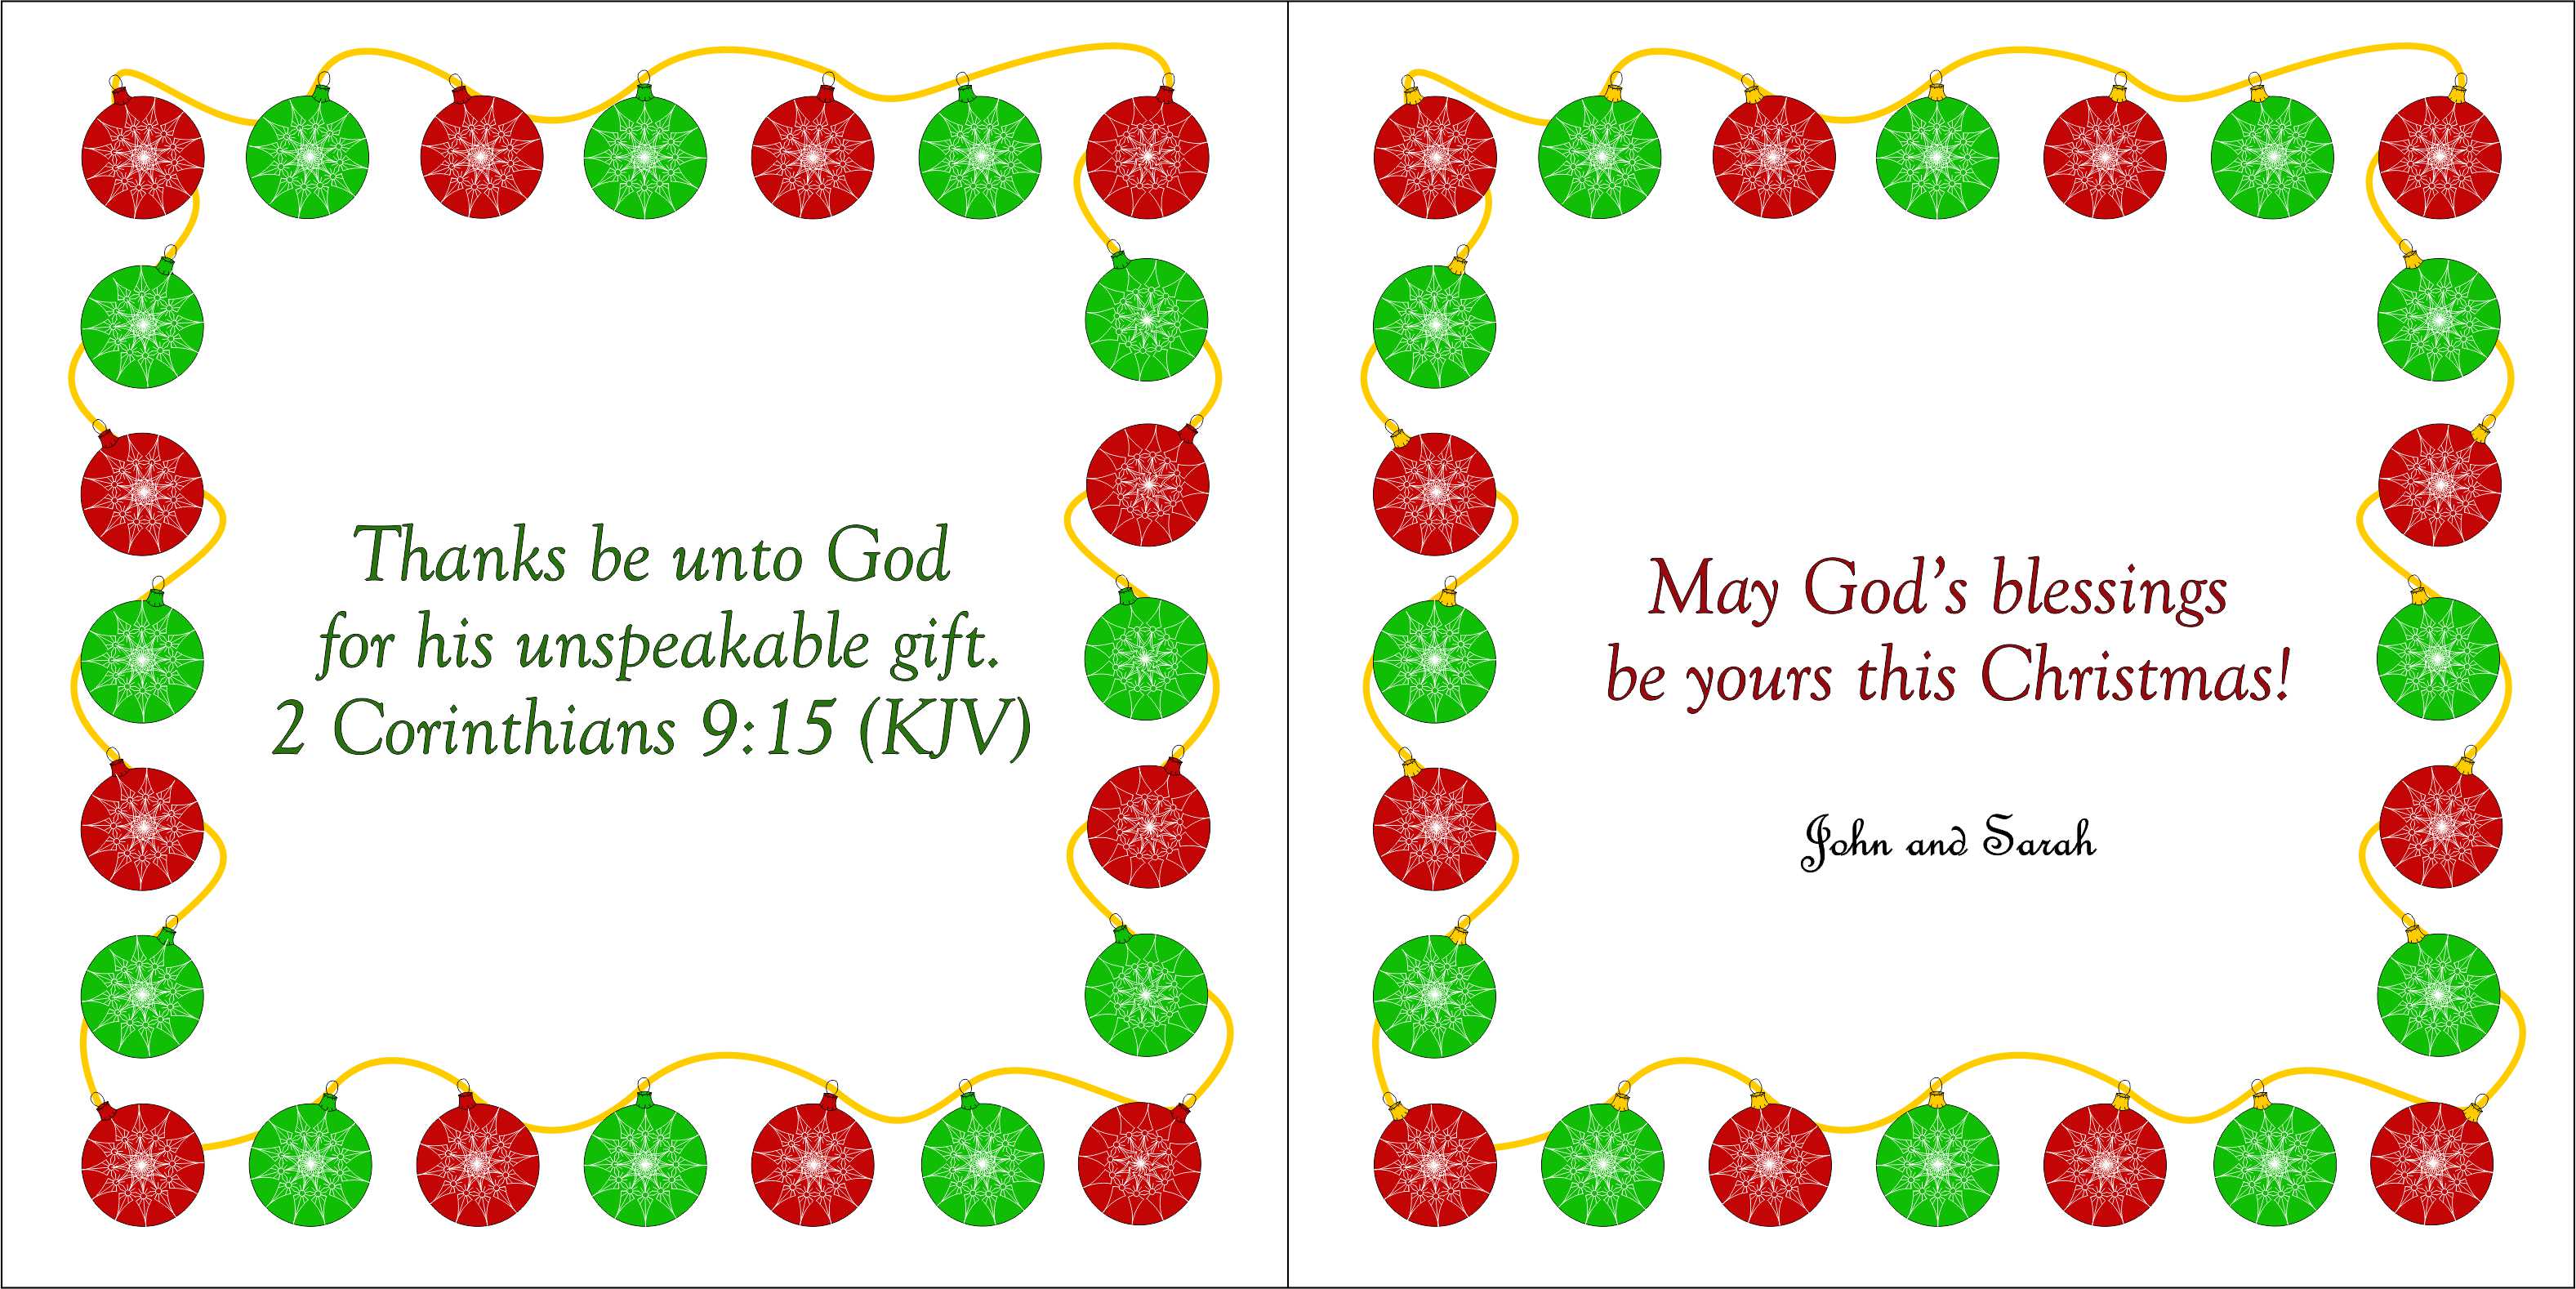
Inside
The folded card measures 5.25″ square. I embossed several stems on the front of the card, and attached the tiles to the cards with photo corners. I wanted the recipient to be able to remove the tile without damaging the tile. Below is one of the finished cards.
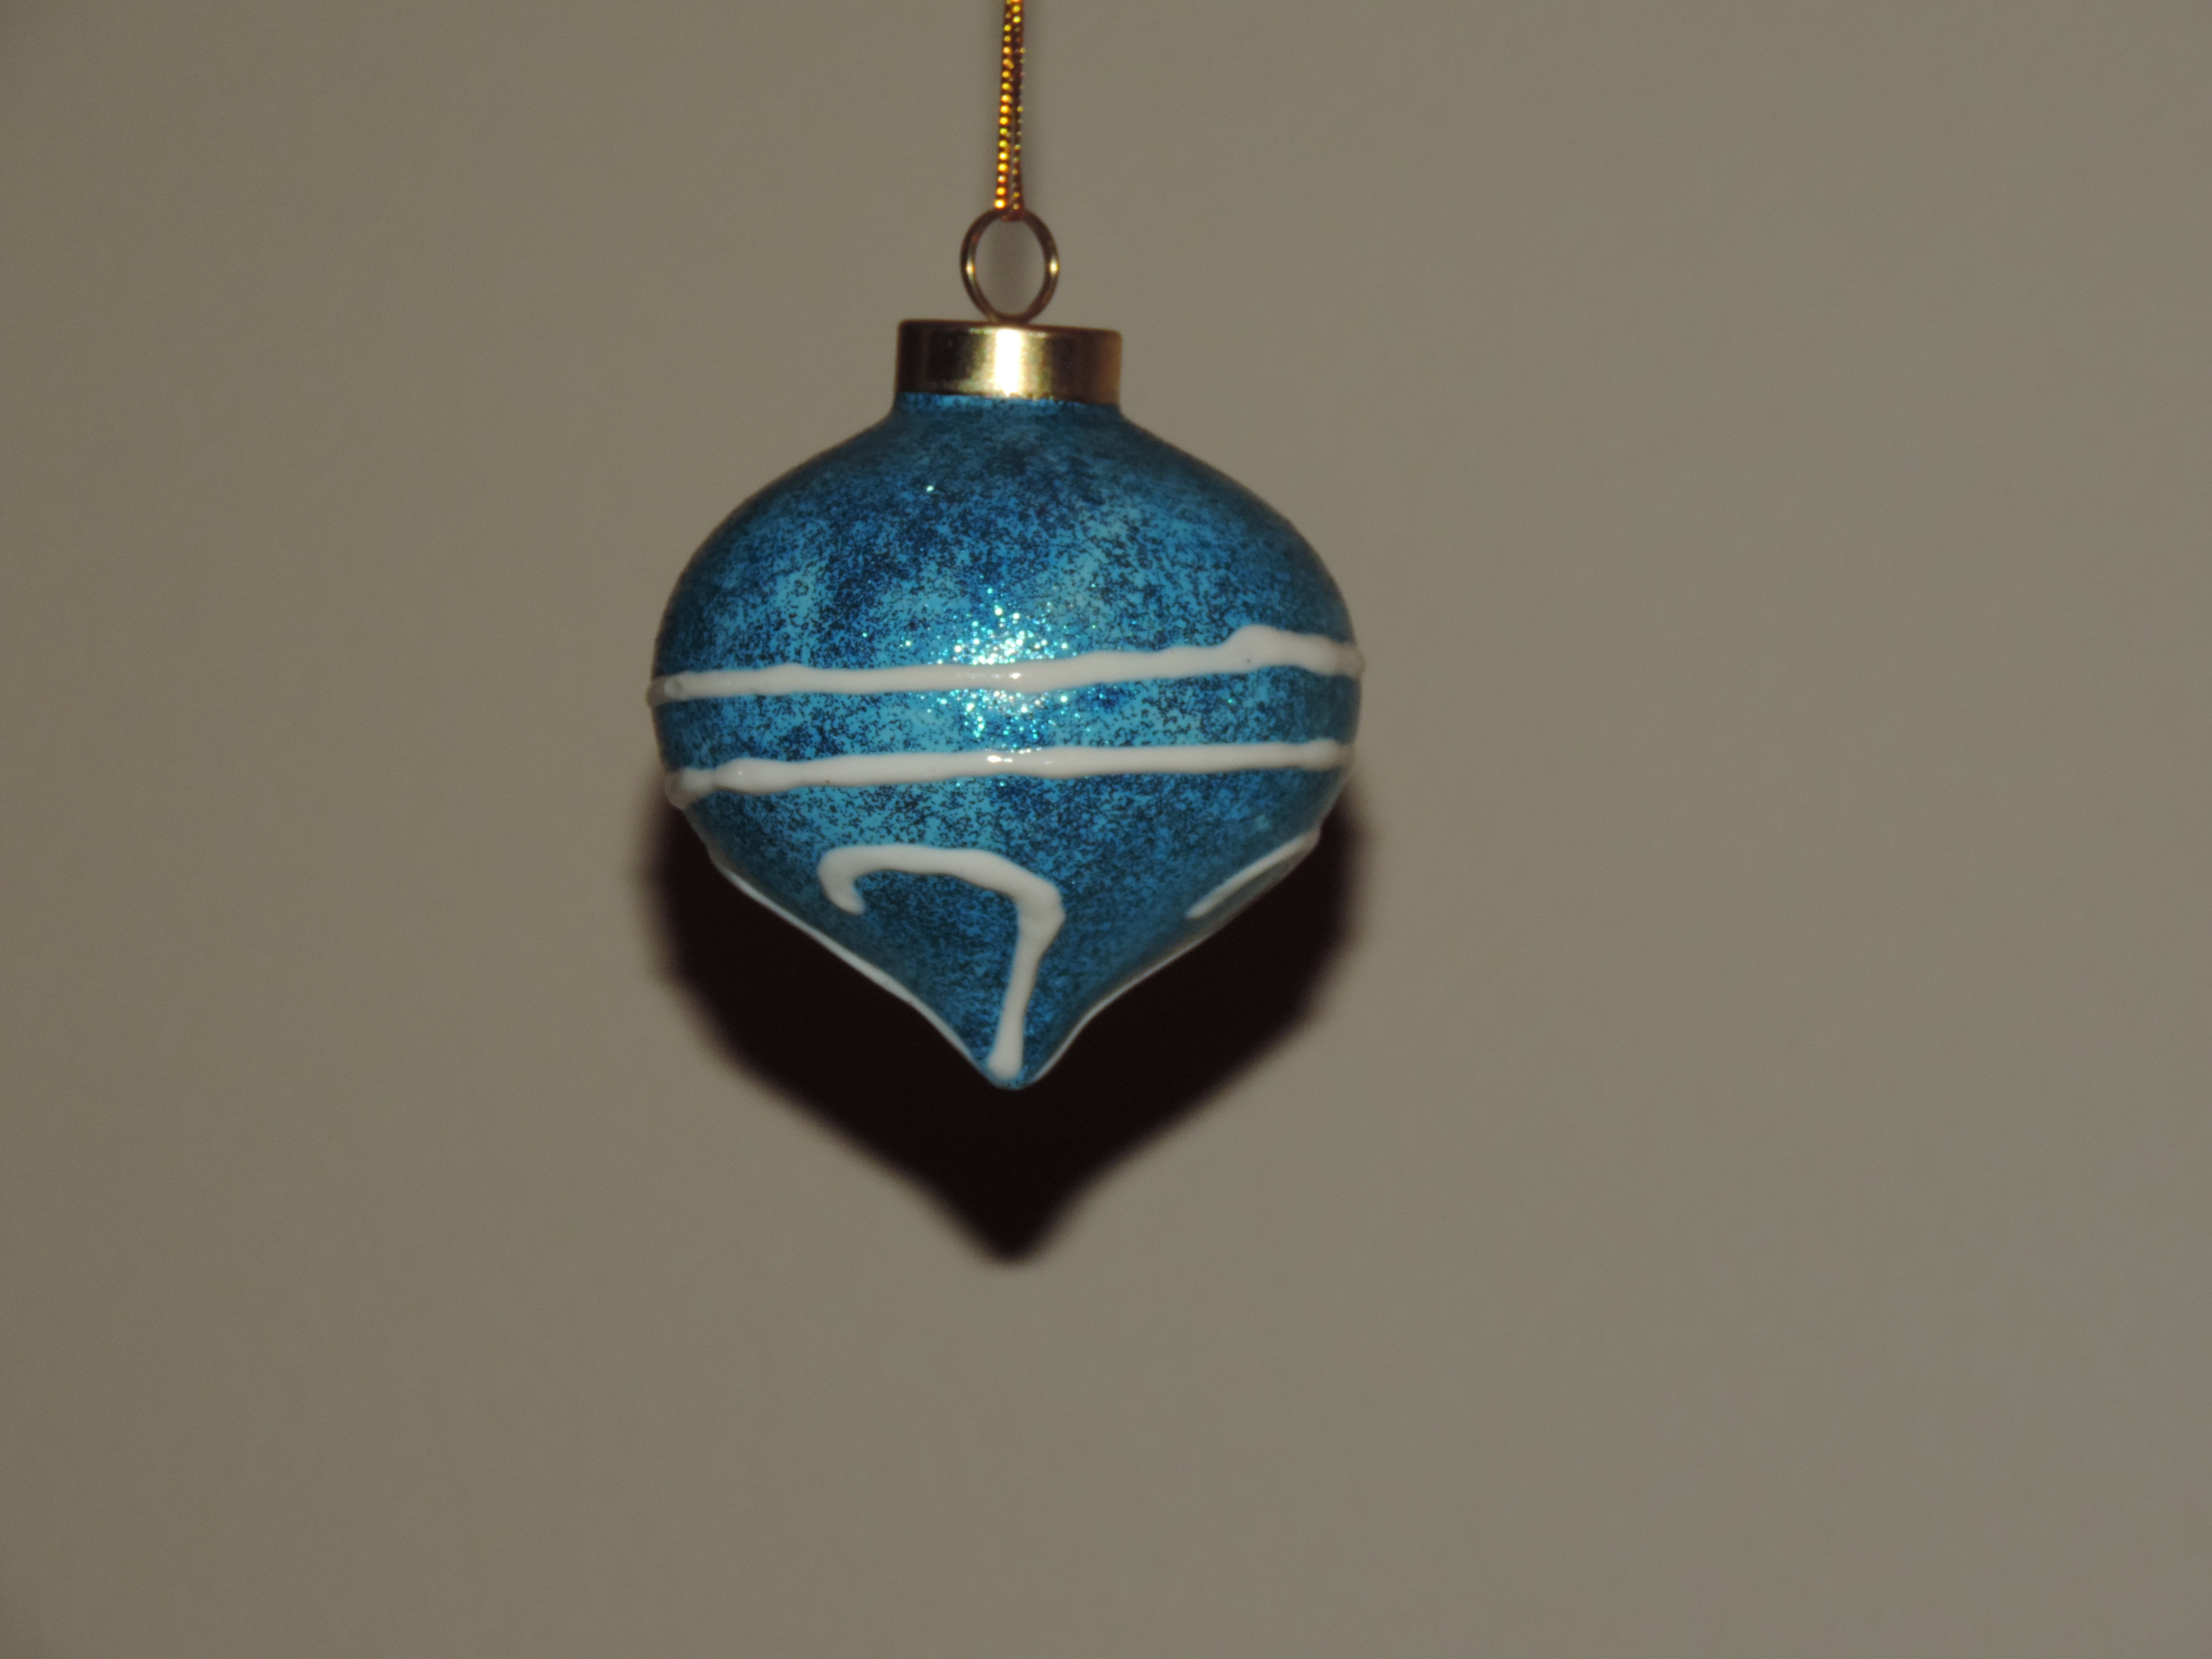
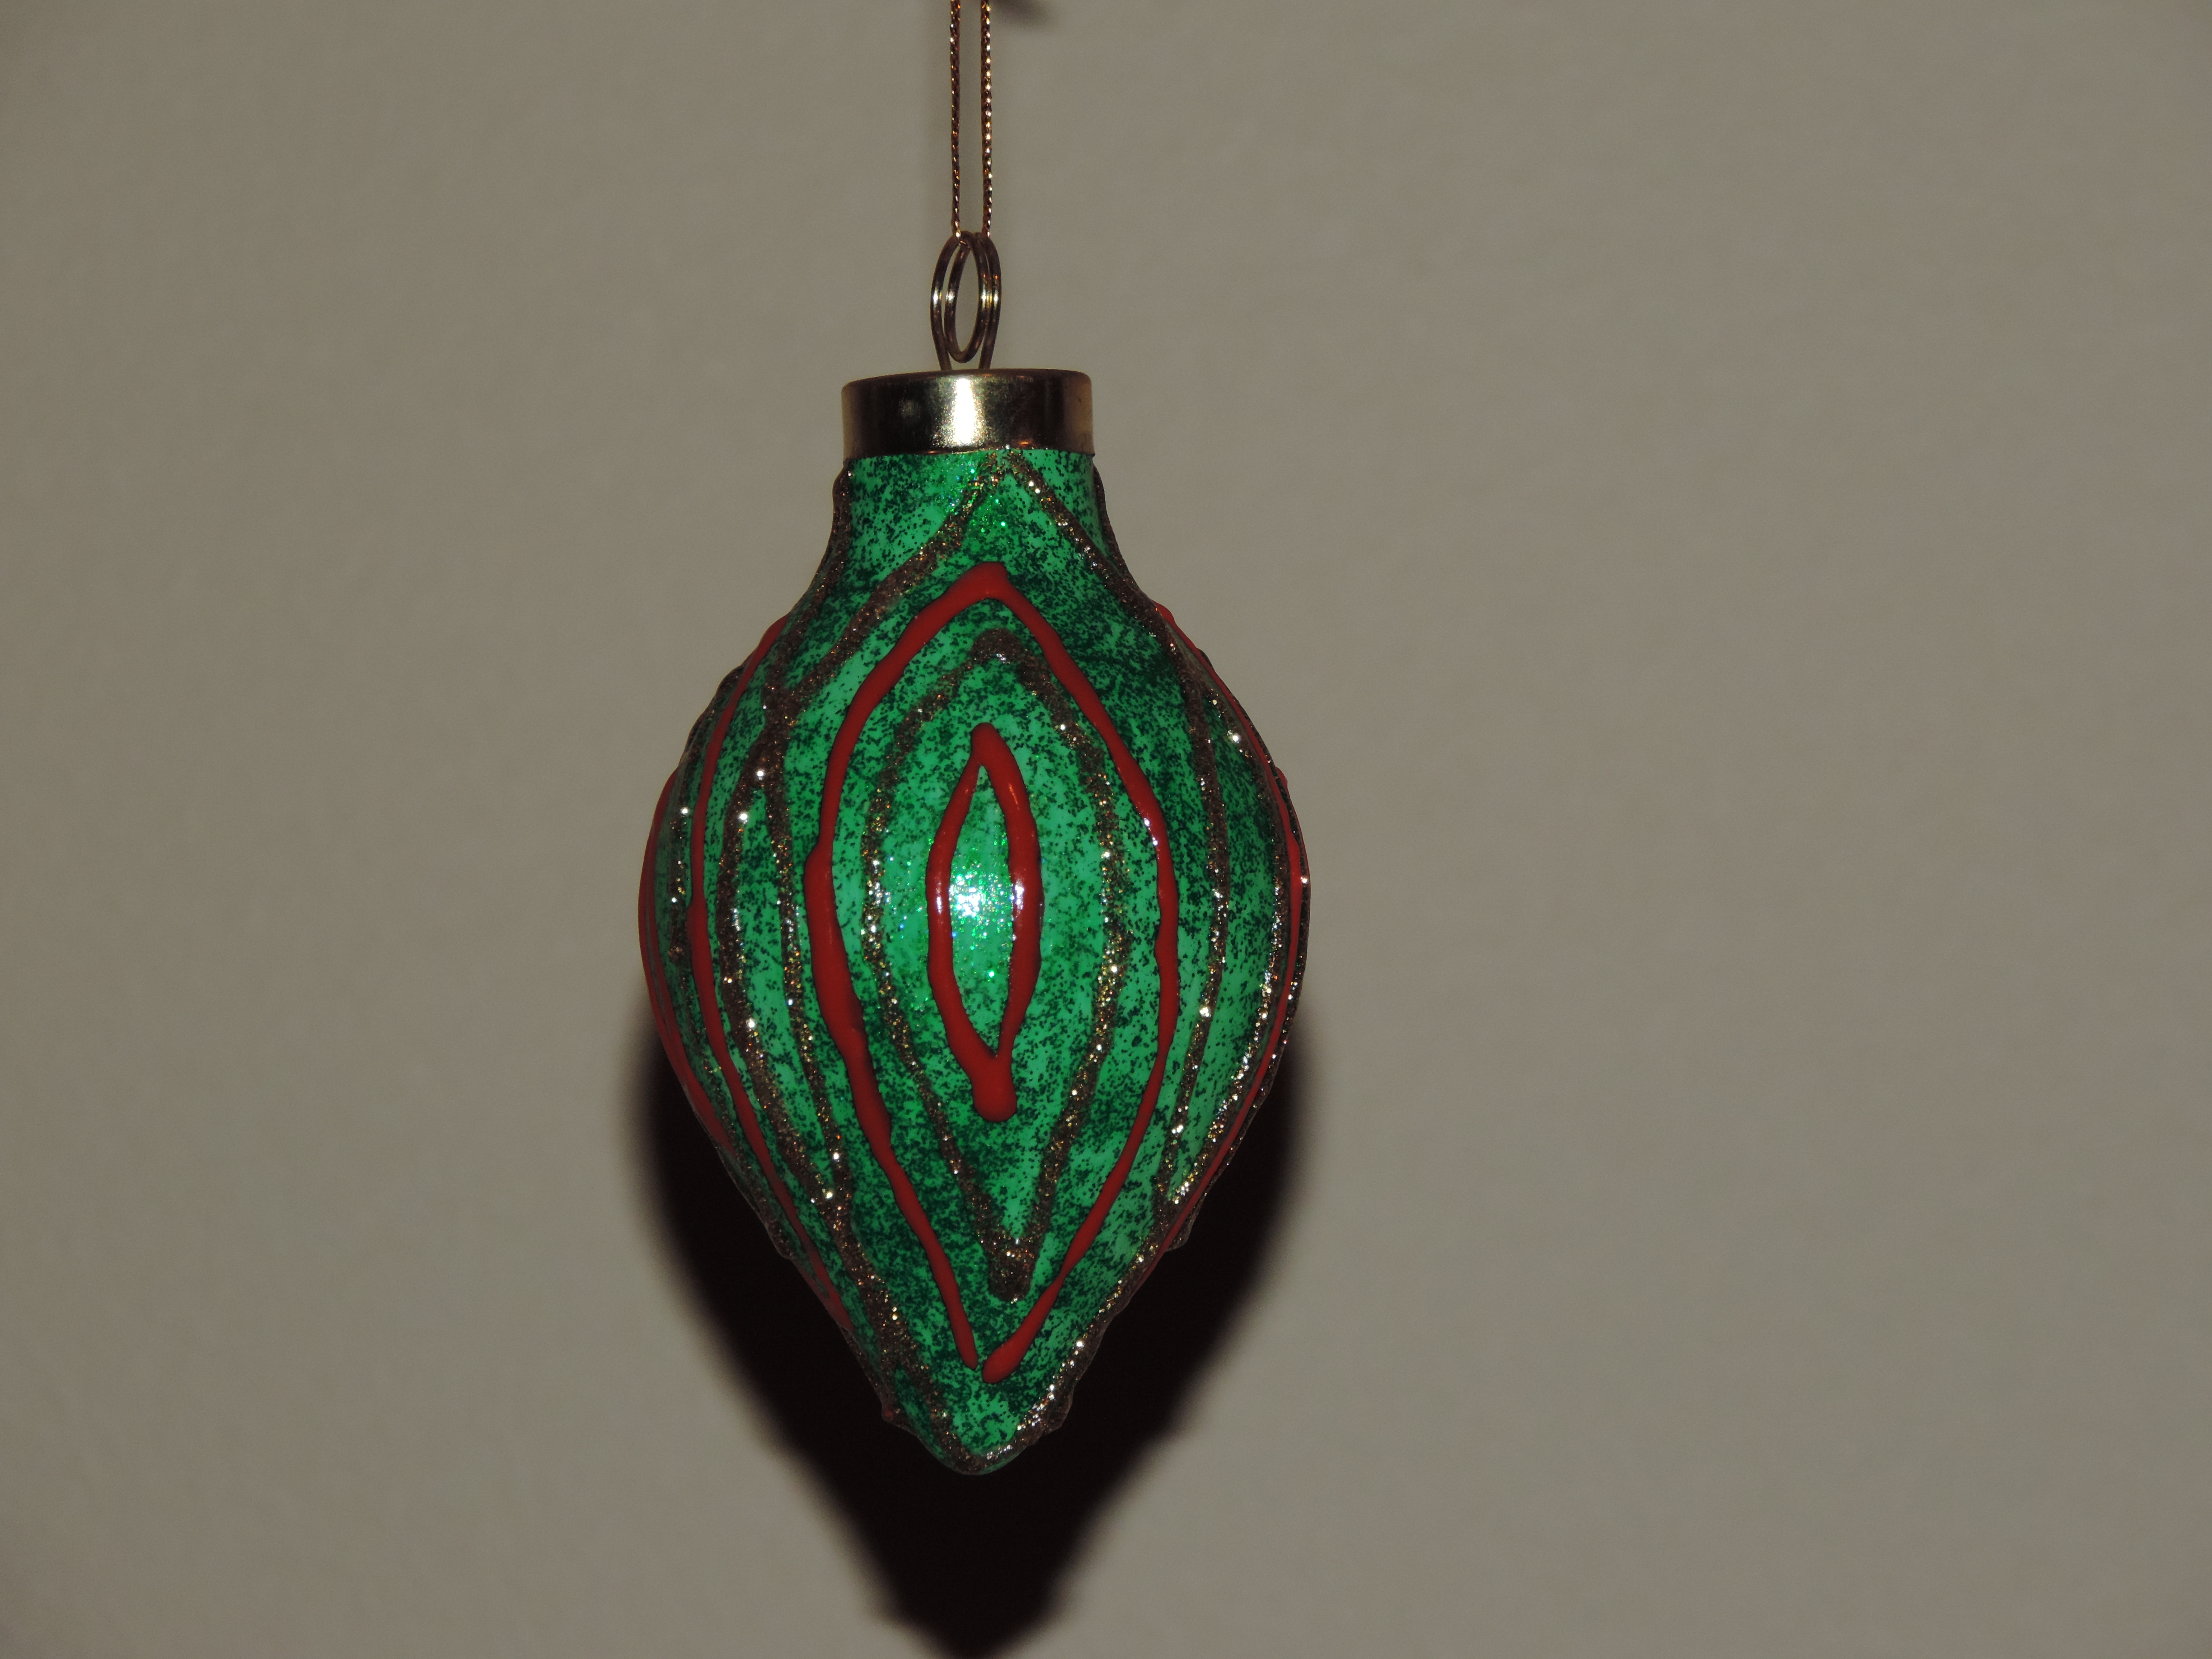
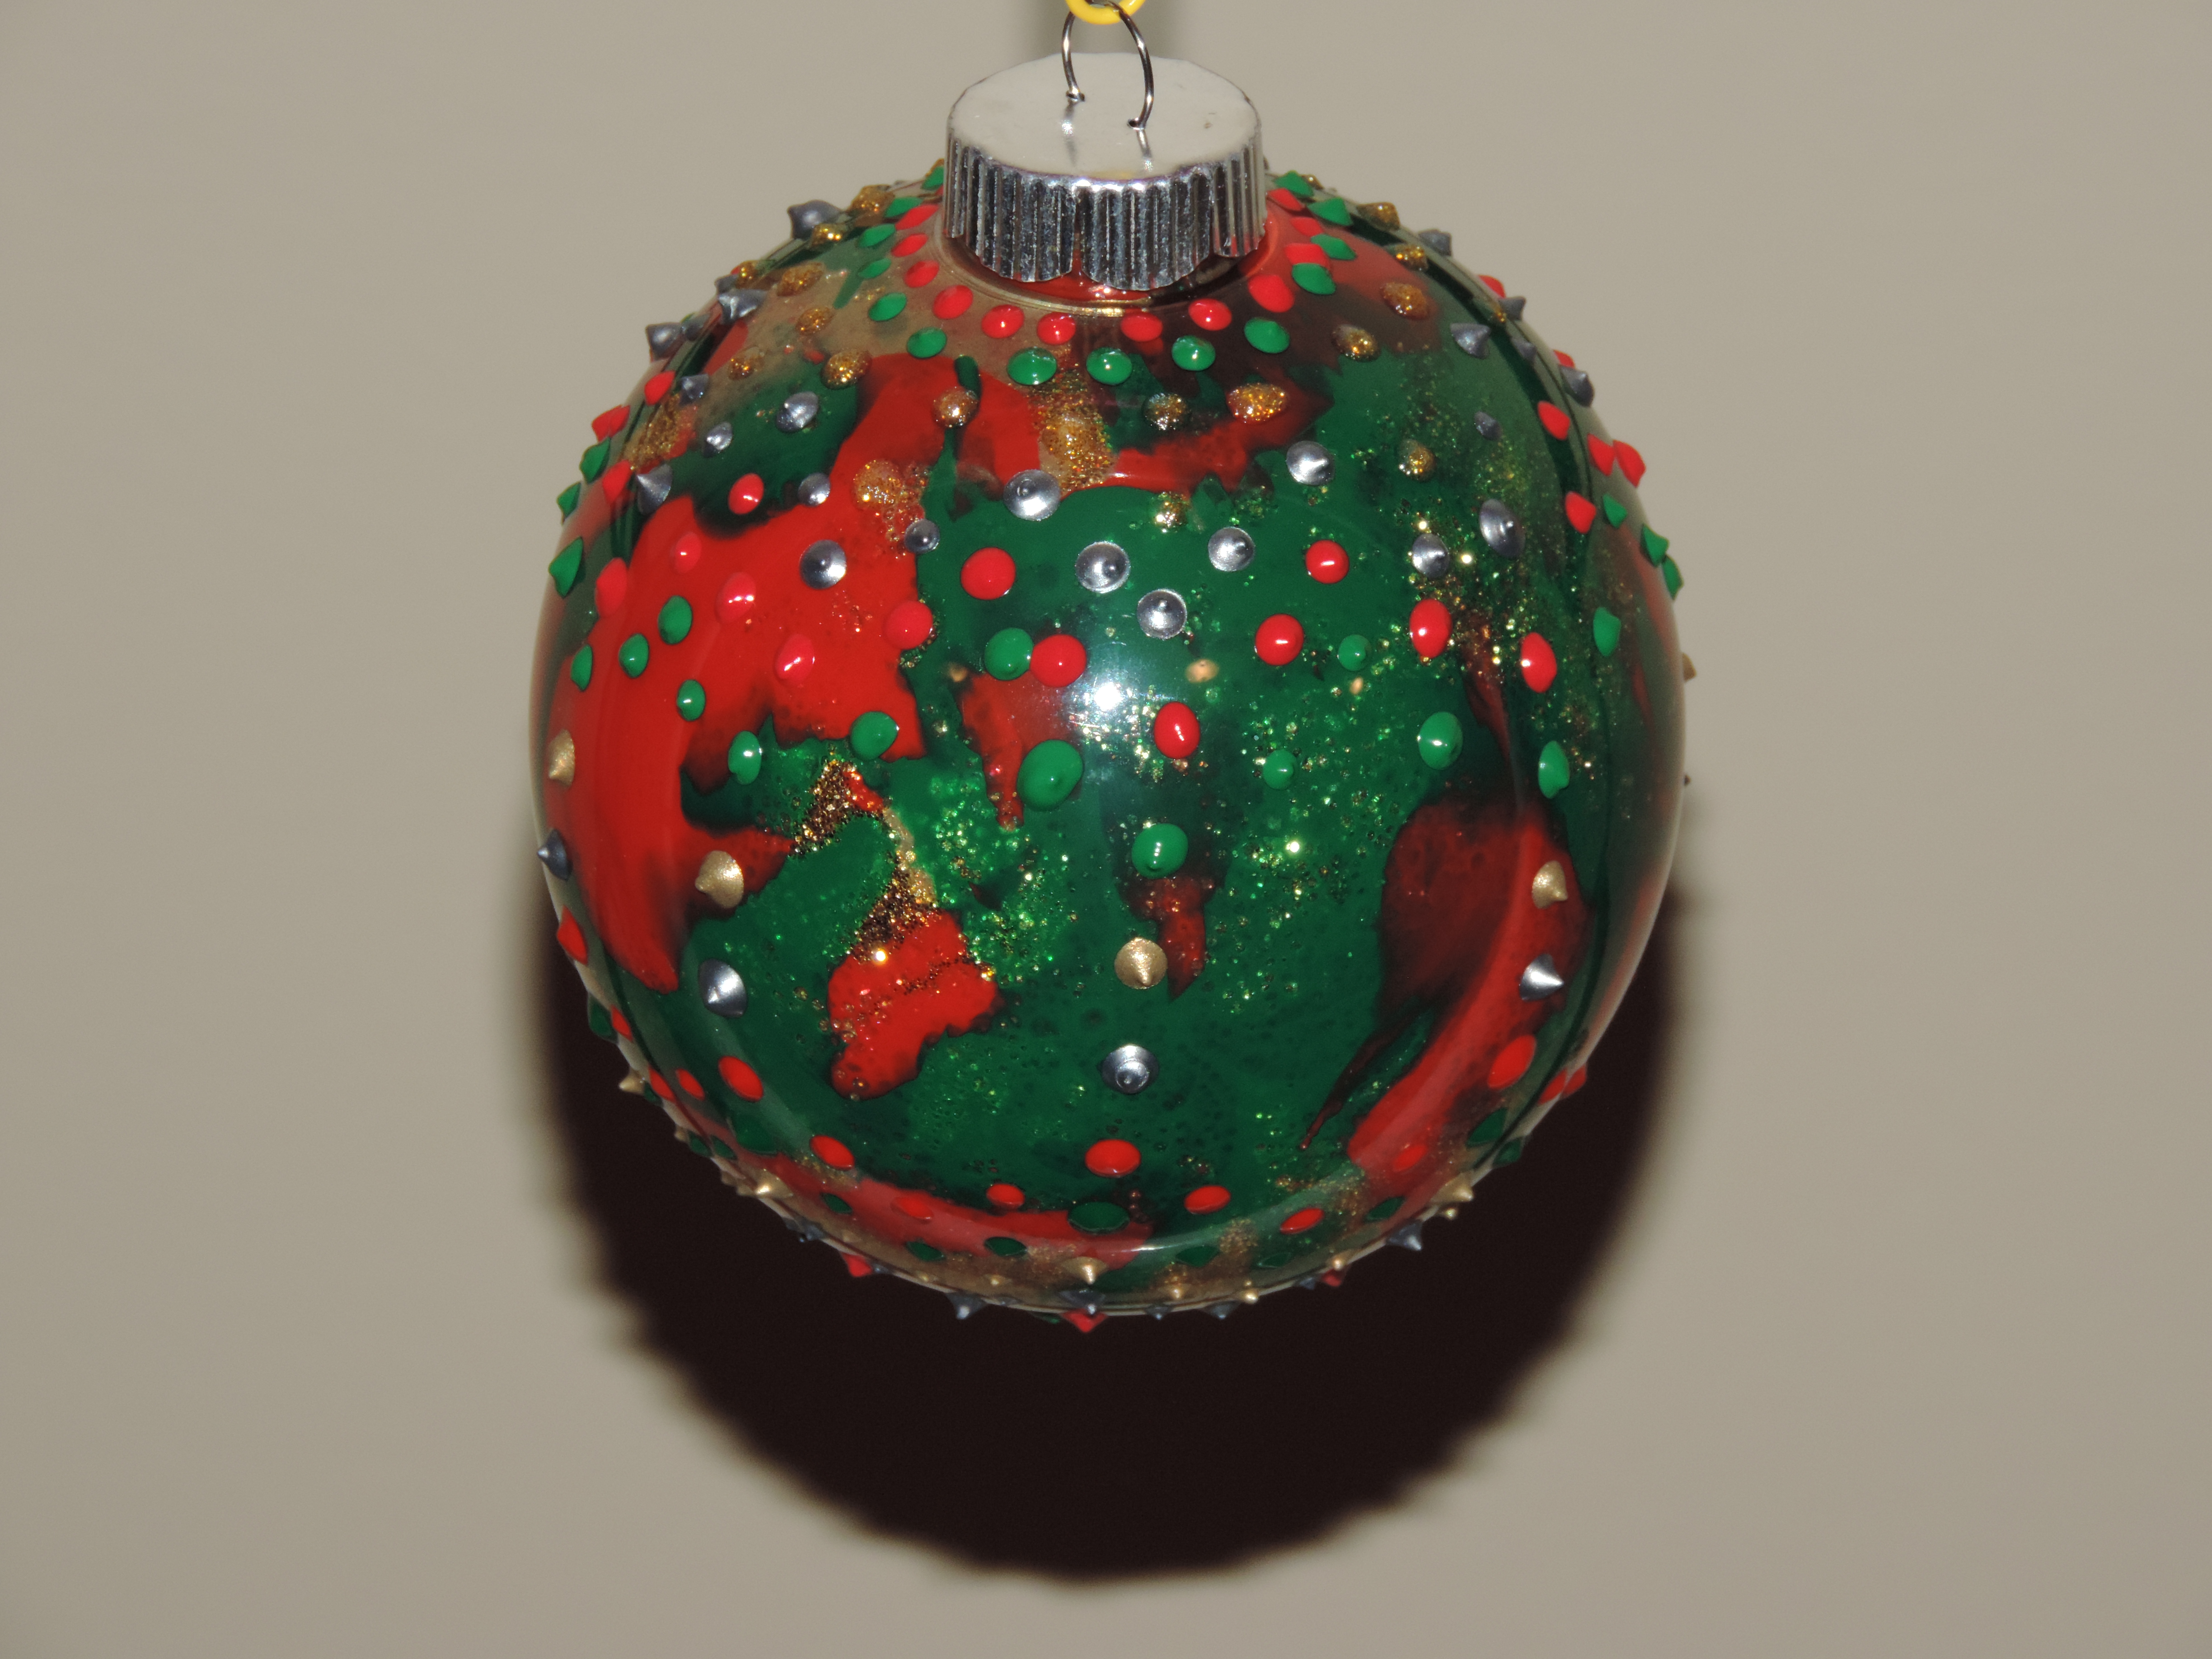
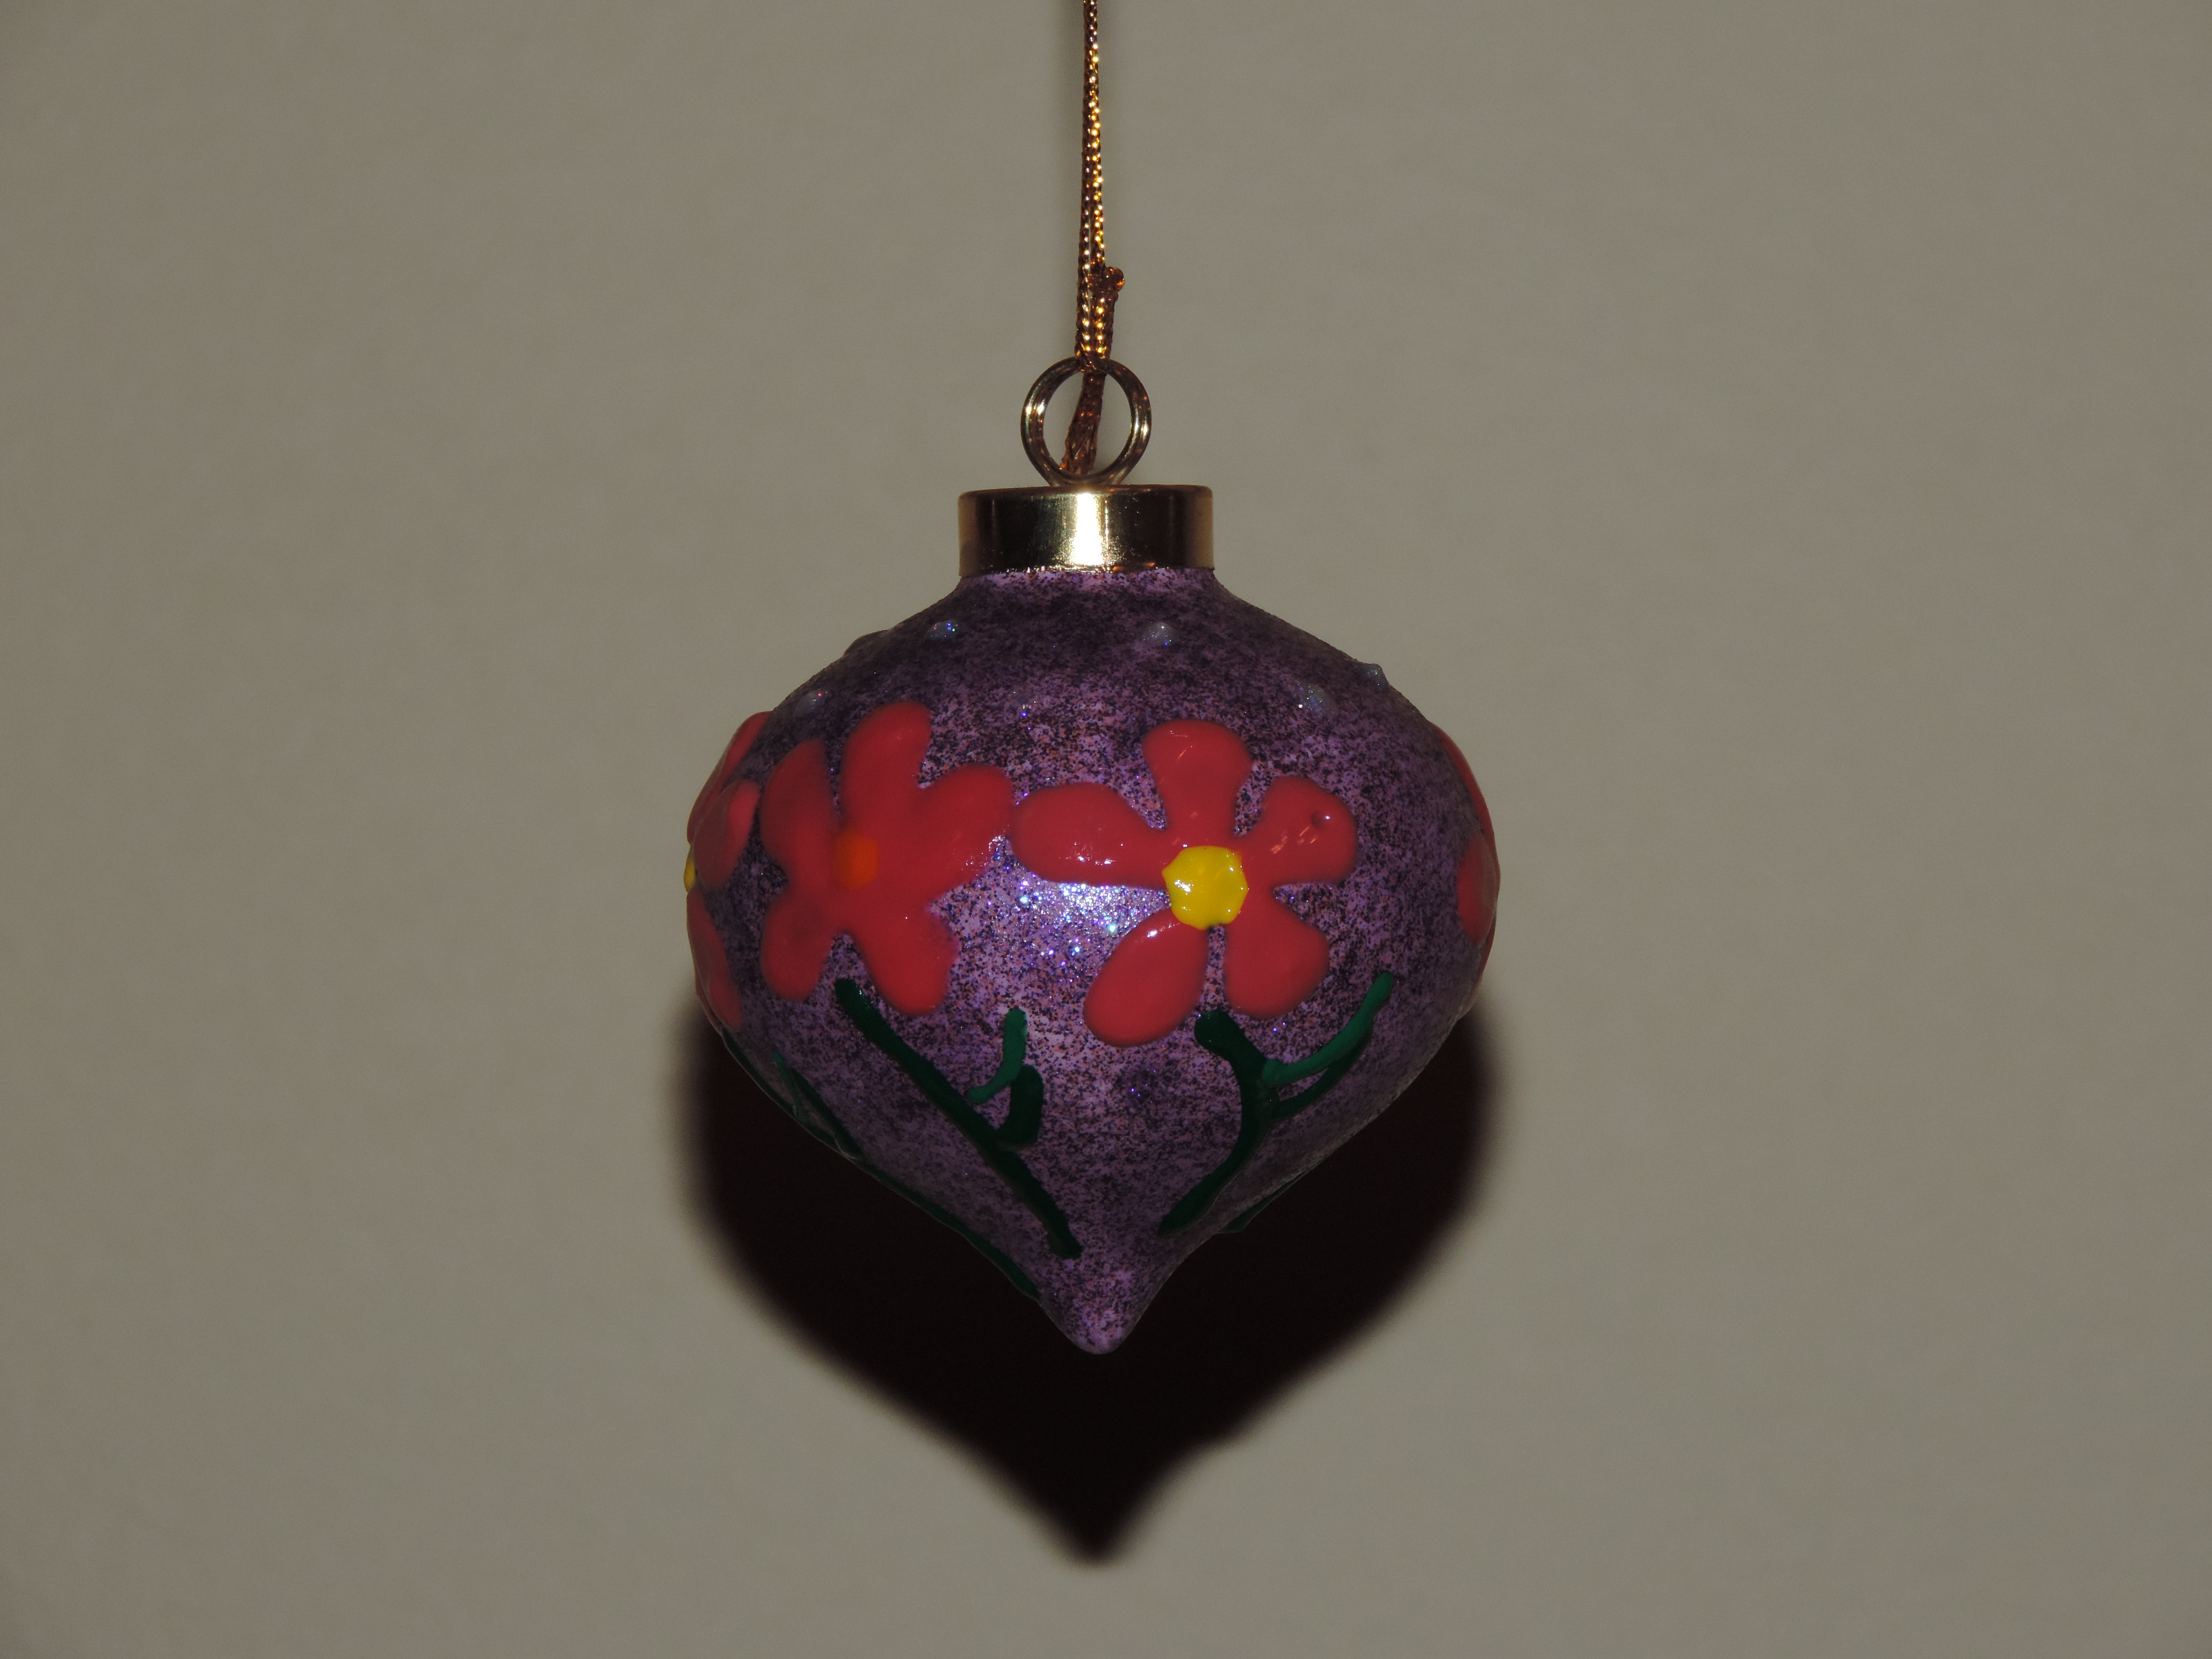
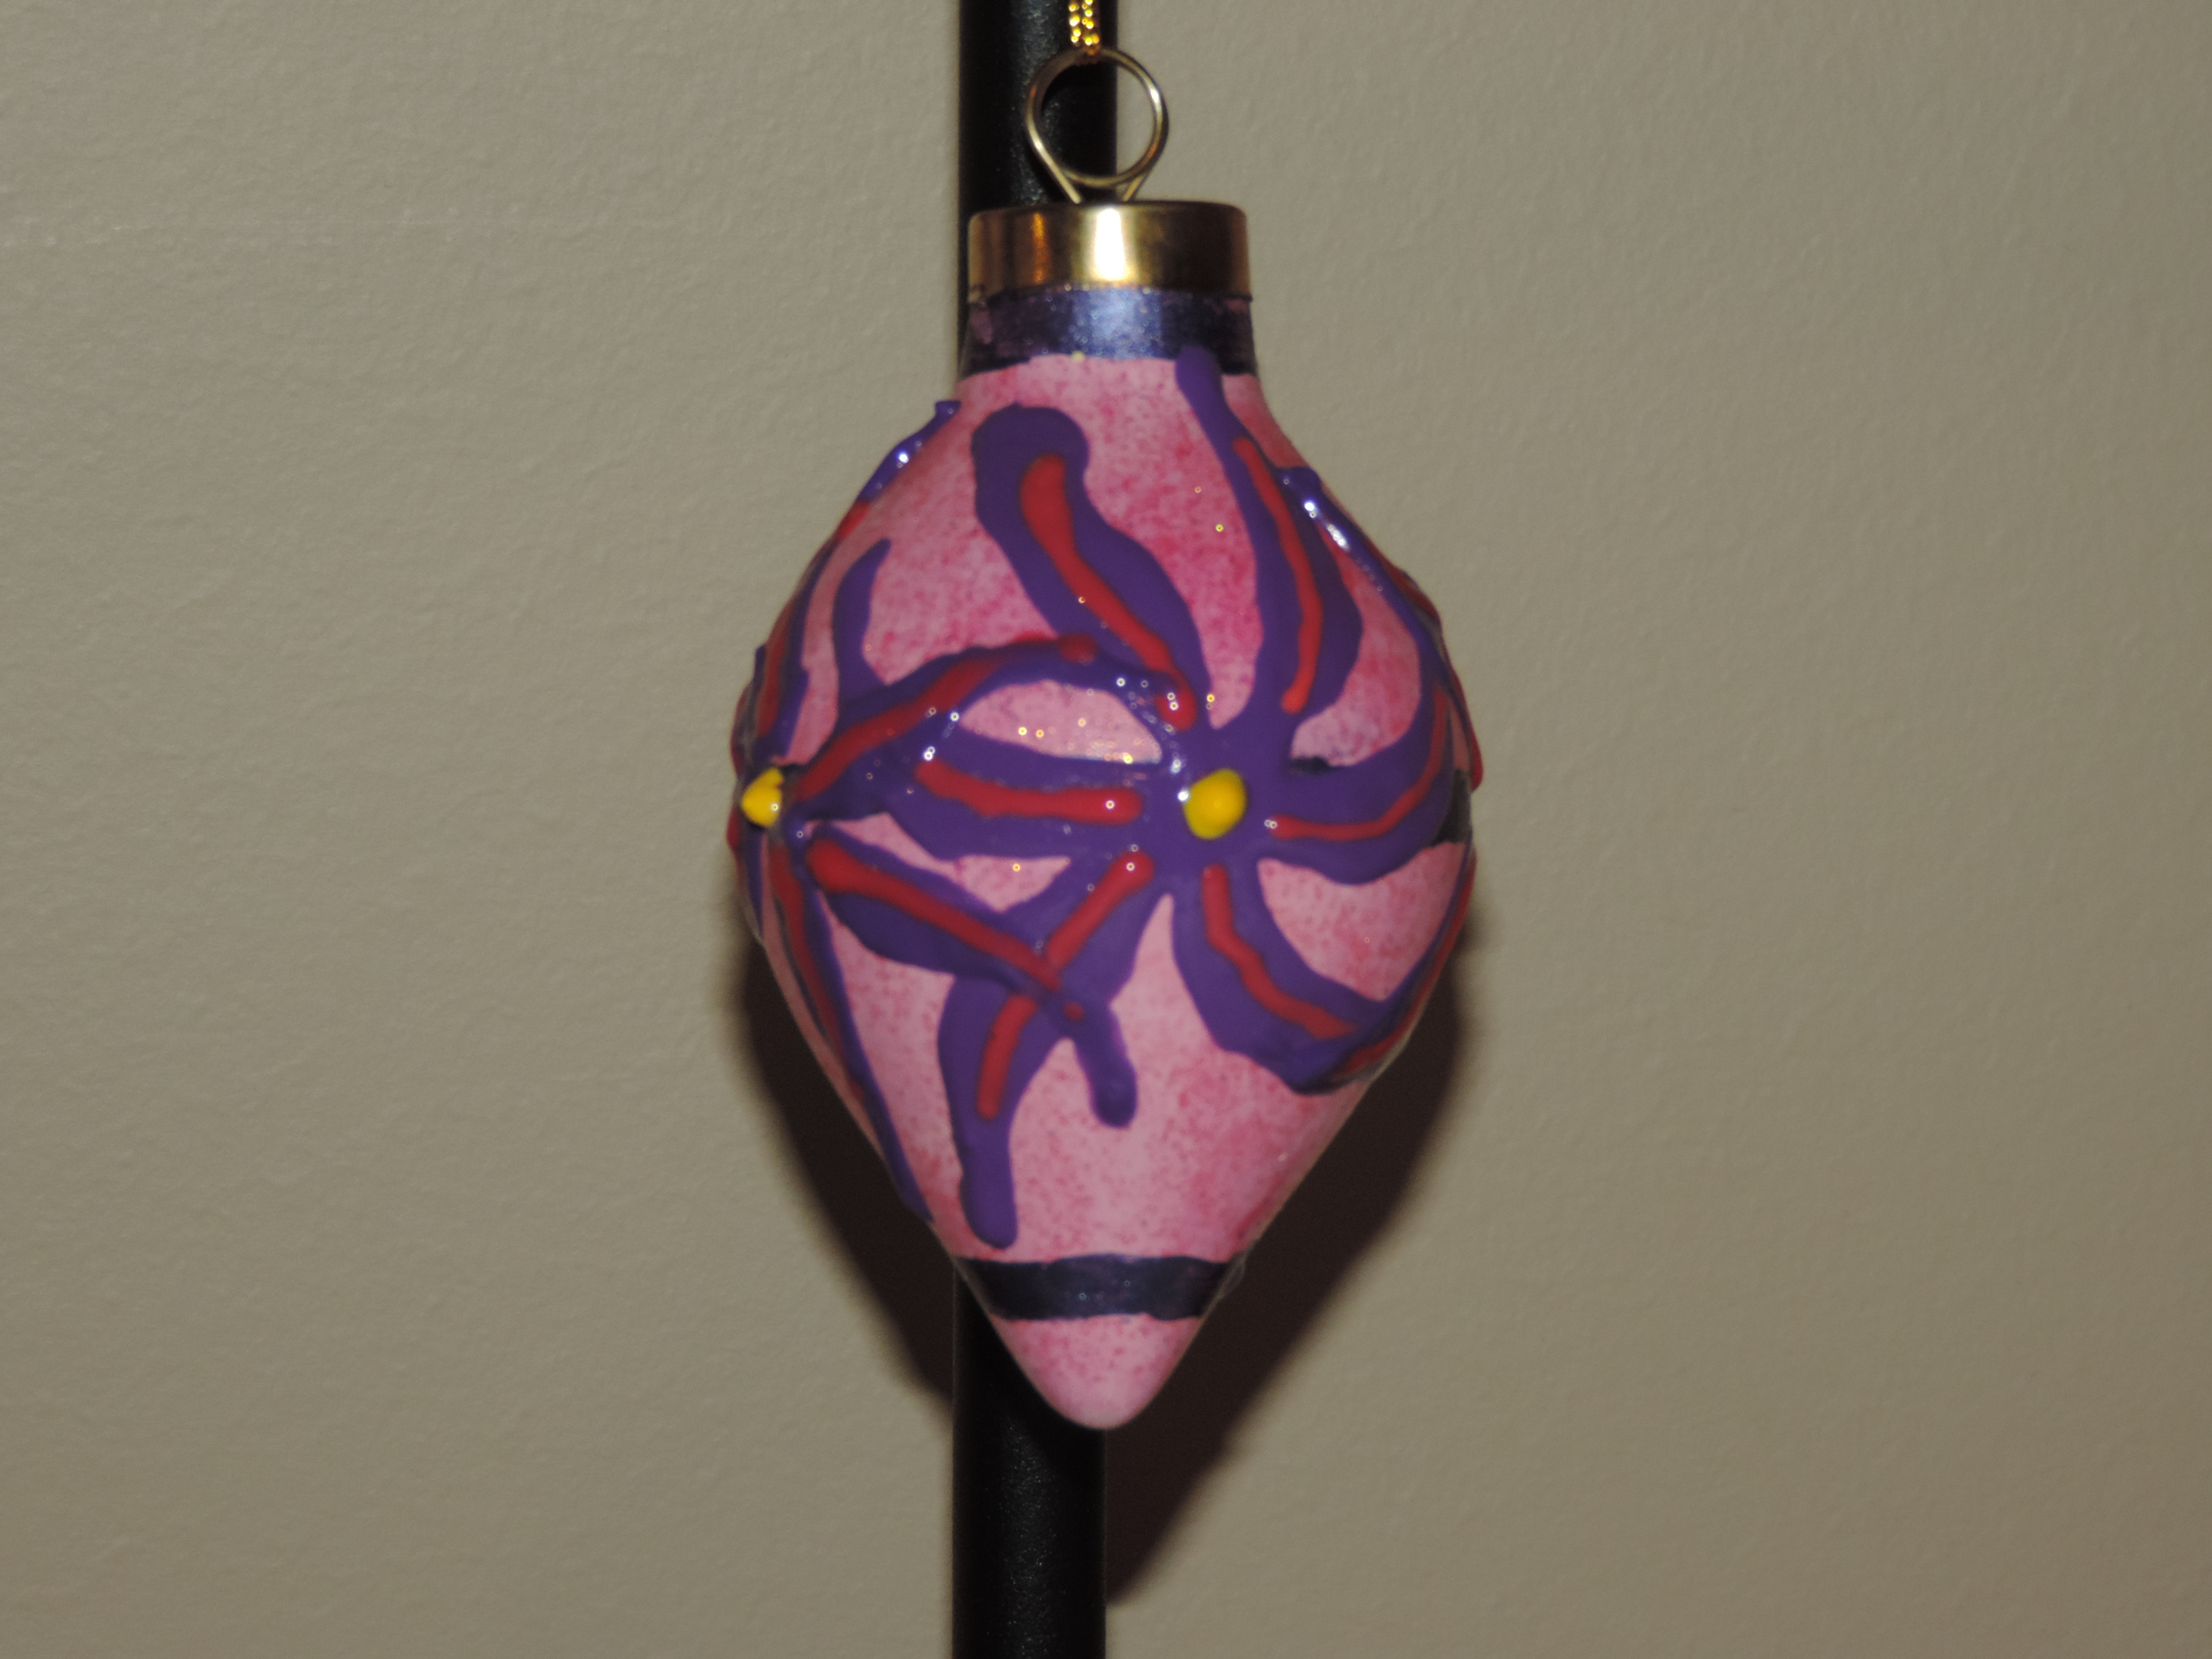
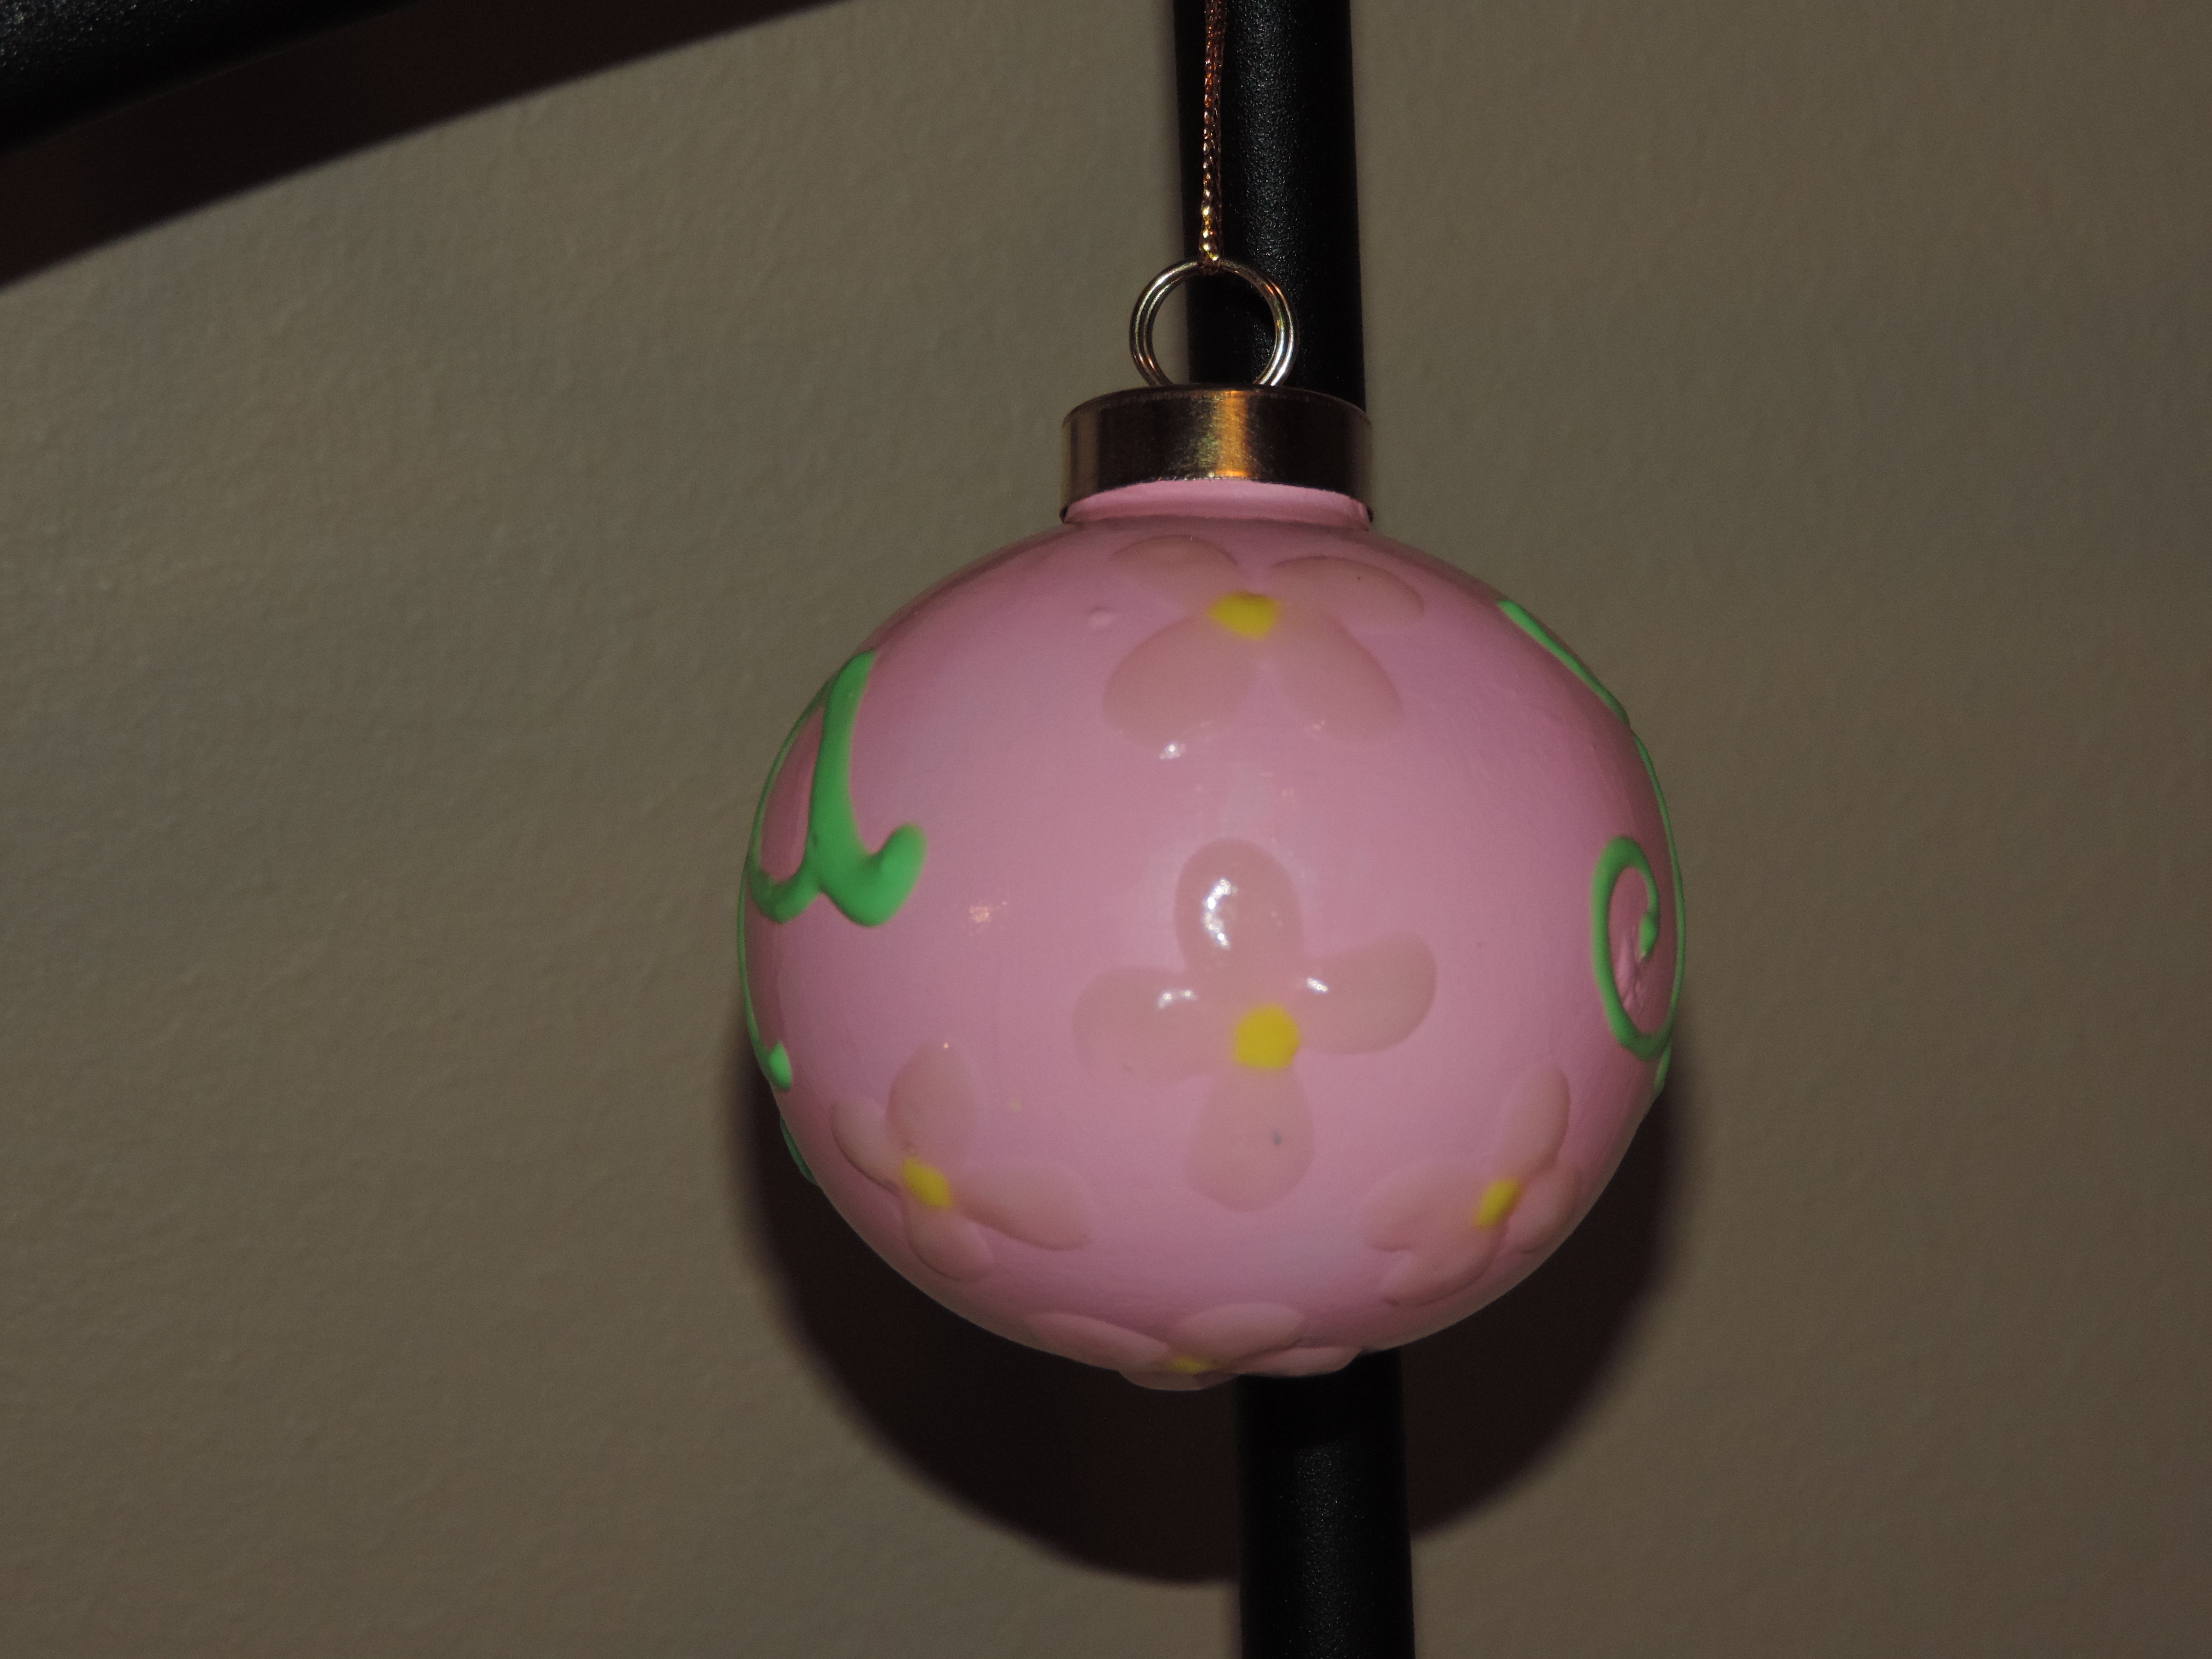
Here are the Christmas Ornaments I painted this year. The plaster ornaments were purchased from Hobby Lobby and I use acrylic paint and puff fabric paint. Some of the ornaments were painted with neon glow and glow in the dark paint.


One of my Christmas projects for 2016 was to create glitter ornaments. I purchase clear glass ornaments from Hobby Lobby and made two packs of theses beauties.


Removed the top from the ornament and seat it aside.
Sprayed the inside of the ornament with spray glue. Careful, if you miss the hole on the ornament, you get glue sprayed on your hand and it takes finger nail polish to remove it.
Pour glitter inside the ornament. You do not need to fill the entire ornament, just enough to slick to sides. Place paper towel and your finger over the hole and shake the ornament to distribute glitter. I used extra fine glitter.
Remove excess glitter from ornament and let dry overnight.
Place cap back on ornament.
Decorate as desired. I used glitter puff paint (fabric paint) to put the snow effect on the ornaments.
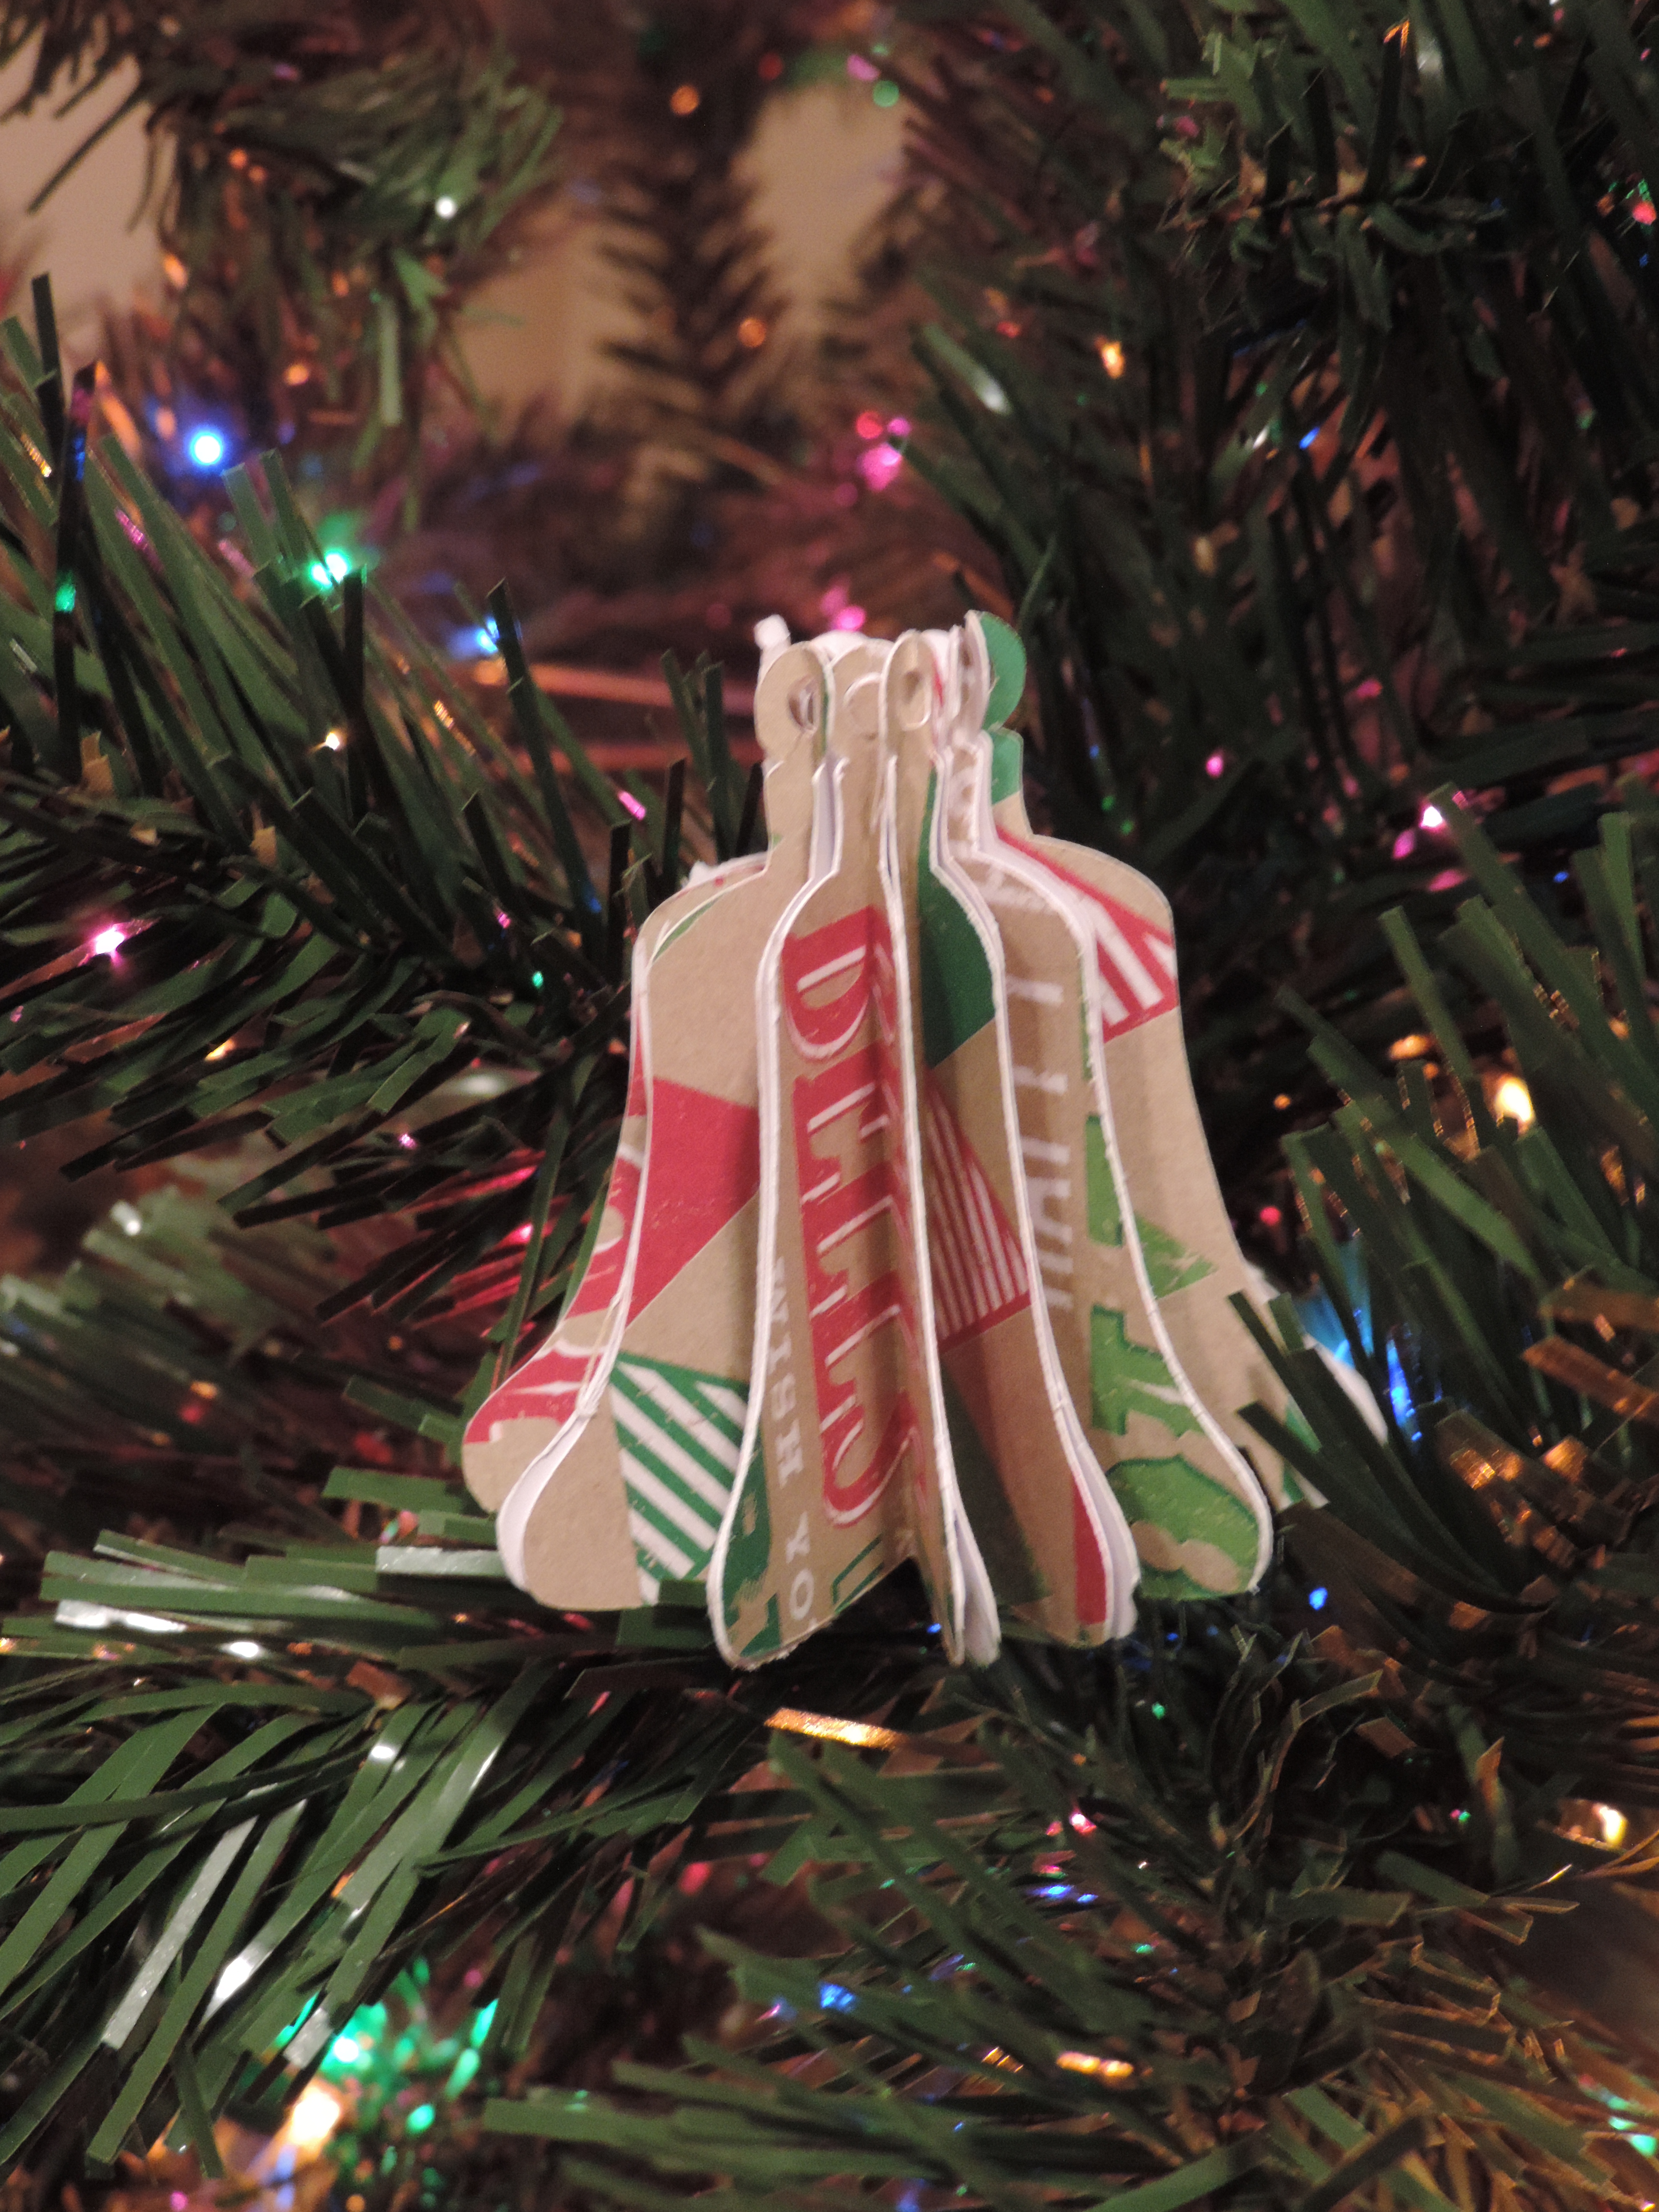
As I was putting up my Christmas tree, I realized I didn’t share the ornaments made of paper.
These ornaments were created with my Silhouette Curio. I got the templates from the design store and cut them out on the Curio using different holiday theme sheets of cardstock. They were fastened together using glue dots.


Ok, I have been slack about posting articles. Here are the reminding Christmas Ornaments I painted for 2015.
These two ornaments I painted for my niece, who asked that I bring her some snow.


I’ve painted all my ornaments in pairs.


I thought white, snowy Christmas was a nice touch.


Puff paint added some dimension to the ornaments.


Yes, these two ornaments are a little different.


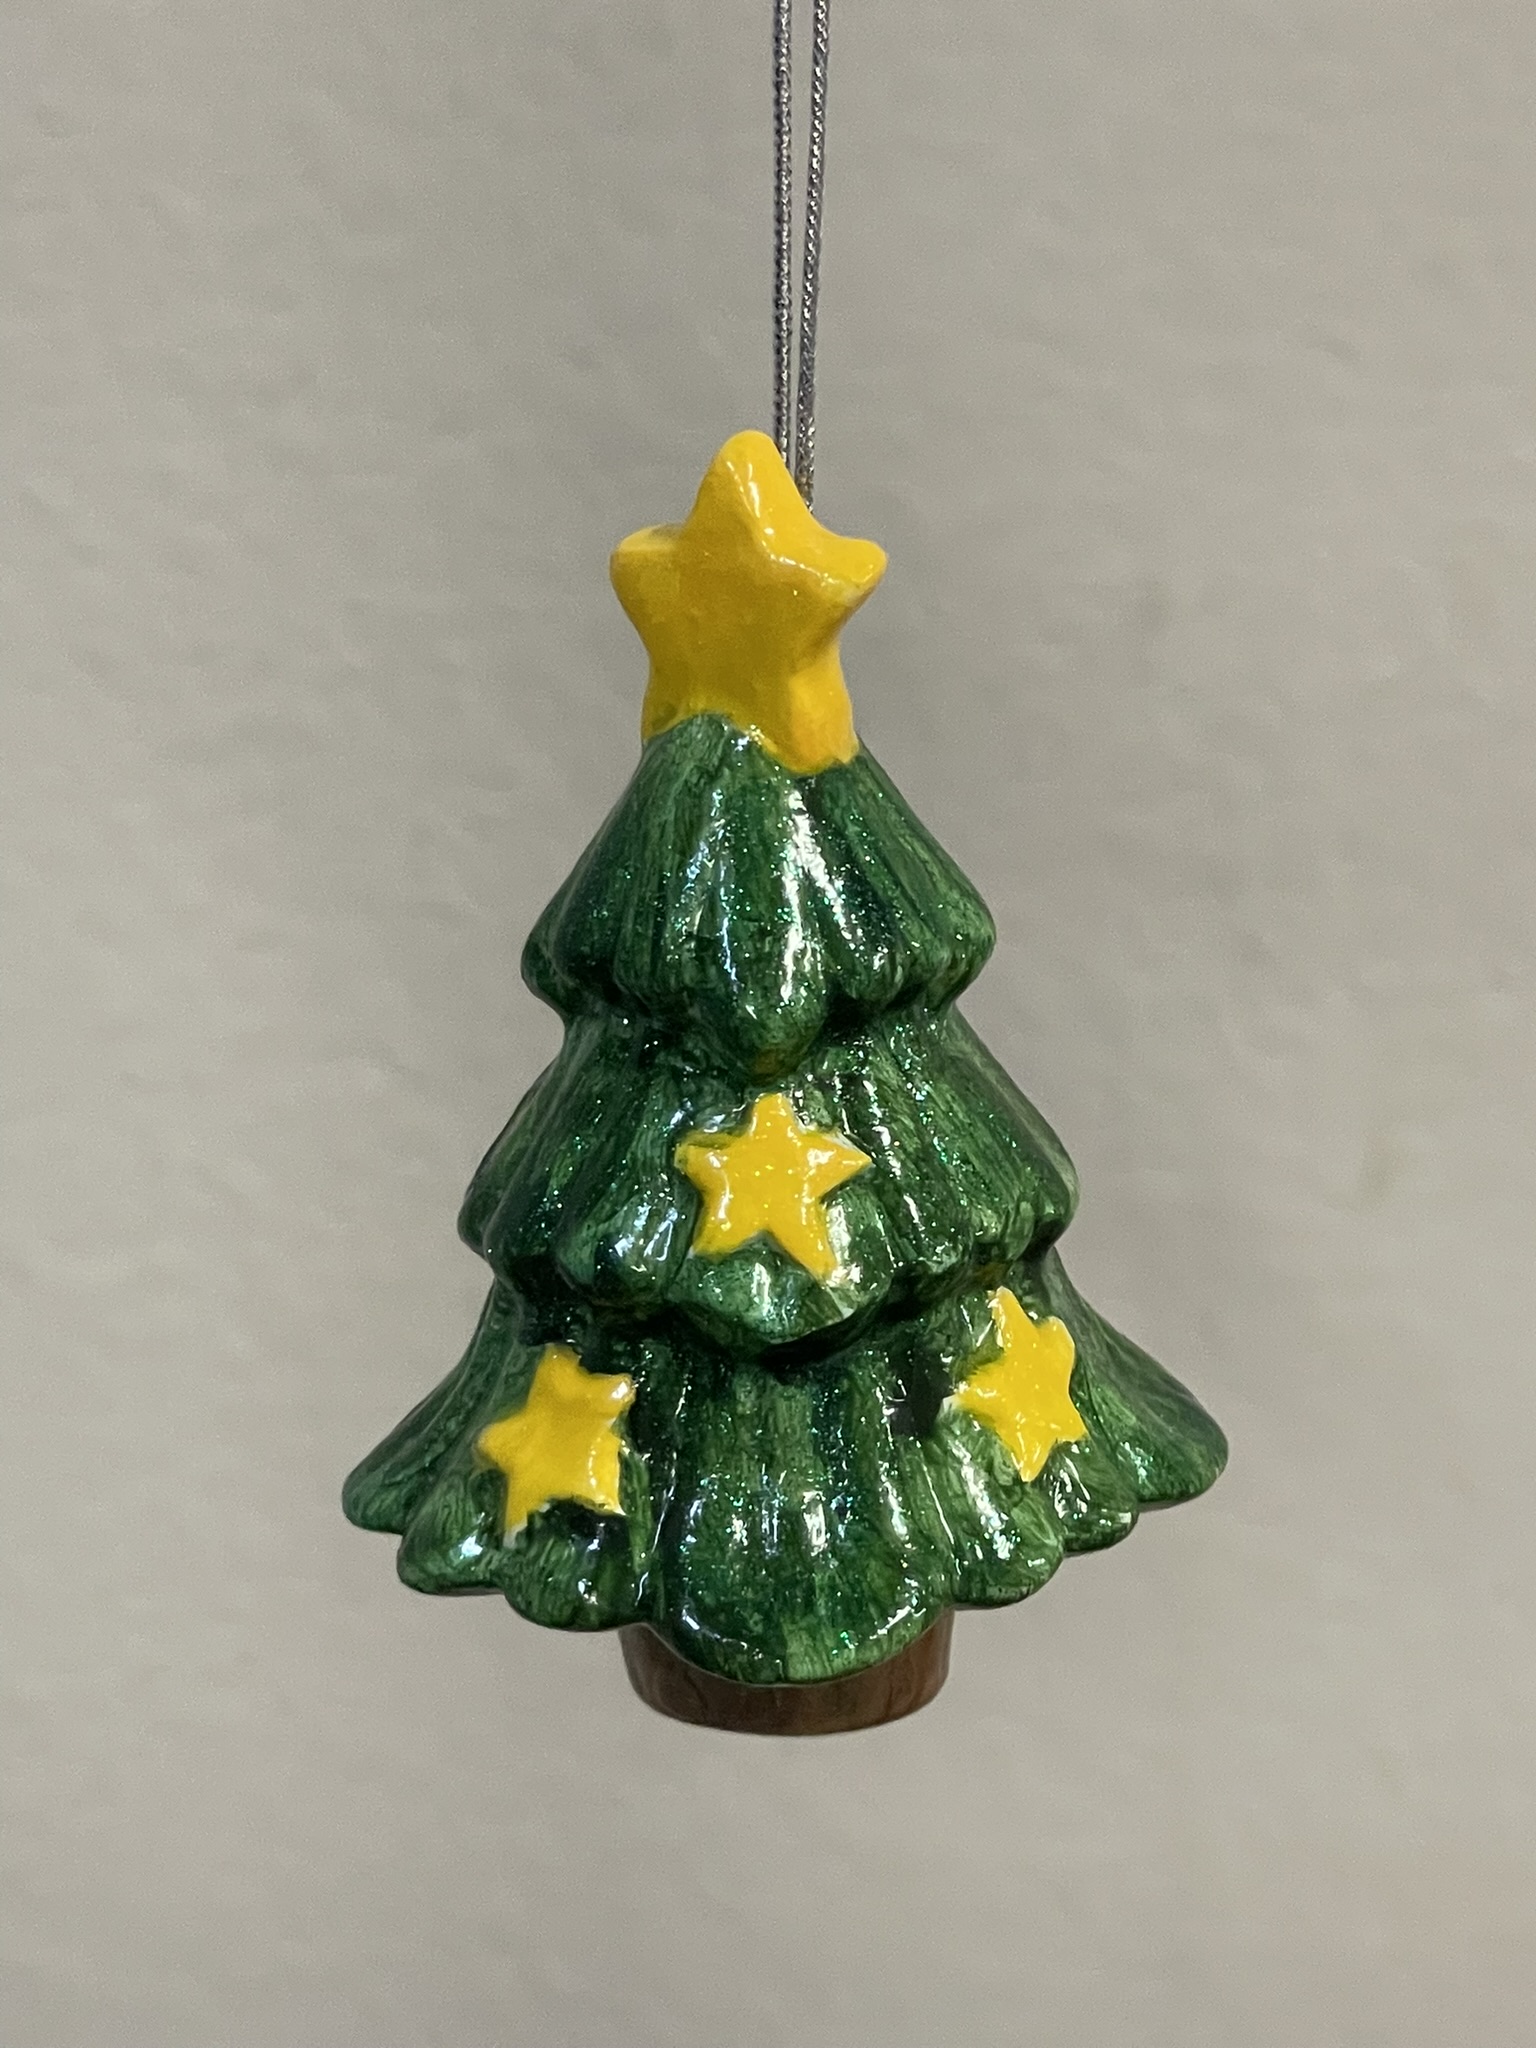
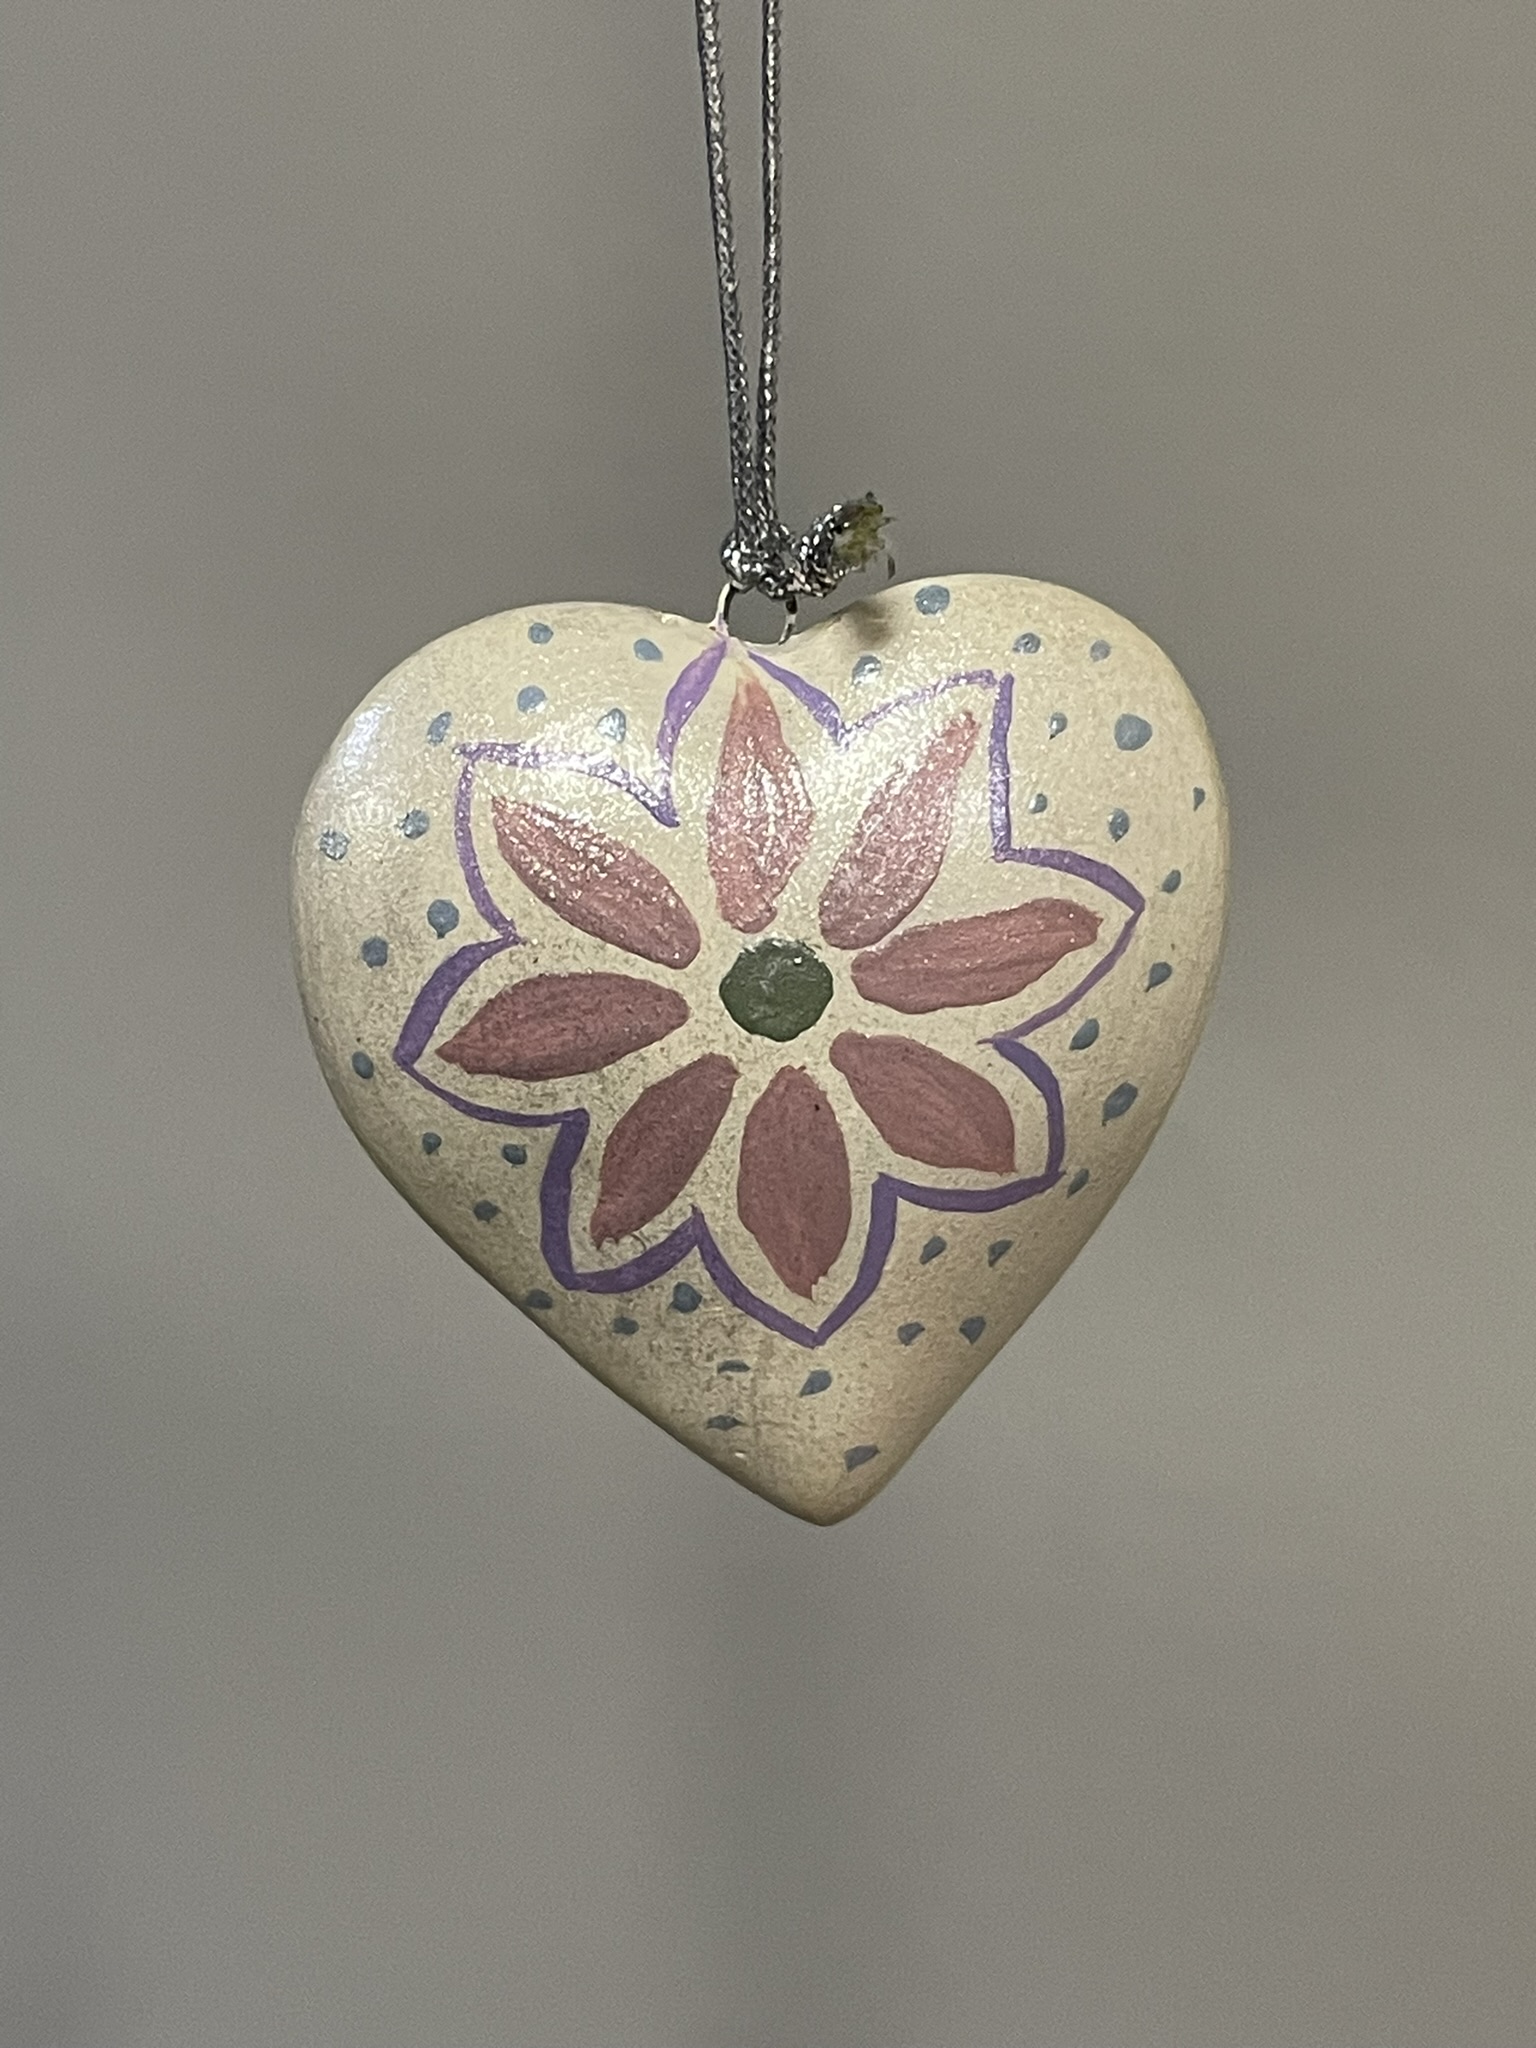
Around this time of the year, I work on something that has a Christmas theme. This year I have painted some wooden Christmas ornaments. Most of the ornaments were purchased from Michael’s Craft Stores in Oklahoma, Texas, and Louisiana.


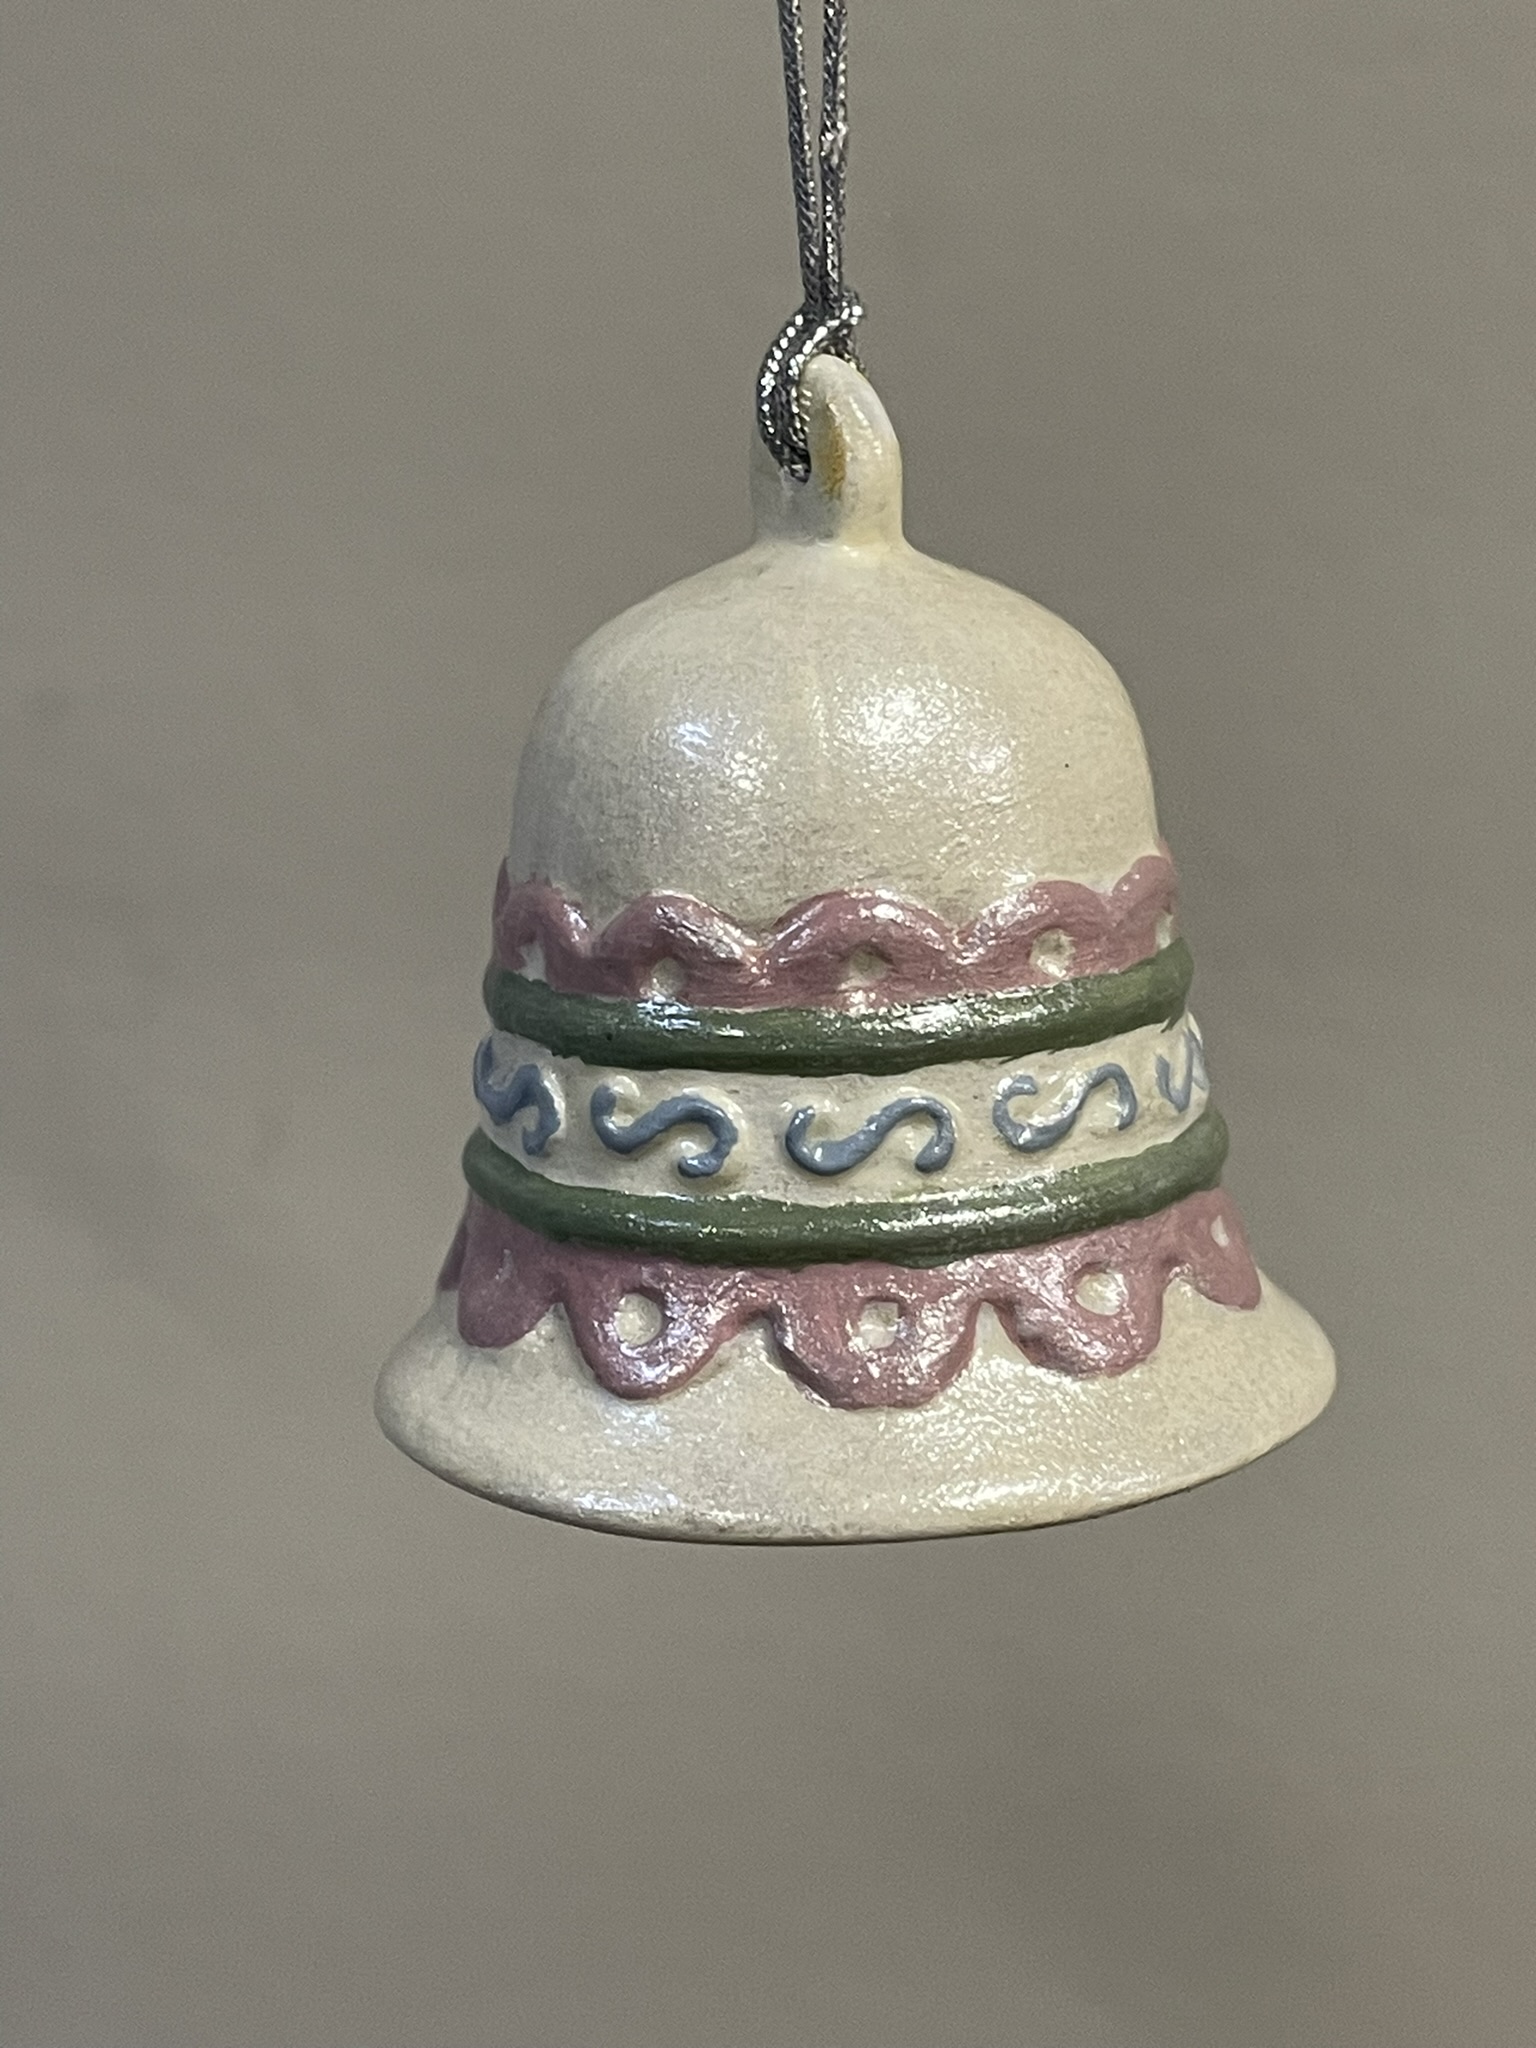
The bell ornaments were painted with multiple layers of red and green acrylic paint.
For all the ornaments, I selected the DecoArt Americana Acrylic paint because it is thicker then most paint and covers better. I used Delta Creamcoat for the gold metallic paint. Then I covered the ornaments with Delta Creamcoat Sparkle Glaze. The ornament probably didn’t need to be varnished after the glaze, but I wanted a good high gloss finish, so I put several coats of Miniwax Polycrylic on them. The Polycrylic has worked well on my polymer clay creations.


The snowflake ornaments, yes there are two of them, the base was painted with sapphire and then dry brushed with white paint. I left the edges unpainted because I thought it gave them an old fashioned look.


The angel ornaments were purchase at Hobby Lobby.
I selected yellow and green paint for the star ornaments. Before I applied the glaze, the green areas was dry brushed with gold paint.


The tree and bell ornaments were painted using the same process as described above.


The angel ornaments were purchased at Hobby Lobby. I should have taken time to sand these ornament, because there are a few rough places on them.
This post is Part 1 because there are more ornaments that are unfinished.
