Since there probably will not be any more painting done until 2026, I thought I would share some of my wood craft projects from the year.
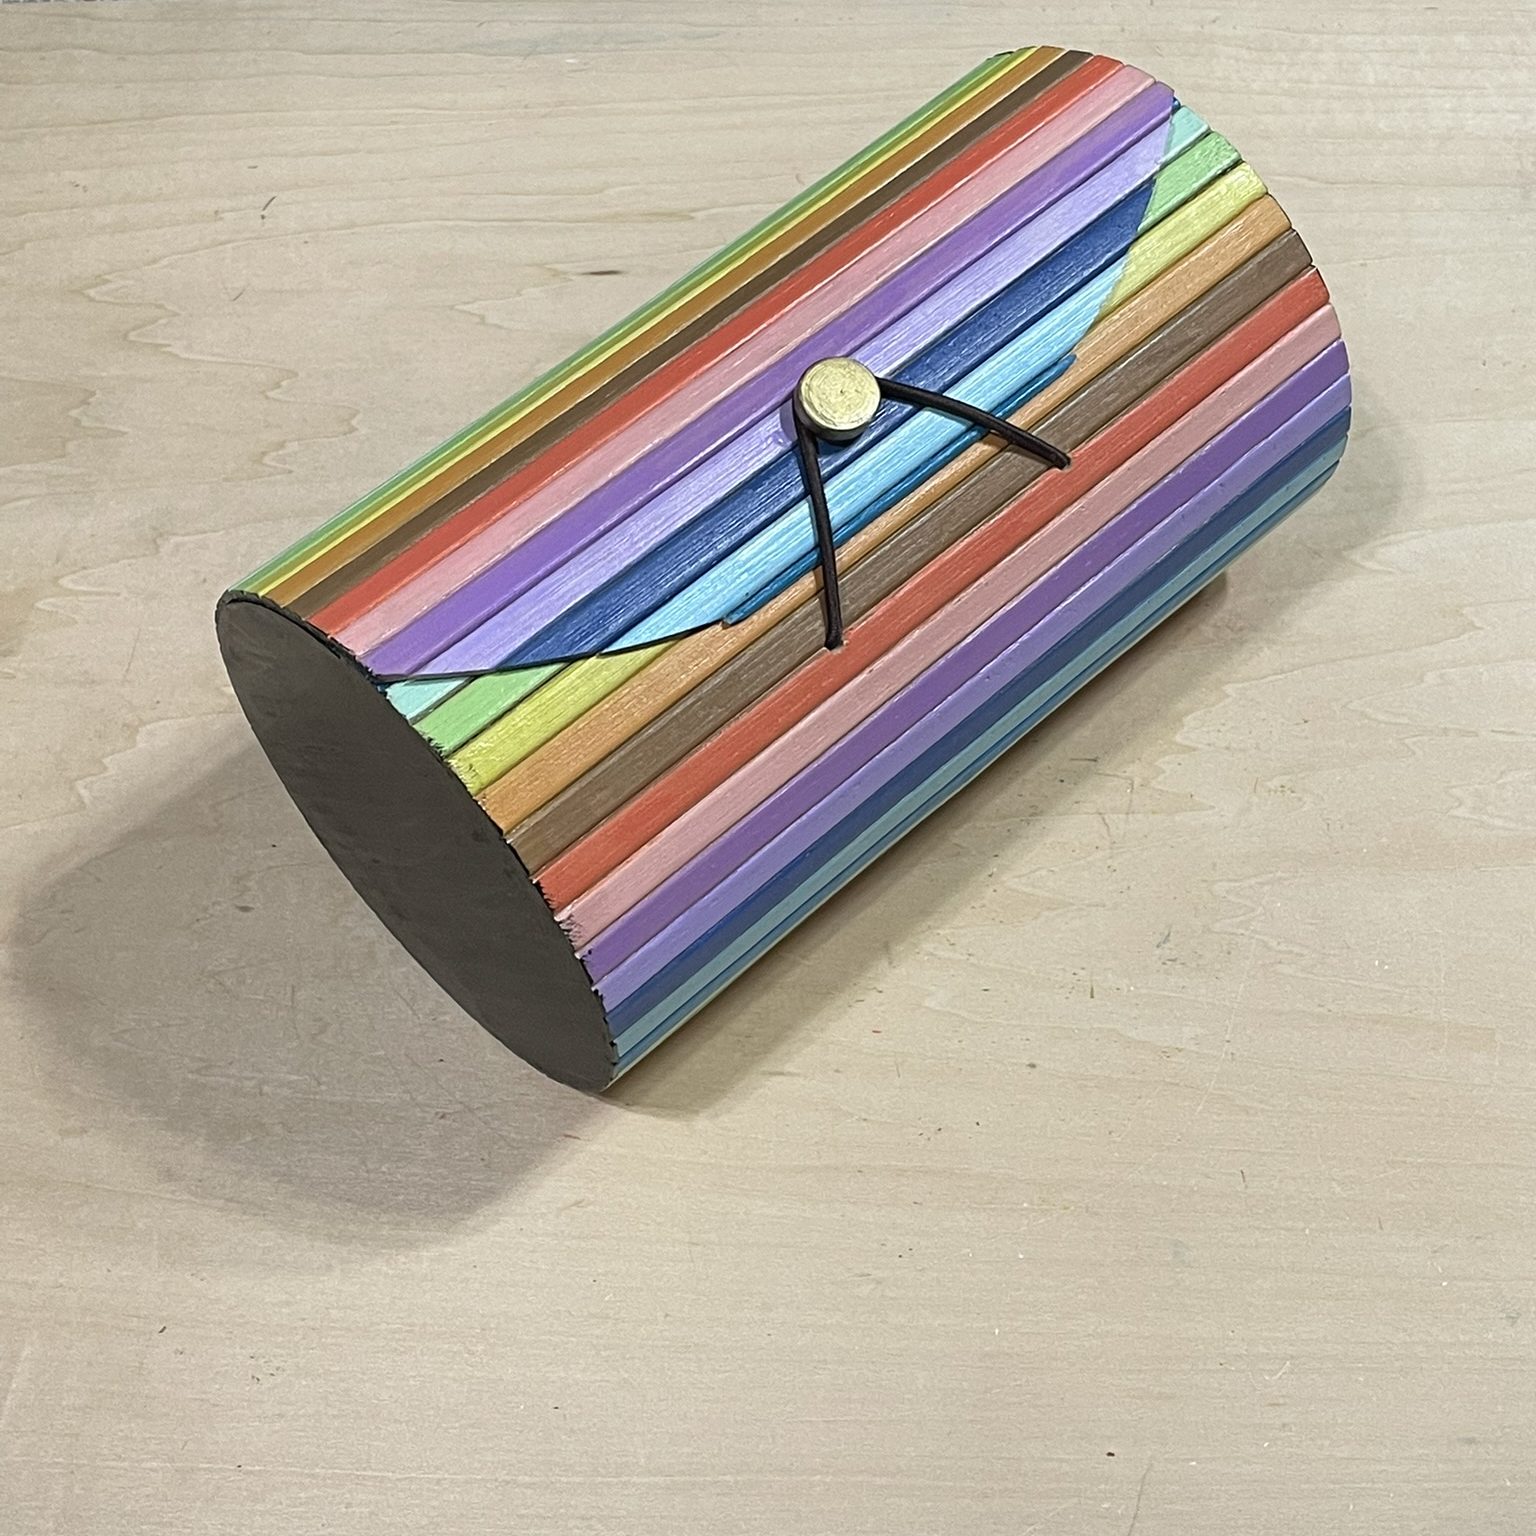
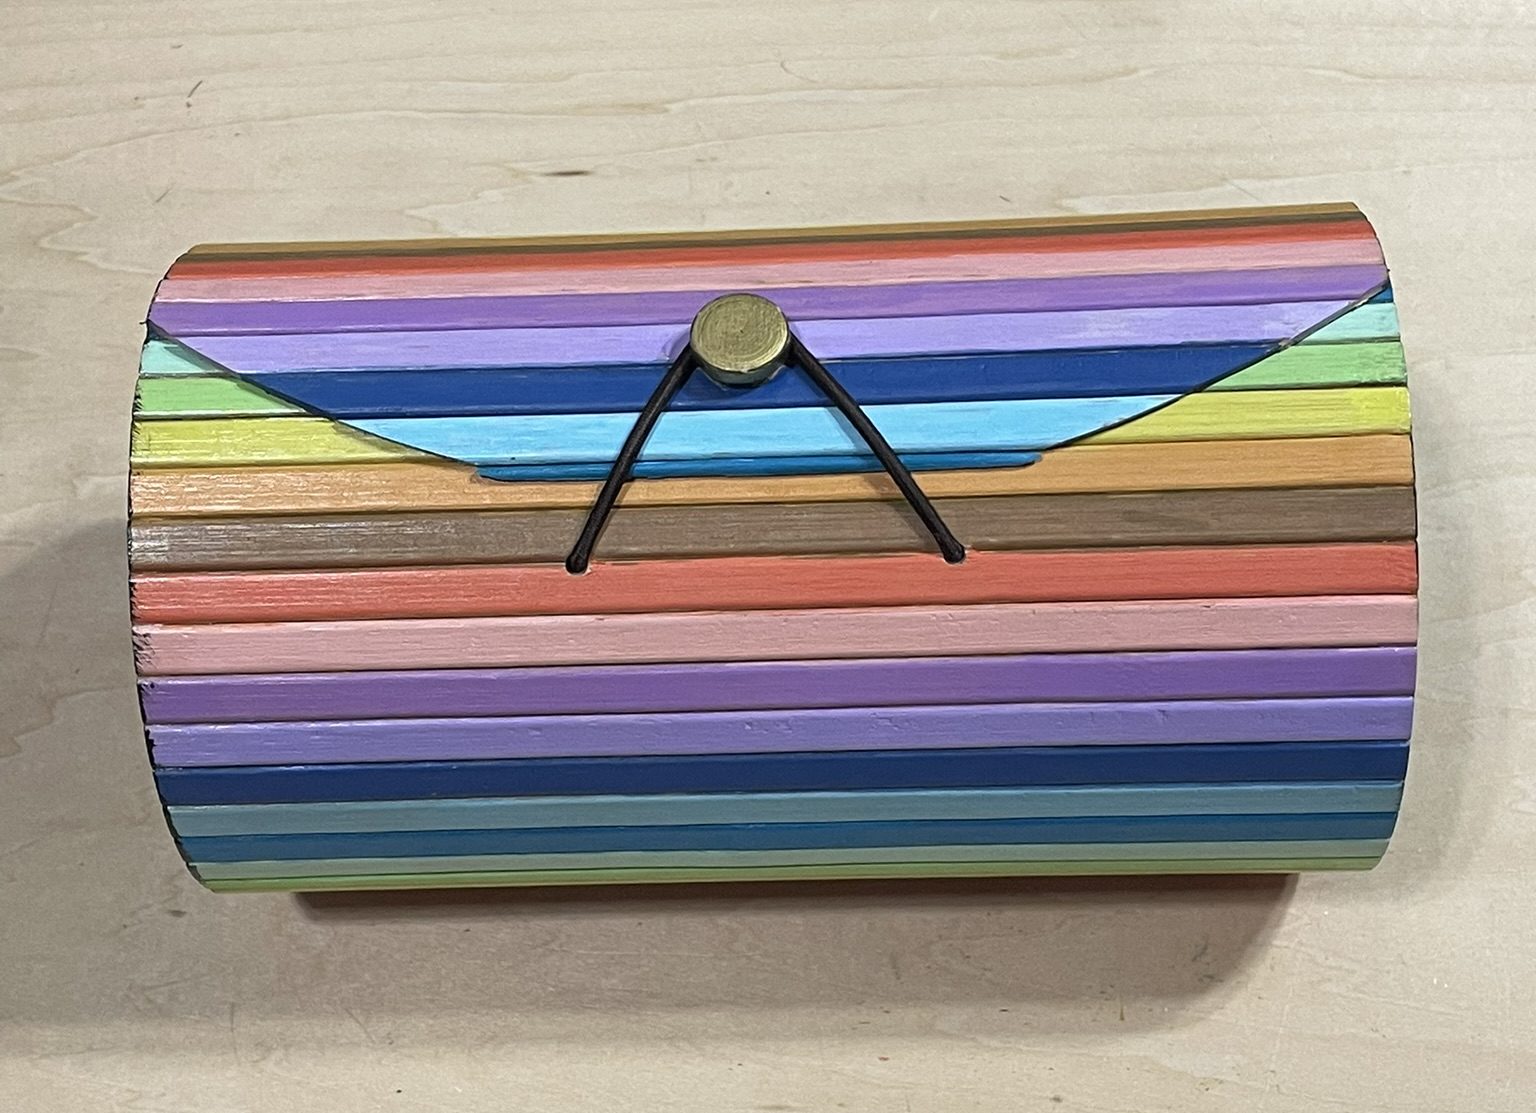
I found this bamboo box at Hobby Lobby. I thought each striped needed its own color. I used the Sharpie Creative Color Marker to paint the outside, and Americana Craft Paint to paint the sides and inside. I am still deciding what to do with it.
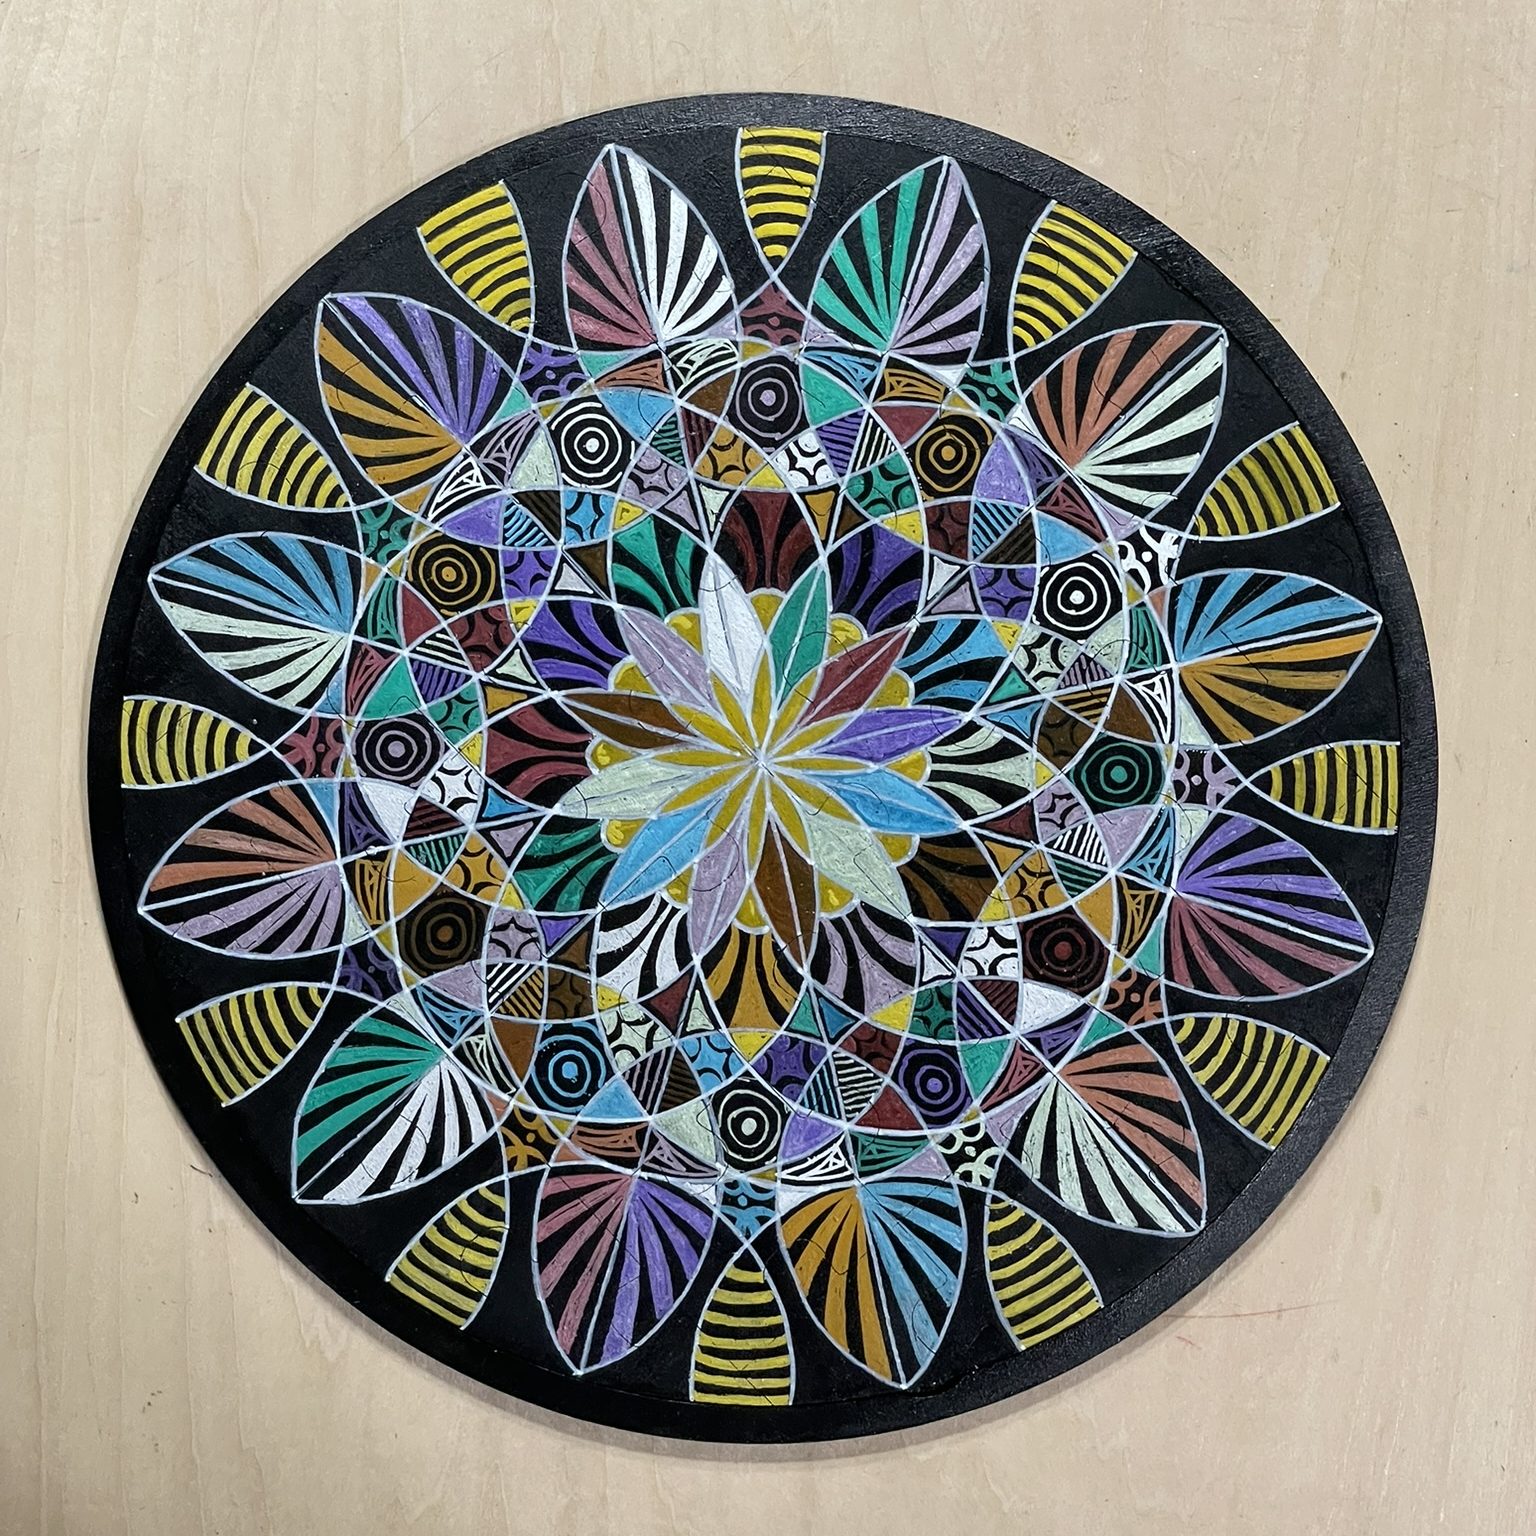
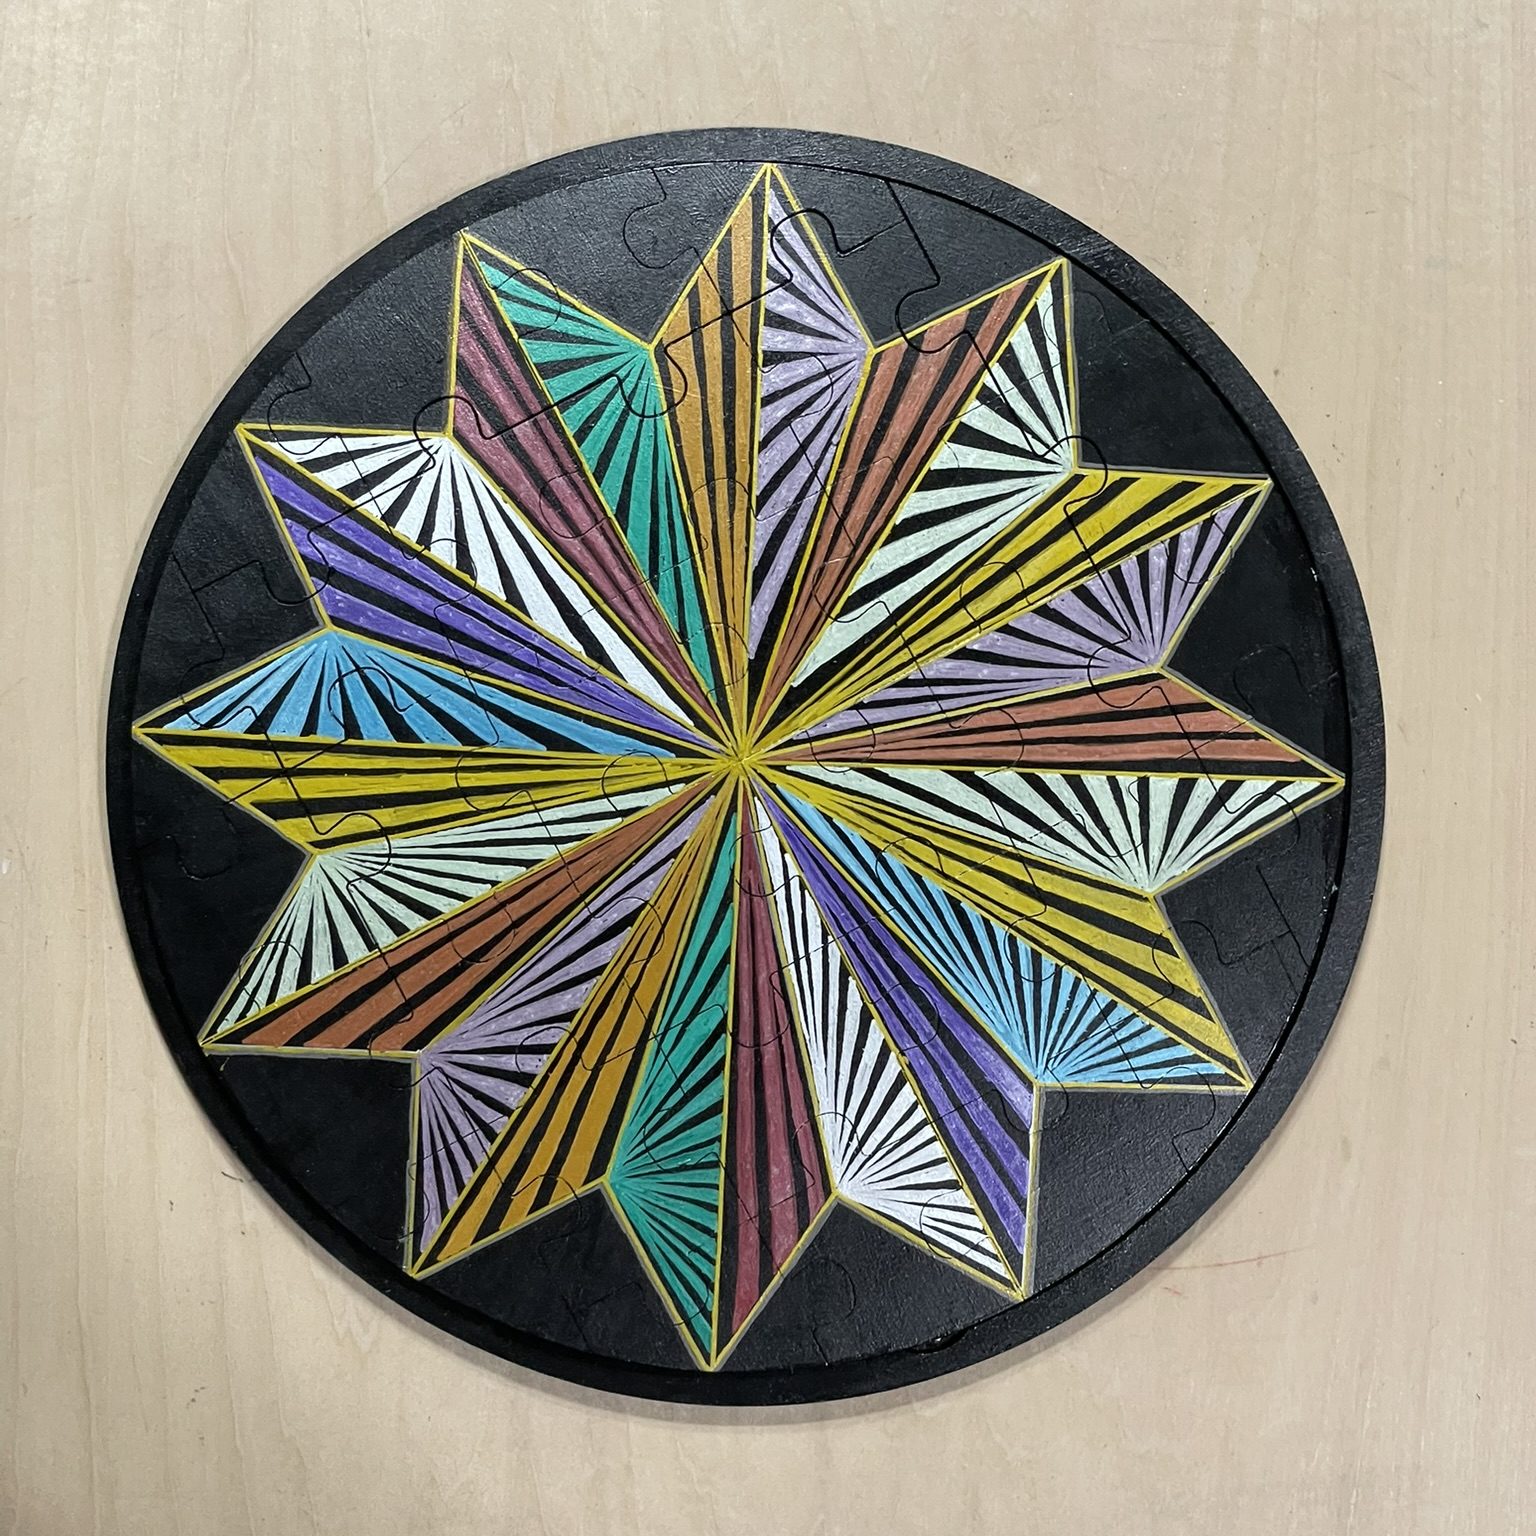
2025 Puzzle – This originally was just a blank puzzle. I use black gesso to paint both pieces, the puzzle and the base. The I used paint markers to design the piece.
Puzzle FrontPuzzle BackPuzzle Base
A couple of round wood blanks:
Another item painted with Sharpie Creative Markers
This was my first attempt at creating my own diamond art piece. Just an experiment to learn how to create one.
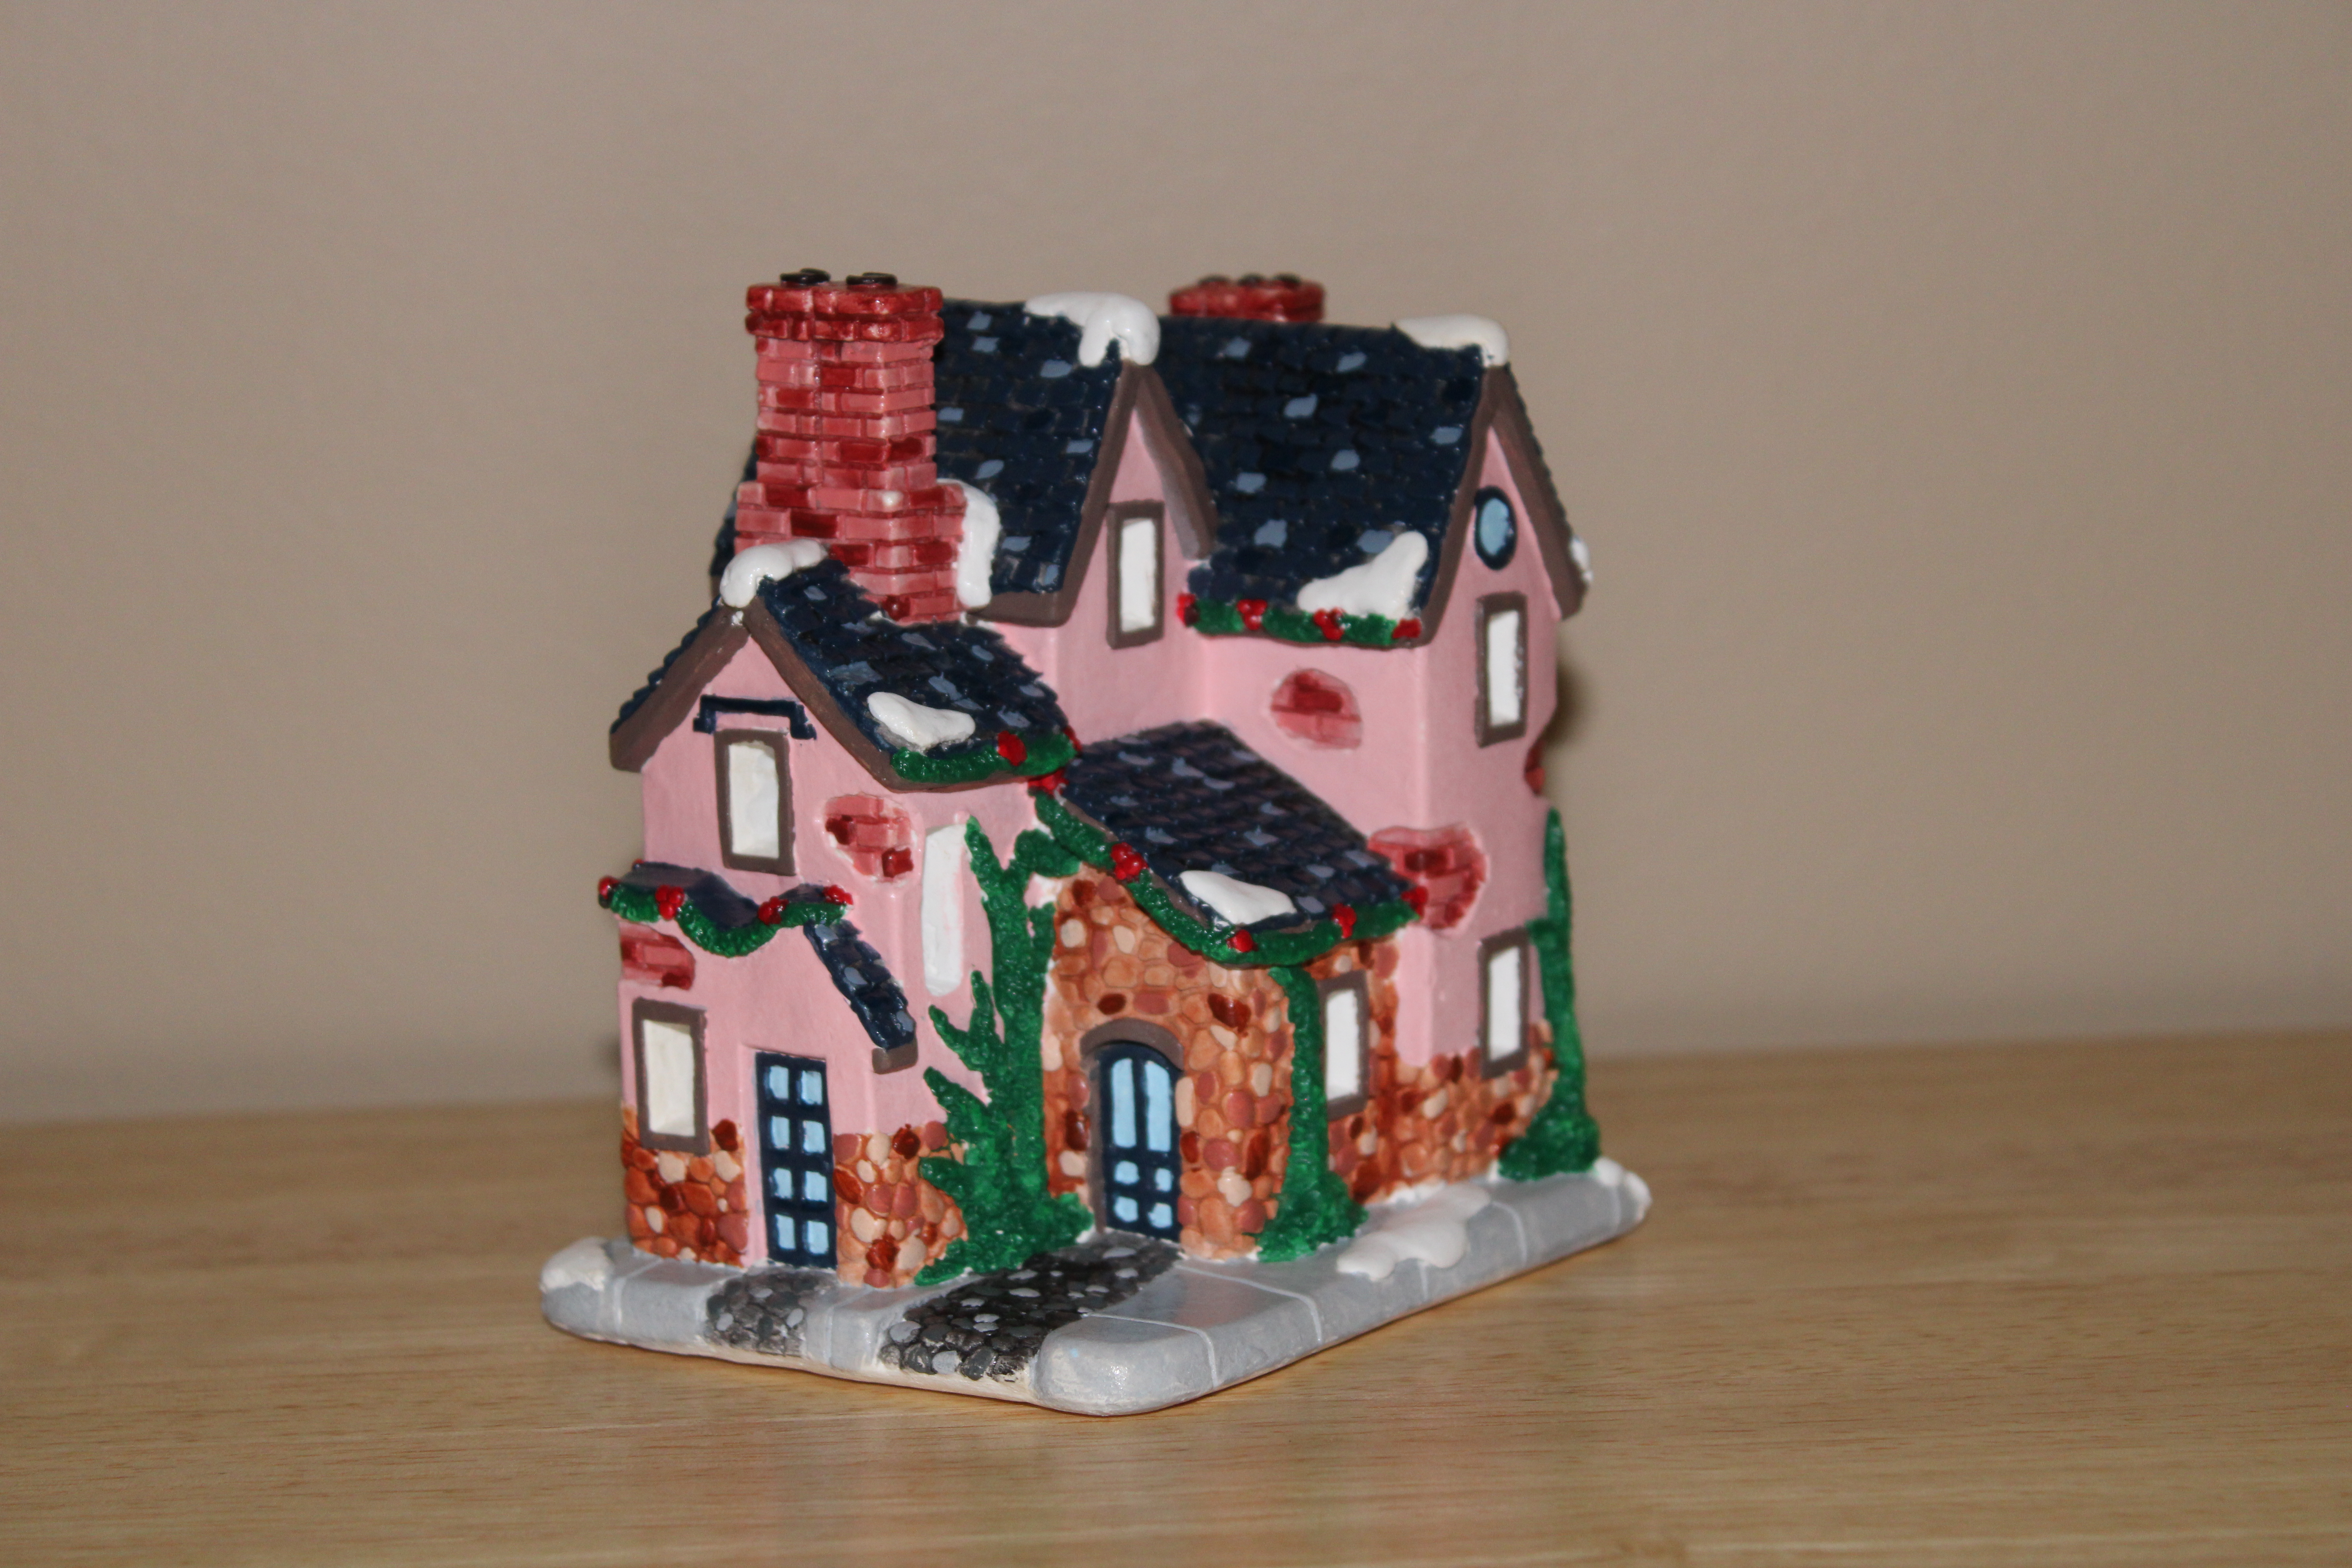
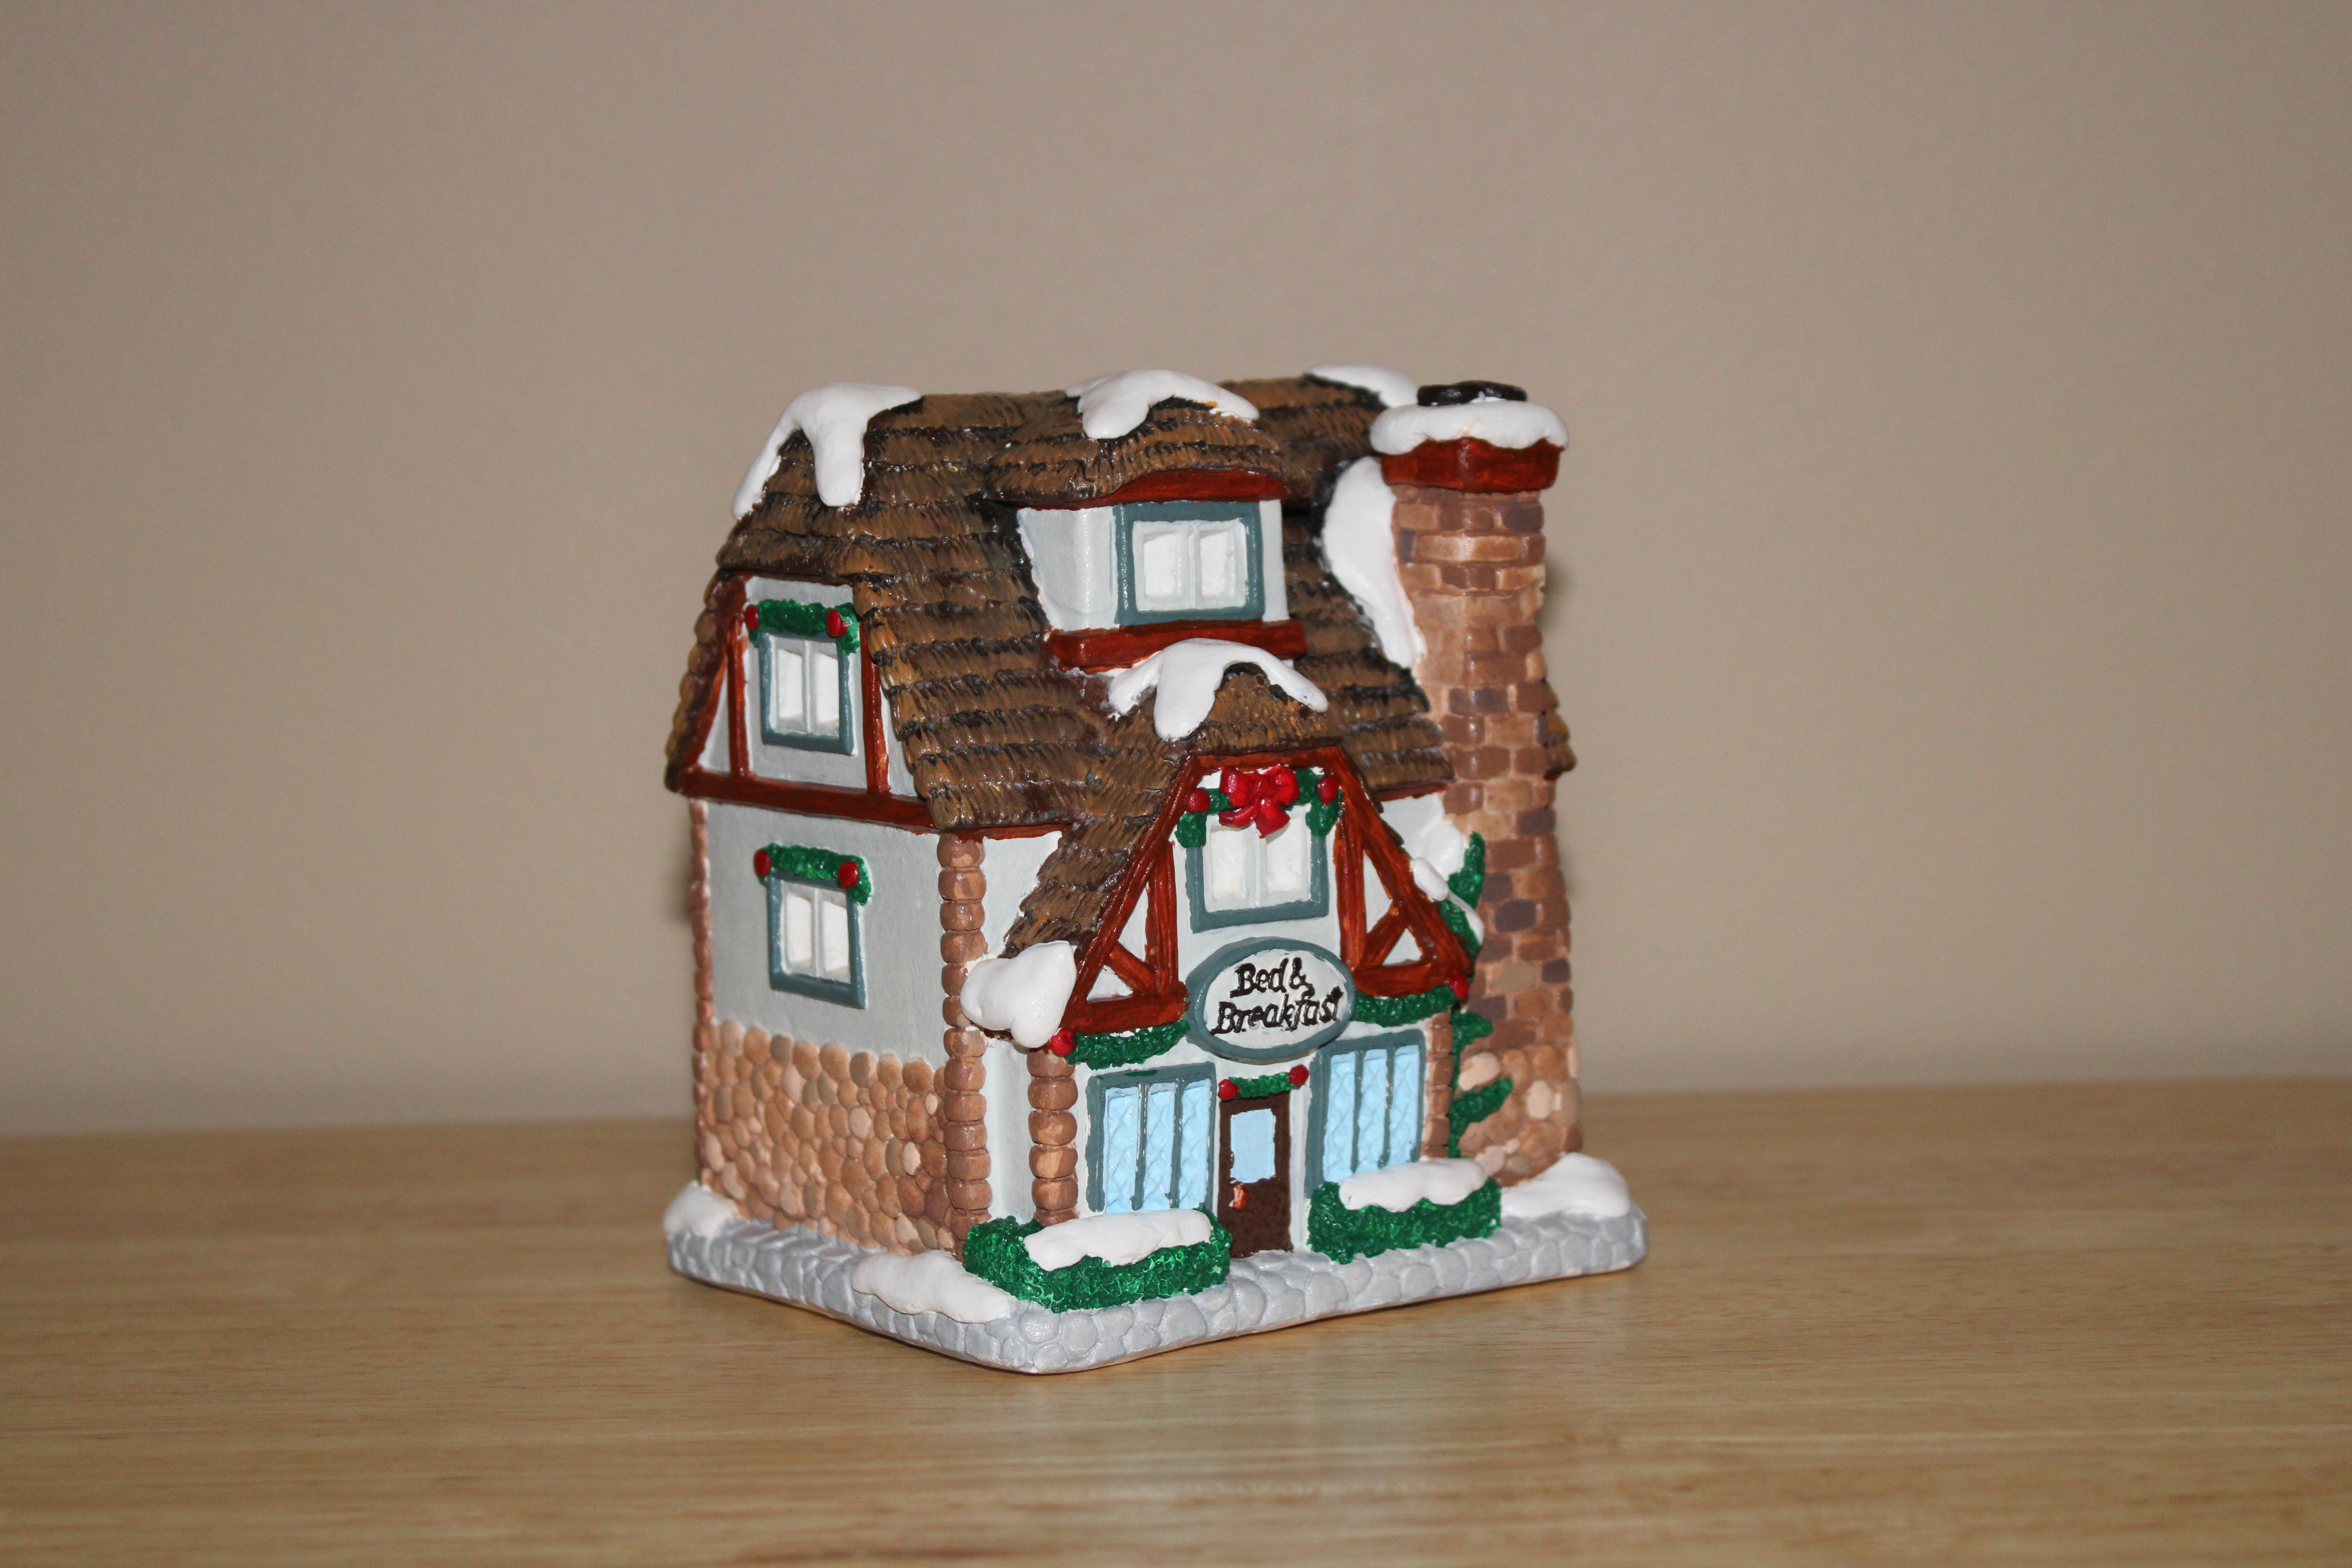
I did not finish a lot of houses this year, only four. Below are last three I finished. Only the Chocolate Shop is California Creations. The other two are labeled Creative Craft. They are very similar to California Creations making me think that when California Creations when out of business, they may have sold the molds to this company. I have no evidence, but all the houses have the same feel.
Chocolate Shop by California Creations:
This is one of the houses I placed in the category of Rescued Houses. In 2016, south Louisiana Flooded, the Rescued House sat in water for a few days. You can read about the rescued houses in my blog, Rescued Houses – Part One. There is some damage to the houses that were rescued and the paint cards our gone. I painted this house with the colors associated with chocolate: Dark Chocolate, Buttercream, Reds, Pink….
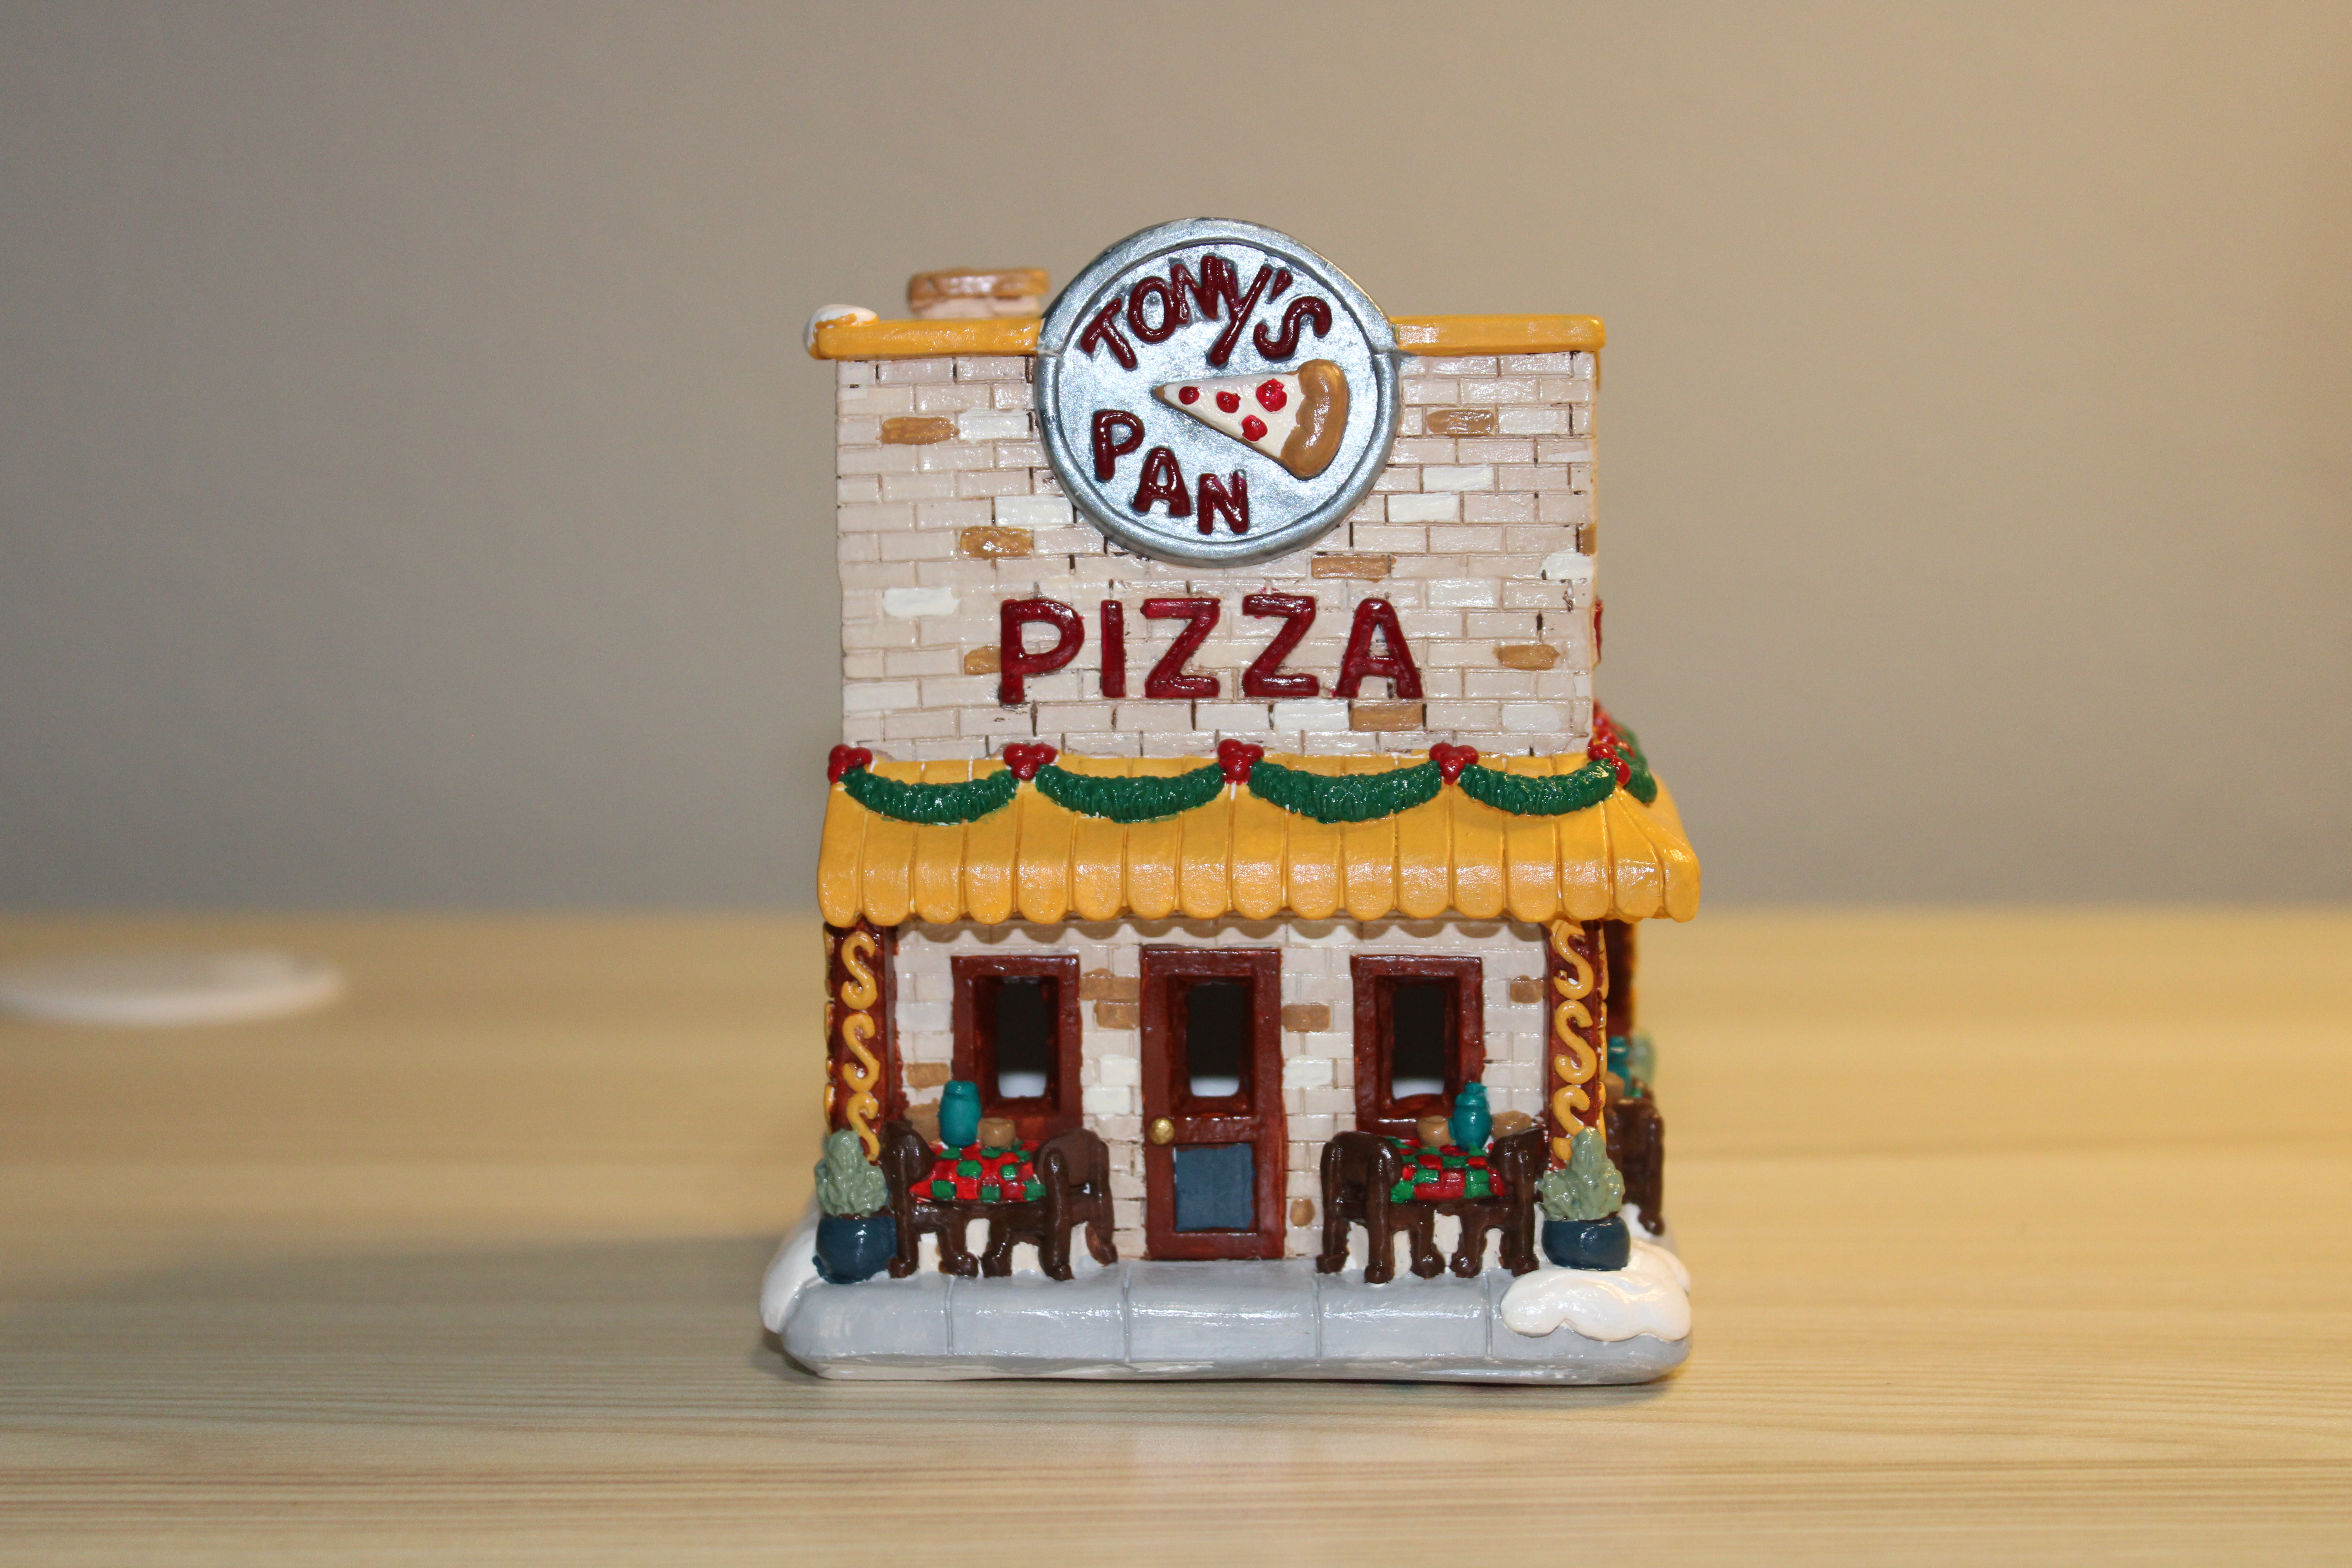
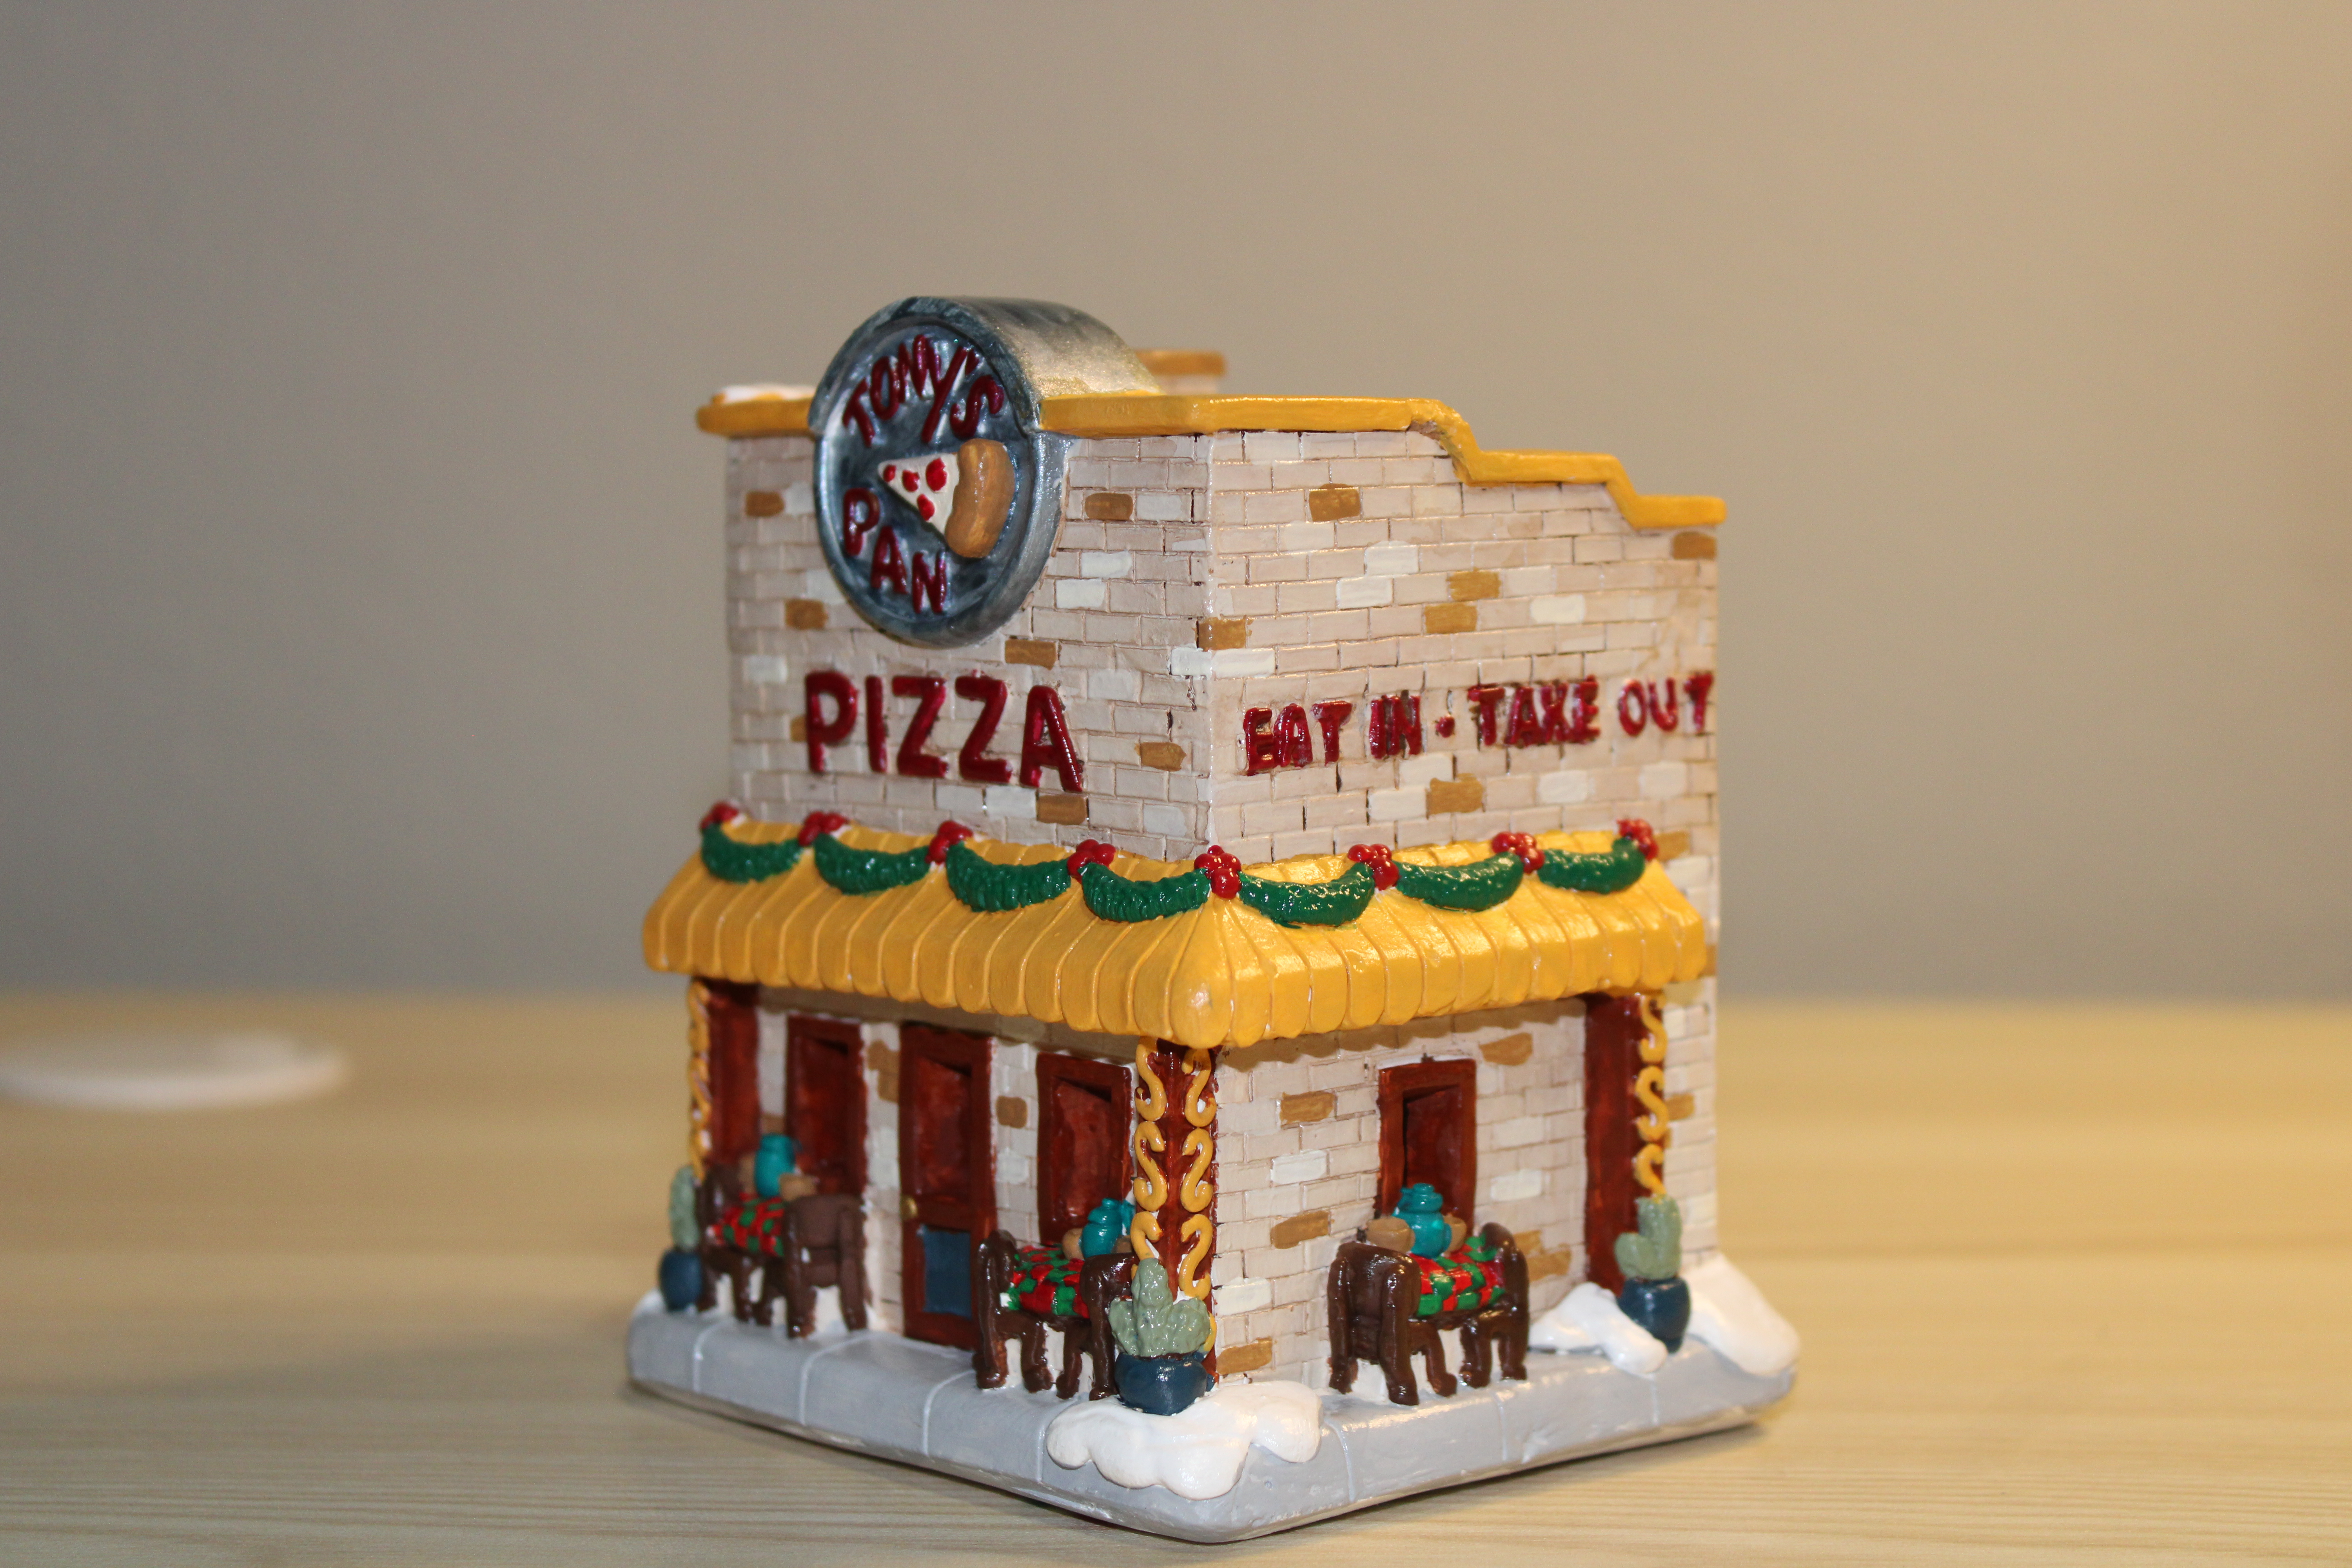
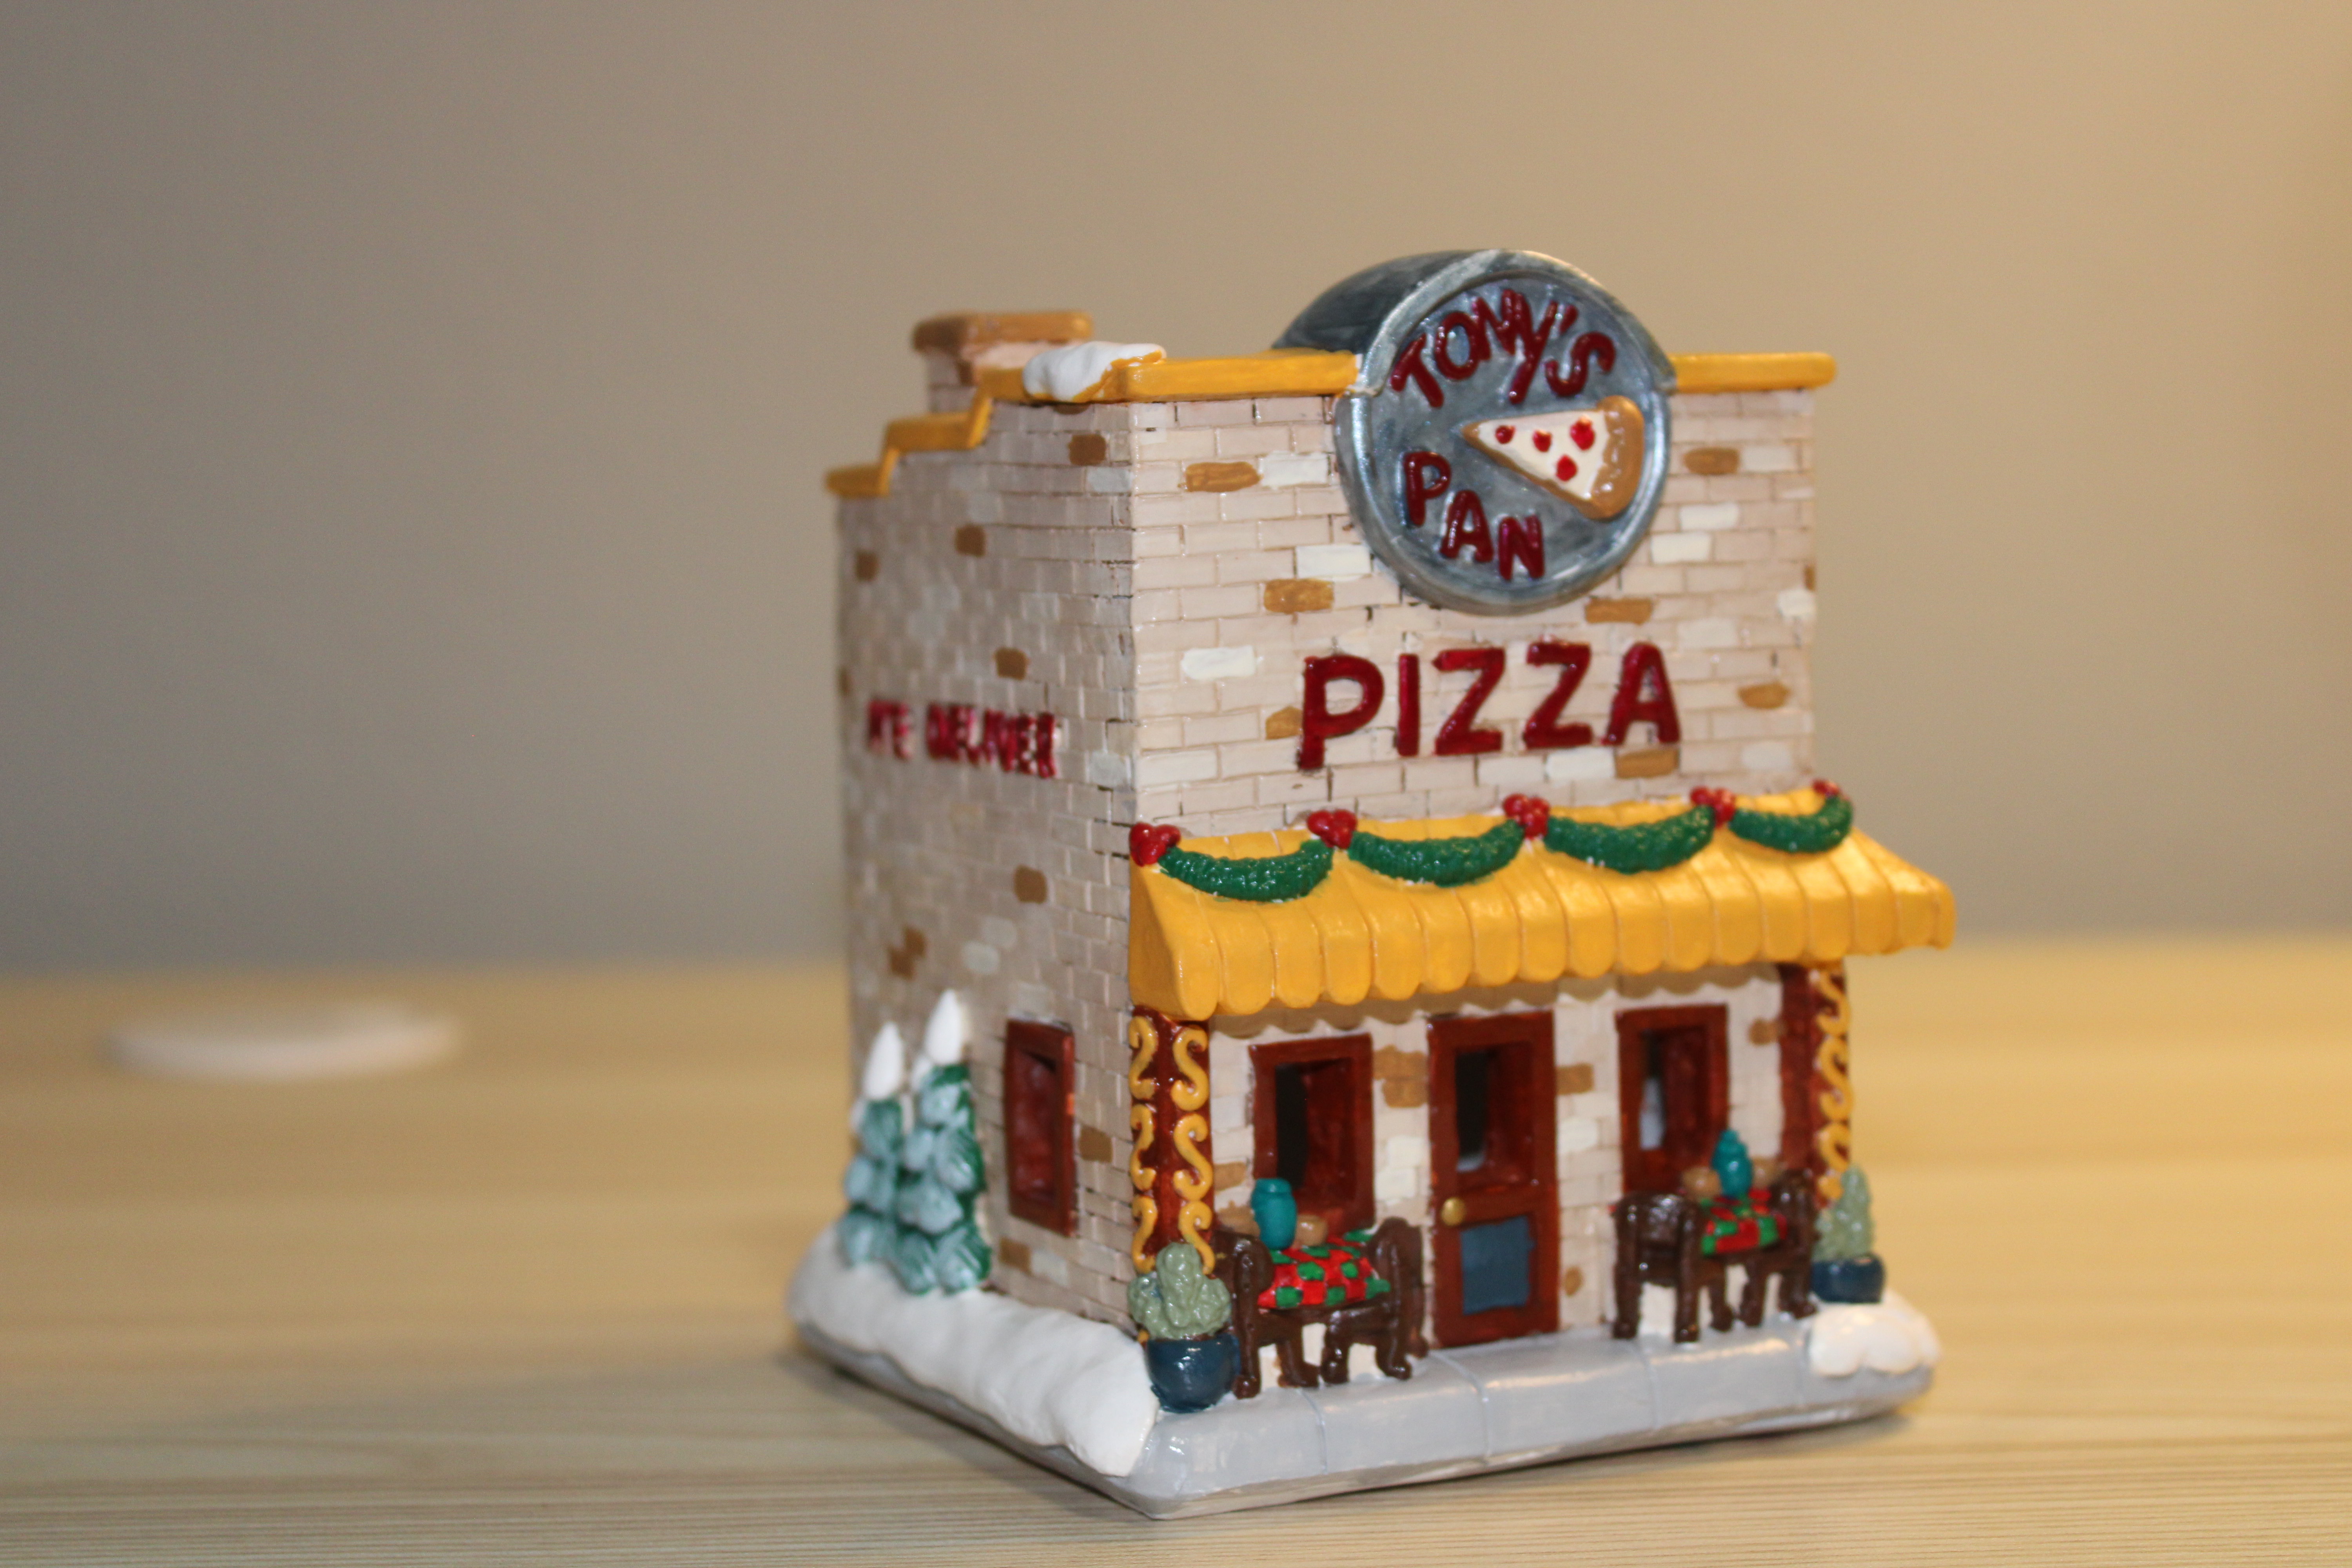
Tony’s Pizza by Creative Crafts:
This is another Rescued House. There was a little bit more damage than the Chocolate Shop, so I decided to make the building look old and worn.
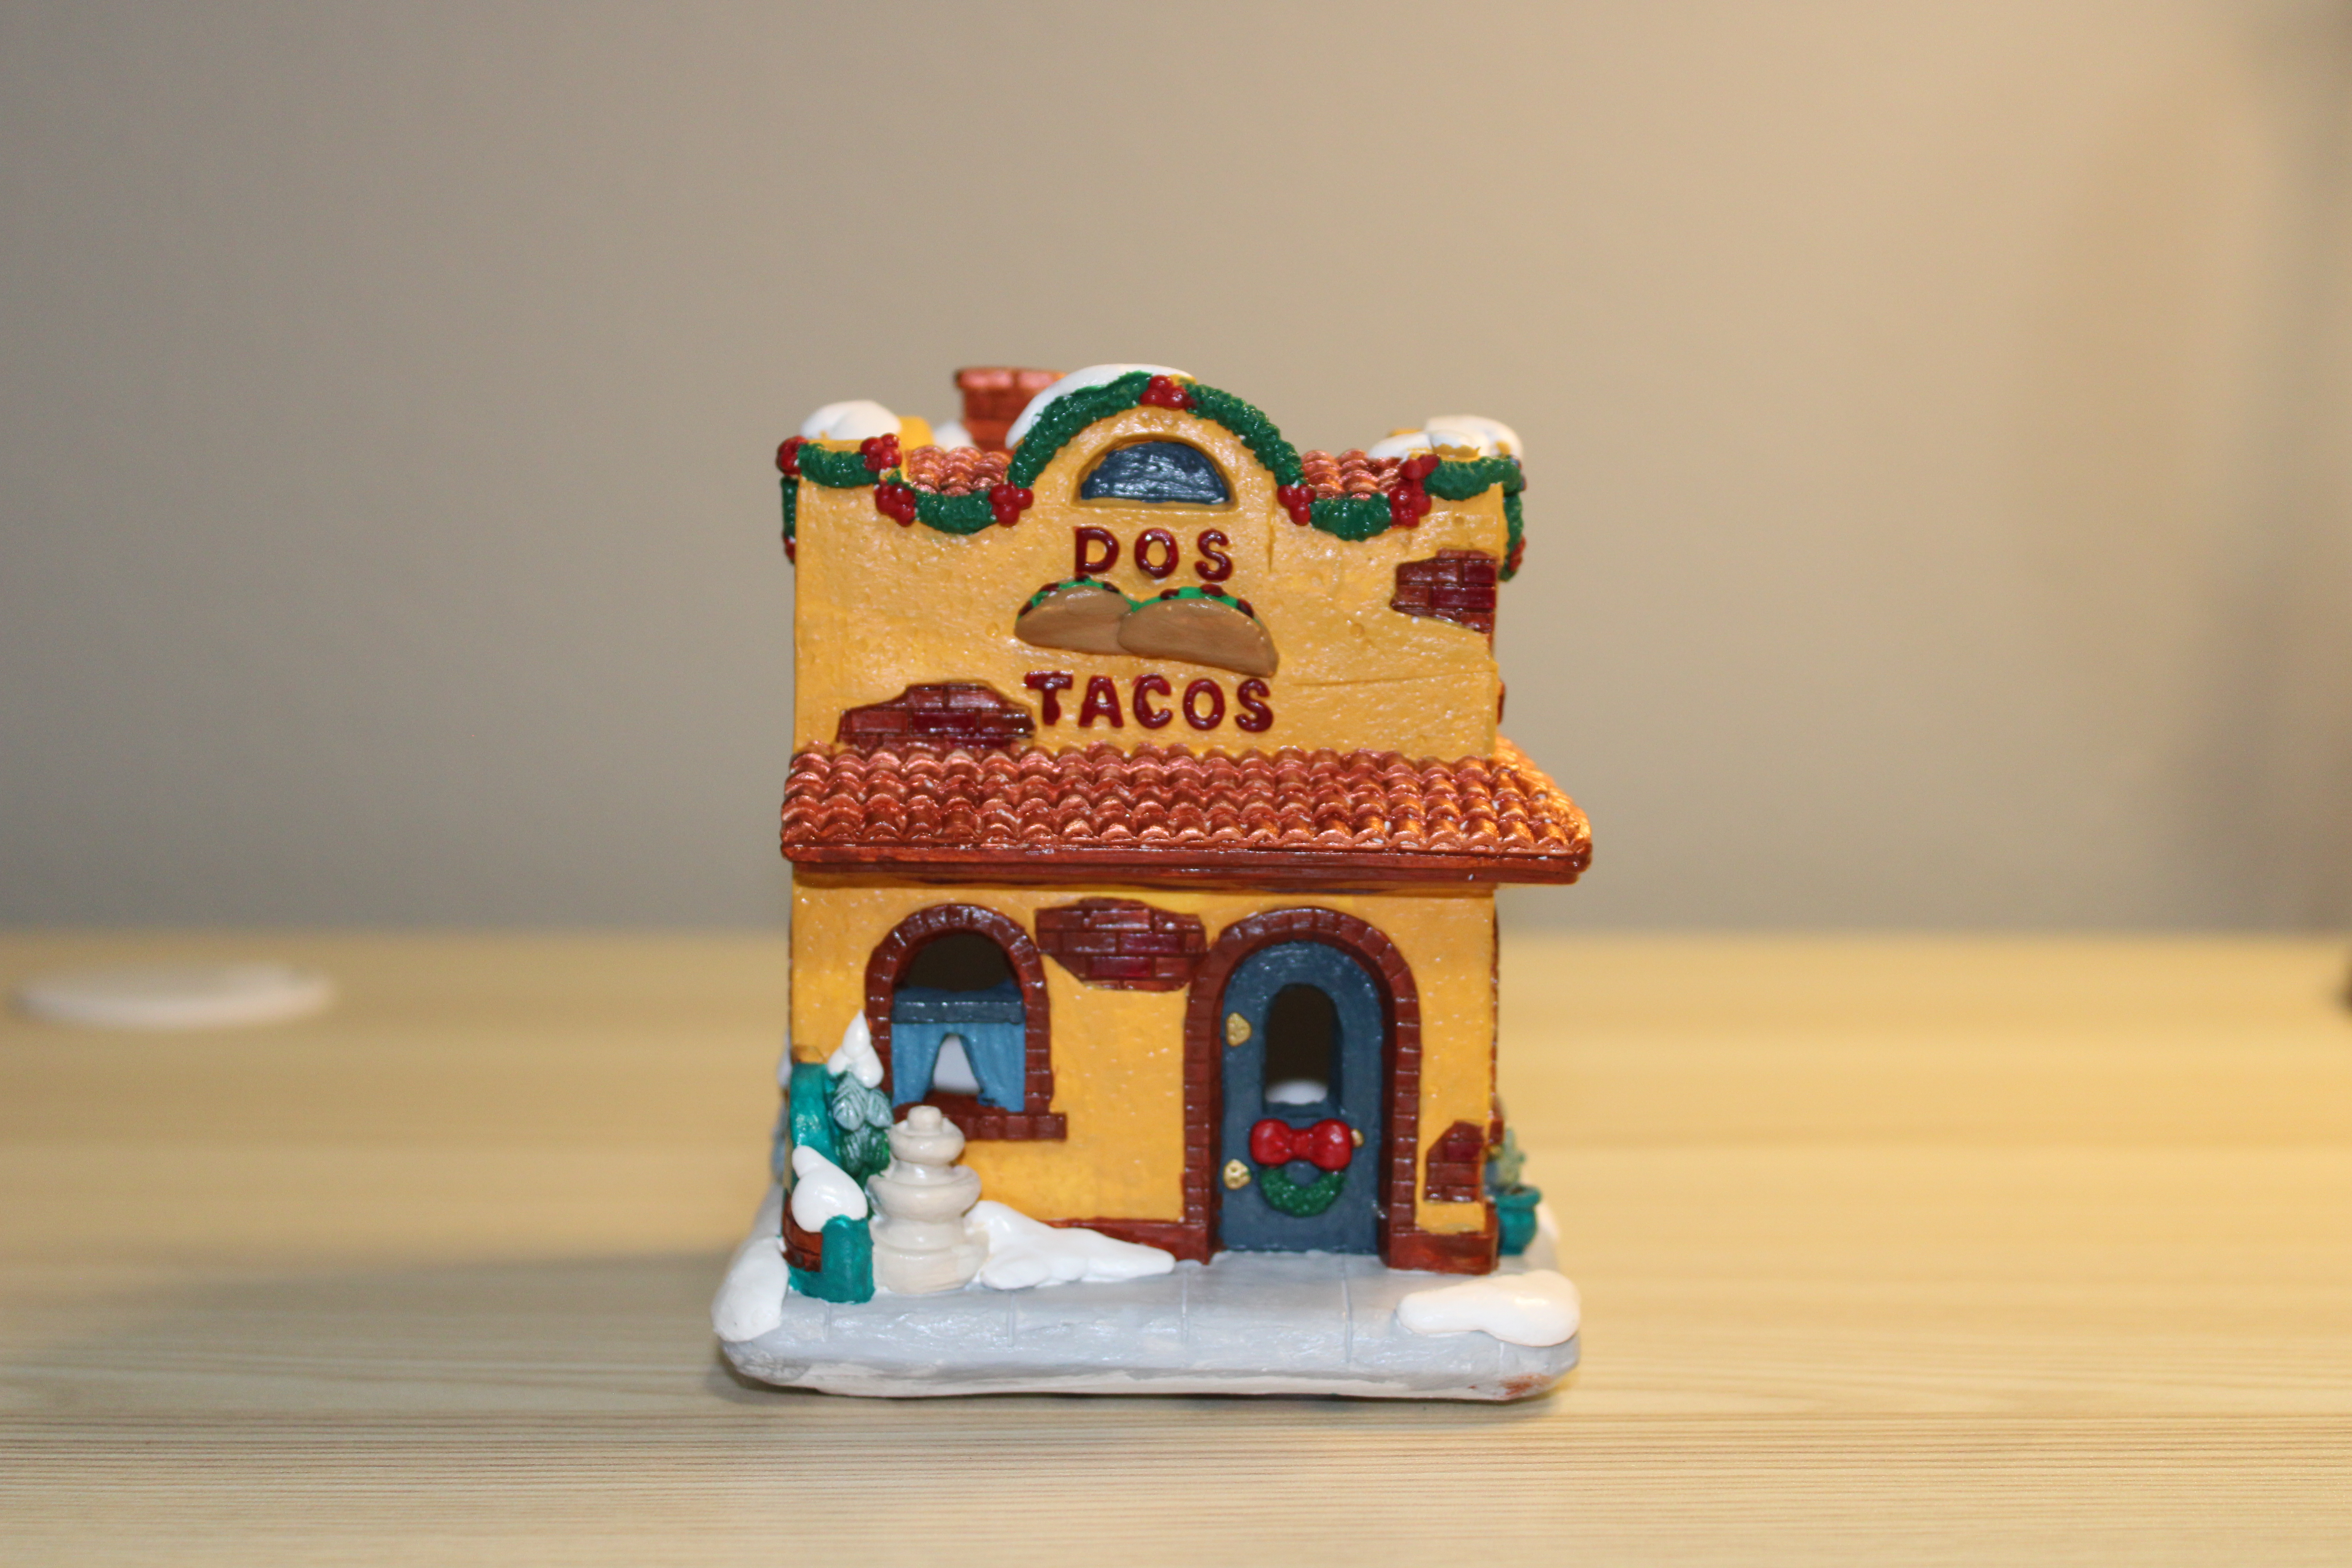
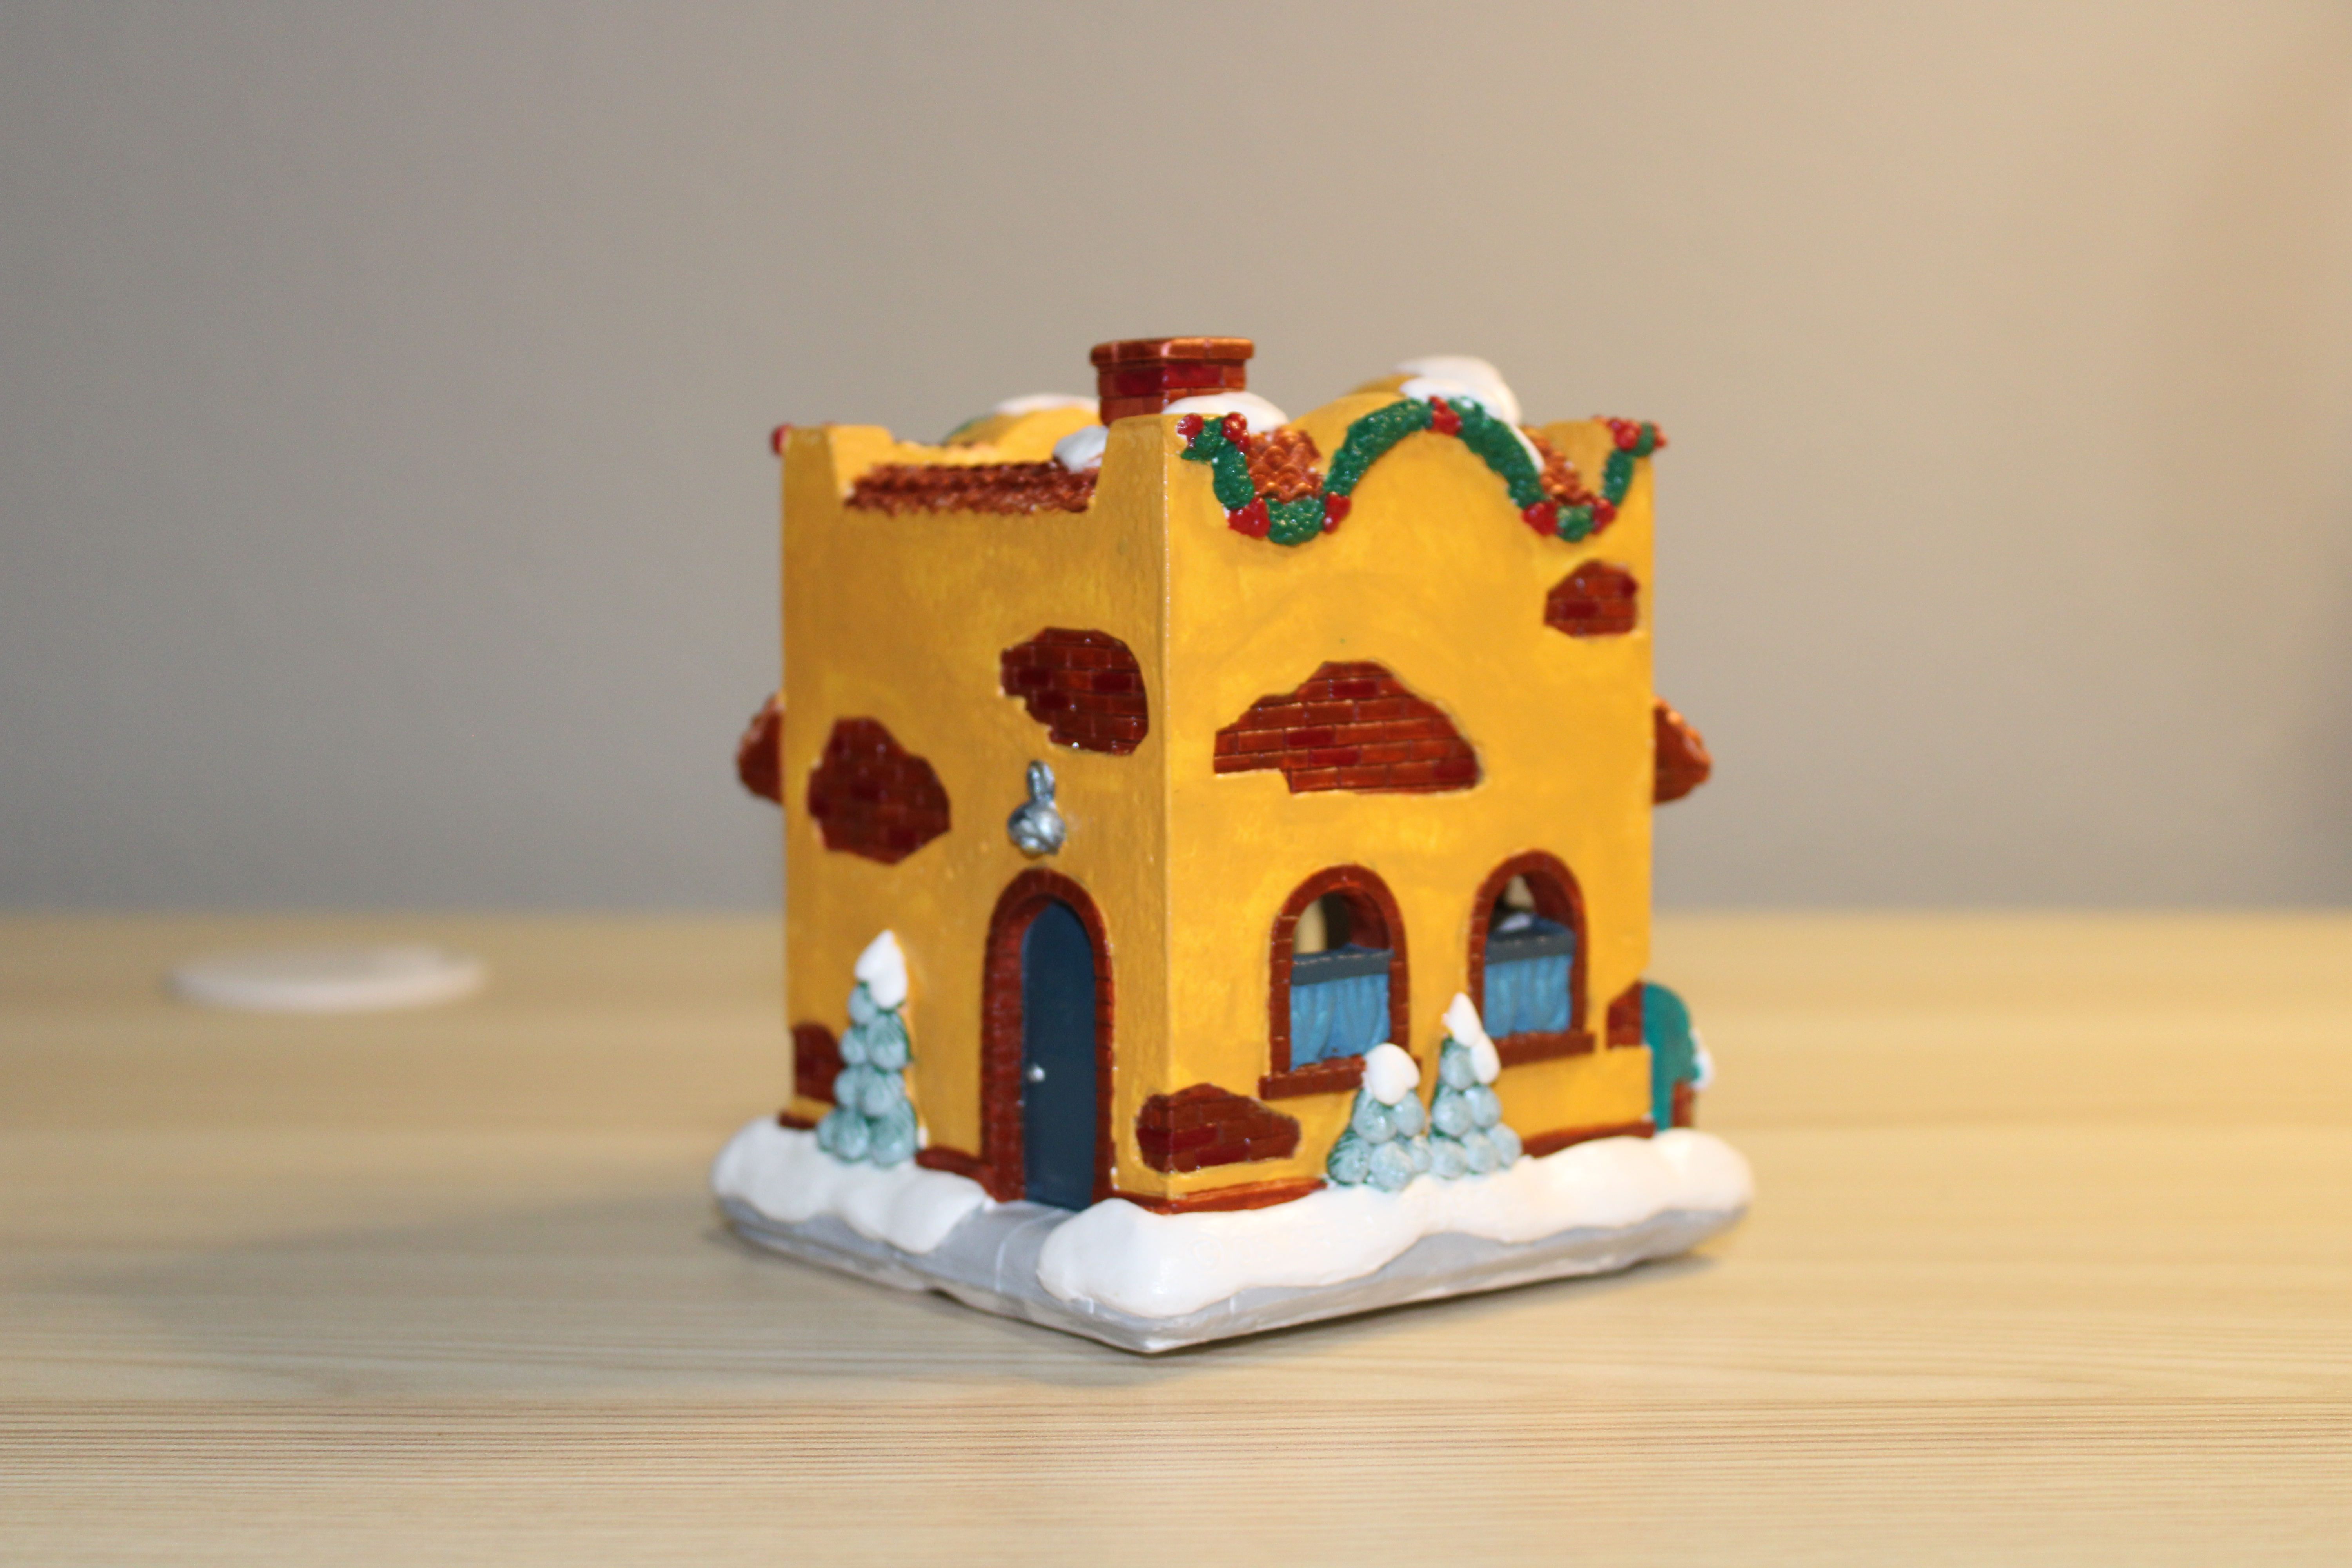
DOS Taco by Creative Crafts:
I had the paint card for this house, but I did not like the lime green curtains shown on the paint card. I went in my own direction.
Recently, Sharpie, you know the company that is famous for making permanent markers, released acrylic markers they claimed would “Boldly Mark on Most Surfaces.” I thought it was very interesting and decided to give the Sharpie Creative Color Markers a workout. I purchased both sets, the brush set and bullet set.
My first attempts were on black and white paper. The colors were brilliant and look good on both colors of paper and did not bleed through. The markers would probably look good on any color of paper, because the provide good coverage.
I did not try it on glass. Being water based acrylic markers, they would wash off of glass.
My second, third, and fourth attempts were on wood.
Puzzle One: This design used the both the bullet and brush markers. I was able to obtain blending effects by either painting areas white on the background or blending two colors before they completely dried.
Notice how well the black markers went over the other colors. I did not have to go over the black multiple times to get the effect. The white stars were placed by gentle touching the surface after it dried.
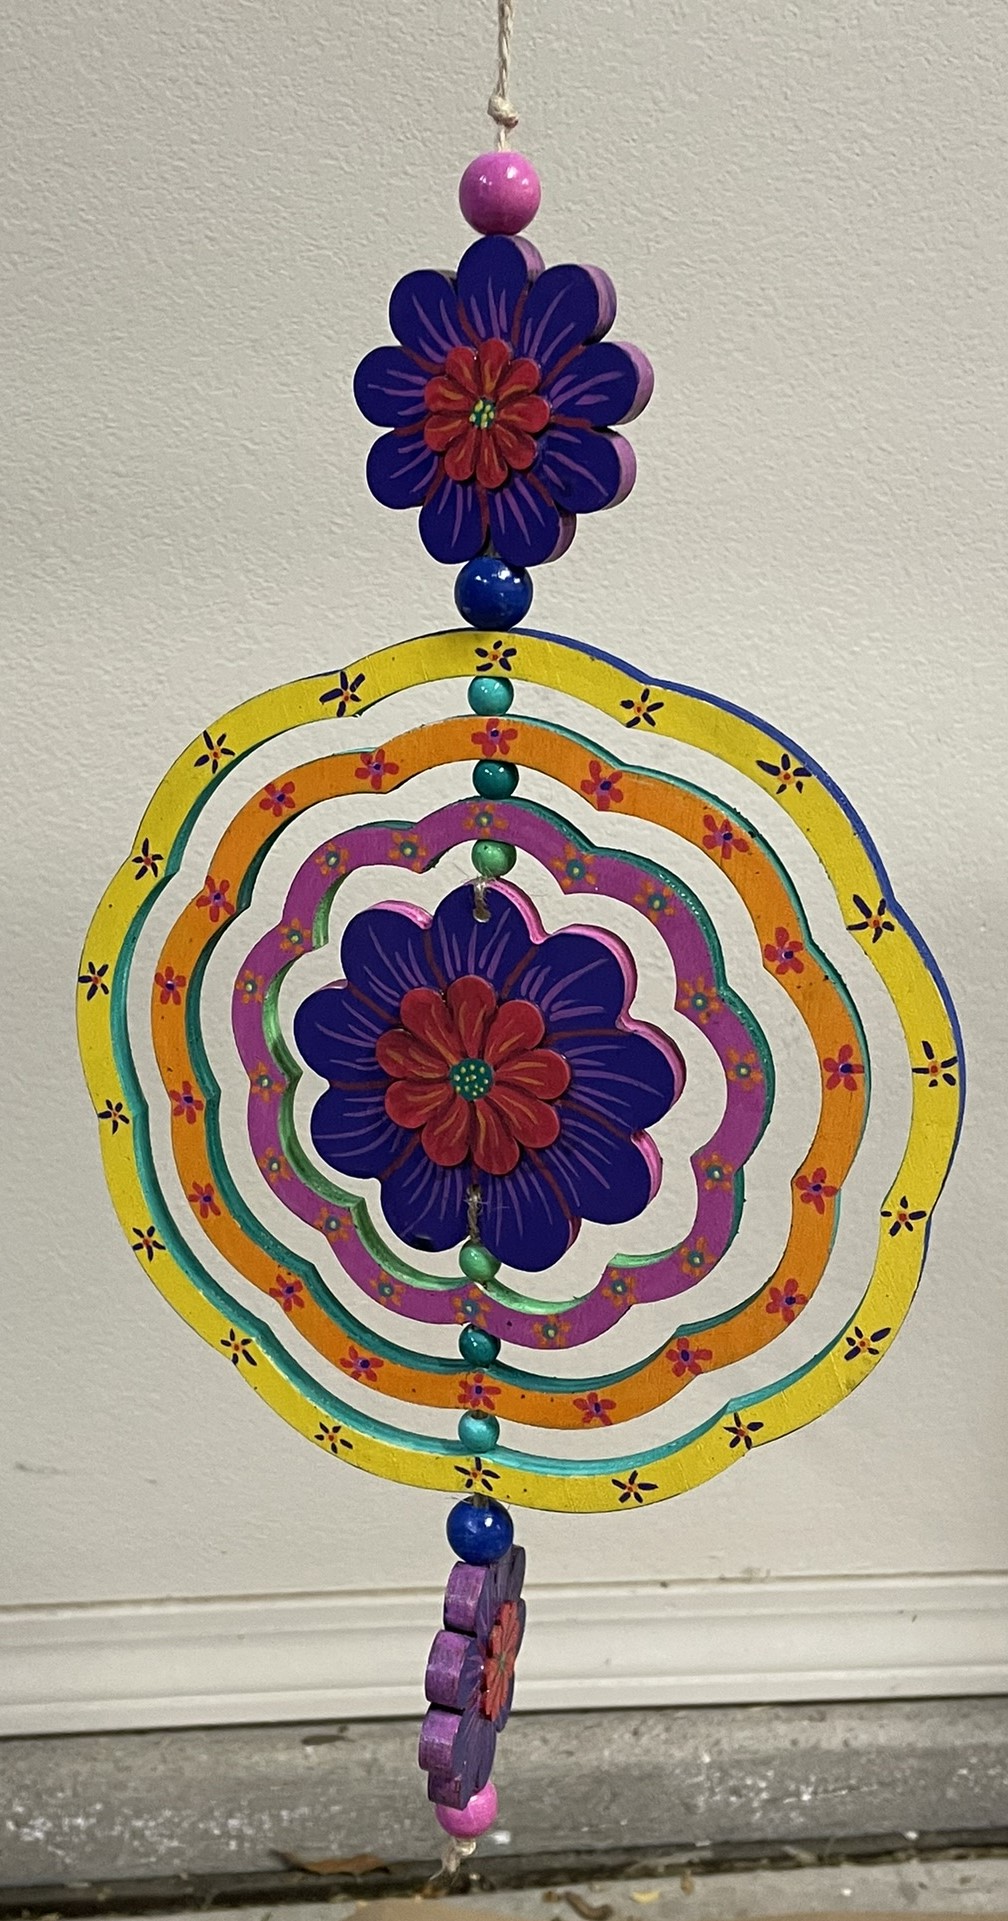
Wind Spinner: Another project using only the Sharpies Creative Color Markers. On this project, after the paint had dried, I noticed that purple color for the brush marker was slightly lighter than the bullet marker. I was able to go over the bullet marker purple with the brush marker purple to get a uniform color.
Every yellow paint I have ever encountered has done a very poor job of covering other colors. The Creative Color Marker yellow also did a poor job of covering other colors. I have an easy solution; I just cover it with white first then go over it in yellow.
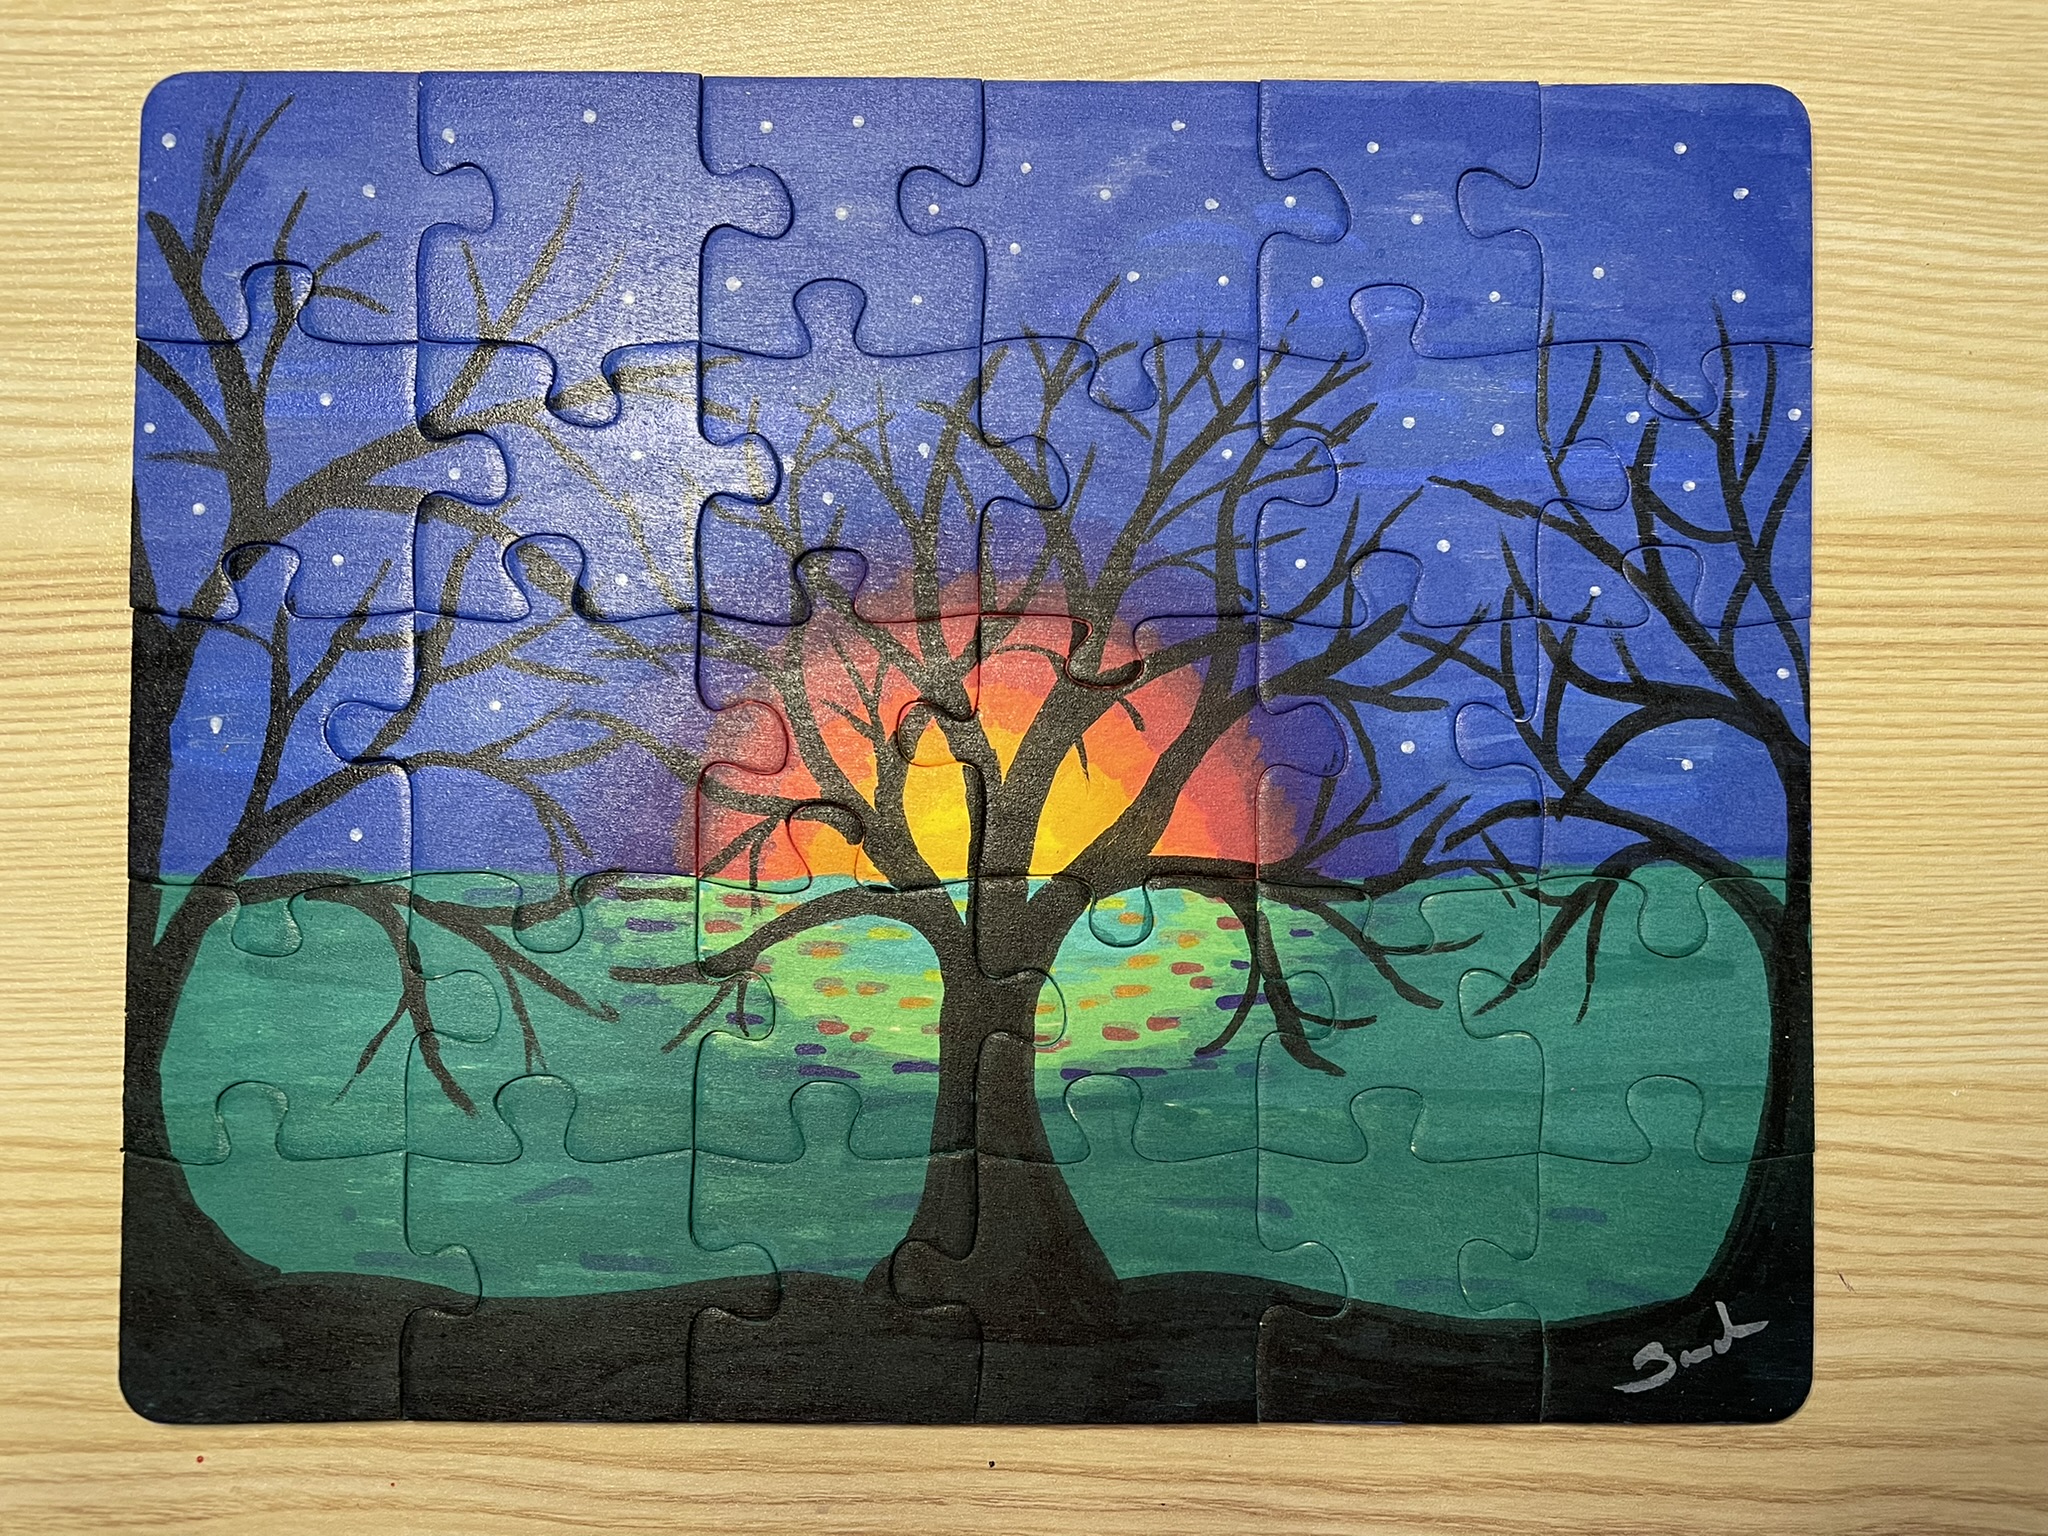
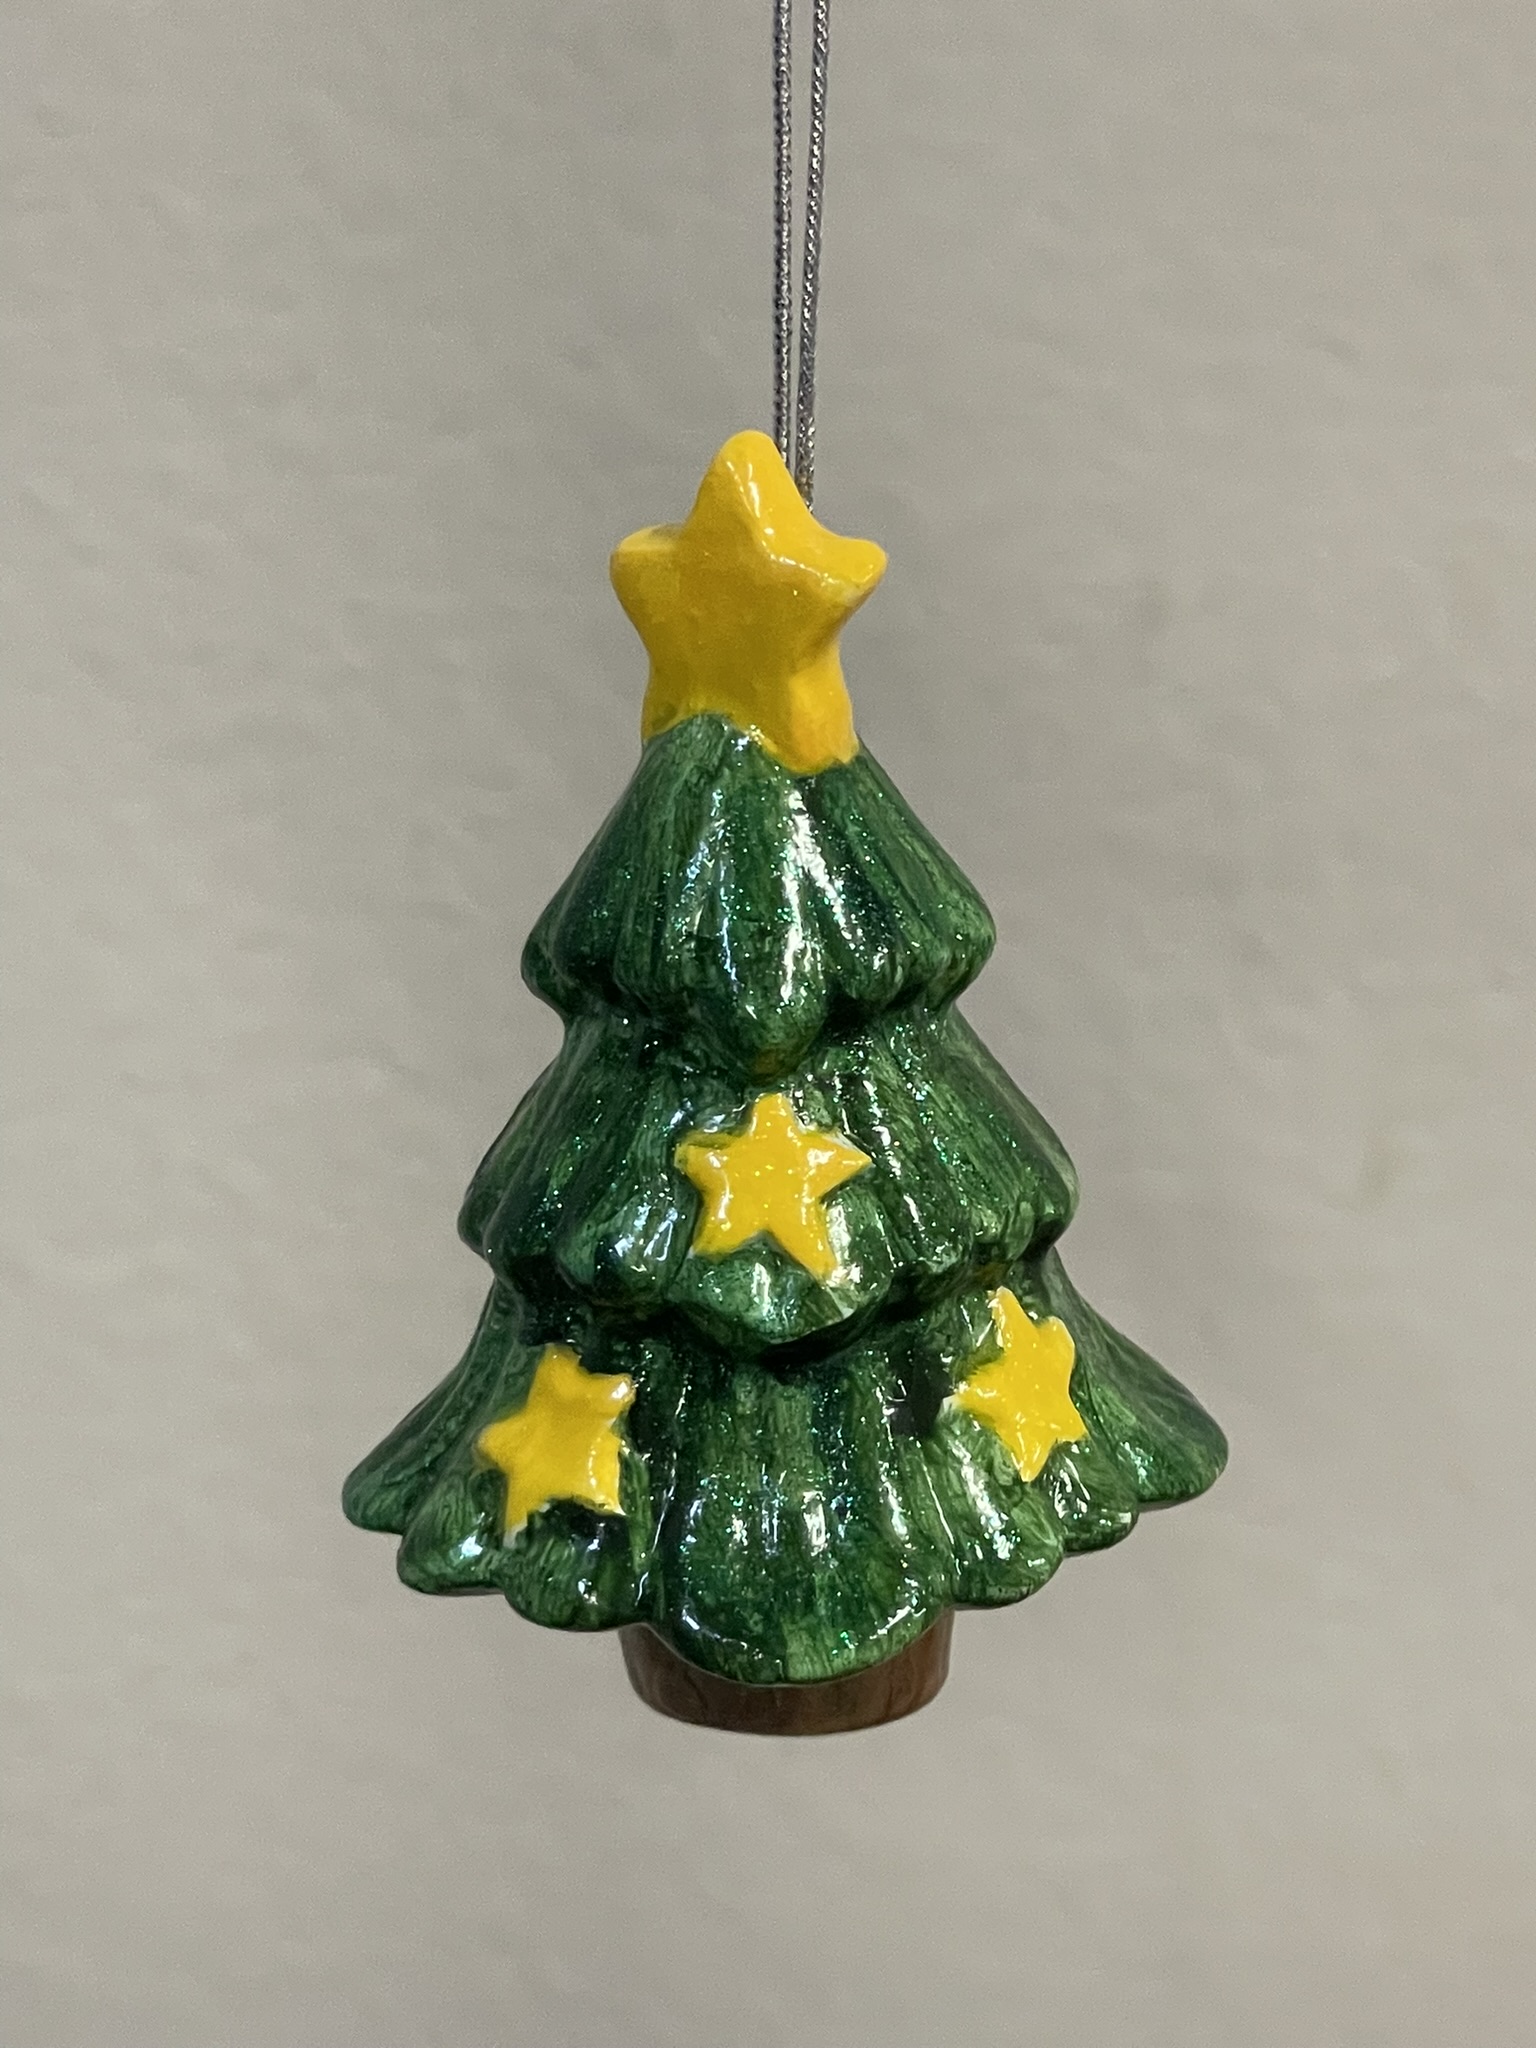
Tree Puzzle: For the base of the tree puzzle, with the exception of the tree, I did not use the Creative Color Markers. I used acrylic paint. The surface was large, and I did not like the idea of having the paint the entire surface with the markers. The tree and flowers were made with the markers.
The background and the tree on the puzzle were all done with the Creative Color Markers. The blending of multiple colors provided the tree with a brown look.
PuzzleBase
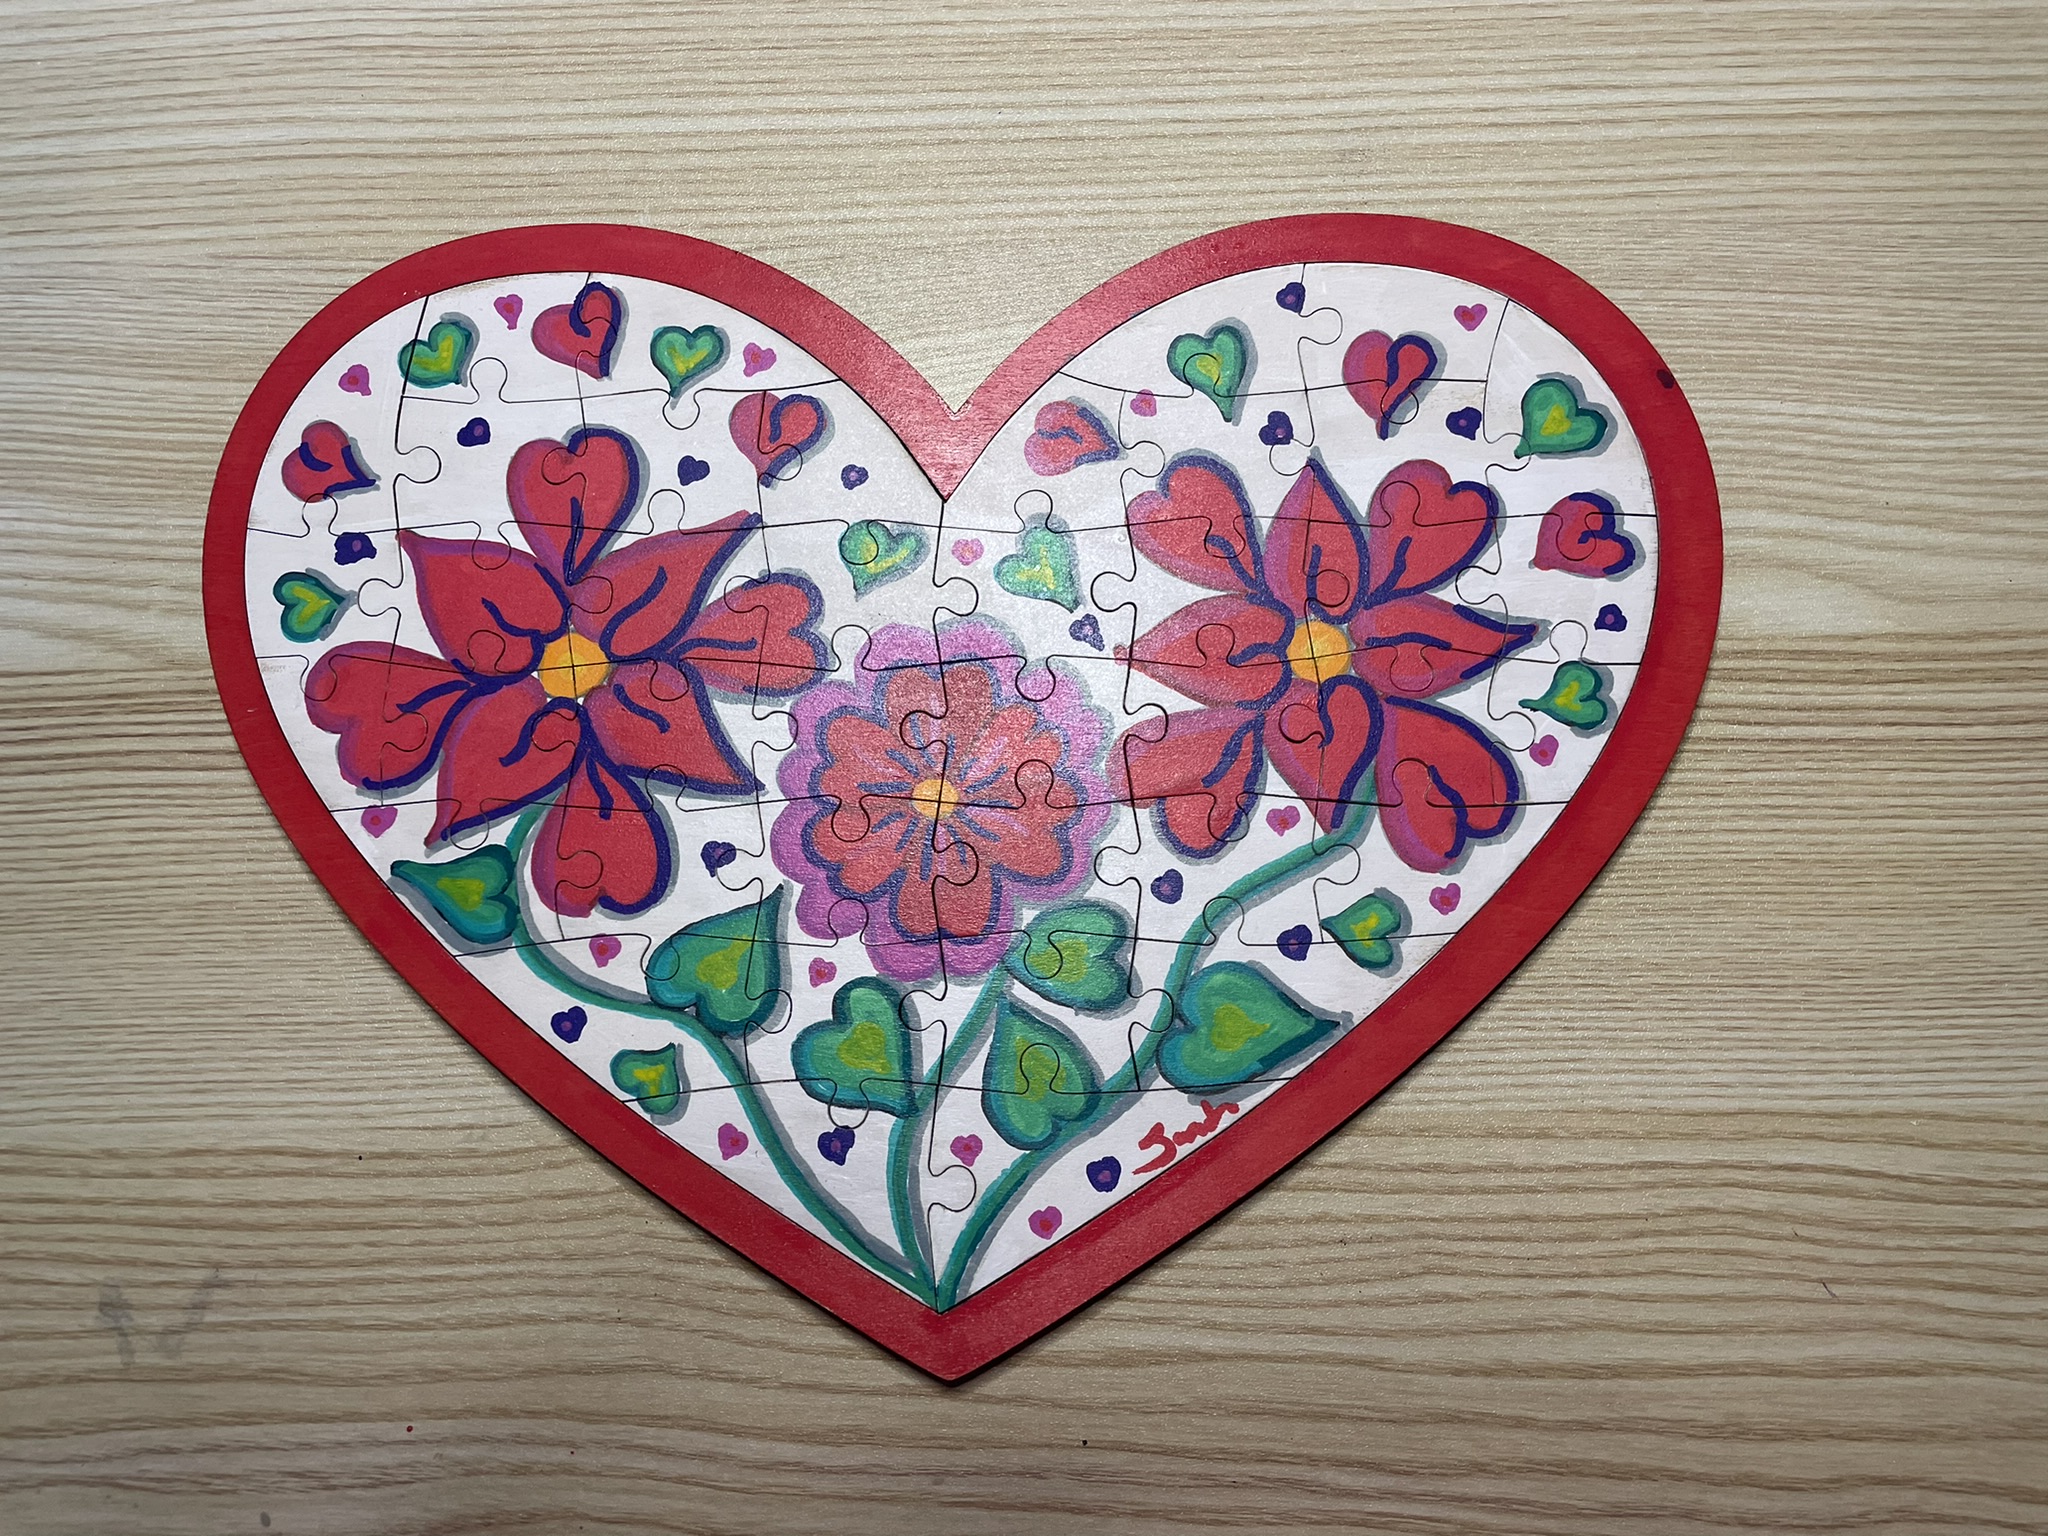
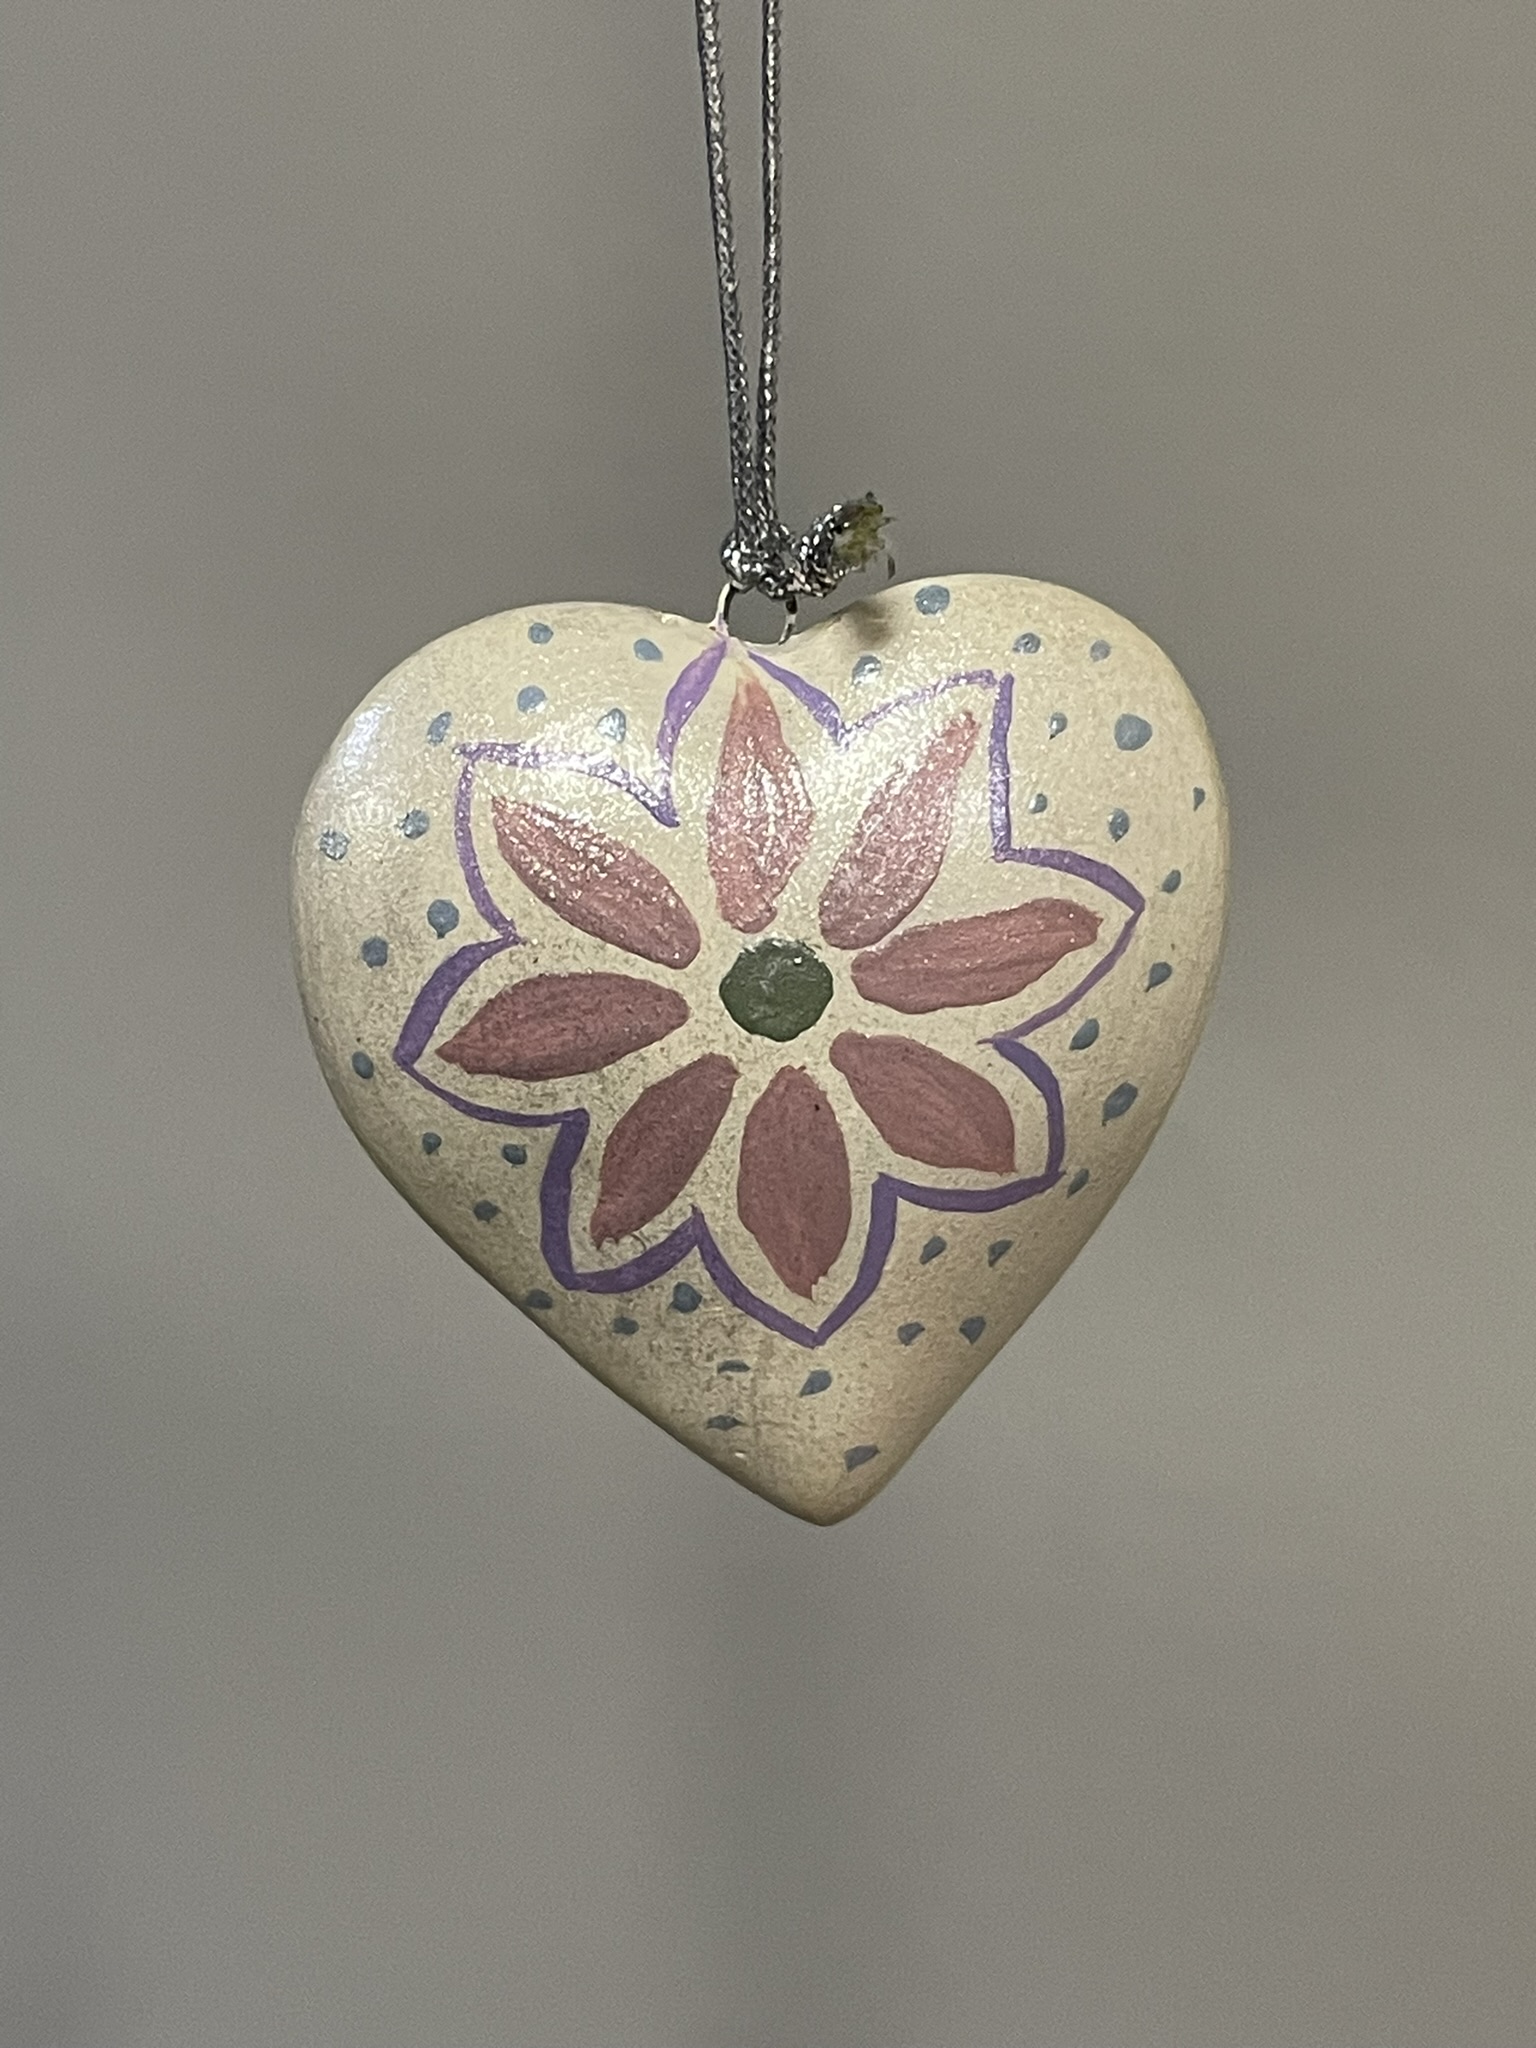
Heart Puzzle: Can you see where I messed up? Probably not because the markers were able to hide my mistakes well. The first design I placed on the heart puzzle I did not like. So, I covered the entire puzzle with Gesso and started a new design. The white marker and the Gesso were almost the same shade. I used the white marker to cover up small mistakes on the white background.
The red and pink marker when placed next to each made it difficult to tell where one color ended, and the other color started. Once touches of purple and black was placed around them, they pop off the canvas.
The edge of the base and the back of the base was covered using red acrylic paint.
PuzzleBase
All the projects were varnished using the Polyacrylic. Some were sprayed and other were brushed. My only desires concerning these markers are: I would like more colors; and I would like to some fine point markers.
I do not see using the markers every day, but they will definitely fit in with some of my projects.
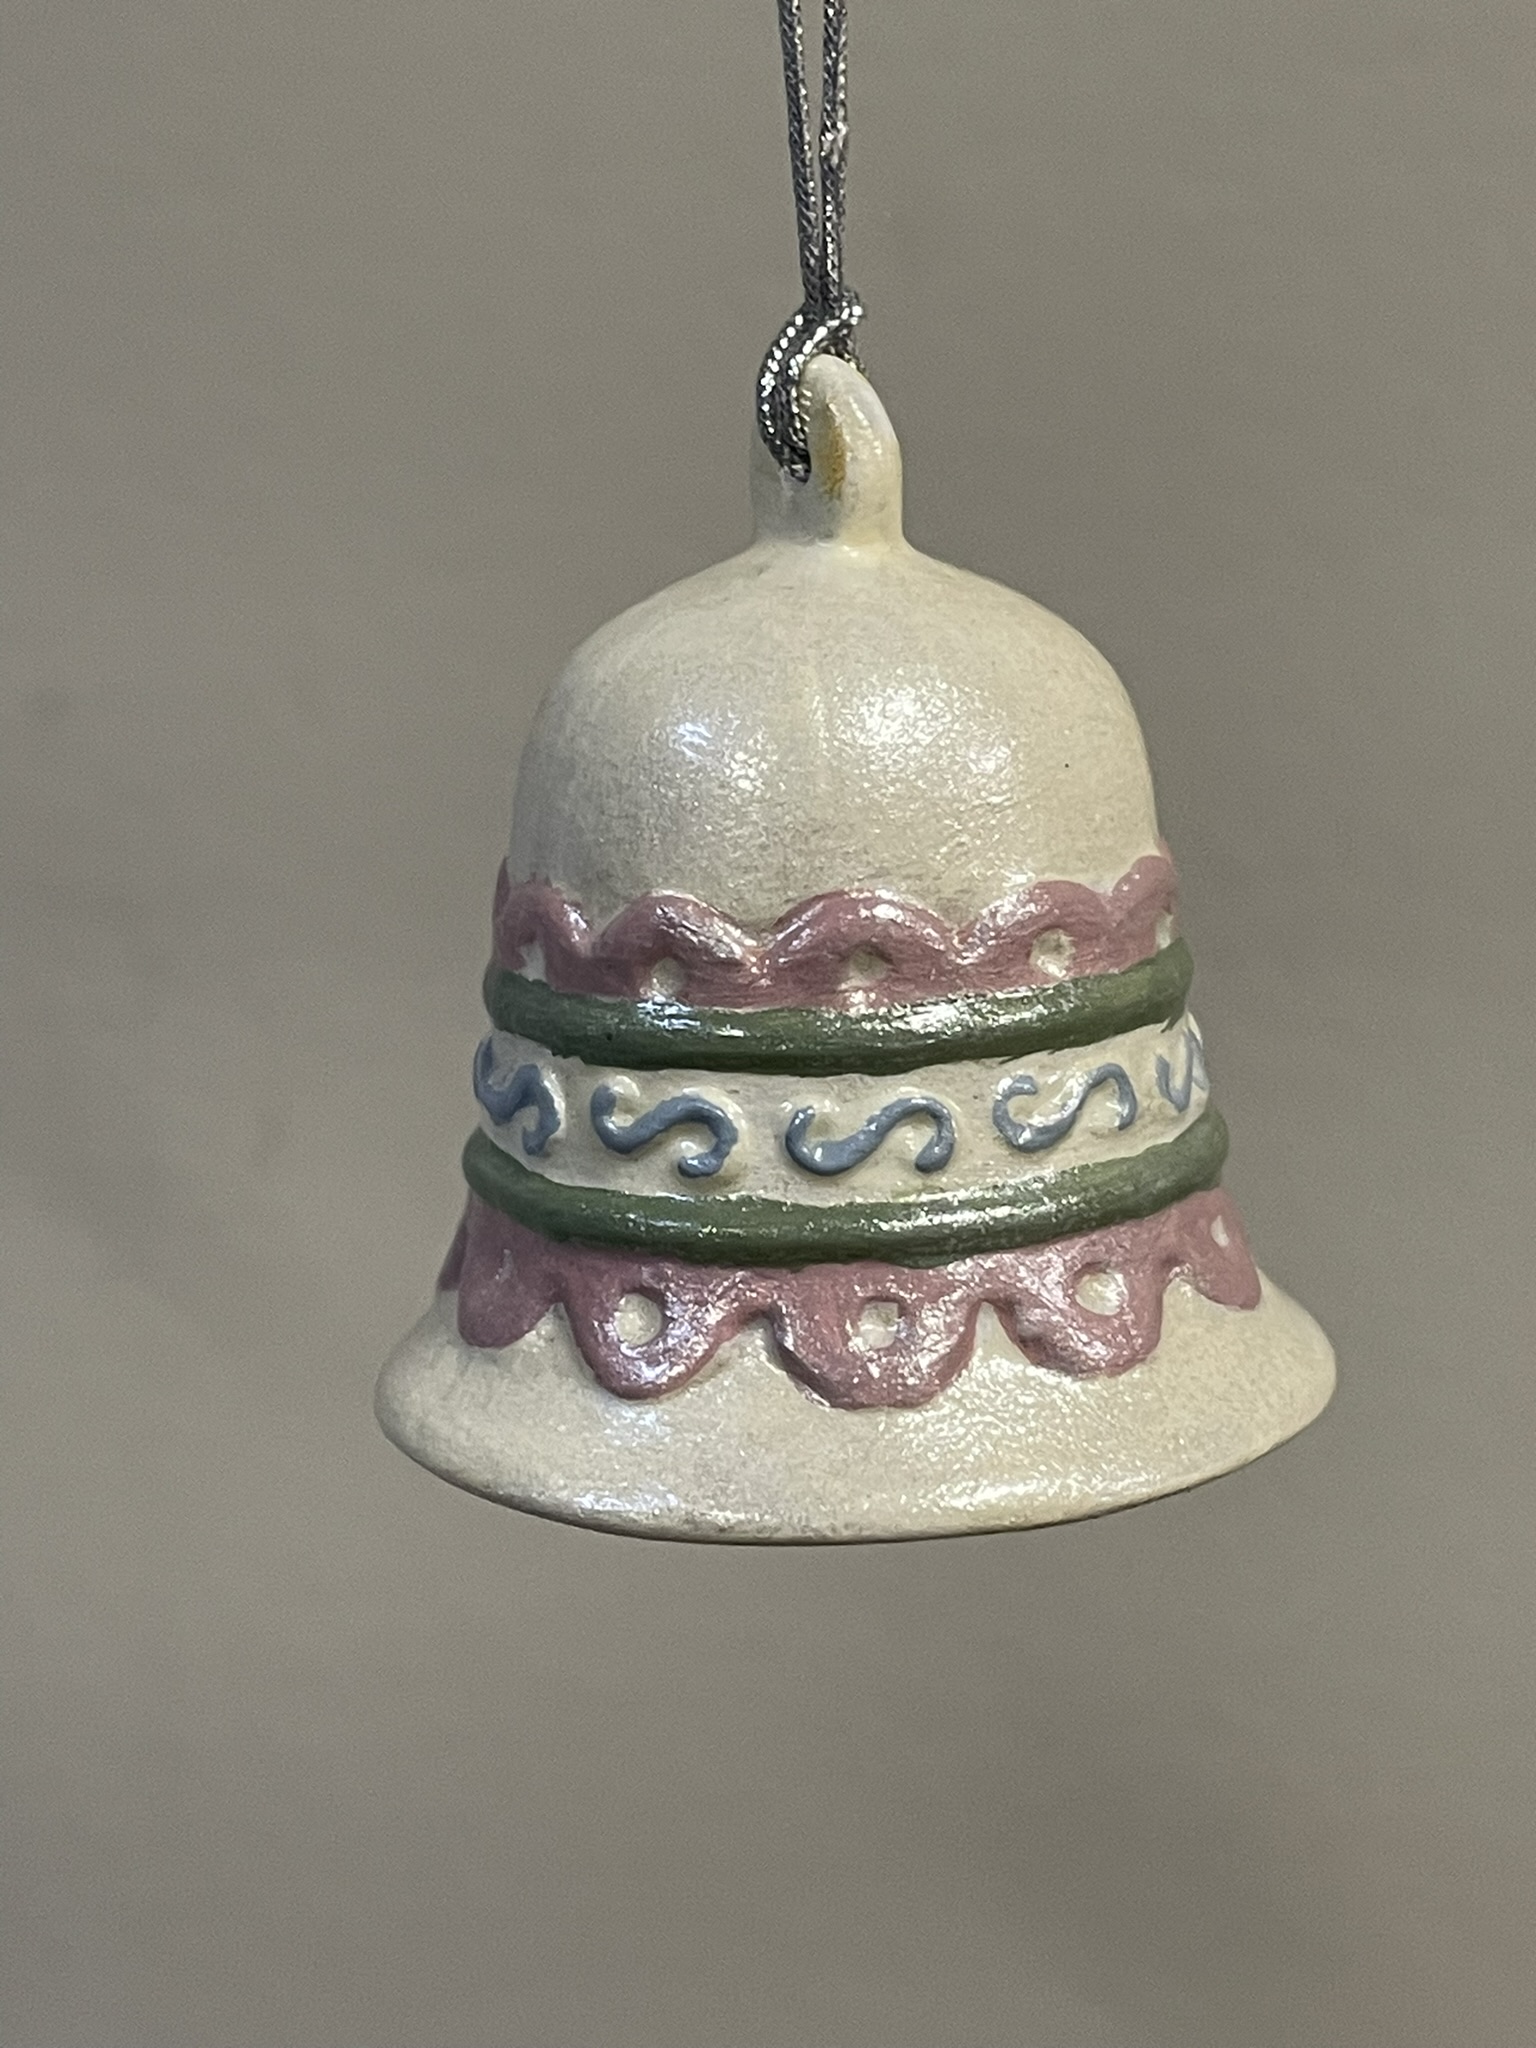
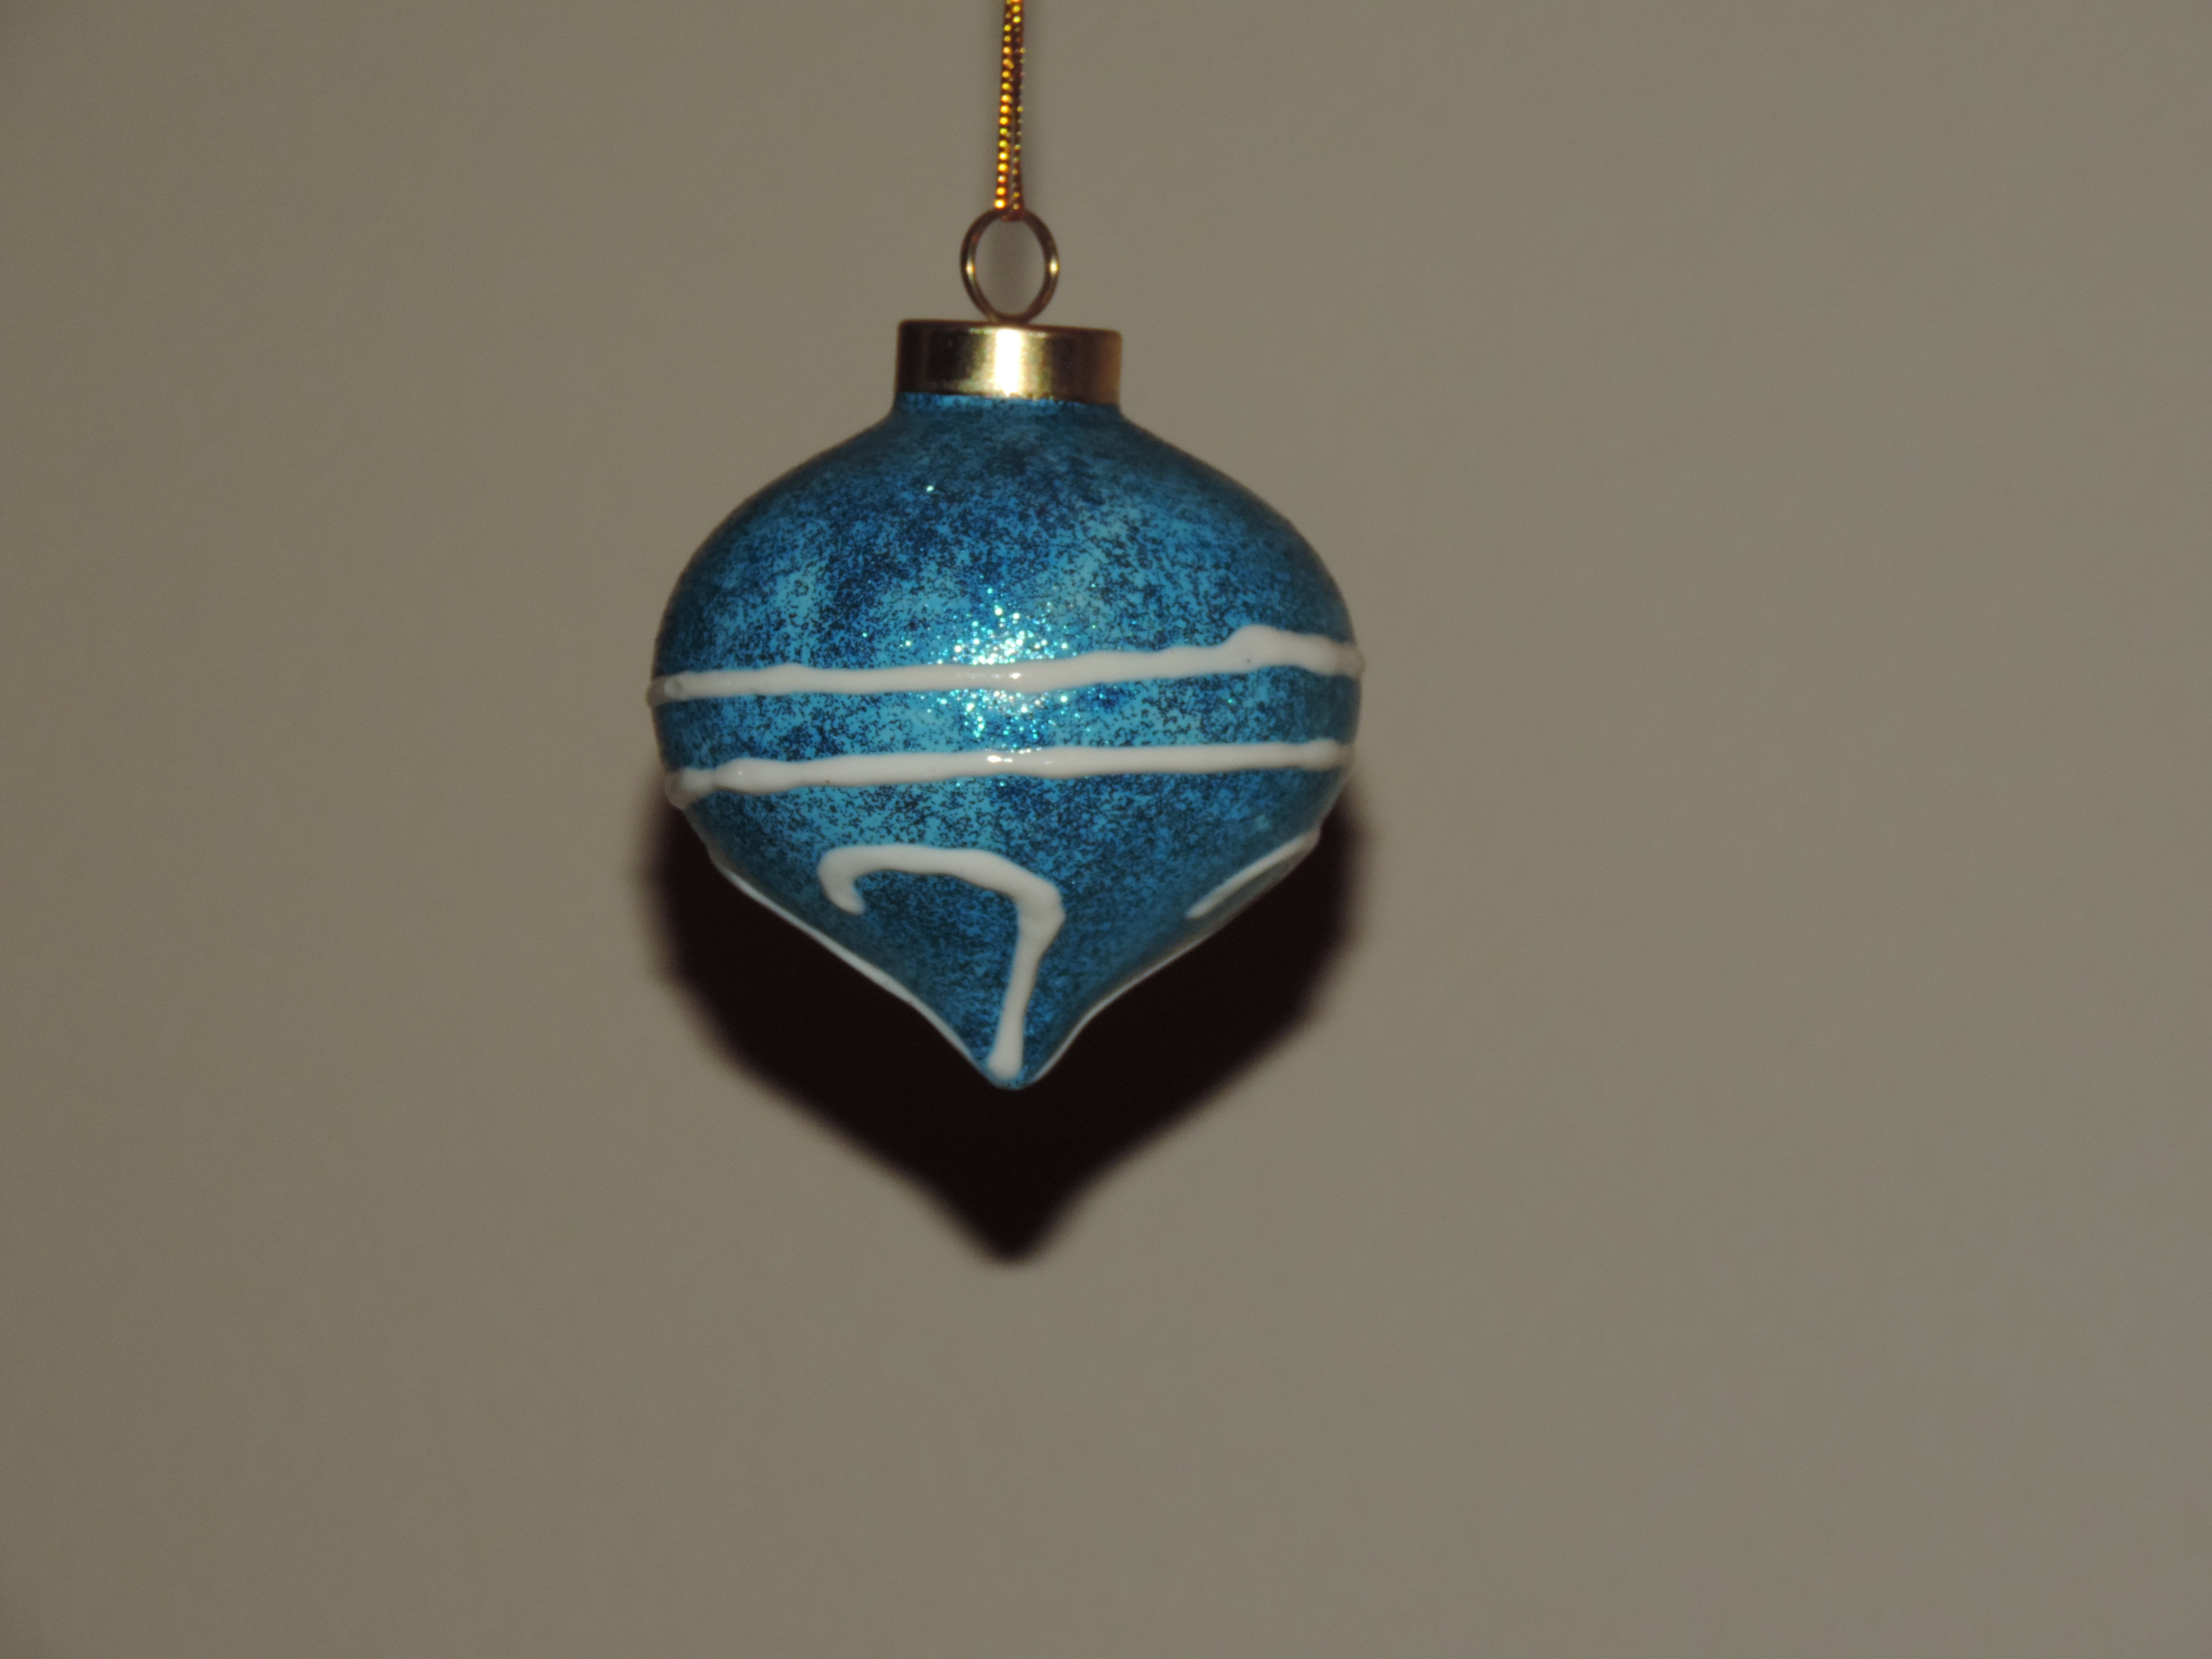
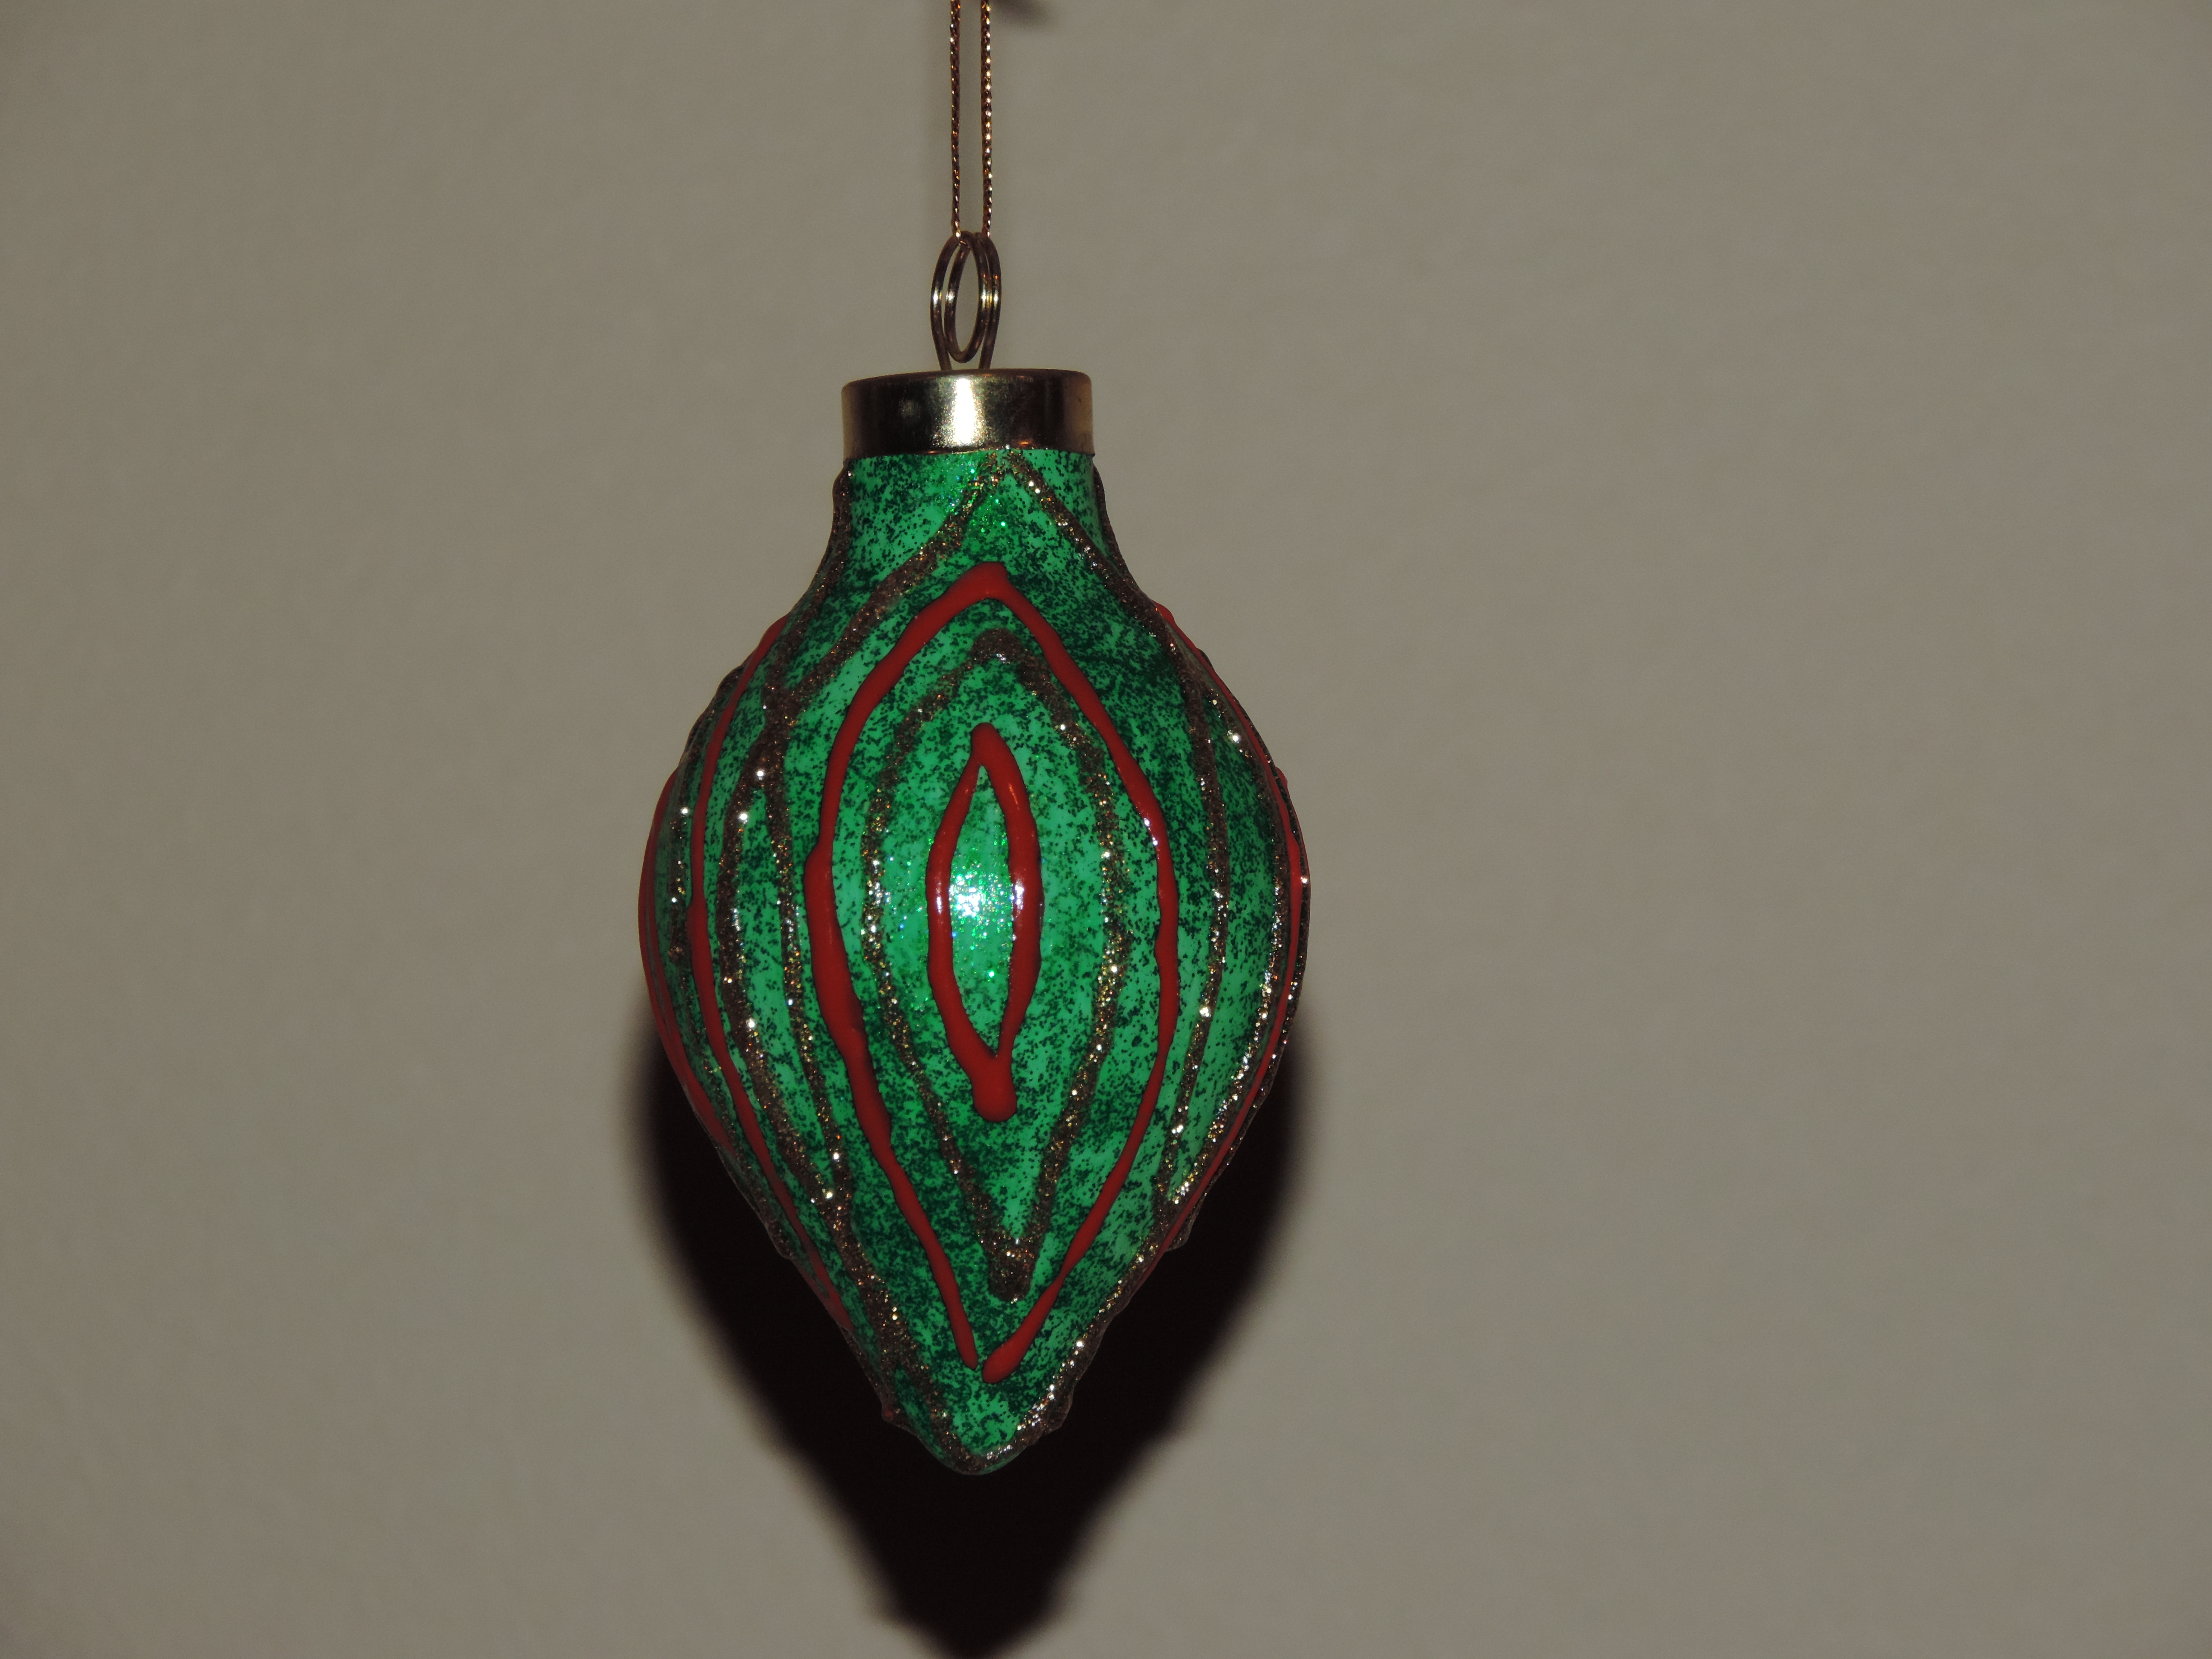
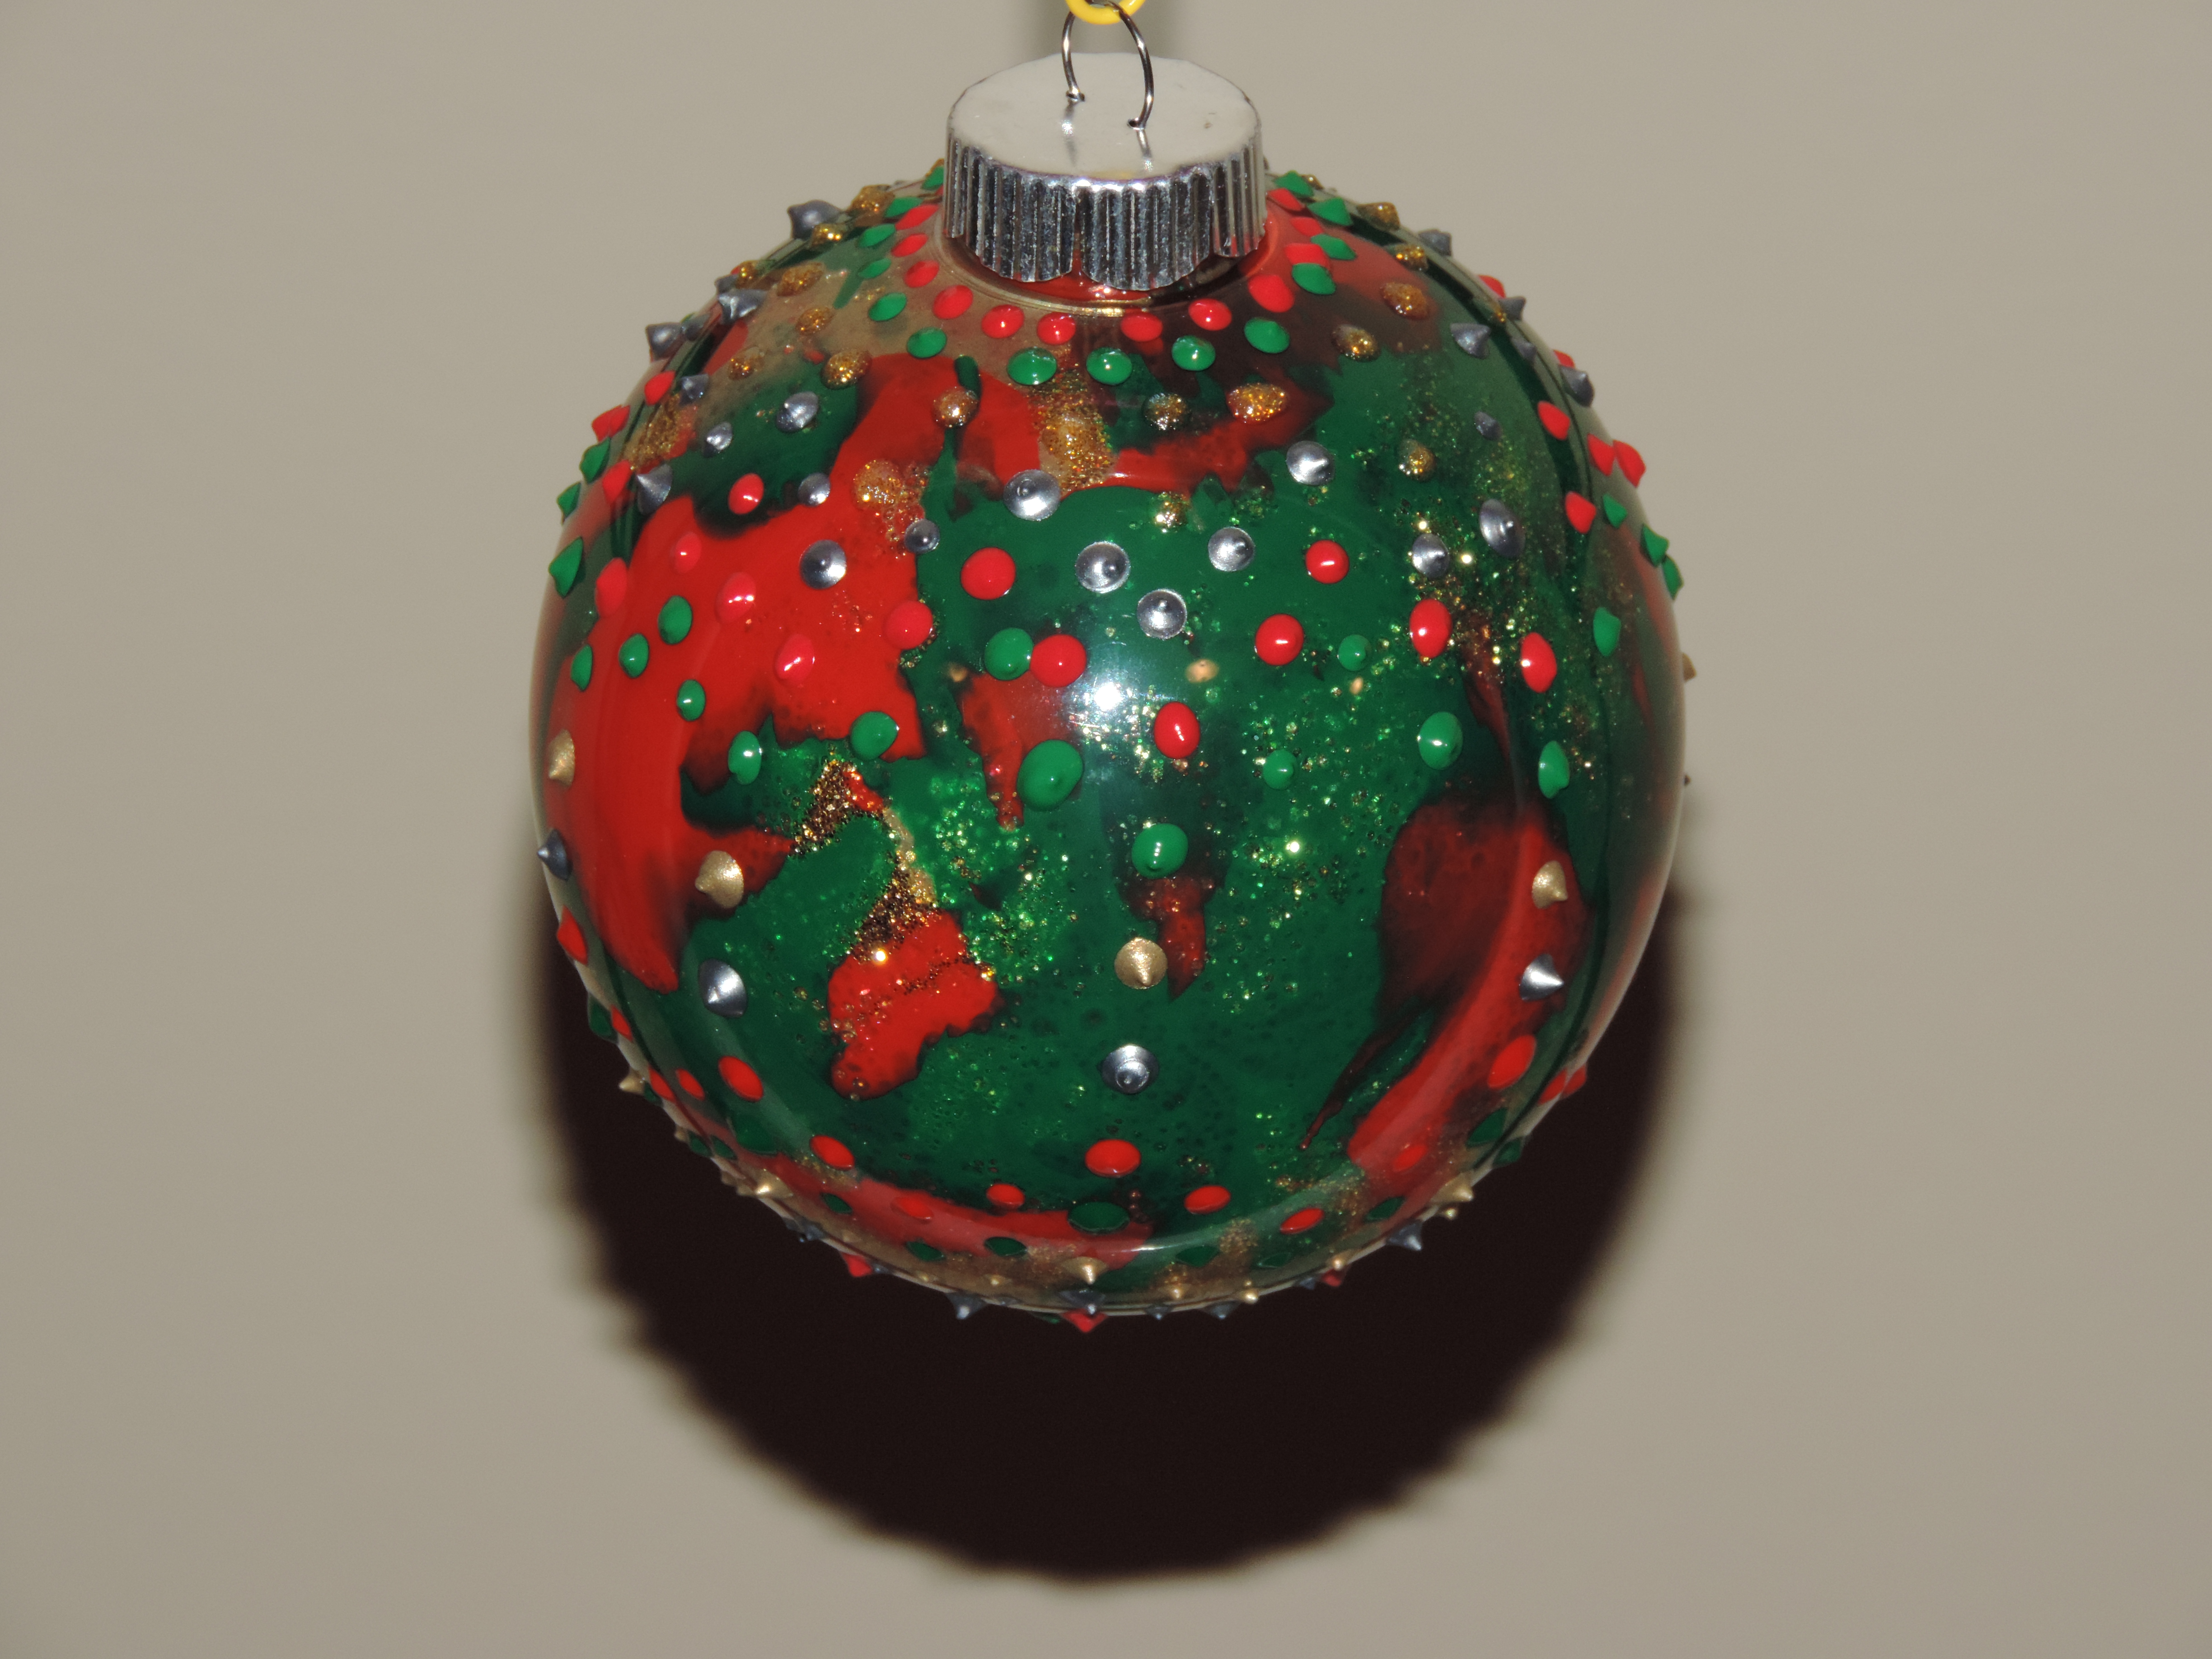
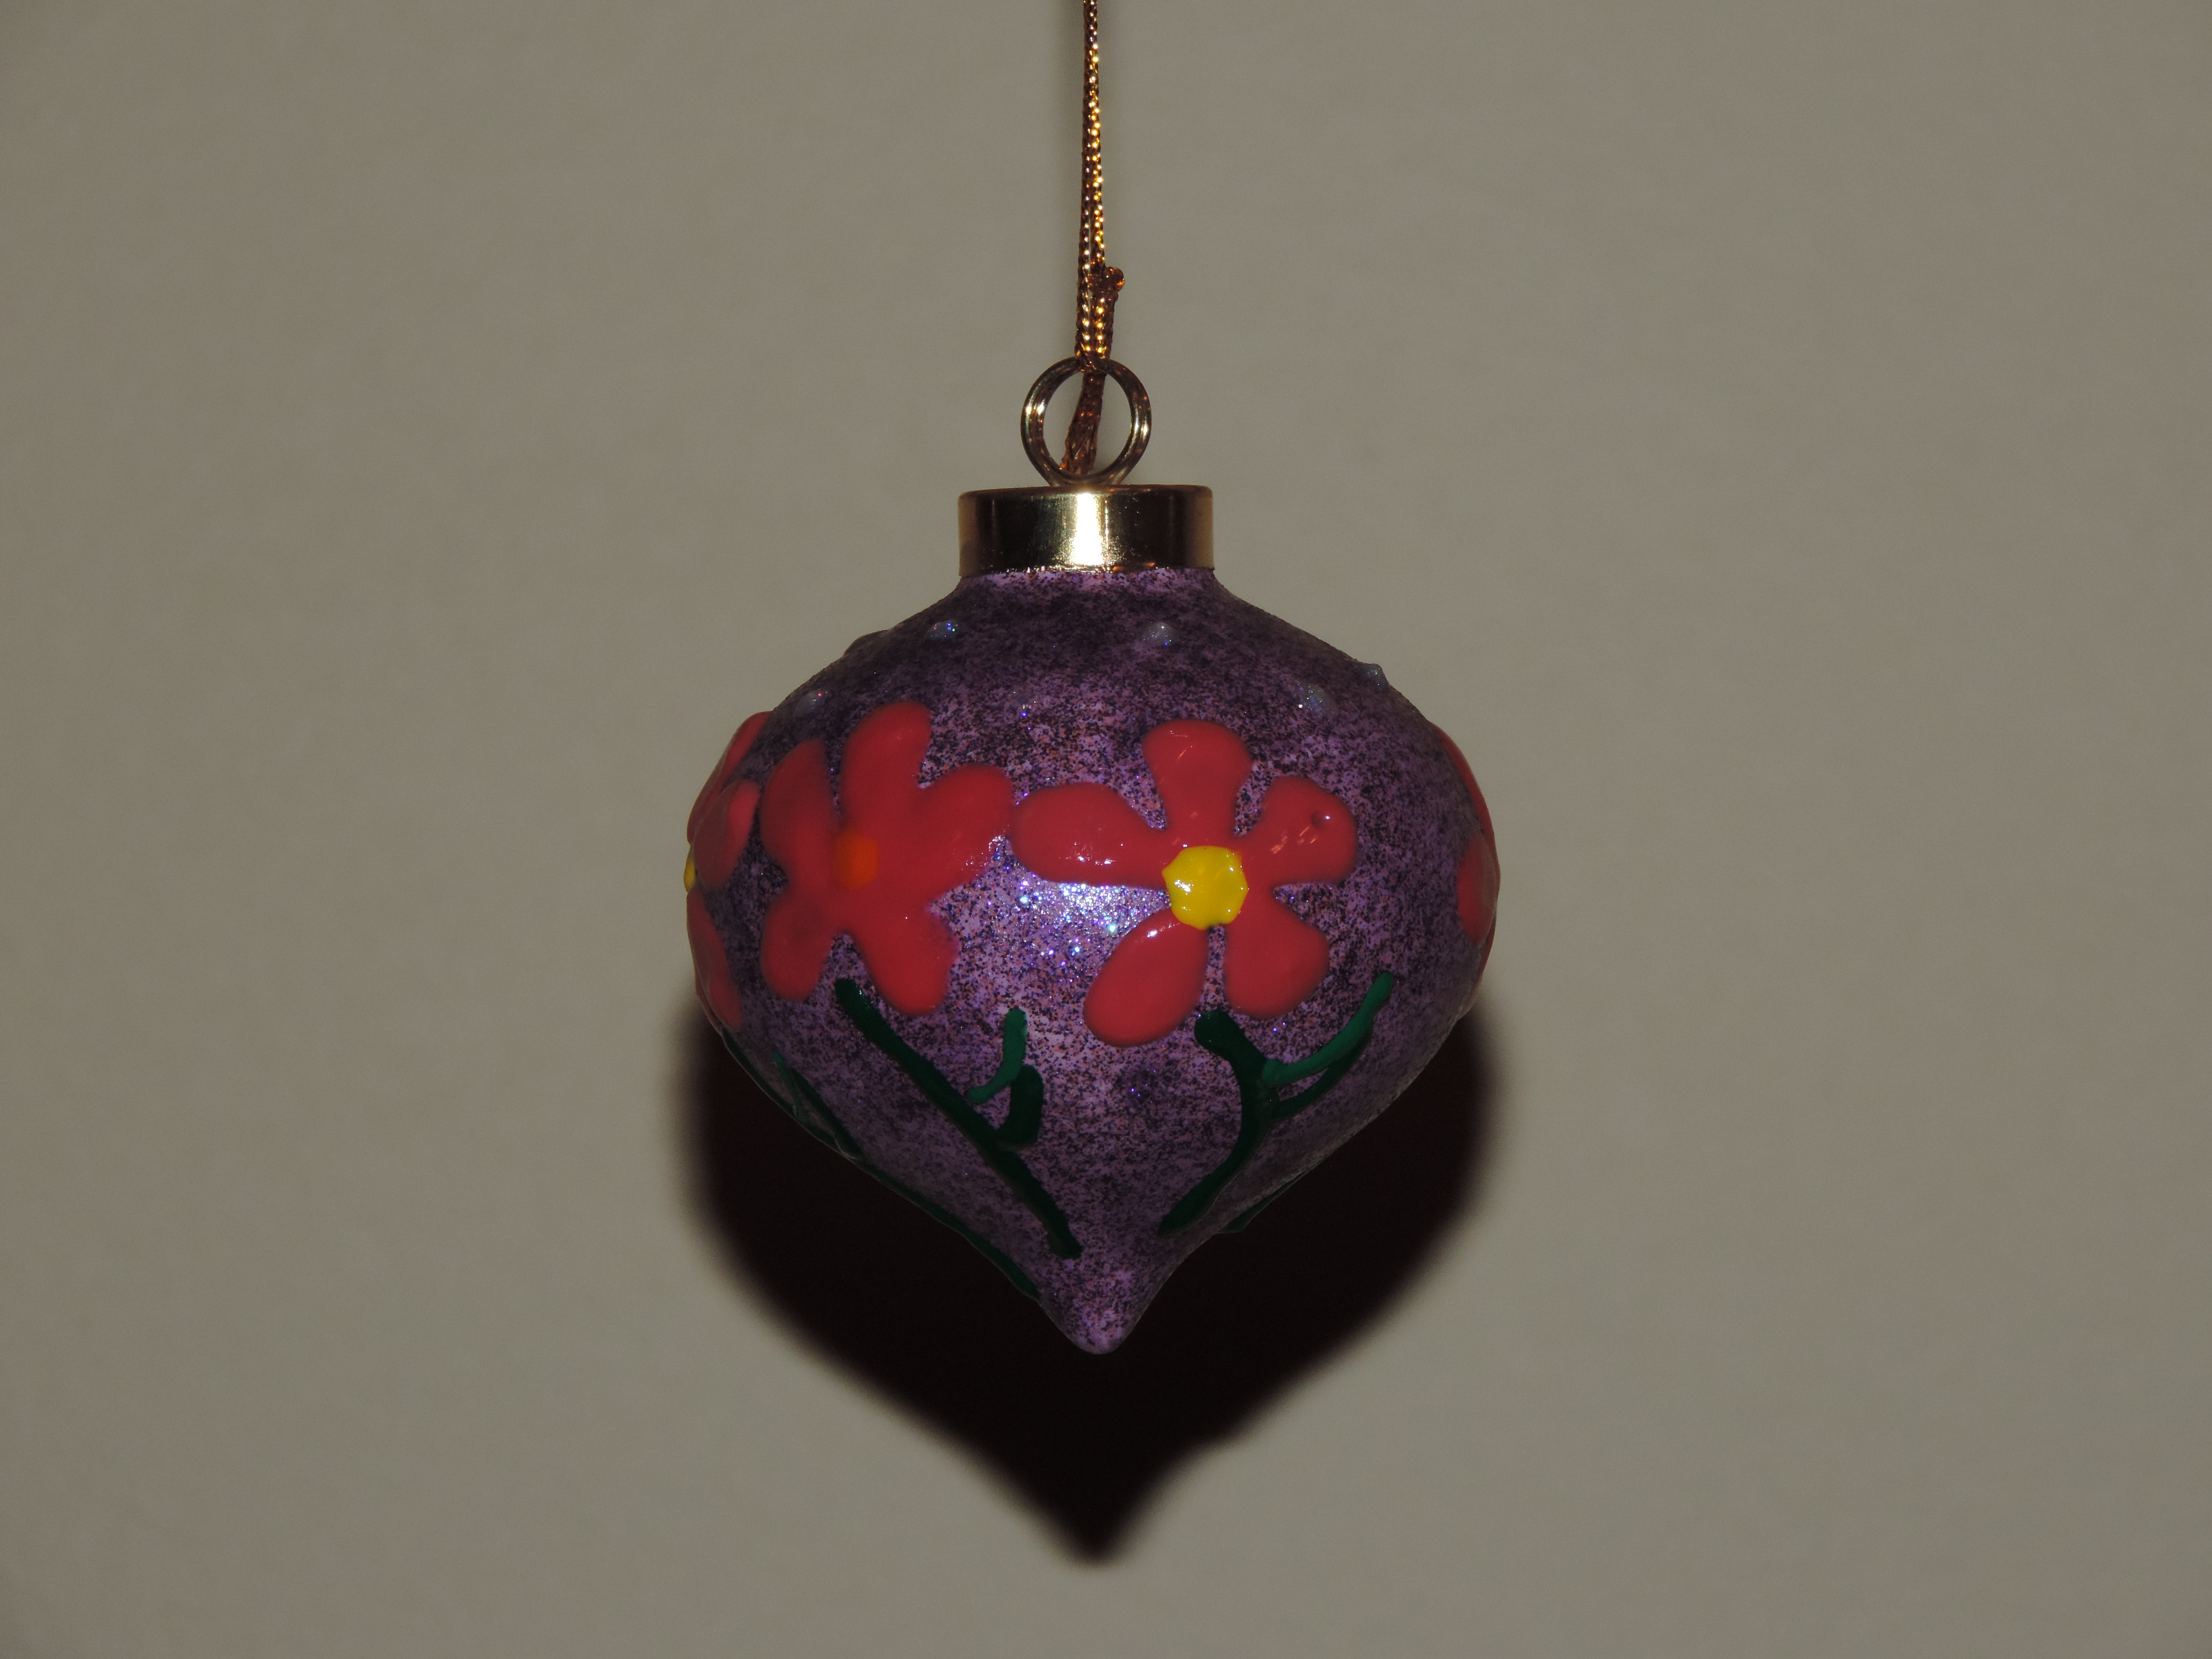
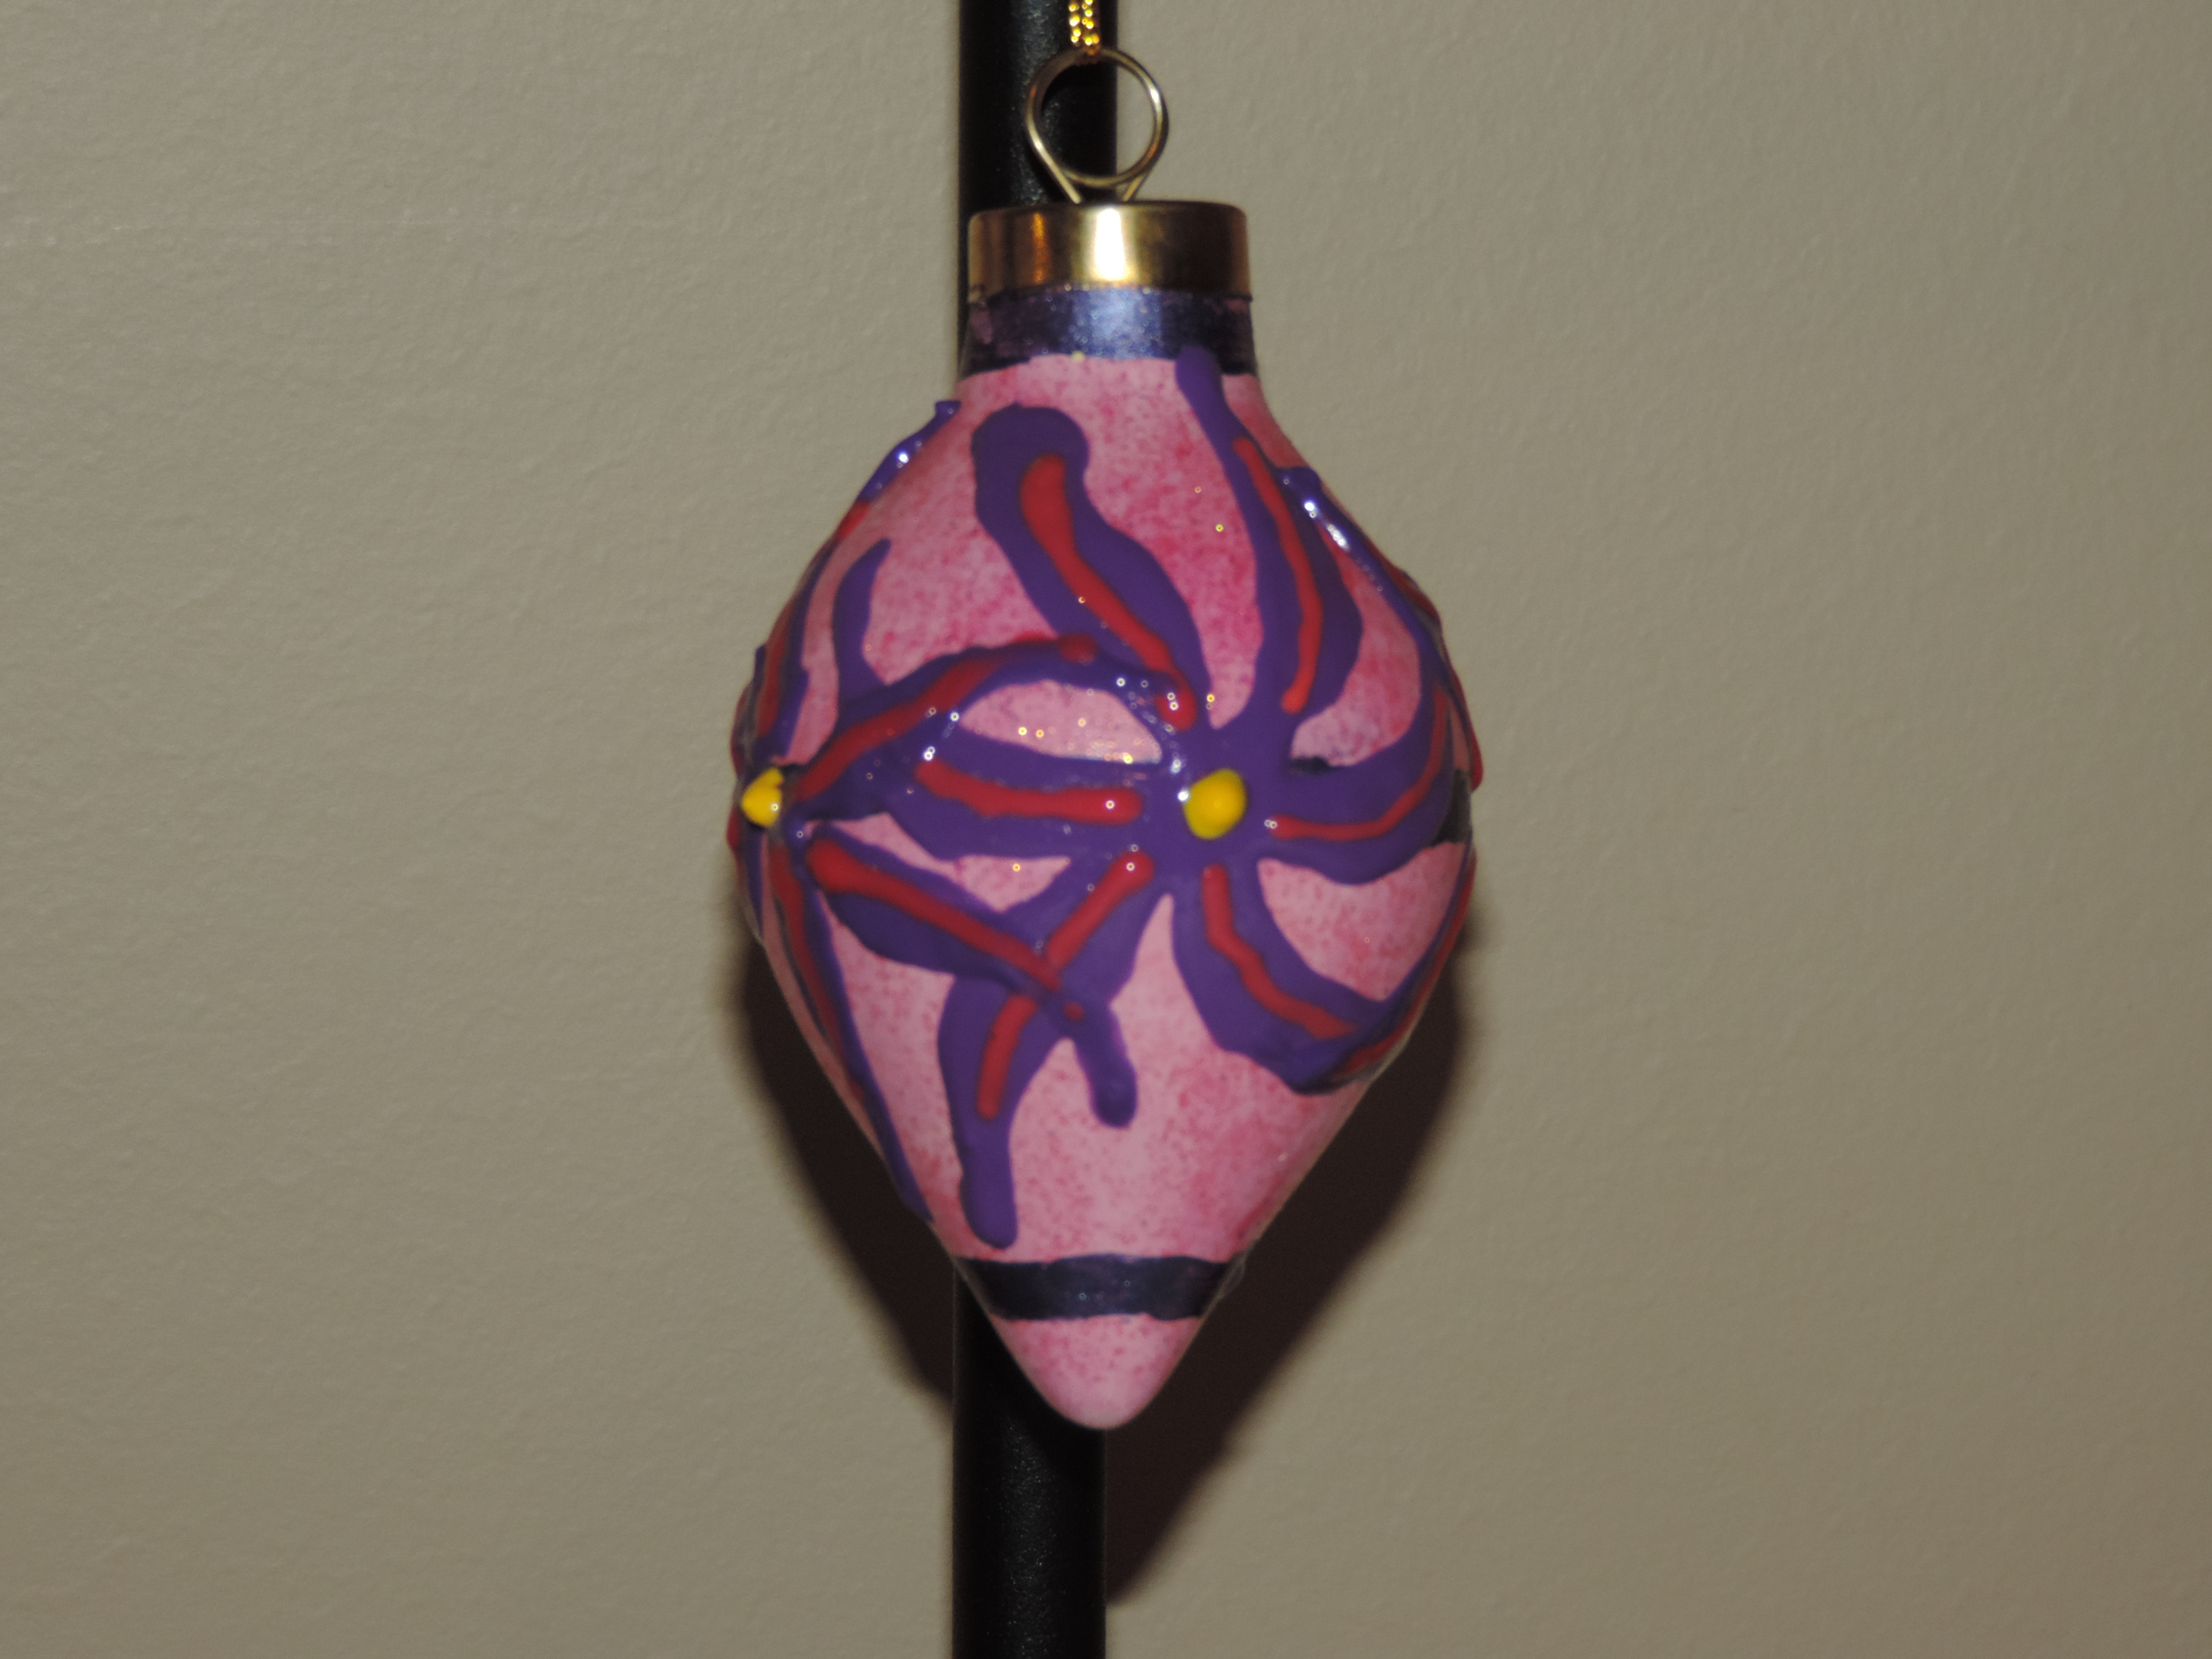
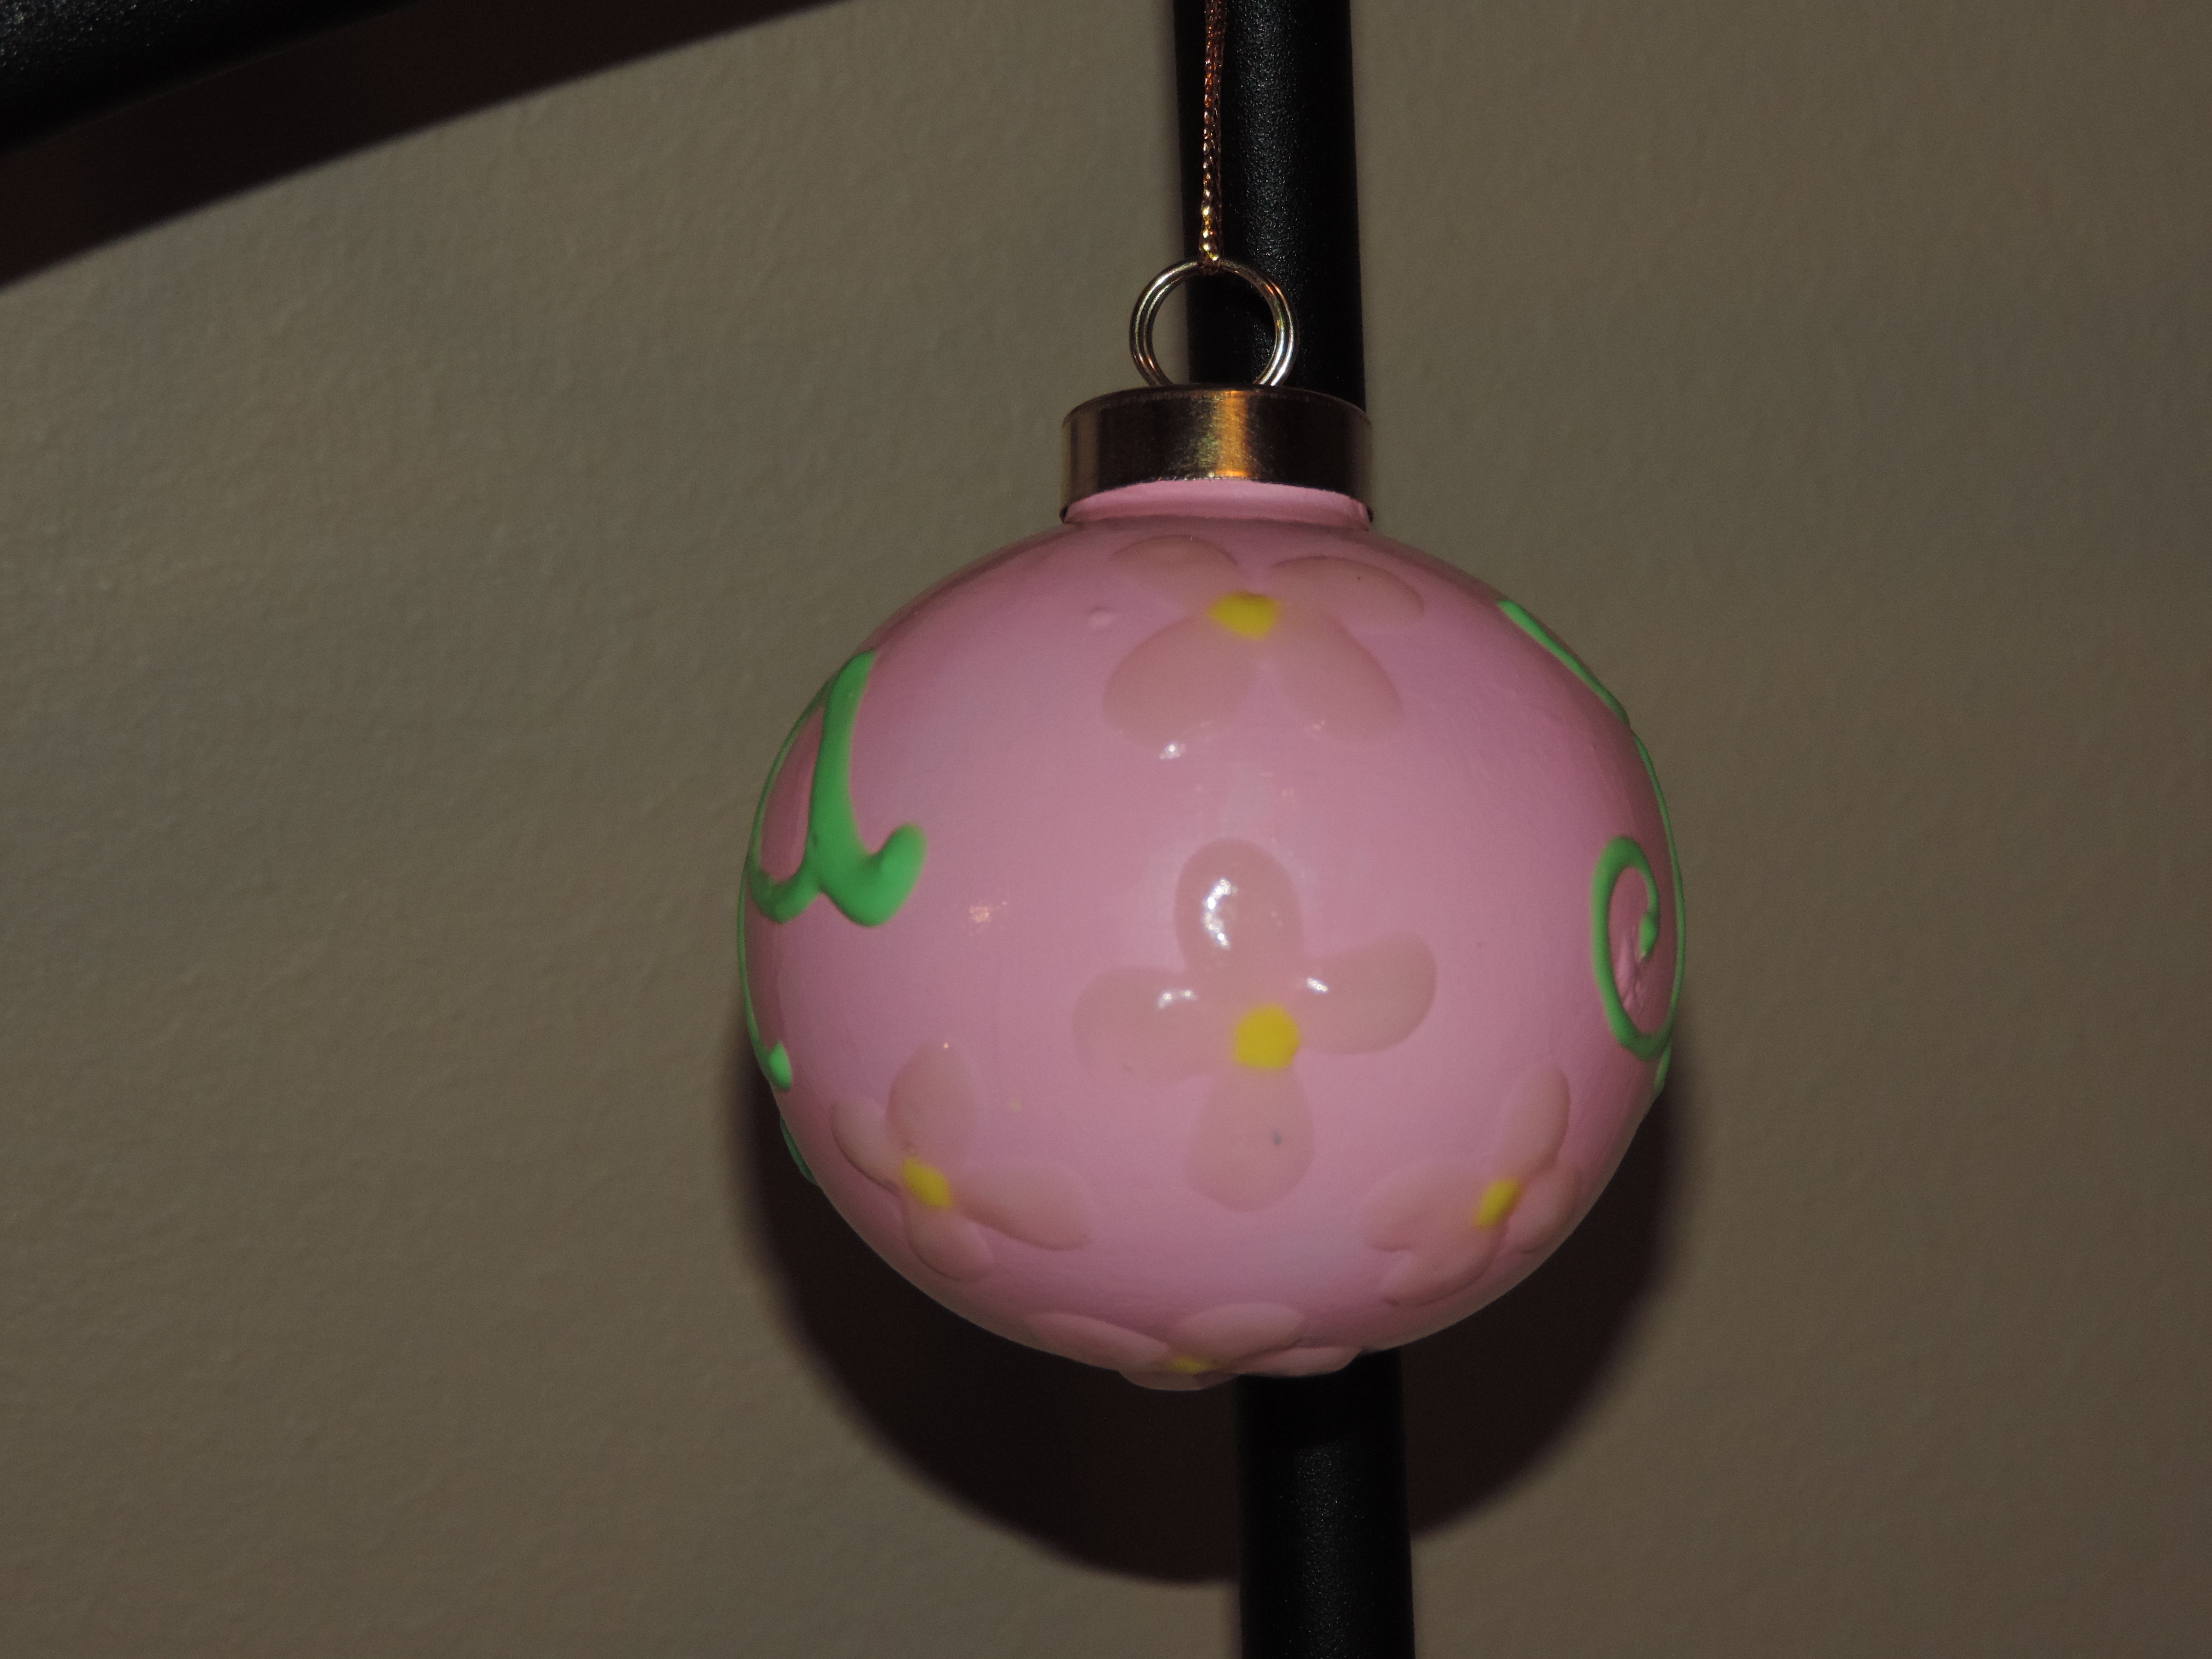
I painted these ornaments in 2023 around Christmas. However, they have been hanging for months, and months, and months waiting to be varnished. The ornaments got a coat of varnish when I varnished every other project I was working on.
I spent August and September painting a few items I had in storage, but then I went to Hobby Lobby and found two other items in their Fall collection that I just had to paint.
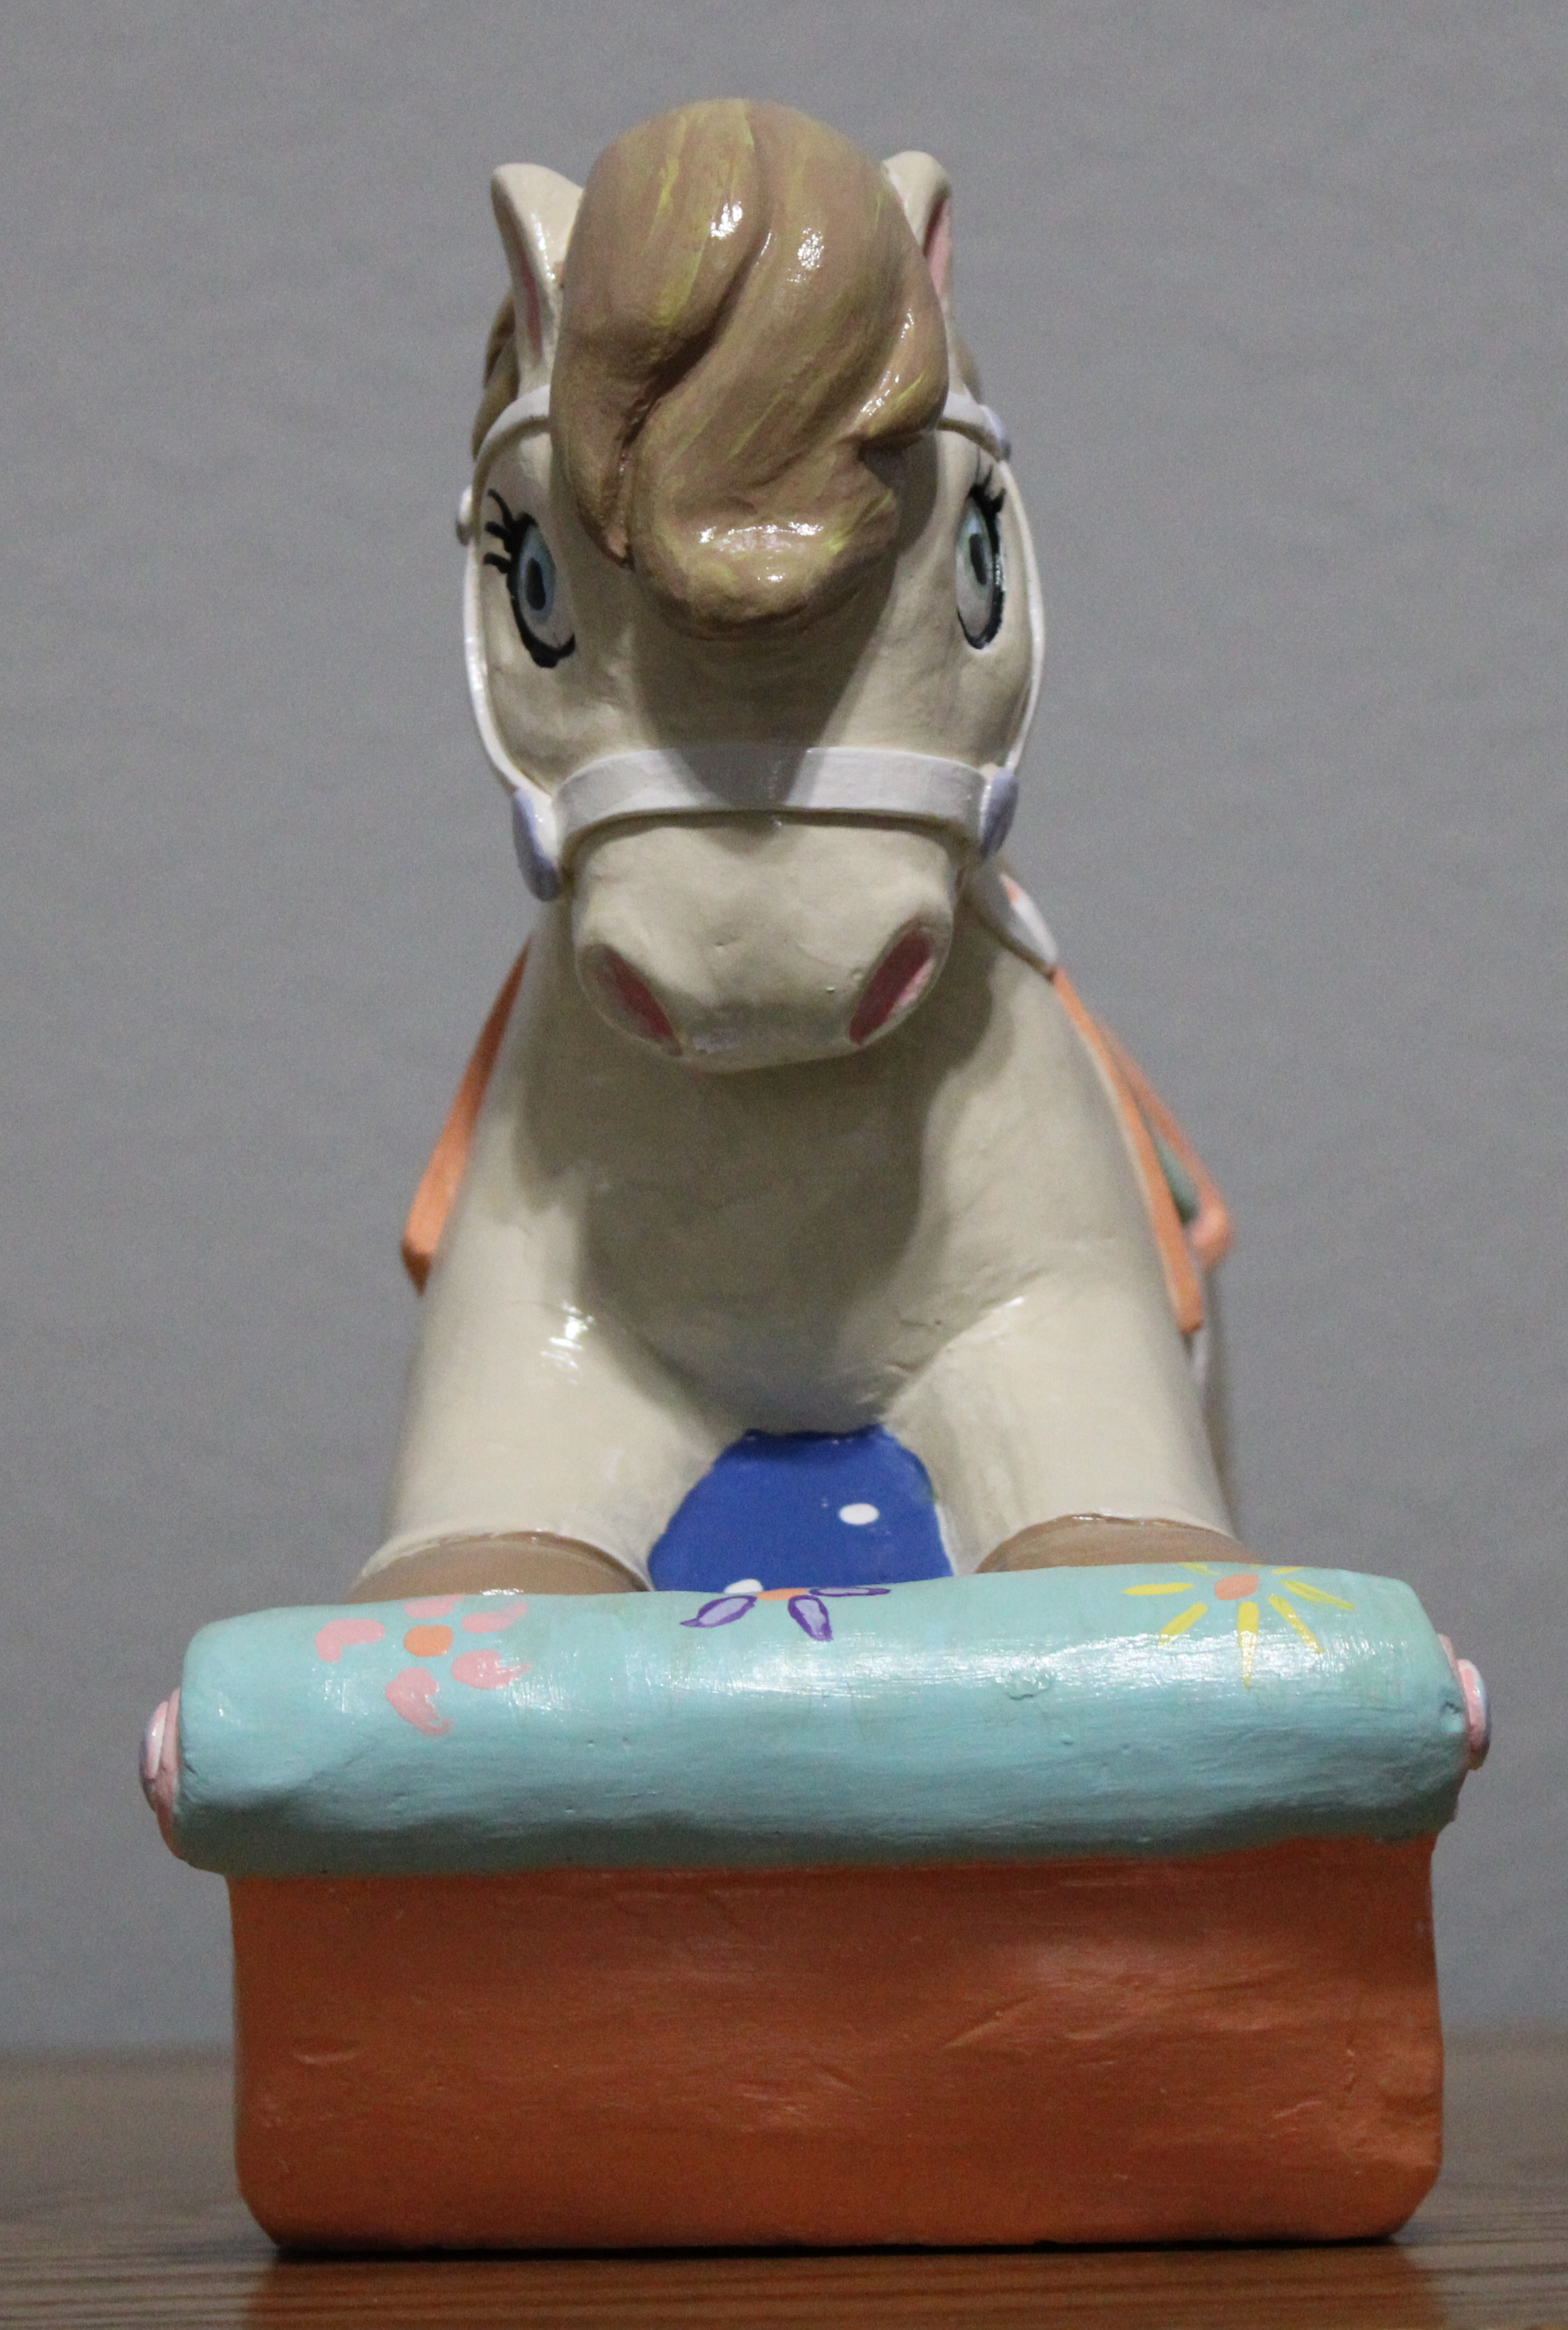
I have seventeen nieces and nephews. I purchased the horse to paint as a potential gift for one of them. It did not get painted, until now.
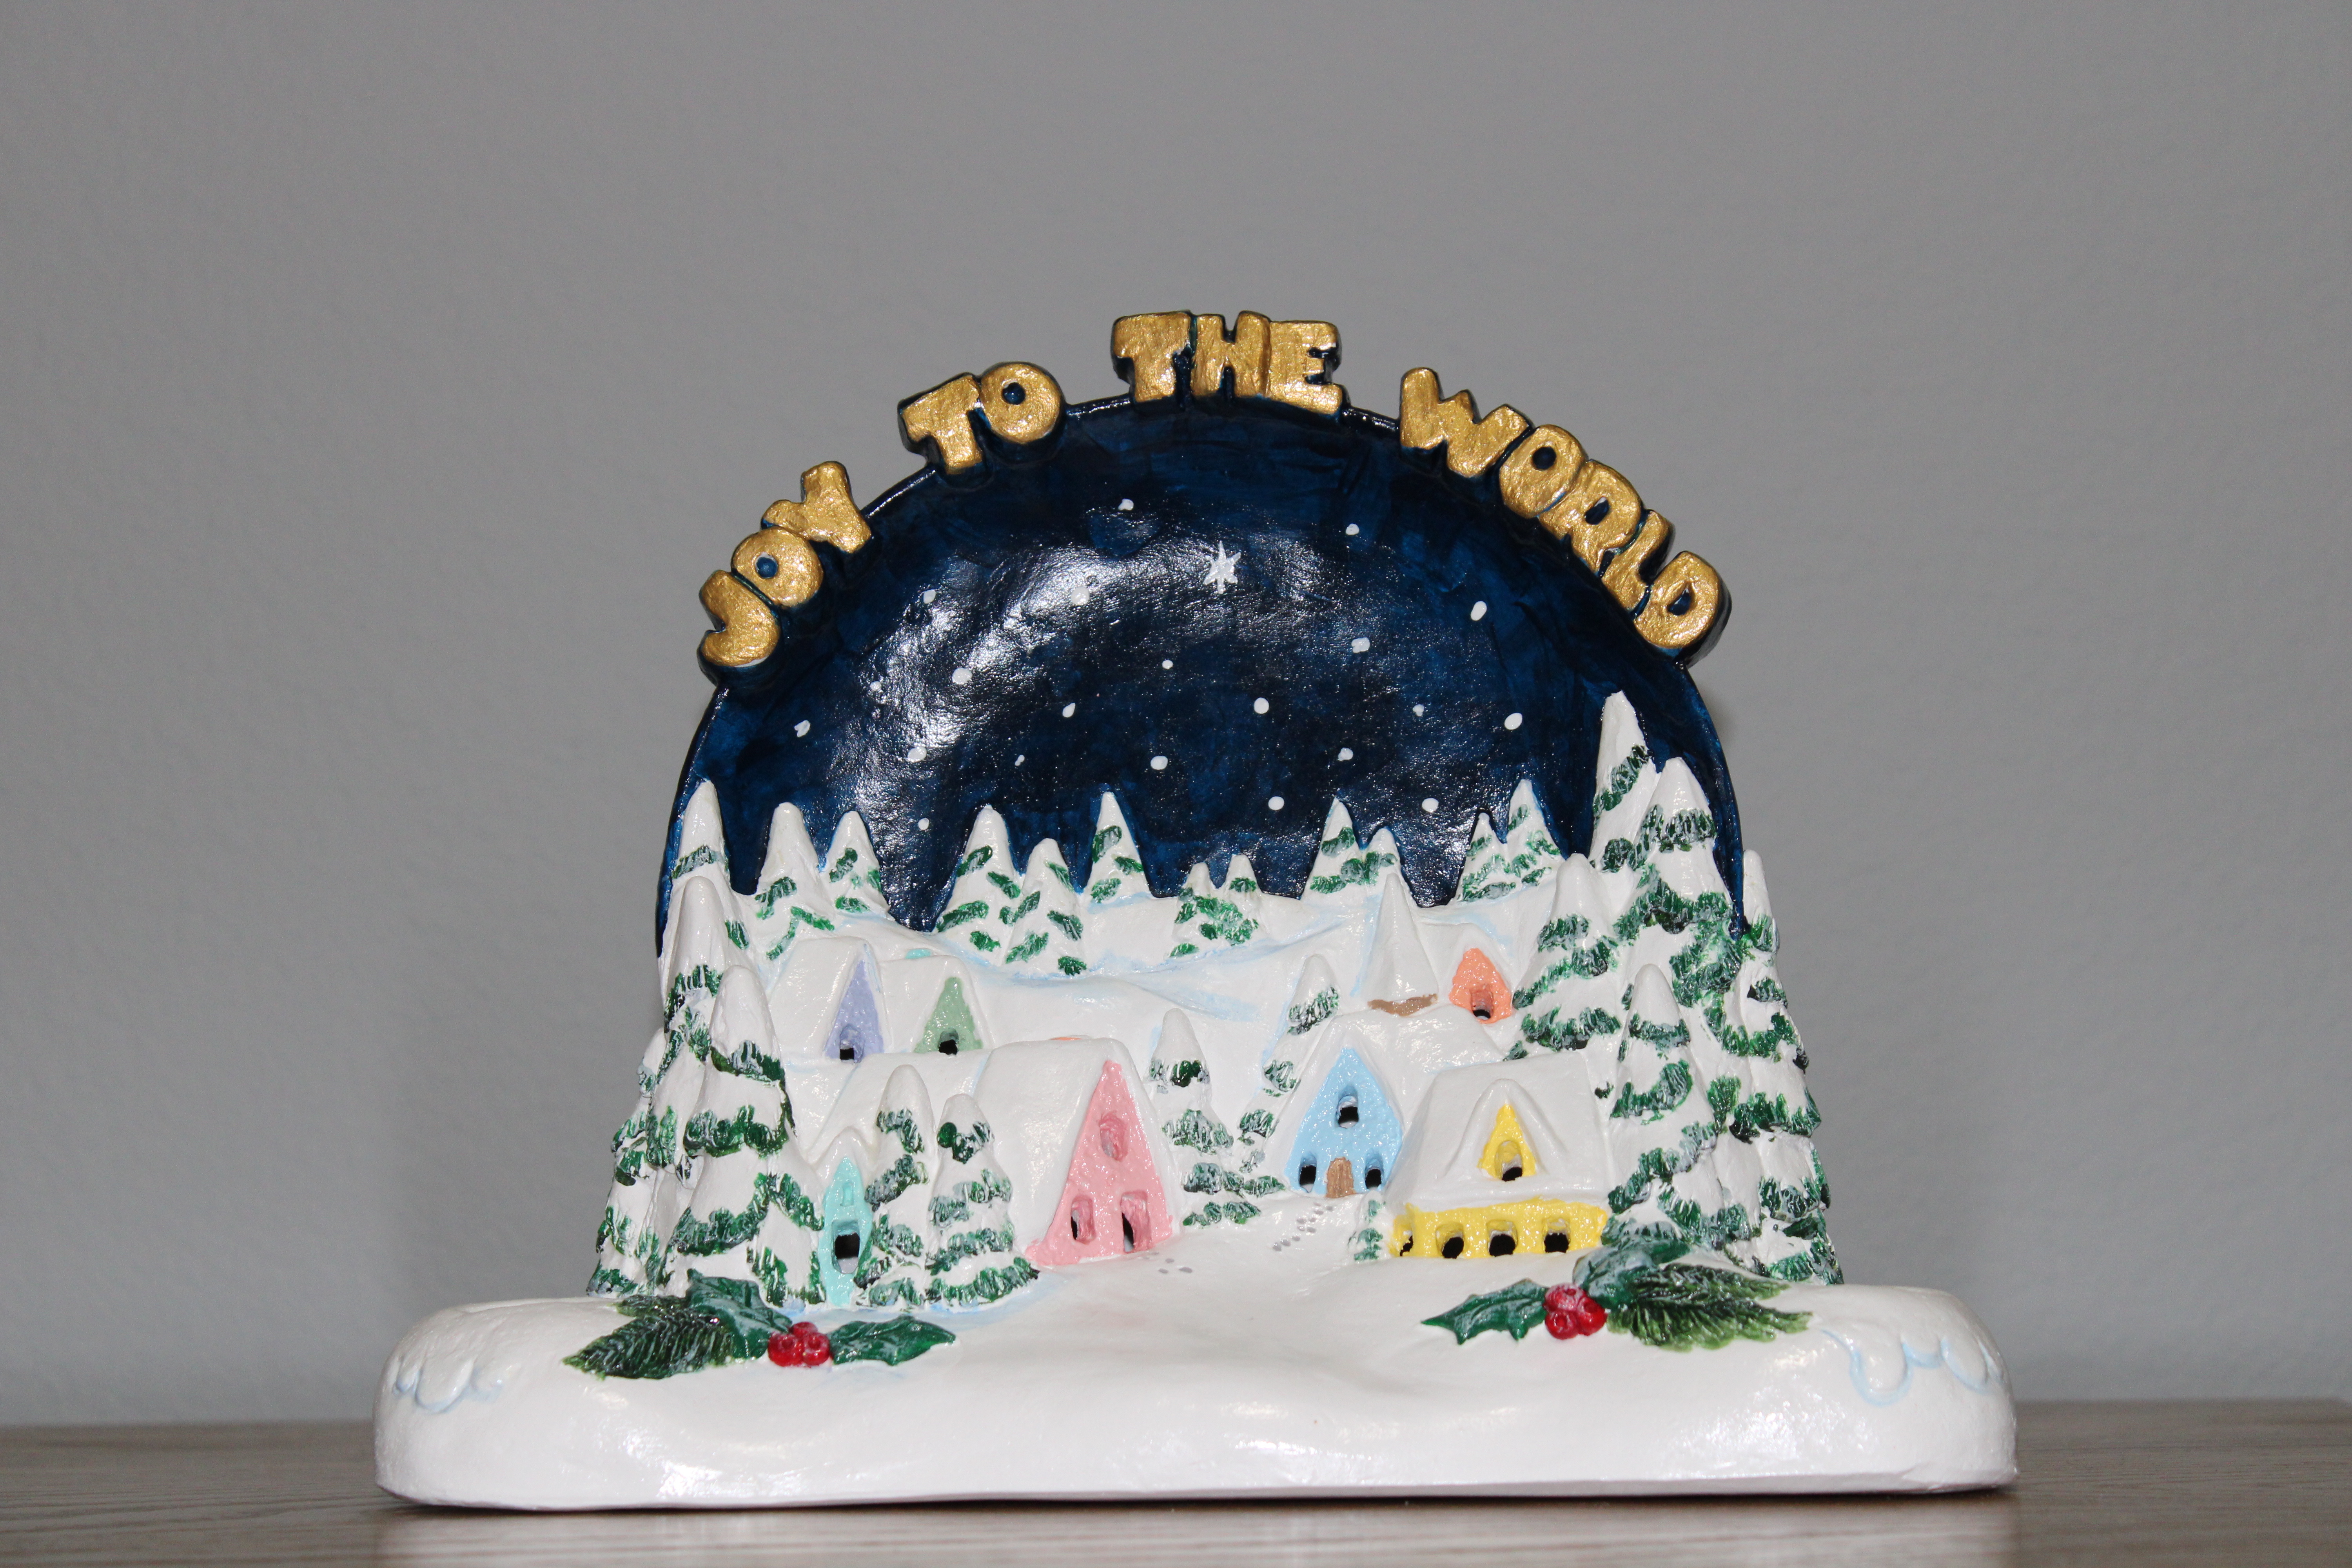
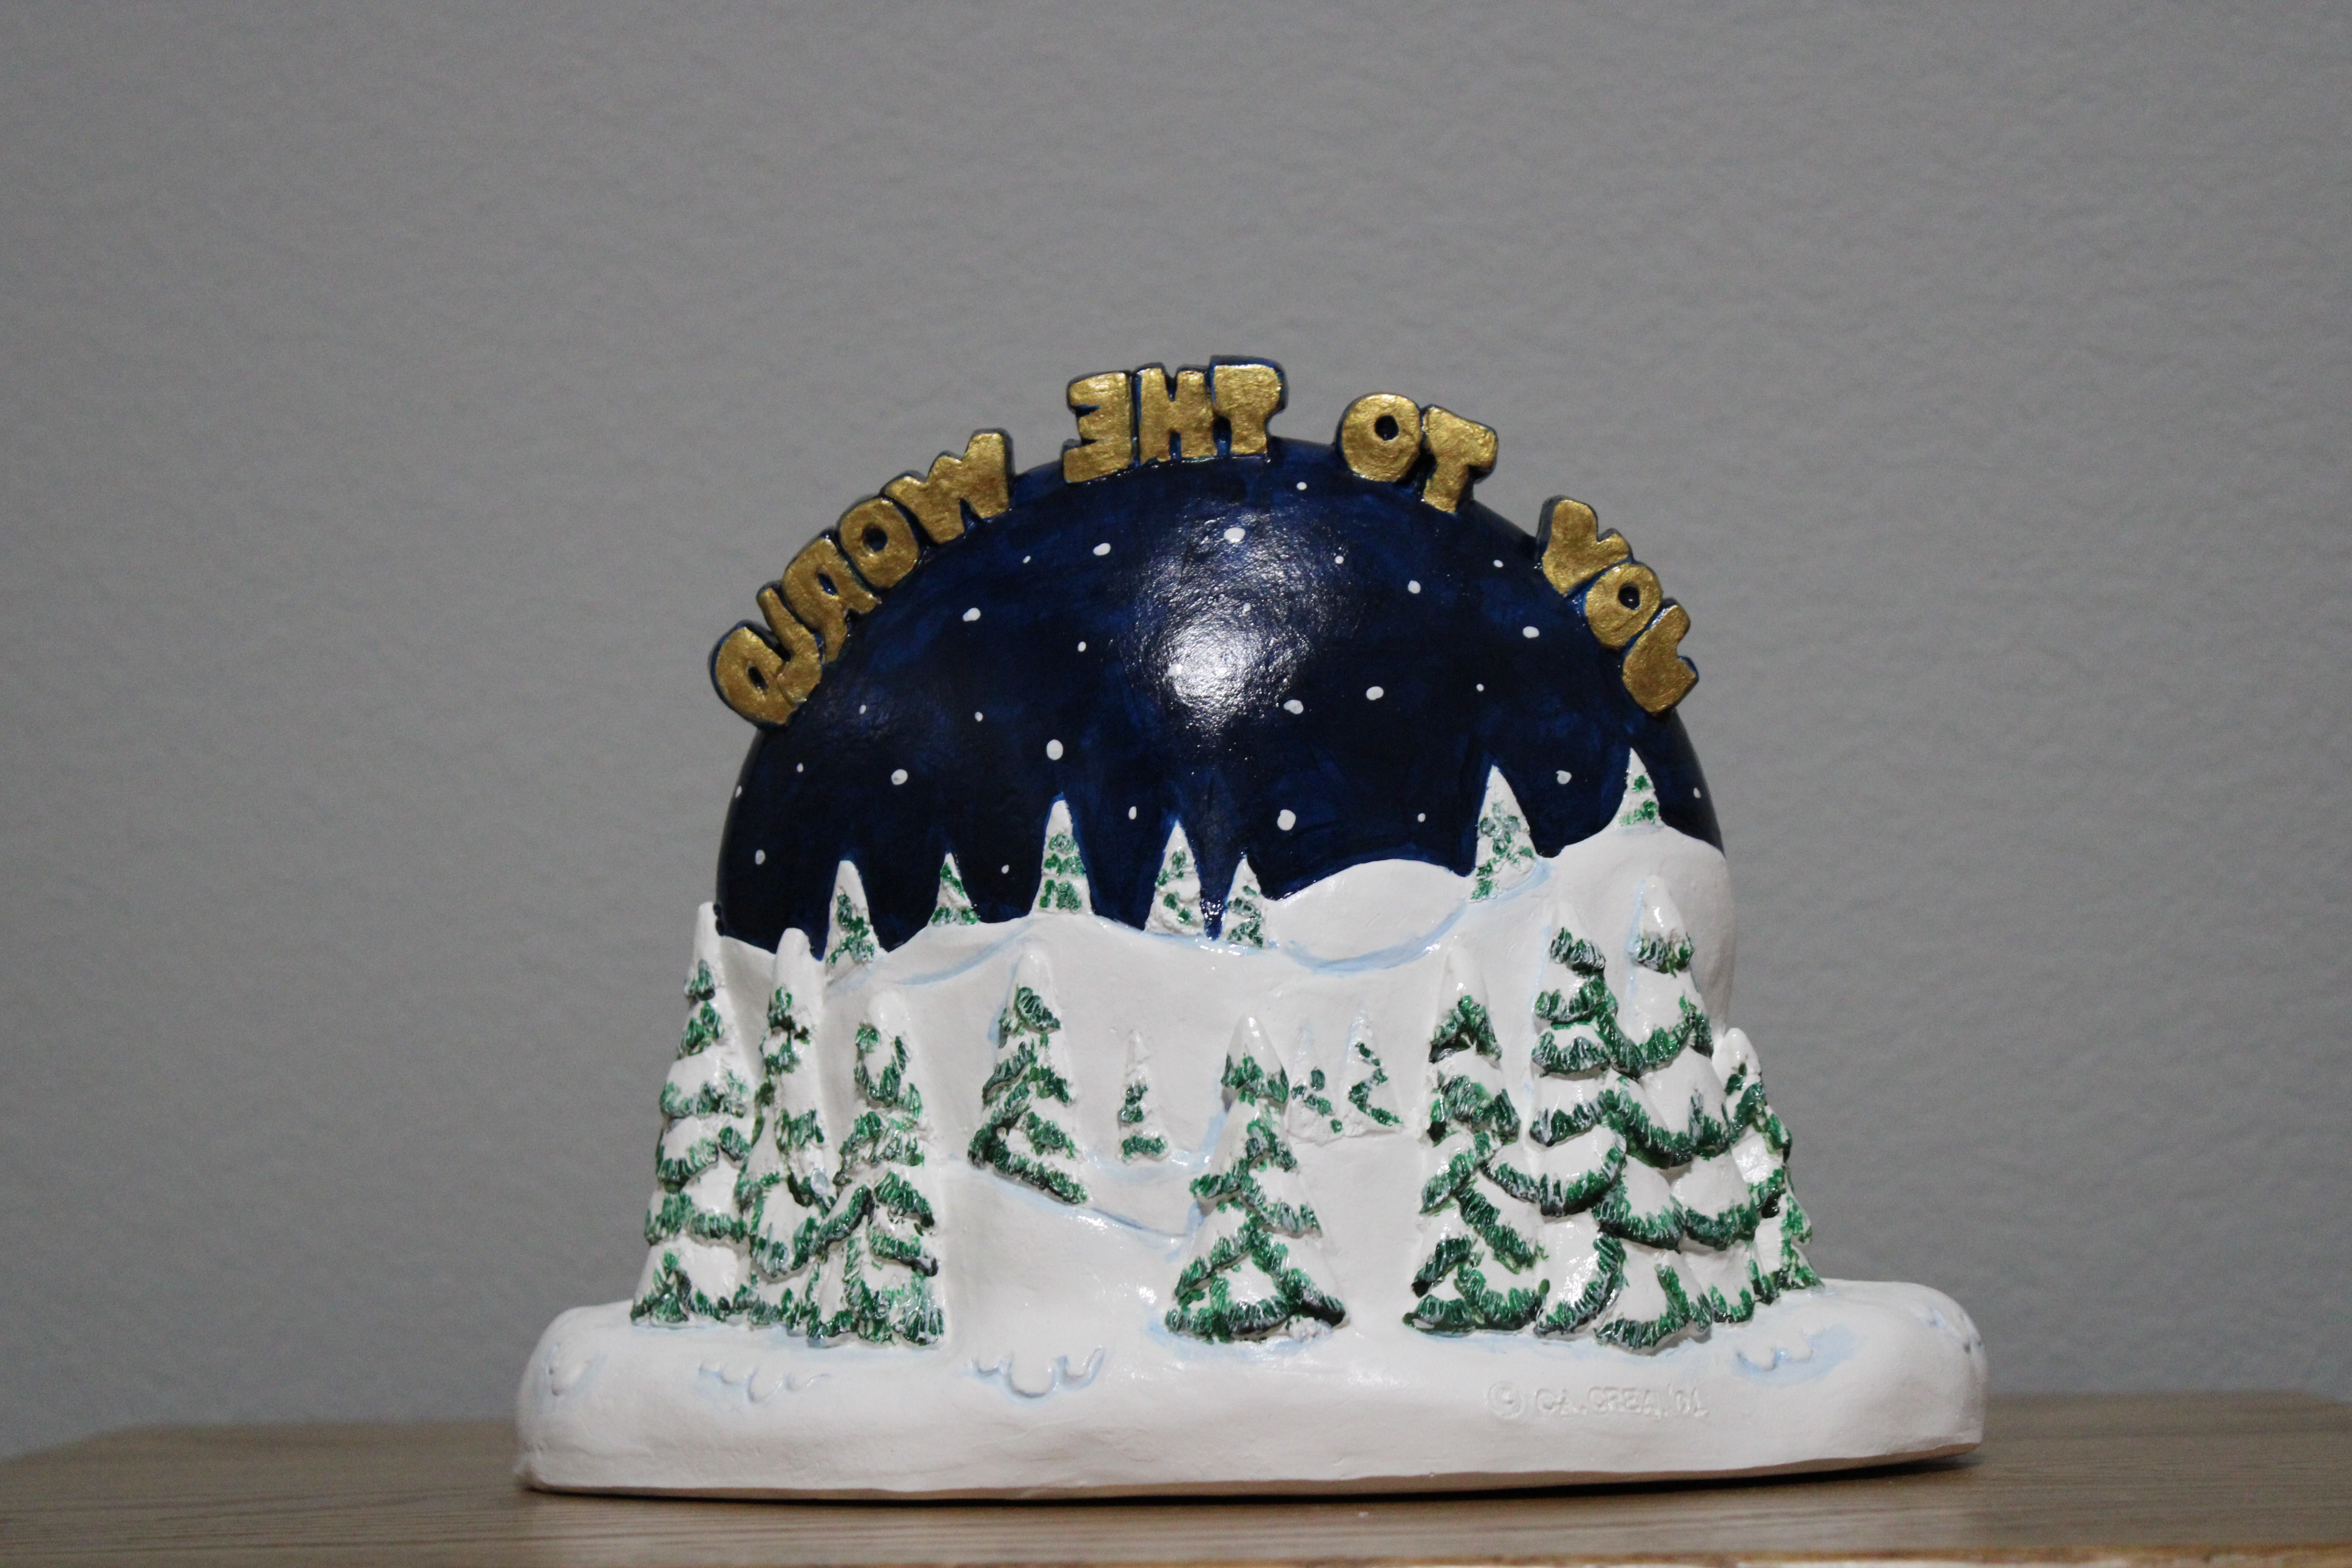
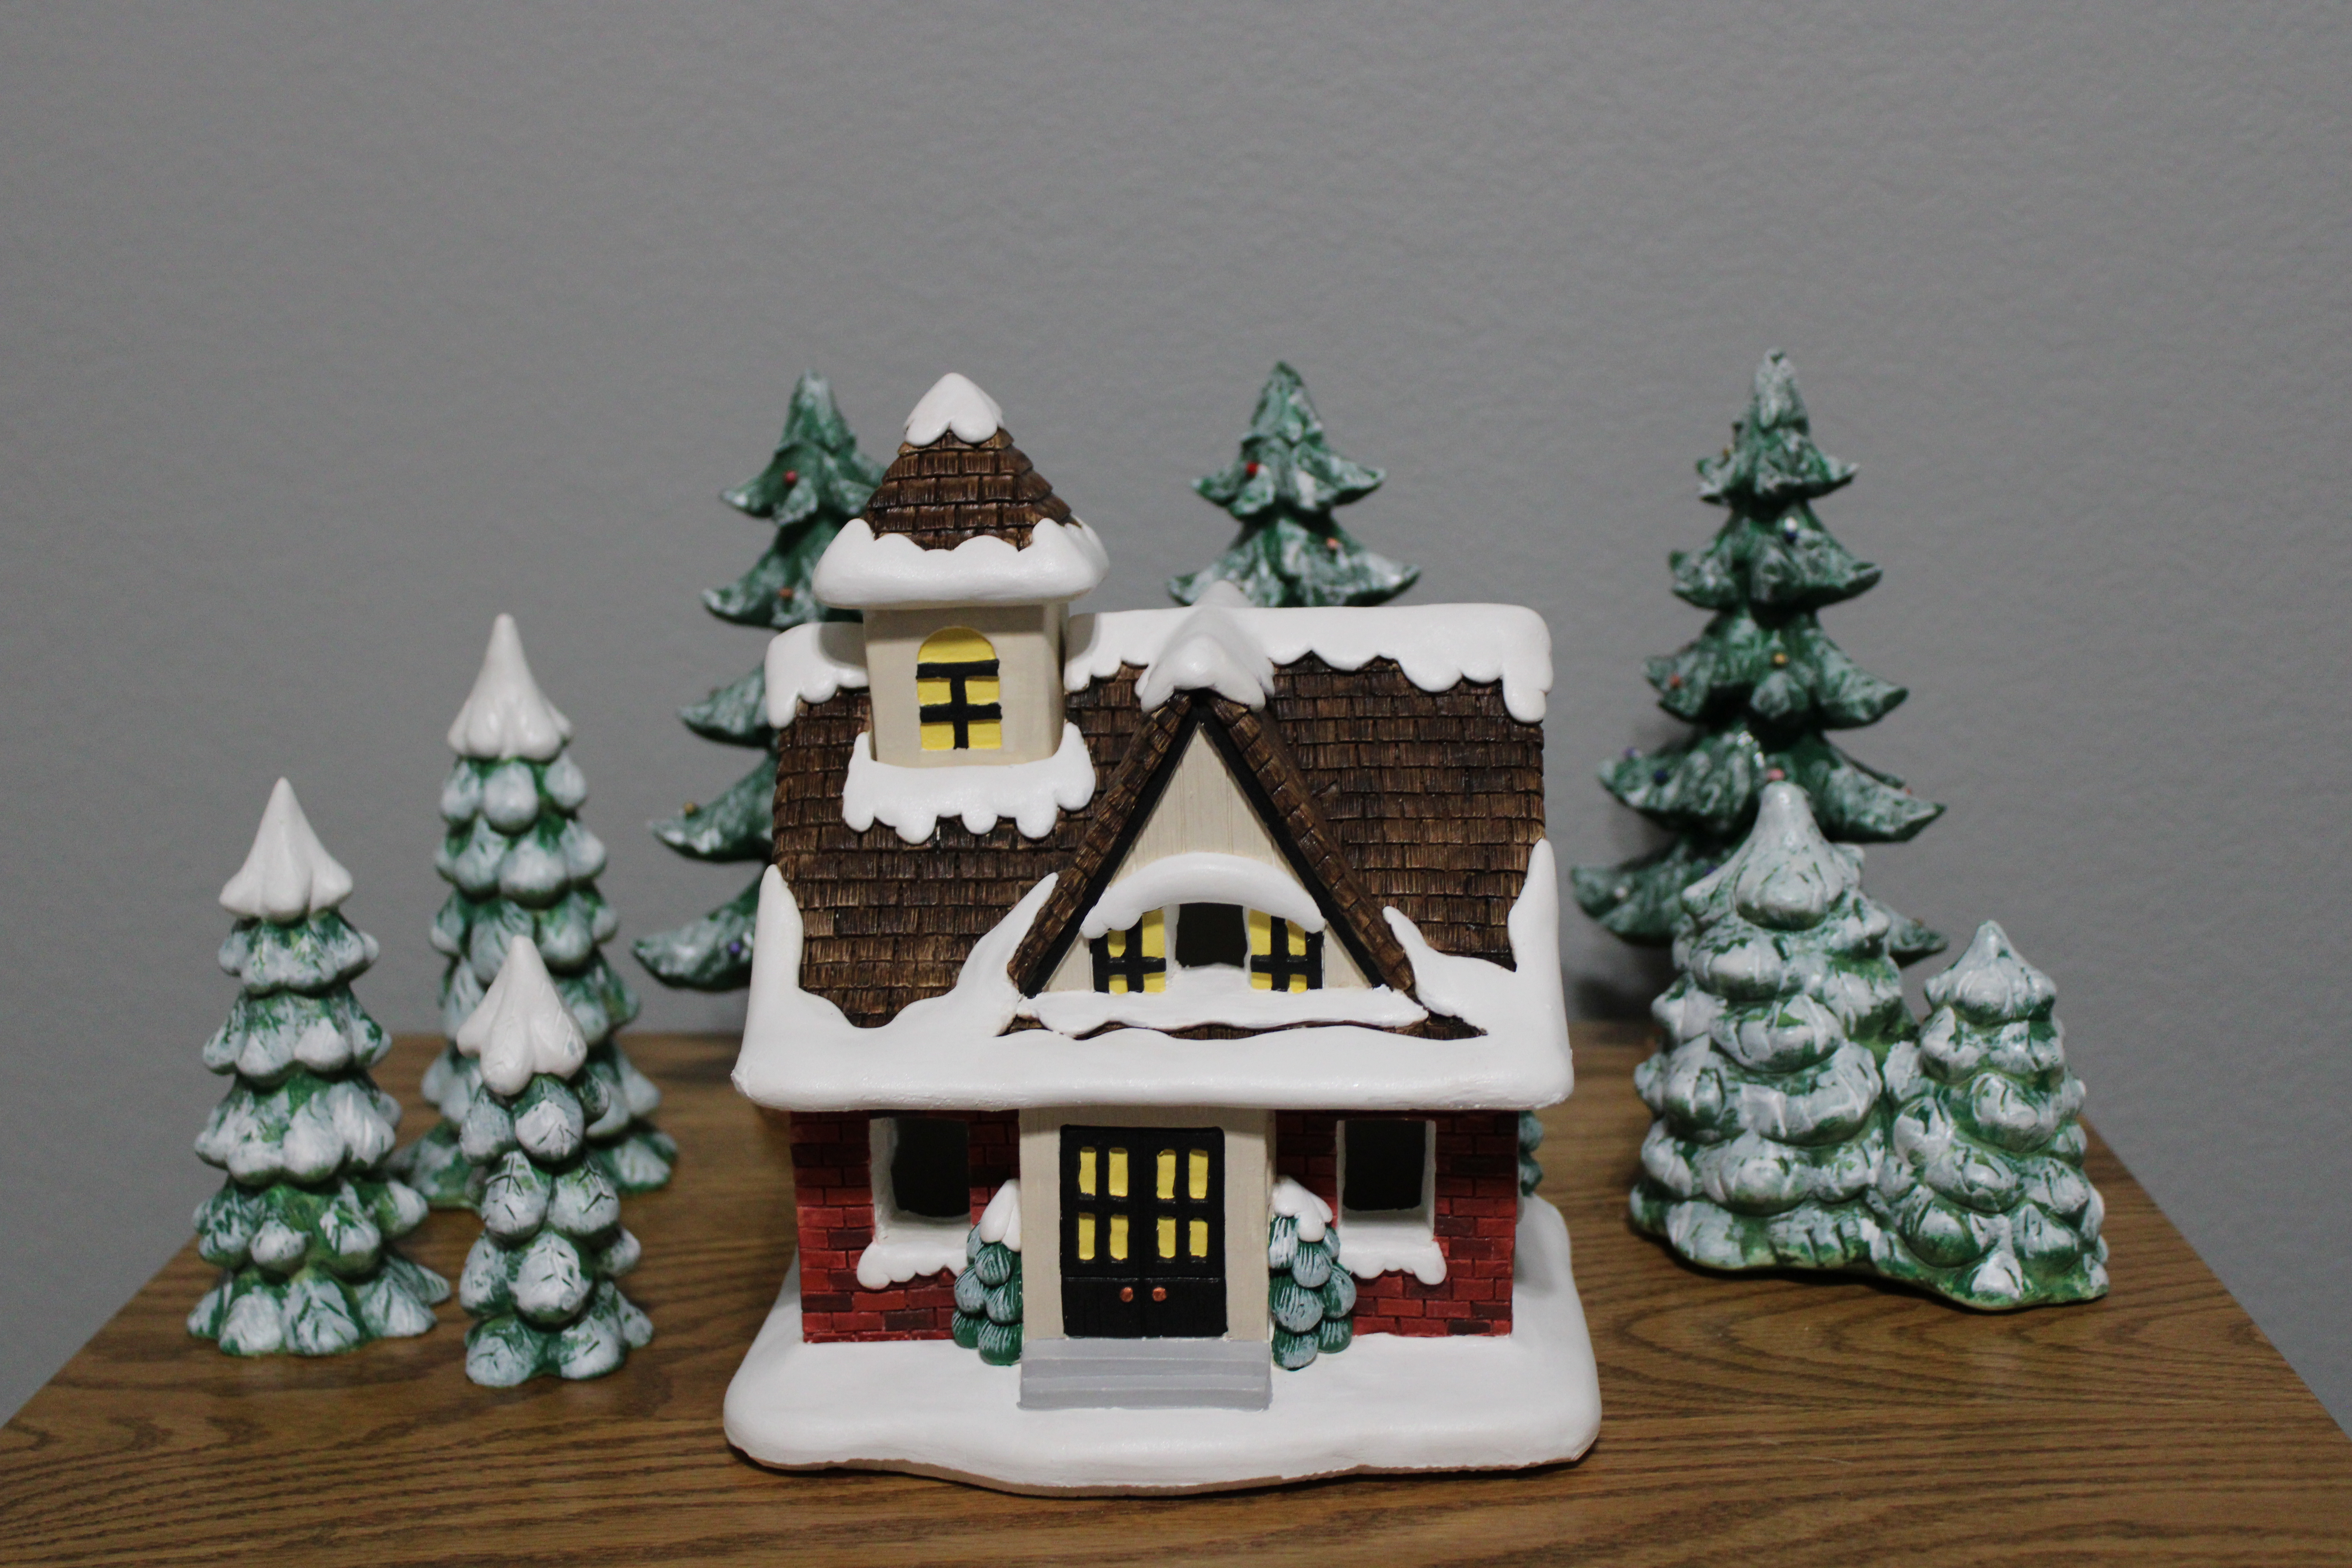
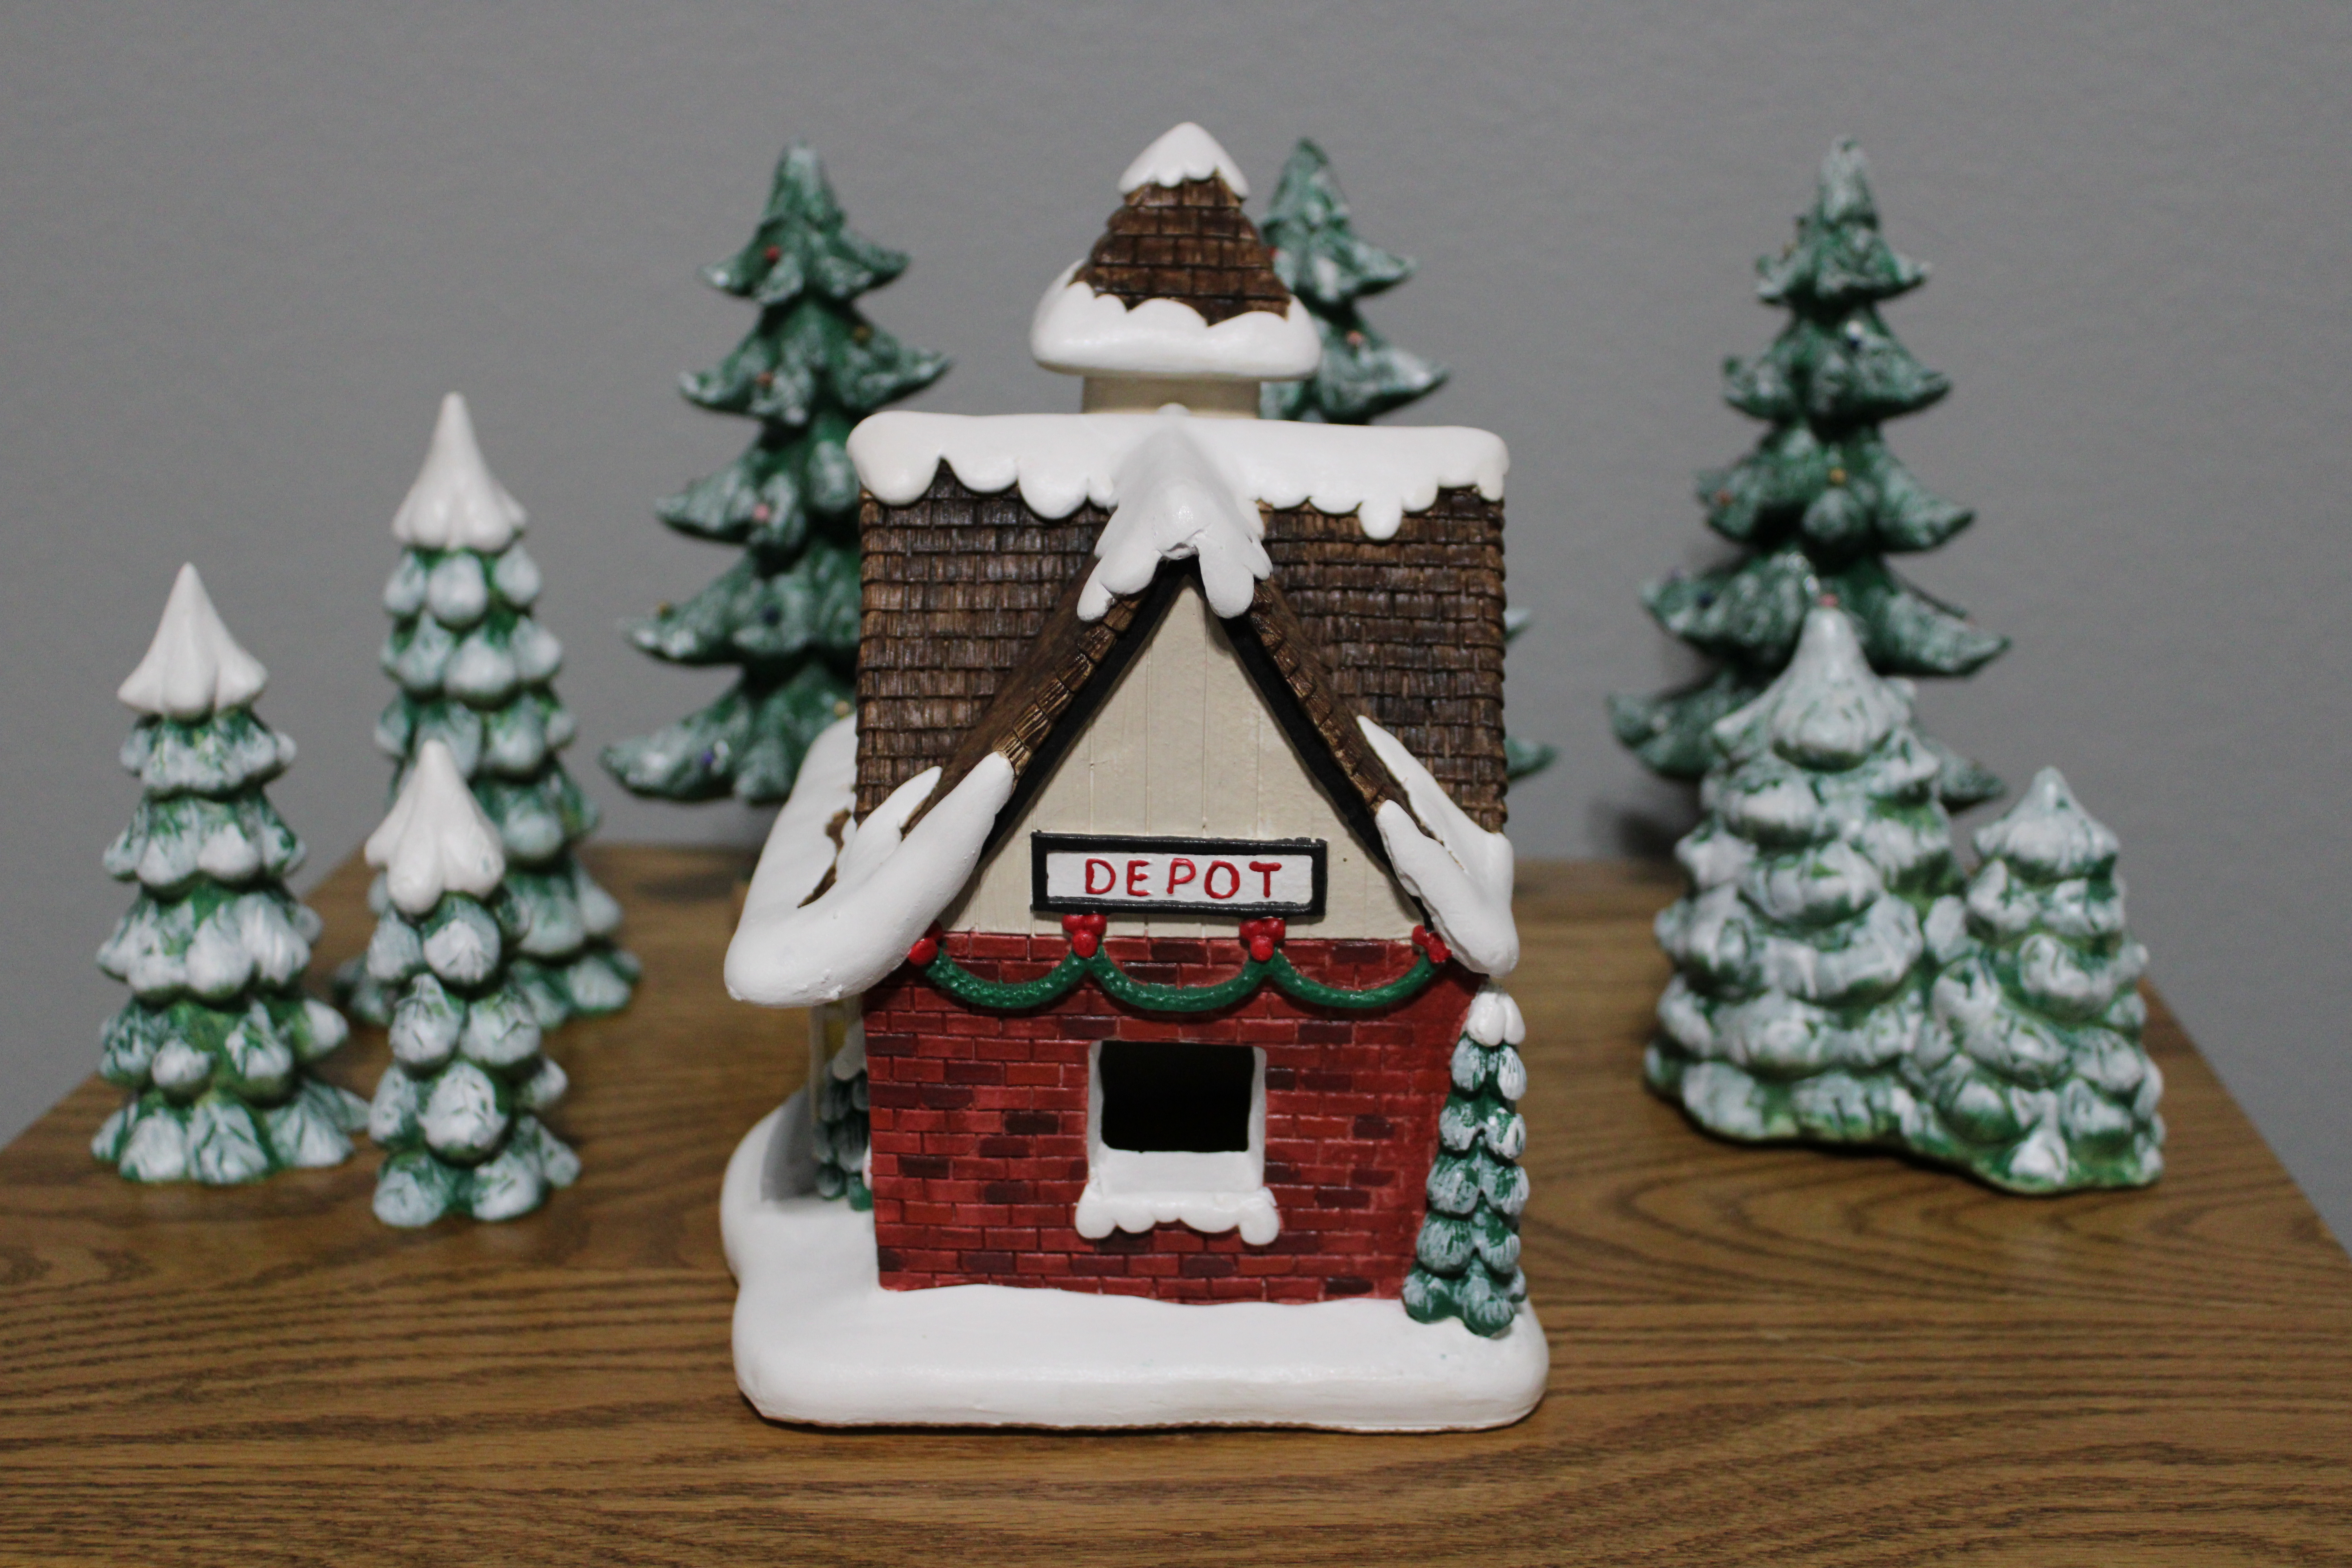
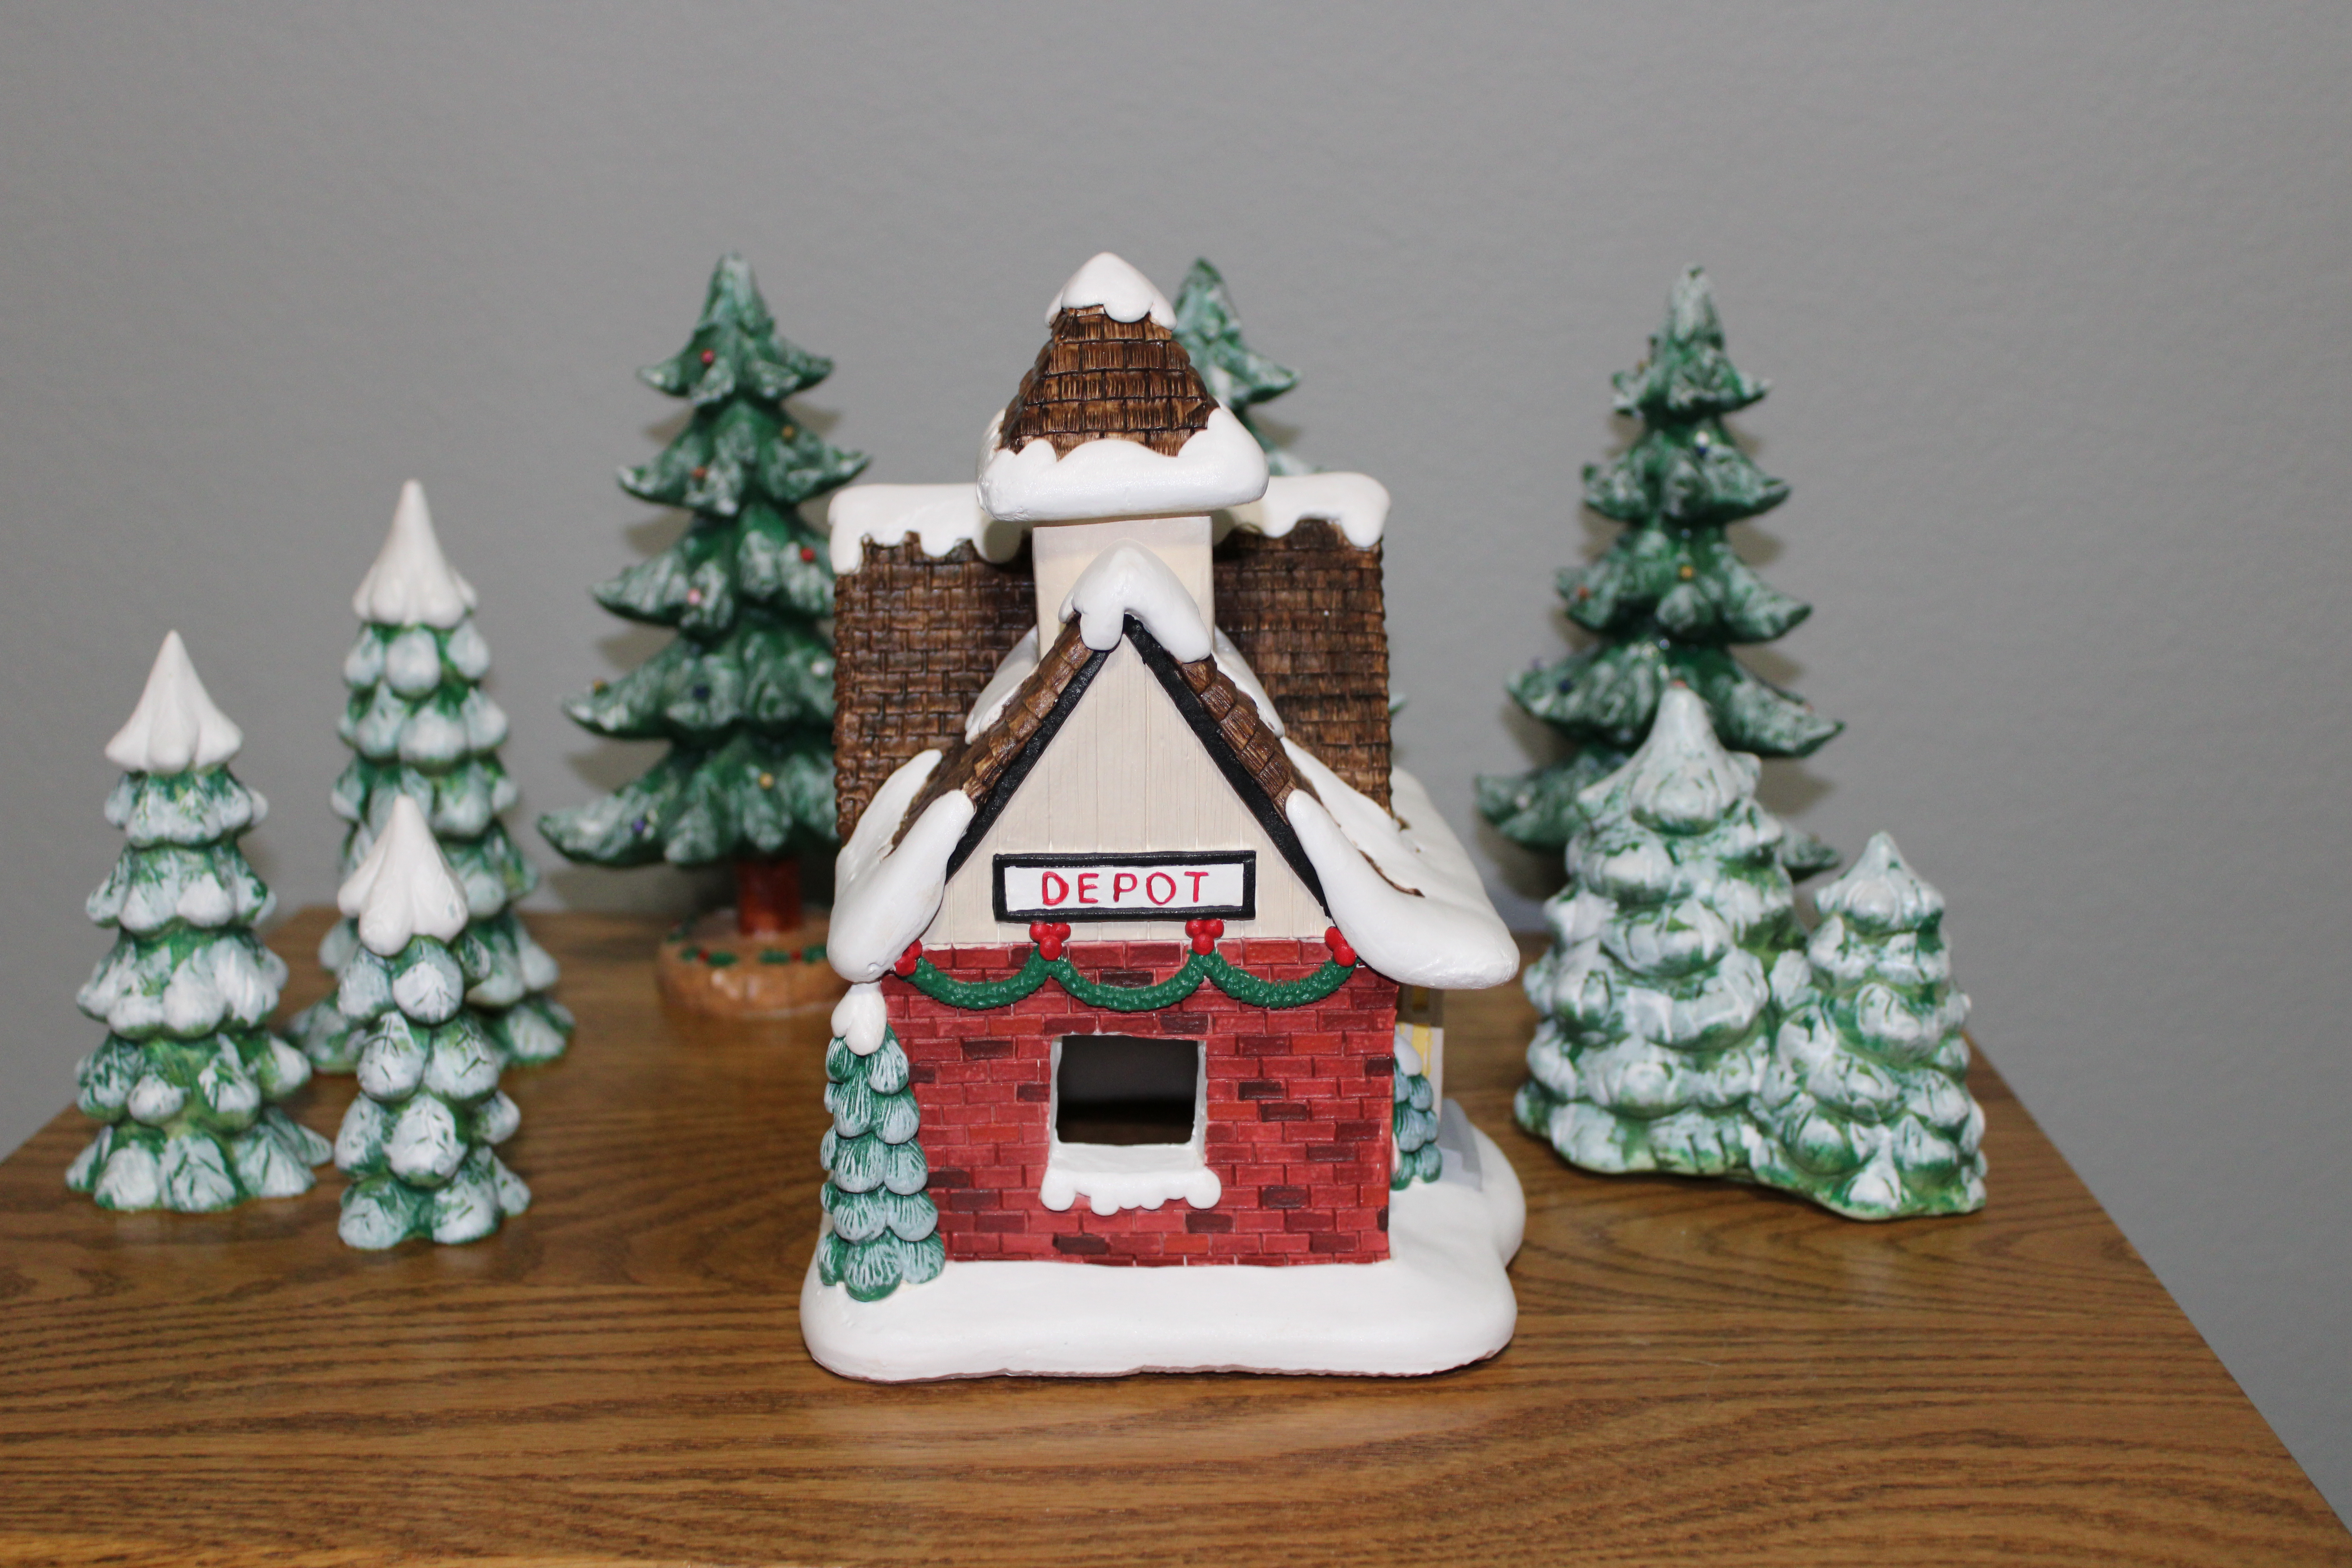
Its Christmas Time! No, it’s not! I like houses and a nice little Christmas Village to paint was the next item I selected; it was in stored for years. This piece is designed to hold candles.
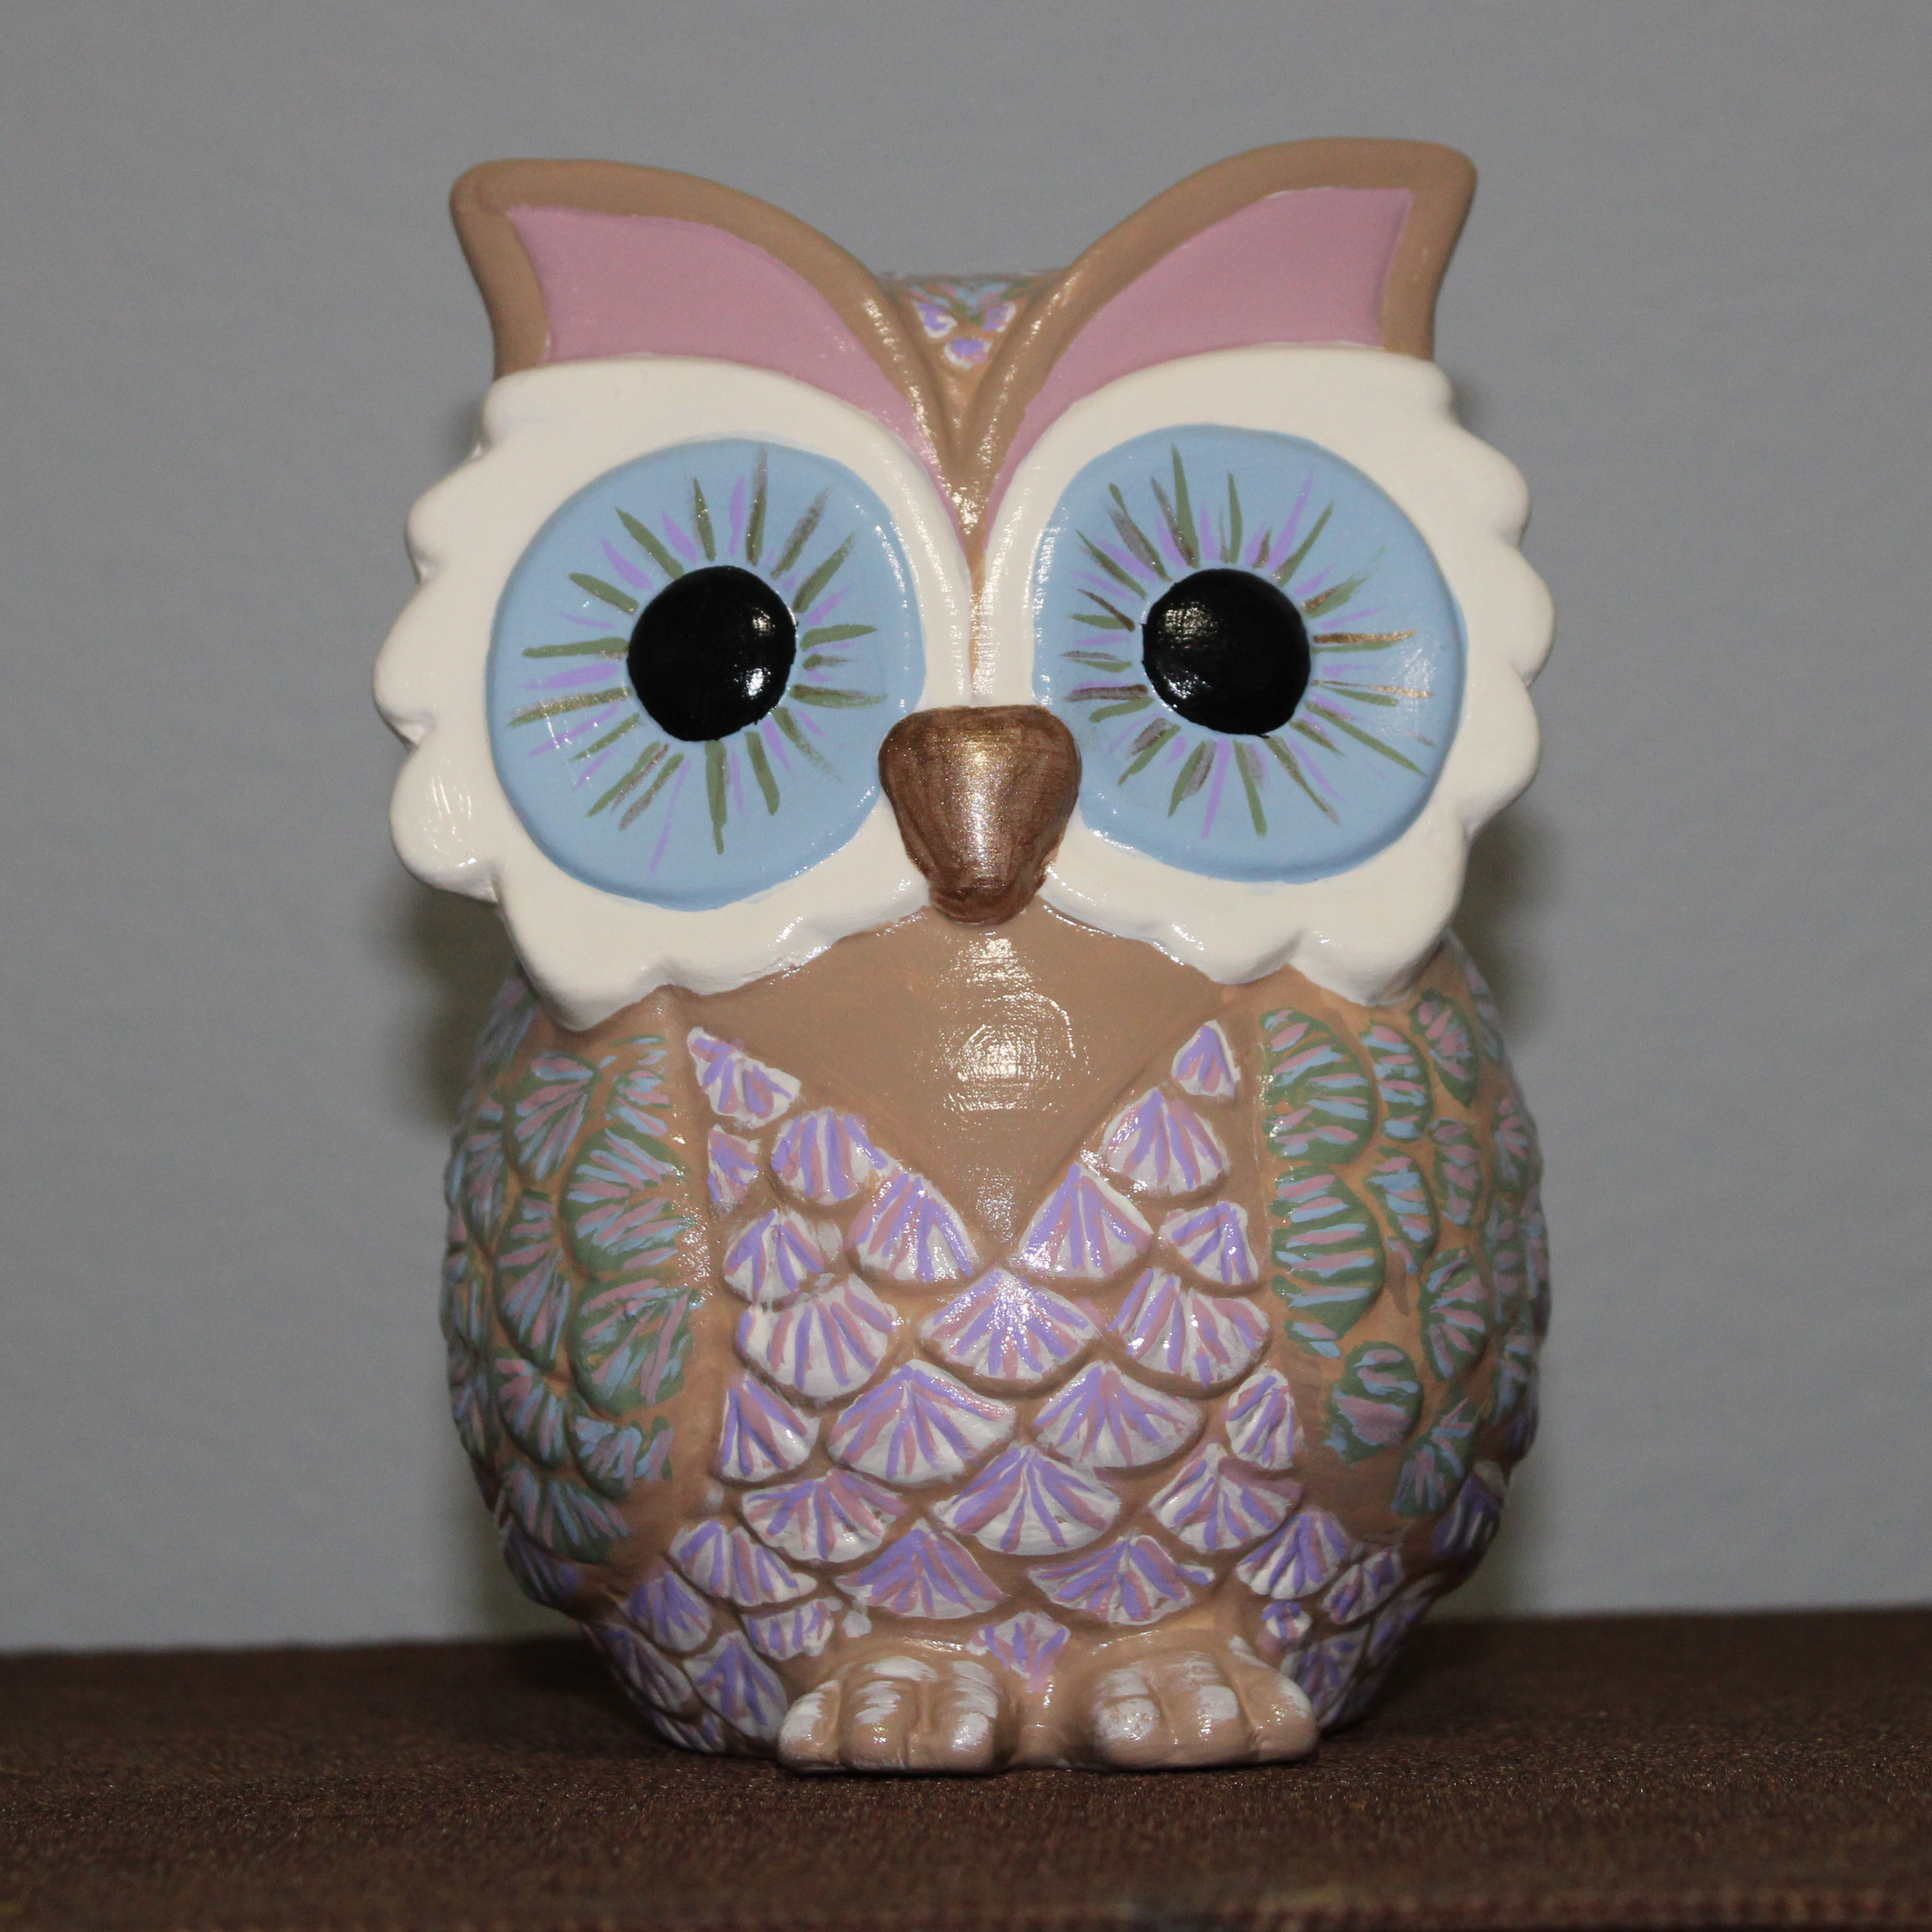
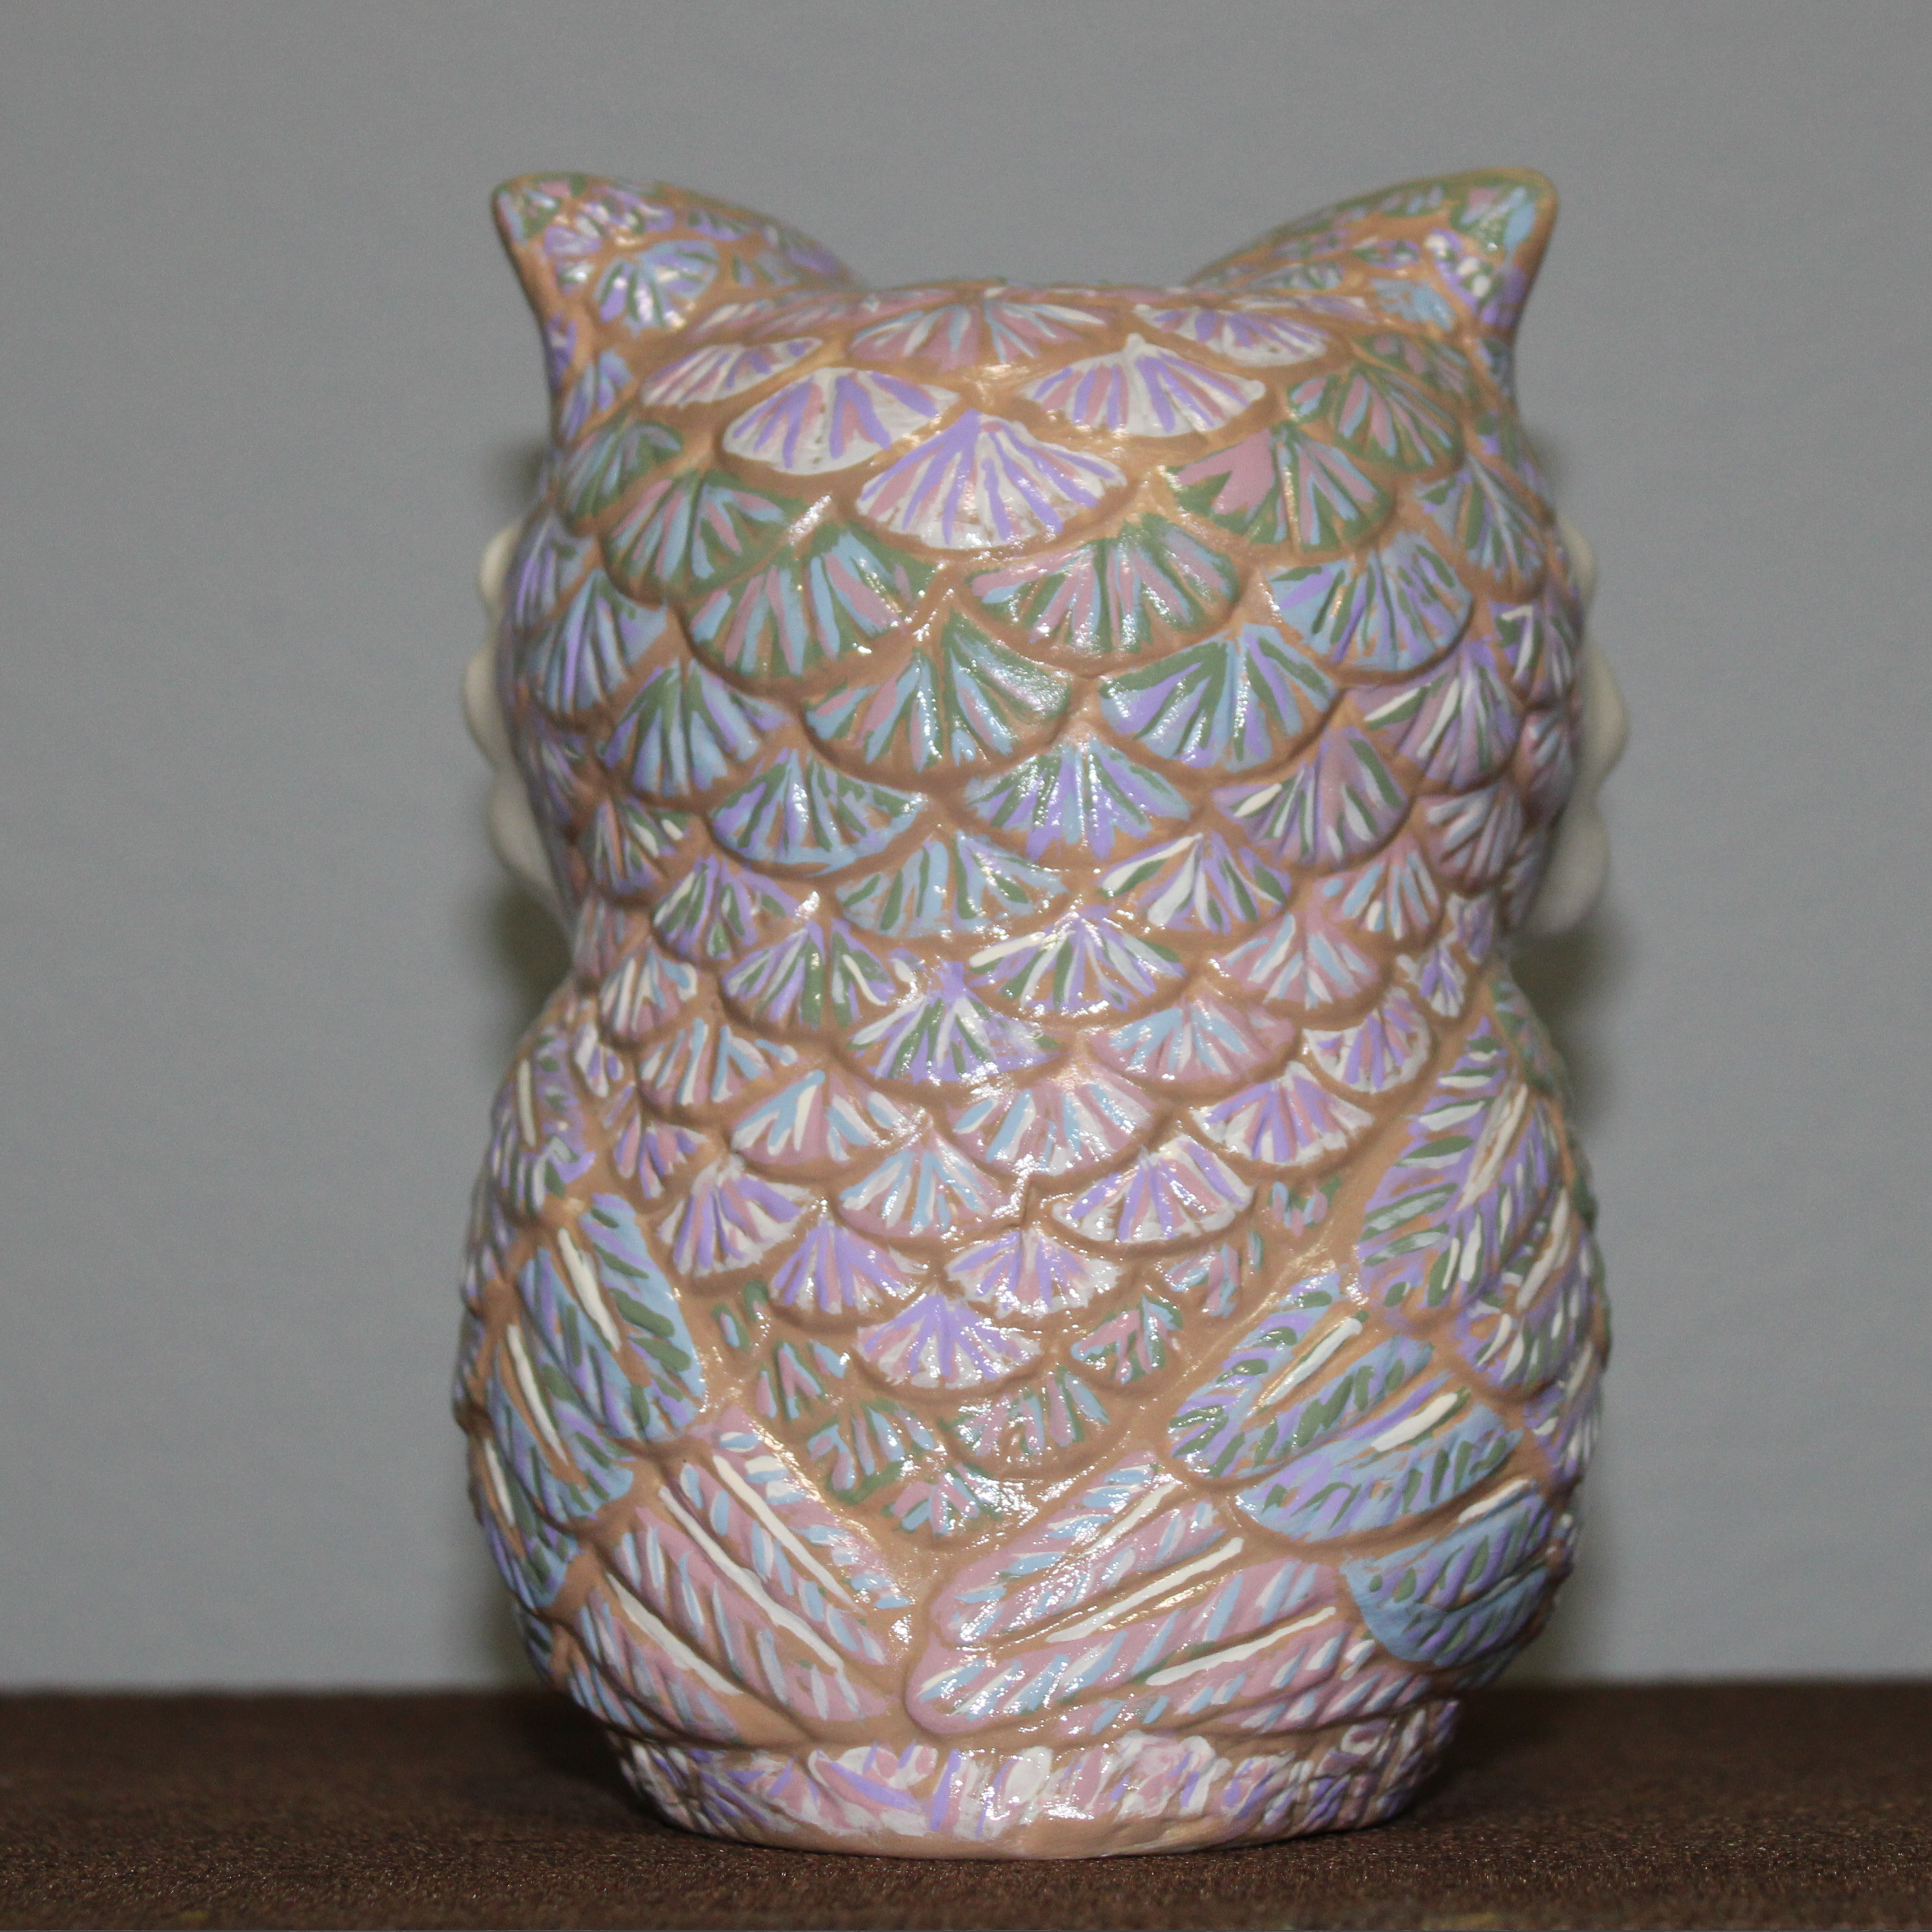
The next two piece were not in storage. They are the ones I found this year at Hobby Lobby. As you can tell I did not paint the owl in fall colors, instead I selected the colors that I used to paint the three angels. I did not paint the little white reflection in the eyes because after the gloss vanish was applied, it will allow the eyes to catch the light reflection.
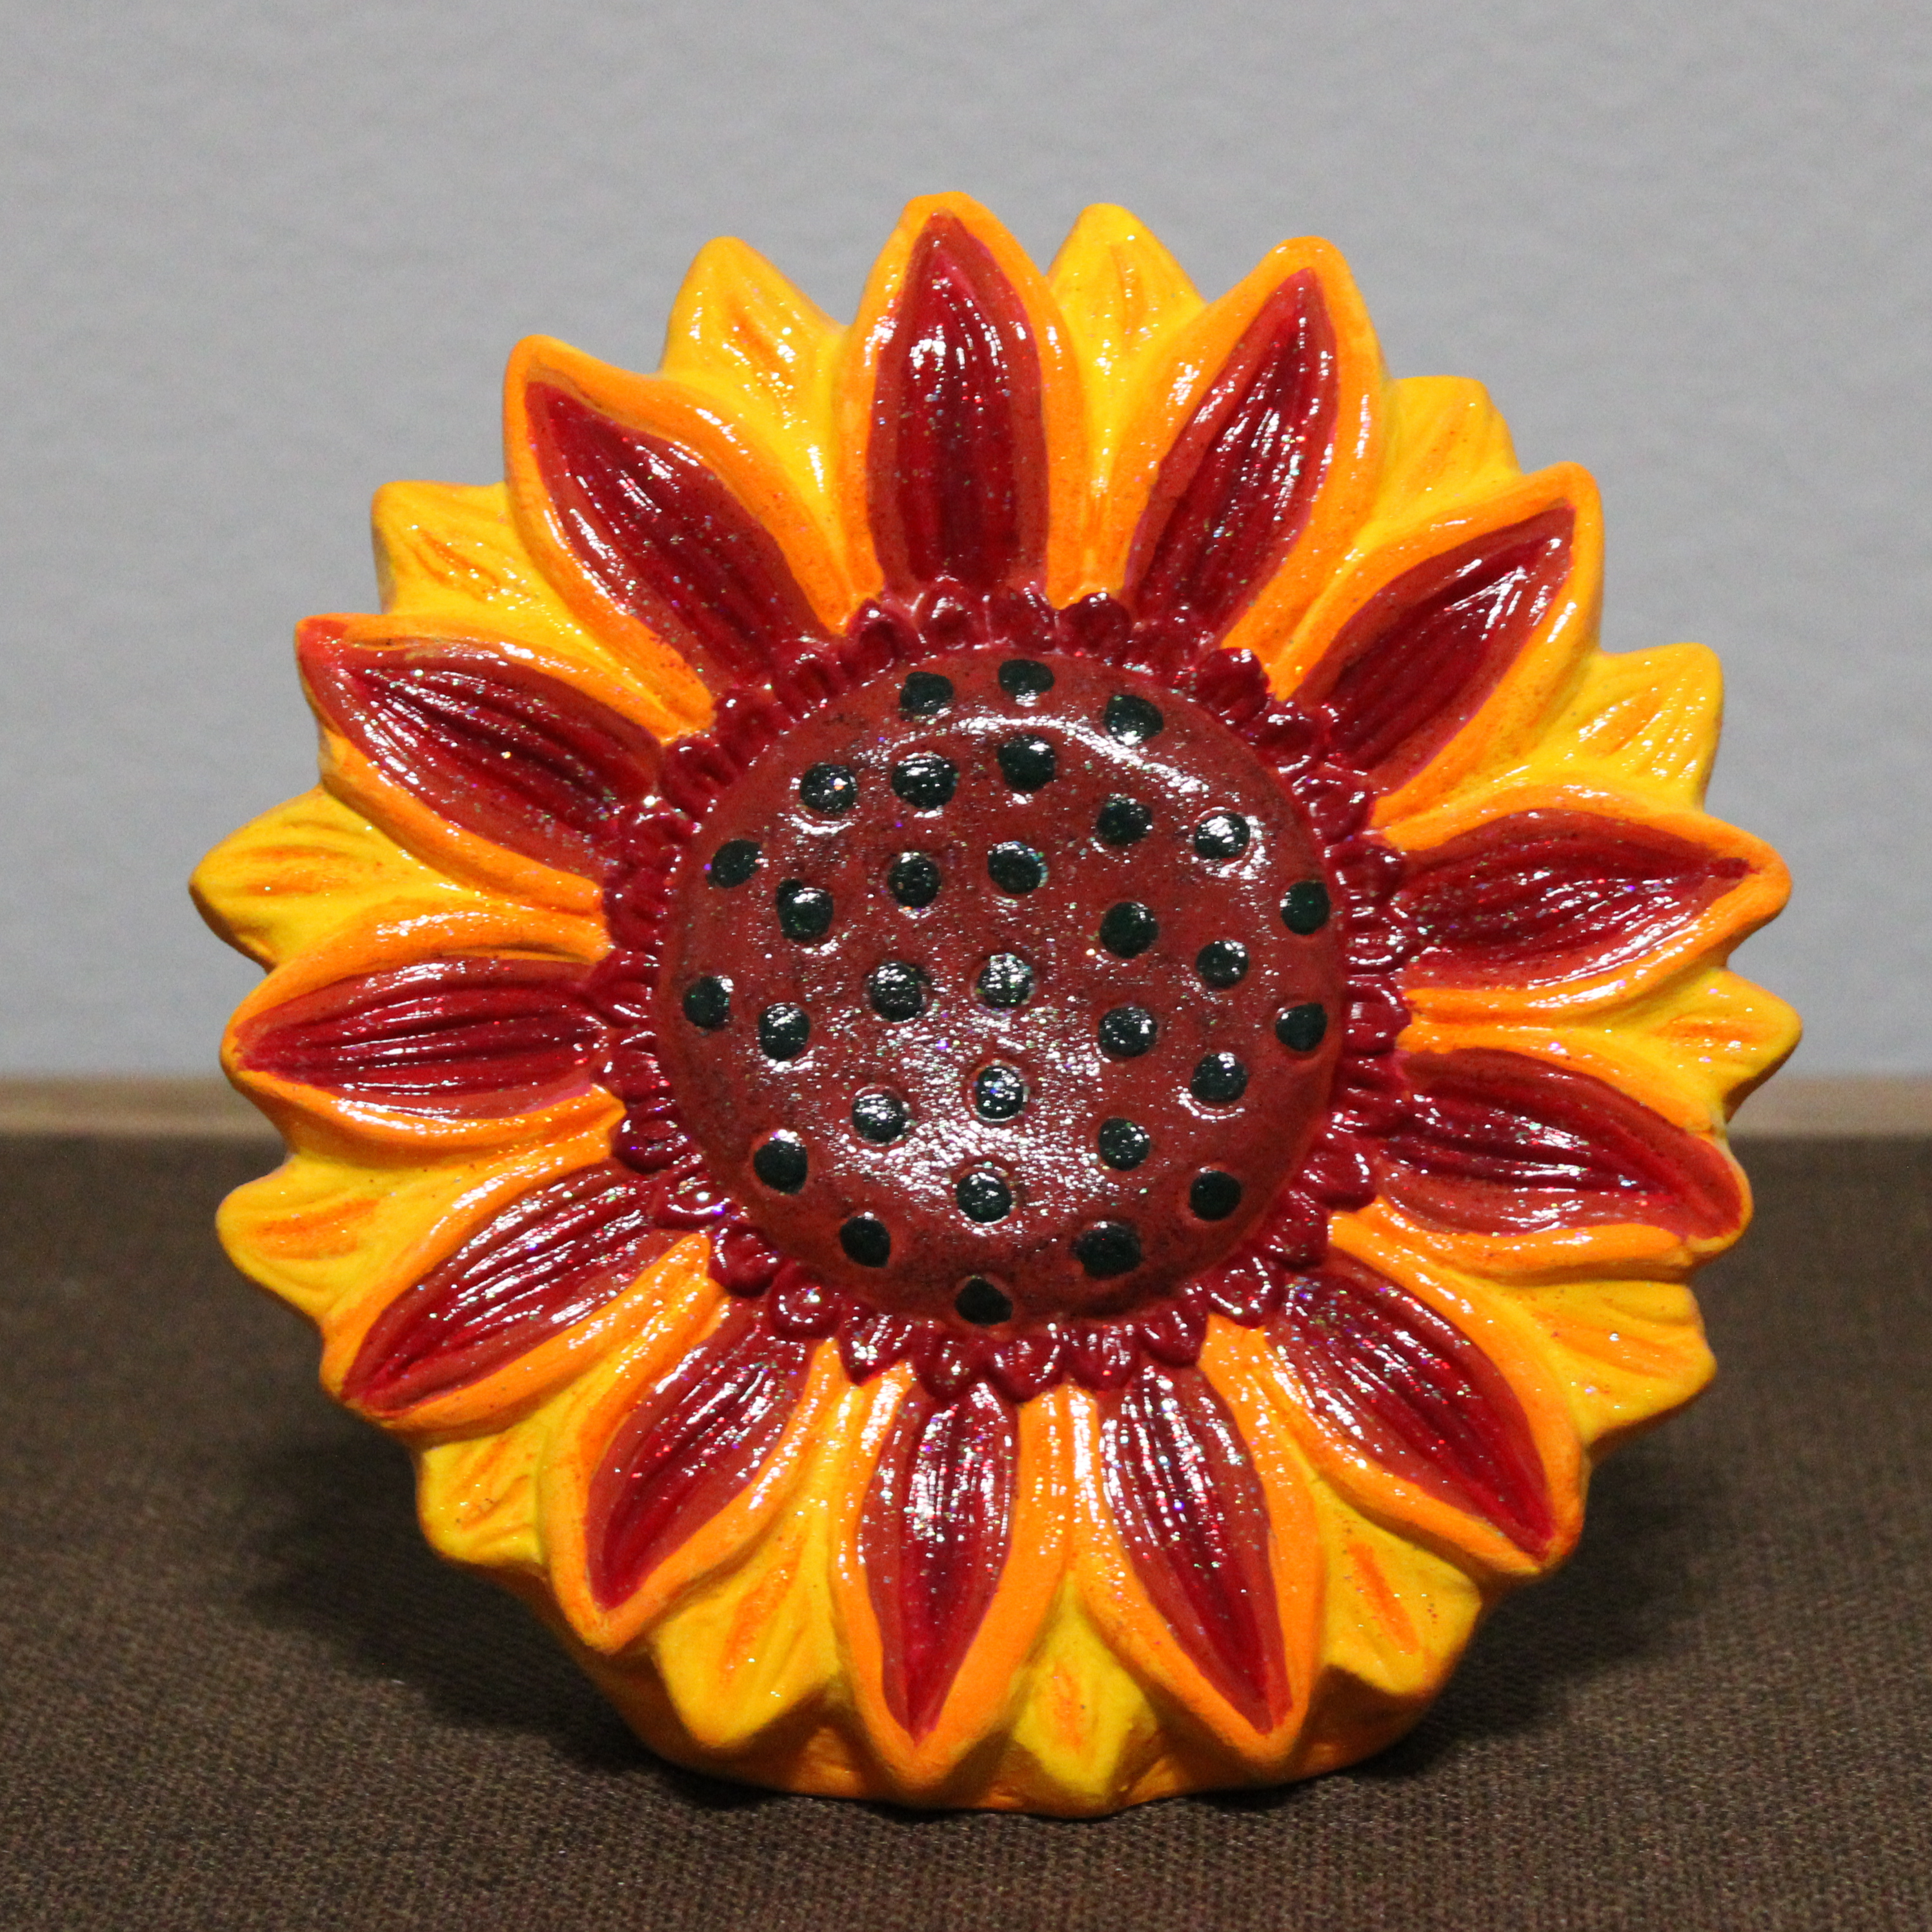
I did not want to paint the sunflower multiple shades of yellow. I wanted something a little different, so before I started painting it, I searched the internet to check if sunflowers did come in other colors besides yellow. I used multiple shades of red, orange, multiple shades of yellow, and dark green. After I was satisfied with the colors, I used yellow, red, and orange fine glitter paint. Then I used a sparkle glaze (glitter glaze) over the flower to give it a sparkle. To finish, I used gloss varnish.
This is the fifth post about the houses I painted after the flood of 2016. If you interested in learning more check out Rescued Houses – Part One.
This house is about twice the size of the ones I normally paint. After sitting in the flood waters for a few days, it has some damage to its plaster. Some of the houses the damage with too extensive to attempt to save.
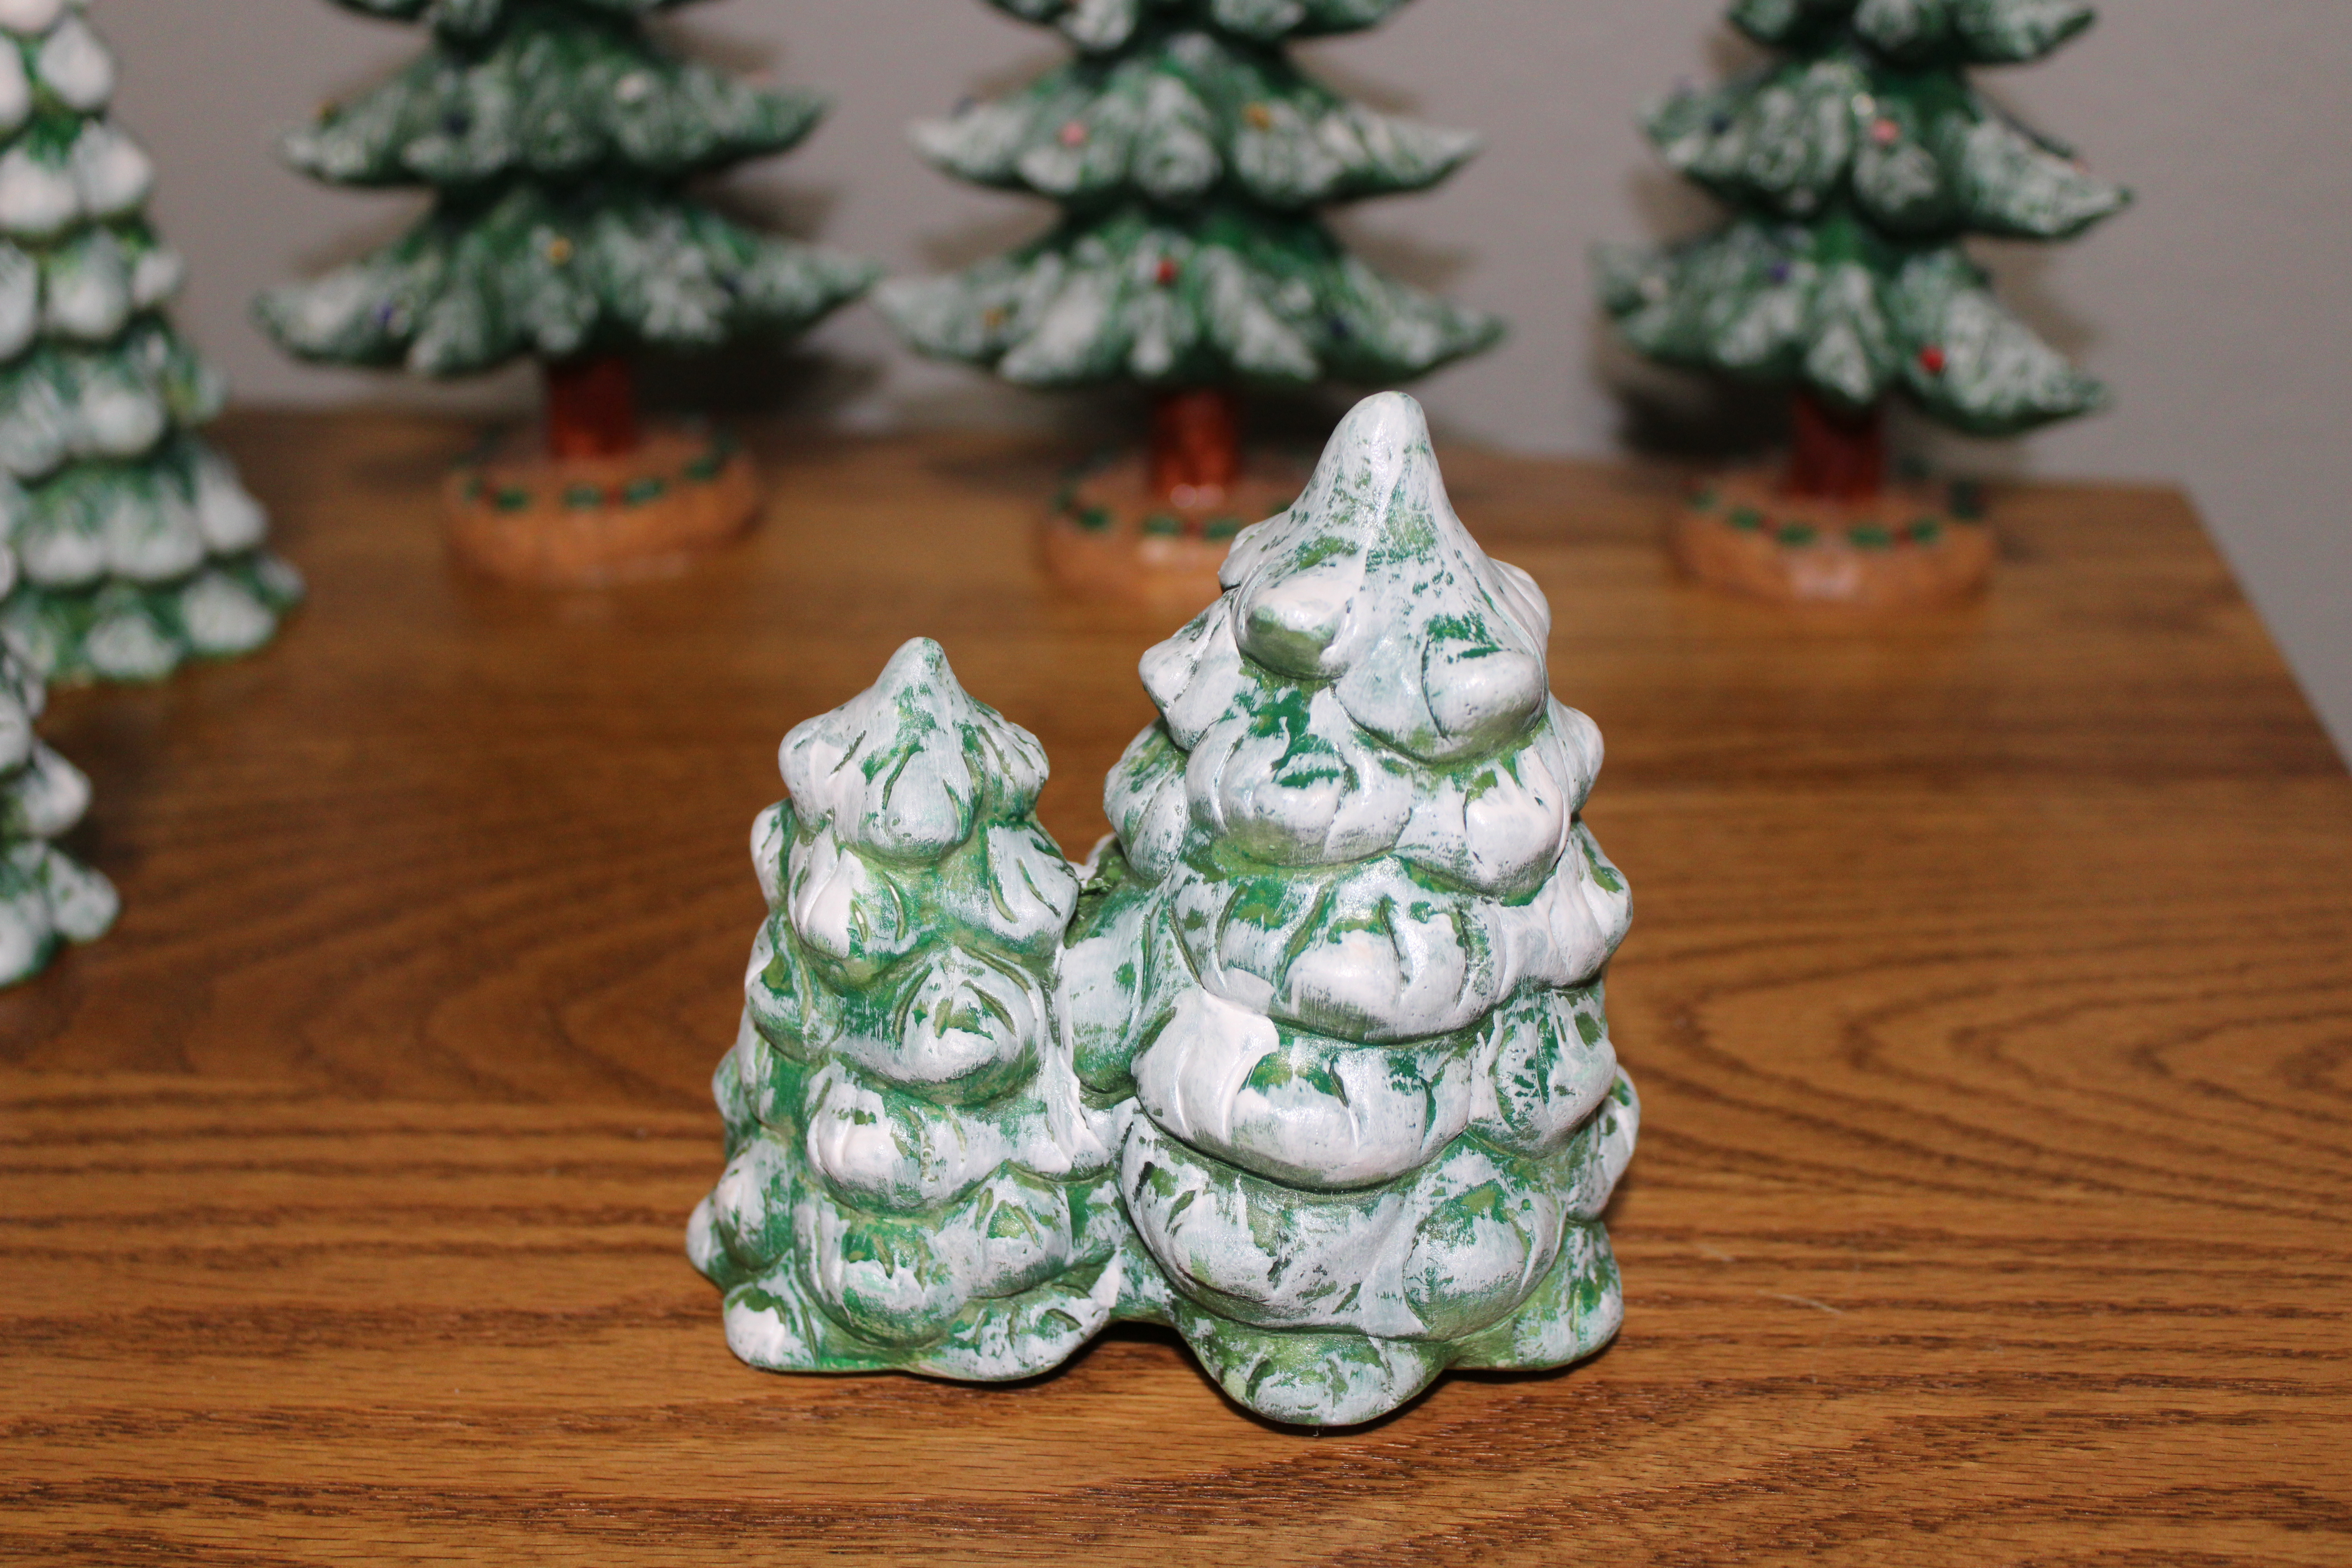
The trees survived the flood without damage, because they were in the boxes higher up. Yes, I placed all the heavier objects/boxes on the bottom to keep from crushing the lighter boxes.
The trees were painted green then dried brushed with white paint.
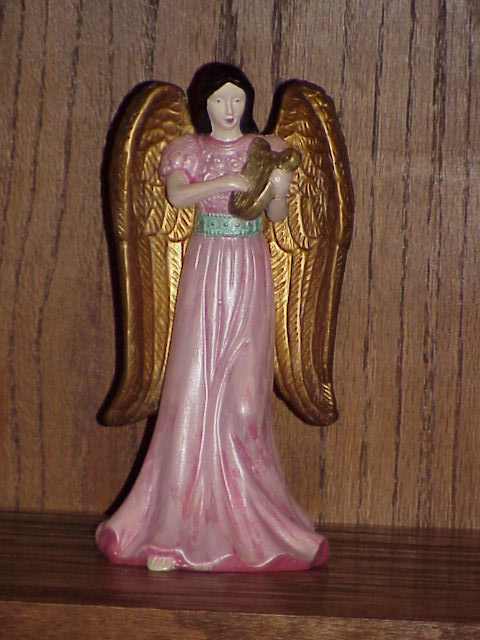
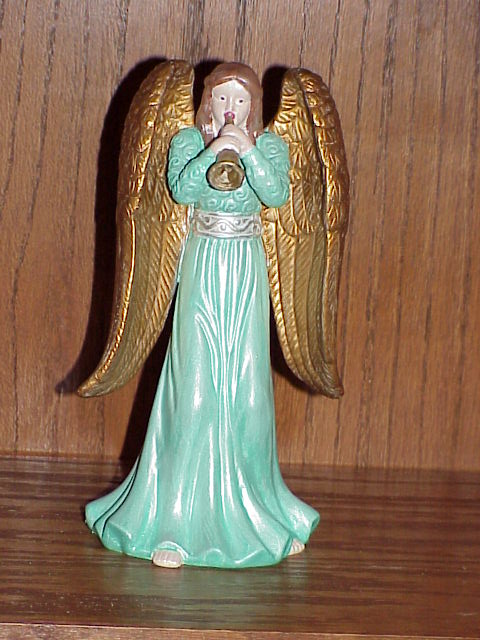
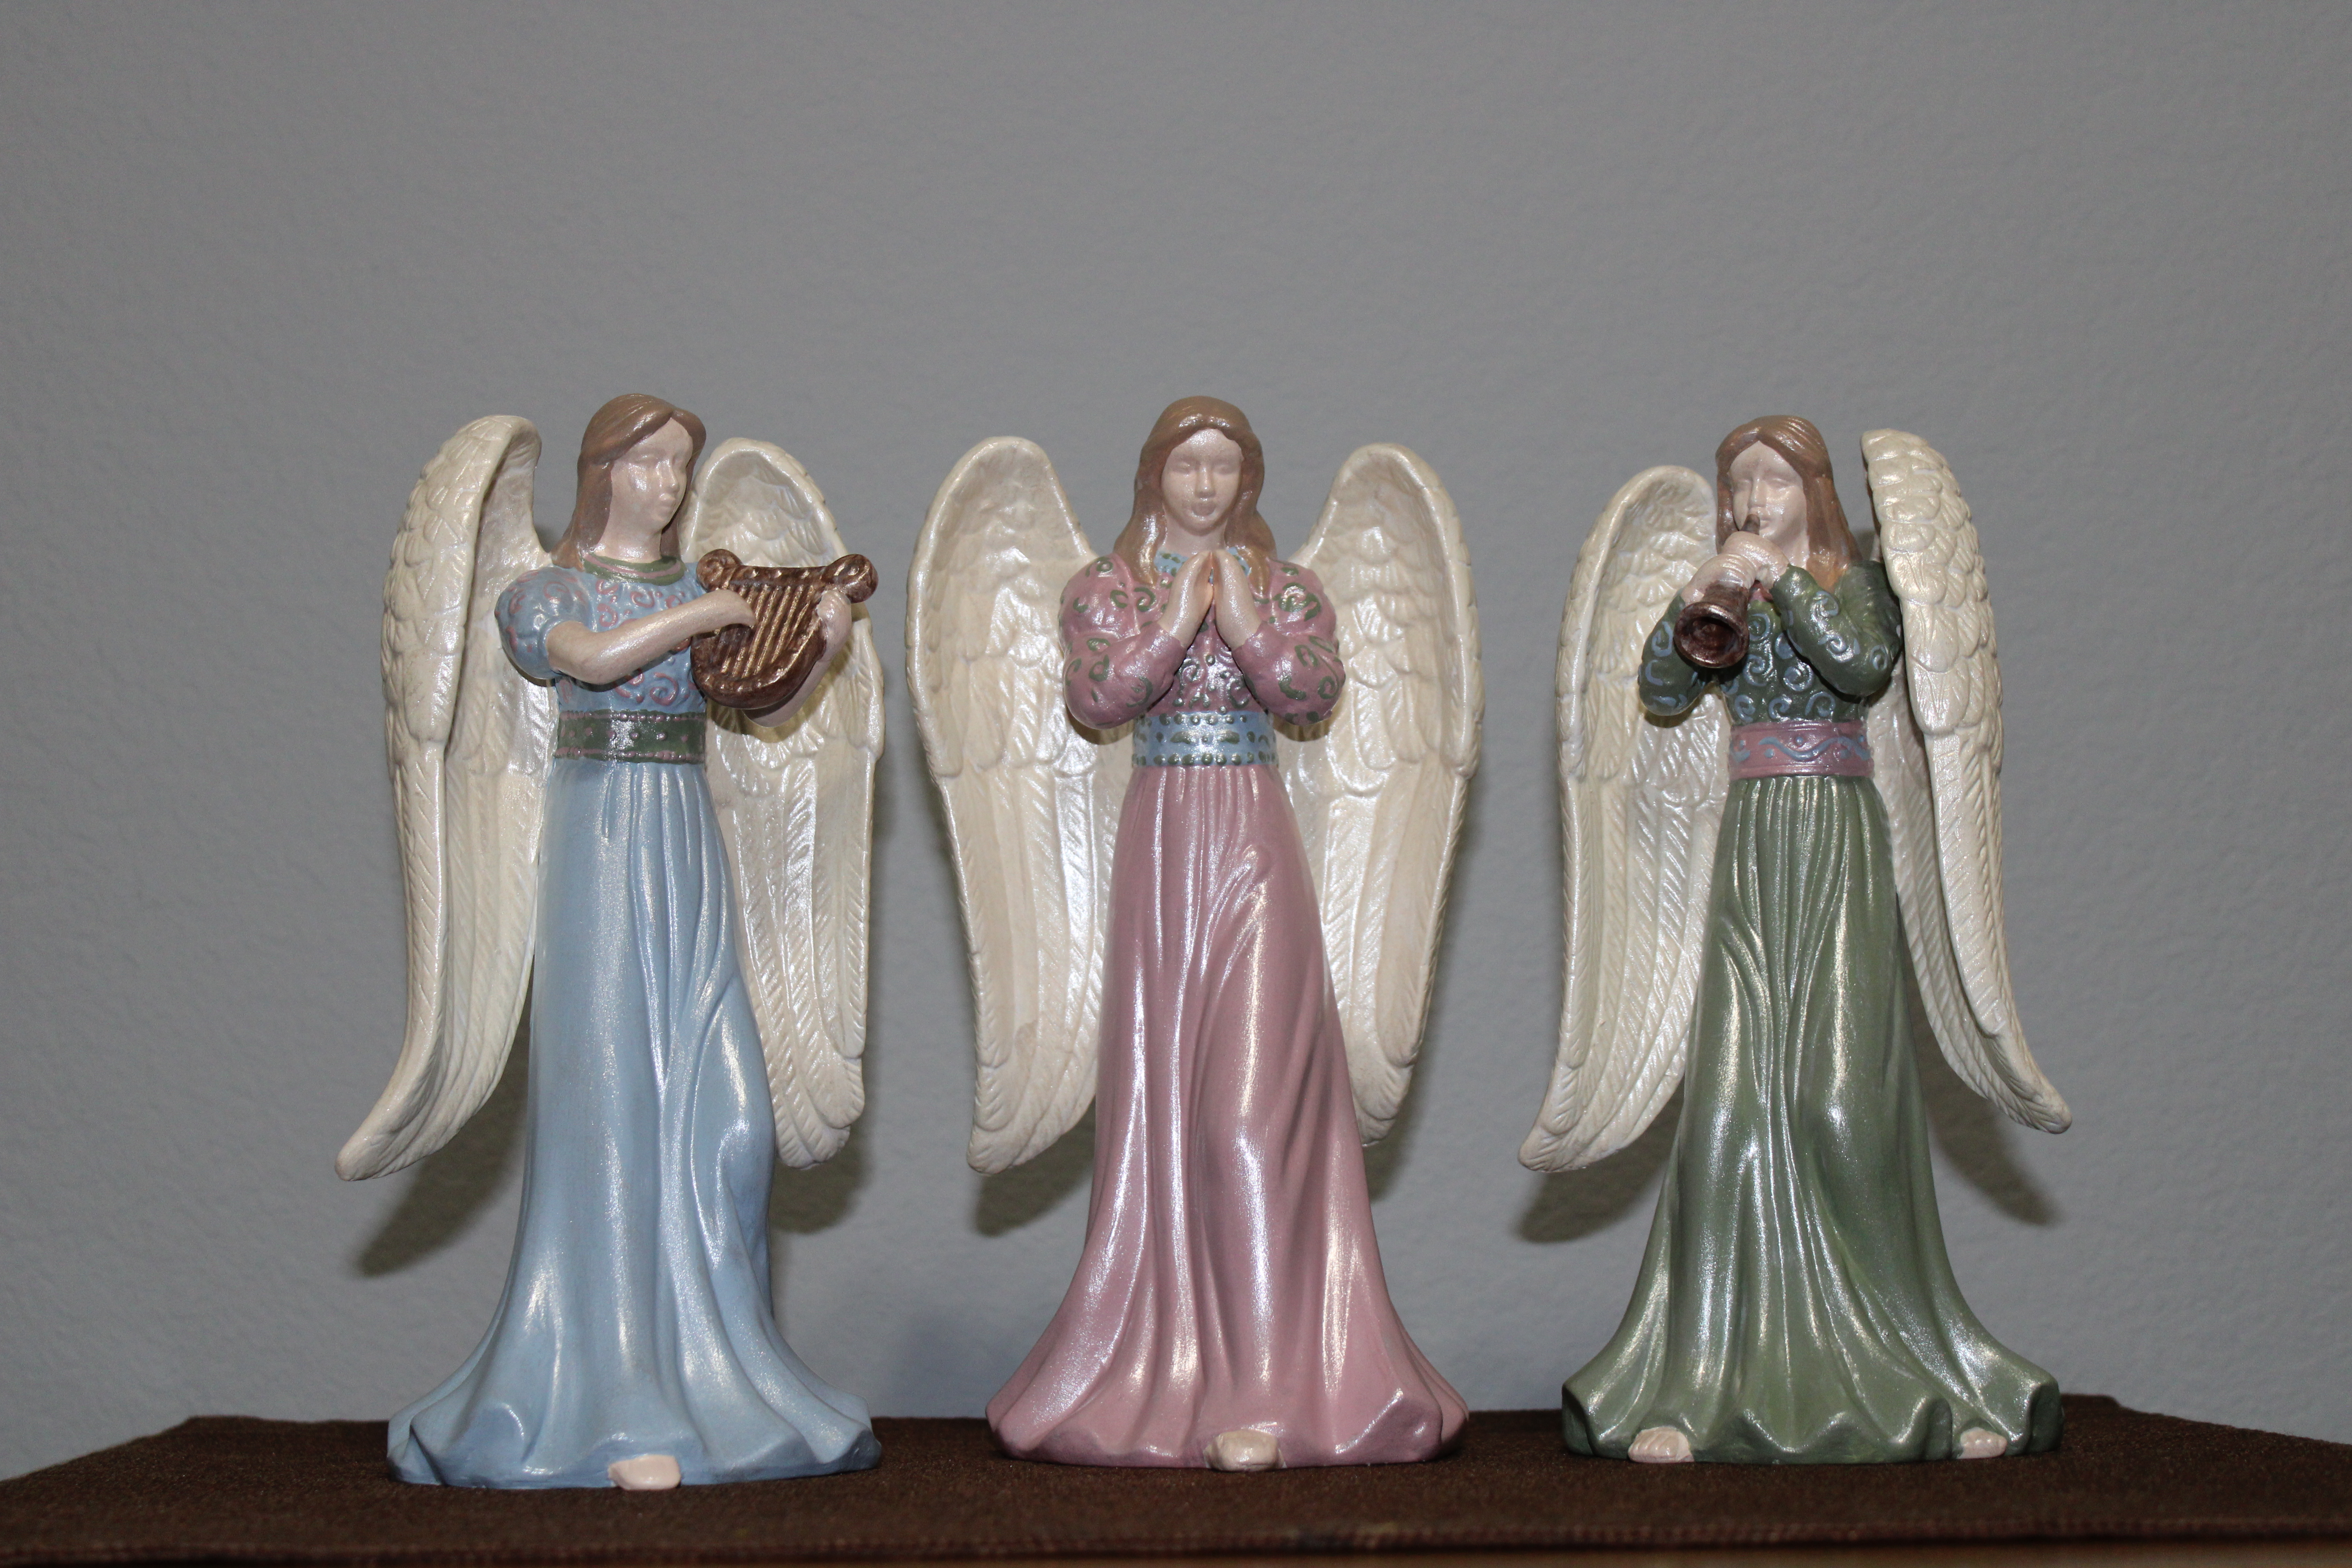
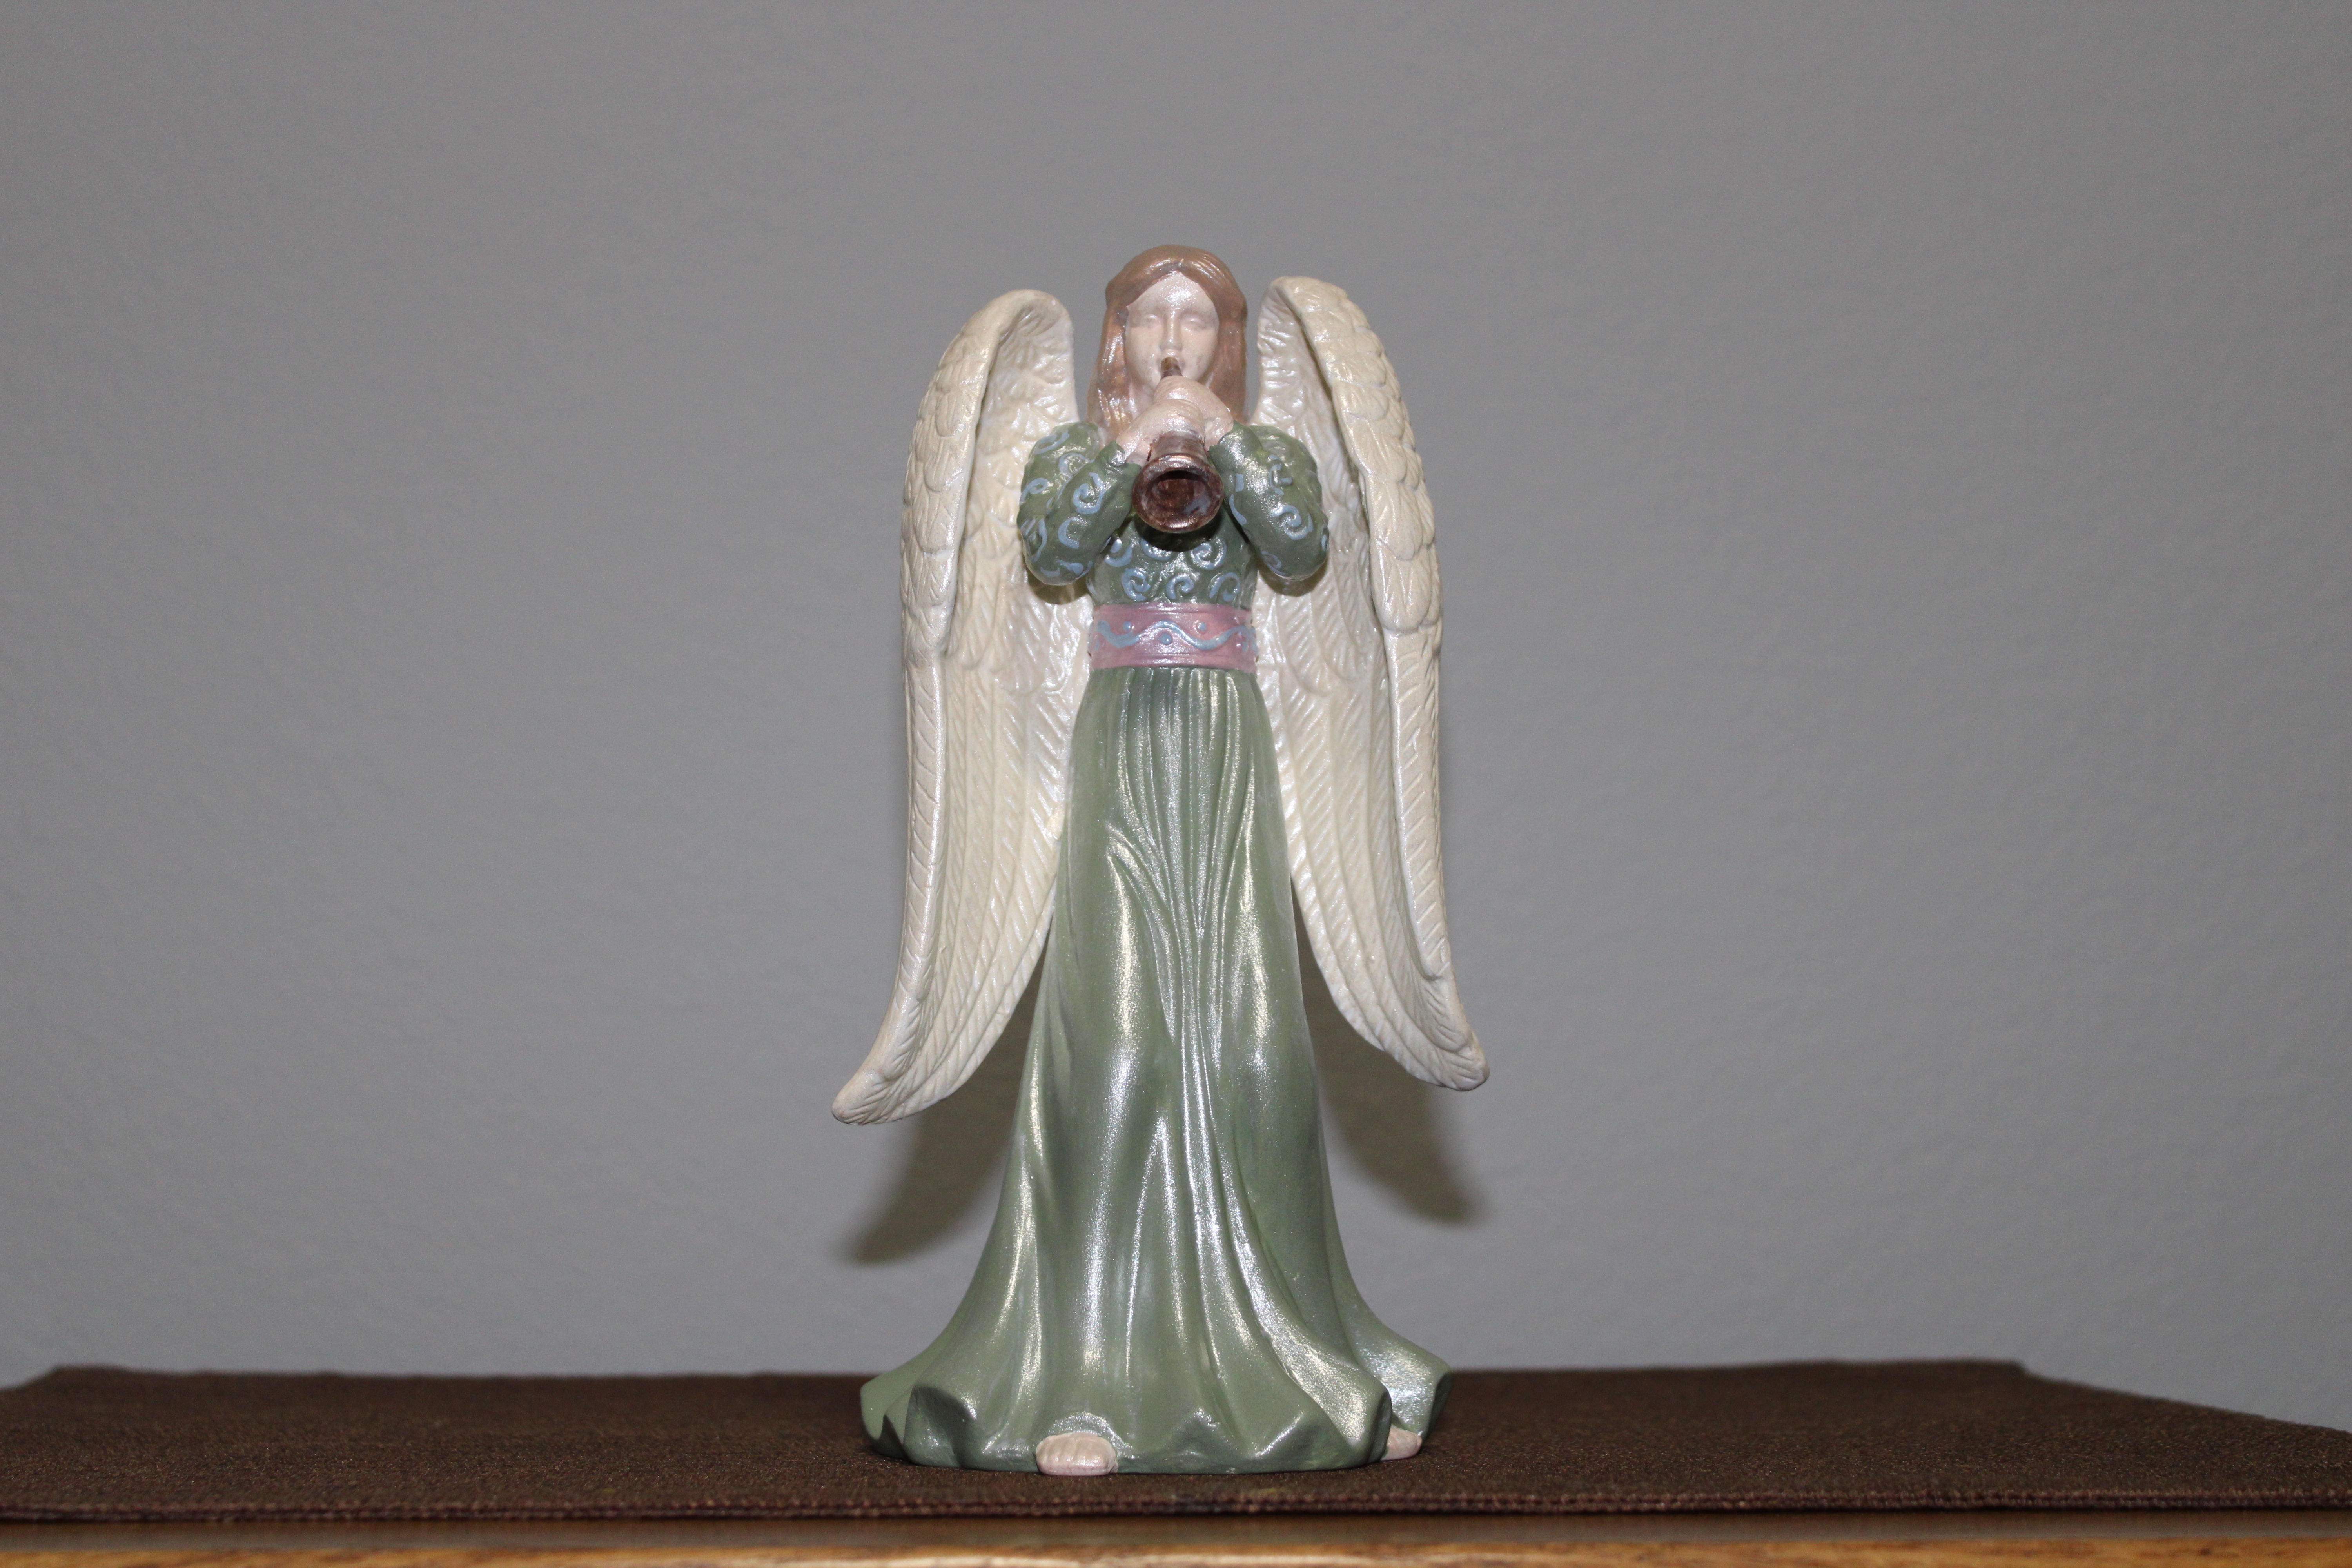
In the year 2002, I found three paintable Angels at Hobby Lobby. Each had a different pose and two were holding musical instruments. I purchased these three and painted them.
I had so much fun painting them and since they turned out beautiful, I purchased and painted three more.
The next year Hobby Lobby had some more, so I purchased three more. Those angels were placed into a box and stored. They survived several moves and a flood. They were never forgotten just a future project.
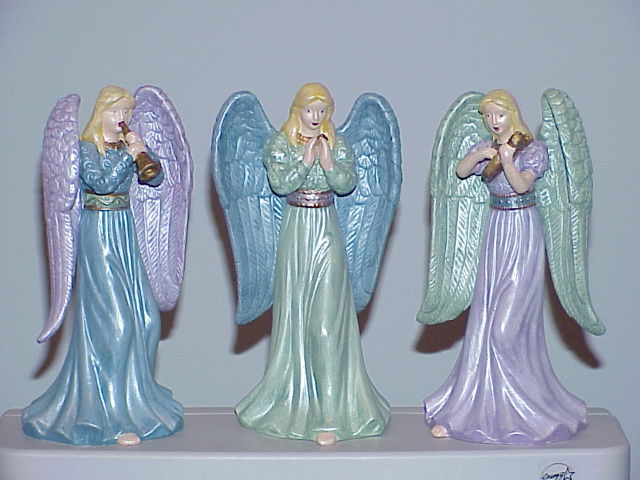
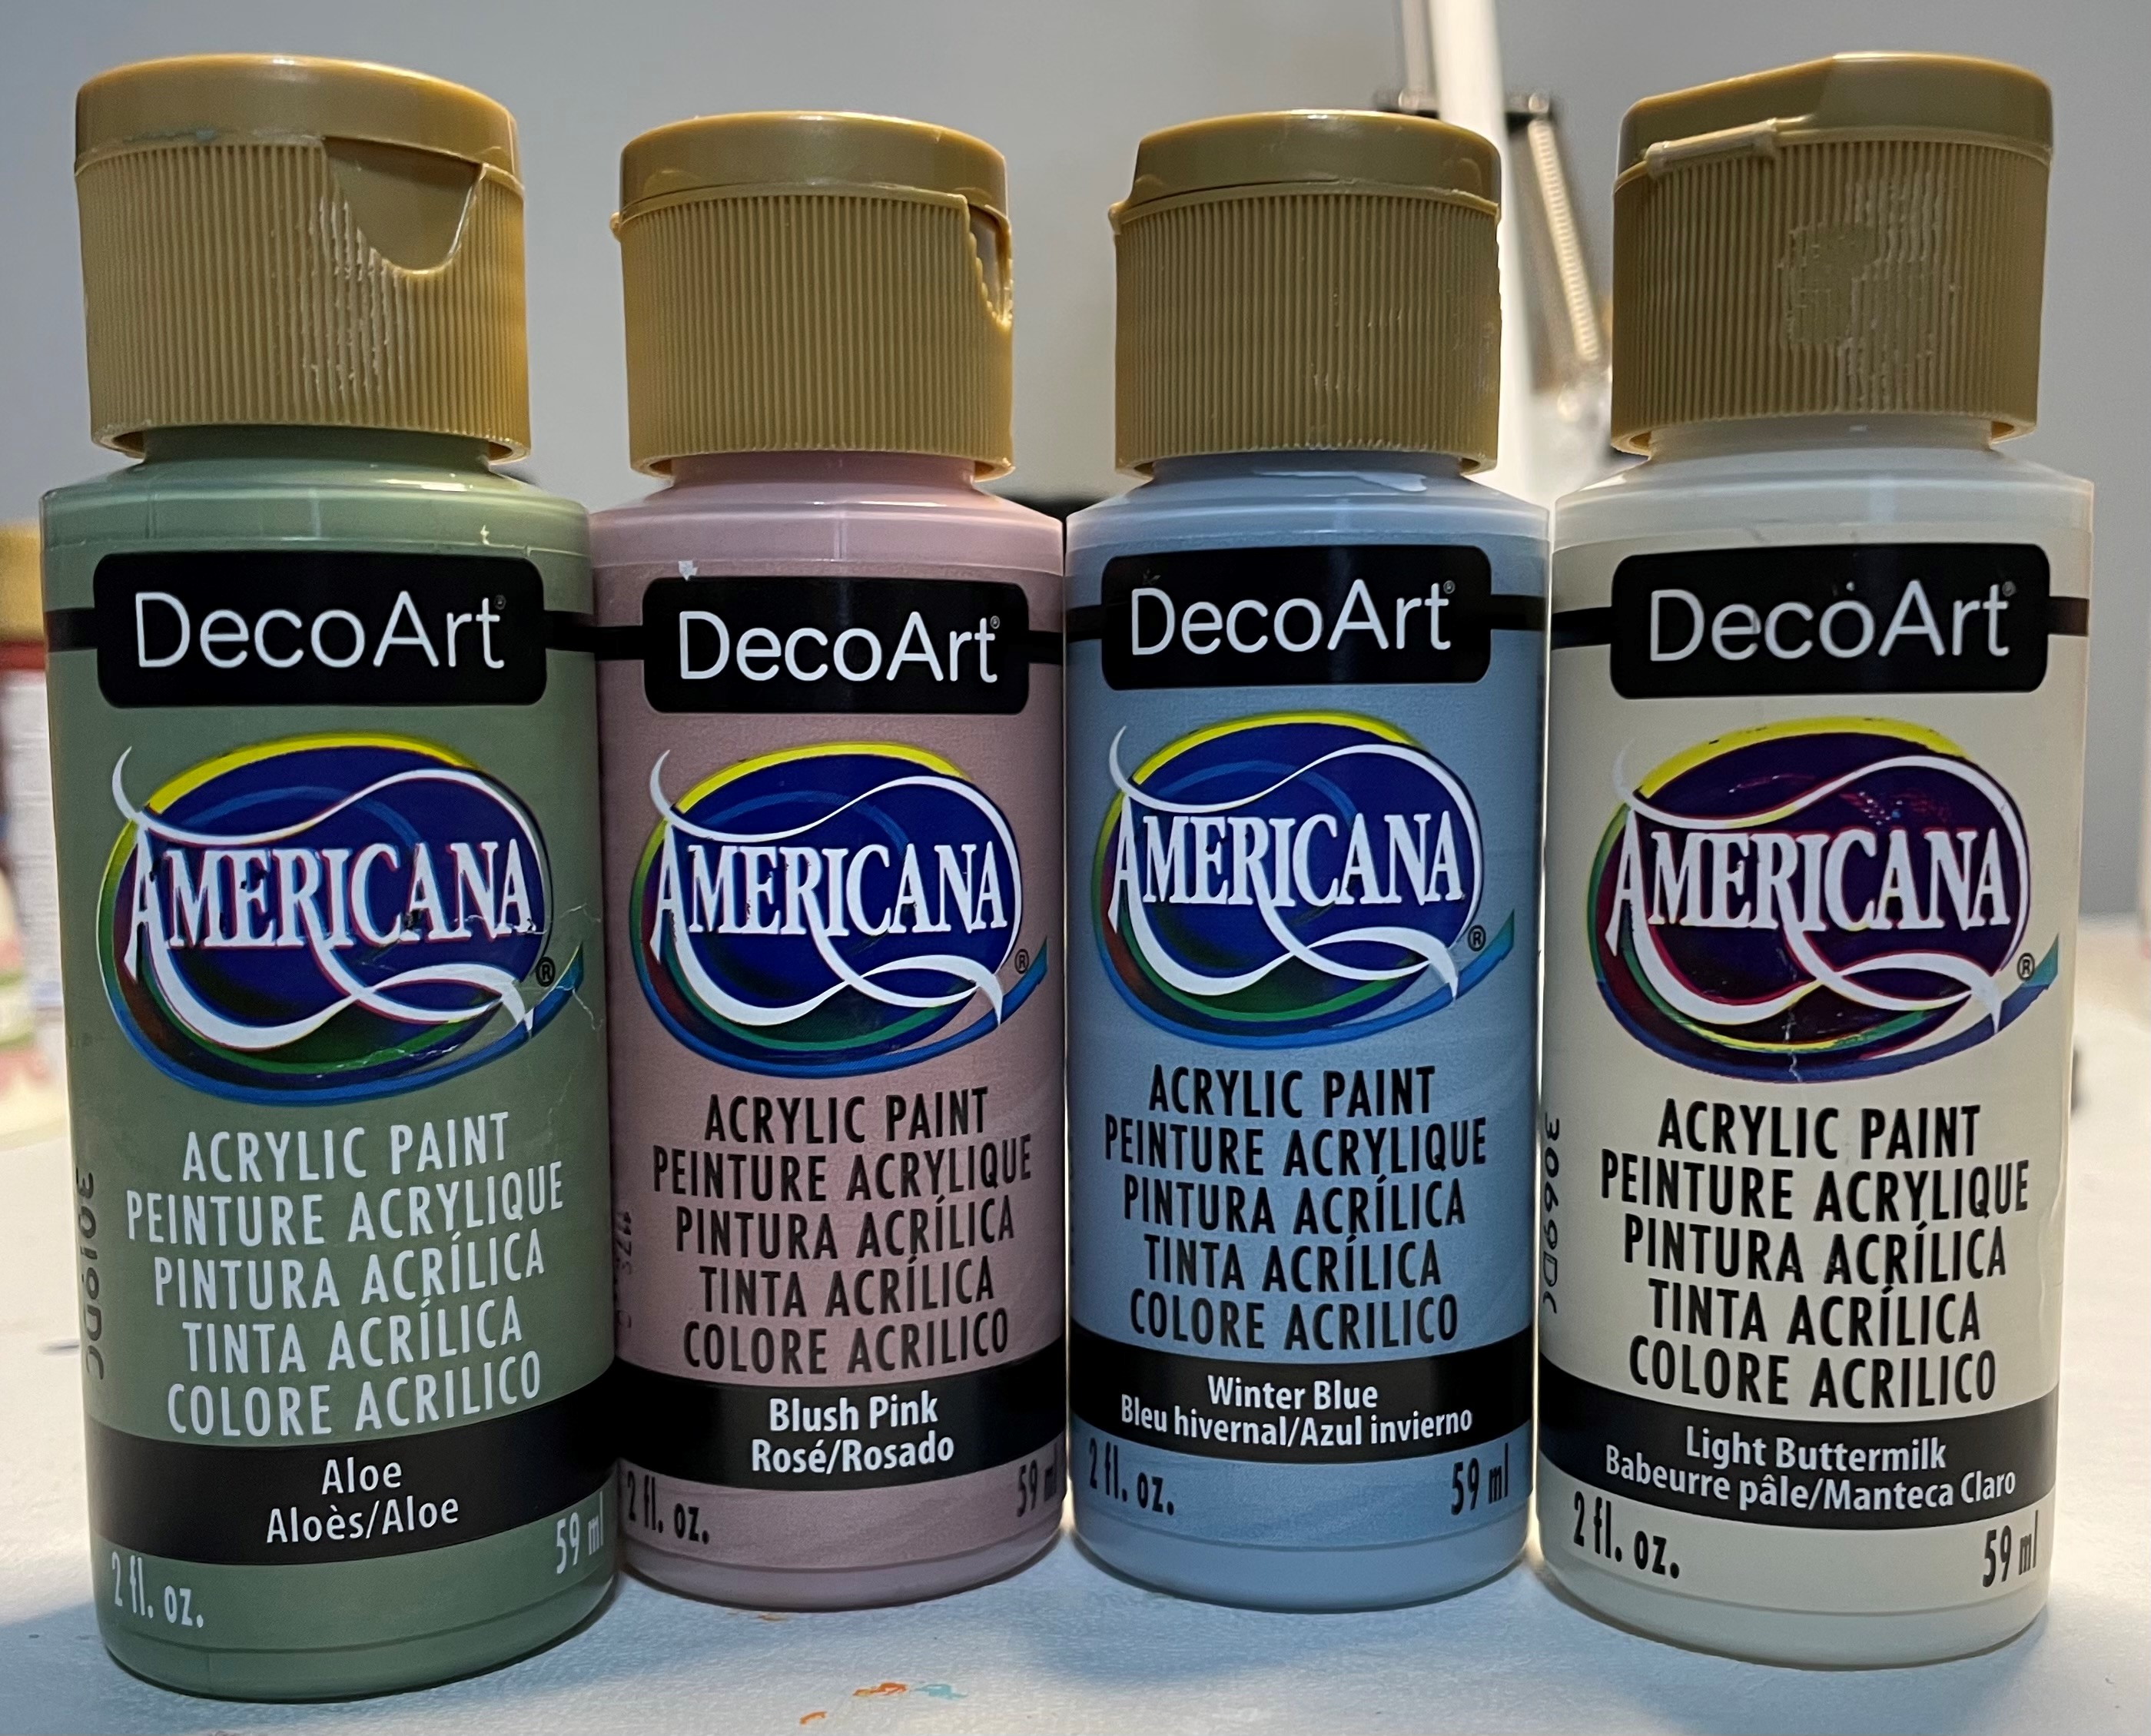
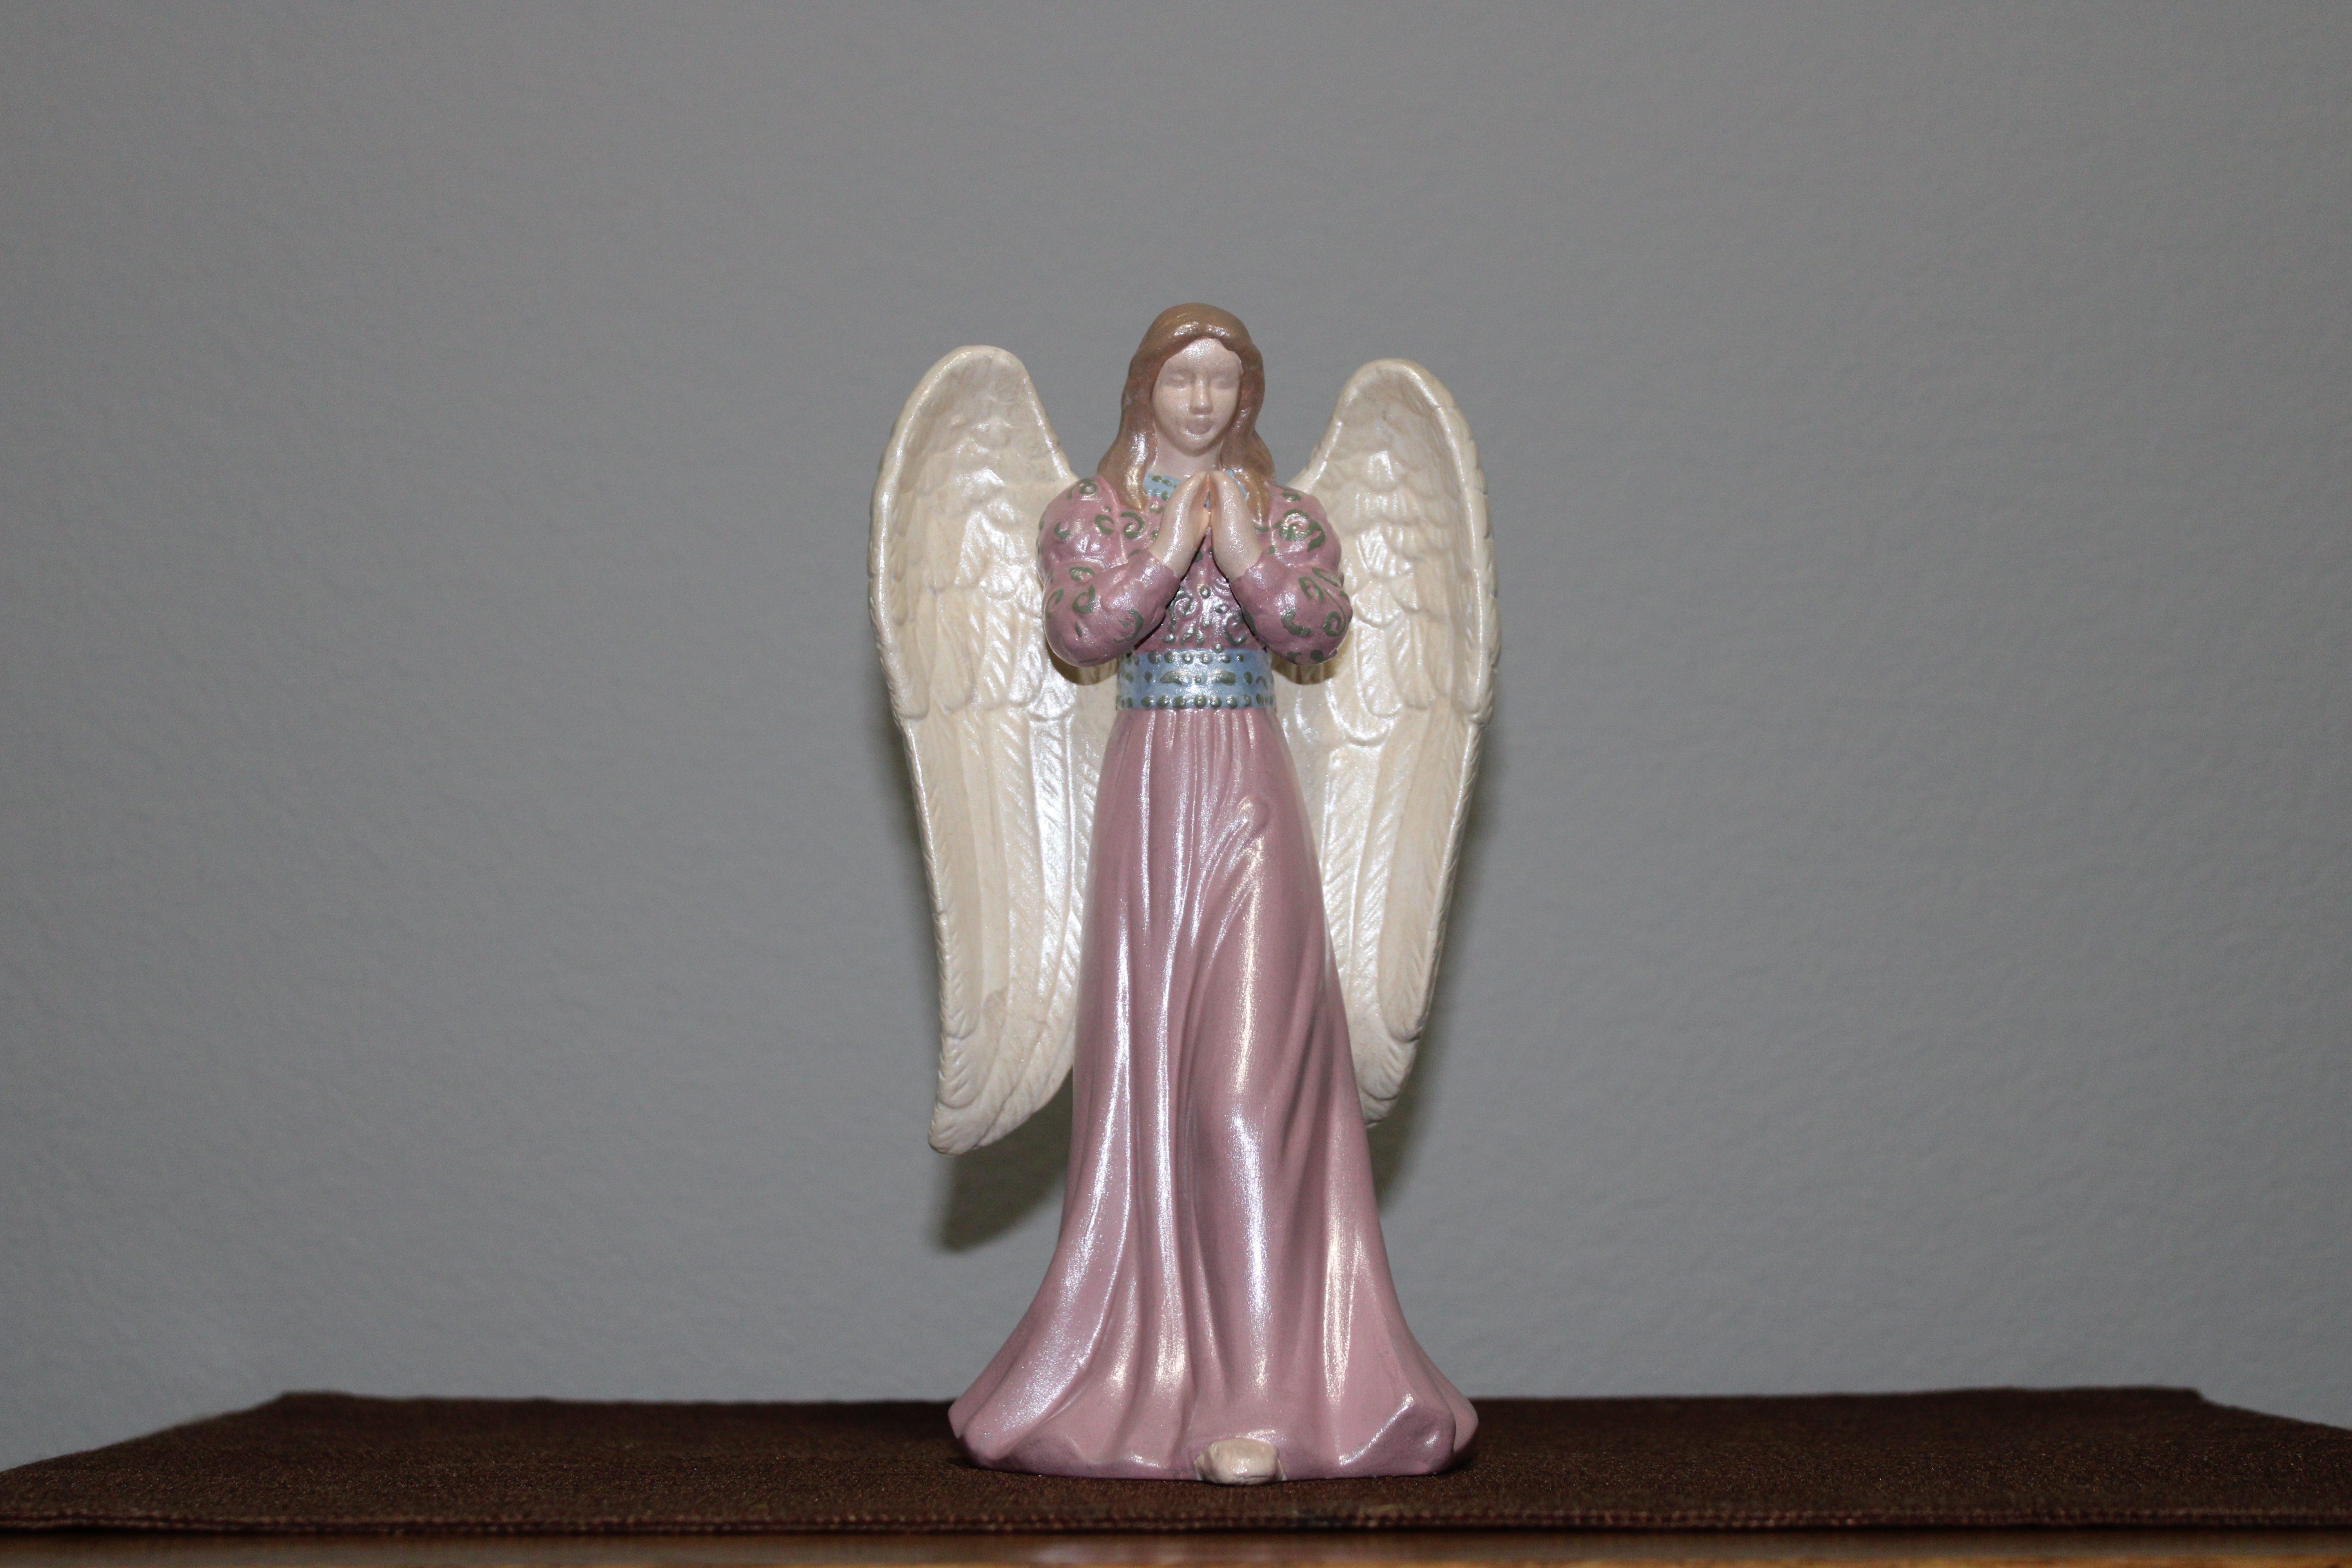
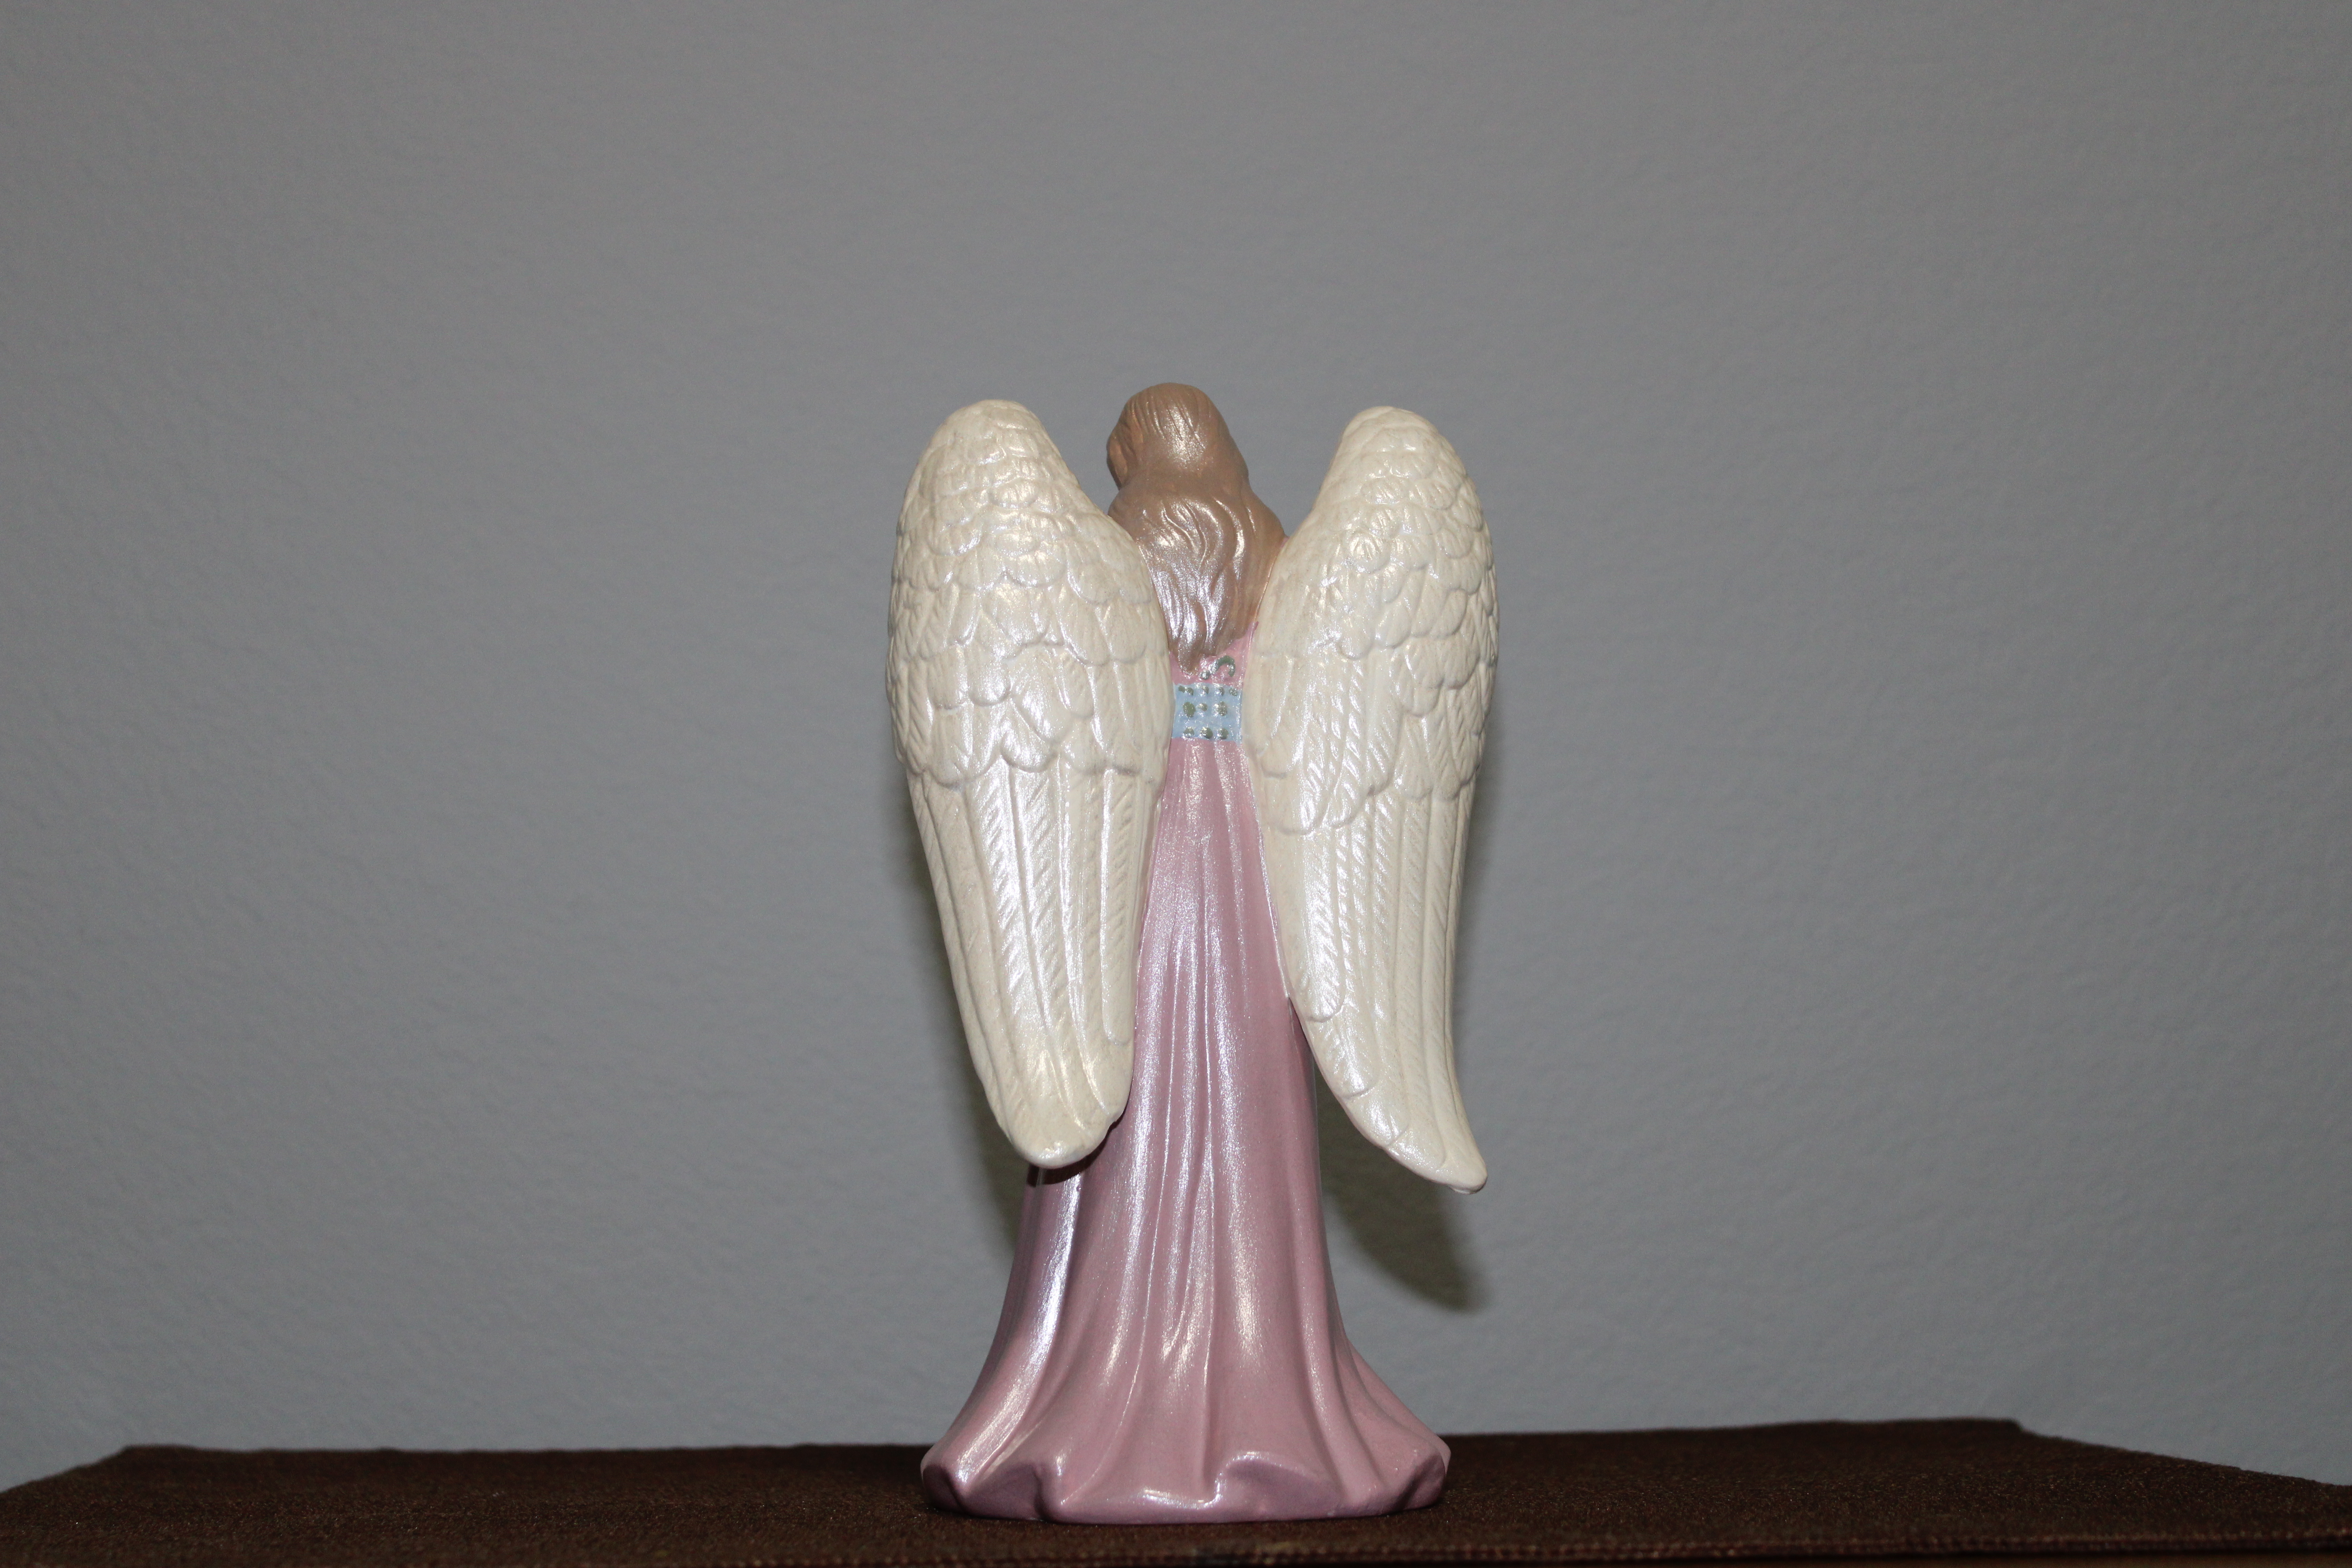
Earlier this month, I was in Michael’s and found these paint bottle. I thought those colors looked so pretty together and had to use them on something. I got the angels out and painted them.
Do I still have the first painted angels? Yes and No. I gave away some. The others were stored with the Christmas decorations, and they may or may not survived the flood and moves. I haven’t unpacked all the Christmas decorations in years and years and years.
All the angels were painted with either Delta Ceramcoat or DecoArt Americana paint. Afterwards, I used a pearlizing glaze or medium all over the angels. They were finished using satin varnish by Delta Ceramcoat or DecoArt Americana.
Okay, I only painted three Plastercraft Houses in 2020 – so far. After I finished the last two, I was looking through the box of houses that wasn’t damaged in the 2016 flood, and found the “Hot Rod Parts” building. Since I normally paint three houses at a time, I continue to look and found a second “Hot Rod Parts” building, and then I found a third “Hot Rod Parts” building. So, I decided to paint all three. One for my sister, who I started painting houses for many years ago. One for my other sister, who rescue the houses from the flood and one for me. They were surprise! Especially, since California Creations went out of business.
Yes, it appears that I only painted two houses in 2019. I did not get a chance to seal the houses until a few weeks ago, because of cold weather and Covid-19. (I can’t varnish if someone in the household sinuses gets upset around paint and varnish.)
These are California Creations houses. The company went out of business in the early 2000s. Yes, these have been in storage waiting for me to paint them.
Here are the Christmas Ornaments I painted this year. The plaster ornaments were purchased from Hobby Lobby and I use acrylic paint and puff fabric paint. Some of the ornaments were painted with neon glow and glow in the dark paint.