Glass Tower

In January, I created one tile/design/pattern/window a day for 31 days. Each tile is 4″ x 4″ x 0.252″ or 101.6mm x 101.6mm x 6.4mm, which should work very well for 3d Printing. Here are examples of some of the tiles I created. They are just designs and patterns, there is no hidden meaning behind a tile.

What can you create with these tiles? I created a Glass Tower in Tinkercad with the 31 tiles. The only tile I reused was the last tile, the bottom tile, the tile I used for the floor. Below are pictures of my Glass Tower. The 3D view is available at this link: Glass Tower

All the tiles are available for copying and tinkering on Tinkercad. What can you make with these tiles? A square, a window in a building, a charm for a necklace. Just use your imagination and log on and search for sarahcath under People to find a design.

Museum of World Treasures

The Museum of World Treasure is located in Wichita, Kansas. It contain artifacts from ancient Rome, Greece and Egypt. Their military exhibits dates from the Civil War to the fall of the Berlin Wall. As you enter the museum, T-Rex Ivan welcomes you.

Head up the stairs you are greeted by a suit of armour.

One of my goals when I visit a museum is to capture patterns, and ancient pottery works contains the most interesting designs. Along with rock formations.

The military exhibit contained the normal items you see at most exhibits, but it did have original letters written from that period of time. By today’s standards, these handwriting is a work of art. So, I wonder if the kids today did not know what the U.S. Constitution says, because the can no longer read it.

In a corner, where most people would miss seeing the display, are two tapestries. These were the most beautiful items on display at the museum.

Vases with Polymer Clay

I wanted to see if I could put some polymer clay on a vase, bake it in the oven, and have the clay stick to the vase.  Below is my first vase experiment.  I had a bottle, shape like a light bulb, that was just sitting in a cabinet.

20190824_140114.jpg20190824_140048.jpg

I figured the best way to get it to stick to the vase, was to put a thin layer of polymer clay around the vase and then put the design on it.  Since it was an experiment, I didn’t want to waste a lot of time with the design.  However, it does glow in the dark.

Since it was a success, I did four other vases.

The Sunflower Vase:  I wanted the top and bottom of the vase to look like the petals were coming from the center of a sunflower.

20190824_140629.jpg

20190824_140656.jpg

The Gold Flowery Vase:  From the beginning I wanted a gold lattice work around the vase.  The flower idea come later.   After it was baked, I applied paint to give it an antique look.

20190824_140241.jpg

The Shades of Red Vase:  The original intent was to cover the vase in black, then give it a stain glass appearance.  That idea change when I saw how nice the reds and pinks looked against the black.

20190824_140551.jpg

The Flower Vase:  I extrudes some blue/purple clay that was left over from other projects.  The intent for this vase was to have a delicate flowery pattern.

20190824_140401.jpg

After the vases were baked in the oven and cooled, I applied polyurentane to seal the clay.   Since the clay is not permanently stuck to the vase, I could probably take a sharp Exacto Knife to any vase that turns out poorly to remove the clay.

Hearts Mandala

I created the mandala below for the month of February.  What happens is February, beside National Pizza Day, Ferris Wheel Day, Chinese New Year (wait, I could have easy created a mandala for these days)?  It is the month that Valentine’s Day is observed.

A PDF of this mandala is available on my coloring page, for anyone to download.

Hearts All Over

It was created and colored in CorelDraw.

Hearts All Over Color

Experiment: Epson Fine Art Paper

As soon as I felt the Epson Fine Art Paper, I wondered if I could use it for some of my coloring page.  Over the last week, I have experimented with the paper.

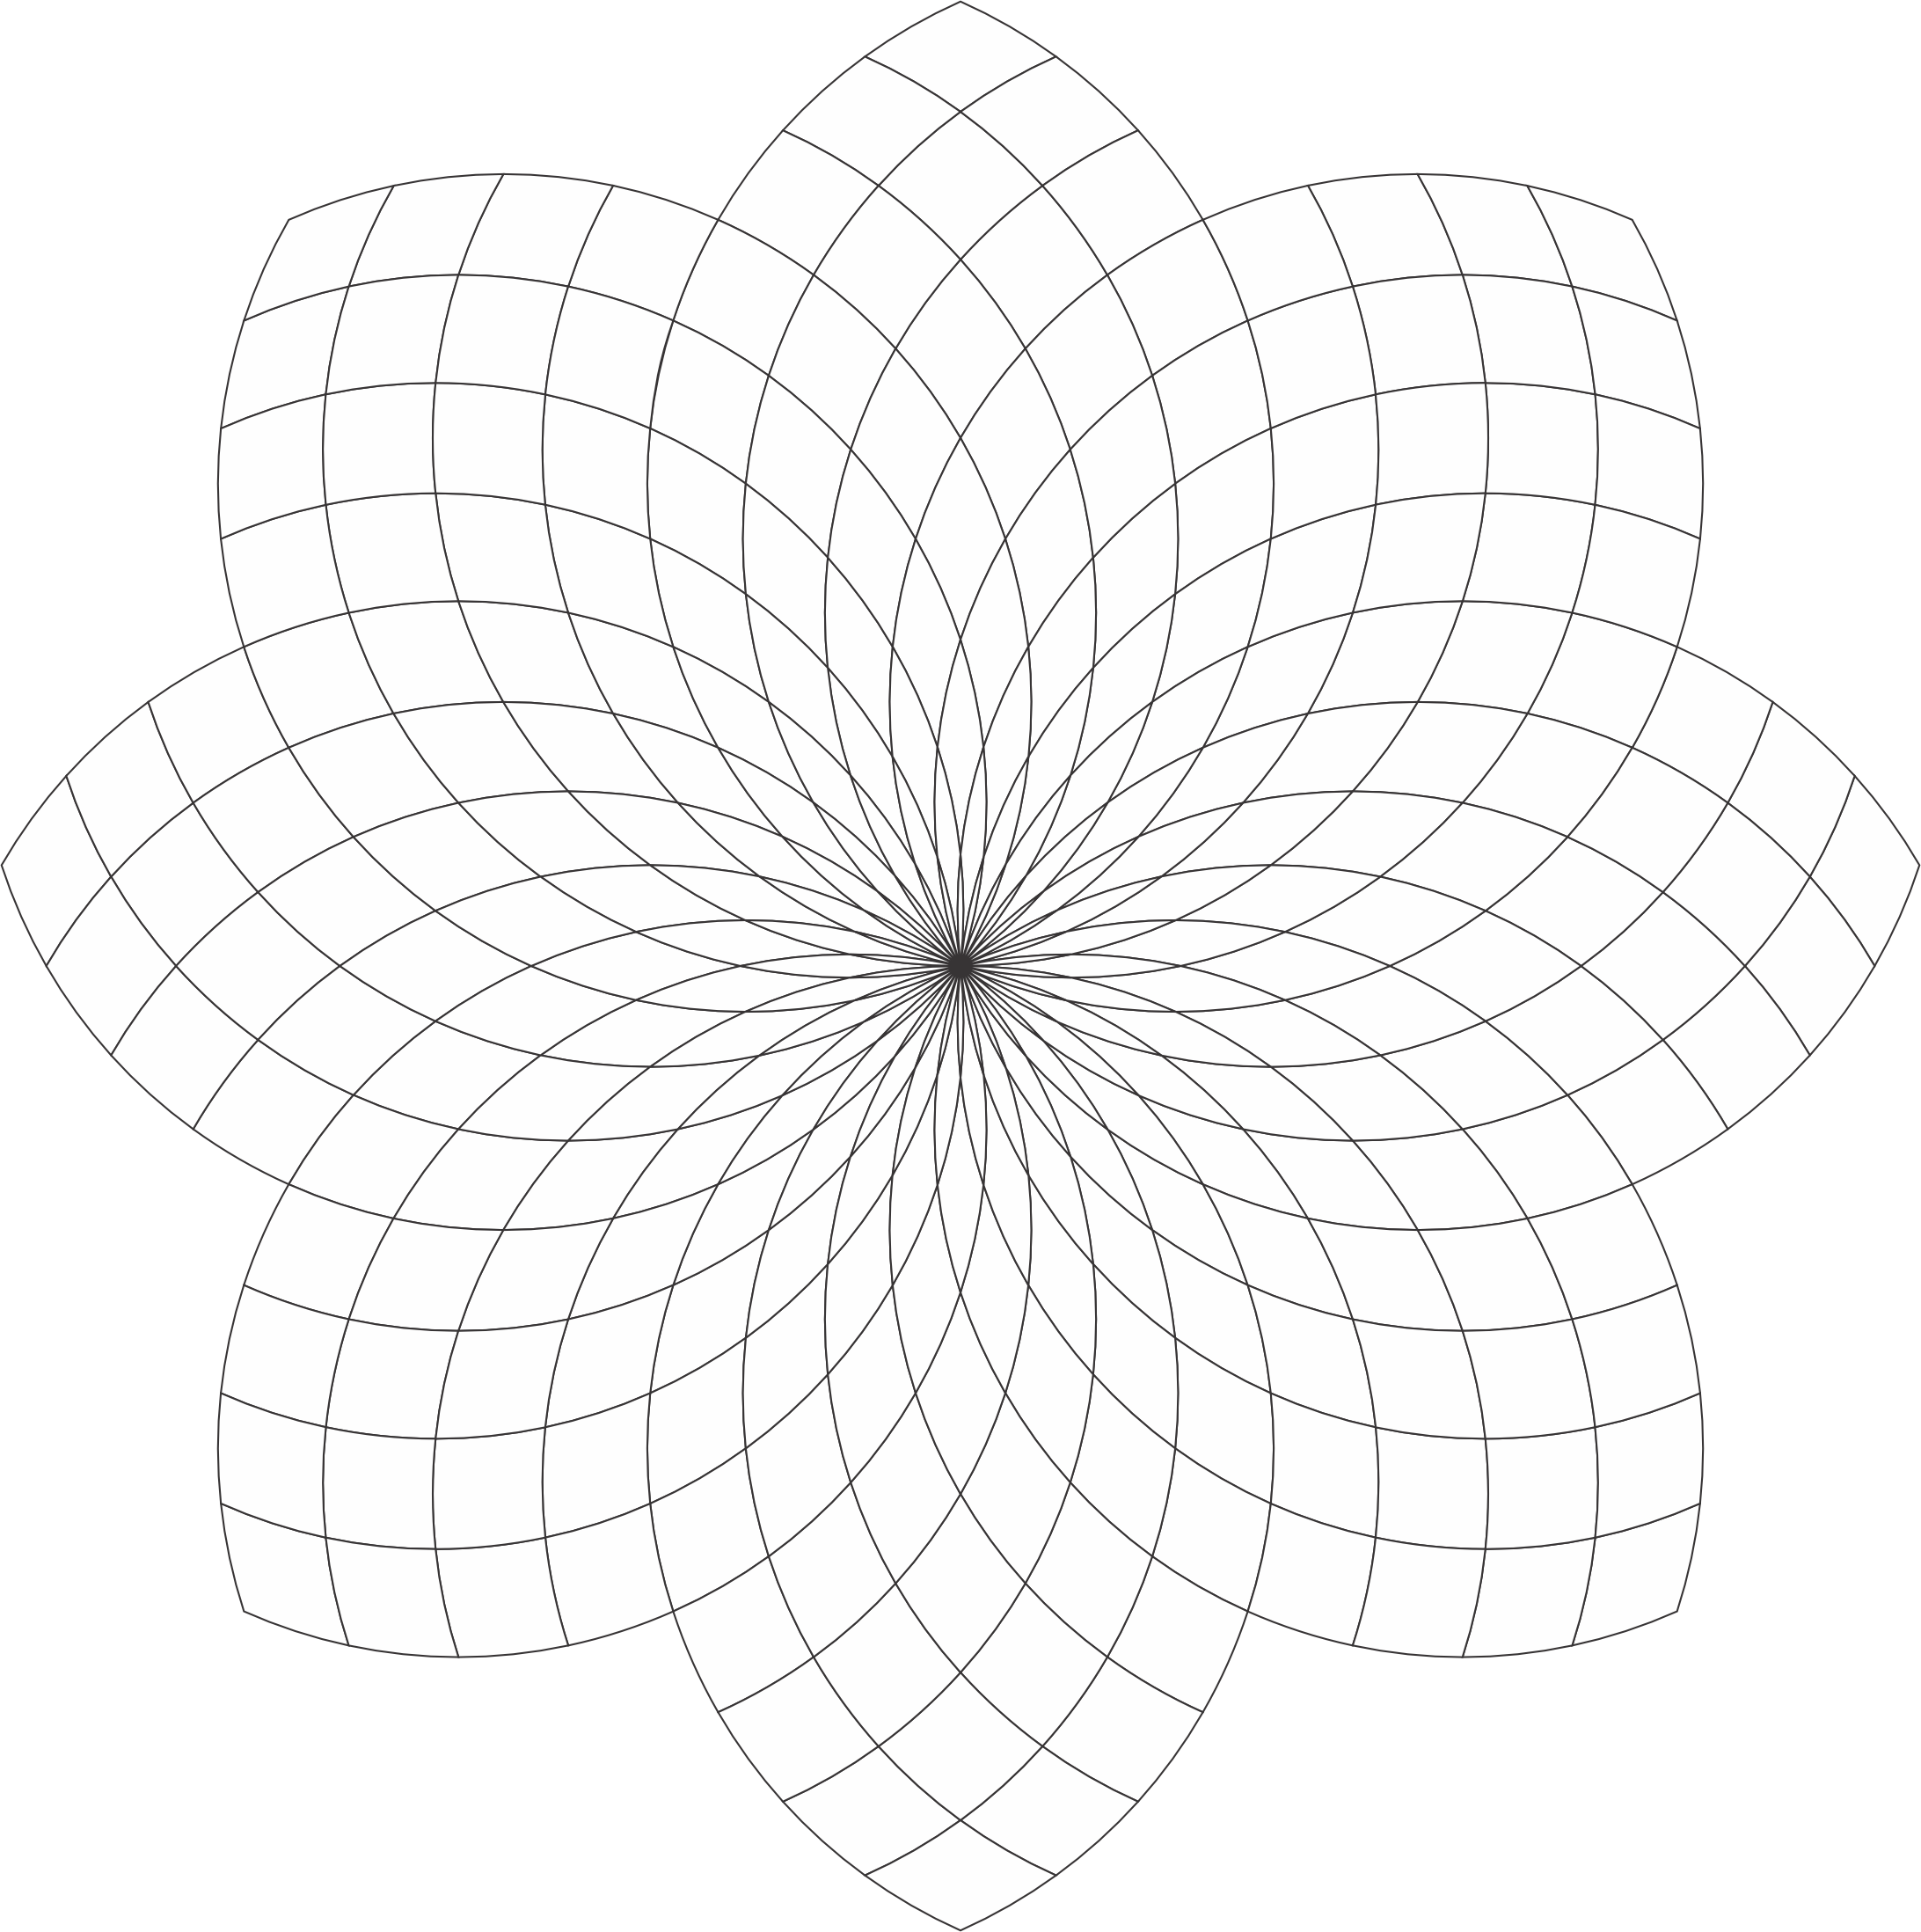
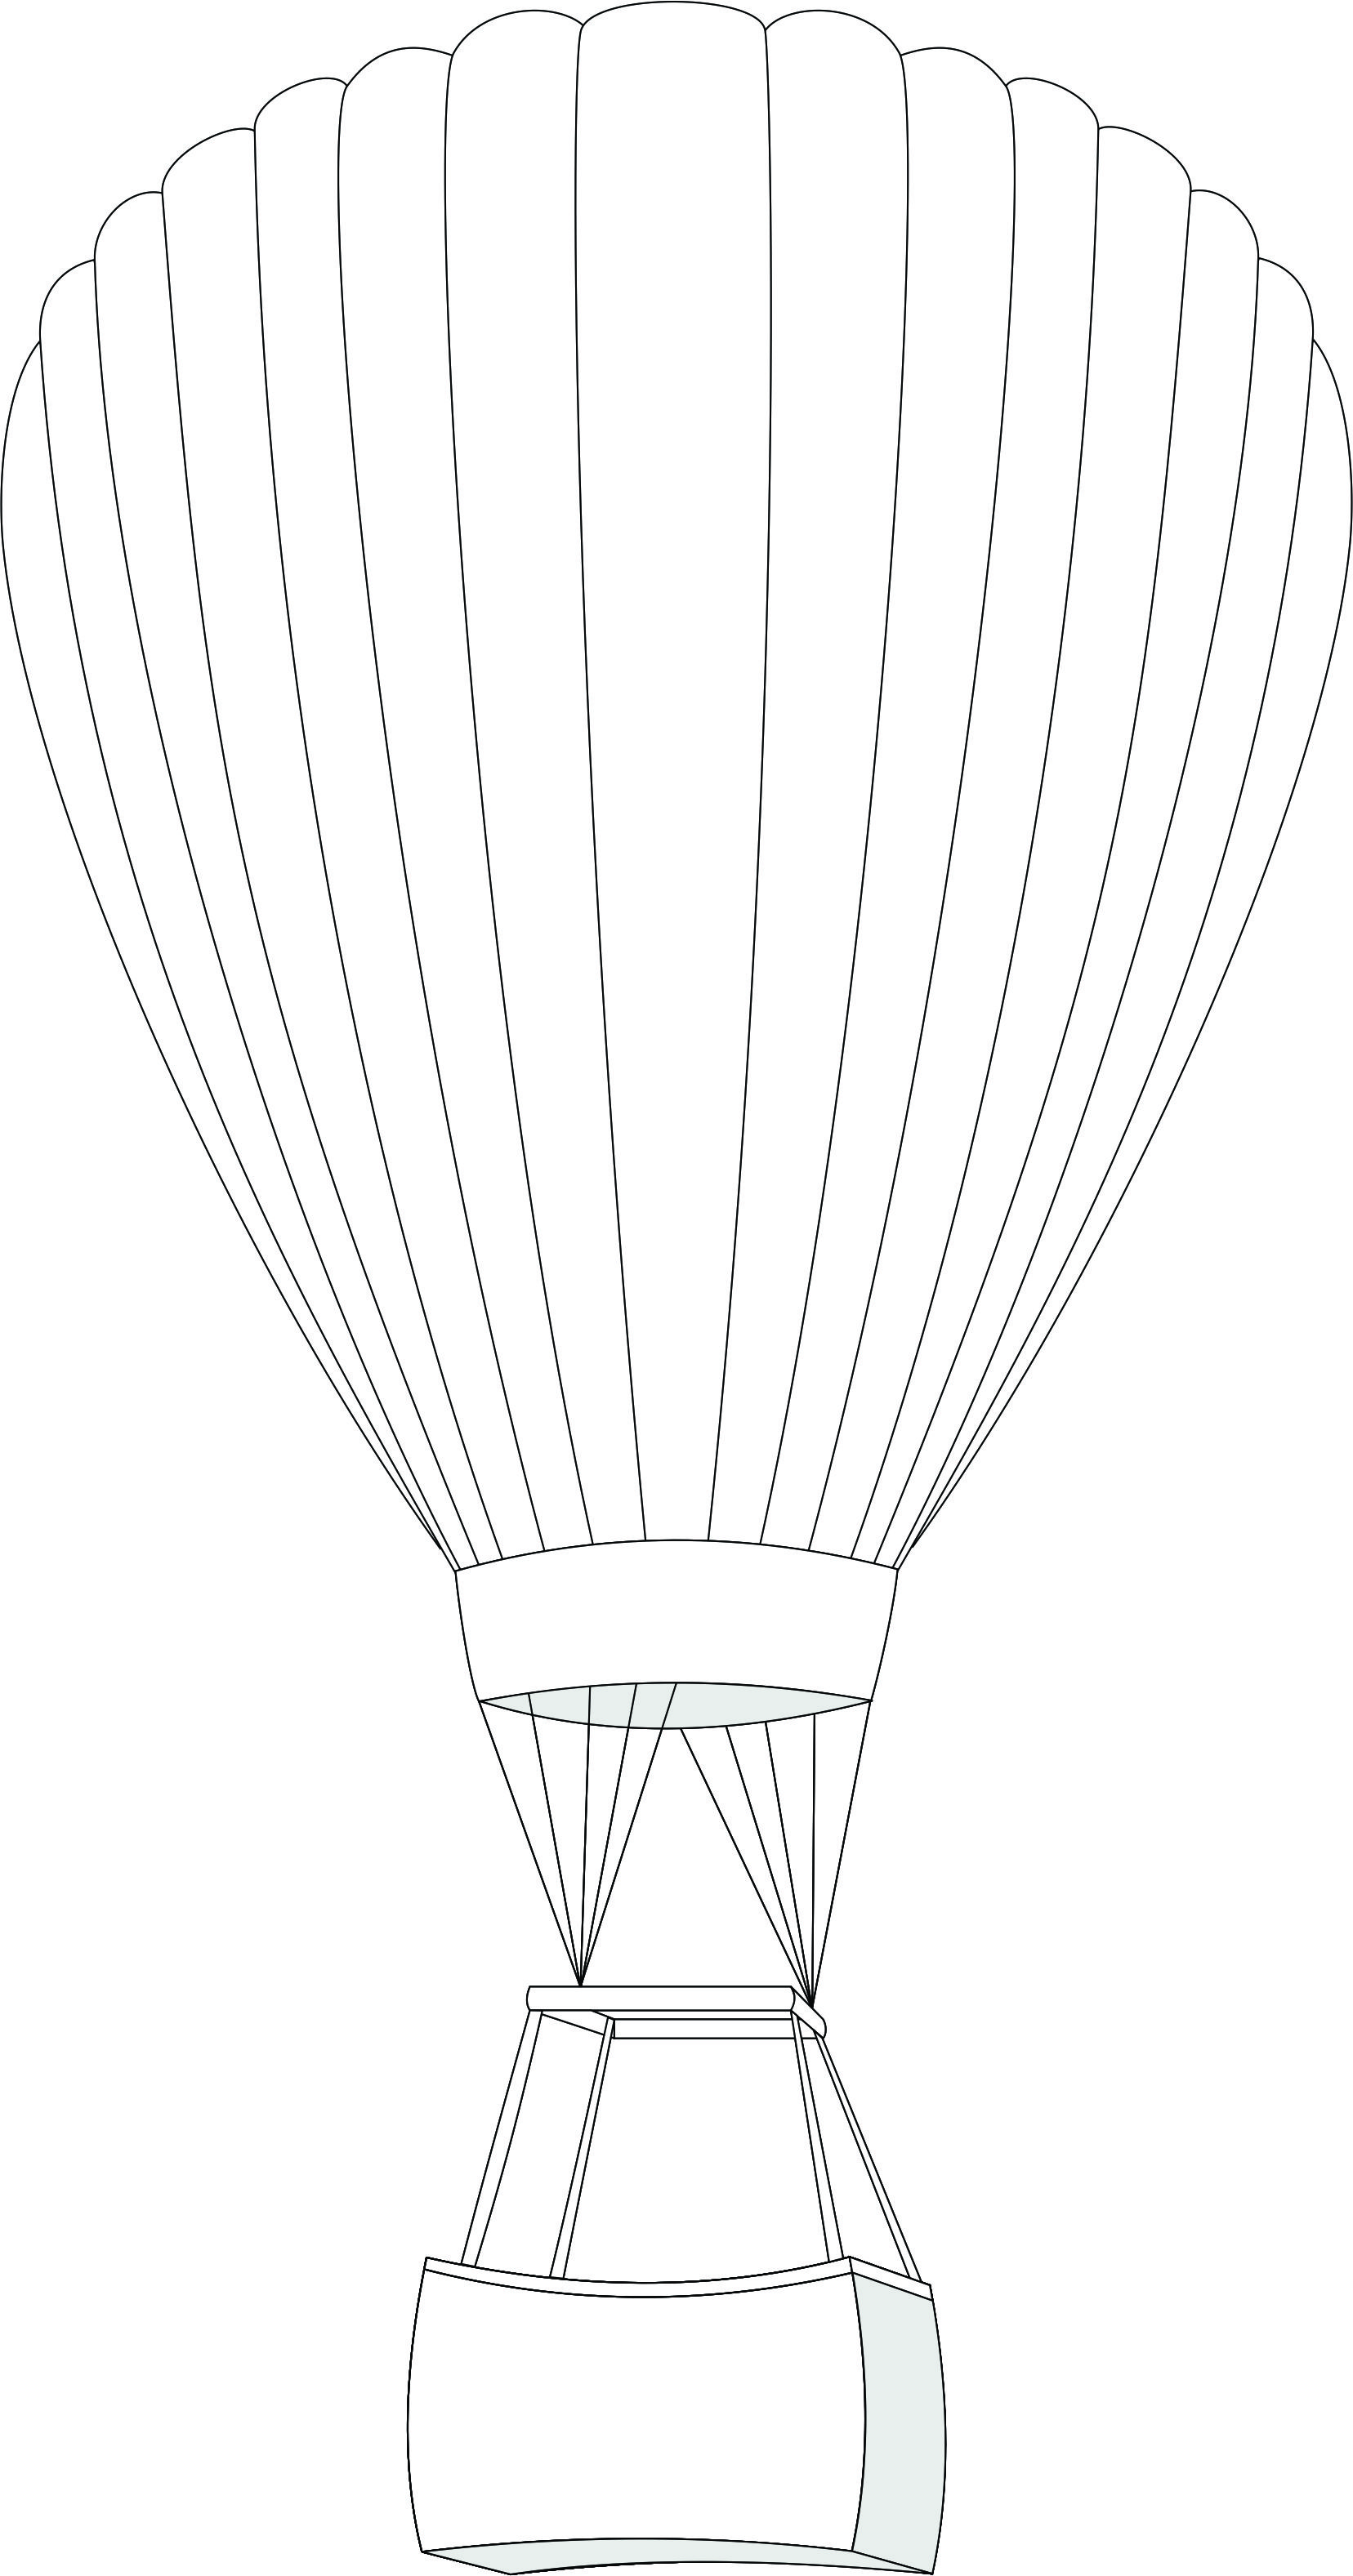
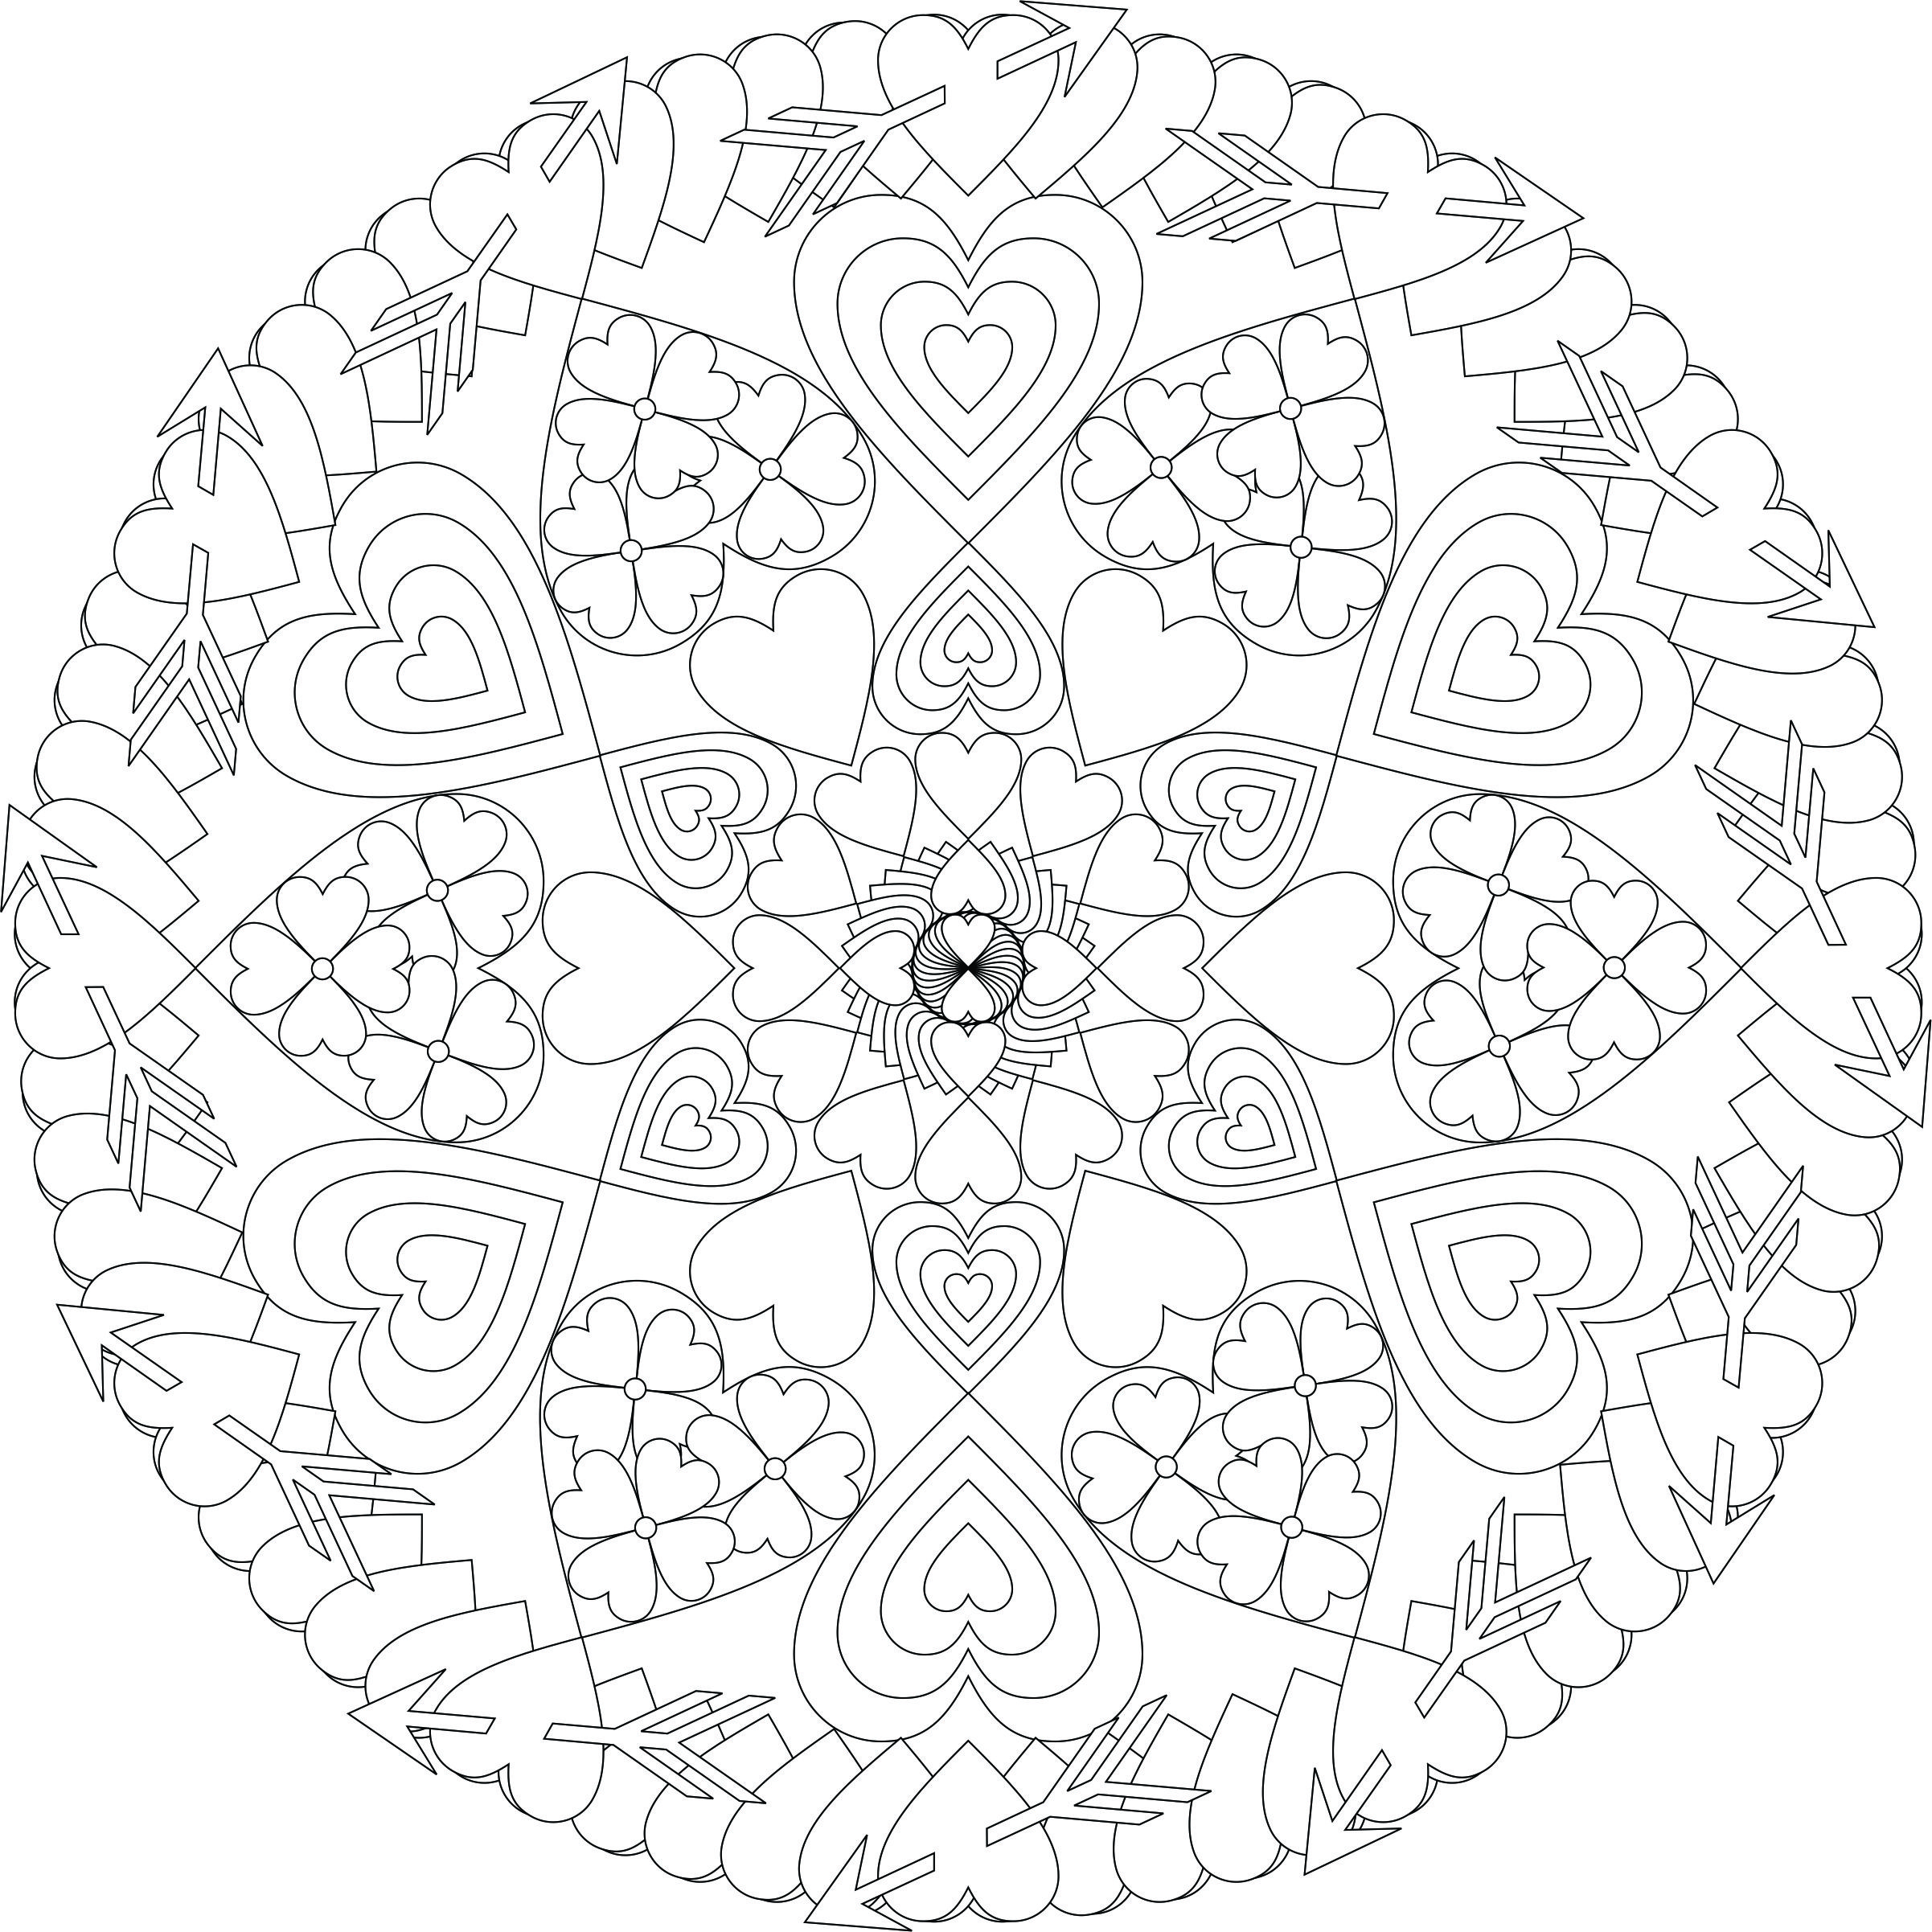
This is the drawing I decided to use for the experiment.  It was designed using CorelDraw.

geo flower twirl

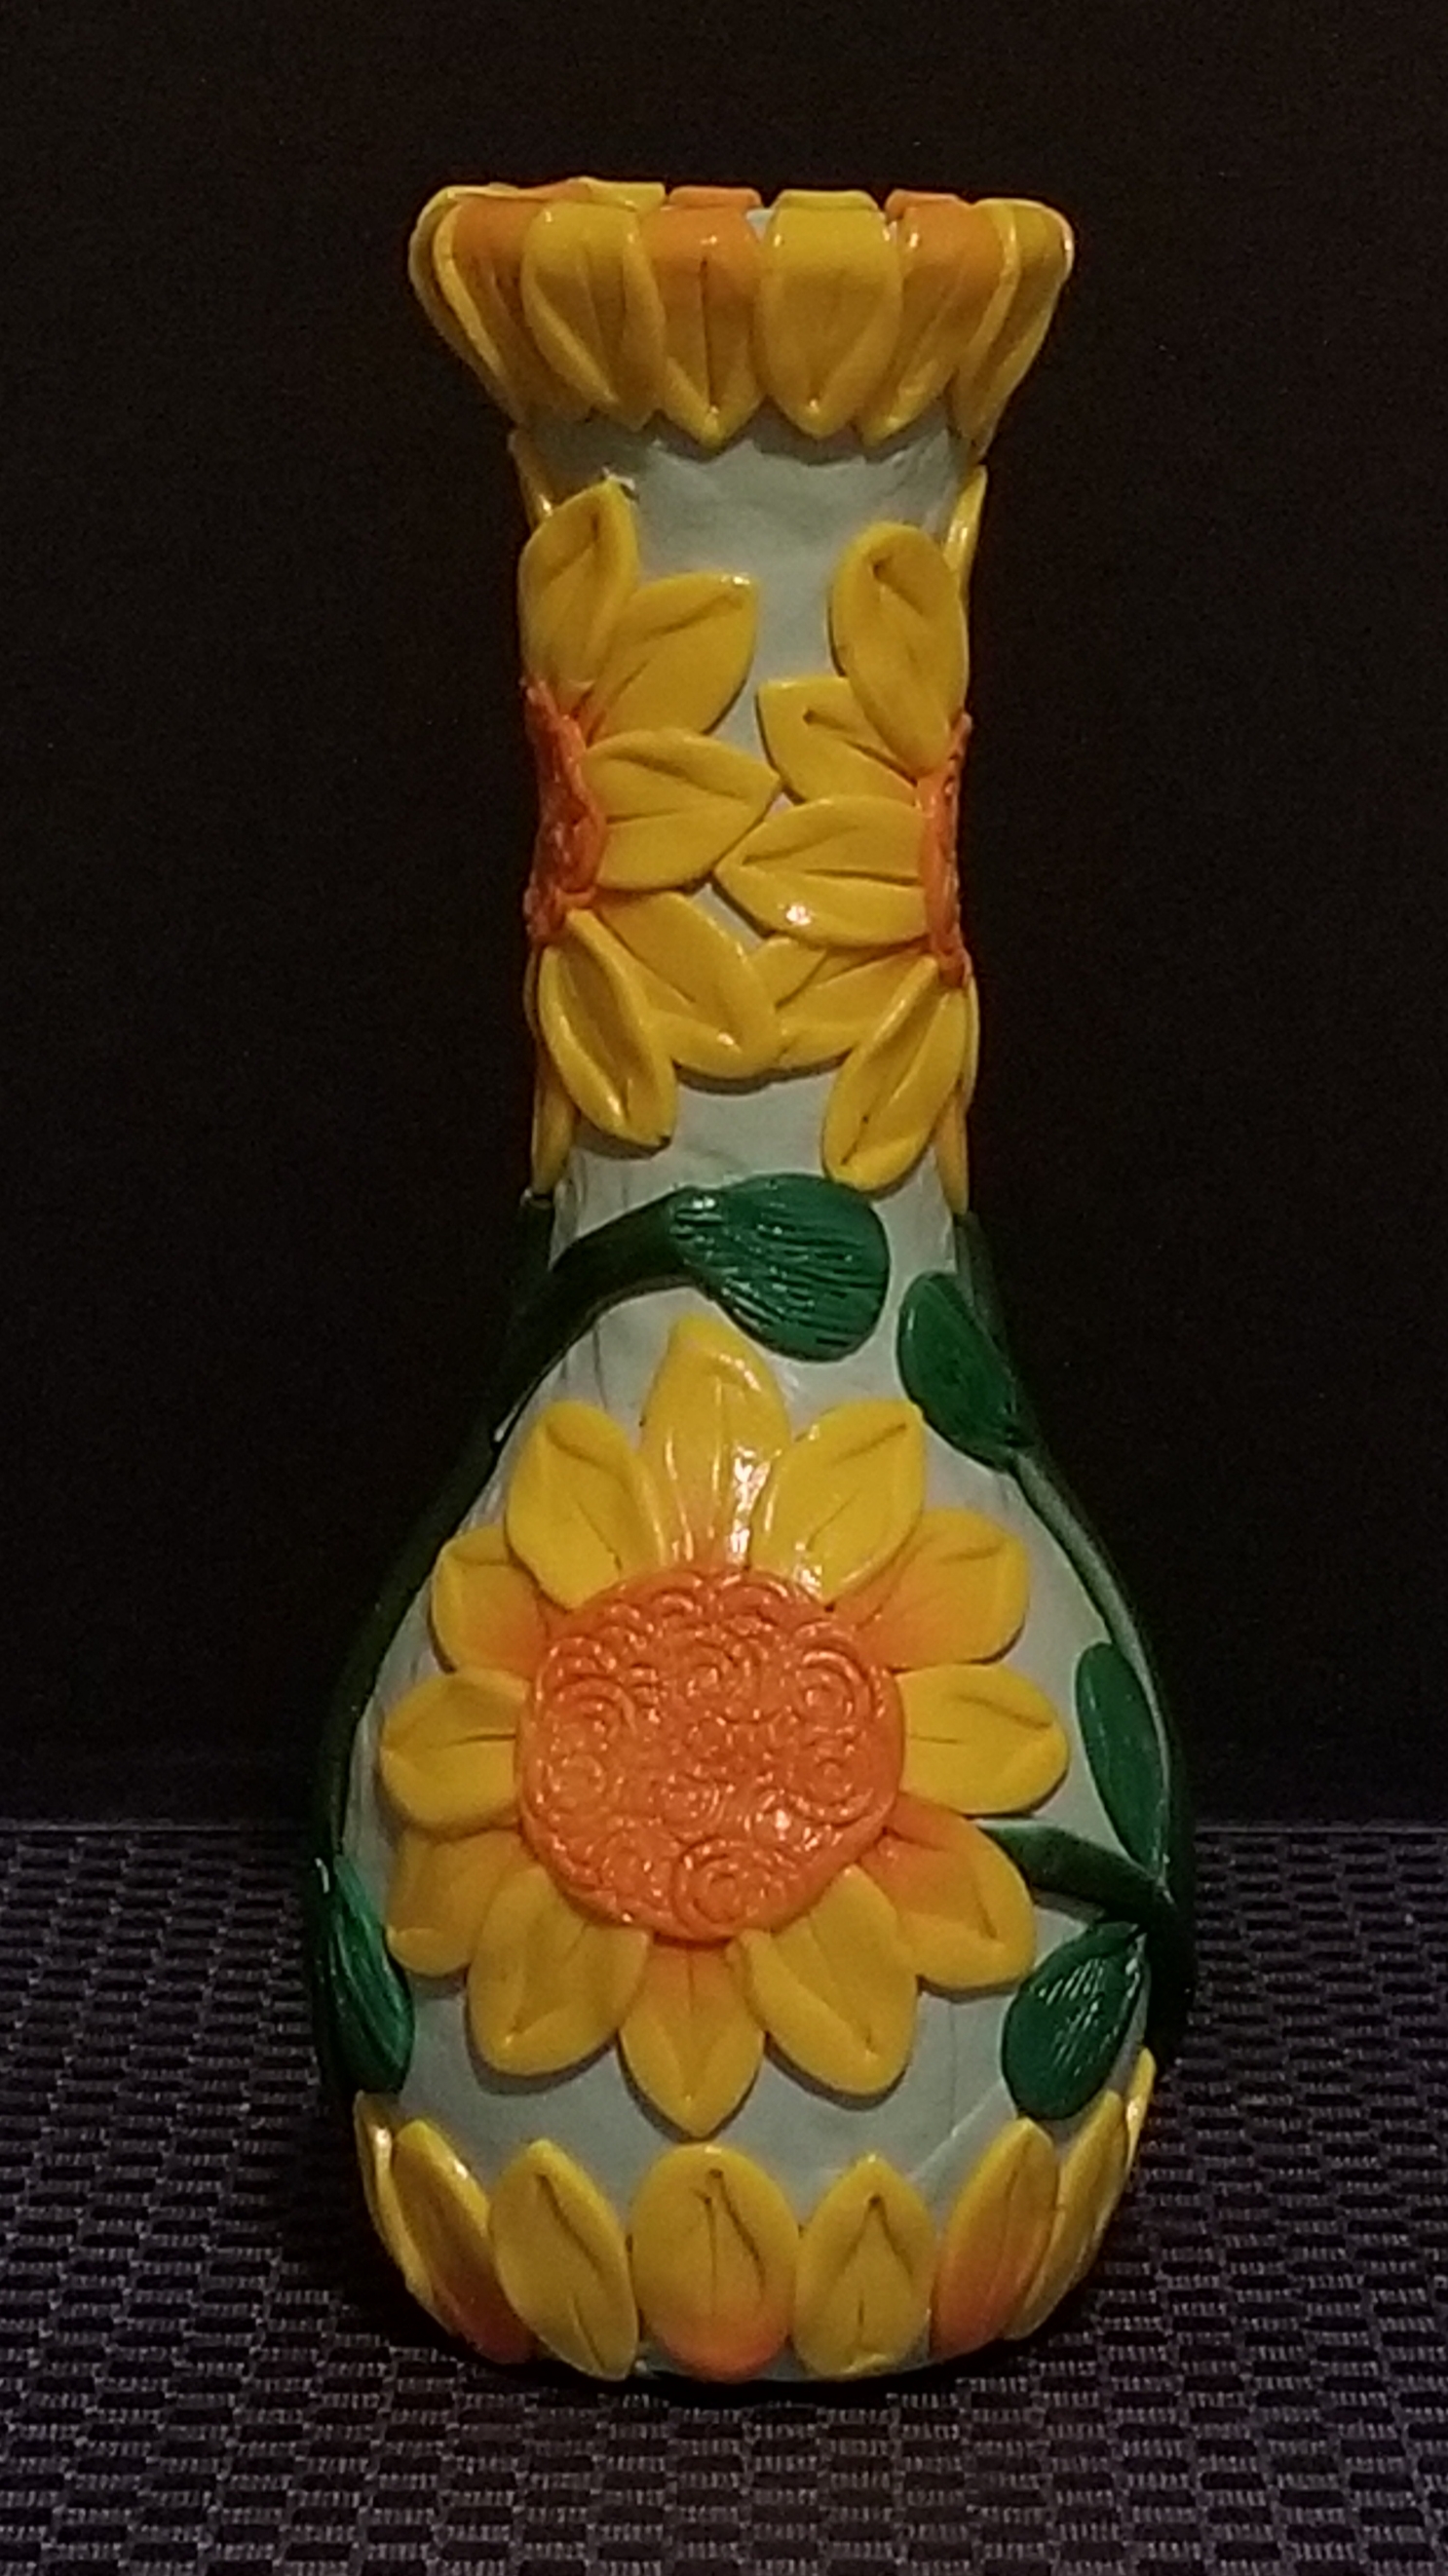
It is also one of the first of my coloring pages I printed.  It was printed using my Epson printer, on Epson Fine Art paper, with the thick-paper setting turned on.  It printed nicely, but I did notice the lines in the middle were very close together.

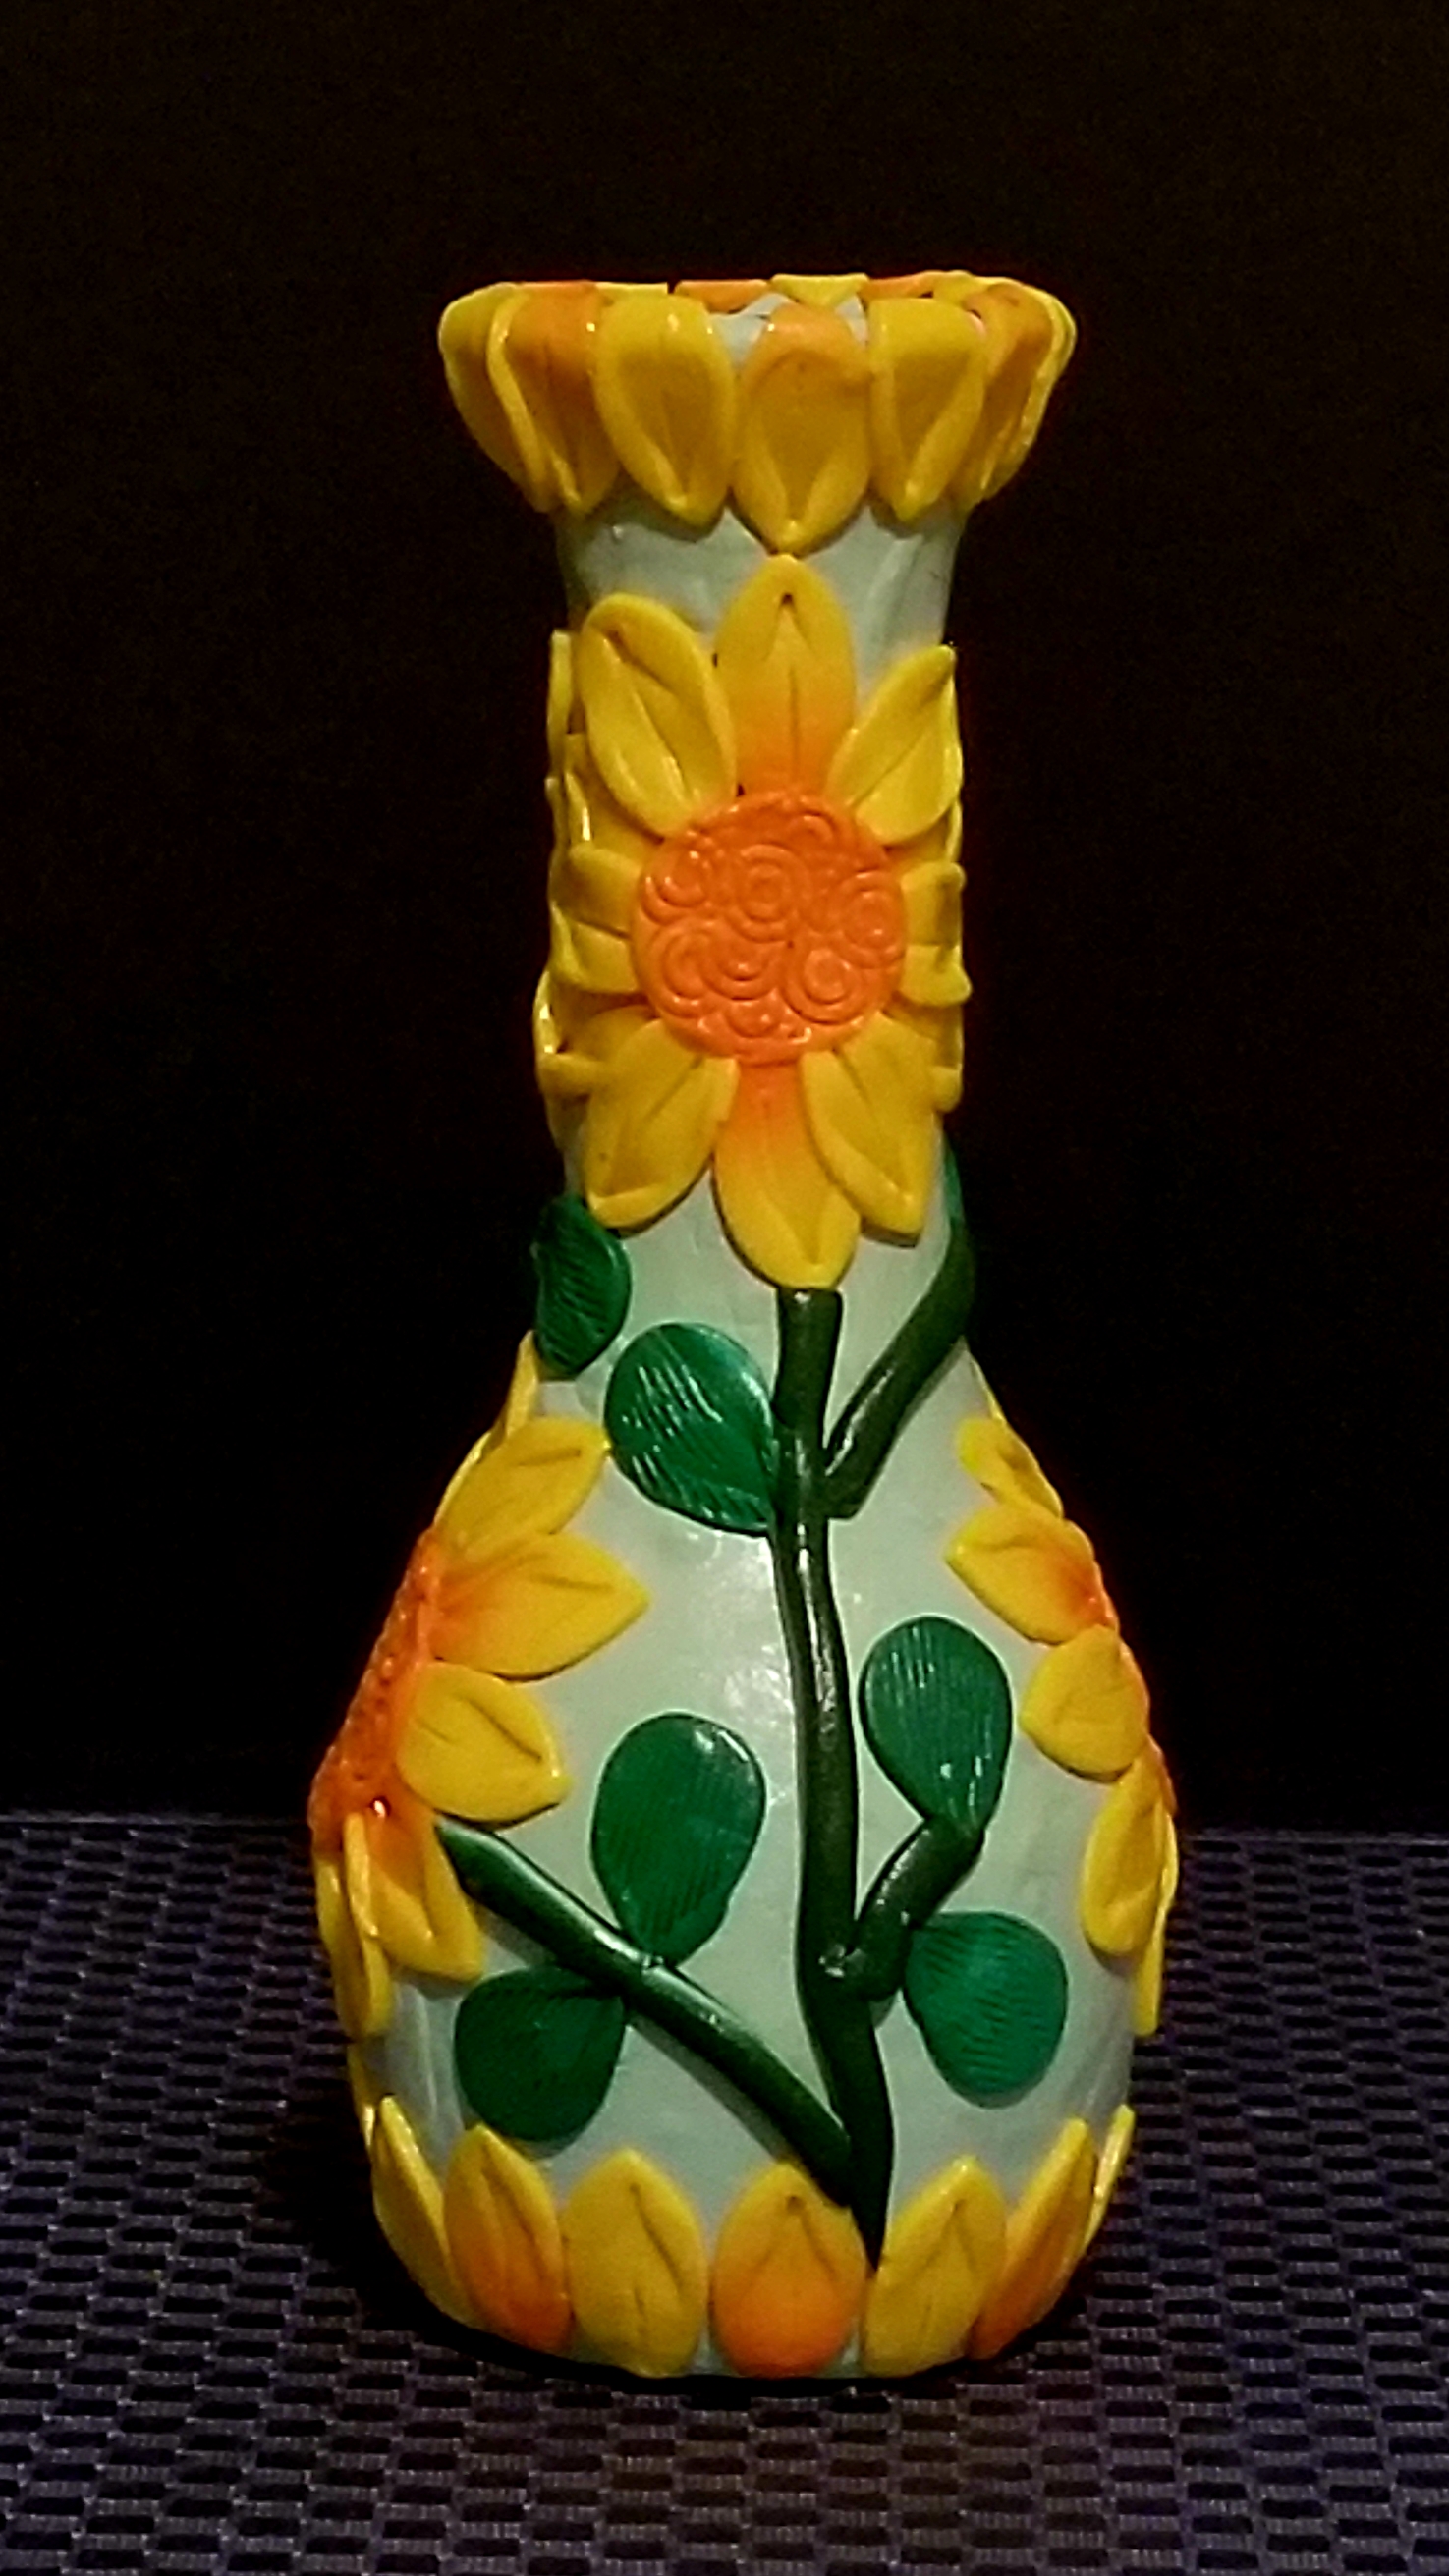
I thought my first attempt to color it would be with color pencils; instead, I used watercolor pencils, with a water brush, and a light touch.  The black line appeared to bleed a little, but I kind of liked that effect.  The more color I added to the paper, the less the black lines appeared to bleed.  The paper did really well with the water, there was minimum wrapping of the paper.  Below is the results:

20190120_163242

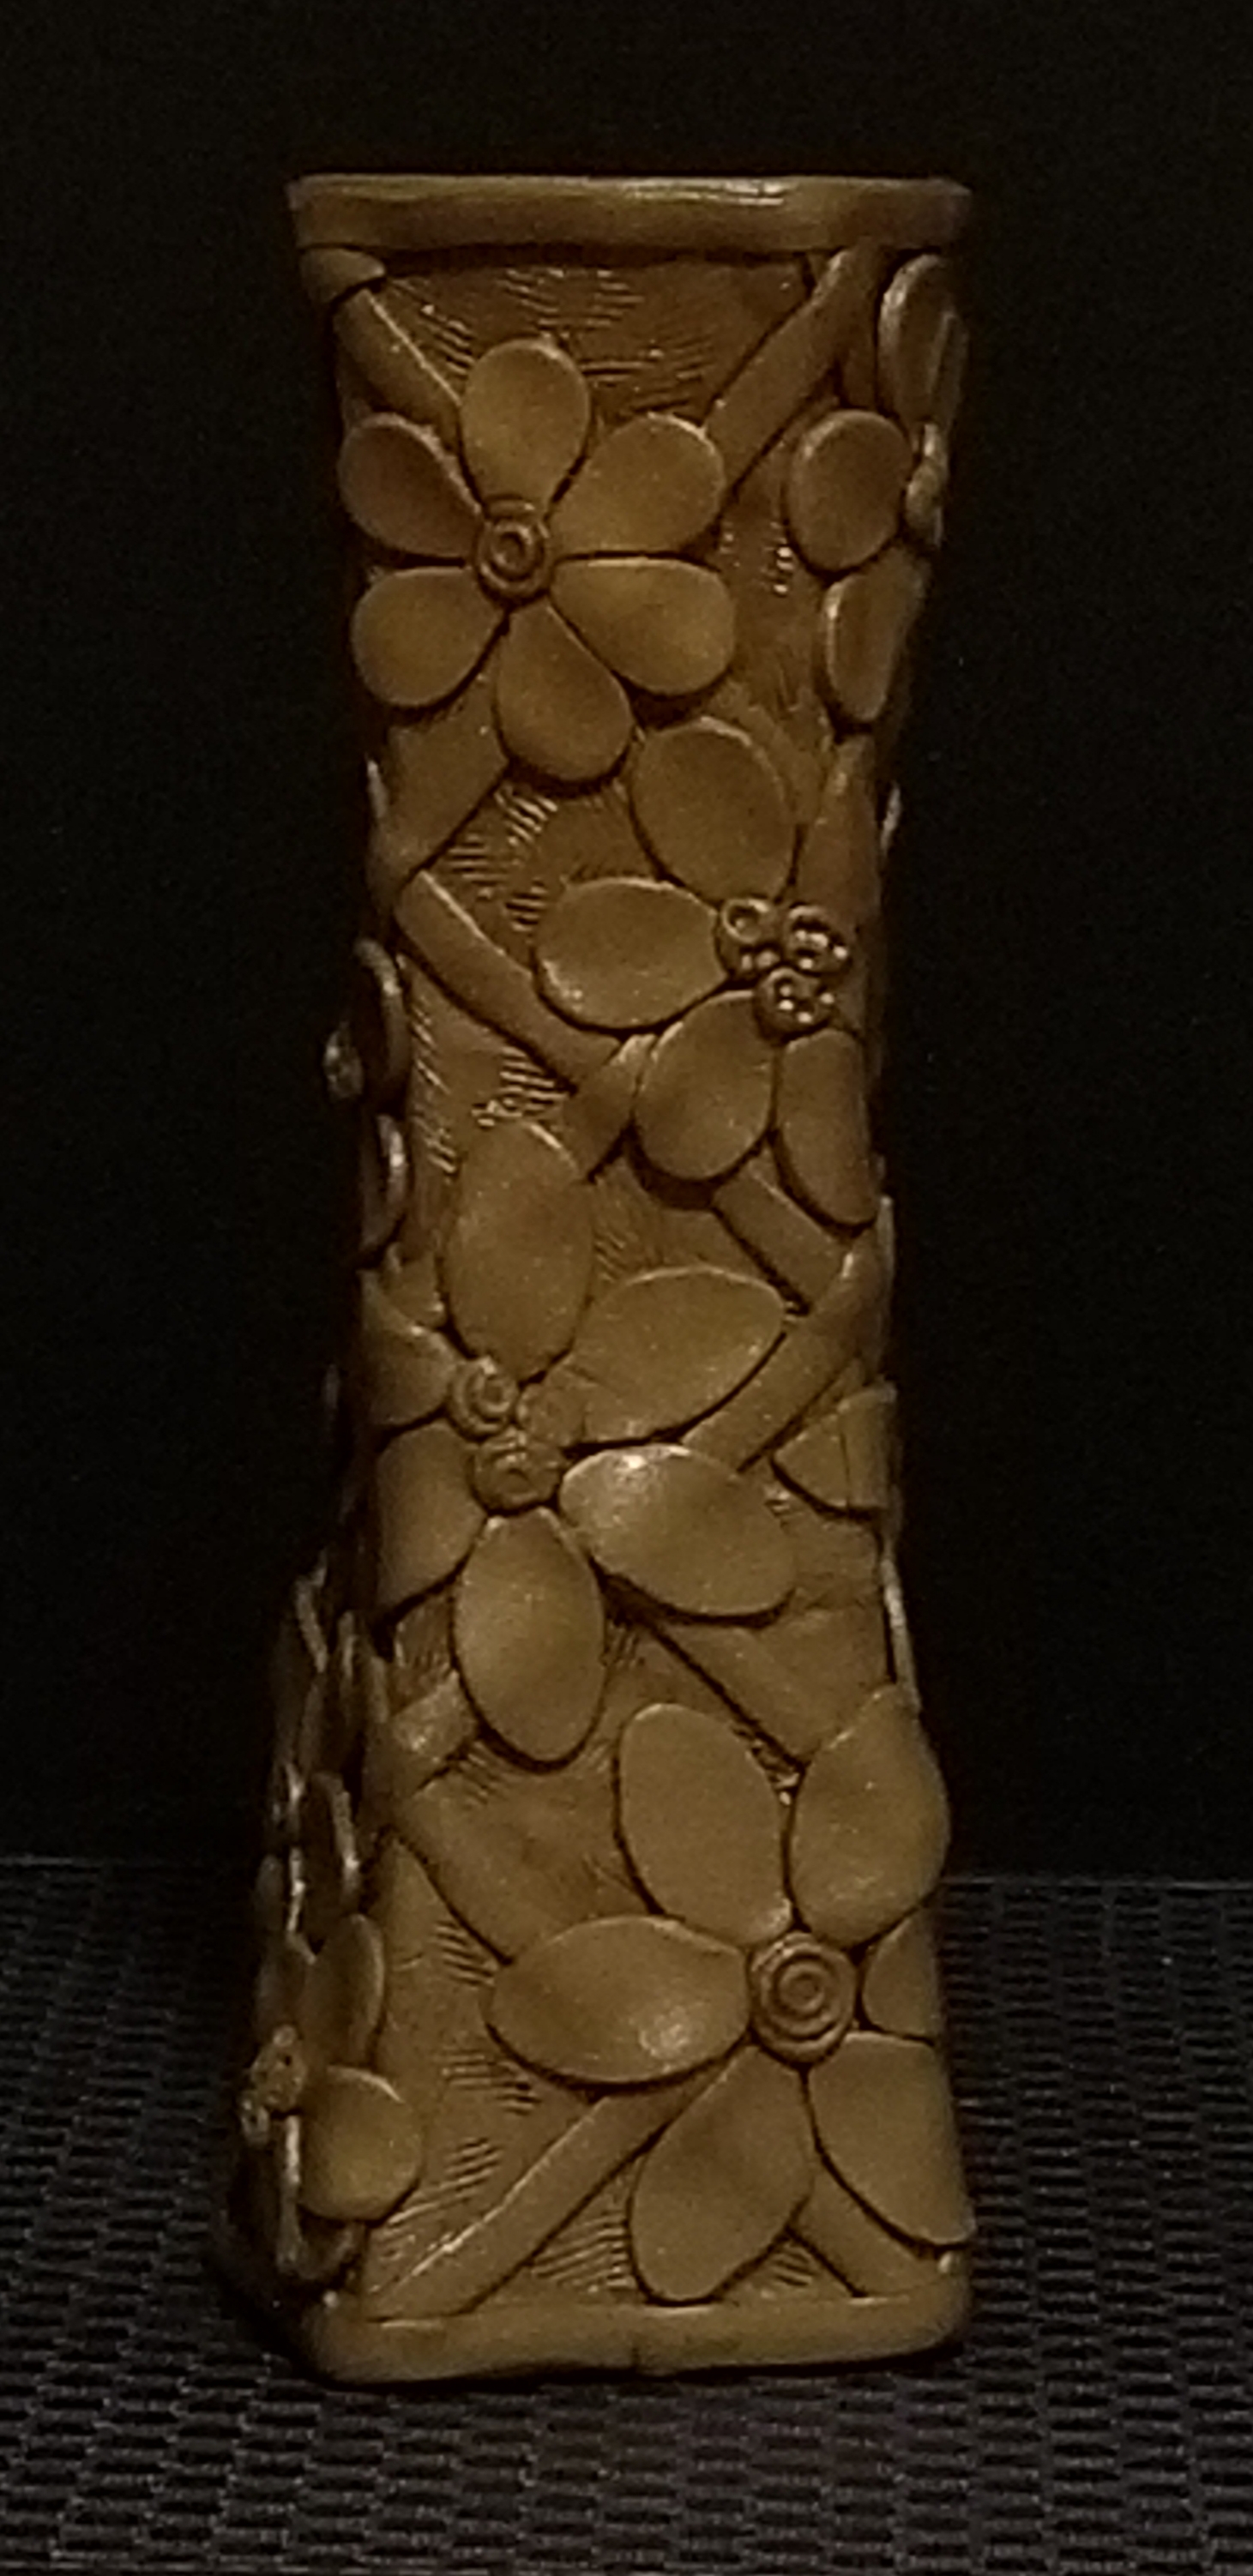
My testing of the color pencils did not go well.  The color went on the paper like I expected, nice blending was accomplished.  However, when you apply multiple layers of color with the pencil, wax bloom happens.   Little specks from the color pencils gets all over the drawing.  One method to get rid these little specks, is to use a kneed eraser.

The Fine Art paper, absorbed the gray color from the kneed eraser.  It also absorbed the pink from the pink eraser and any color left from previous erasing off of a white eraser.  There are two ways I can see to get rid of these little specks for future projects when using this paper:  first, to clean the white eraser every time before touching it to this paper; or use can air to blow the specks off the paper.  I am will probably go with the can of air.

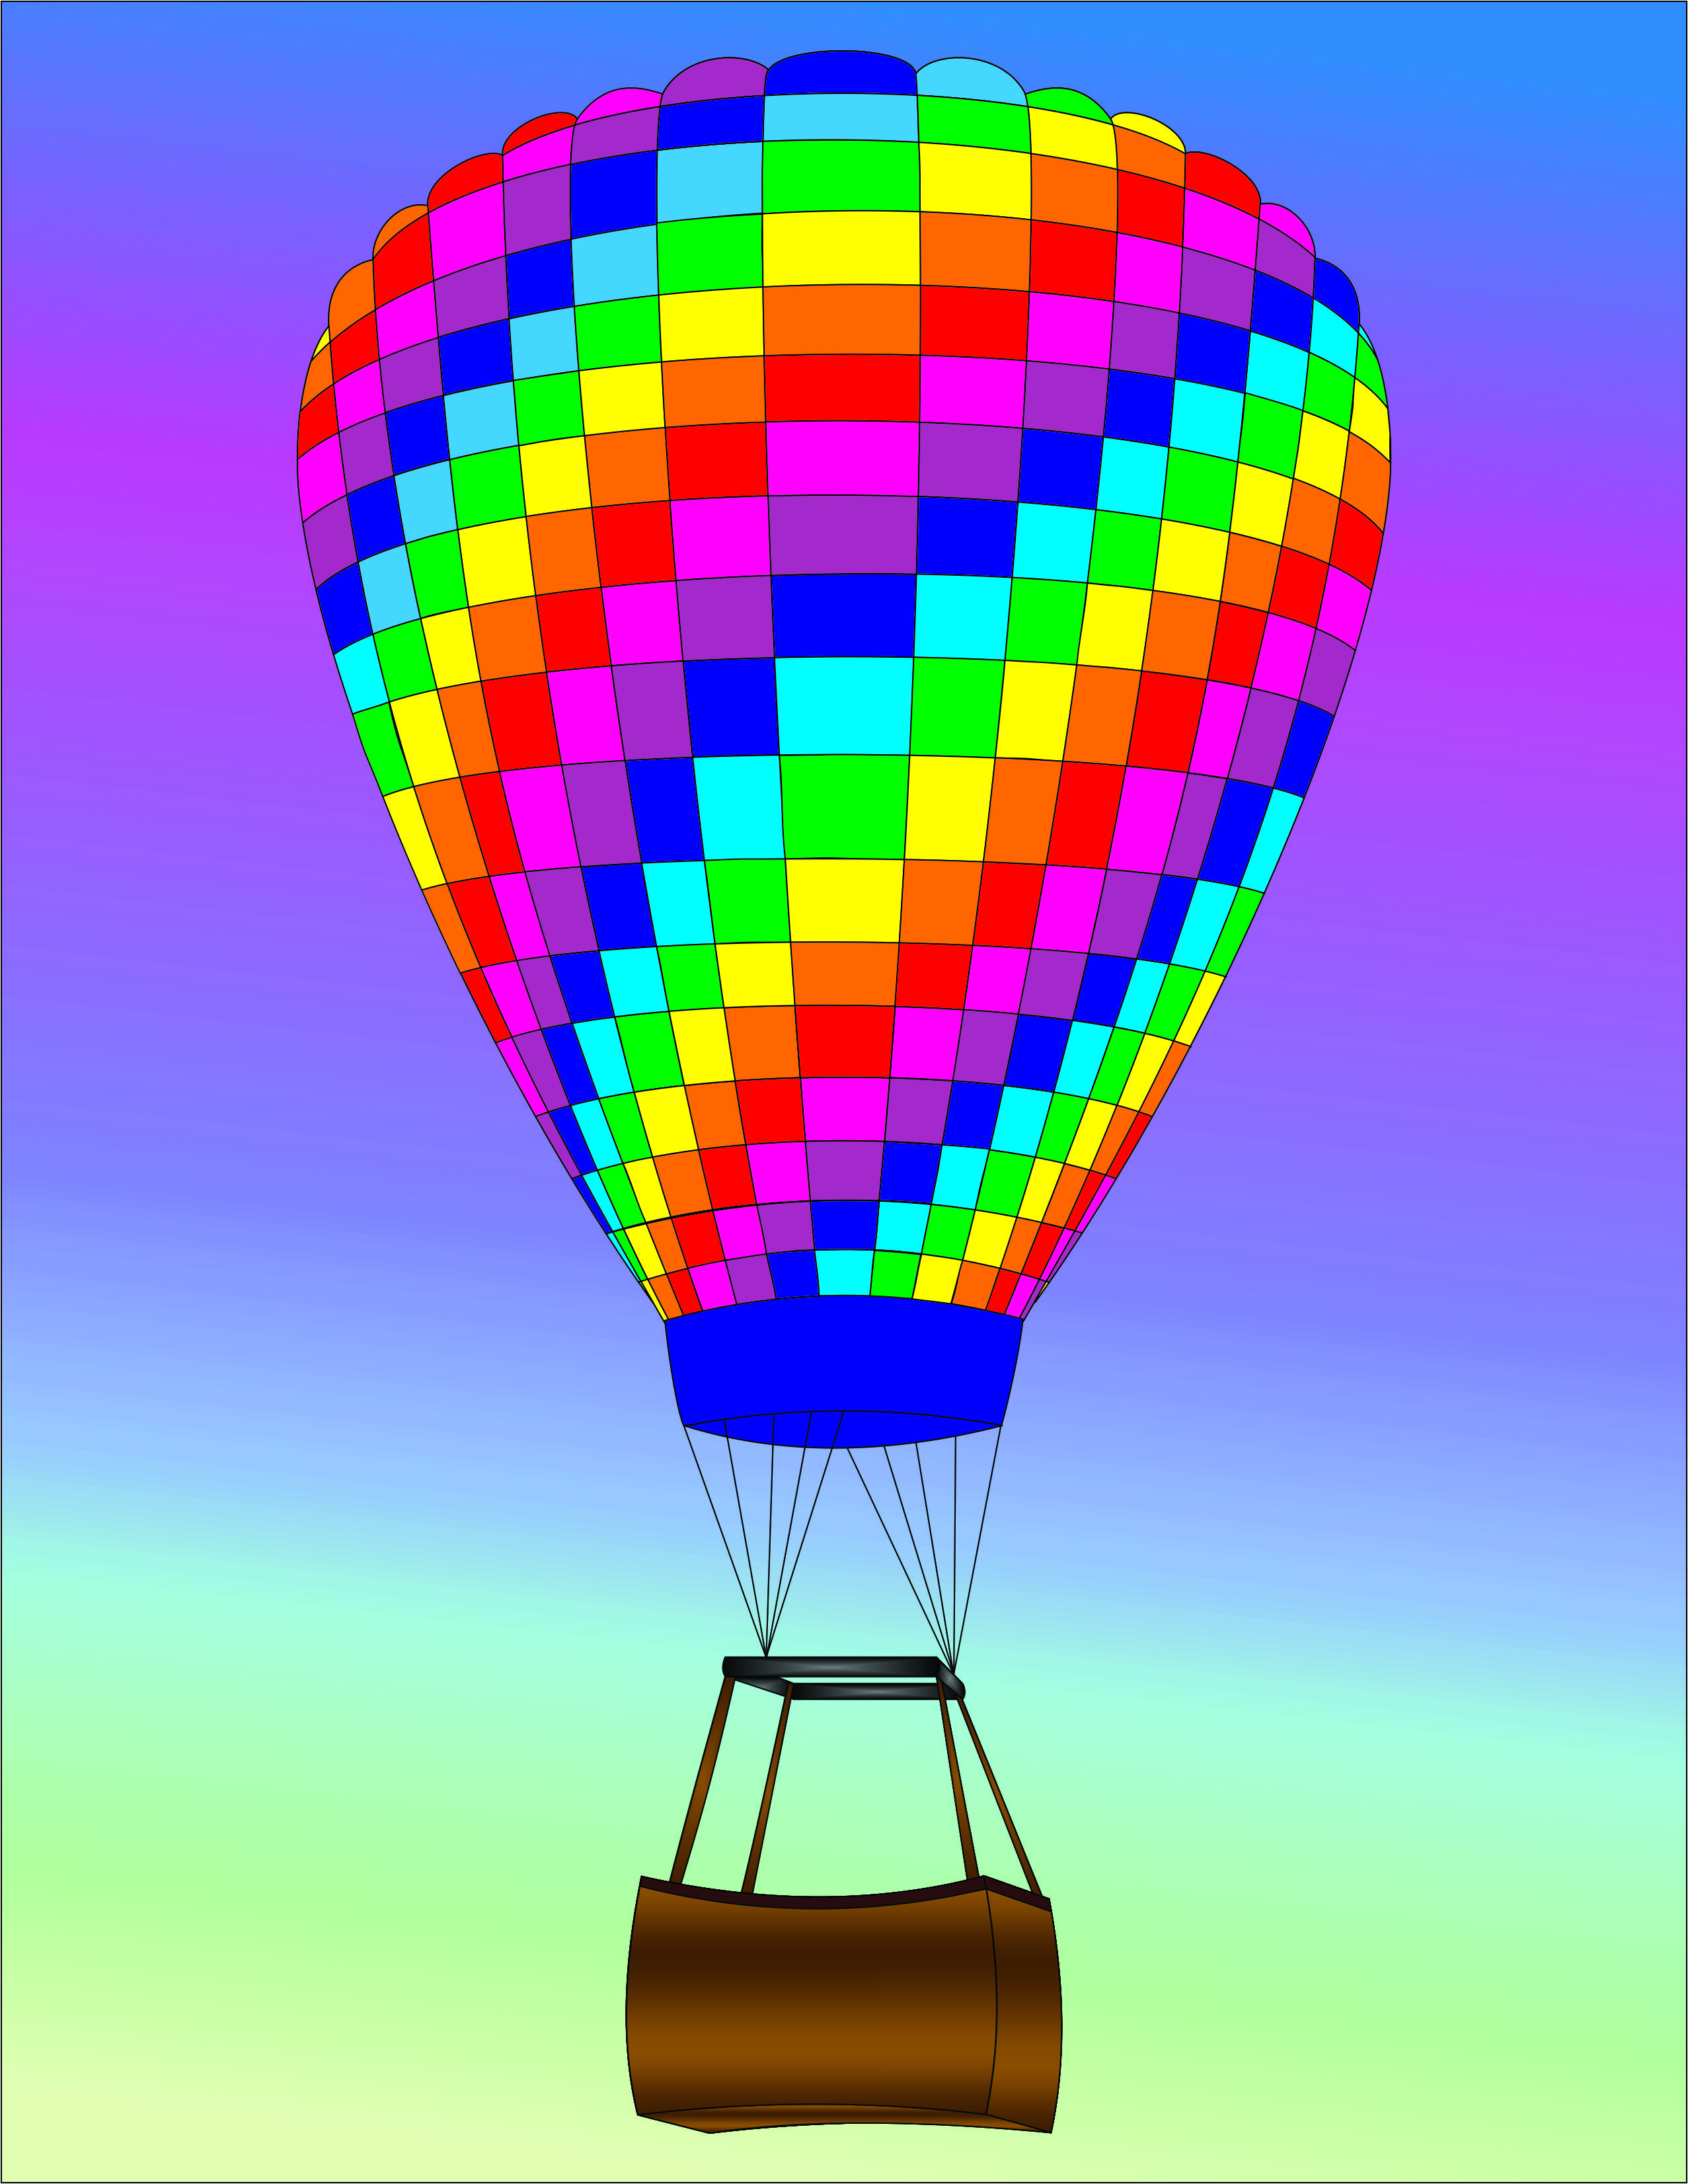
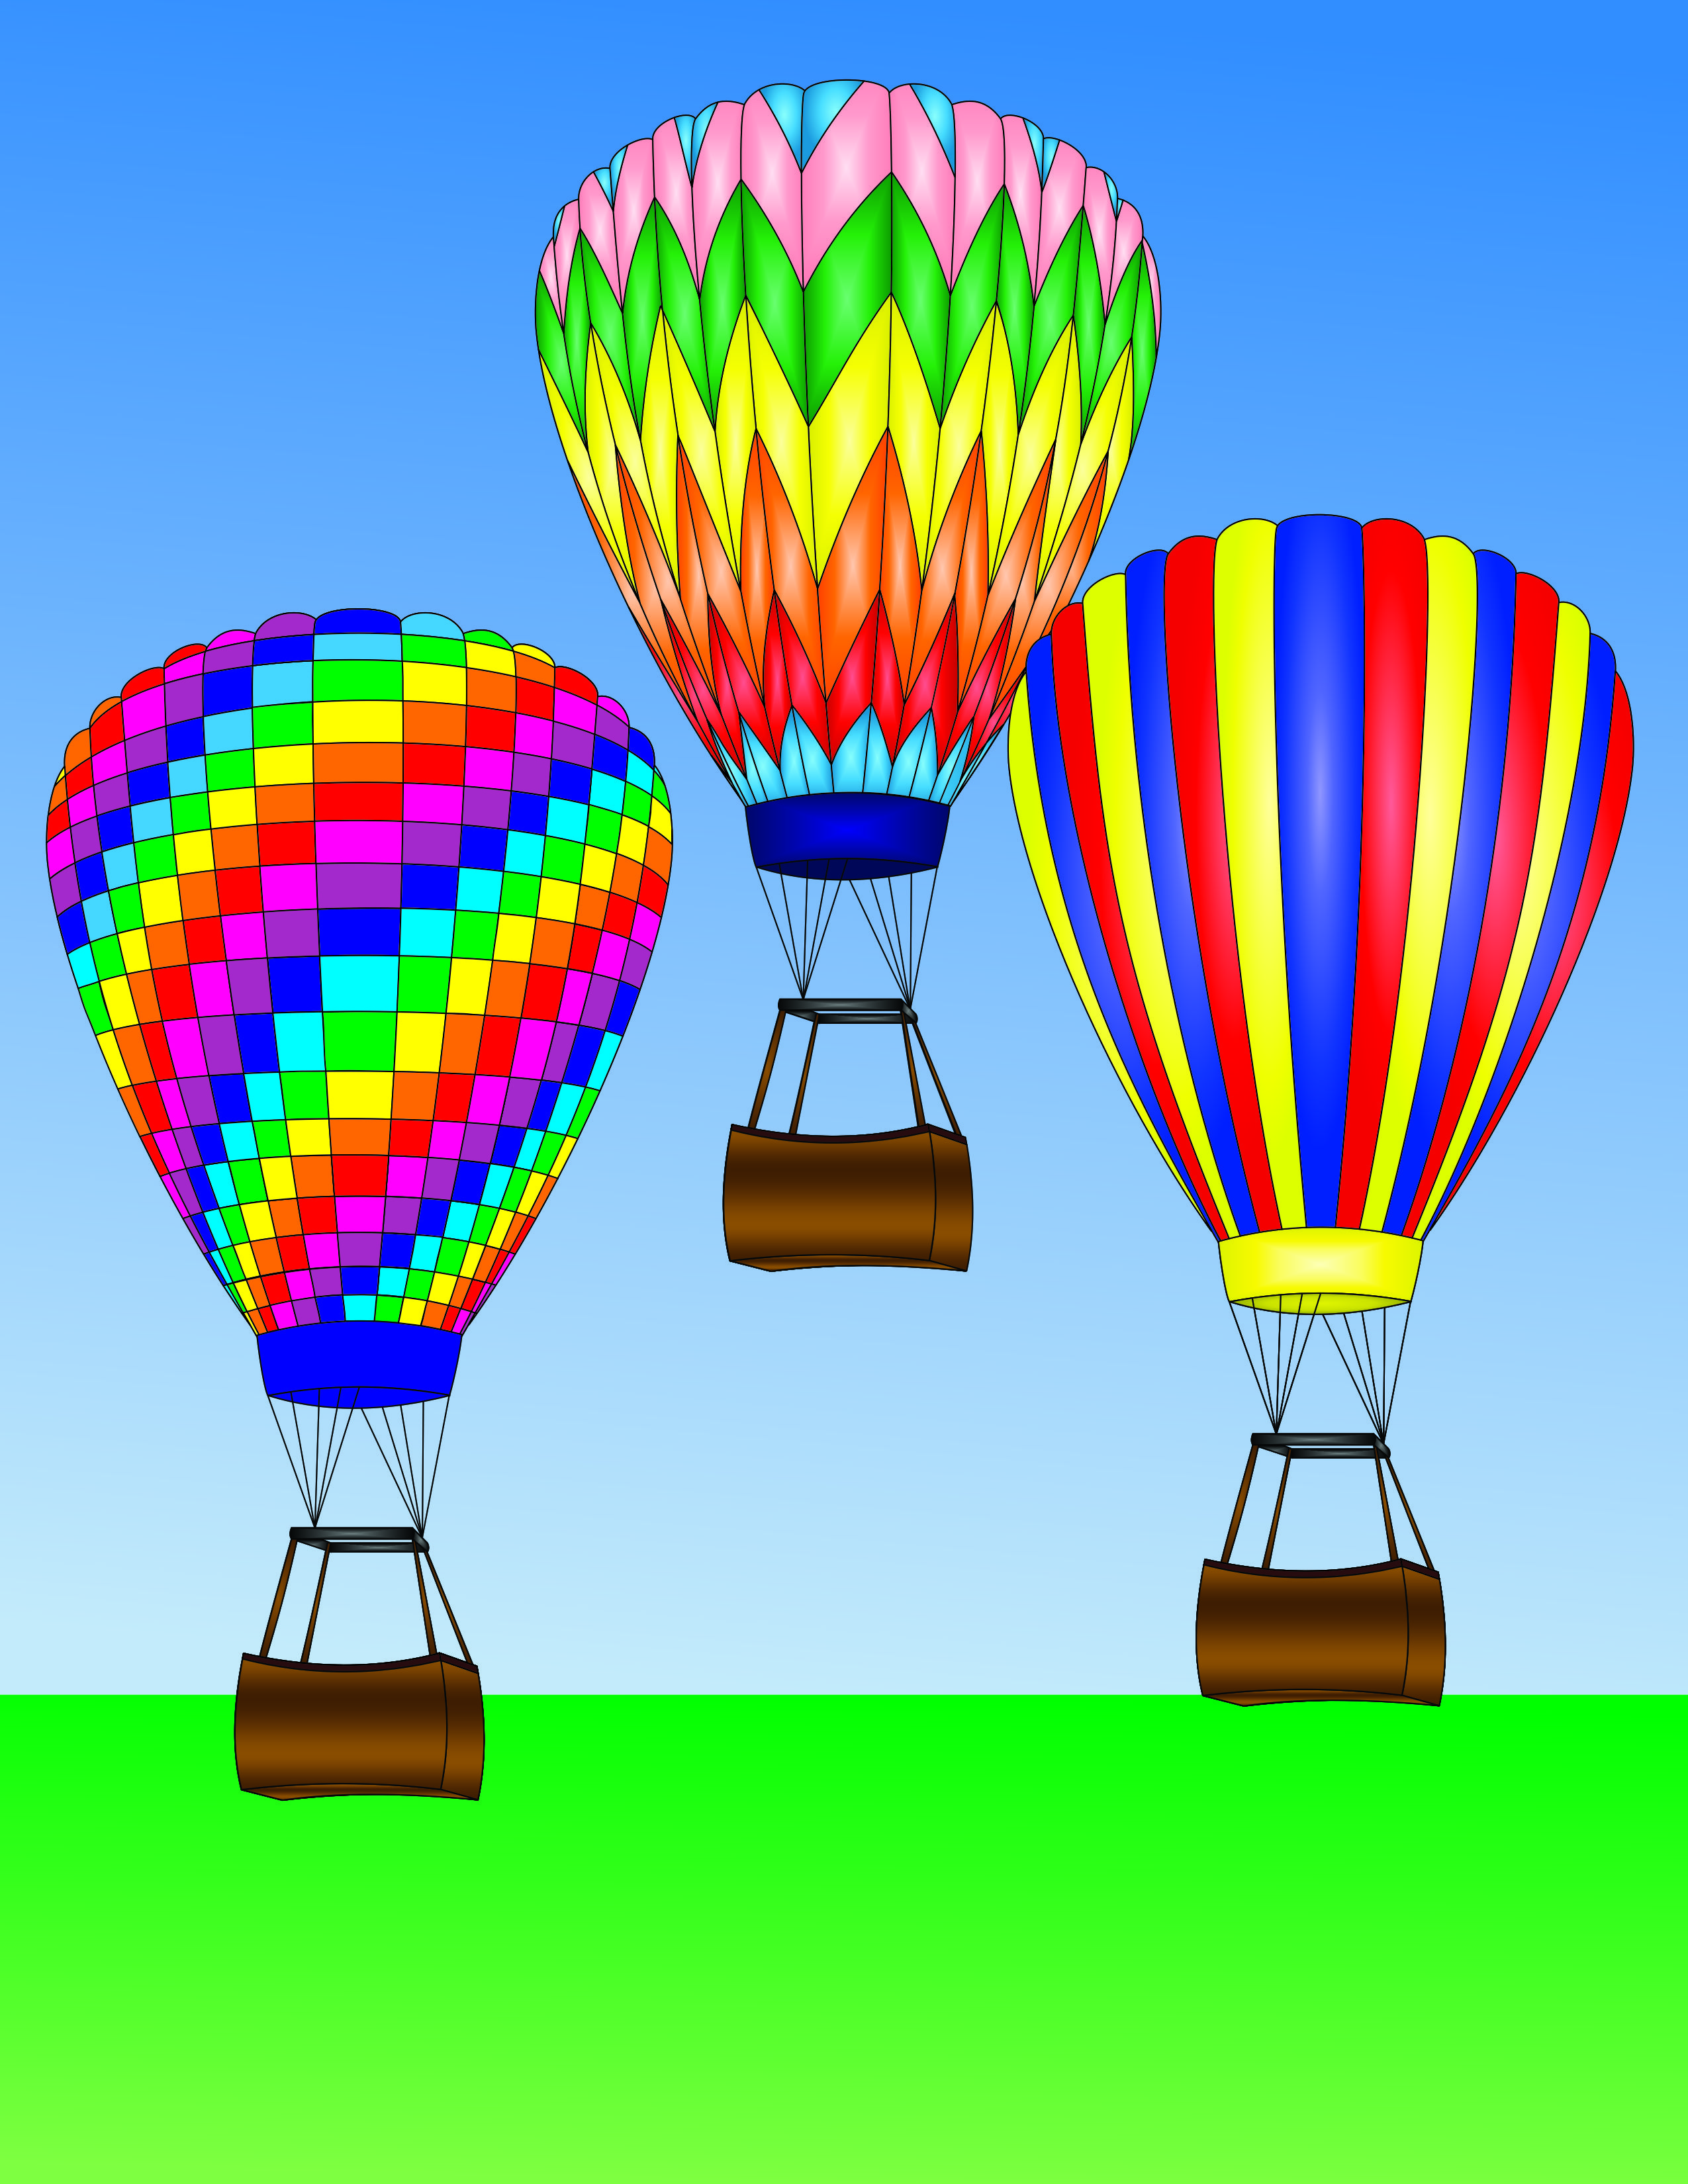
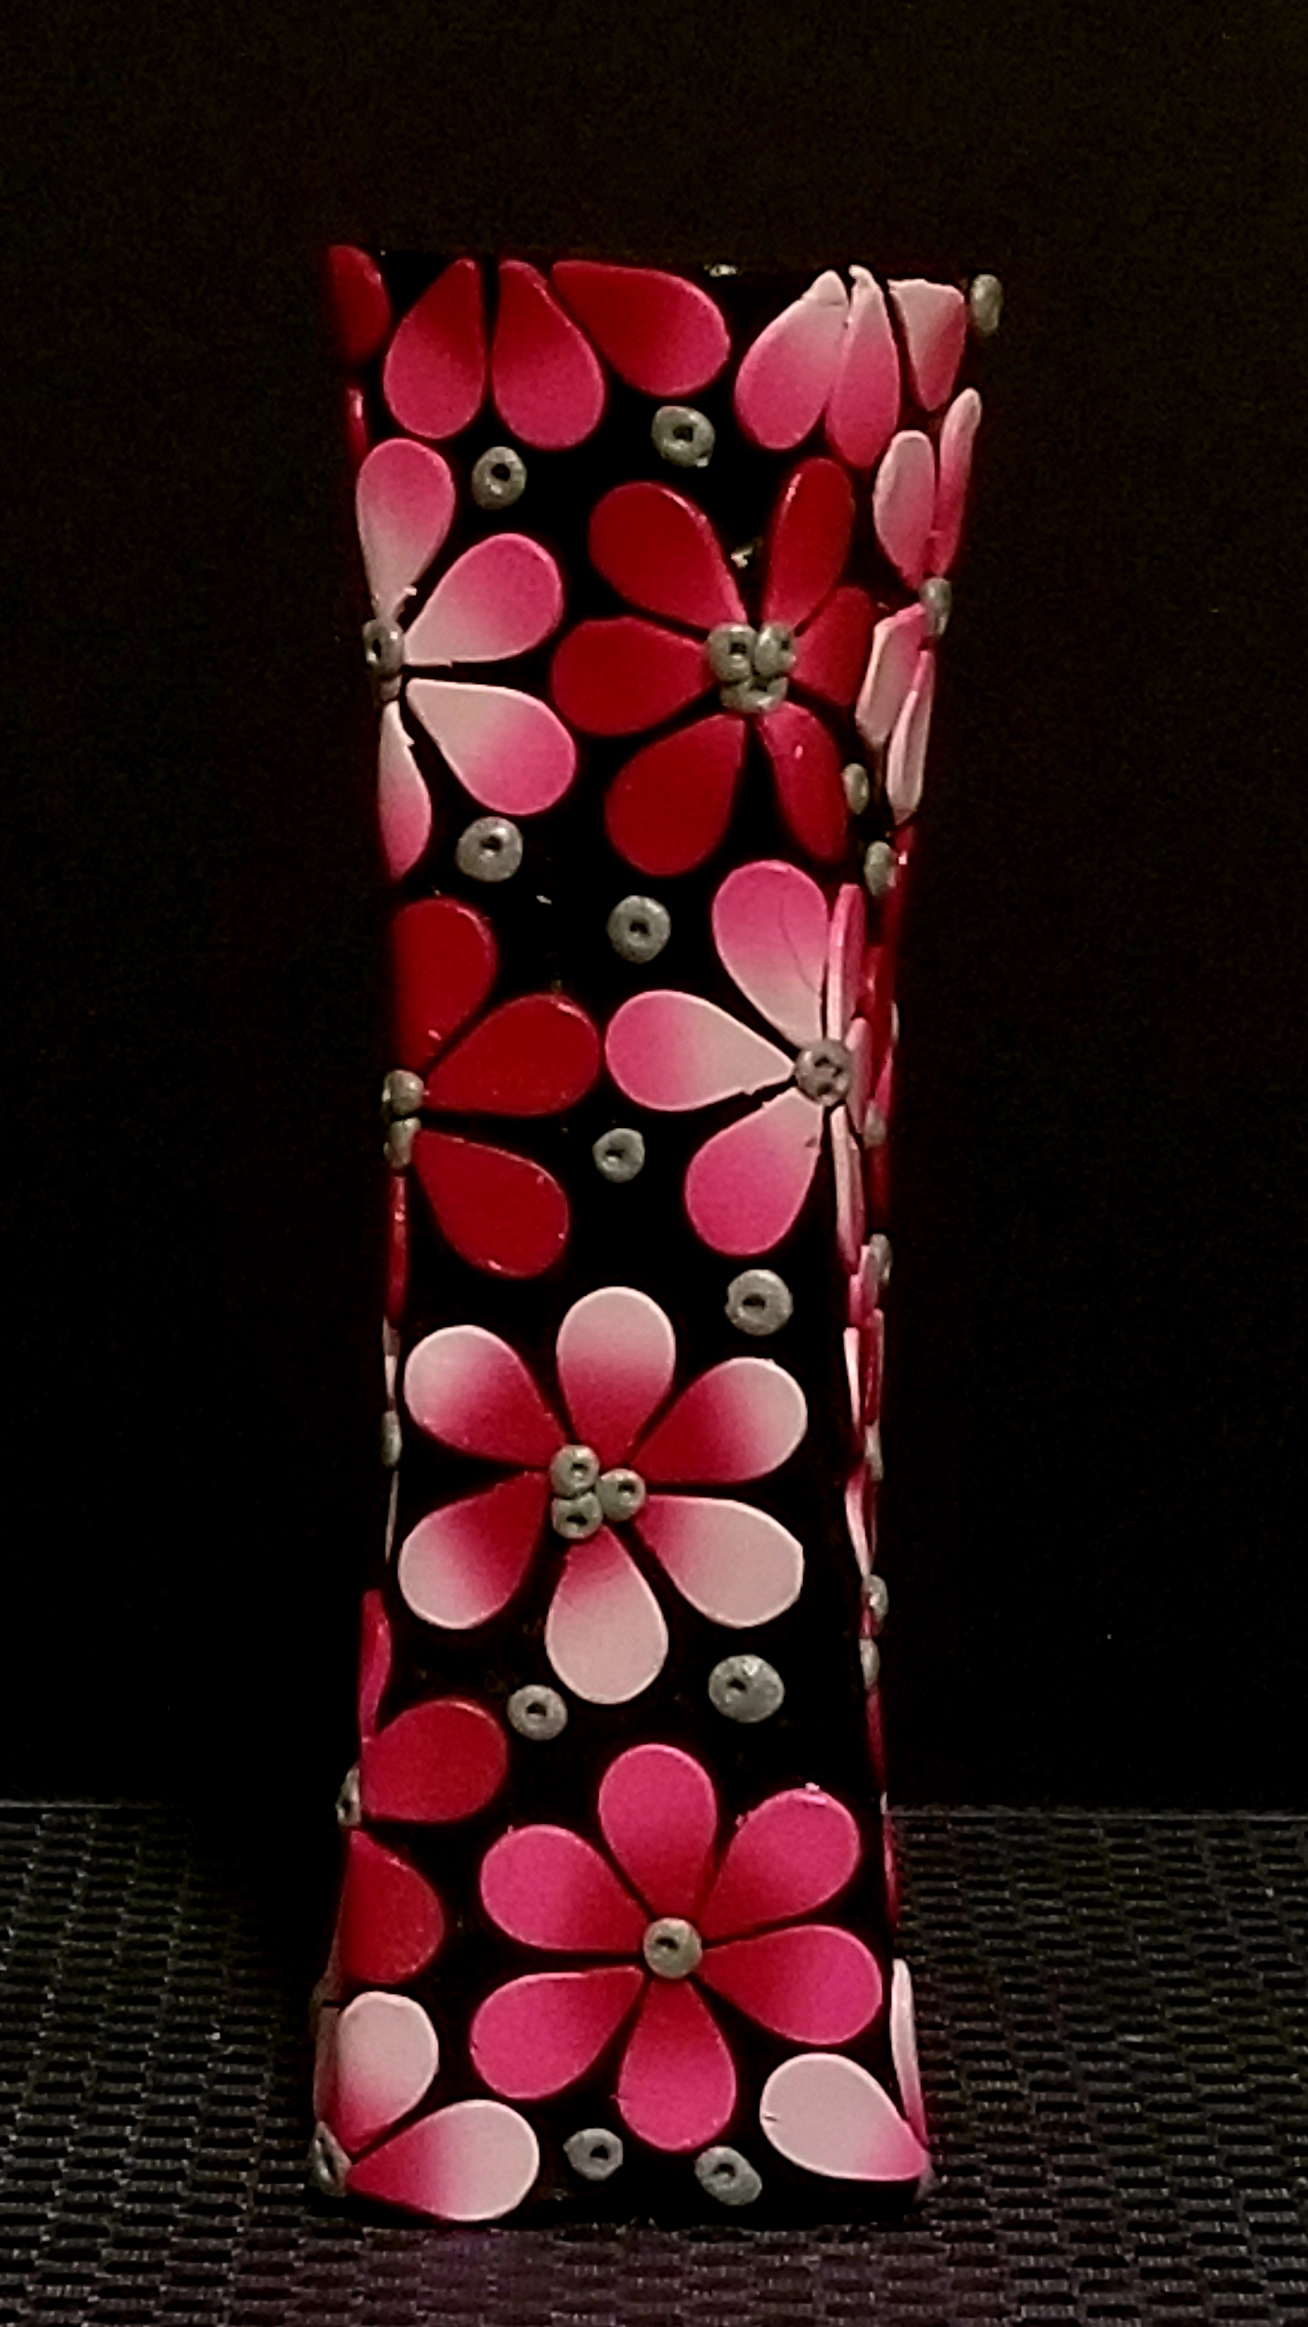
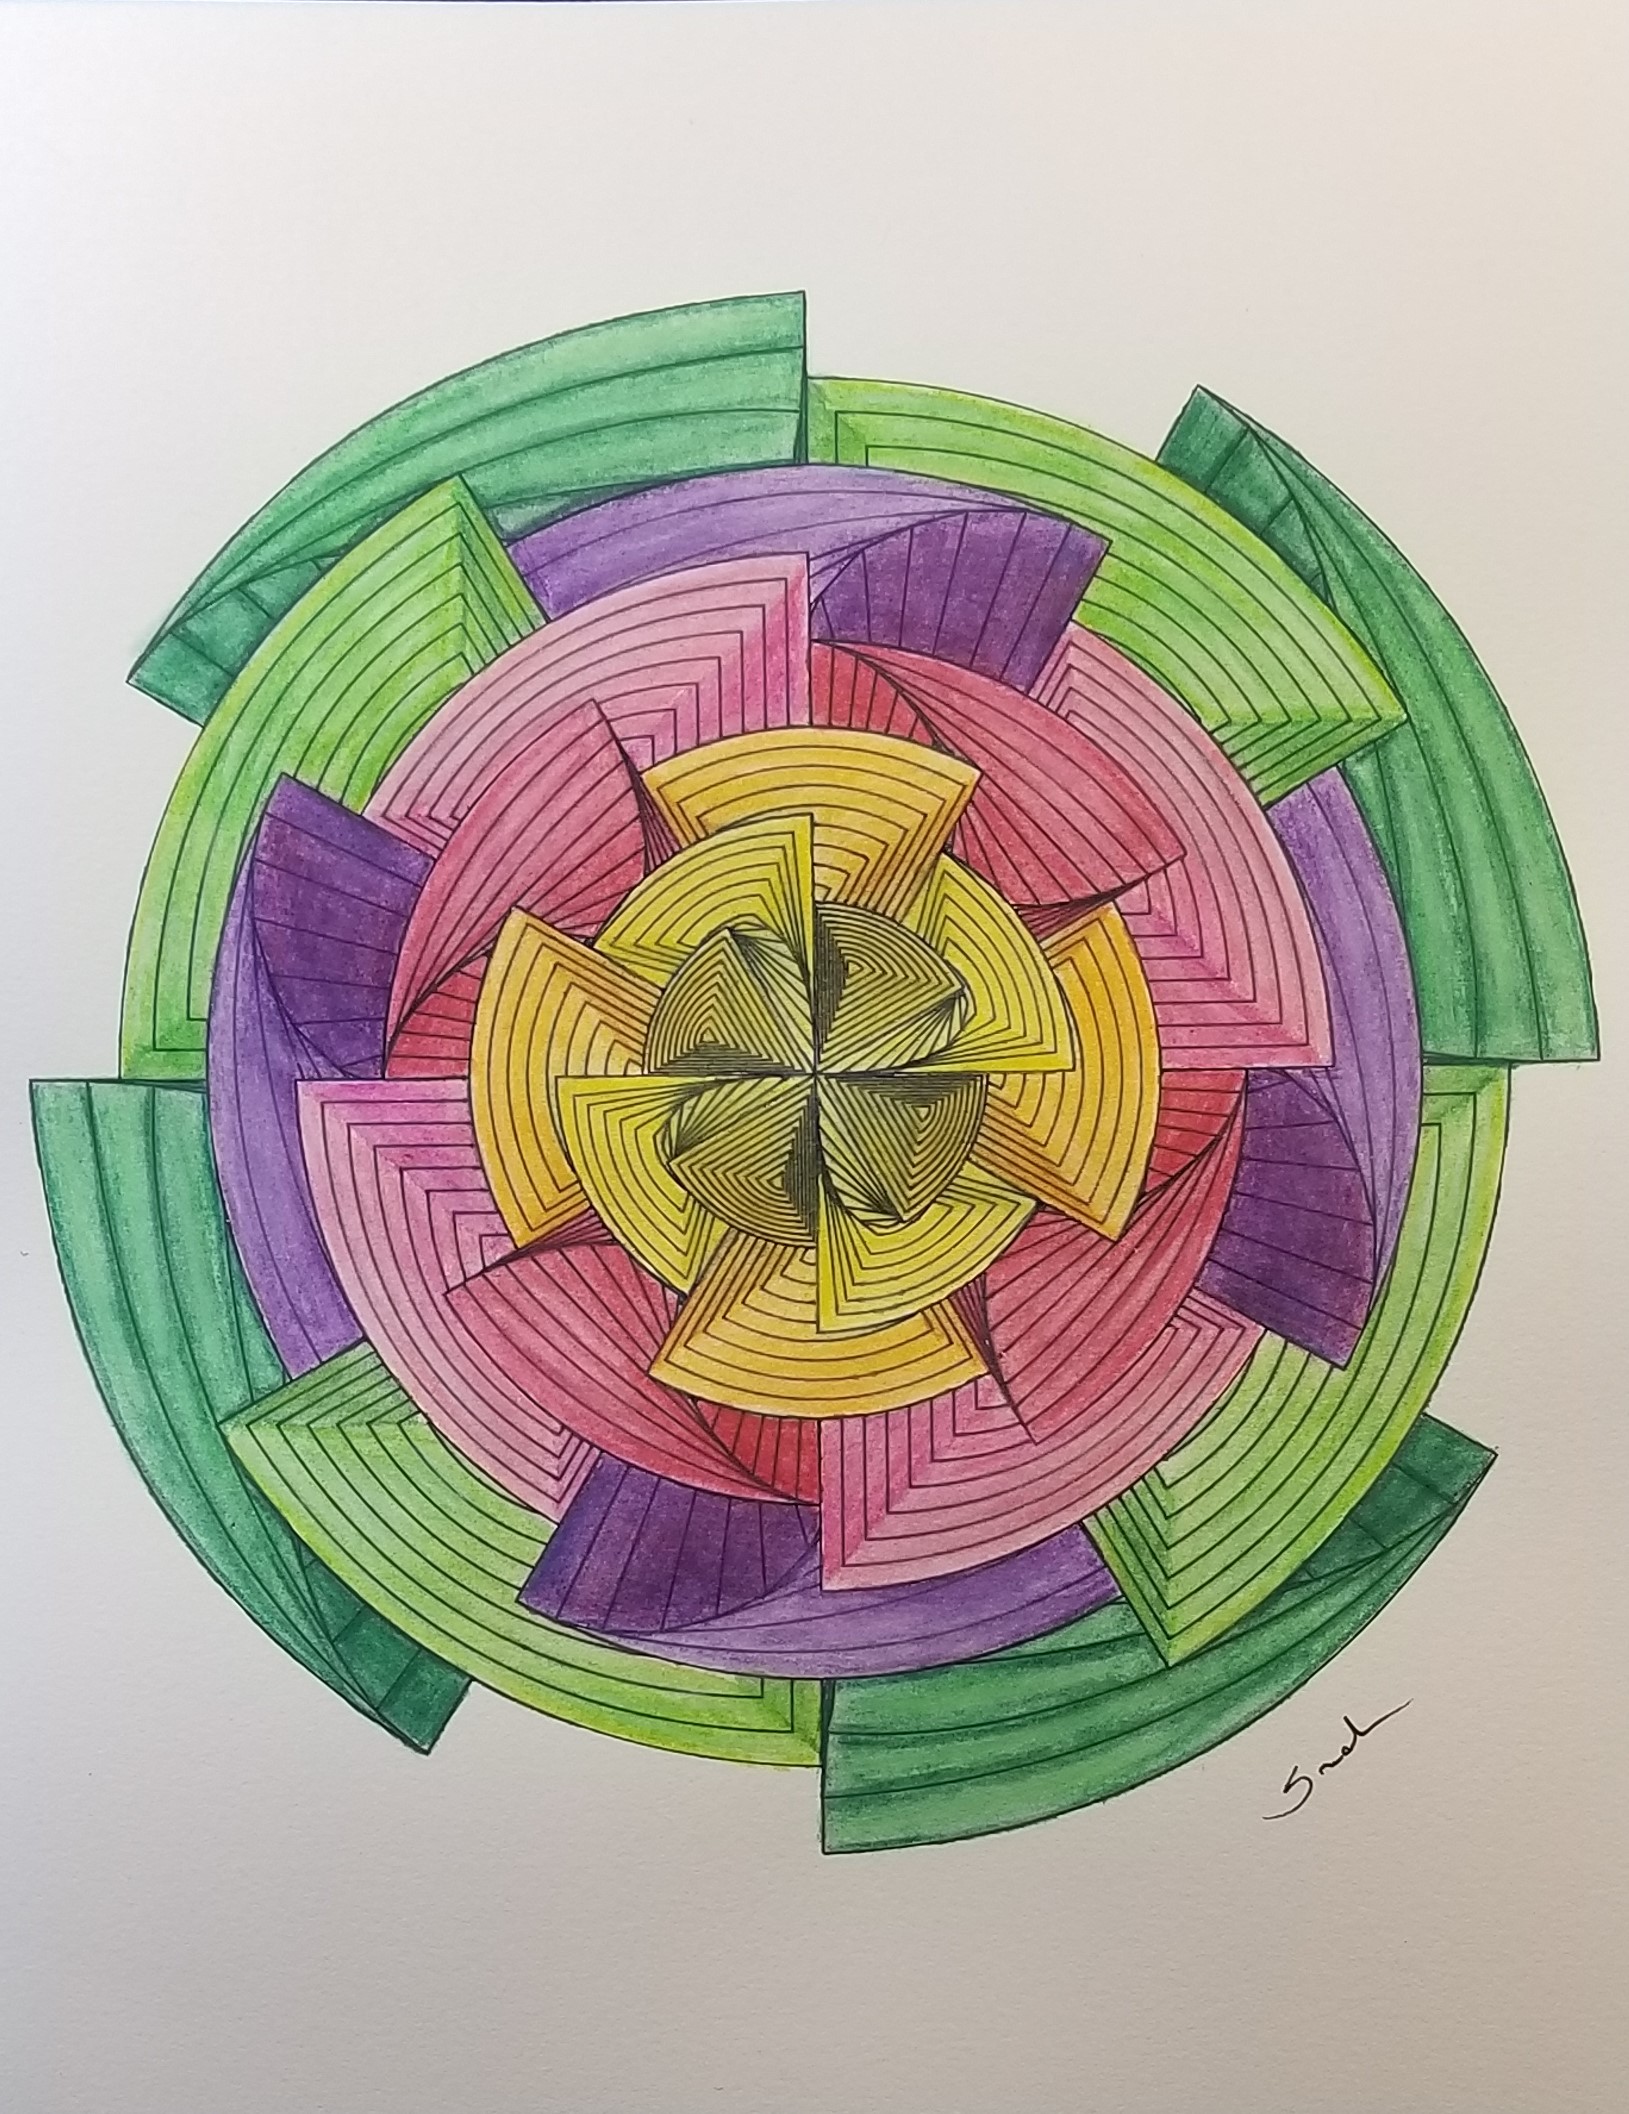
Since I created the drawing in CorelDraw, I had to color it in CorelDraw.  When I saved it out as a JPEG file, I though the background provided additional shine to the colors.  Below is the piece of art.

geo flower twirl color

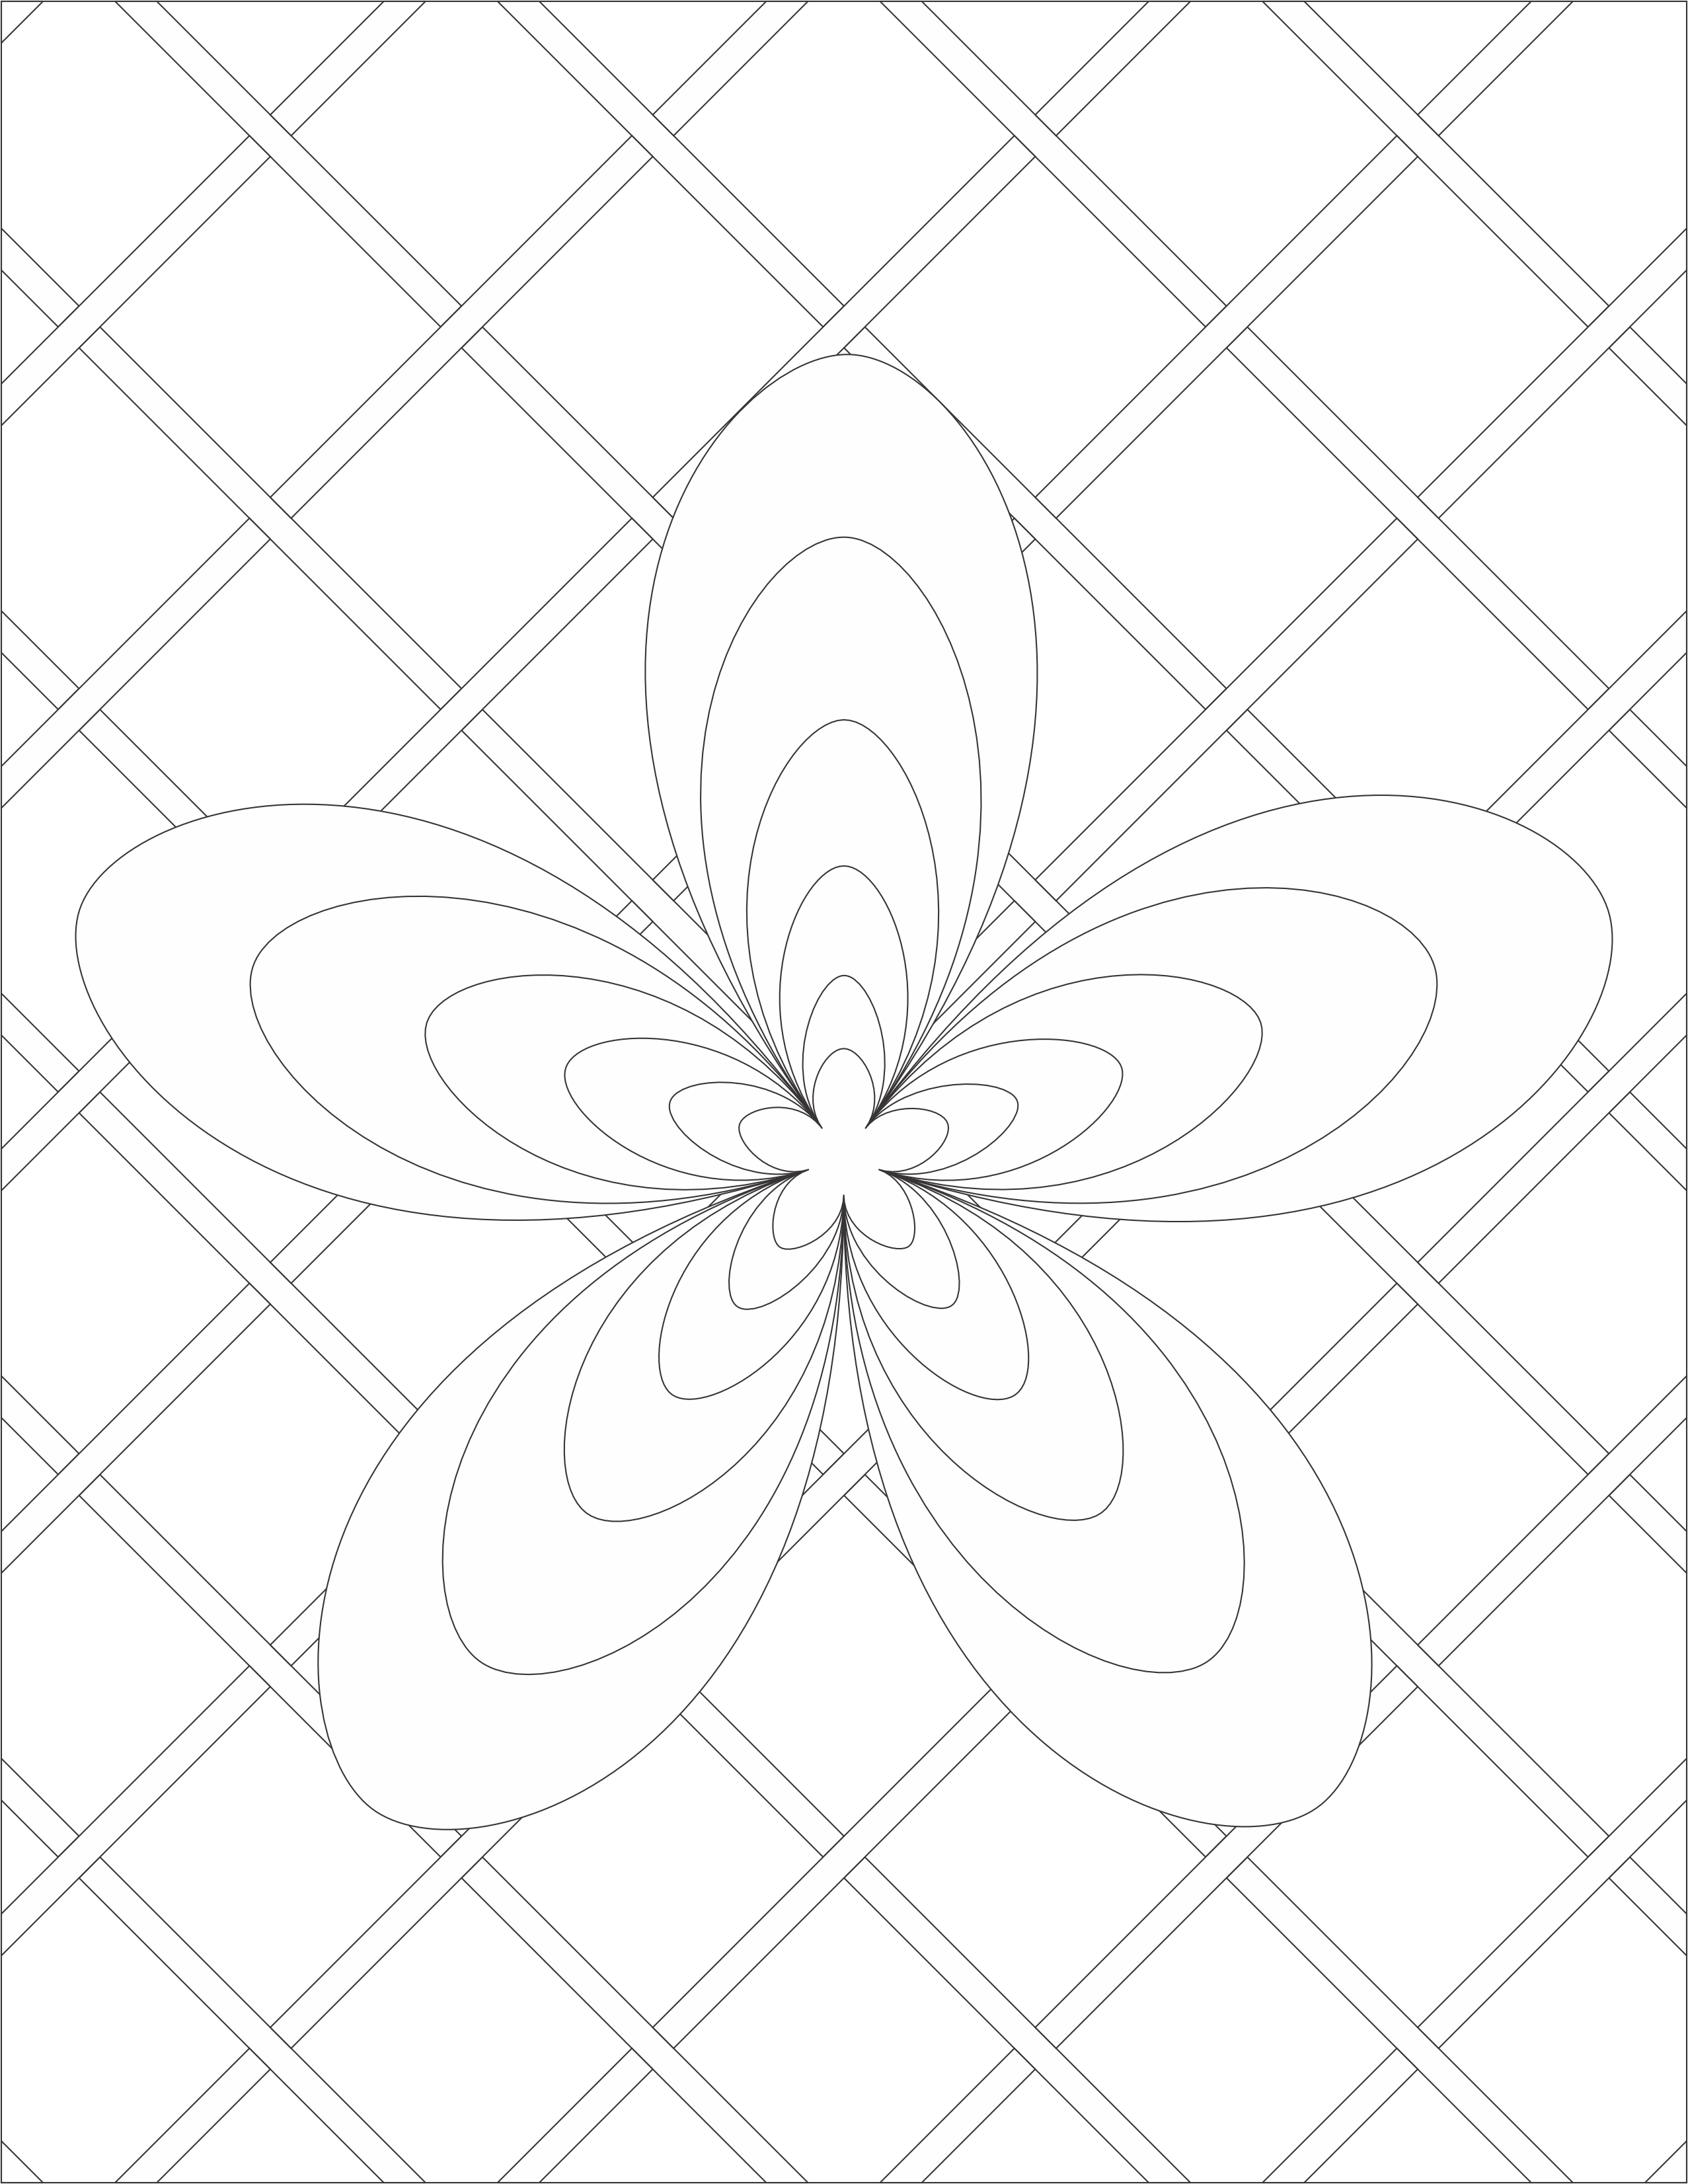
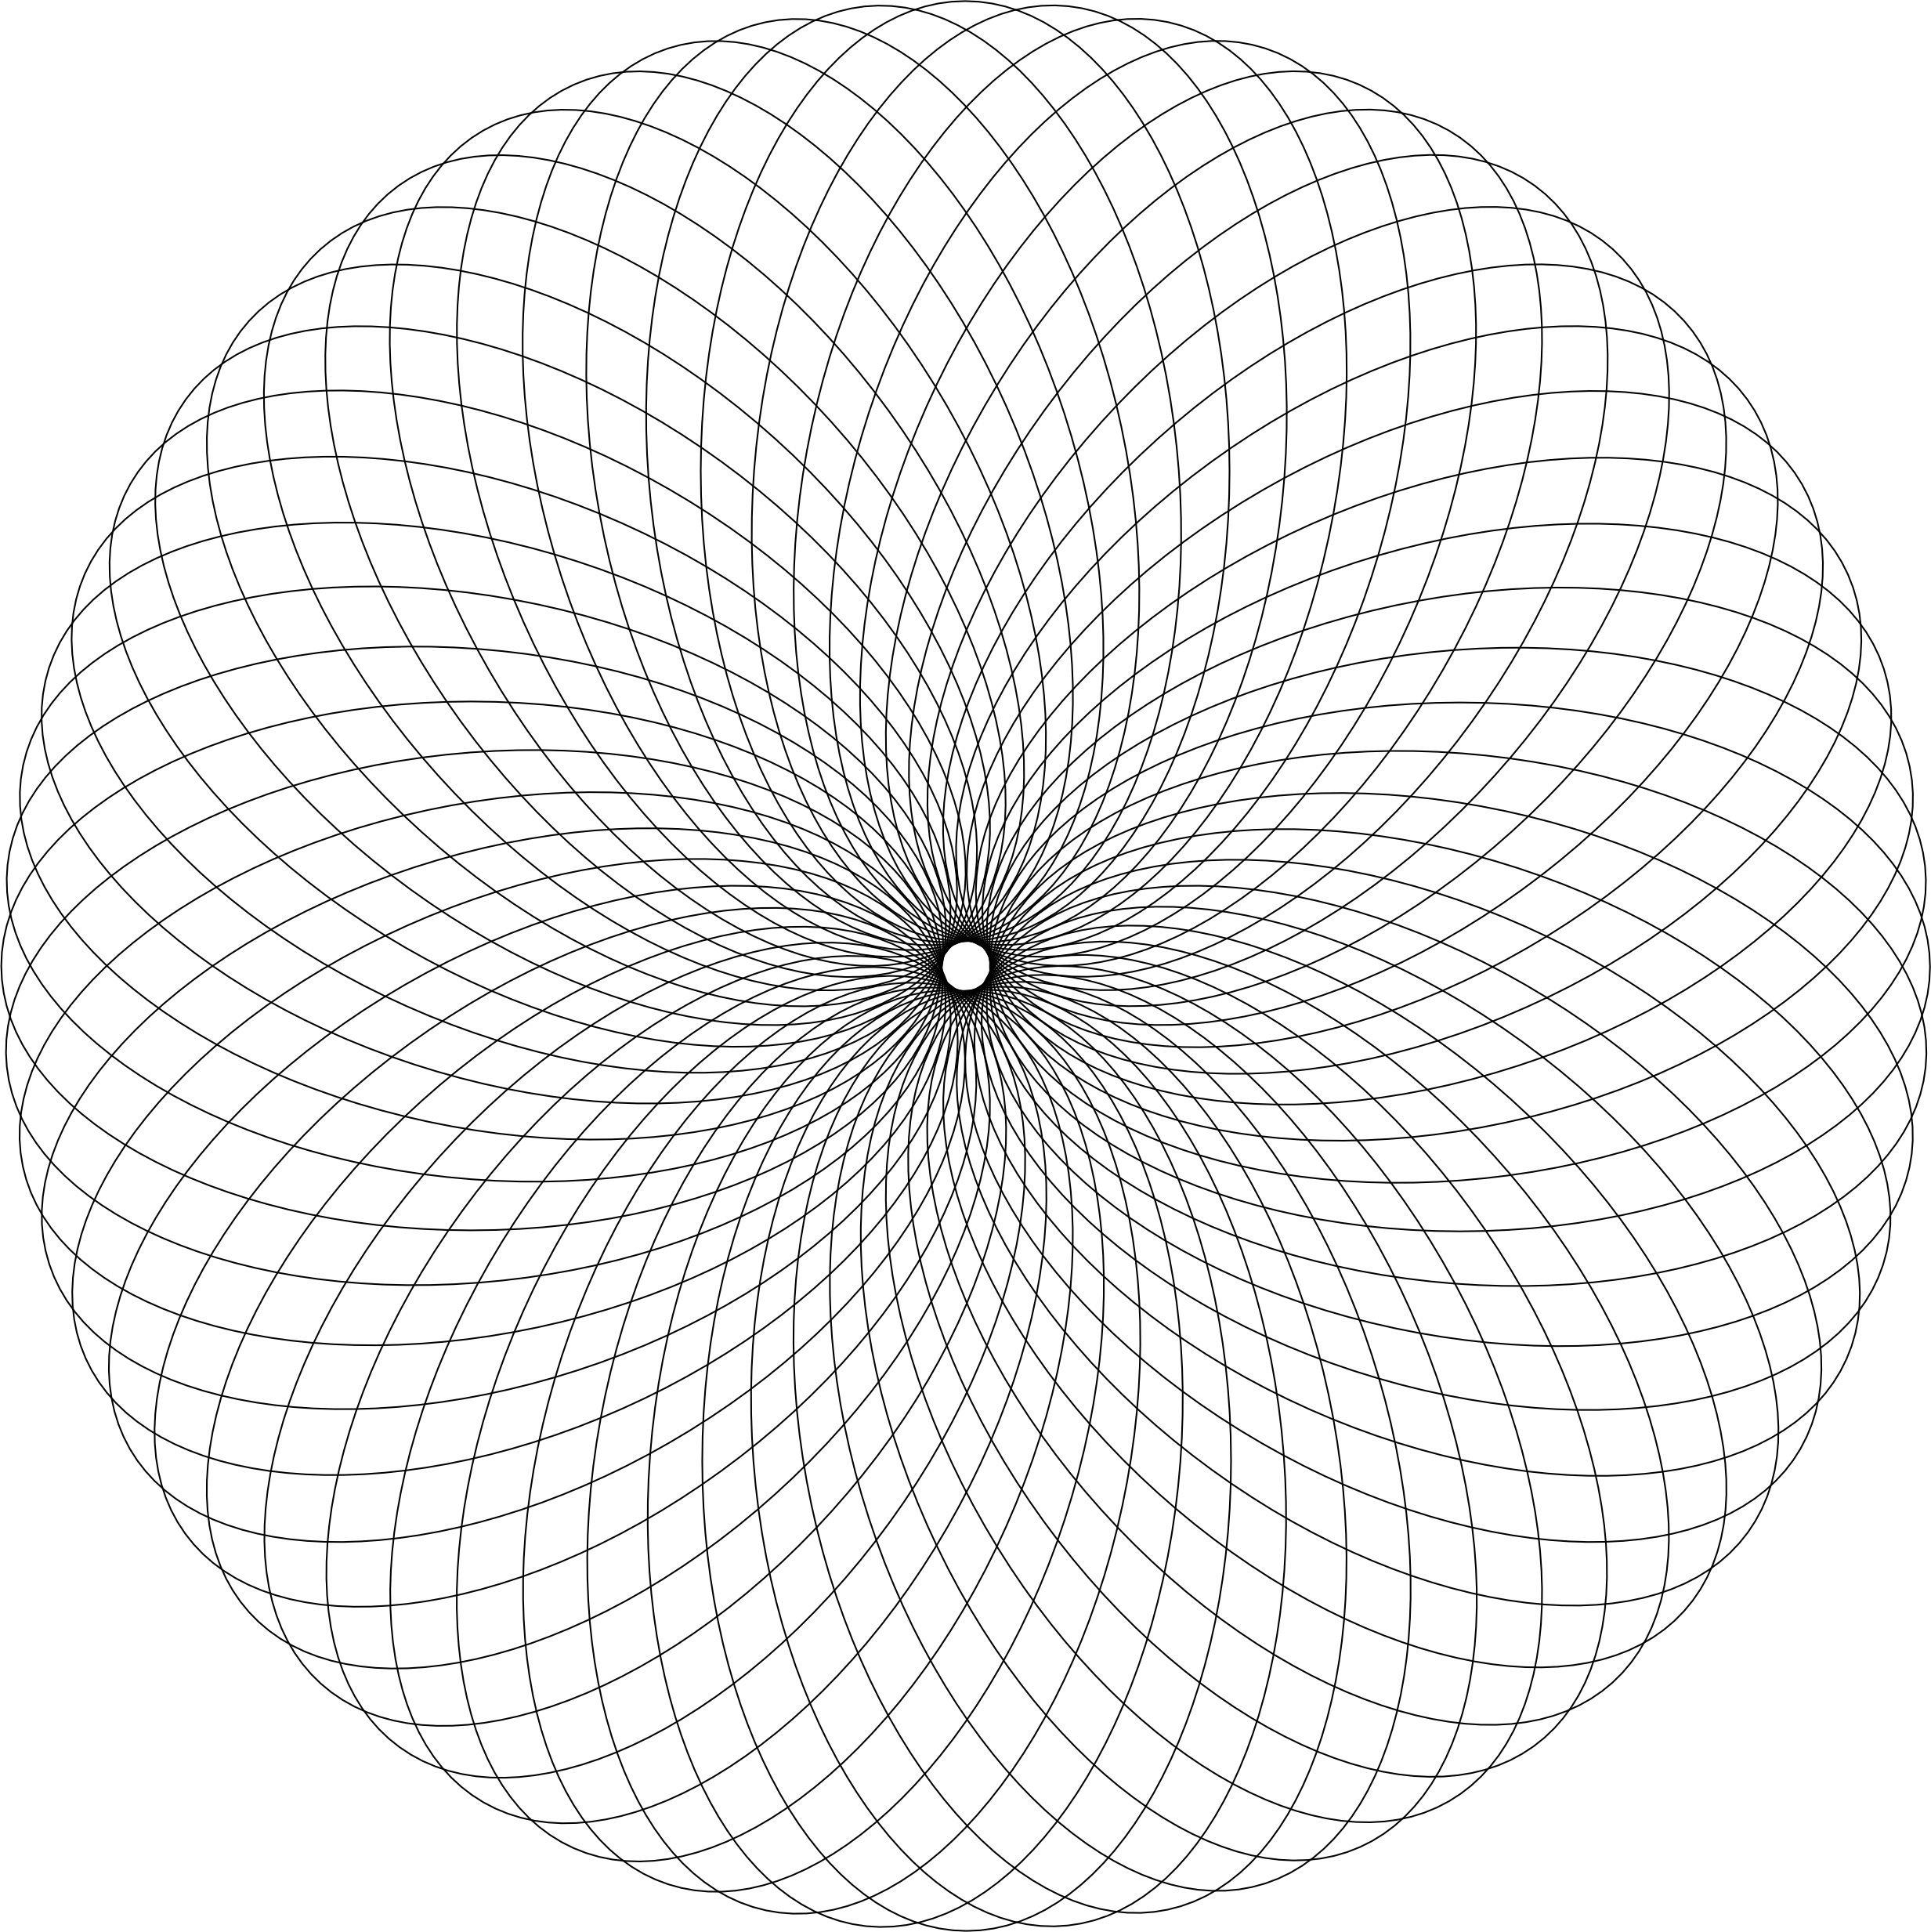
It you would like to color this design, I have posted a PDF of it on my coloring page.

Flowers on Bamboo

Below is a drawing I did by hand with Derwent Inktense Pencils and Watercolor pencils on 9″ x 12″ watercolor paper.

20190114_132234.jpg

After I finished the drawing, I thought it would be a fun page to color. So, I recreated the drawing in CoralDraw.  This version was created for letter size paper, therefore the flowers are spaces .75″ apart, instead of the 1″ spacing used on the hand drawing.

flower on bamboo color

I created a black and white version that is available for download on my Coloring Page.

flower on bamboo

2018 Christmas Card

My Christmas Cards are mailed.  Enough time has passed that most of the cards should have reached their destinations.  Now, I can share the cards on my blog.

This year I drew ornaments on 3.5″ square tiles.  I selected the high quality tiles, because I wanted to color on the tiles.  I keep the color to a minimum because I wanted the ornaments to look delicate like glass Christmas ornaments.  Below are a few of the tiles.  All of the tiles are located on Drawing page.

20181121_091905.jpg20181121_091838.jpg20181121_091634.jpg

I designed the card in CorelDraw.  I converted the picture below to an outline drawing to use as a background on the card.

DSCN7799

I created an area on the card to put the tile.   I have been placing the same symbol with my name on all the back of all my cards since 2004.

2018 Christmas Card Outside

Outside

2018 Christmas Card Inside

Inside

The folded card measures 5.25″ square.  I embossed several stems on the front of the card, and attached the tiles to the cards with photo corners.  I wanted the recipient to be able to remove the tile without damaging the tile.   Below is one of the finished cards.

20181129_120454