It is the Christmas Season! All the presents are wrapped and all the cards have mailed; it is time that I share with you my Christmas Card of 2017.
I usually start thinking about my Christmas Cards around July. If I wait until Thanksgiving, I sure that disasters will strike and I would be force into buying Christmas cards from the store. This year the ideal was a Snow Globe Christmas card. I researched the ideal and knew it was possible.
But, I didn’t really want to put a piece of plastic wrap or it’s equivalent on the card. And, than I found Jullibean Soup’s Large Circles by Hampton Art. It was a quick Click and Order from Amazon. Once the circles came in, I started to work on the card.
I thought about designing a village scene to put inside the snow globe, but I wanted a little deep. Then it occurred to me; I have polymer clay, I have cutters for snowman and trees. The card was coming together.
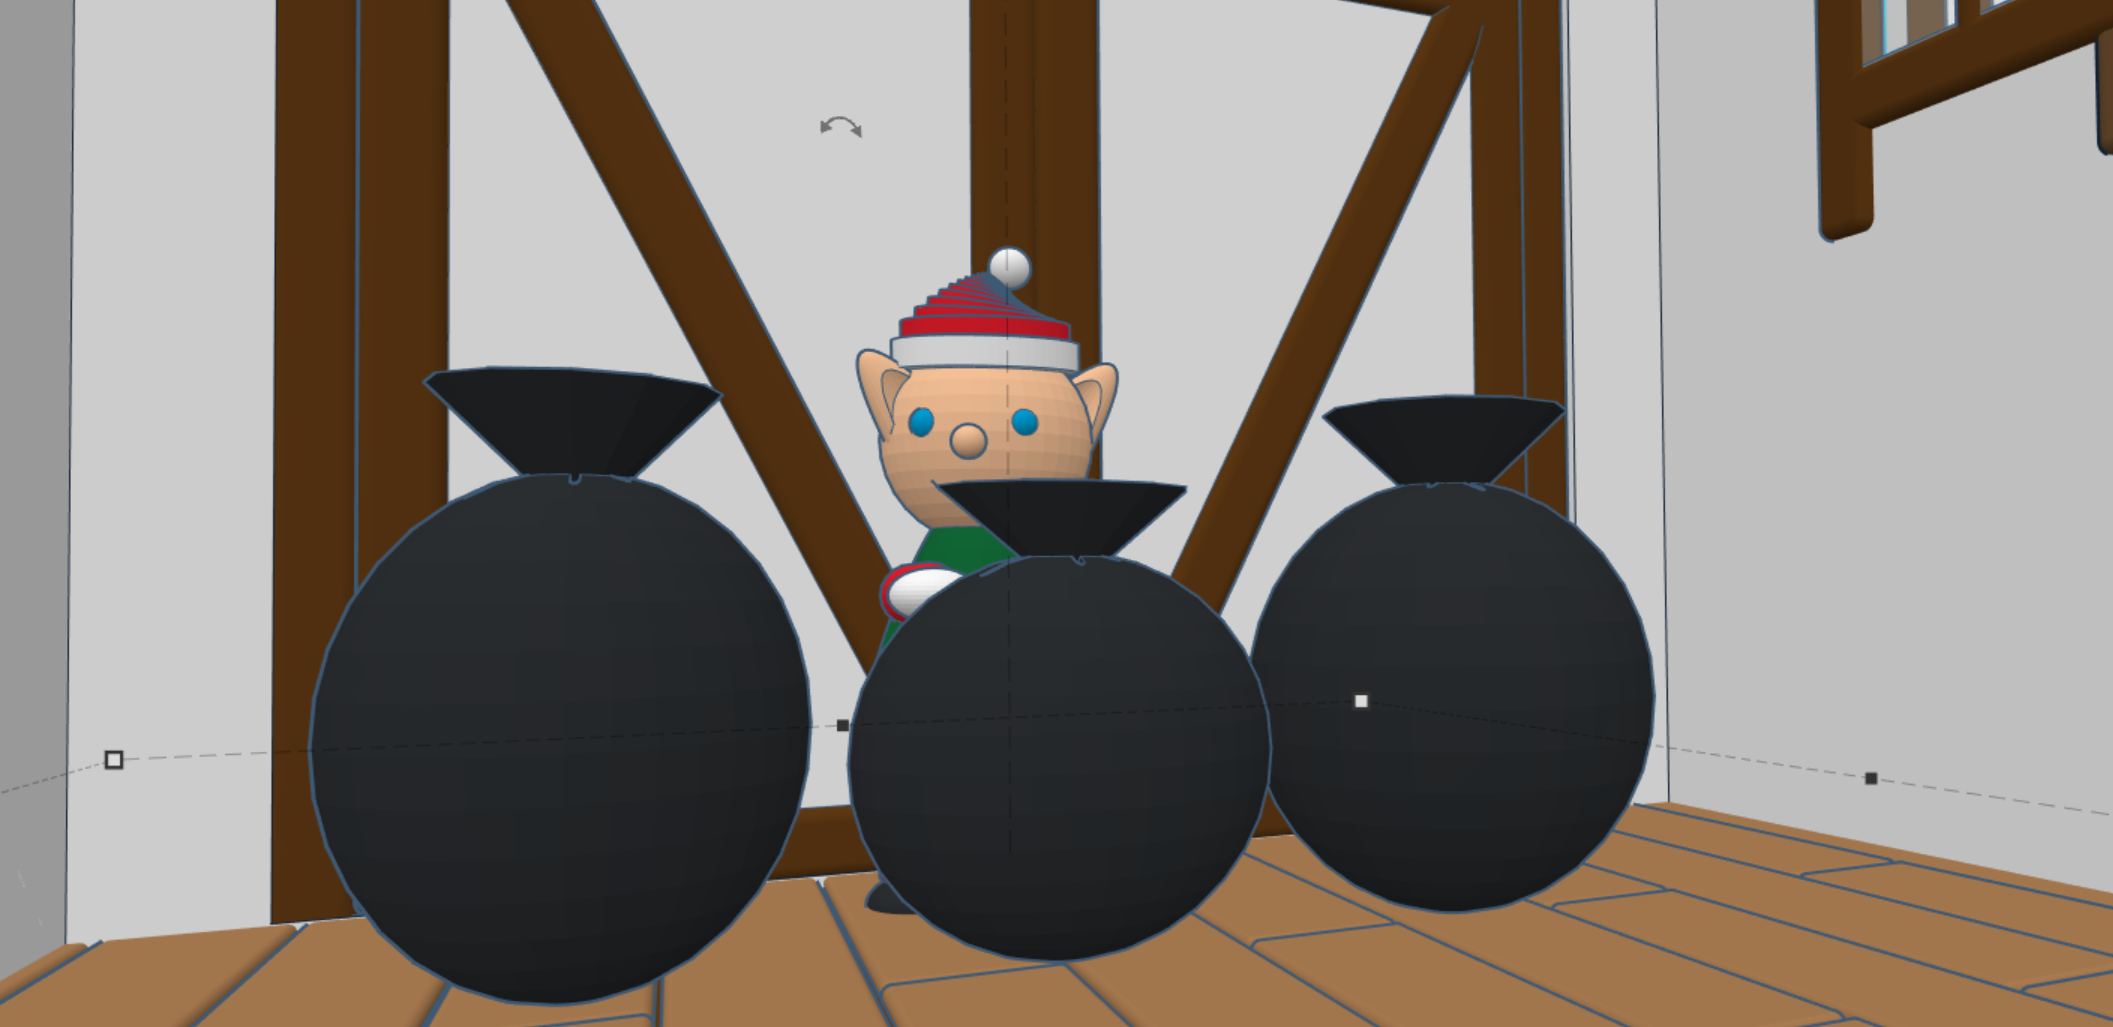
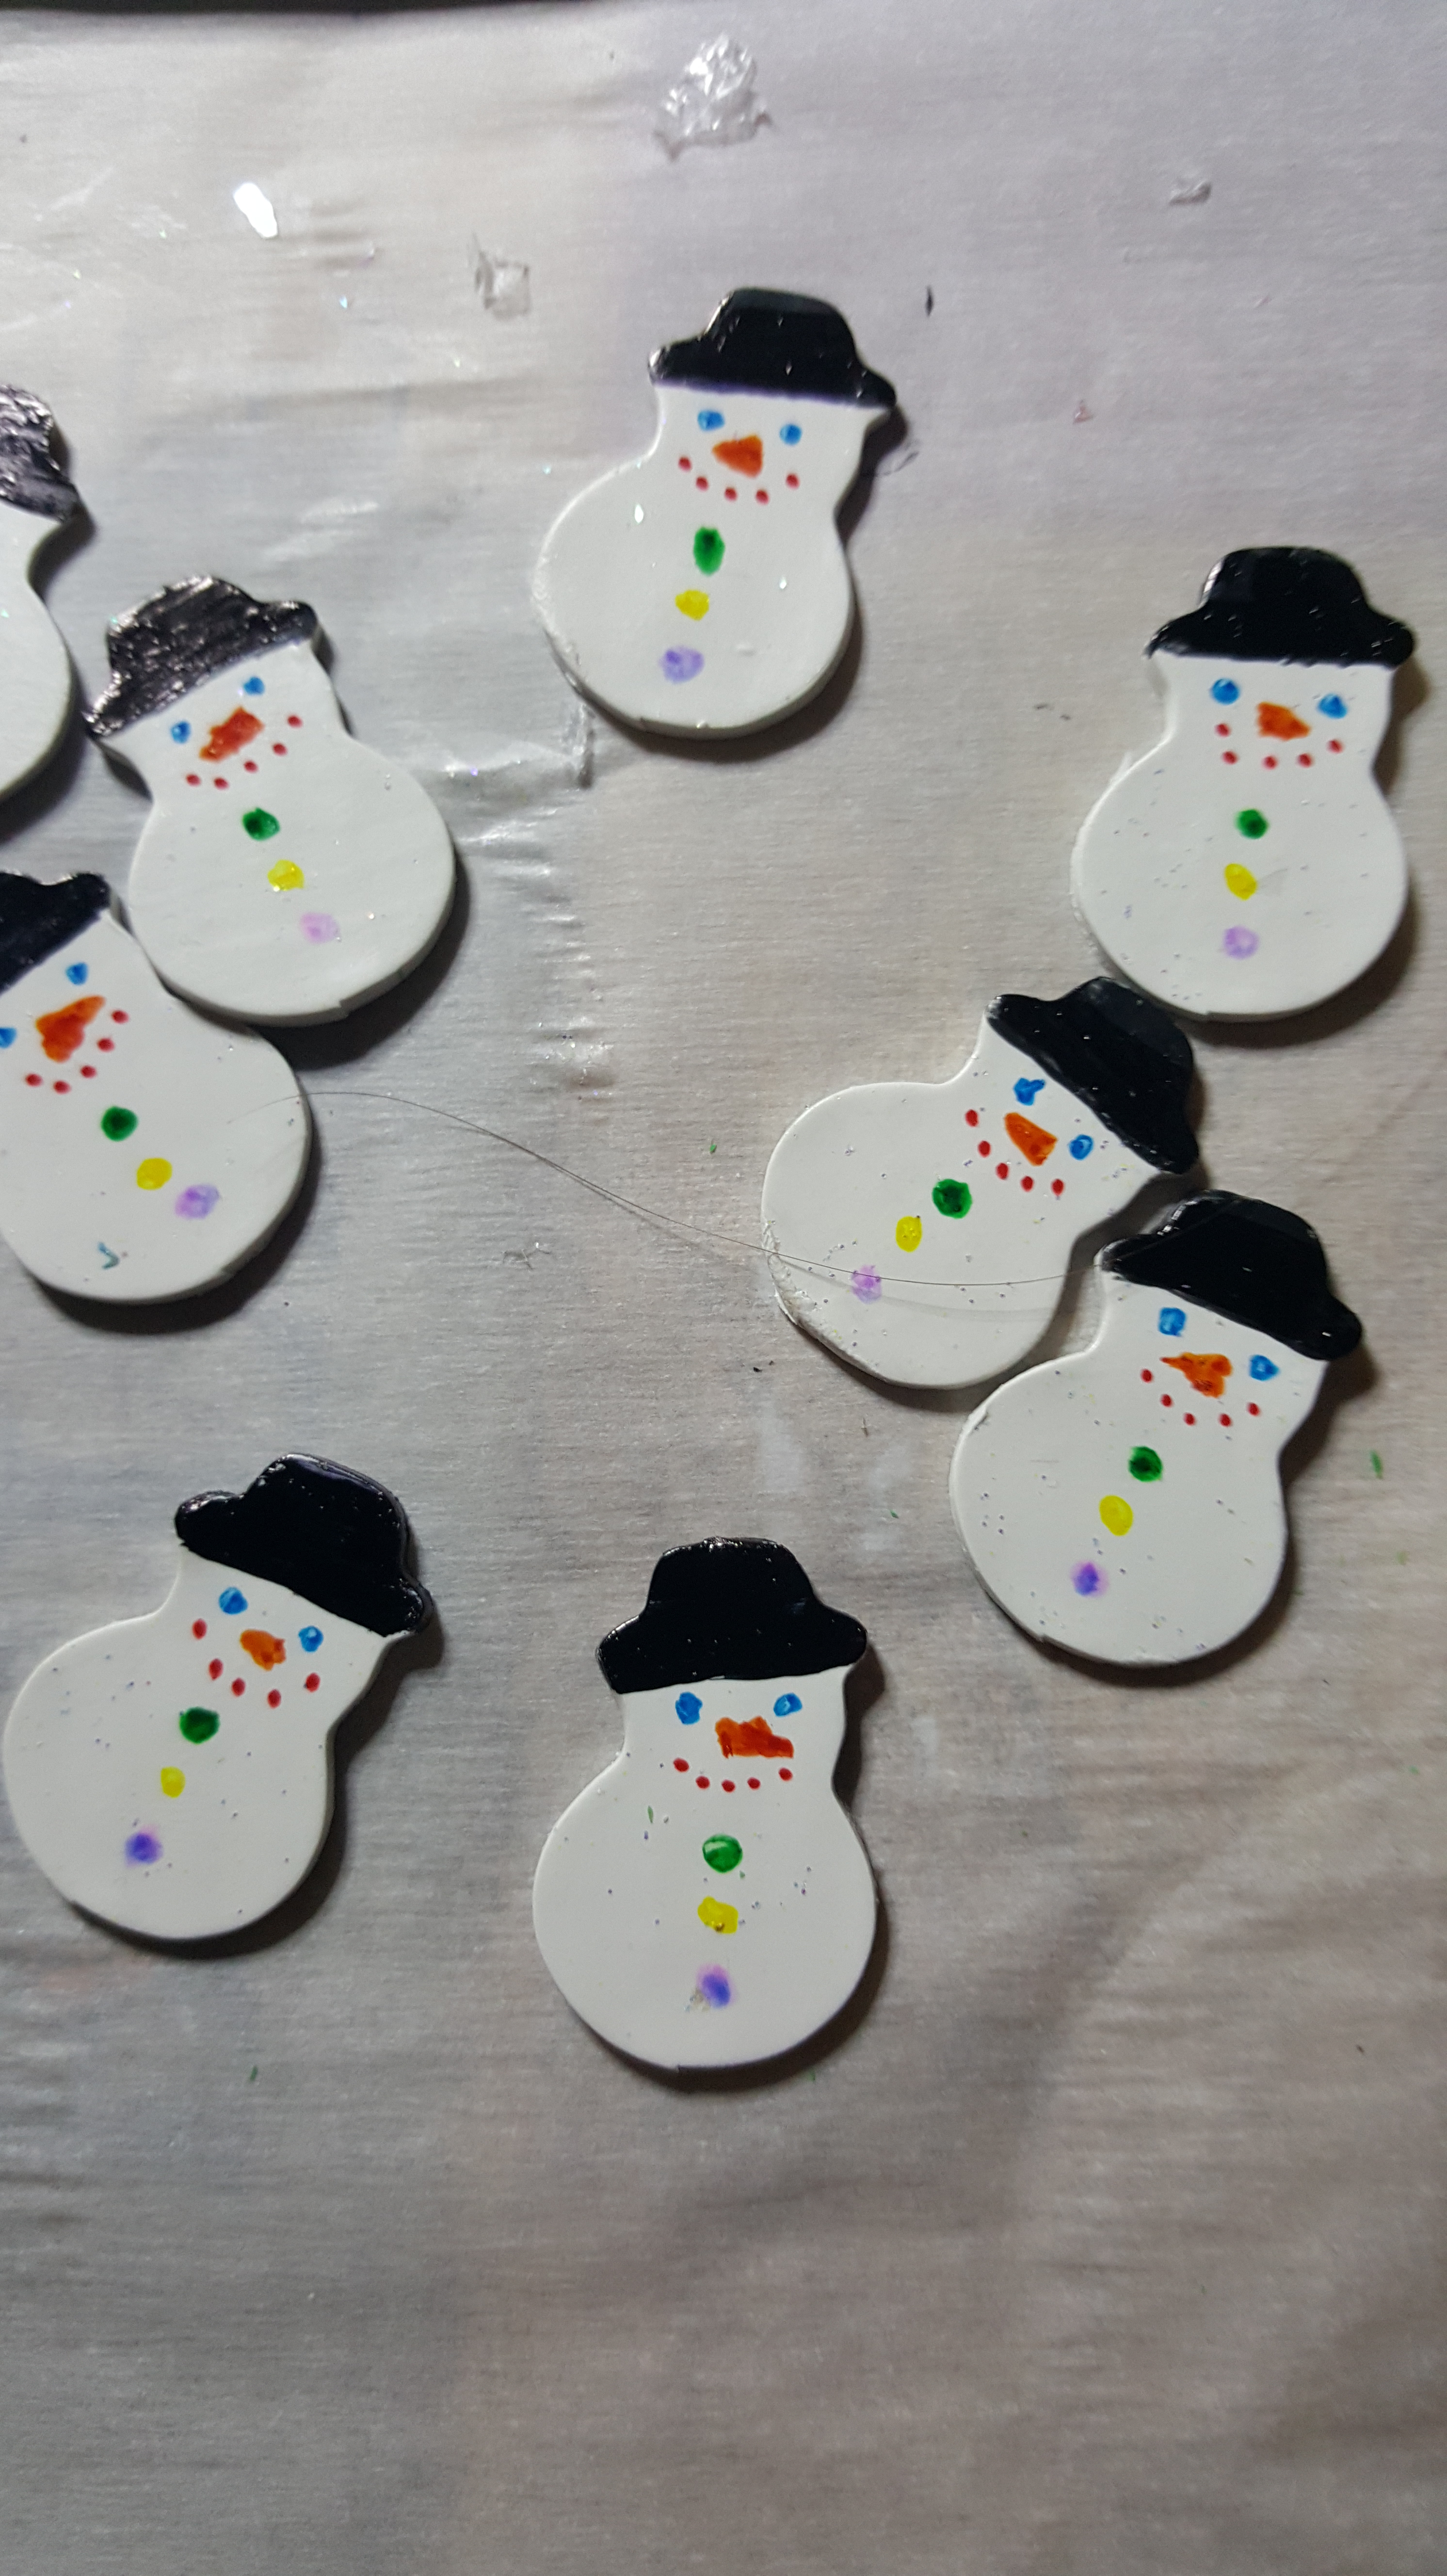
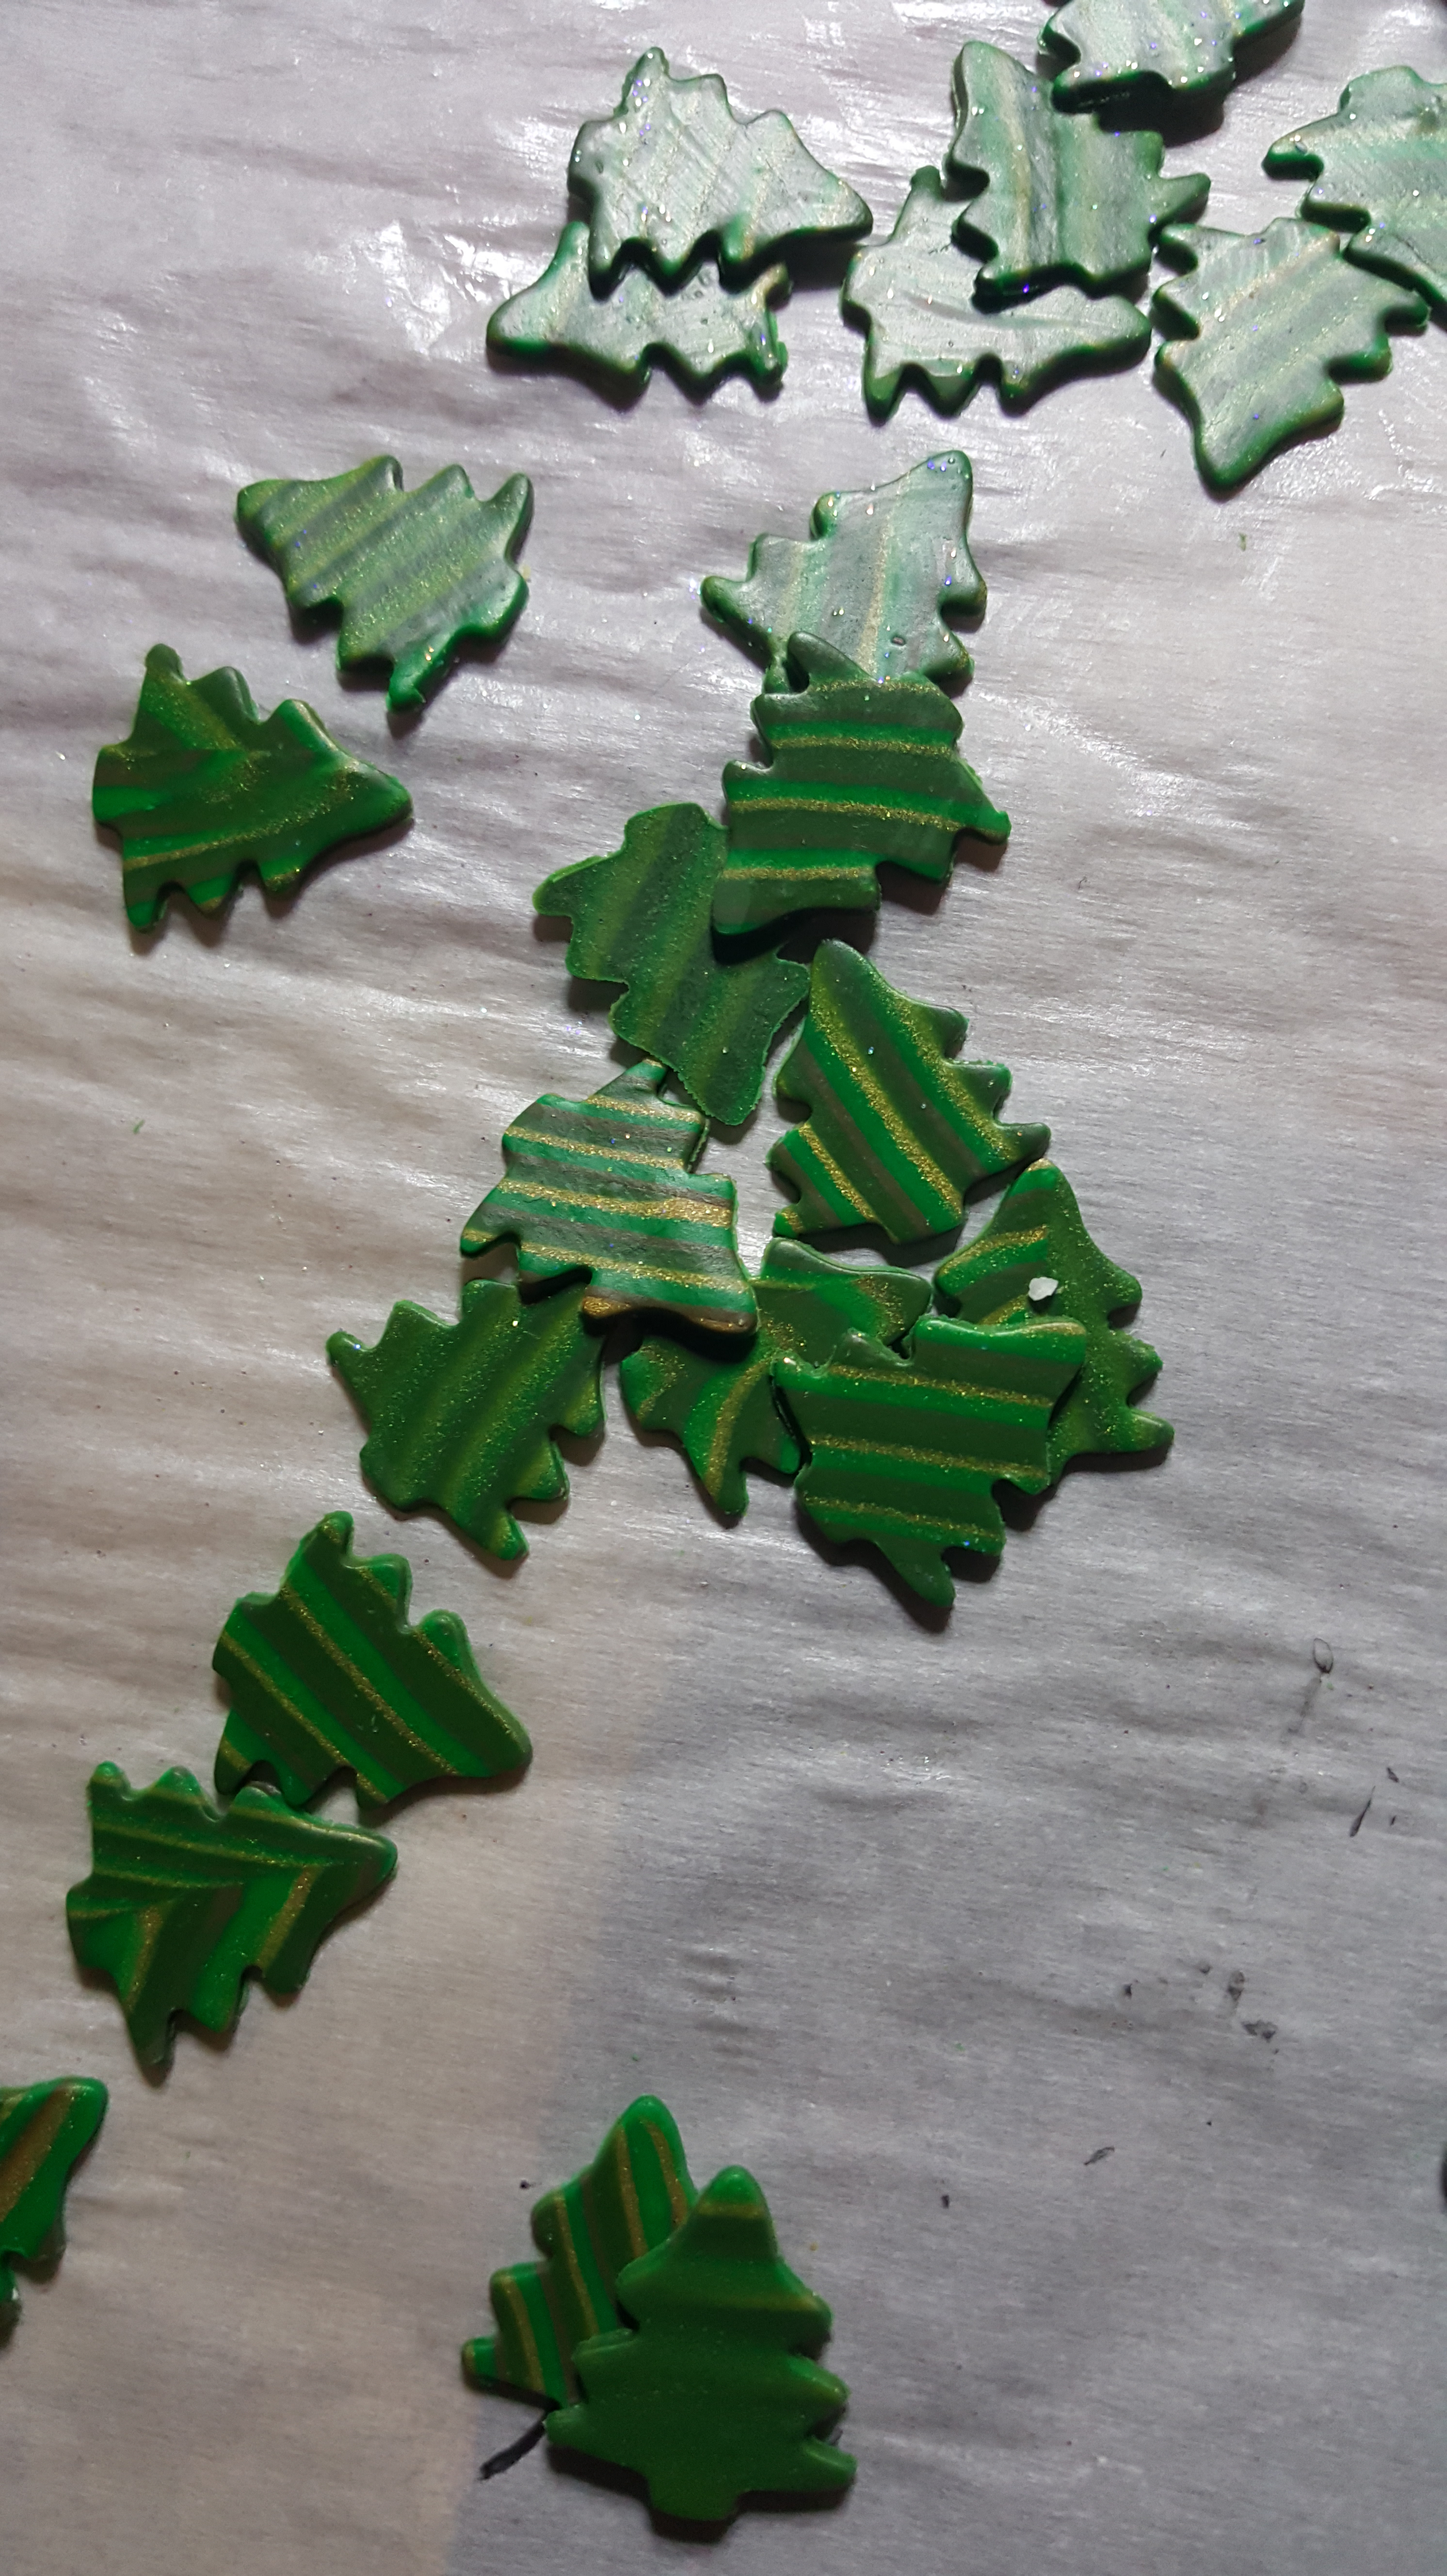
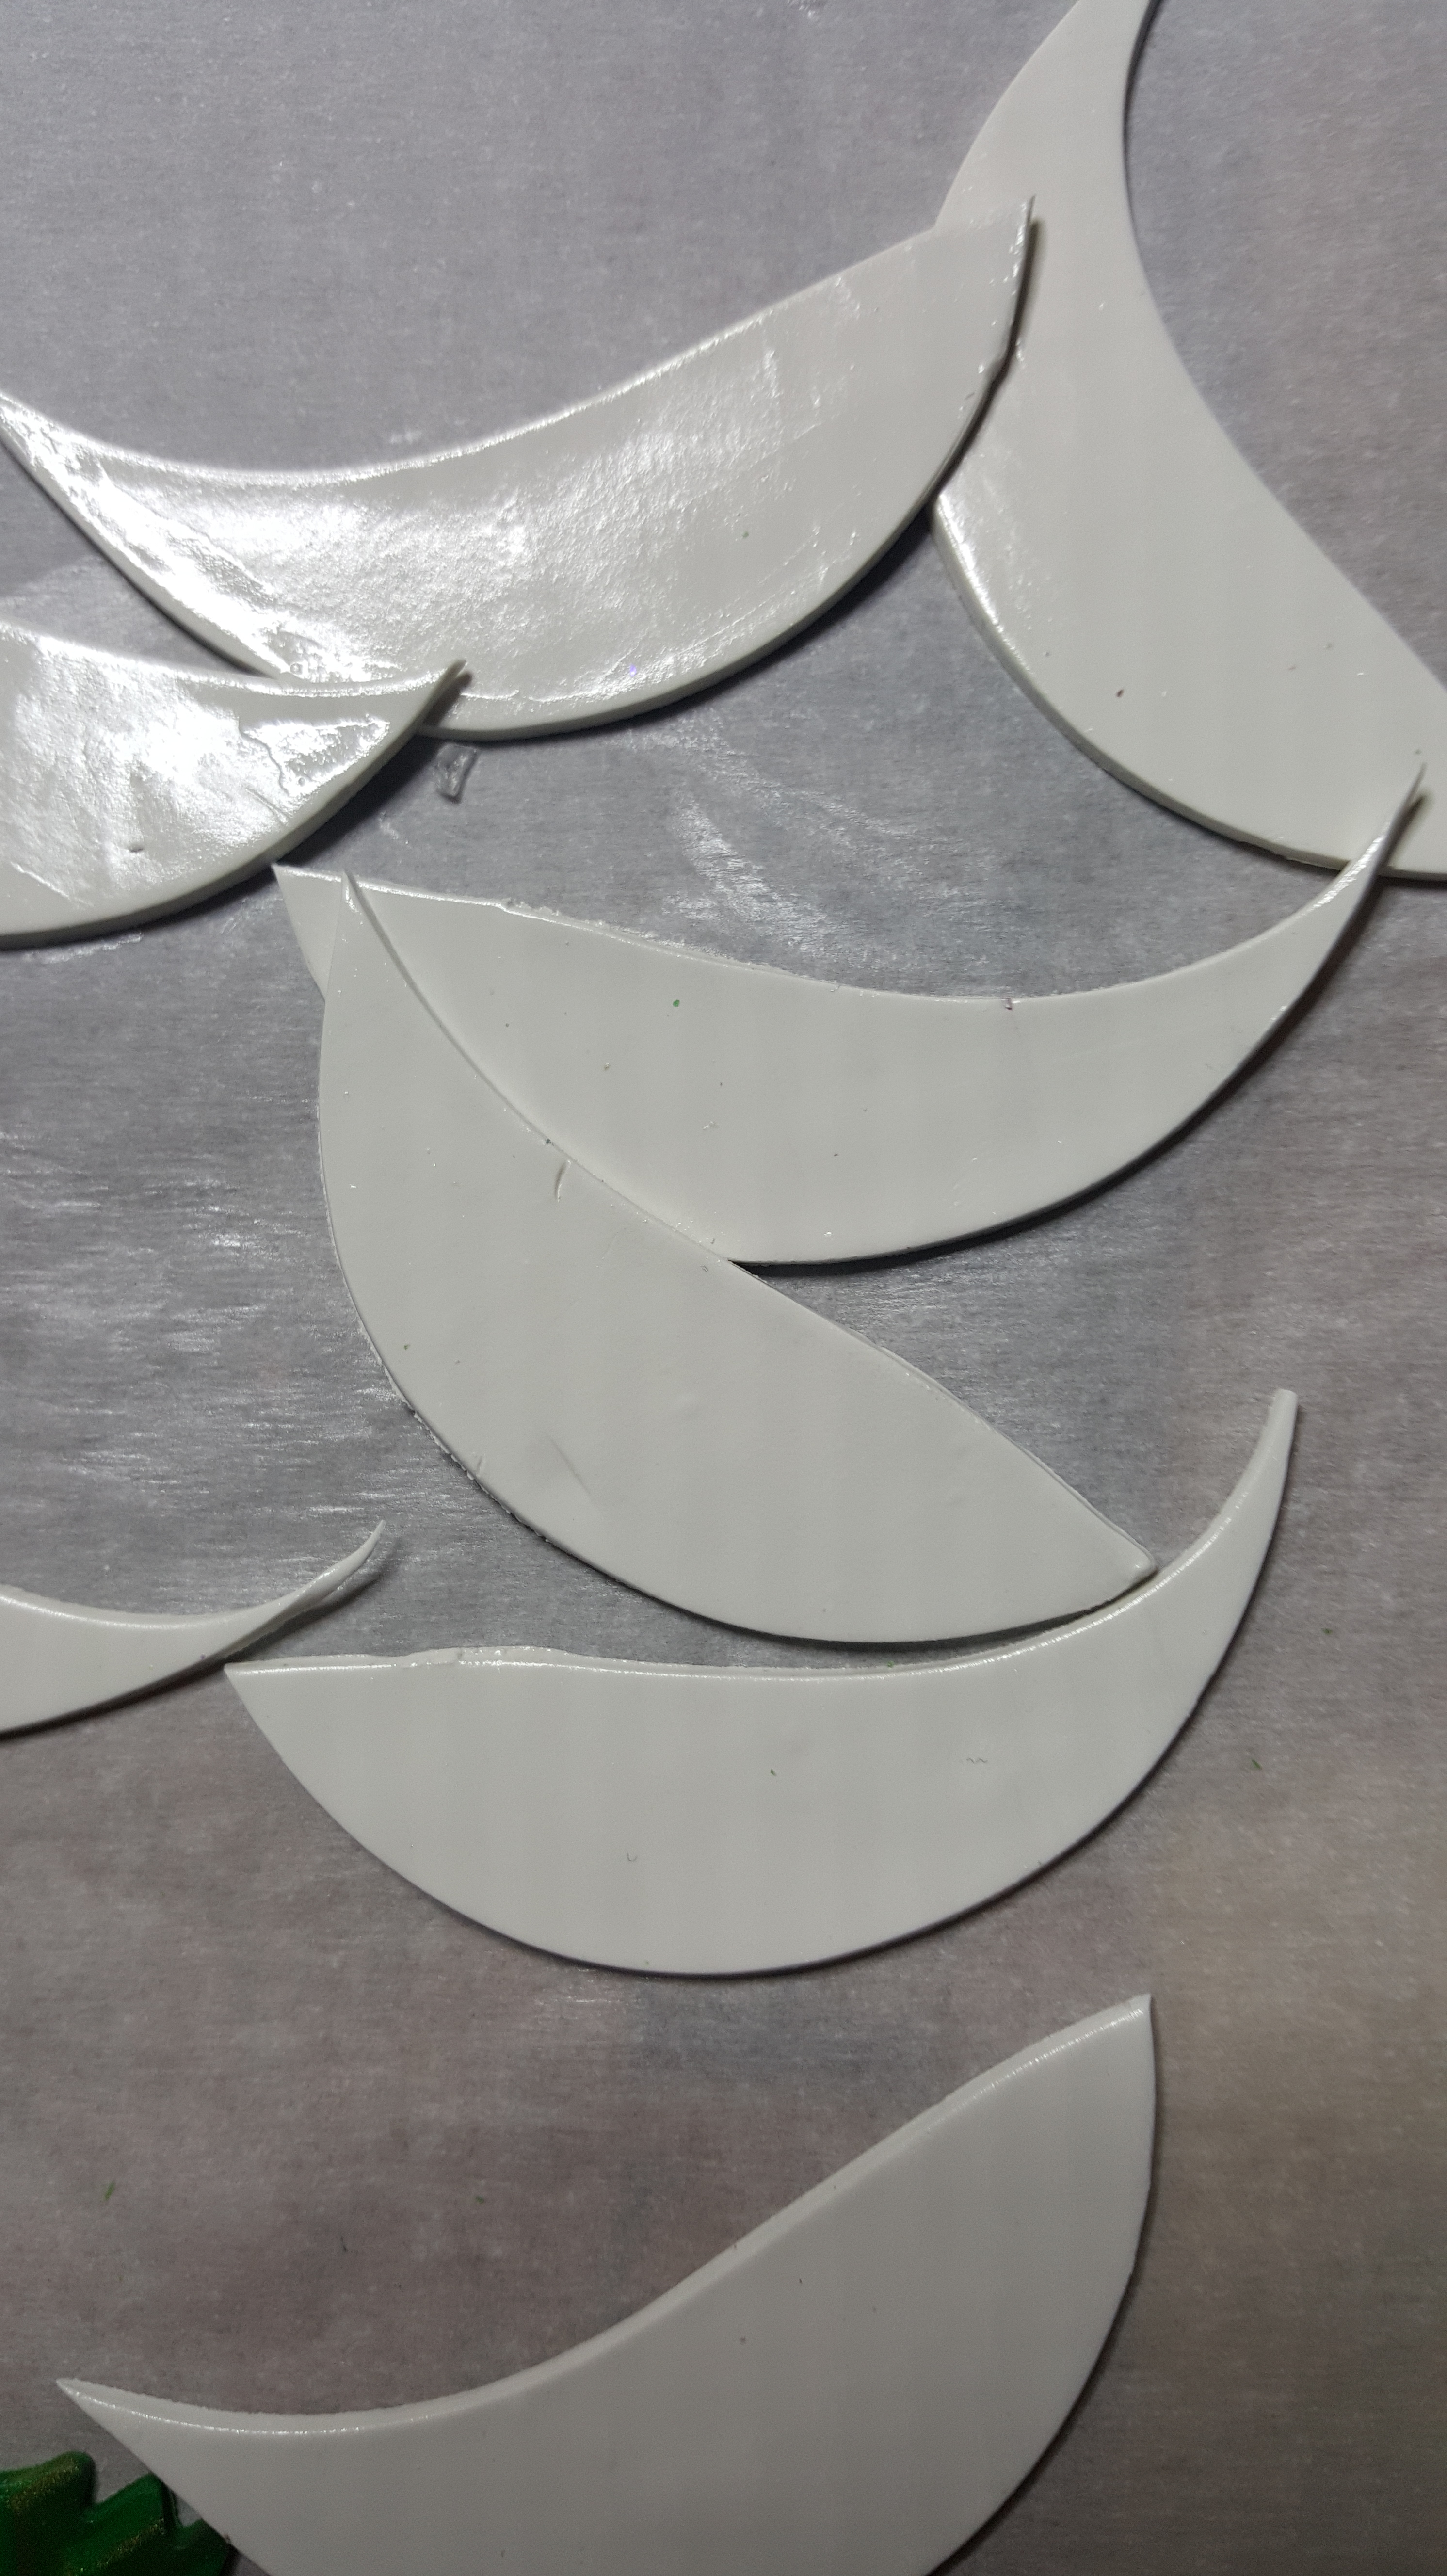
The snowman, trees, and snow were made with Sculpey Polymer Clay using a setting of 3 in the pasta machine and cut with “cookie” cutters, bake and covered with sparkle varnish. (Which was the first mistake.) However, I need to draw the face and buttons, and color the hats on the snowman. I got out may Sharpie pens and colored the hats. They looked awful. I should not have varnished the snowmen first. What was I going to do, paint all the snowmen? Nooooo! I had just recent purchase a set of Chameleon Pens, which worked with beautiful results. It even covered where I used a Sharpie.
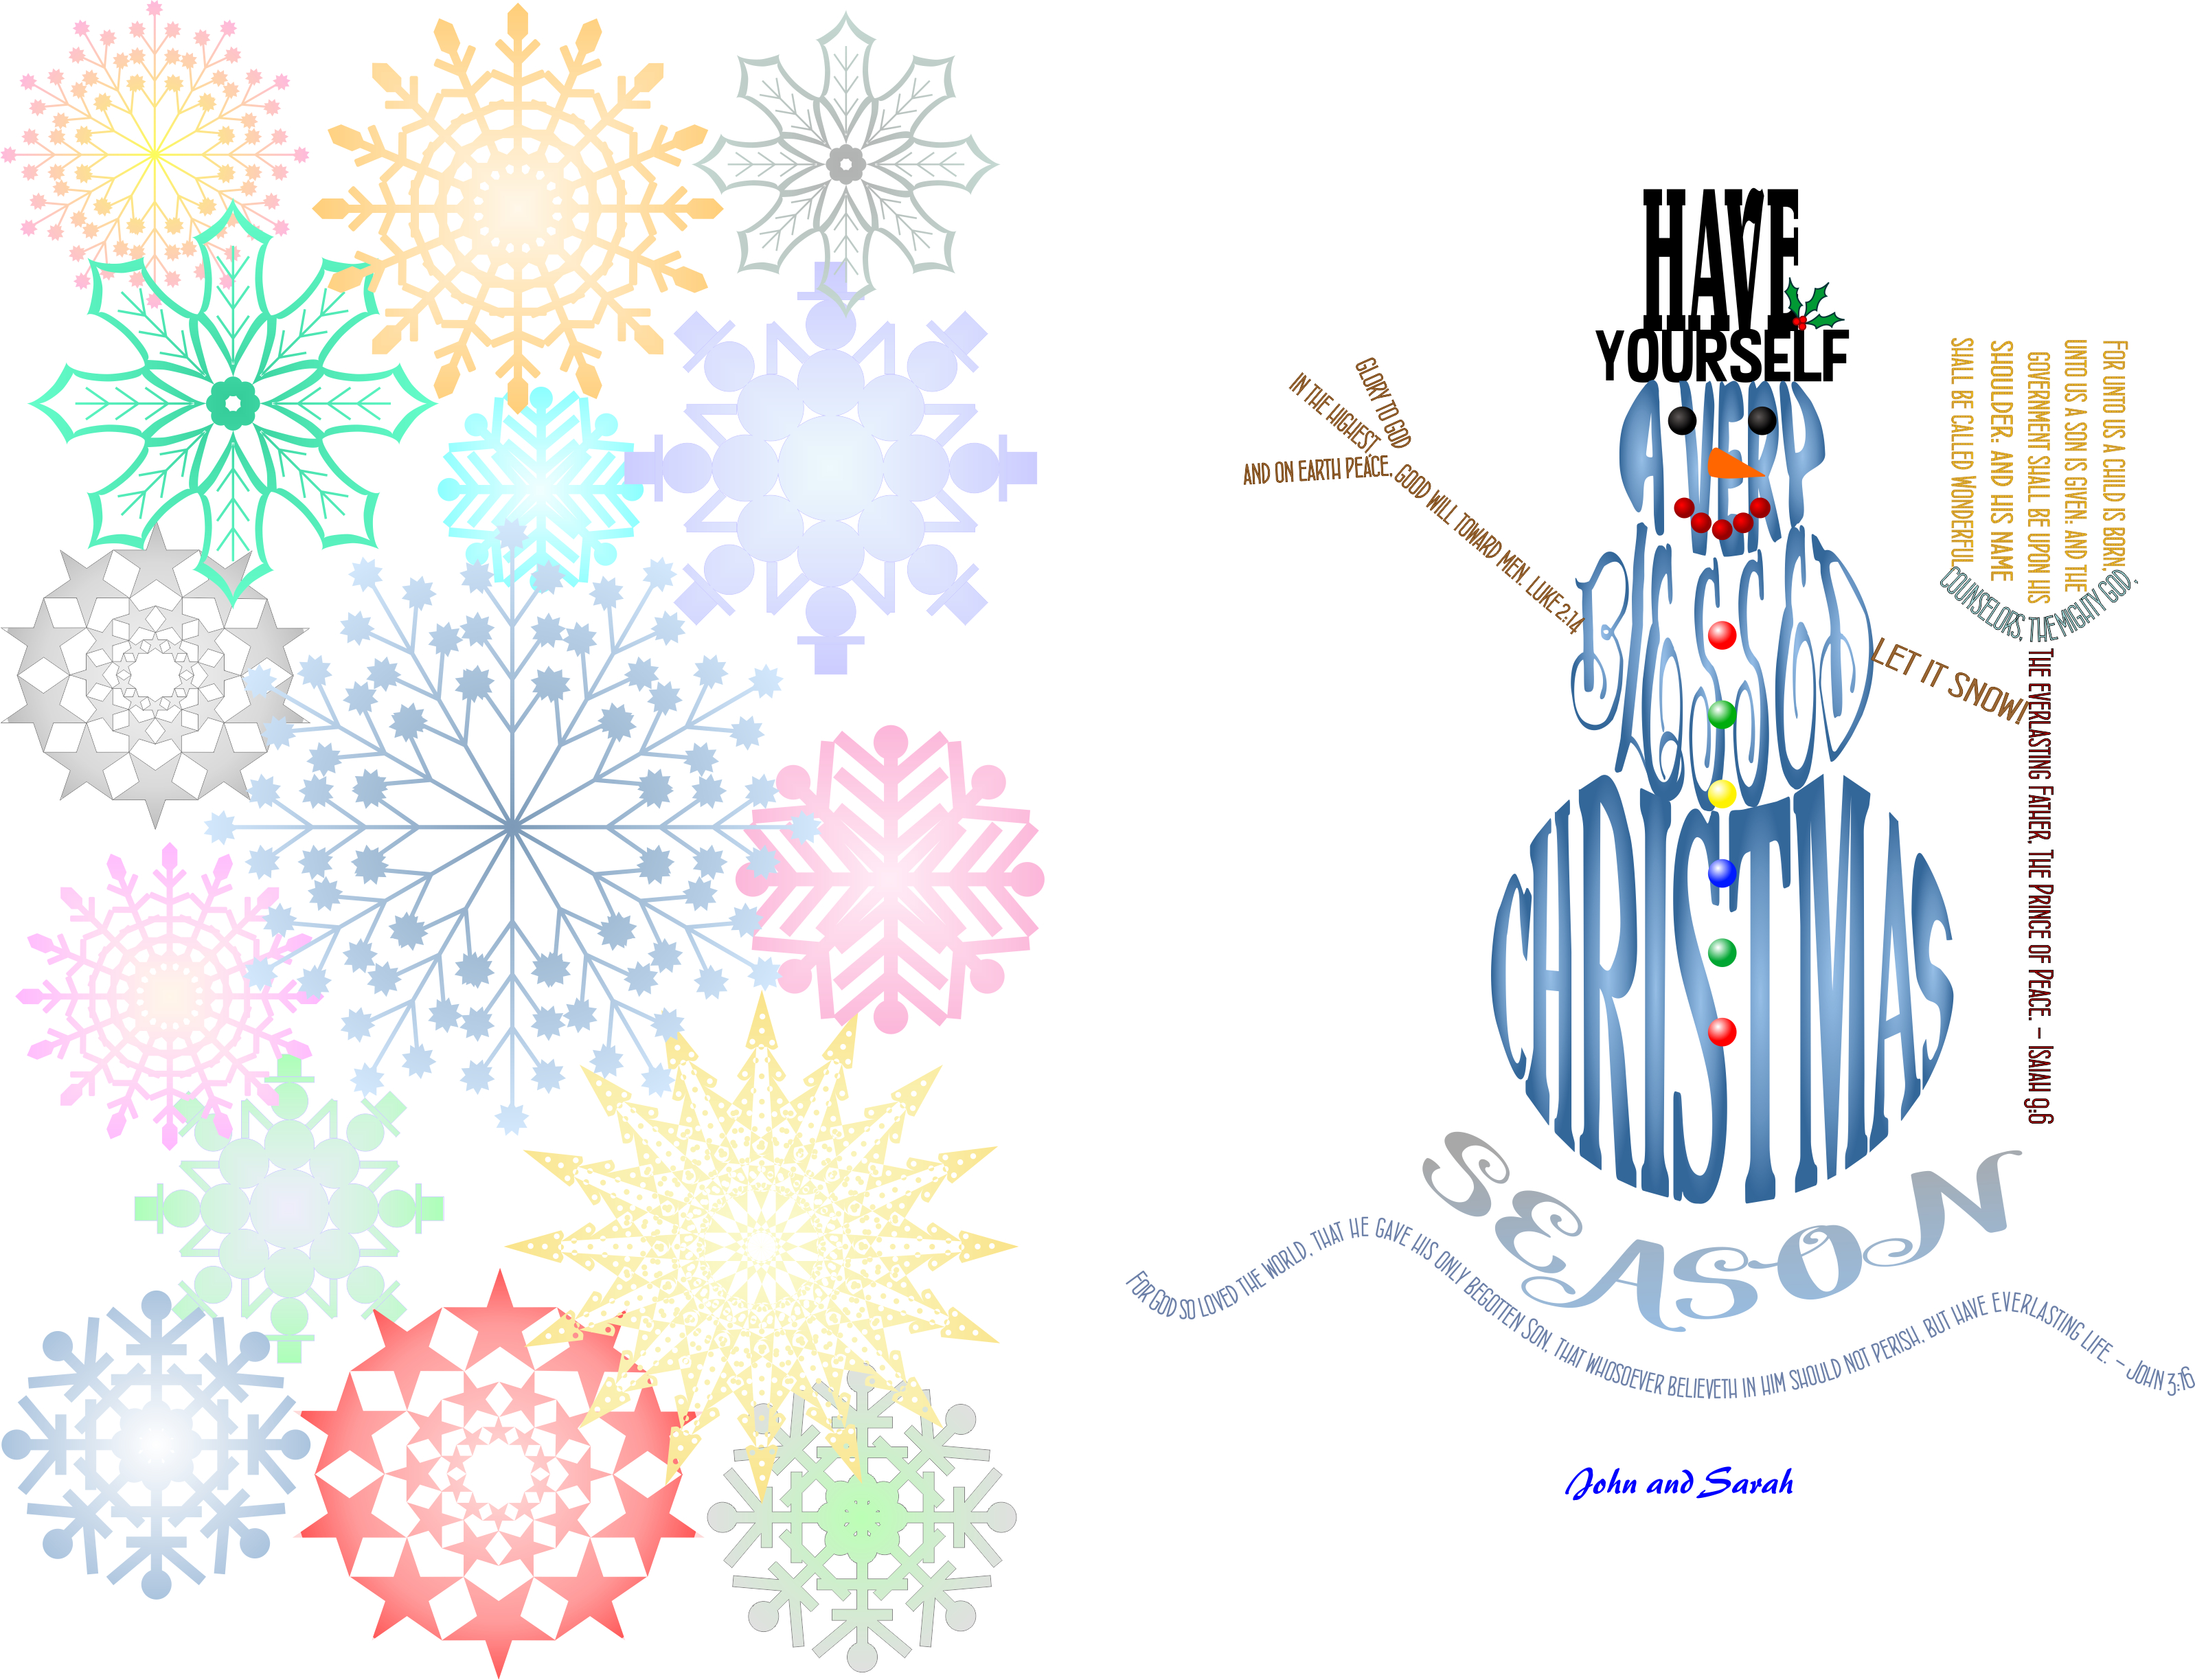
Since the Snowman were coming together, I could now design the inside of the card. This was done using Corel Draw. I probably spend too much time making snowflakes, but I was having so much fun. I hope the shading on the snowman gives it some dimension.
At Office Depot, I found dual color cardstock. It was light blue on one side and white on the other side. This was perfect for my card. It would give me the blue sky I wanted behind the snowman scene on the front and white on the inside. I found the snowflake paper at Hobby Lobby. I found some nice light blue glitter paper at JoAnn’s and had the silver paper left over from last year.
The Jullibean Soup circle comes with adhesive around the circle, so it was not necessary to stick it through the first layer of paper and glue everything down. I used Silhouette Studio to design the silver snow globe and the cut for the top paper layer. Everything was cut using my Silhouette Curio. I was really dreading gluing it all together.
More research. I found this wonderful blog that talked about ways to glue paper together. Did you know you can put cheap plastic wrap between two piece of paper and use a hot iron to fix them together. I didn’t use plastic wrap. The blog also talk about Xyron Creative Station for sticking paper together. This is the best machine I have bought all year. It did exactly what I expected. It basically creates stickers when you roll your paper through the machine. Afterwards, you just peel it off and stick it where you want it. It even handled the delicate “Merry Christmas”.
To assemble the card:
First step: print the inside of the card on cardstock on the correct side of the paper and cut everything. Run the snowflake paper, the silver snow globe, and the Merry Christmas through the Xyron Creative Station.
Second step: stick the snowflake paper to the correct side of the card.
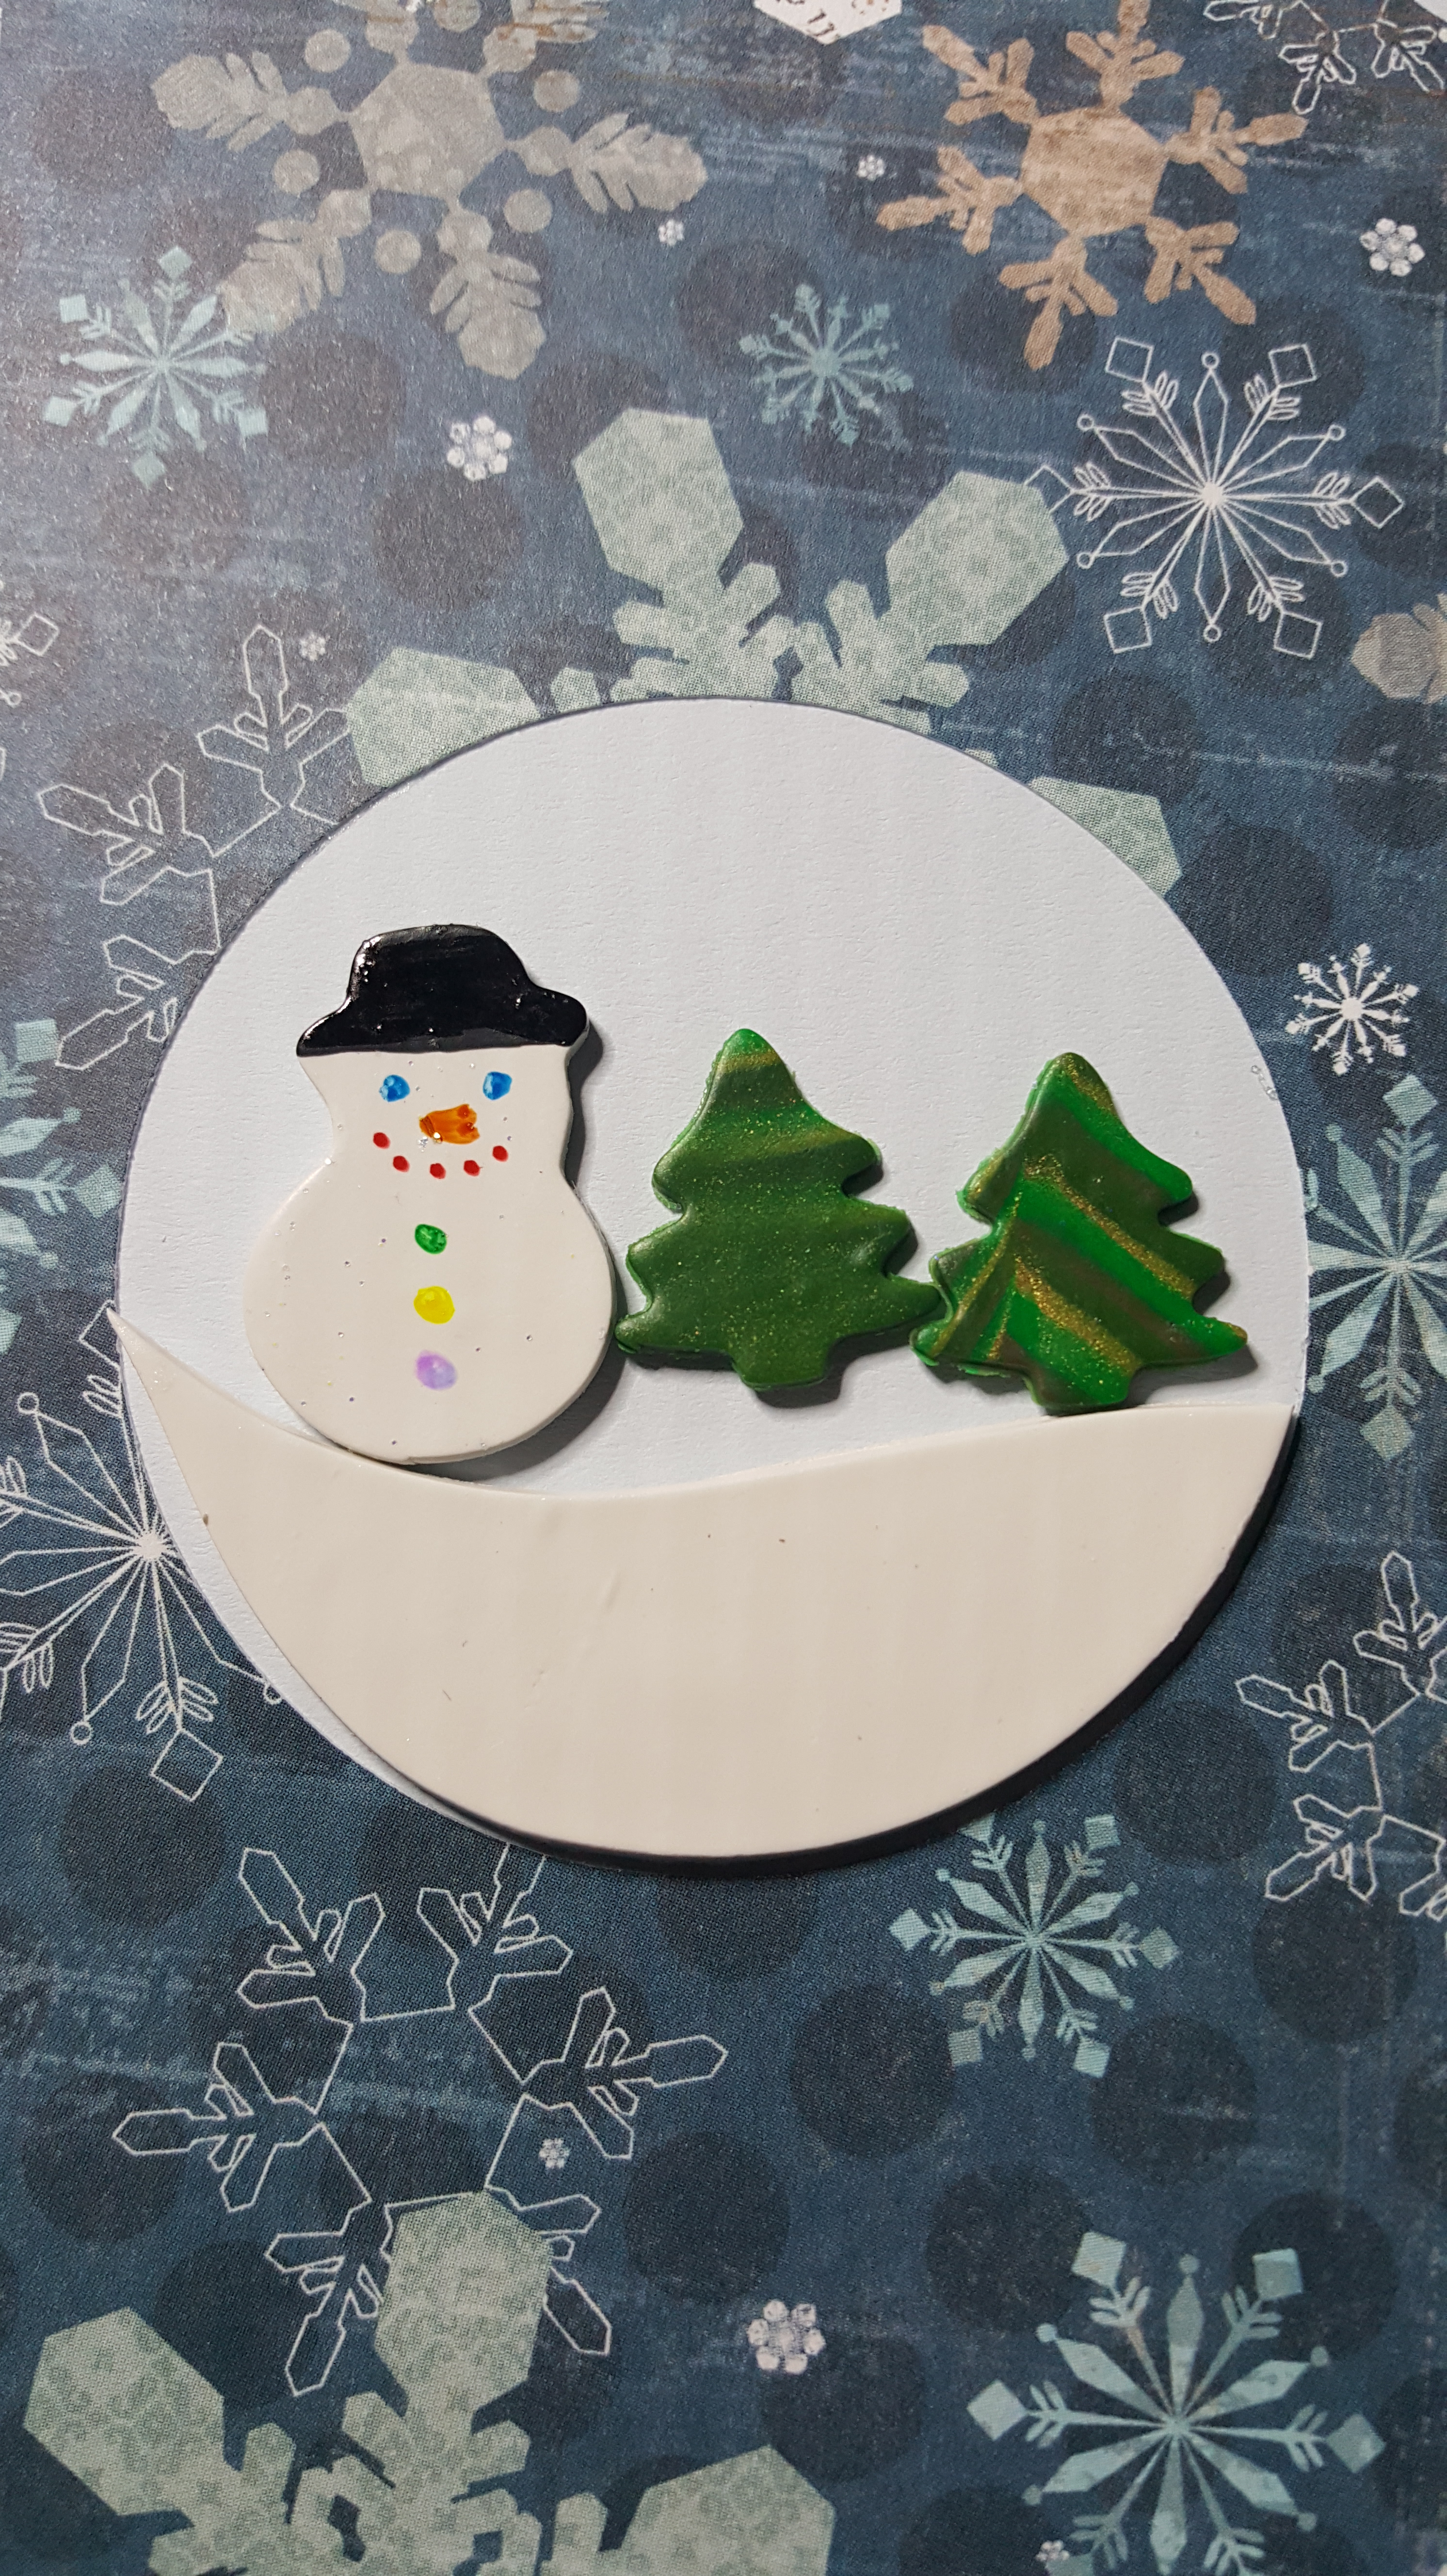
Third step: Use glue dots to fix the snowman, trees, and snow to the card. Top with snow. (Second mistake.) After sitting in a box for several weeks, the trees and snowman started to come loose. The problem was I did not use permanent glue dots for those items. I had to gently open up at least half of the cards and redo the inside. I am glad I switched glue dots during the assembly.
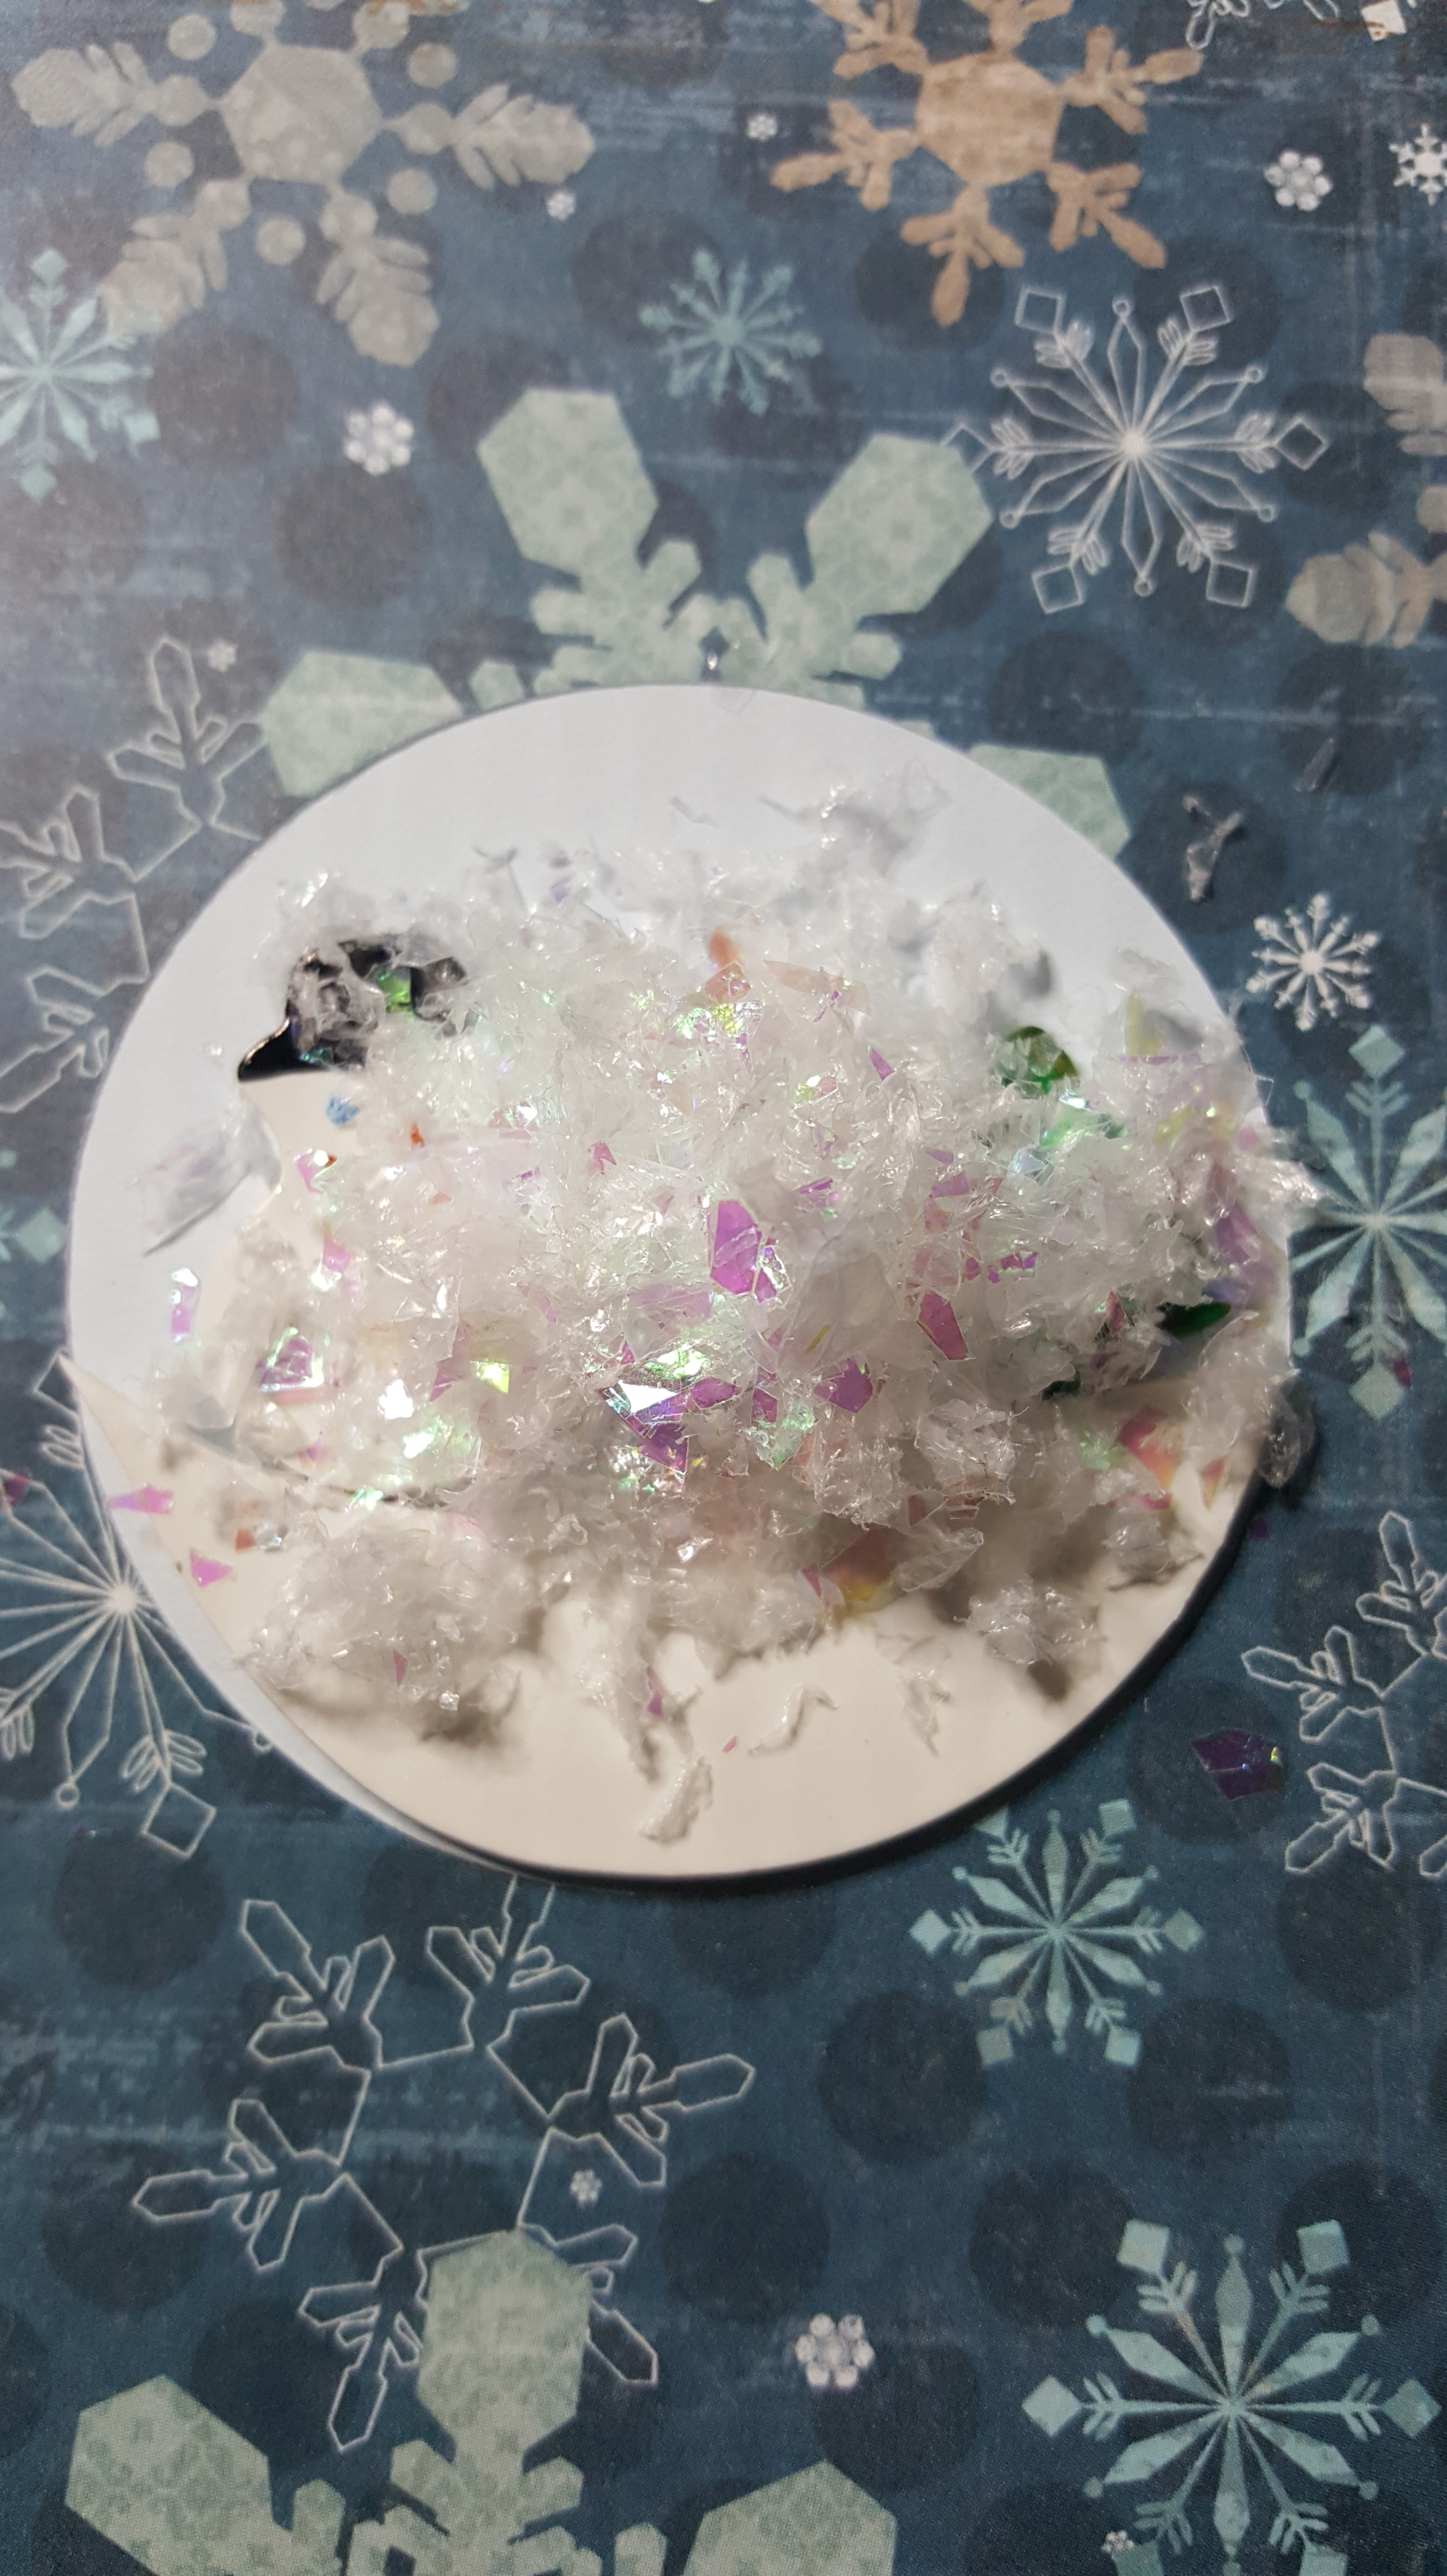
Fourth step: Place plastic circle on tope of snowman and snow.
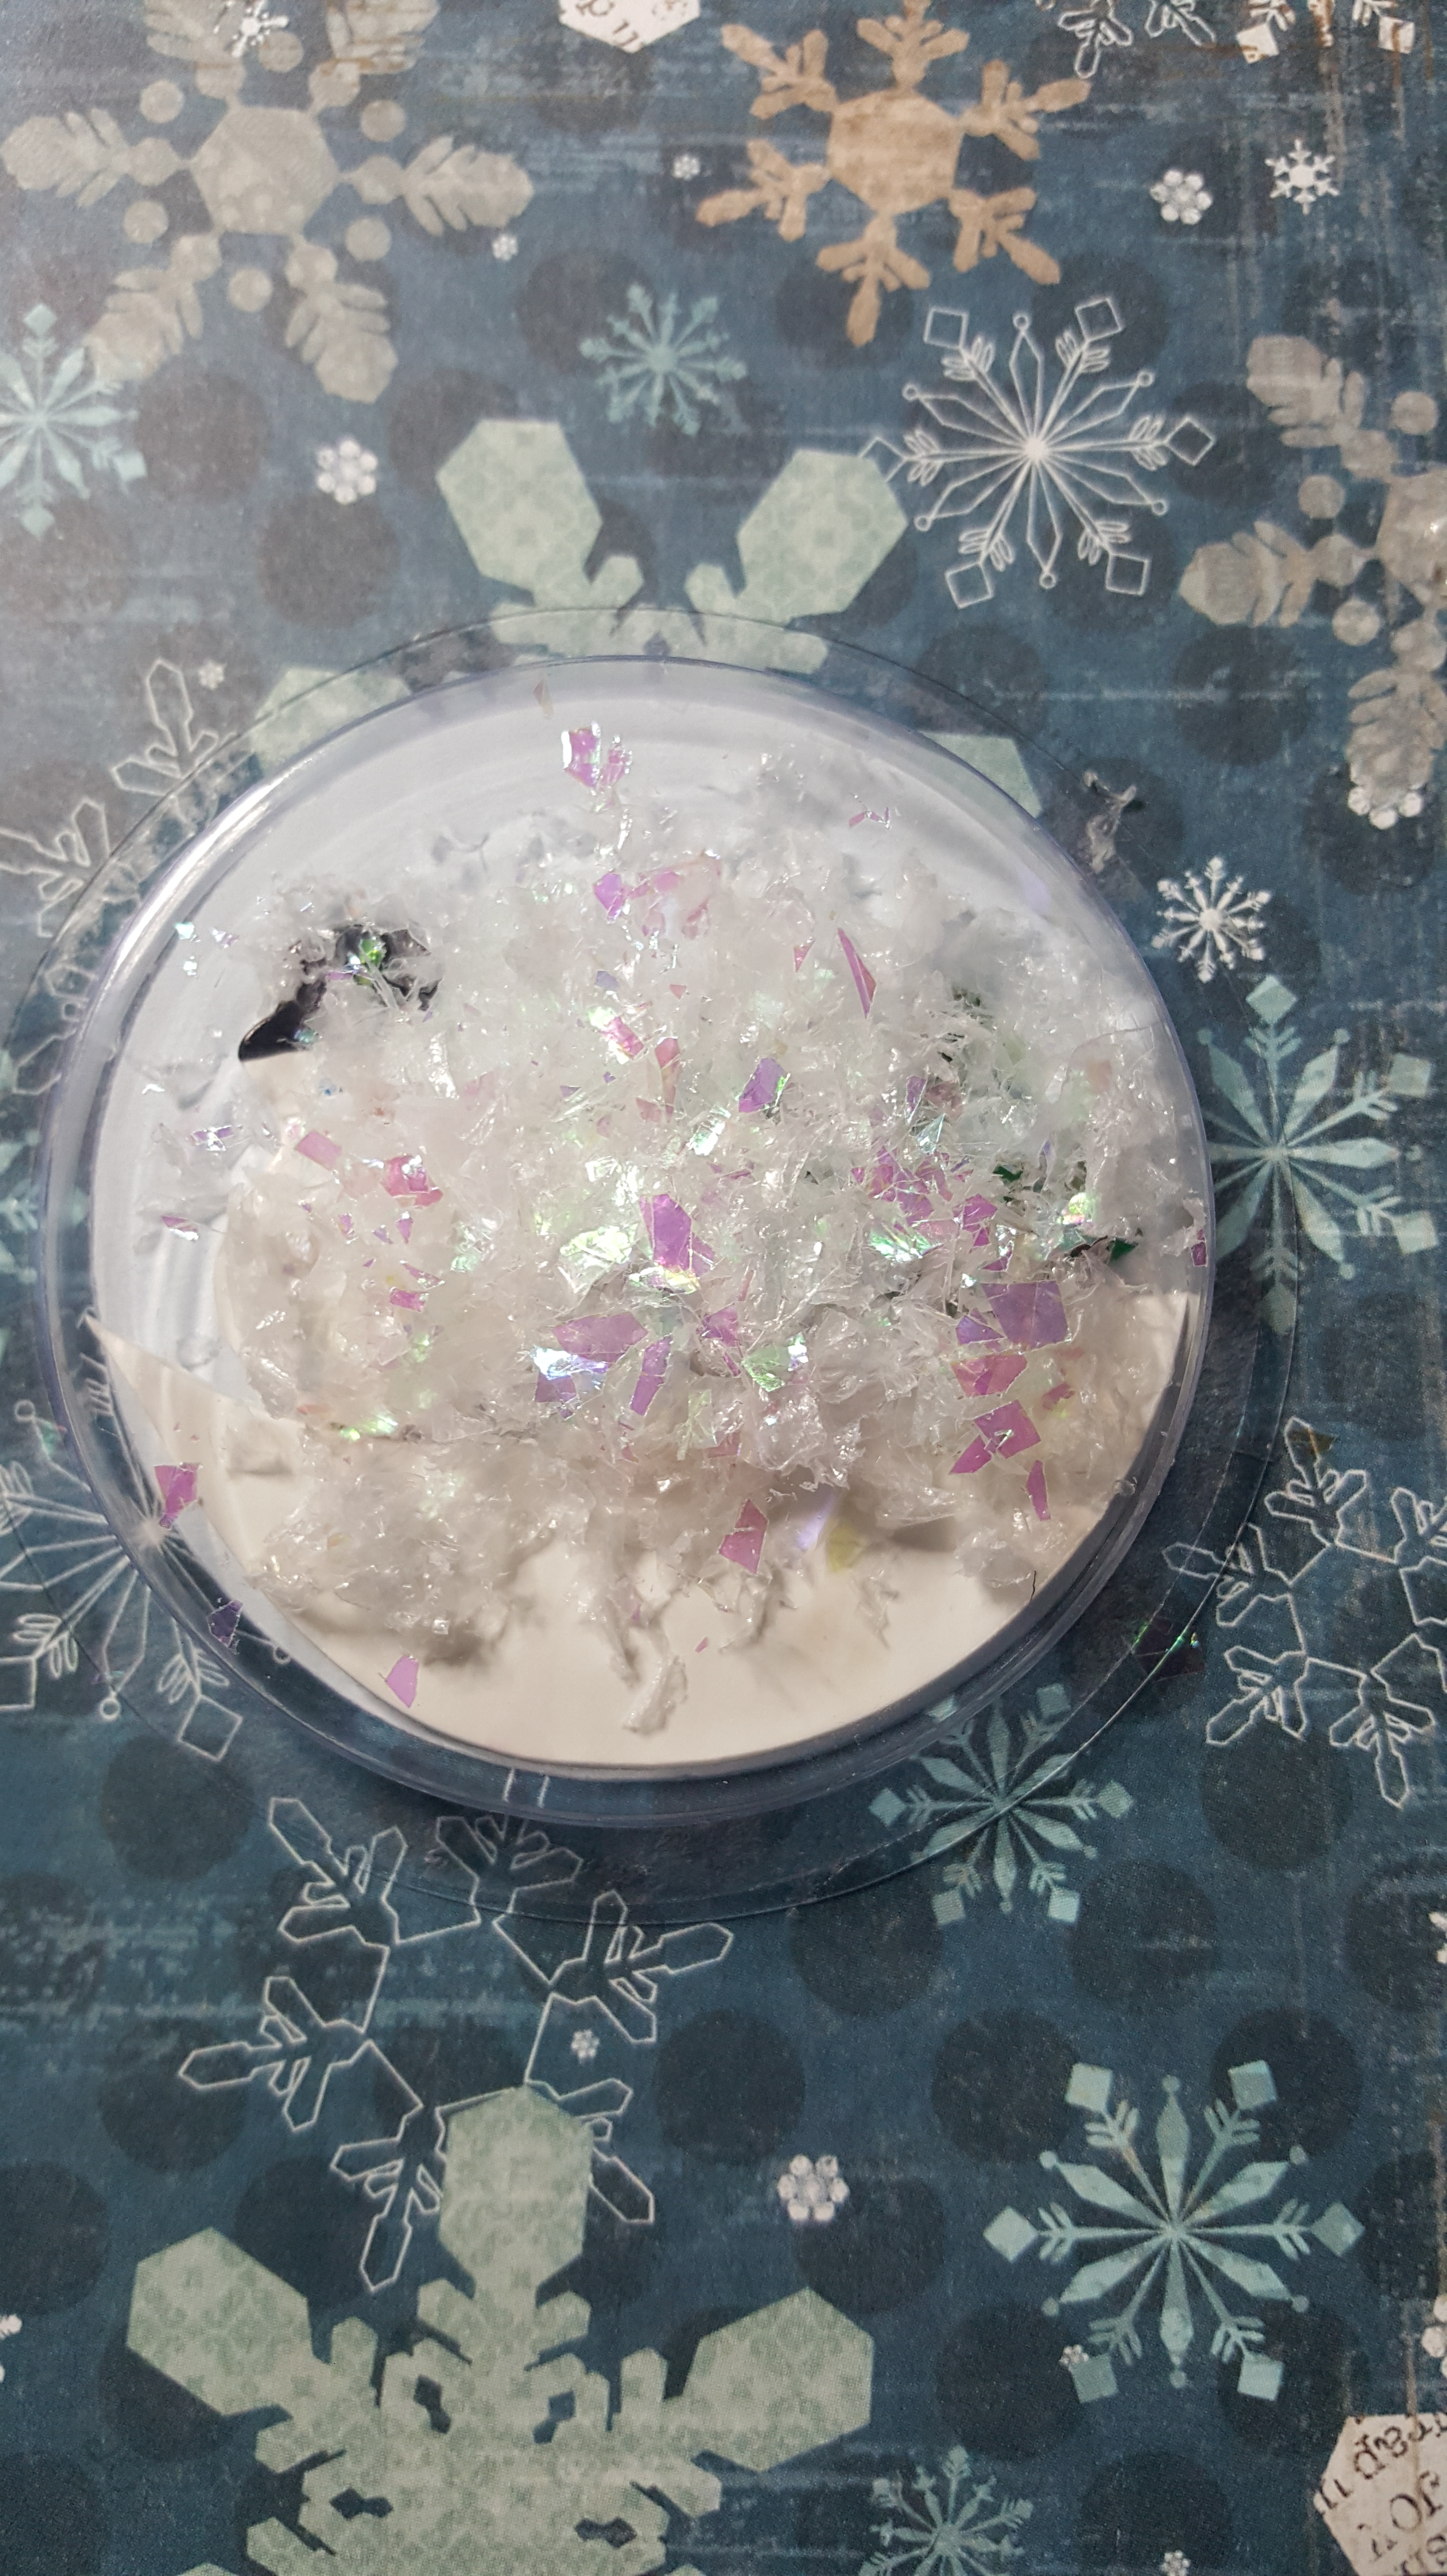
Fifth step: Place silver globe around circle and add Merry Christmas.

We have a finished card. Well, almost. It needed something else. I used glitter glue to around the border to give it more sparkle.

I put the card in an envelope that I stamped with snowflakes. Both, envelope and card was mail in a bubble mailer. Any thicker and the card could not be sent First Class mail.