Here is my last train car for a while. It is the Cattle Car.

Yes, I made some cows and hay stack to put into the Livestock Car. And, the door actually opens.


Here is my last train car for a while. It is the Cattle Car.

Yes, I made some cows and hay stack to put into the Livestock Car. And, the door actually opens.


Even though it is the last car on a train, it is the 3rd car in my train series, the Caboose. After looking several train cars, I redesign the wheel attachment. I named the train the “Midnight Express” because the entire train will be print in black.
I place items inside the car. Table chairs, stove, sink, bench, barrels, crates, and platforms to look out the top windows to view the entire train.


The ladders are not fitting together quite right, but these are delicate.

The next car will be the passenger car. I believe the train will need a box car and a cattle car. Do I need a tank car? Were they in use when trains ran off of coal. May be a log car and a sleeper car. There many of choices.
Object Size (W, D, H): 27, 136.43, 62.51 mm
This is the 2nd train car I designed in my effort to print a train. The first car was the engine. Link: Train Engine
The Coal Car was fun to design. Instead of spending hours on Tinkercad finding the right shape for the coal container (I didn’t want a box), I duplicated the same shape and just slightly increase the size until I had the height I wanted.


The joint to connect the Engine with the Coal Car actually worked. It was tested previously, but to see it function was amazing.

Object Size (W, D, H): 25, 55.97, 42 mm
My 3D printed house. It was fun to design and a challenge to print. Instead of printing it in six sections, the next time I believe I will be printing it in four sections and if I want it in multiple colors, I will paint it.. The six sections were; foundation, 1st floor, balcony, 2nd floor, roof, and roof siding.
The roof siding fit into it designed location without much effort.

The next house I will print on normal print vs. fast print. Even if the sections take 11 hours each or more to print. With the details in the house, I believe it is needed.

I do not know why the corner next to the steps appears to be melted. Maybe some oils from my fingers were on the build plate that prevented proper adhesion.

The roof came out great. And, the railing printed nicely. Whoops, it looks like I didn’t remove some of railing structure before taking the pictures.

The house was designed using Tinkercad.com; link Two Story House.
Object Size (W, D, H): 161.19, 133.06, 112.14 mm (approximately)
I created this container to hold small items. It was quickly named to the Acorn Container and taken to work.


Print Time: 8 hours 45 minutes
Filament: PLA – 11.36meters 90grams
Layer height: 0.1 mm
Shell Thickness: 0.8
Object Size (W, D, H): 98.71, 98.71, 94.22 mm
One of my projects in the 3D Printing world is to design and print a train; Train Engine, Coal Car, Passenger Car, Cargo Car, etc. I am not particularly into trains, but I thought it would be a fun project. I’ve based the size of the train after Gn15 Model Train scale. It specifies a train track gauge of 16.5 mm.
Only two of the cars have been completely designed and just finished printing the Train Engine, after several false starts. The train is not a copy of any one train. I used components I liked from many trains and incorporated them into the design.
A colored version of the Train Engine can be viewed on Tinkercad link: Train Engine. Minor modifications where made for a successful print of the train. The train was printed using supports (everywhere settings). The carefully removal of the supports took time.

The wheels of the train were printed separately because I wanted them to be able to spin.


I even put chairs and gauges in the car to give the train character. The grid on the platform was not part of the designed. It was remnants of the support structure. Instead of smoothing it out, I thought is provided a nice effect.
Train Engine:
Print Time: 3 hours 53 minutes
Filament: PLA – 4.11 meters 33 grams
Layer height: 0.1 mm
Shell Thickness: 0.8
Object Size (W, D, H): 33.468, 151.55, 60.503 mm
Wheels:
Print Time: 55 minutes
Filament: PLA – .45 meters 4 grams
Layer height: 0.1 mm
Shell Thickness: 0.8
Once I completed the entire train, I will make the .STL files available on youmagine.com.
Tinkercad.com deserves created for provide me the resources to create!
There are plenty of March birthdays in my family. I needed cards. Someone suggested buying gift cards for my dad. So, I needed some gift card boxes. Out comes the Corel Draw, the Silhouette, and the Ultimaker 2 to handle two of the birthdays.
Dad’s Birthday!
I used Corel Draw to create the background, then I printed it on metallic photo paper. I designed the rest of the card using Silhouette Studio.


I designed the gift card box in Tinkercad getting the dimension from a credit card. The box was printed on the Ultimaker 2 using semi-transparent filament.


Print Time: 3 hours 45 minutes
Filament: PLA – 5.22 meters 41 grams
Layer height: 0.1 mm
Shell Thickness: 0.8
Object Size (W, D, H): 100.001, 164.001, 12.701 mm (Both pieces printed together)
Amanda’s Birthday!
I used a template for Amanda’s card and cut it on the Silhouette. However, I did design the envelope since no envelope was a good size.. Alas, I didn’t get a picture.

I tweak the gift card box after the other one was printed to make the top smaller and fit better. It was printed using pink filament.


Print Time: 3 hours 45 minutes
Filament: PLA – 5.25 meters 42 grams
Layer height: 0.1 mm
Shell Thickness: 0.8
Object Size (W, D, H): 100.001, 163.501, 12.701 mm (Both pieces printed together)
The boxes was printed with the top and bottom laying flat on the printer bed to make the boxes smoother.
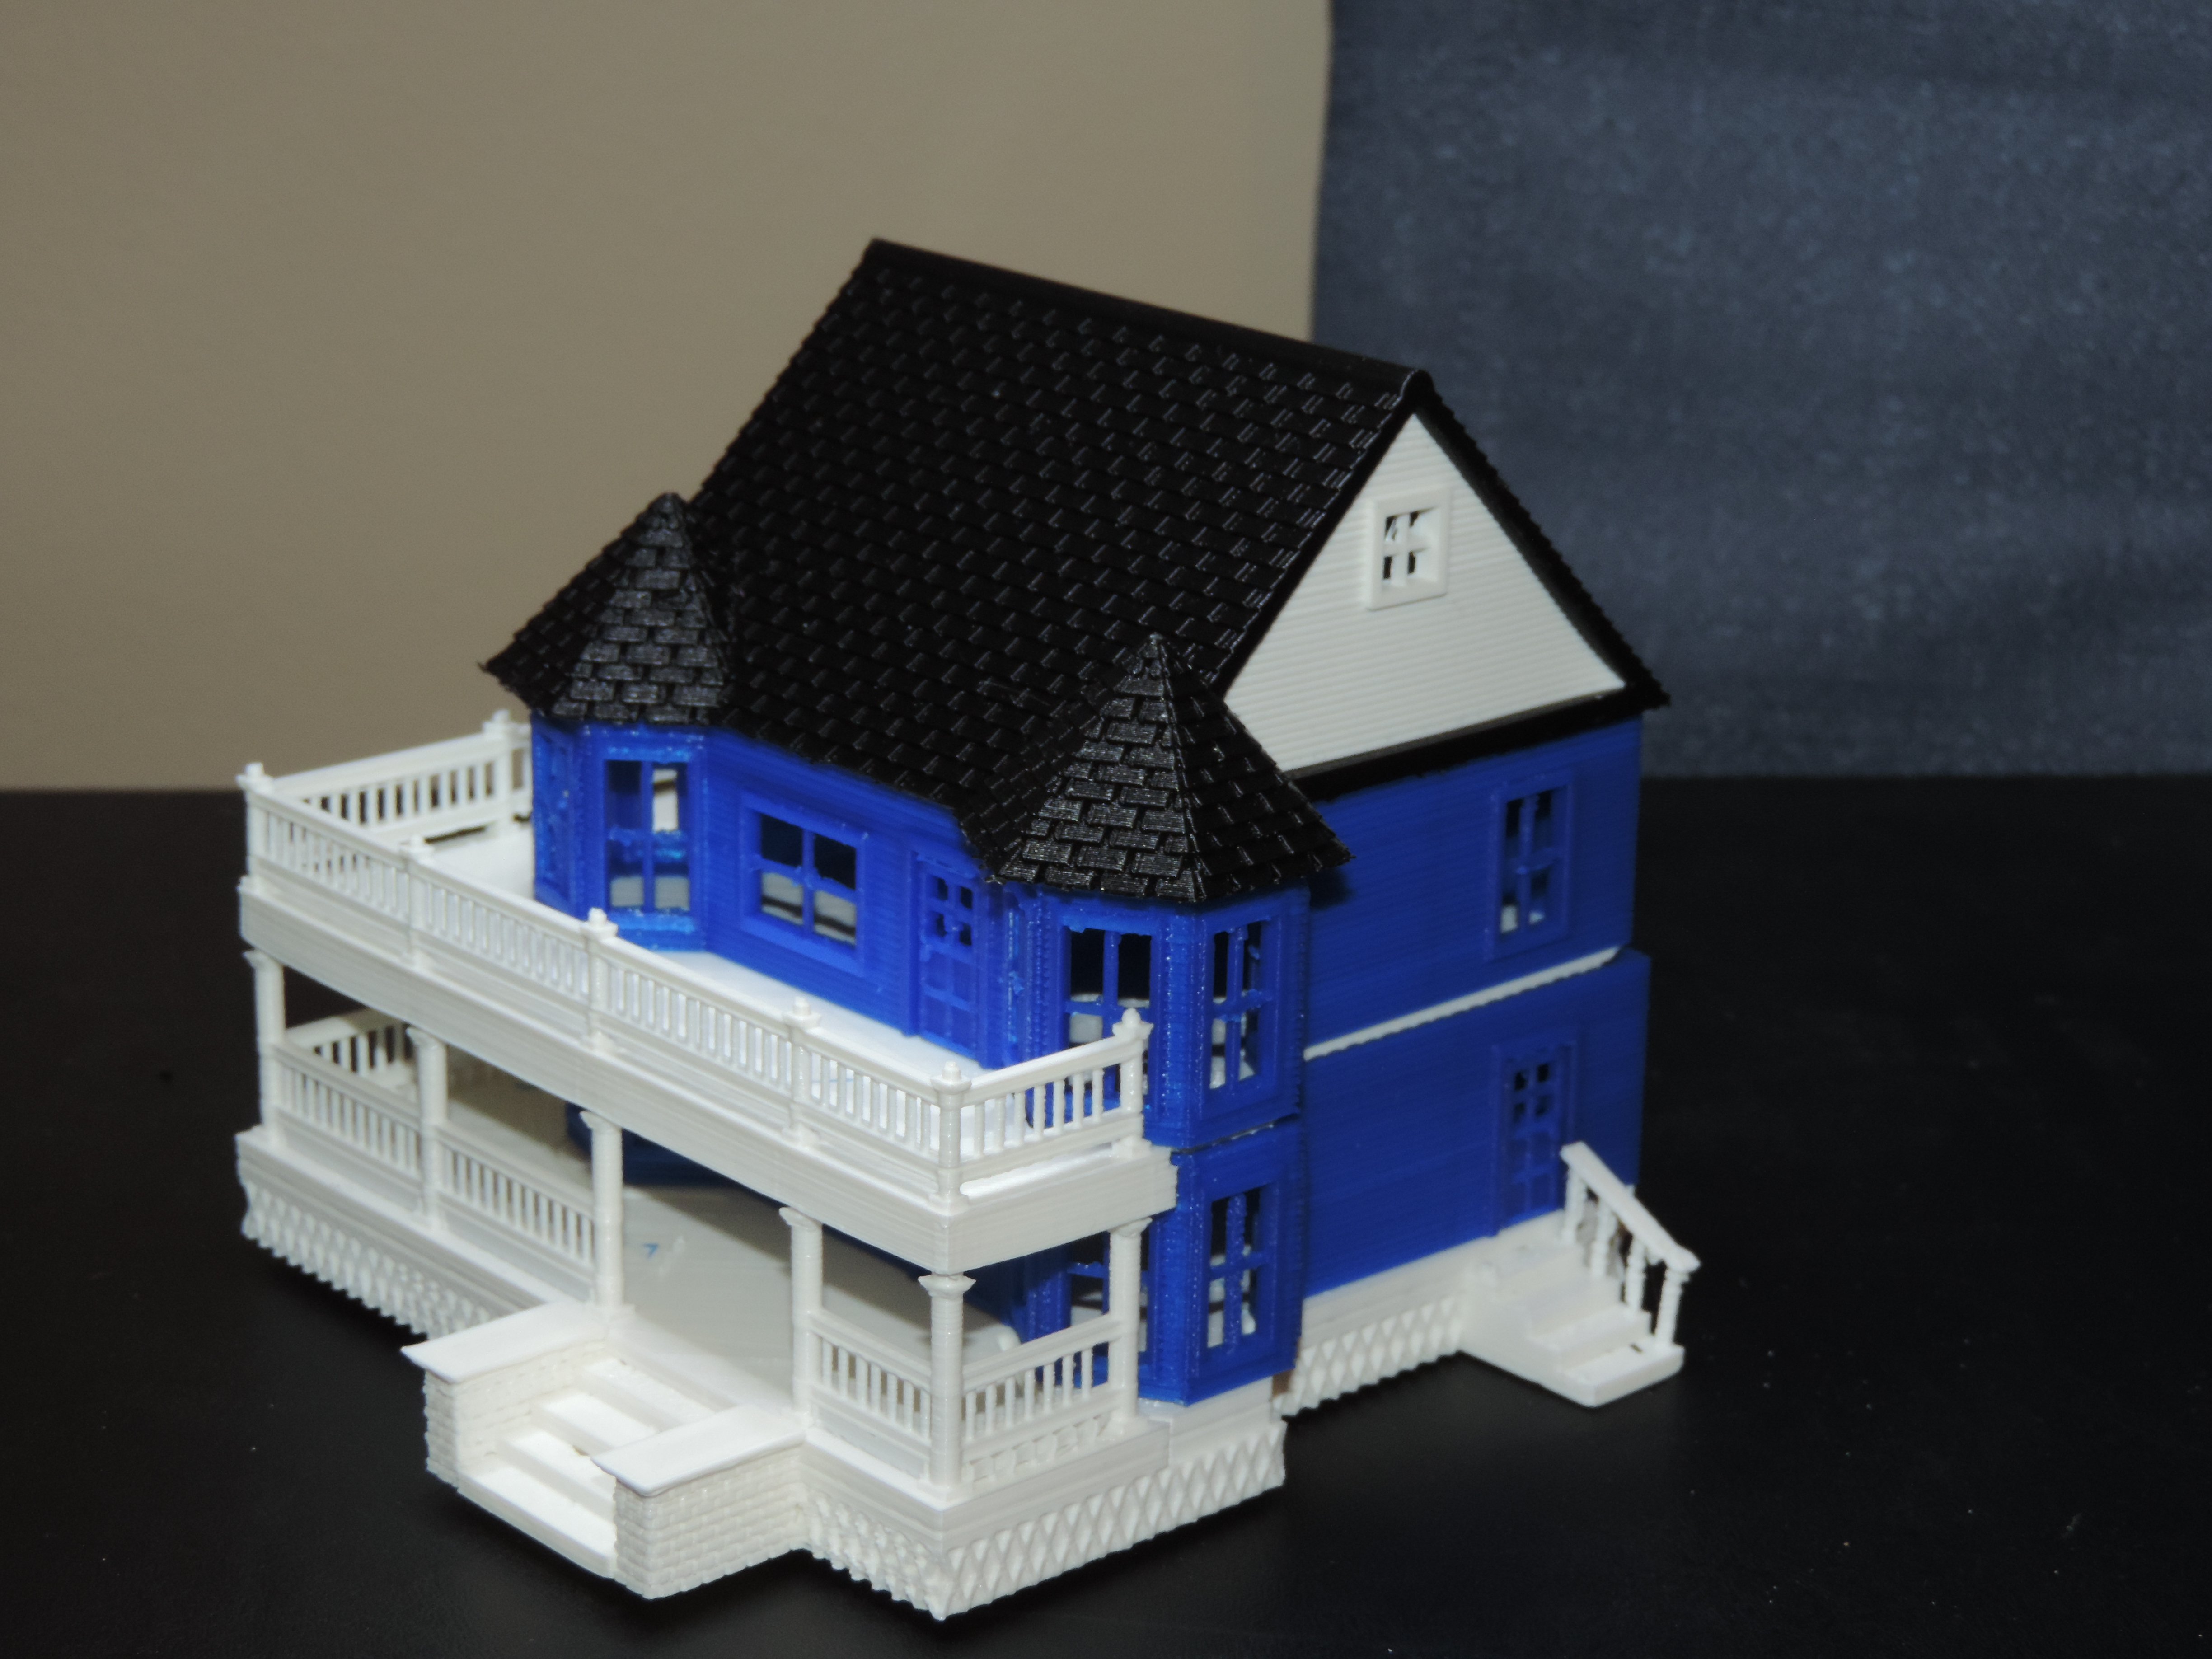
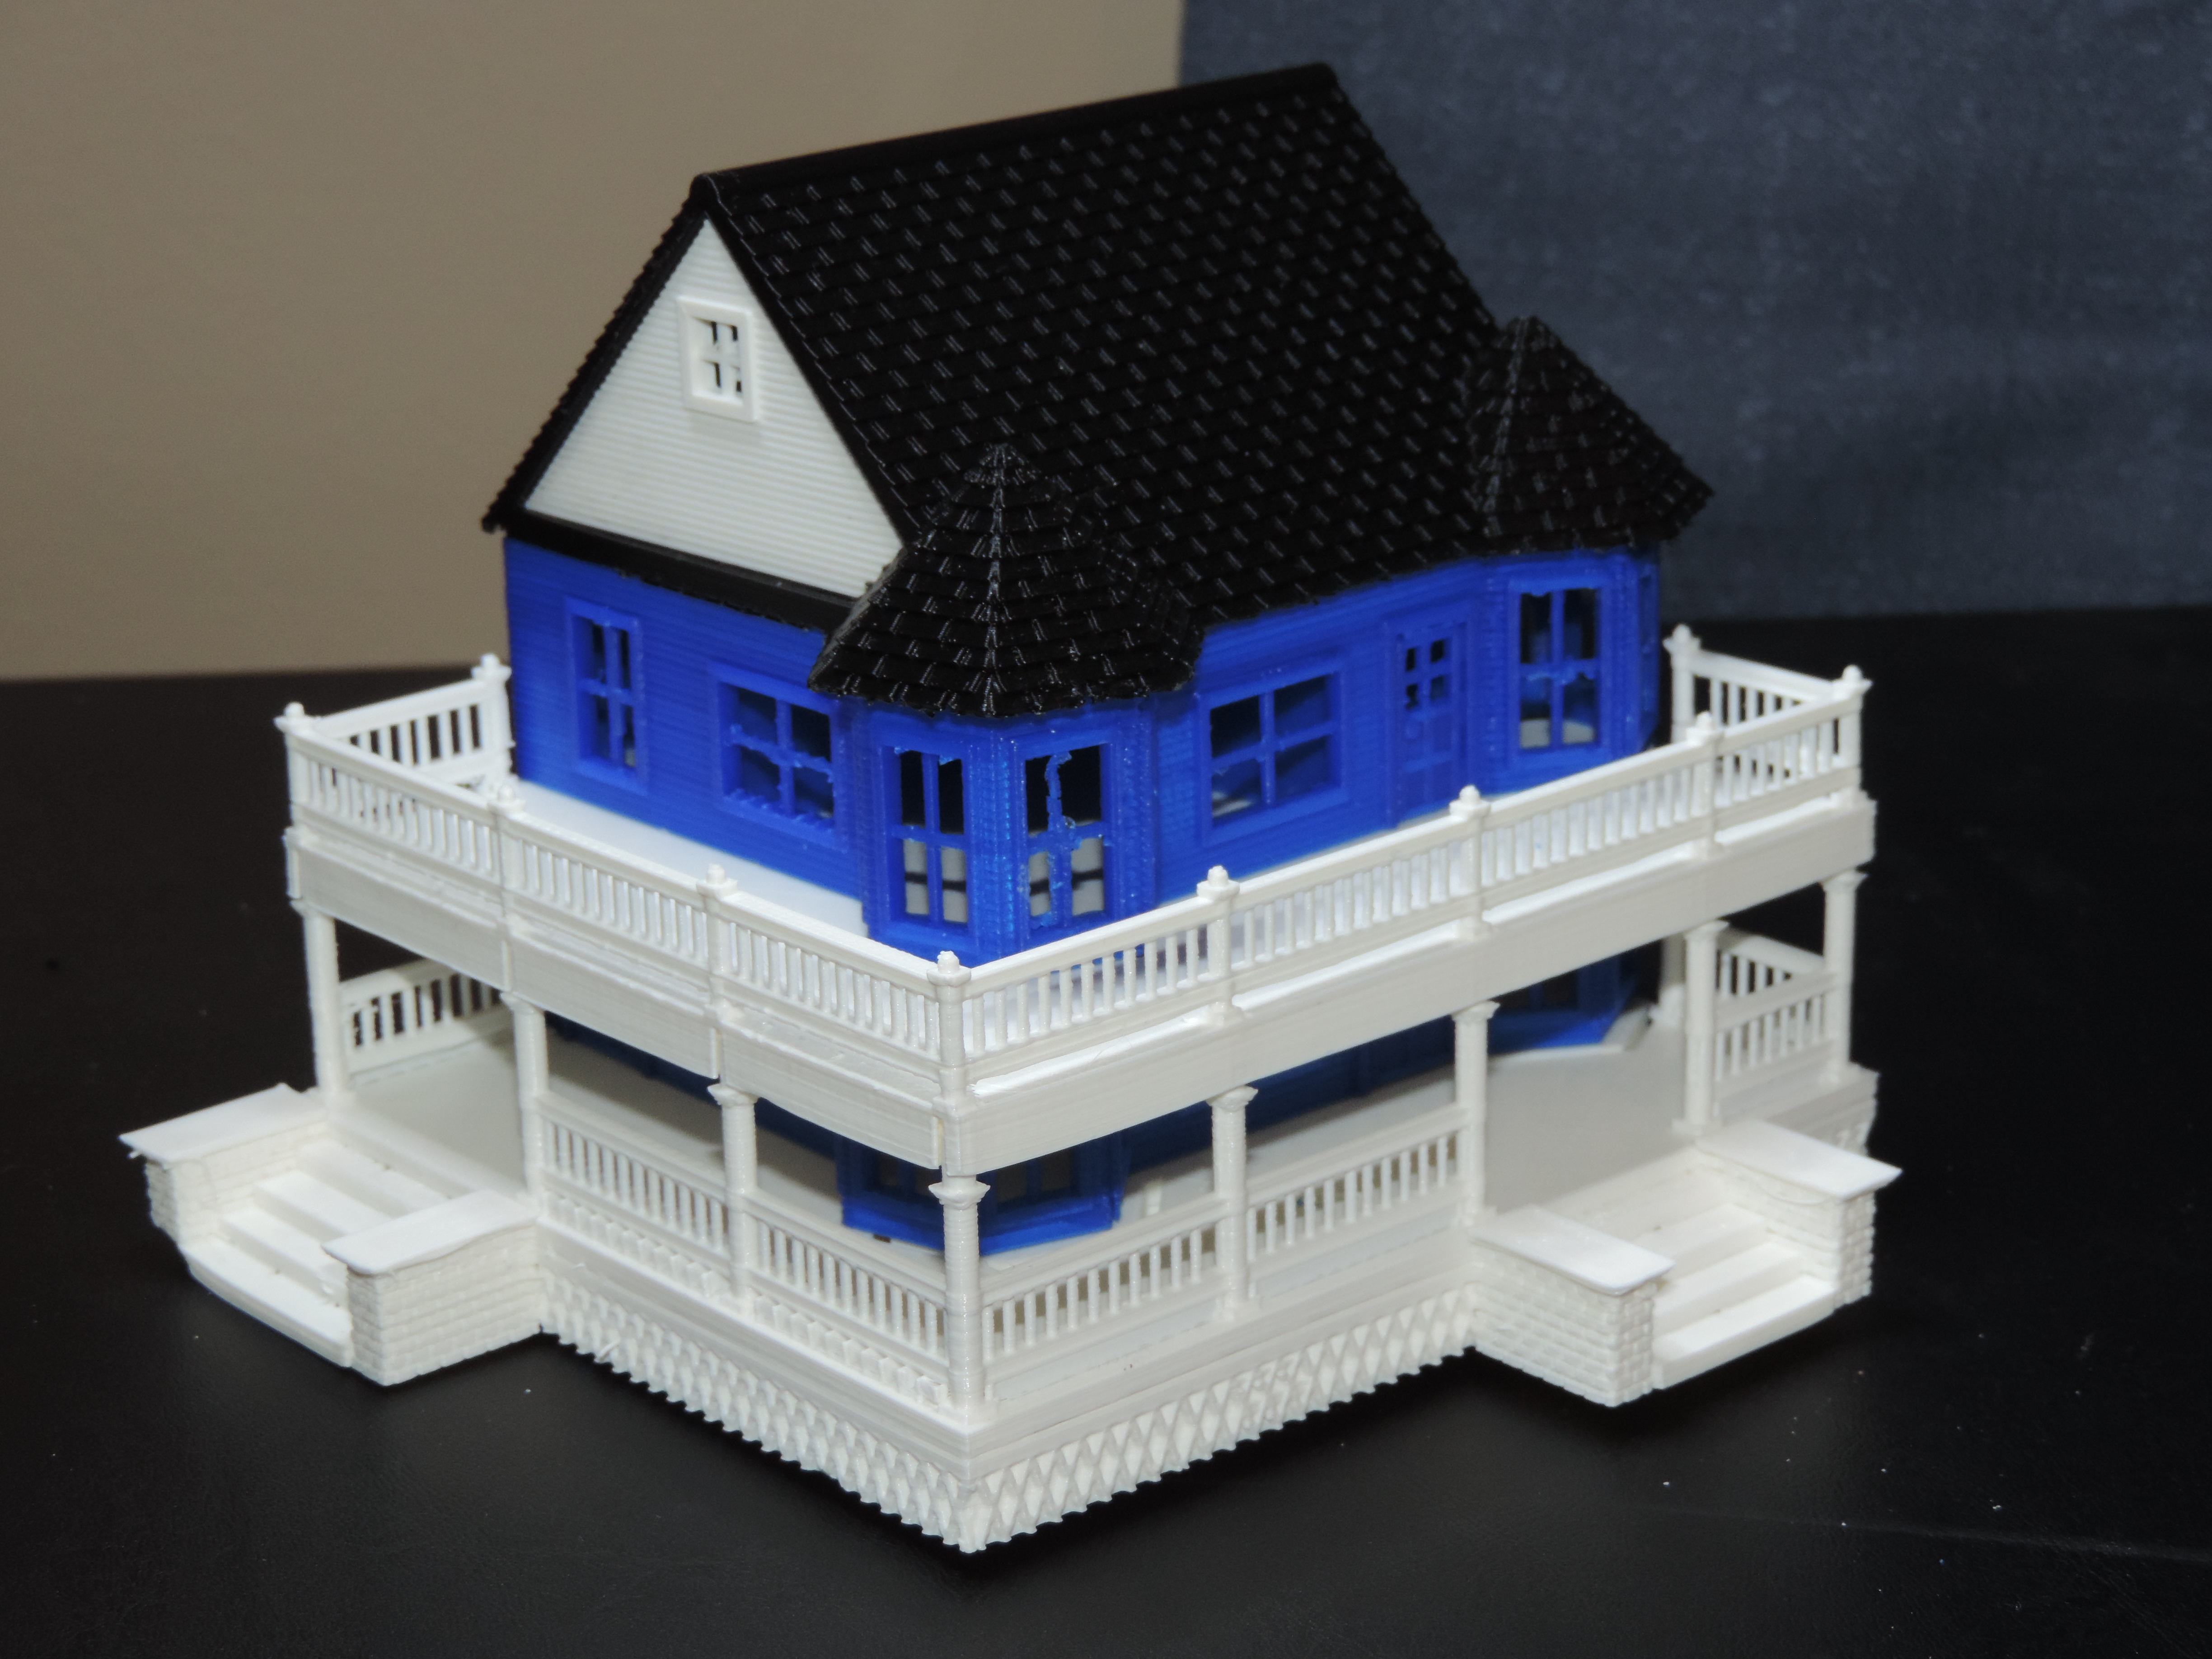
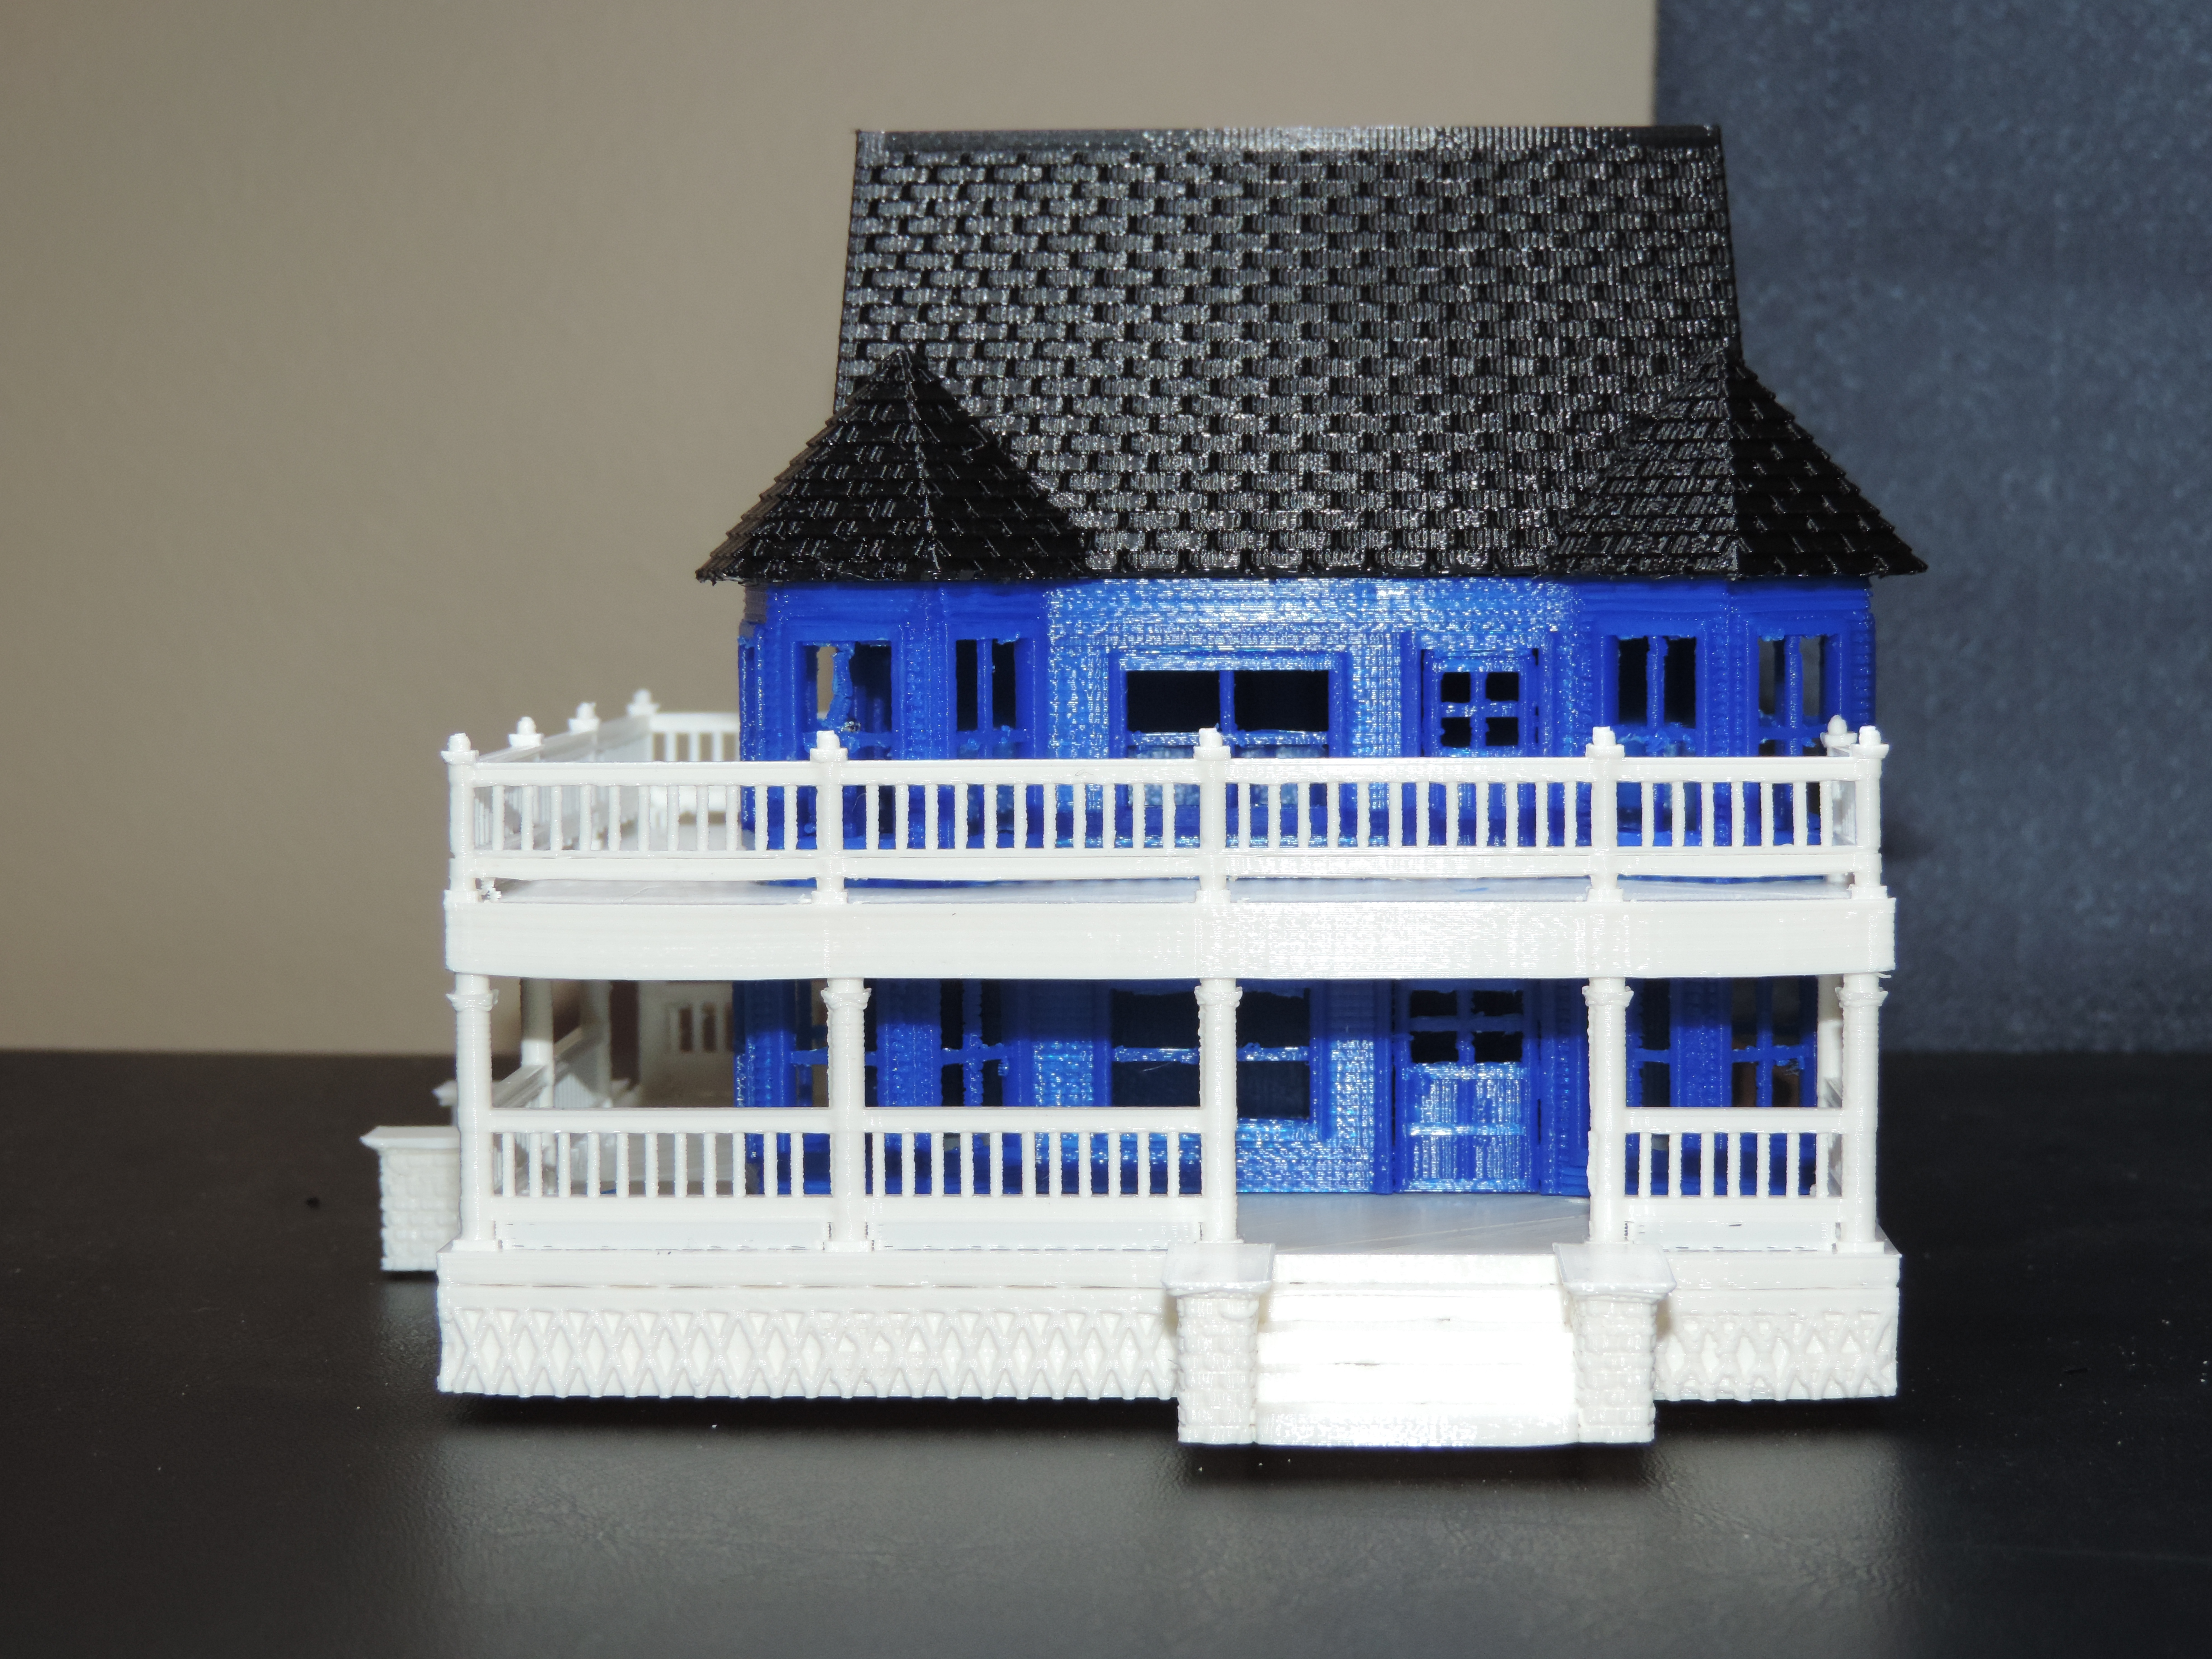
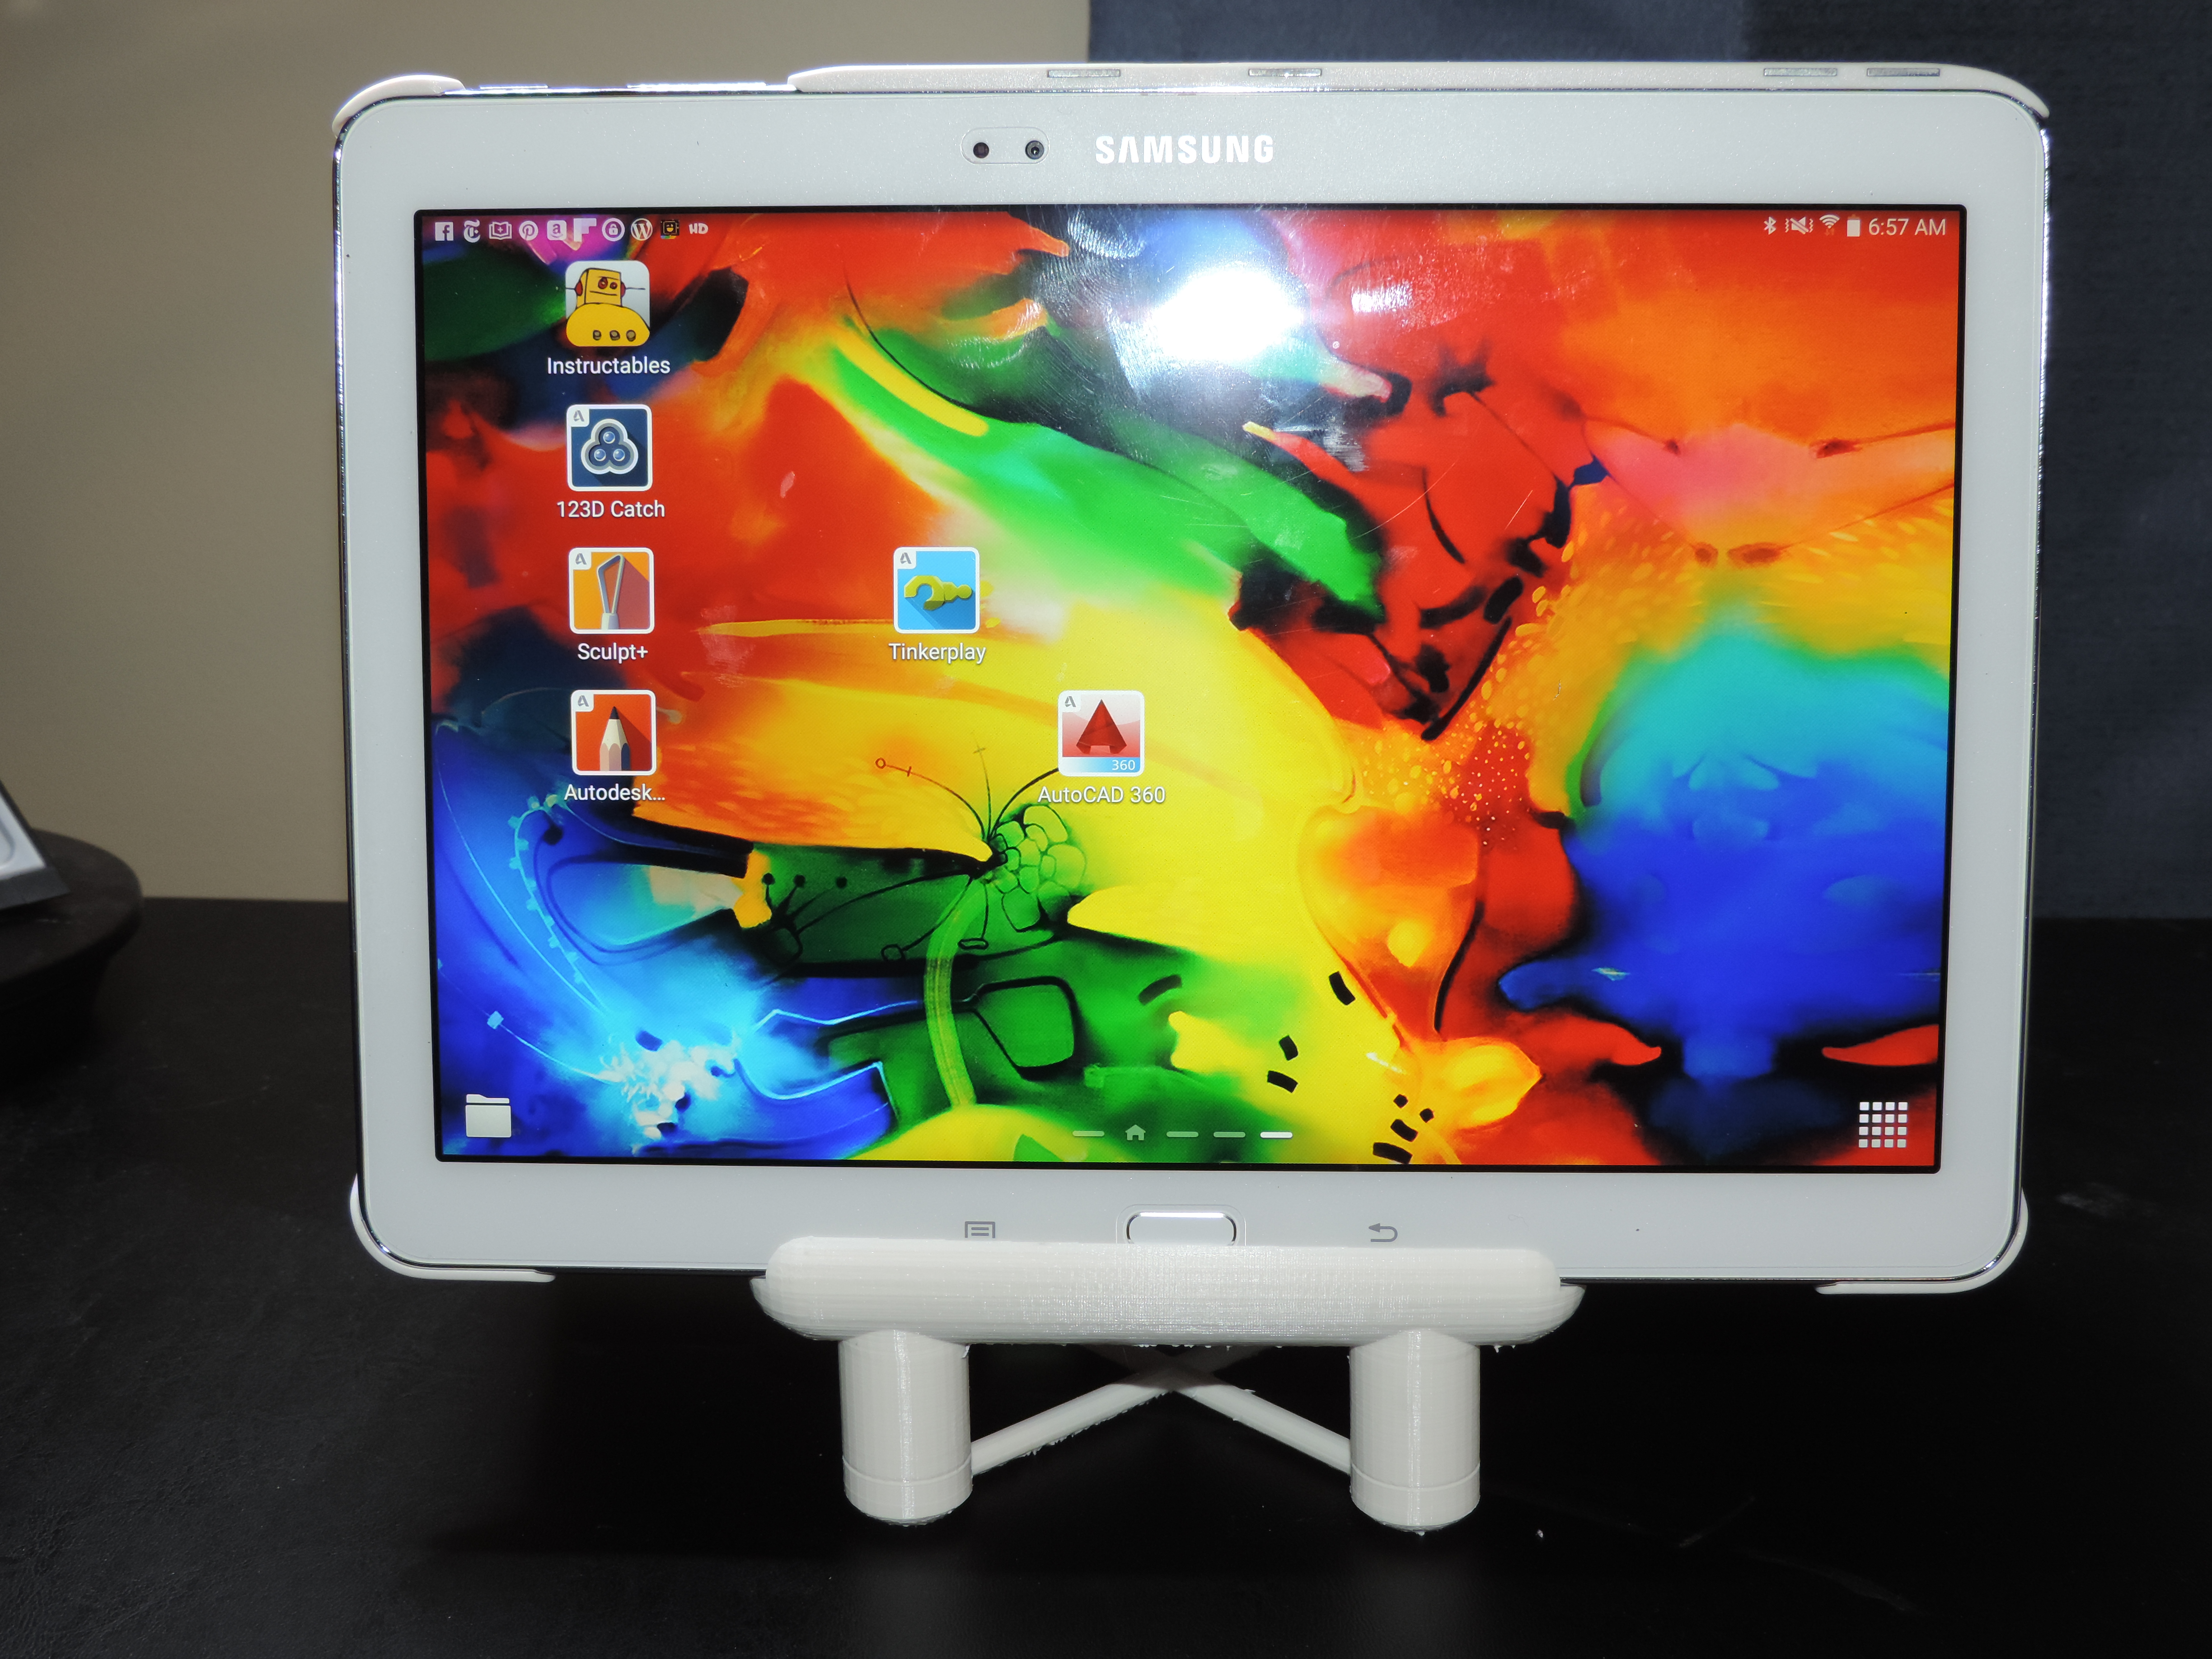
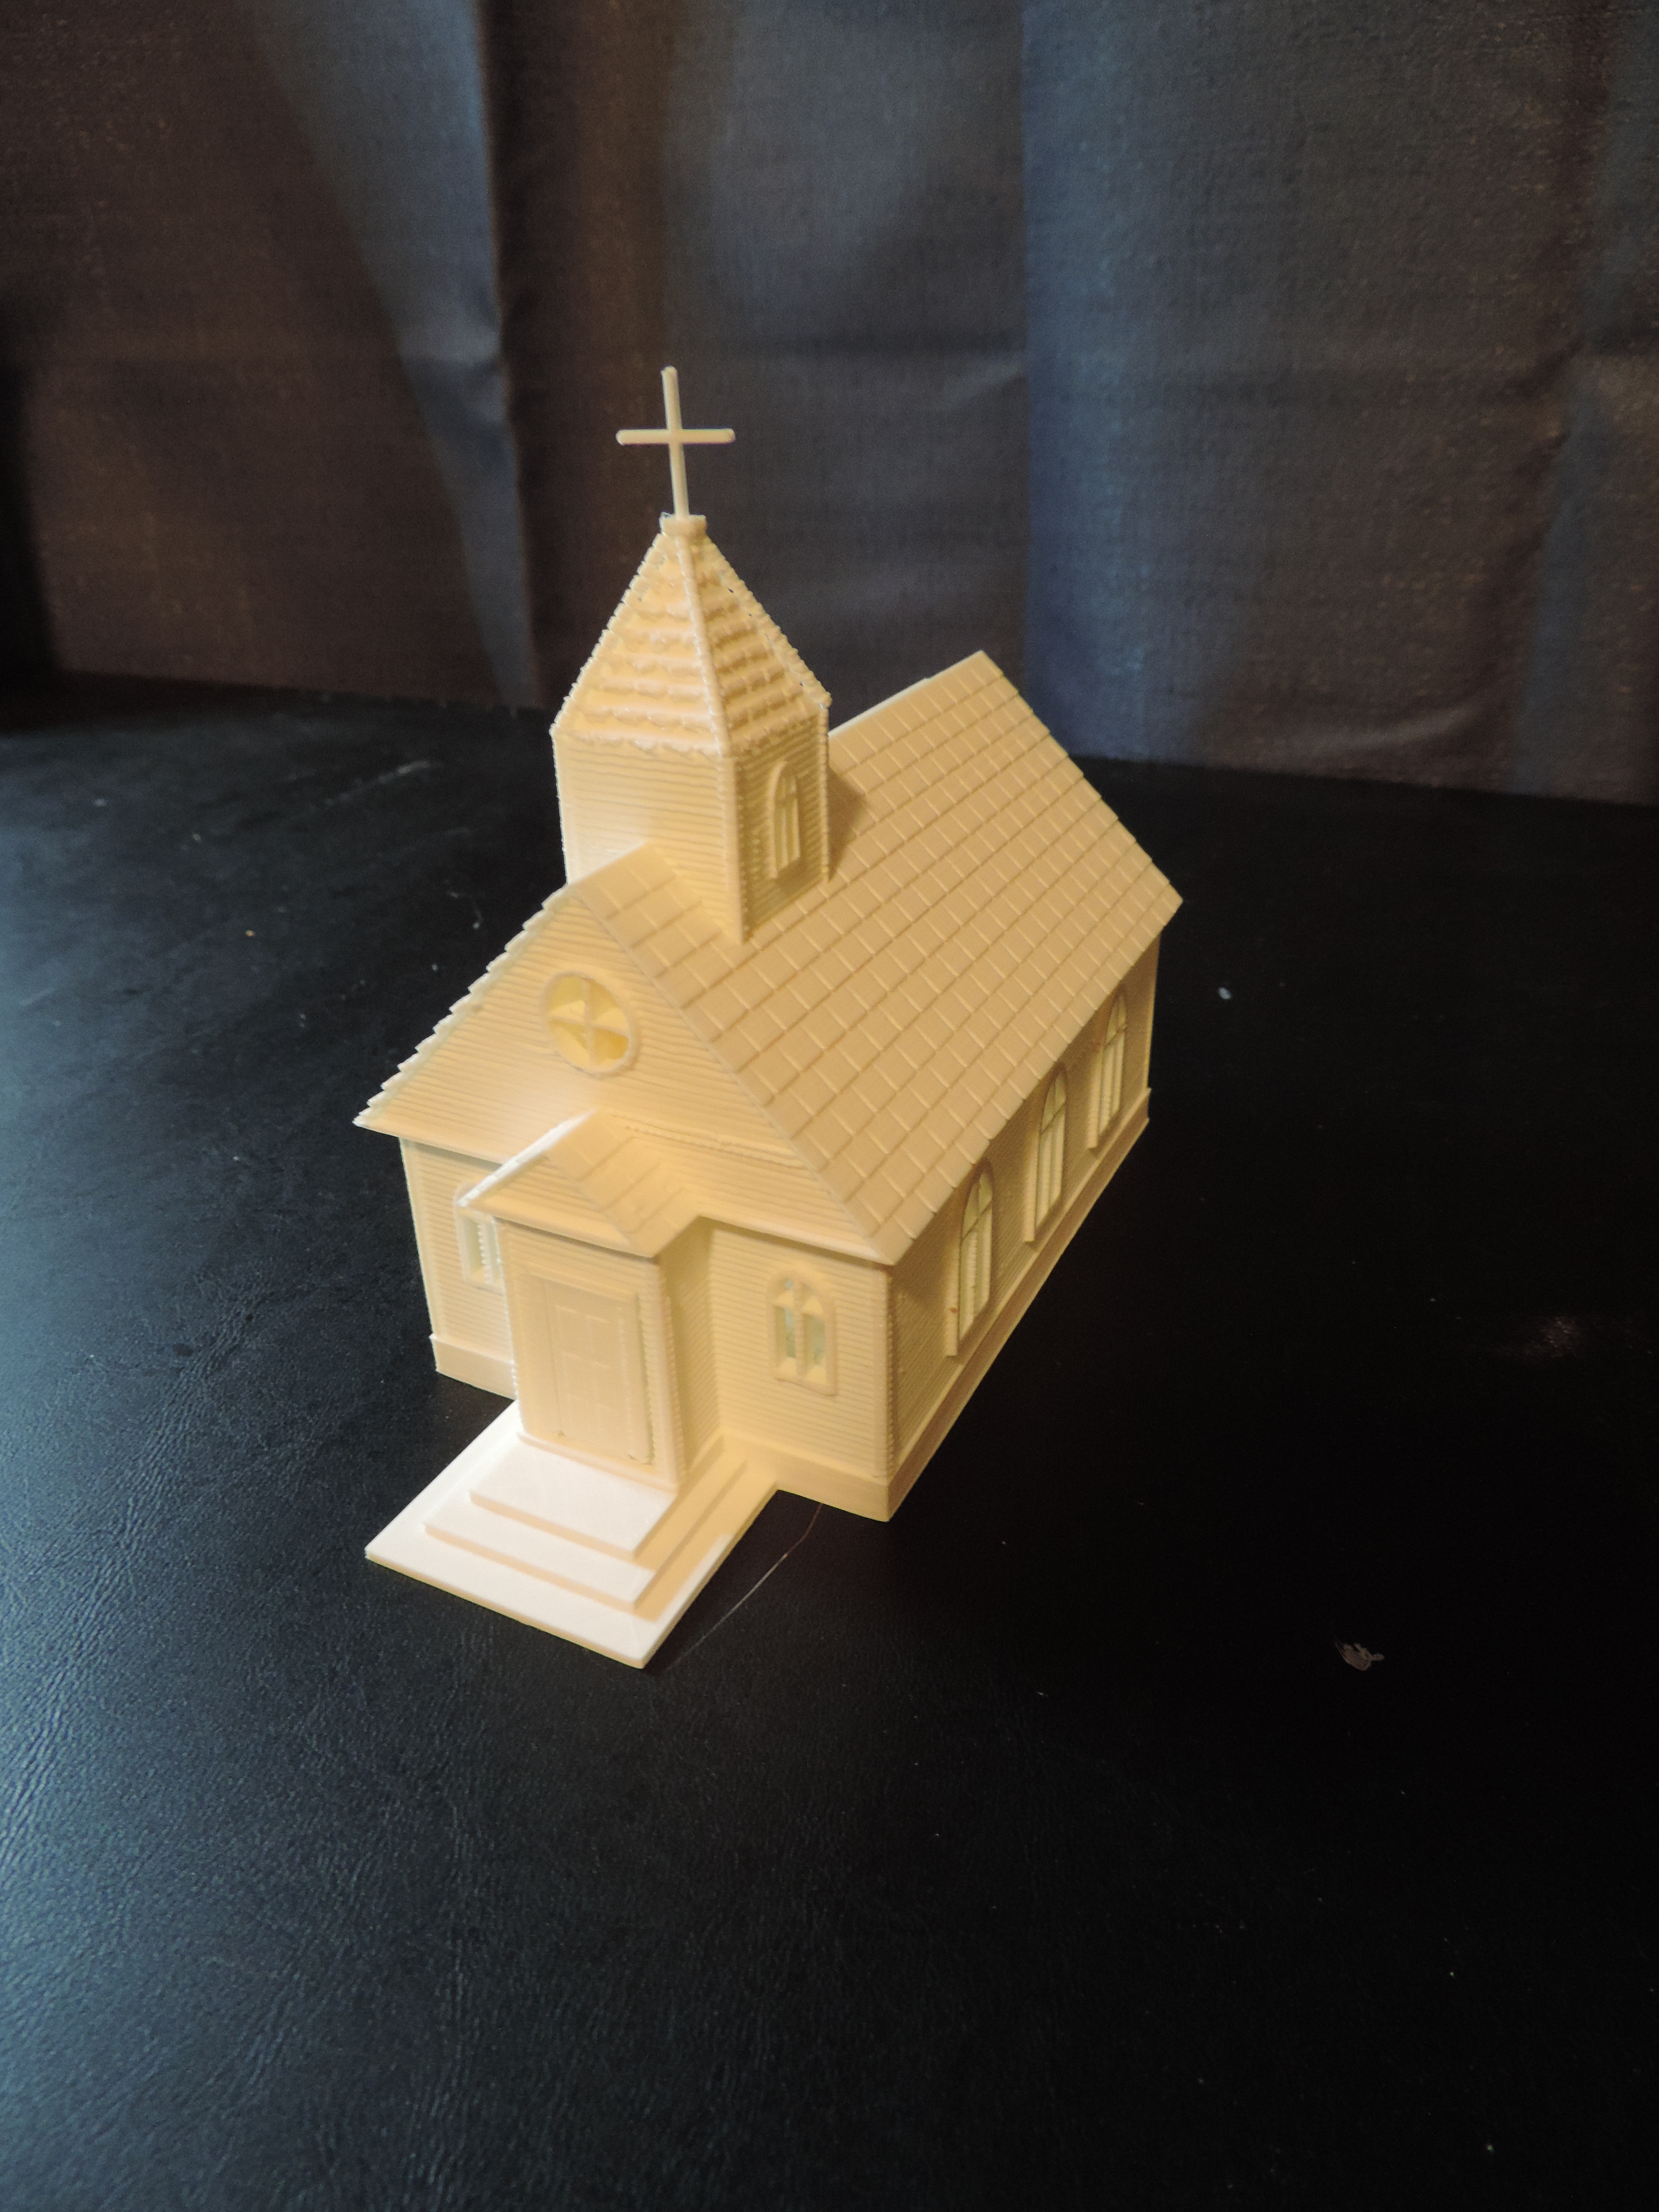
I love old buildings, especially churches. They have a lot of character and details you do not find in modern buildings. My first major 3D design project was not modeled after any one particular church building, but after numerous churches I have seen through out my lifespan.

The building was created in 3 main sections: The foundation, the walls, and the roof. I wanted the ability to put furniture inside the building. I also wanted the doors to open, but the 3D print was too small to support hinges that actually worked.

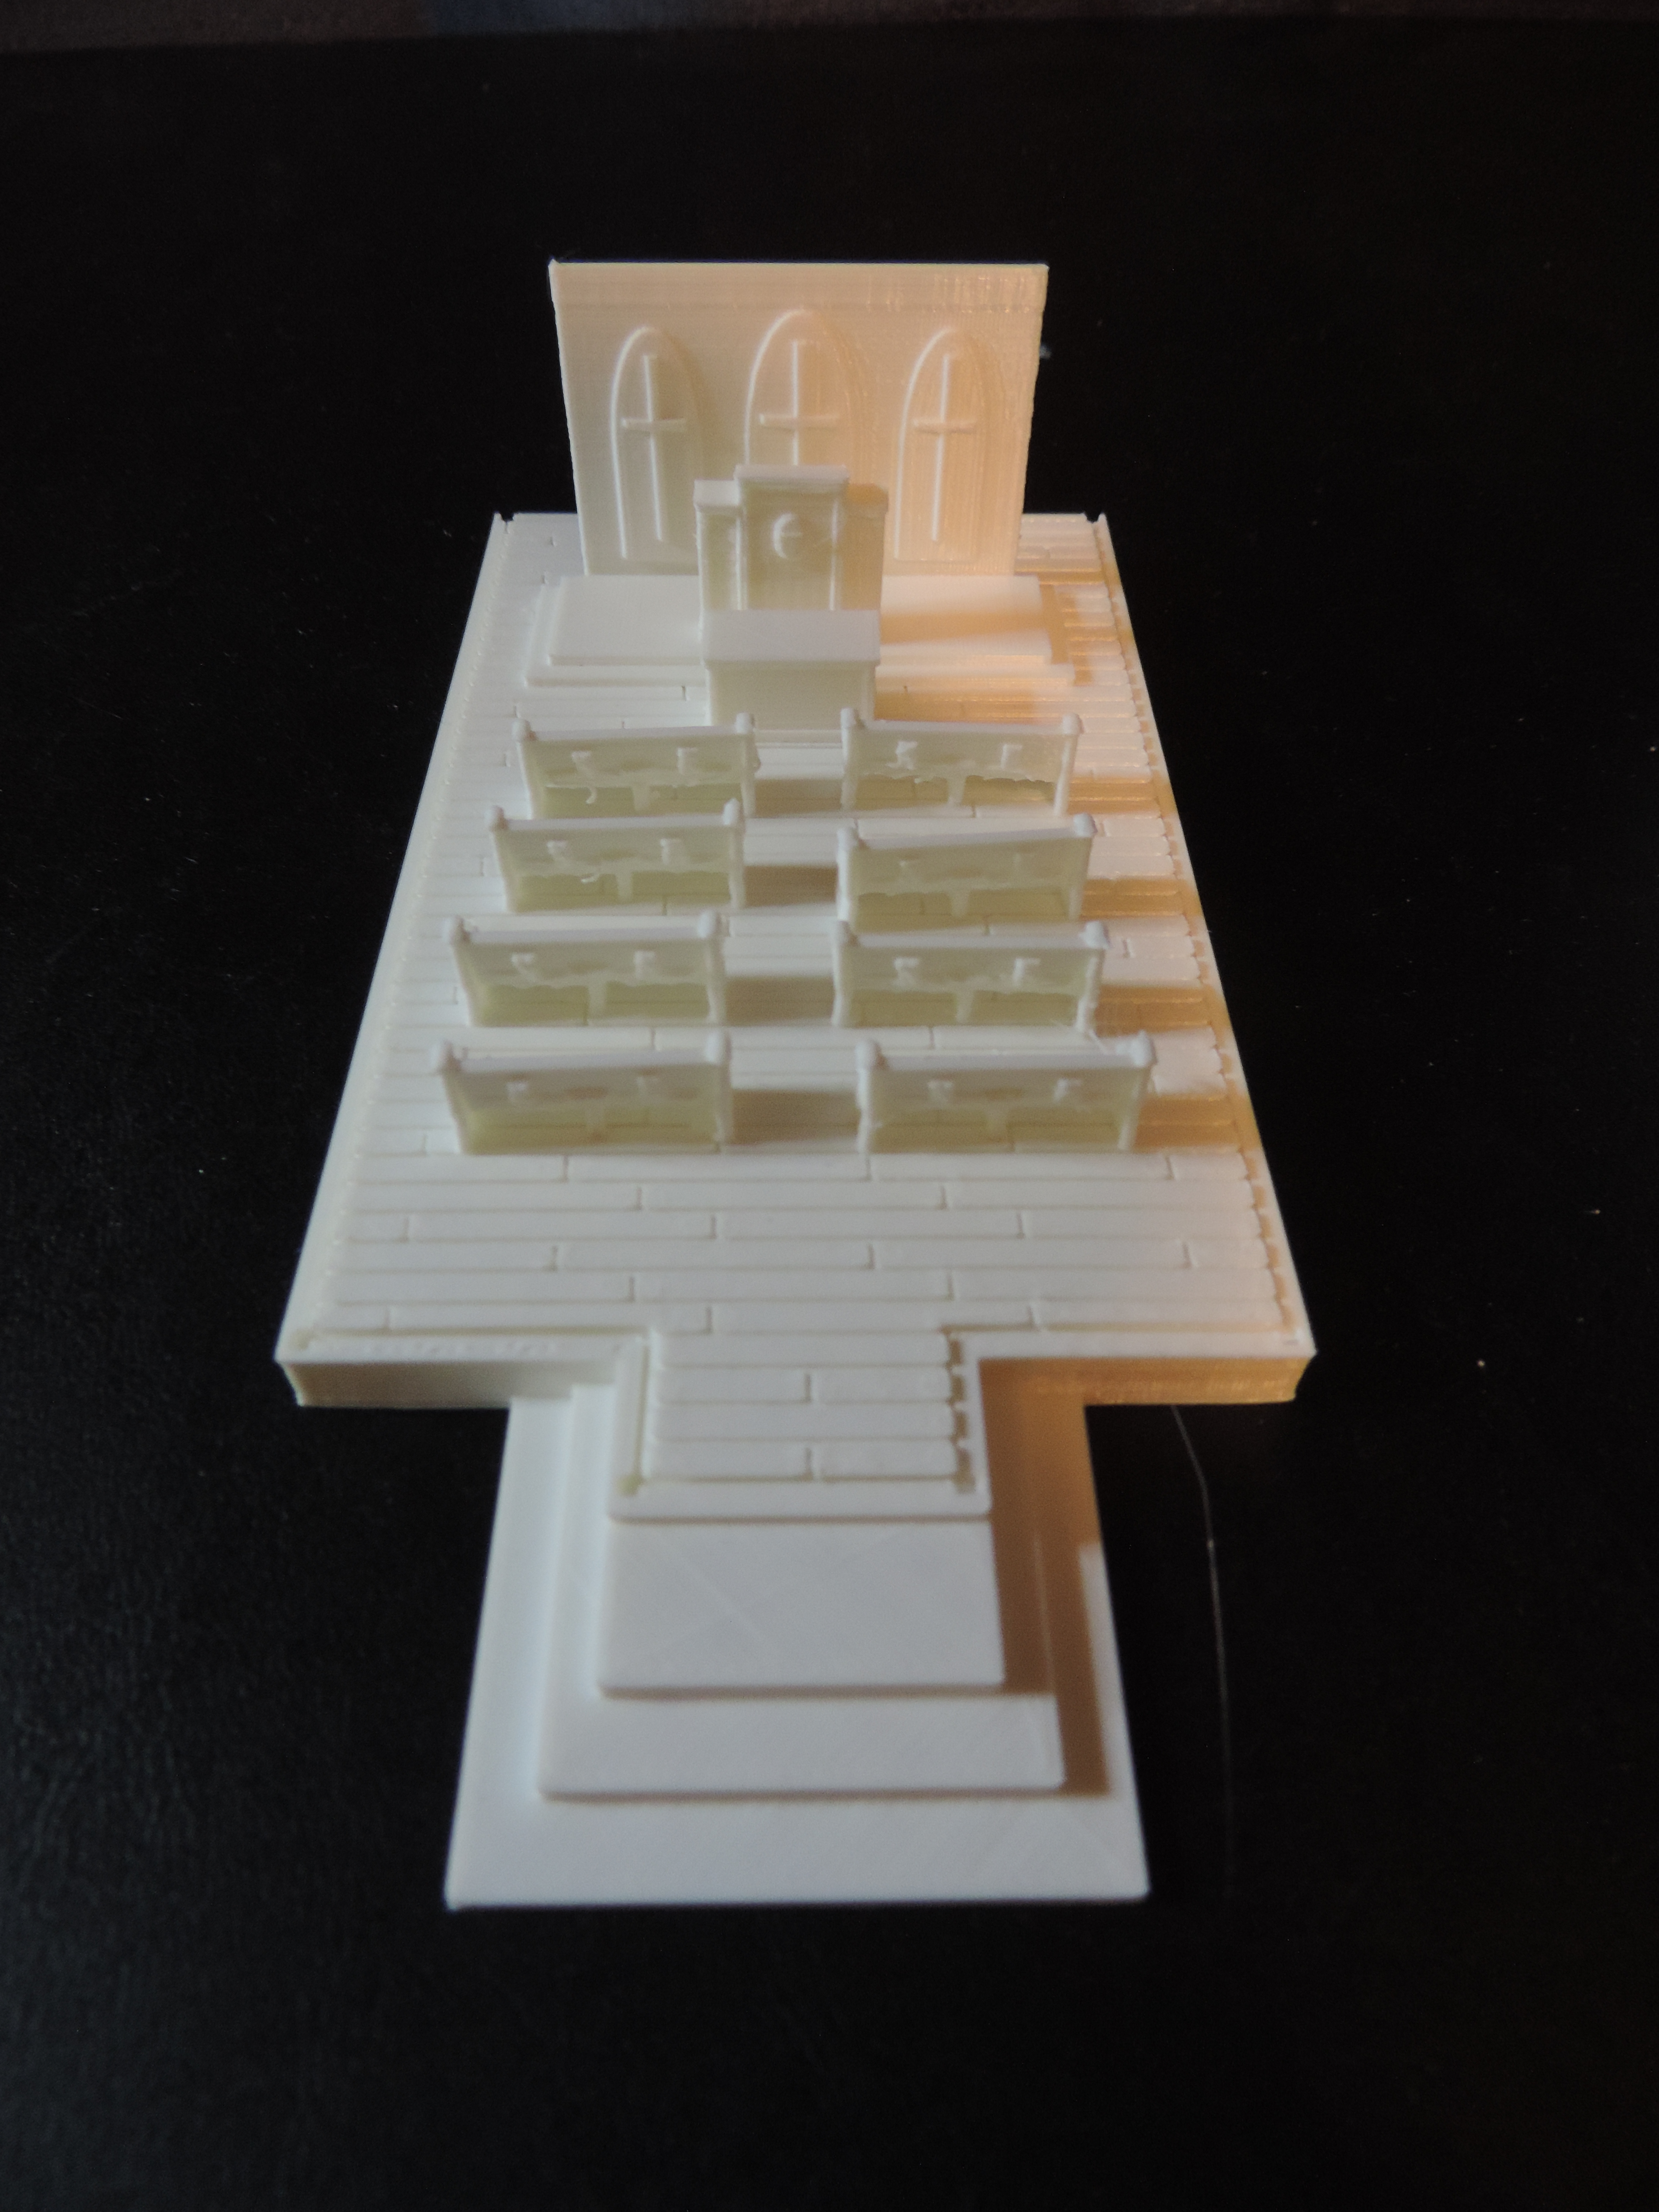
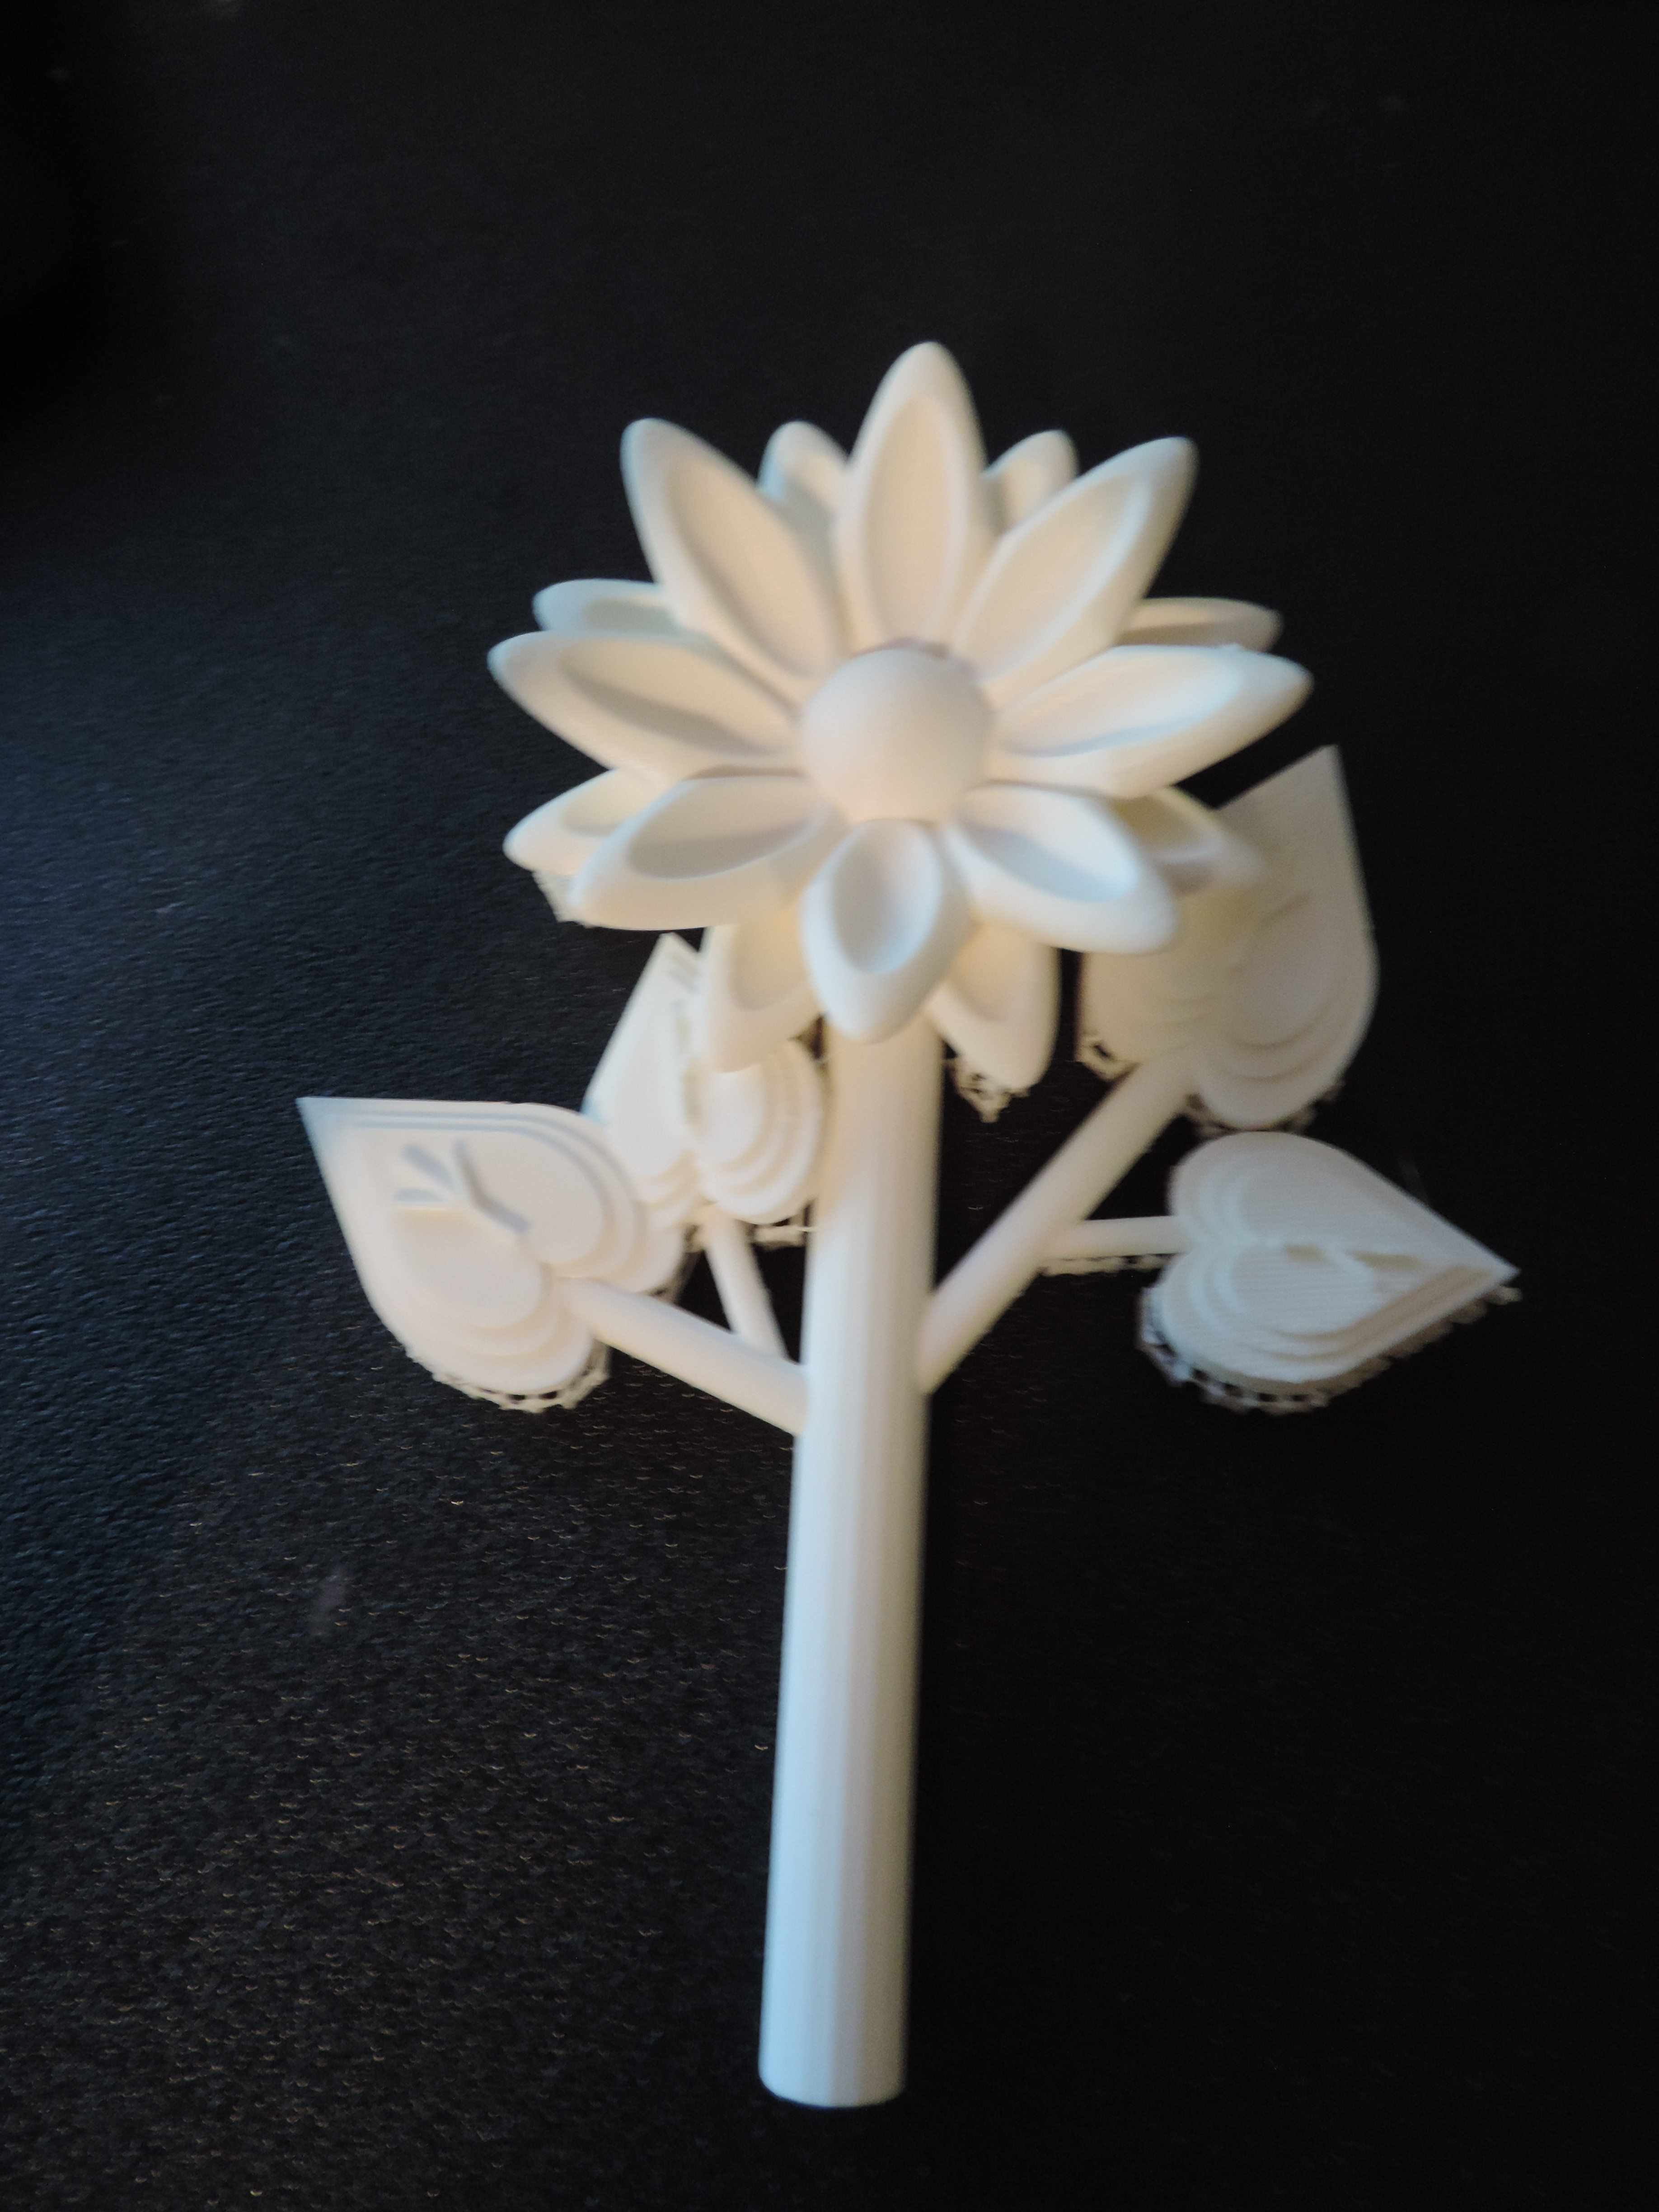
The foundation include the steps, simulated wood flooring, and the cross display. It contains groves in the foundation to hold the walls in place.

The walls contains simulated wood siding, the windows and the doors.

The roof contained the bell tower with simulated wood shingles. The cross was printed separately and placed in the hole bell tower.

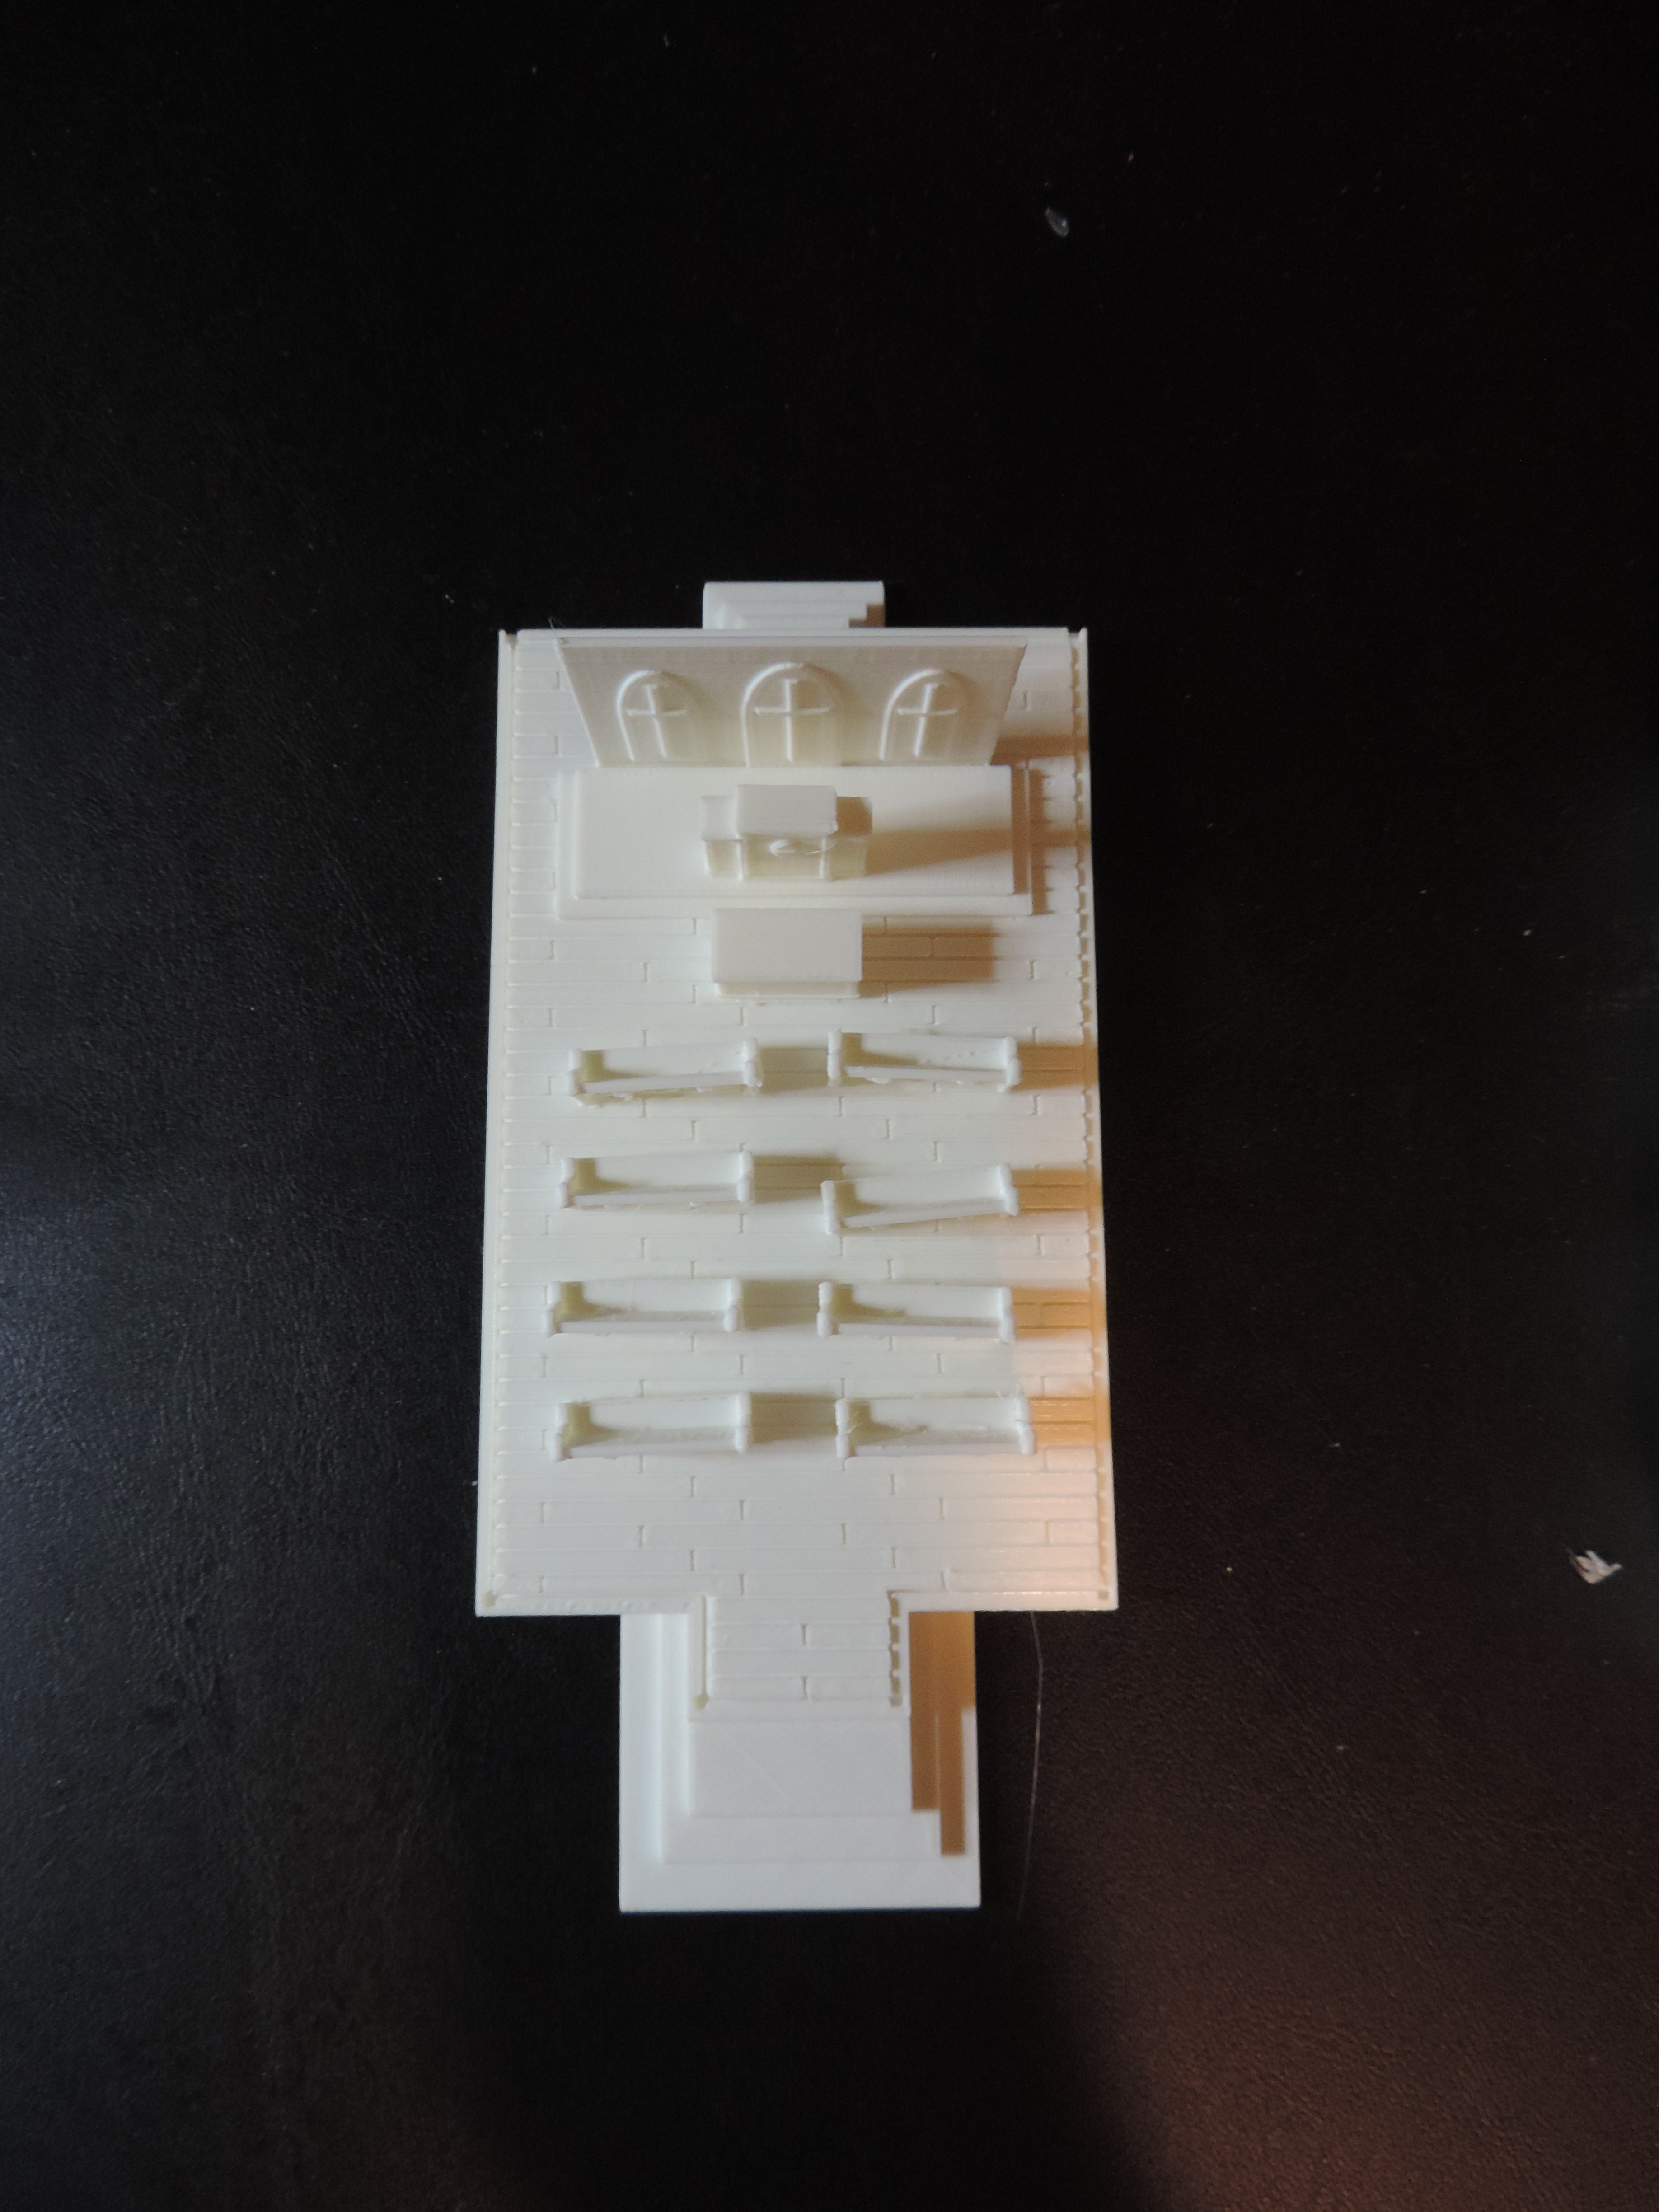
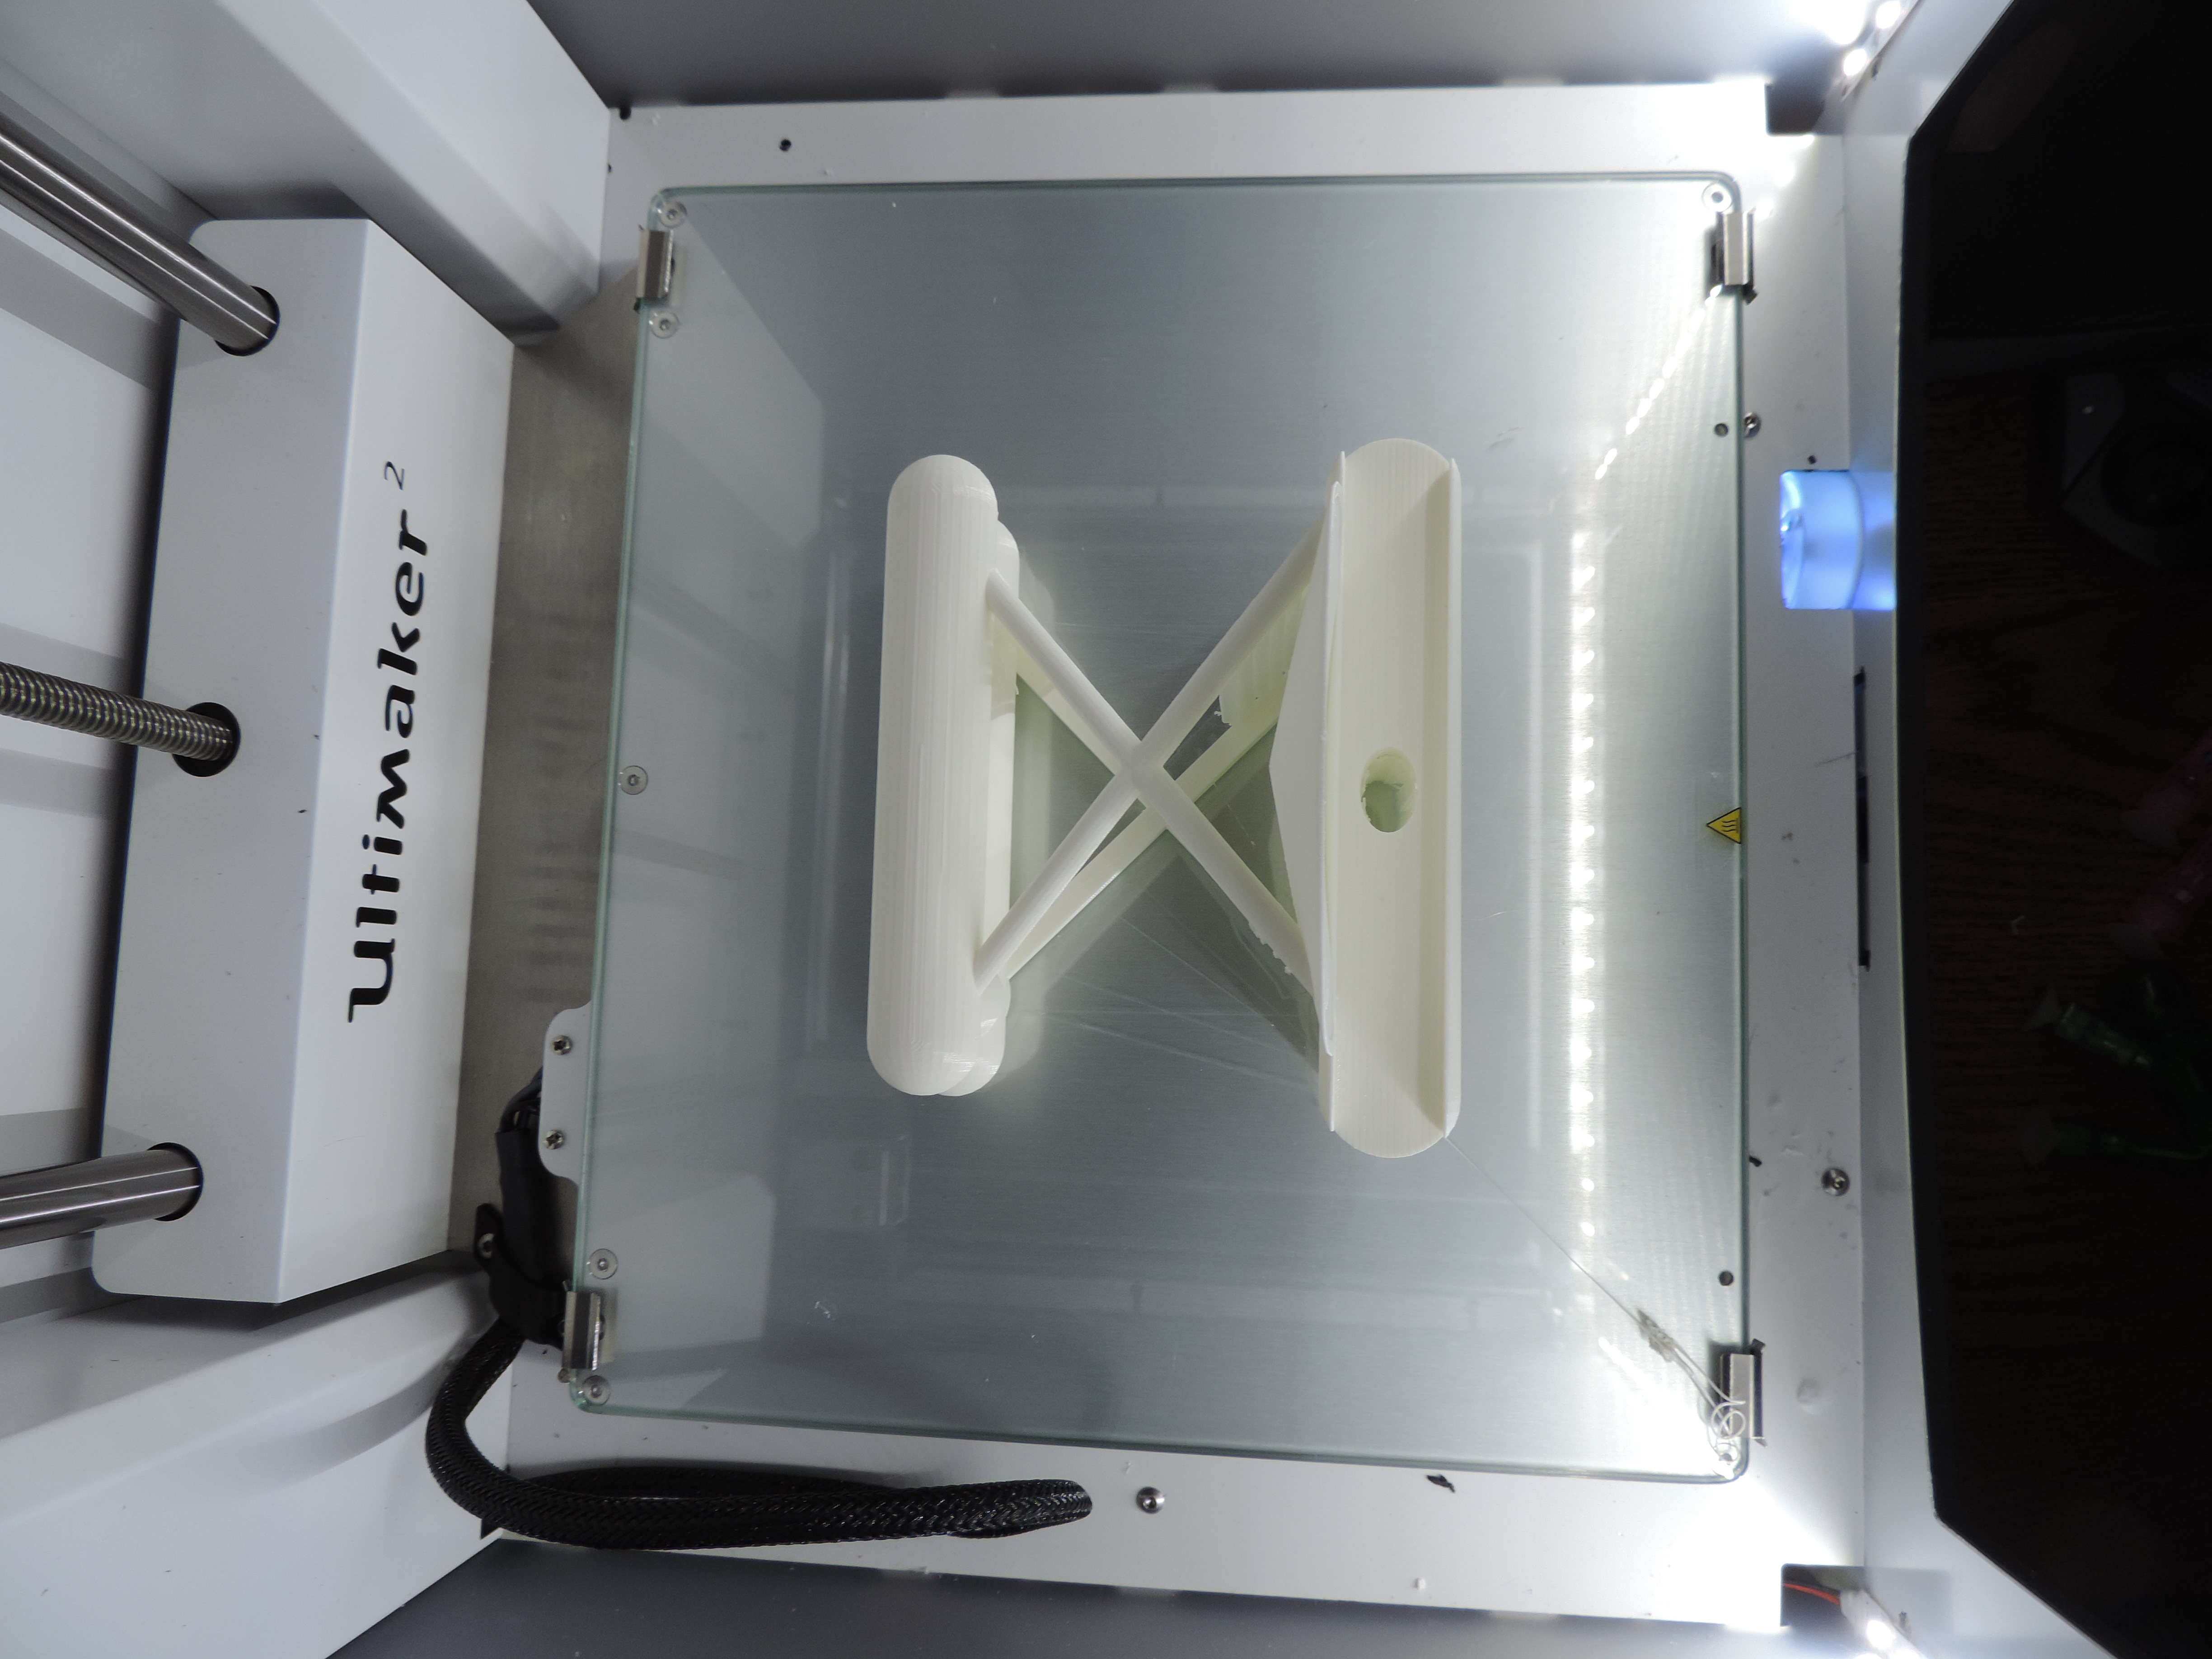
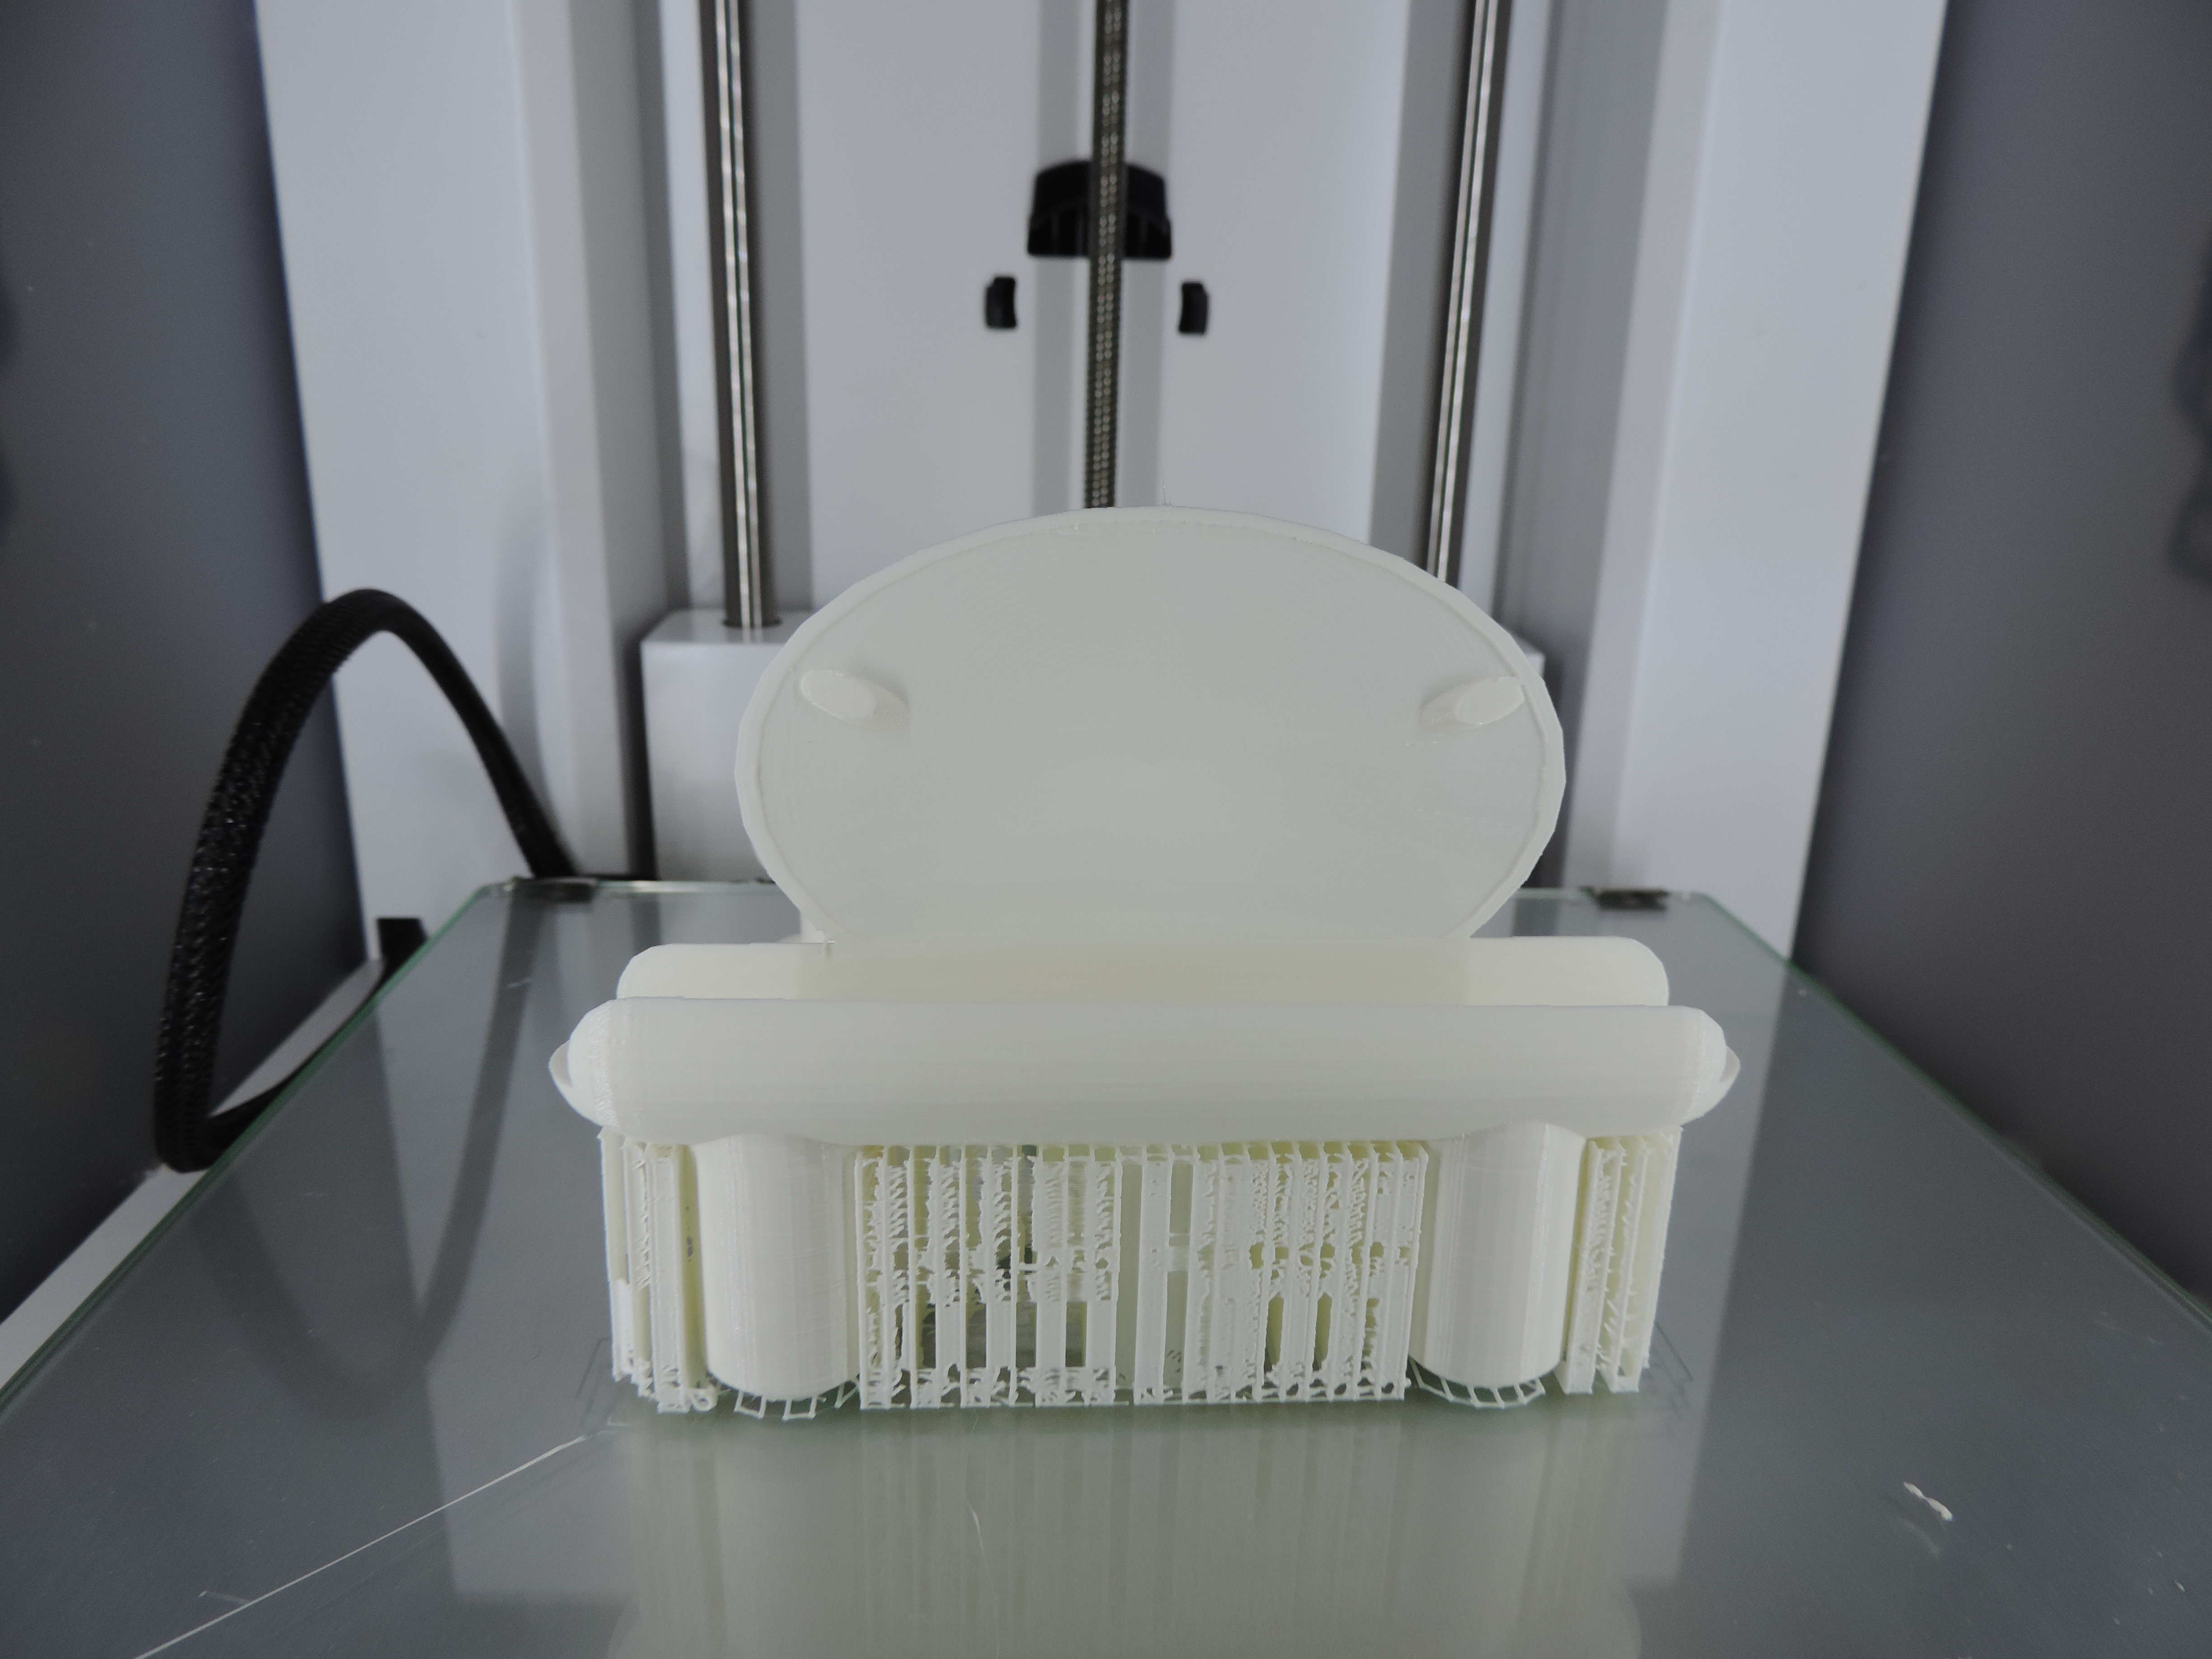
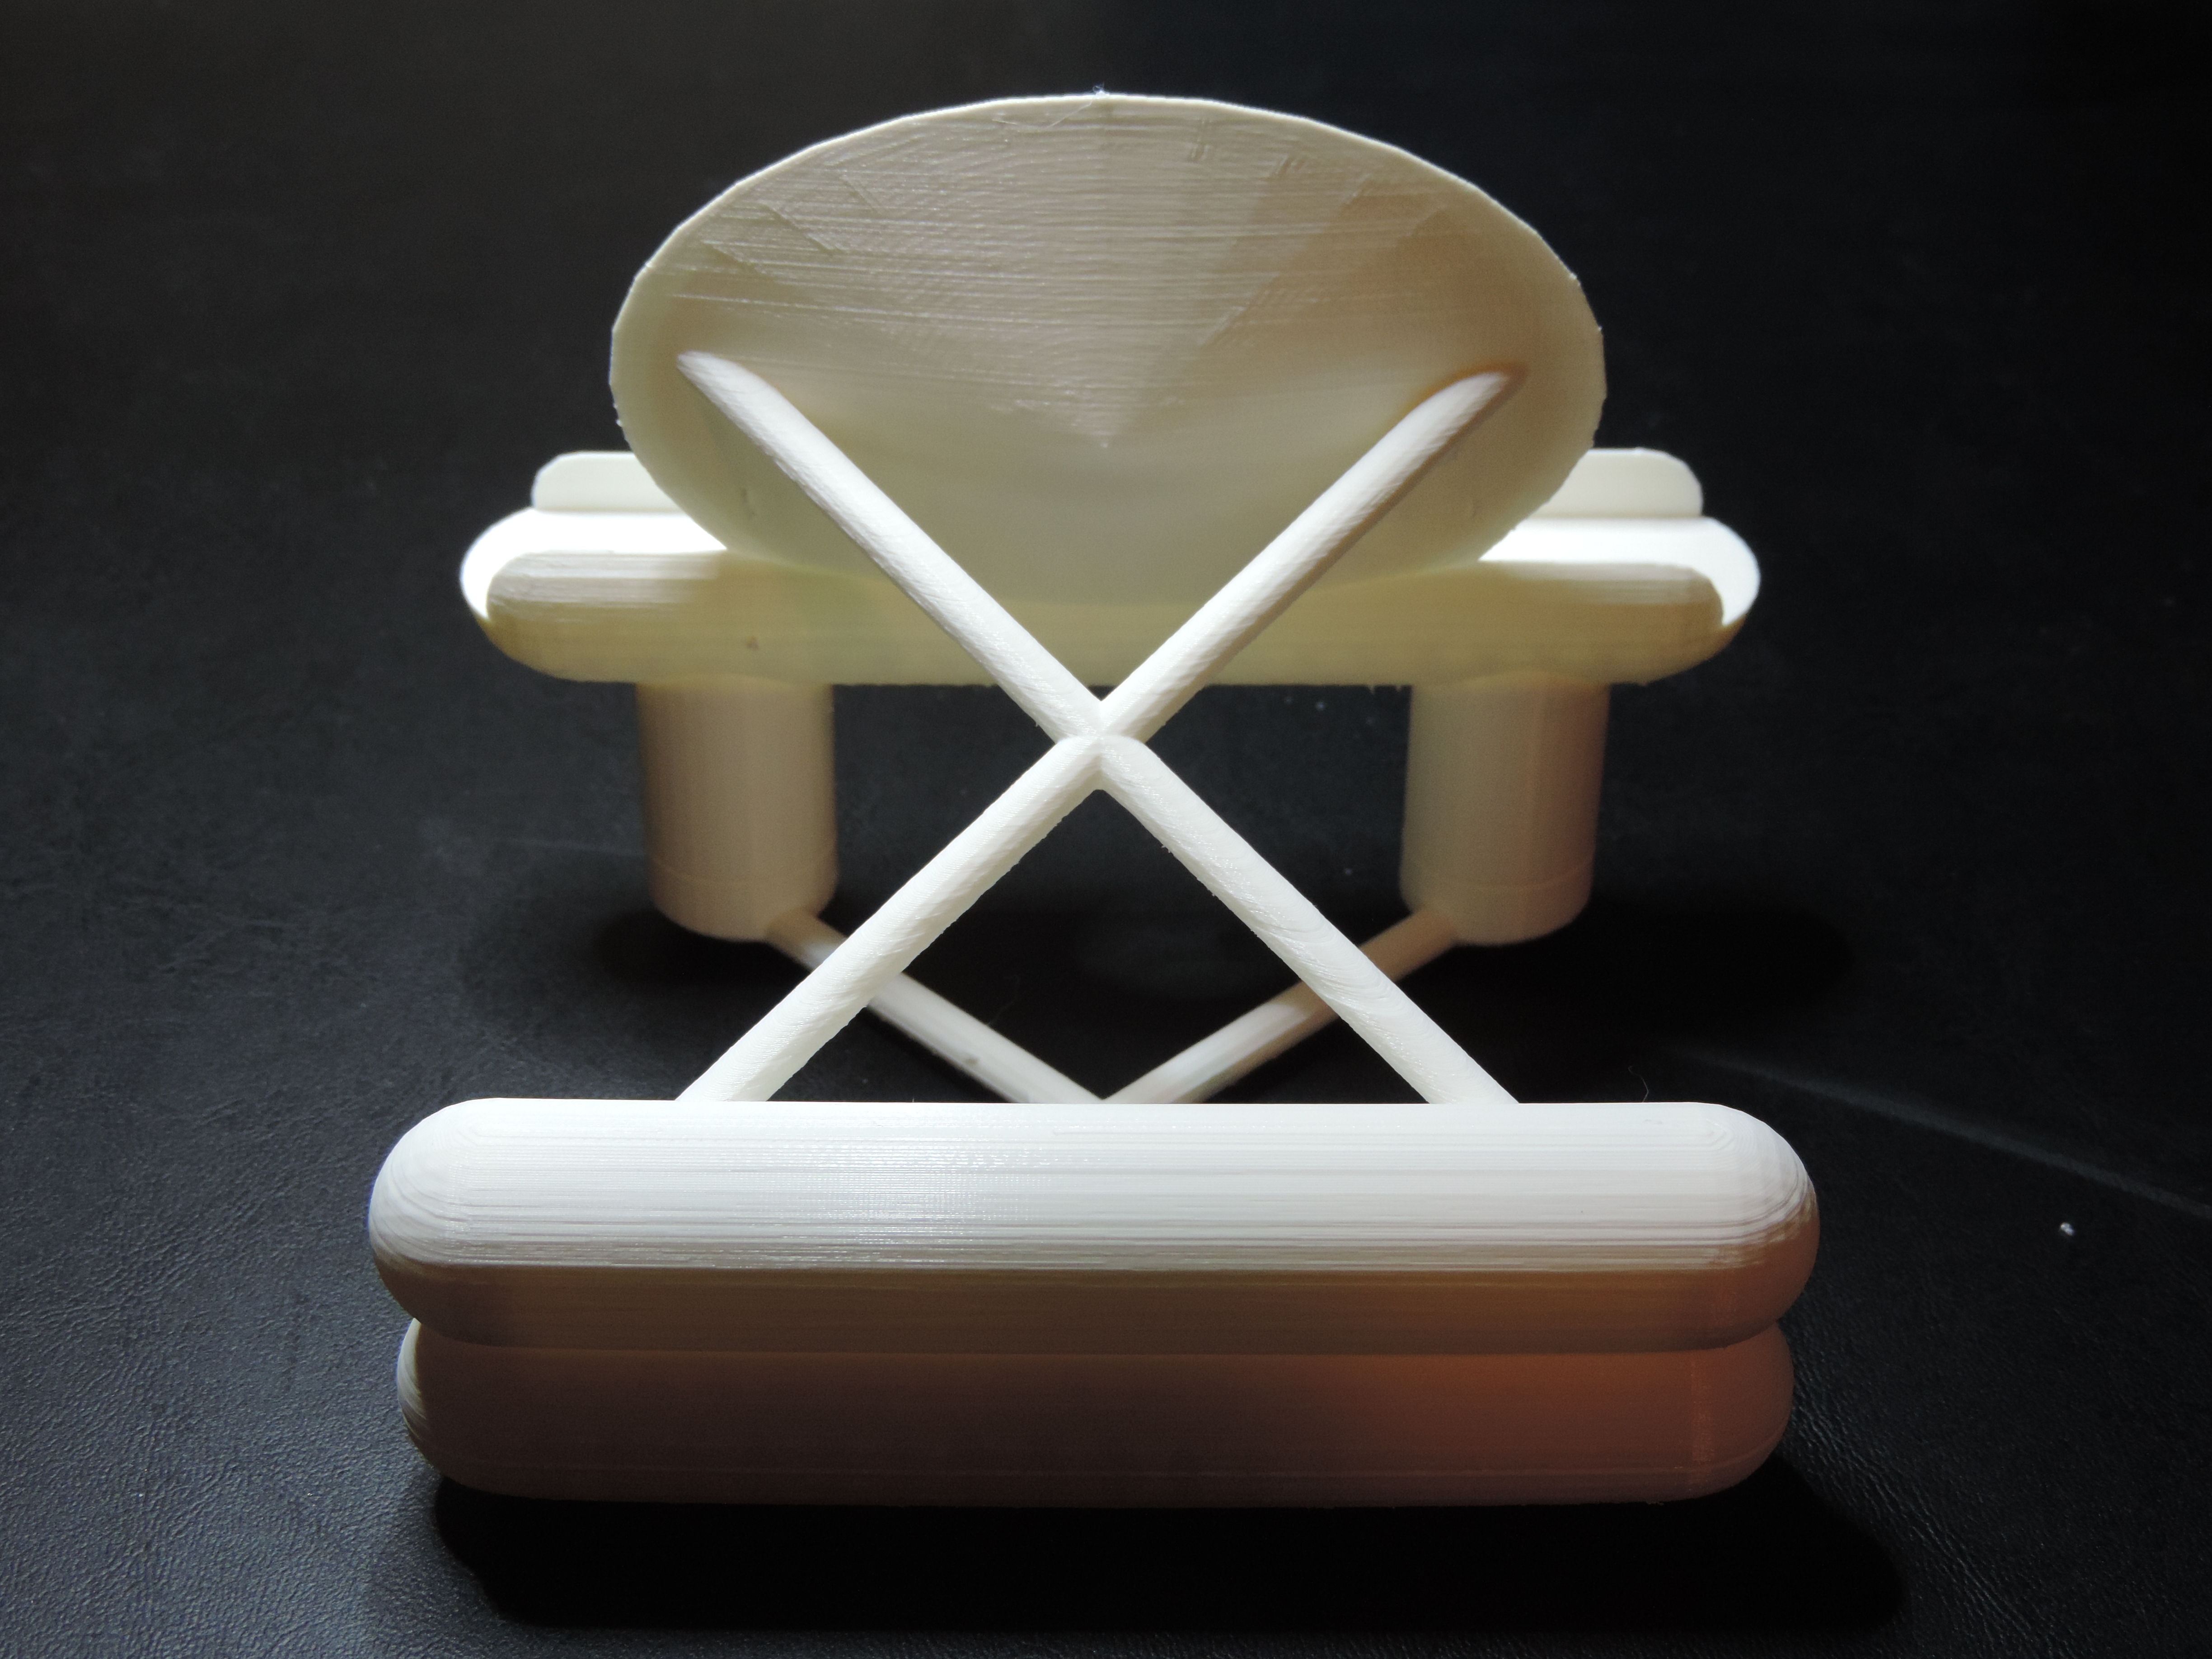
The furniture was originally designed on a larger scale and shrunk down. But, it had to be tweaked at the small scale since any support not being at least 1 mm did not print correctly.

Foundation:
Print Time: 6 hours 53 minutes
Filament: PLA – 3.76 meters 30 grams
Layer height: 0.1 mm
Shell Thickness: 0.8
Object Size (W, D, H): 64.001, 140.8, 36.5 mm
Walls:
Print Time: 3 hours 18 minutes
Filament: PLA – 1.69 meters 13 grams
Layer height: 0.1 mm
Shell Thickness: 0.8
Object Size (W, D, H): 64.474, 113.752, 32.252 mm
Roof:
Print Time: 10 hours 28 minutes
Filament: PLA – 7.12 meters 56 grams
Layer height: 0.1 mm
Shell Thickness: 0.8
Object Size (W, D, H): 89.501, 117.201, 65.217 mm
The estimated print time for the entire building as one object is 21 hours 19 minutes.
Pew:
Print Time: 8 minutes
Filament: PLA – 0.04 meters 0 grams
Layer height: 0.1 mm
Shell Thickness: 0.8
Object Size (W, D, H): 19.252, 5.453, 8.993 mm
Pew:
Print Time: 16 minutes
Filament: PLA – 0.11 meters 1 grams
Layer height: 0.1 mm
Shell Thickness: 0.8
Object Size (W, D, H): 16.801, 5.745, 16.213 mm
Podium:
Print Time: 16 minutes
Filament: PLA – 0.11 meters 1 grams
Layer height: 0.1 mm
Shell Thickness: 0.8
Object Size (W, D, H): 16.801, 5.745, 16.213 mm
Communion Table:
Print Time: 10 minutes
Filament: PLA – 0.09 meters 1 grams
Layer height: 0.1 mm
Shell Thickness: 0.8
Object Size (W, D, H): 15.001, 7.858, 8.5 mm
In an earlier post, I talked about printing a vase. Once I had the vase, I decided it needed some flowers. Instead of putting real flowers in the vase, I decided to design and print 3d flowers.
The first flower’s petals had the shape of a sunflower.

It was necessary to print the flowers with the supports or the petals and leaves would have collapse while printing. Yes, I learned this from trail and error.

Print Time:2 hours 35 minutes
Filament: PLA – 3.93 meters 31 grams
Layer height: 0.1 mm
Shell Thickness: 0.8
Object Size (W, D, H): 77.728, 122.481, 24.834 mm
The second flower. Not really sure what it is modeled after. But, I did put more detail into the leaves. They are in the shape of hearts.


Print Time:3 hours 53 minutes
Filament: PLA – 6.05 meters 48 grams
Layer height: 0.1 mm
Shell Thickness: 0.8
Object Size (W, D, H): 101.001, 137.788, 24.86 mm
3d printed flowers in vase.

I take a lot of pictures of different objects. My tablets protective case holds it at an angle that is not very suited for taking pictures. I designed a tablet holder that would hold my tablet at a slight angle which was needed to keep it from falling forward.
This is my first attempt.
It came out pretty good. But, there was one main issue. There was no way to plug the micro-USB power cable into it. I do not want the tablet to die during a video shoot. It needed a hole on the bottom of the stand. Also, it was printed without the support structure, so there was strings of plastic on the stand.

Second attempt: Better – however, the hole for the micro-USB cable could be a little larger and when I placed the “holes” for the dish part overlapped in the printing part. There are still some plastic strings hanging down.


Third attempt: Success!


Print Time: 12 hours 37 minutes
Filament: PLA – 7.32 meters 60 grams
Layer height: 0.1 mm
Shell Thickness: 0.8
Object Size (W, D, H): 125.087, 102.268, 95.598 mm
Published on Youmagine.com: https://www.youmagine.com/designs/tablet-holder-b4c1eceb-f198-4414-81b8-d43c3be6afa6