When I am designing in Tinkercad, I mainly design using millimeters (mm), because most of the time I am using a .04 mm nozzle on my 3D Printer. If I want to make a cover for something, like my Alexa Device, I will measure it in millimeters.
I made this ruler in Tinkercad so it would be easier to measure items in millimeters.
First, I can place the ruler on top of an object and see the object through the ruler.
Second, I can place an object on top of the ruler and against the left side and get a measurement.
I printed three rulers in different colors, because every time I changed the filament in the printer for another project, I used the ruler to make sure the printer was calibrated correctly. If I got a good print on the ruler, there was a high chance that the next print would come out good.
The ruler is available for copying and tinkering in Tinkercad.
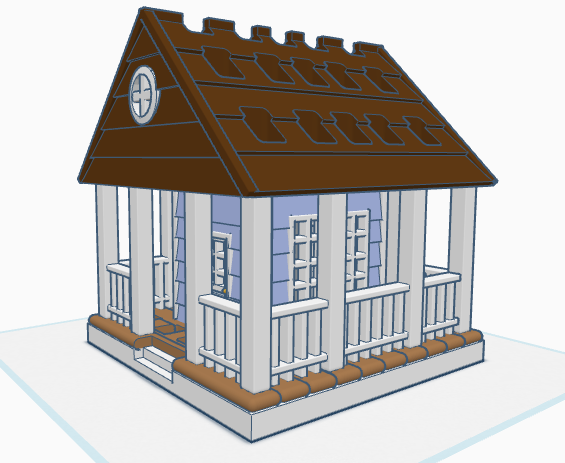
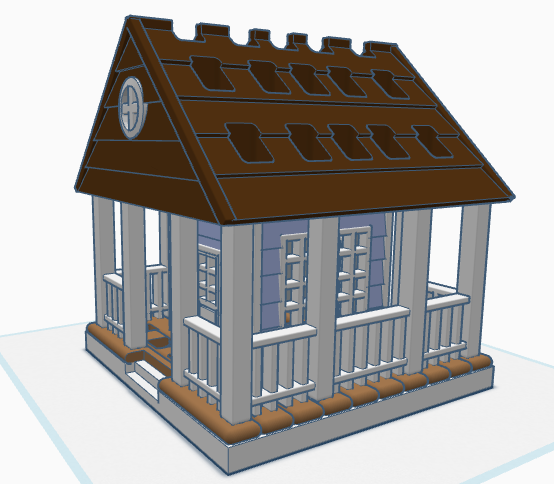
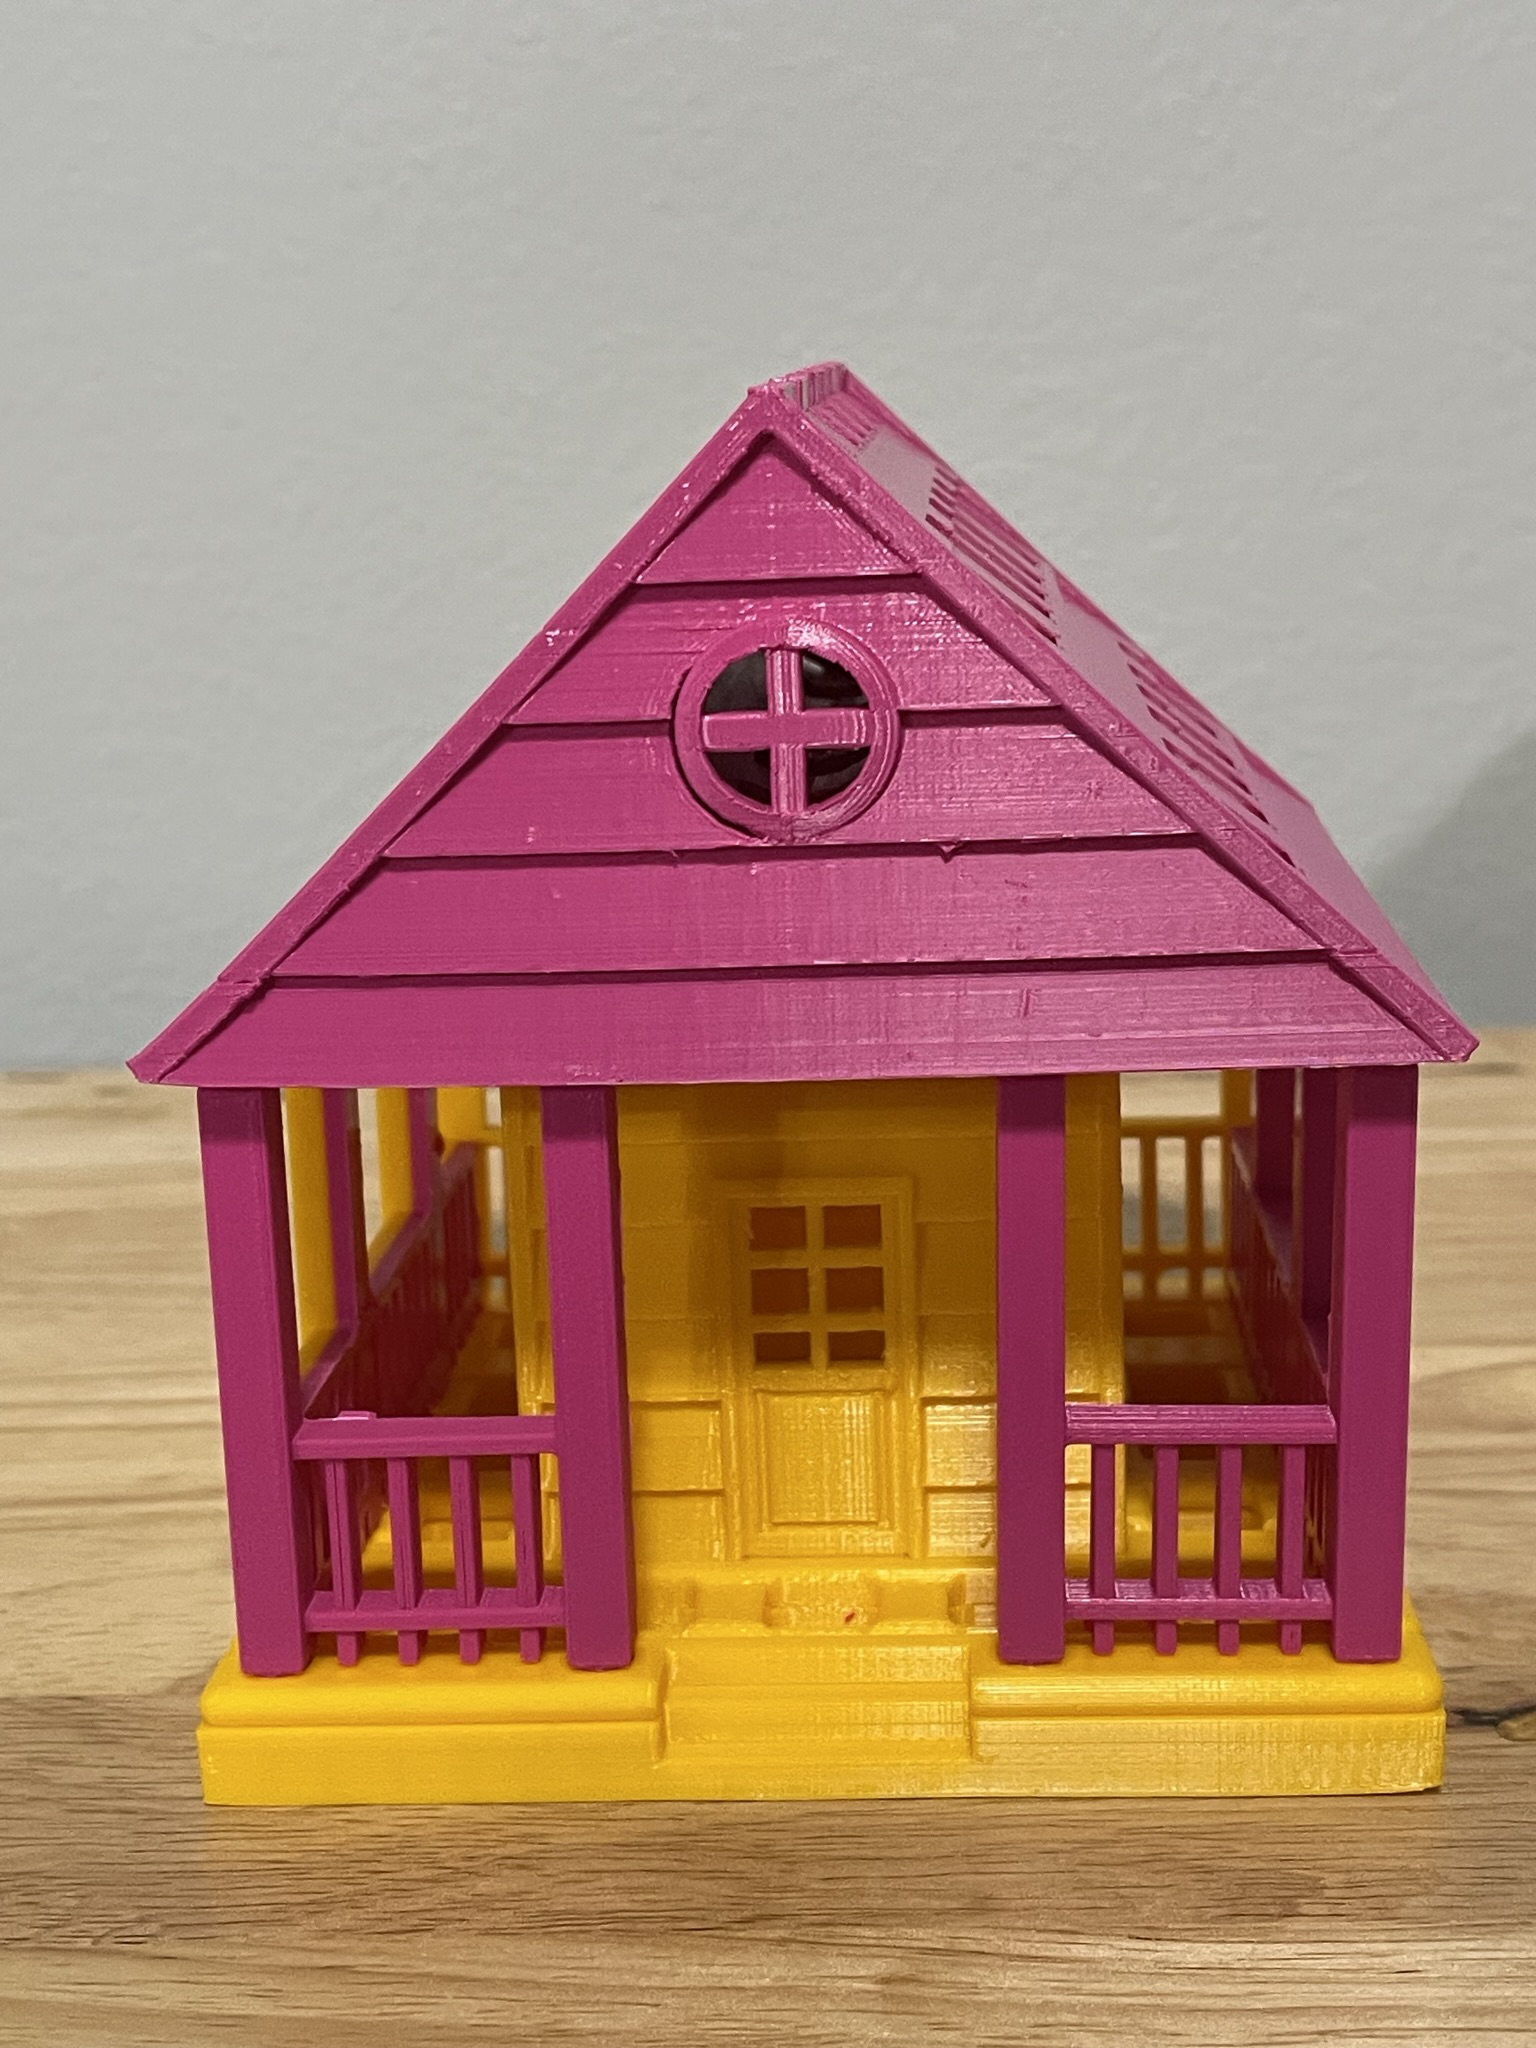
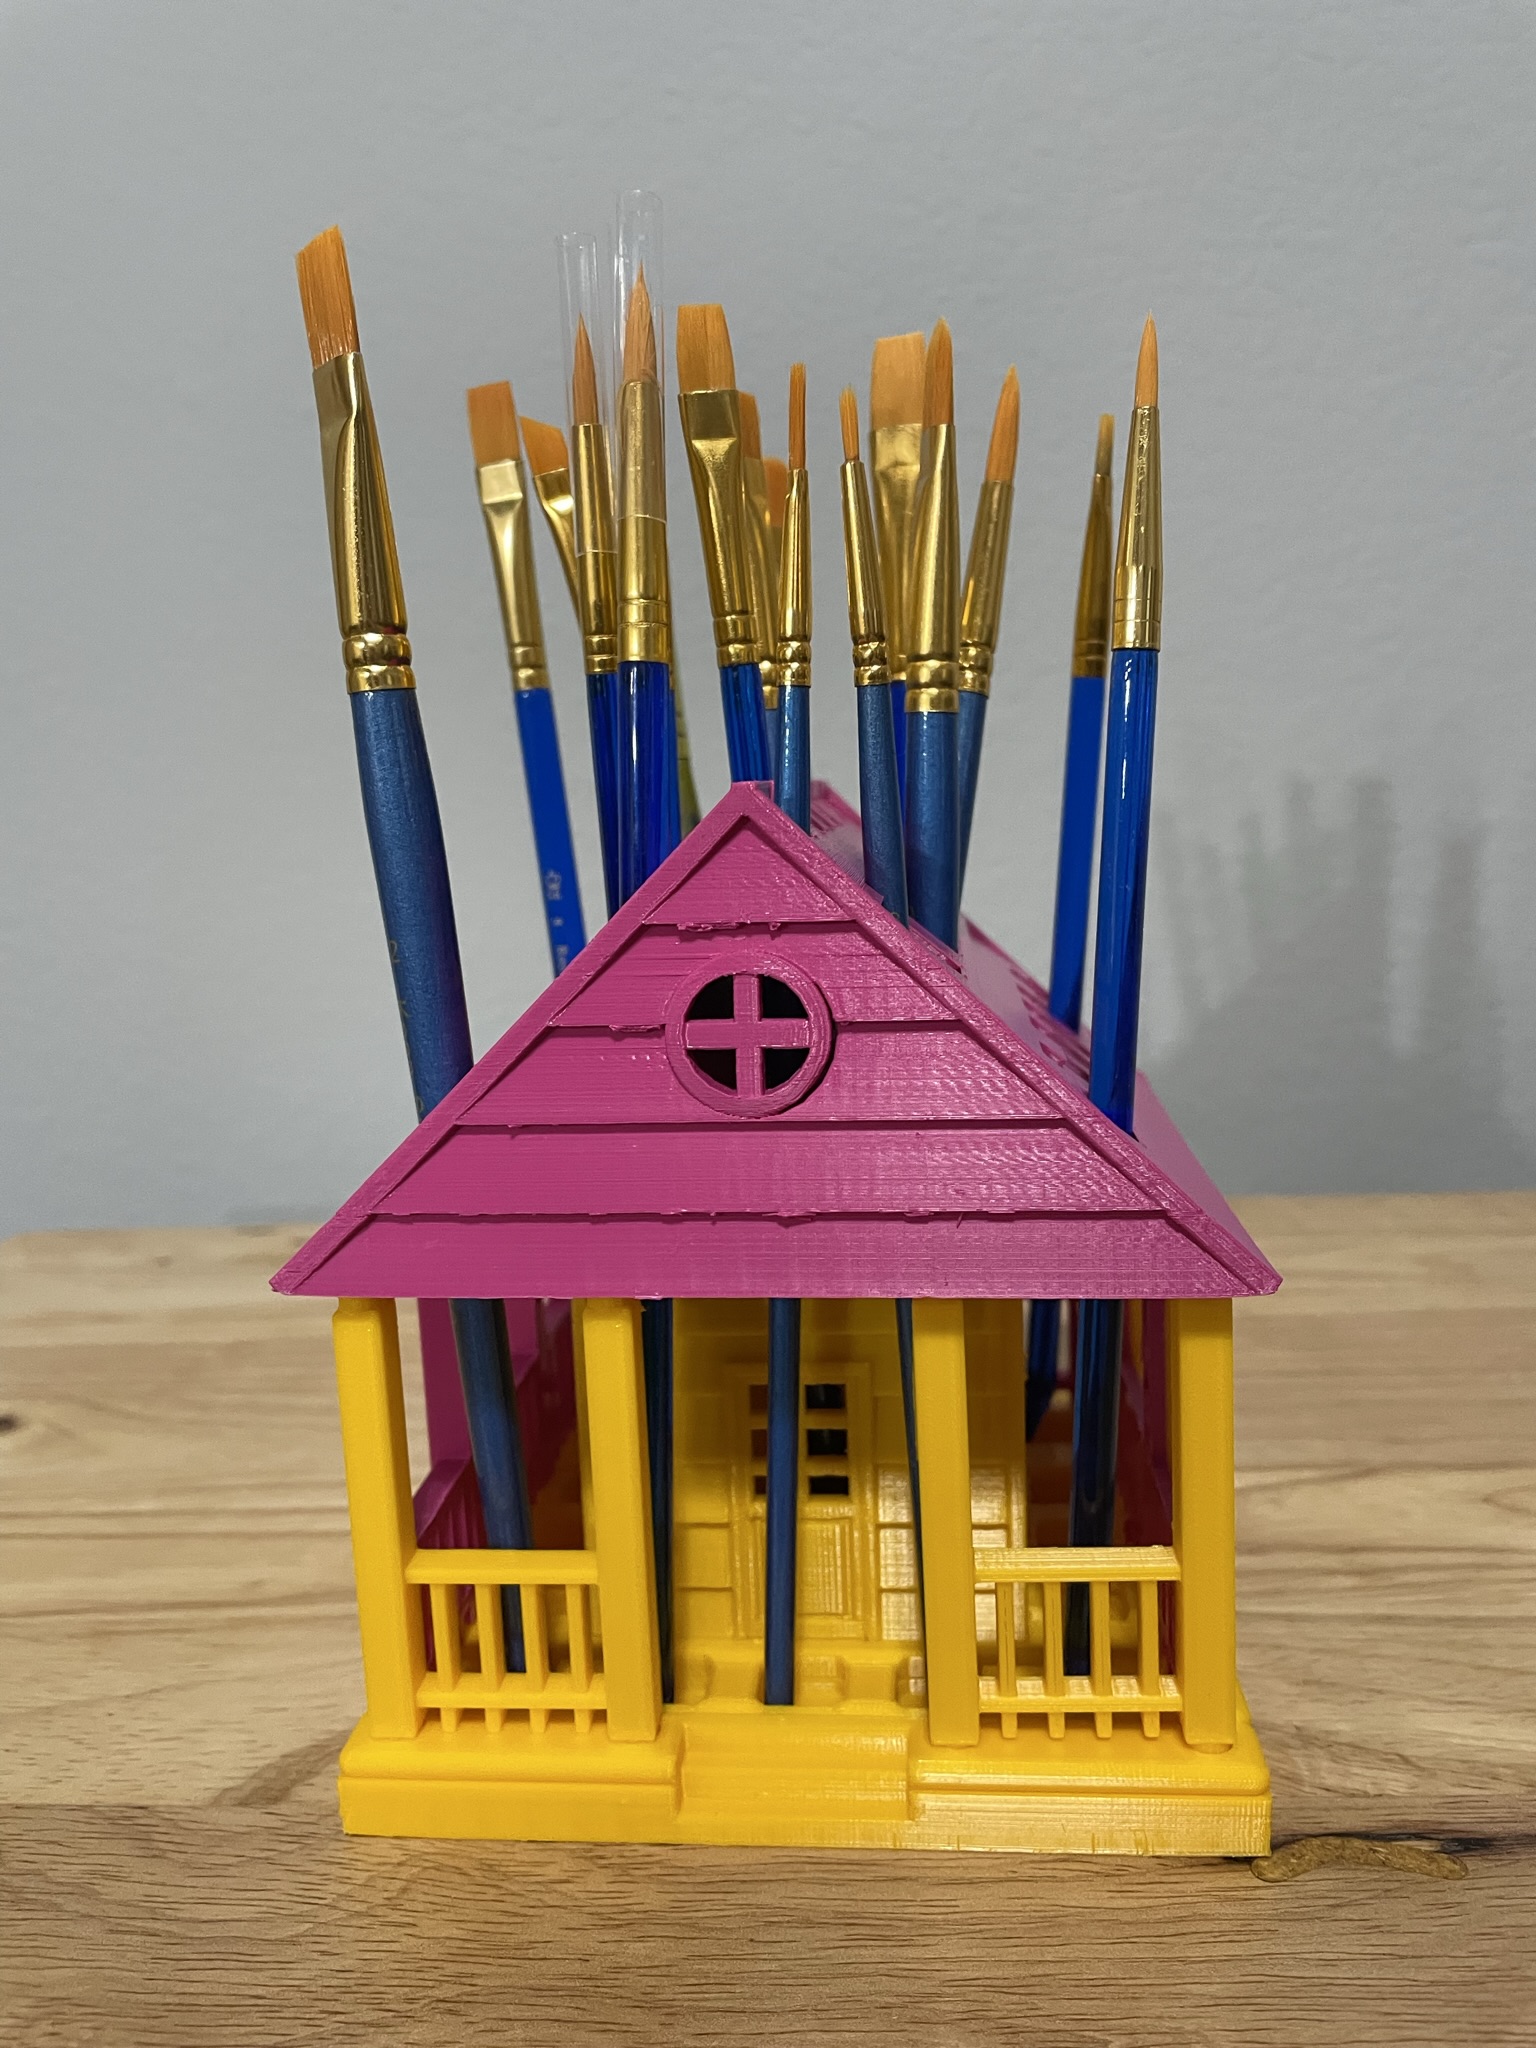
If you have seen some of my previous posts, you know that I paint little plaster houses. While I was painting a new set of houses, I decided it would be nice if I had a paintbrush holder. Yes, I could have purchased one on Amazon, but what is the fun in that. I decided to design a paintbrush holder that looked like a house. The size was not important as long as I could print the design on my 3D printer. The base is 120 mm or 4.724 inches x 120 mm x 8 mm. It provided the design with enough weight and support to prevent it from tipping over. This is the final version of the design in Tinkercad. It was tweaked several times for printing. Paintbrush Holder – Tinkercad
If I printed the design as shown in the picture, it would require a lot of support. My first attempt to print, I split the design into two pieces; roof and building. The roof I selected the Support Type of Tree. There is a lot that can go wrong with printing something for hours and hours, however the roof printed beautifully, and the supports detached easily.
The next print was the bottom piece. Again, a lot can go wrong when something prints for hours and hours and hours. First, after 12 hours the printer would not allow me to pause the print. Second, when the print finished the build plate did on return to its lower position, so extra filament built up on its final print location. Third, the support around the railing was impossible to remove without damaging the railing, which was 2mm in diameter. I went back to Tinkercad and tweaked the design.
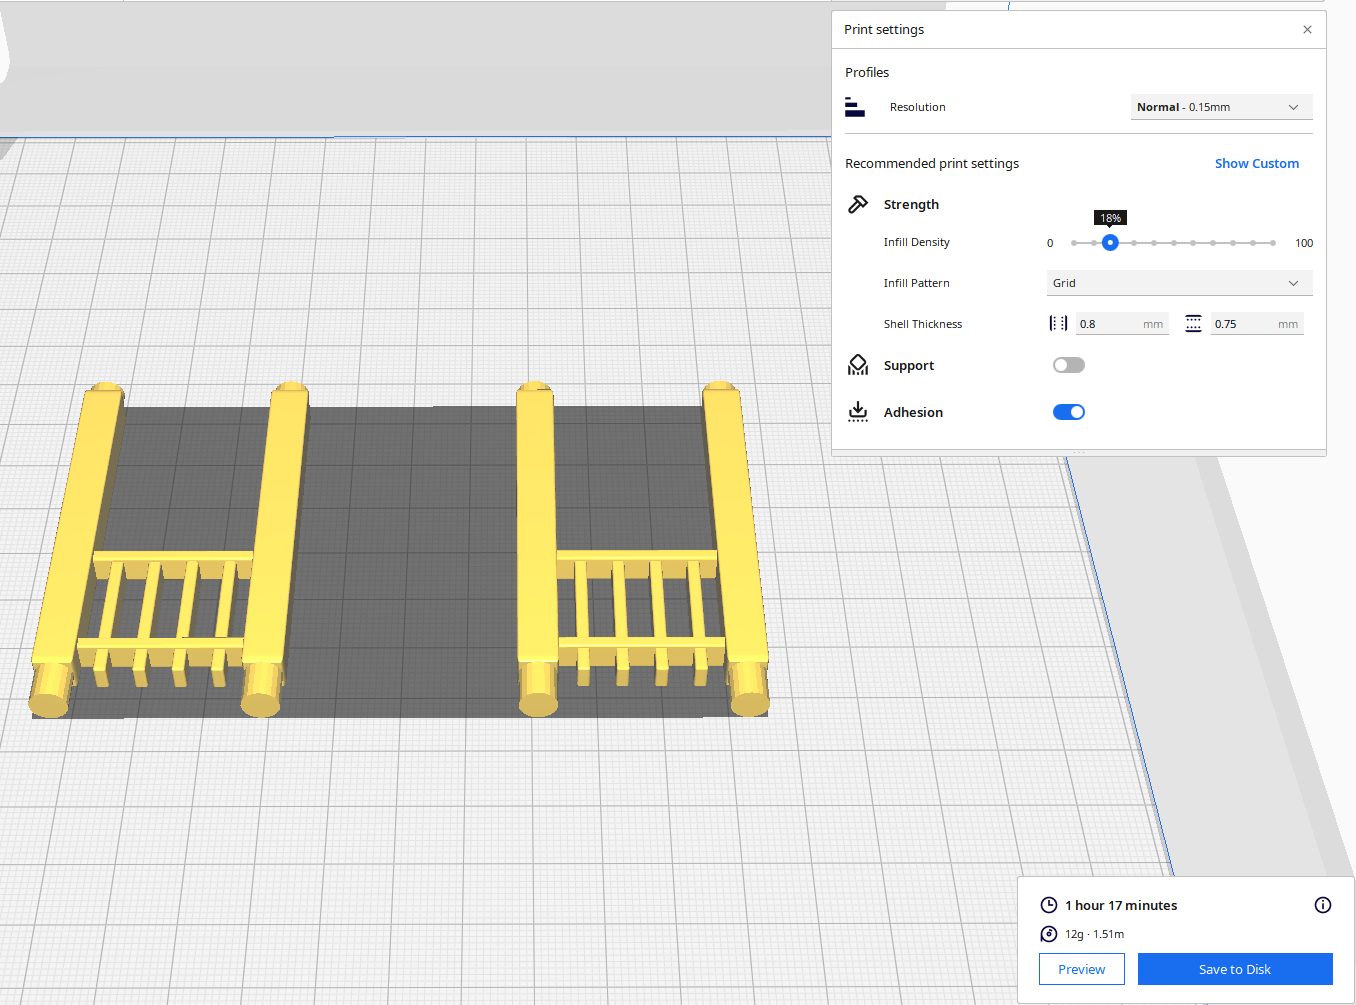
For the second attempt, I made the railing detachable. With detachable railing, I could lay it flat on the print bed and not use any supports. After it was printed, I could assemble the design.
Front and Back Railing – I printed two copies. Note, I went from round to square railing.
Side Railing – I printed two copies.
Structure – I printed one copy with Normal Supports.
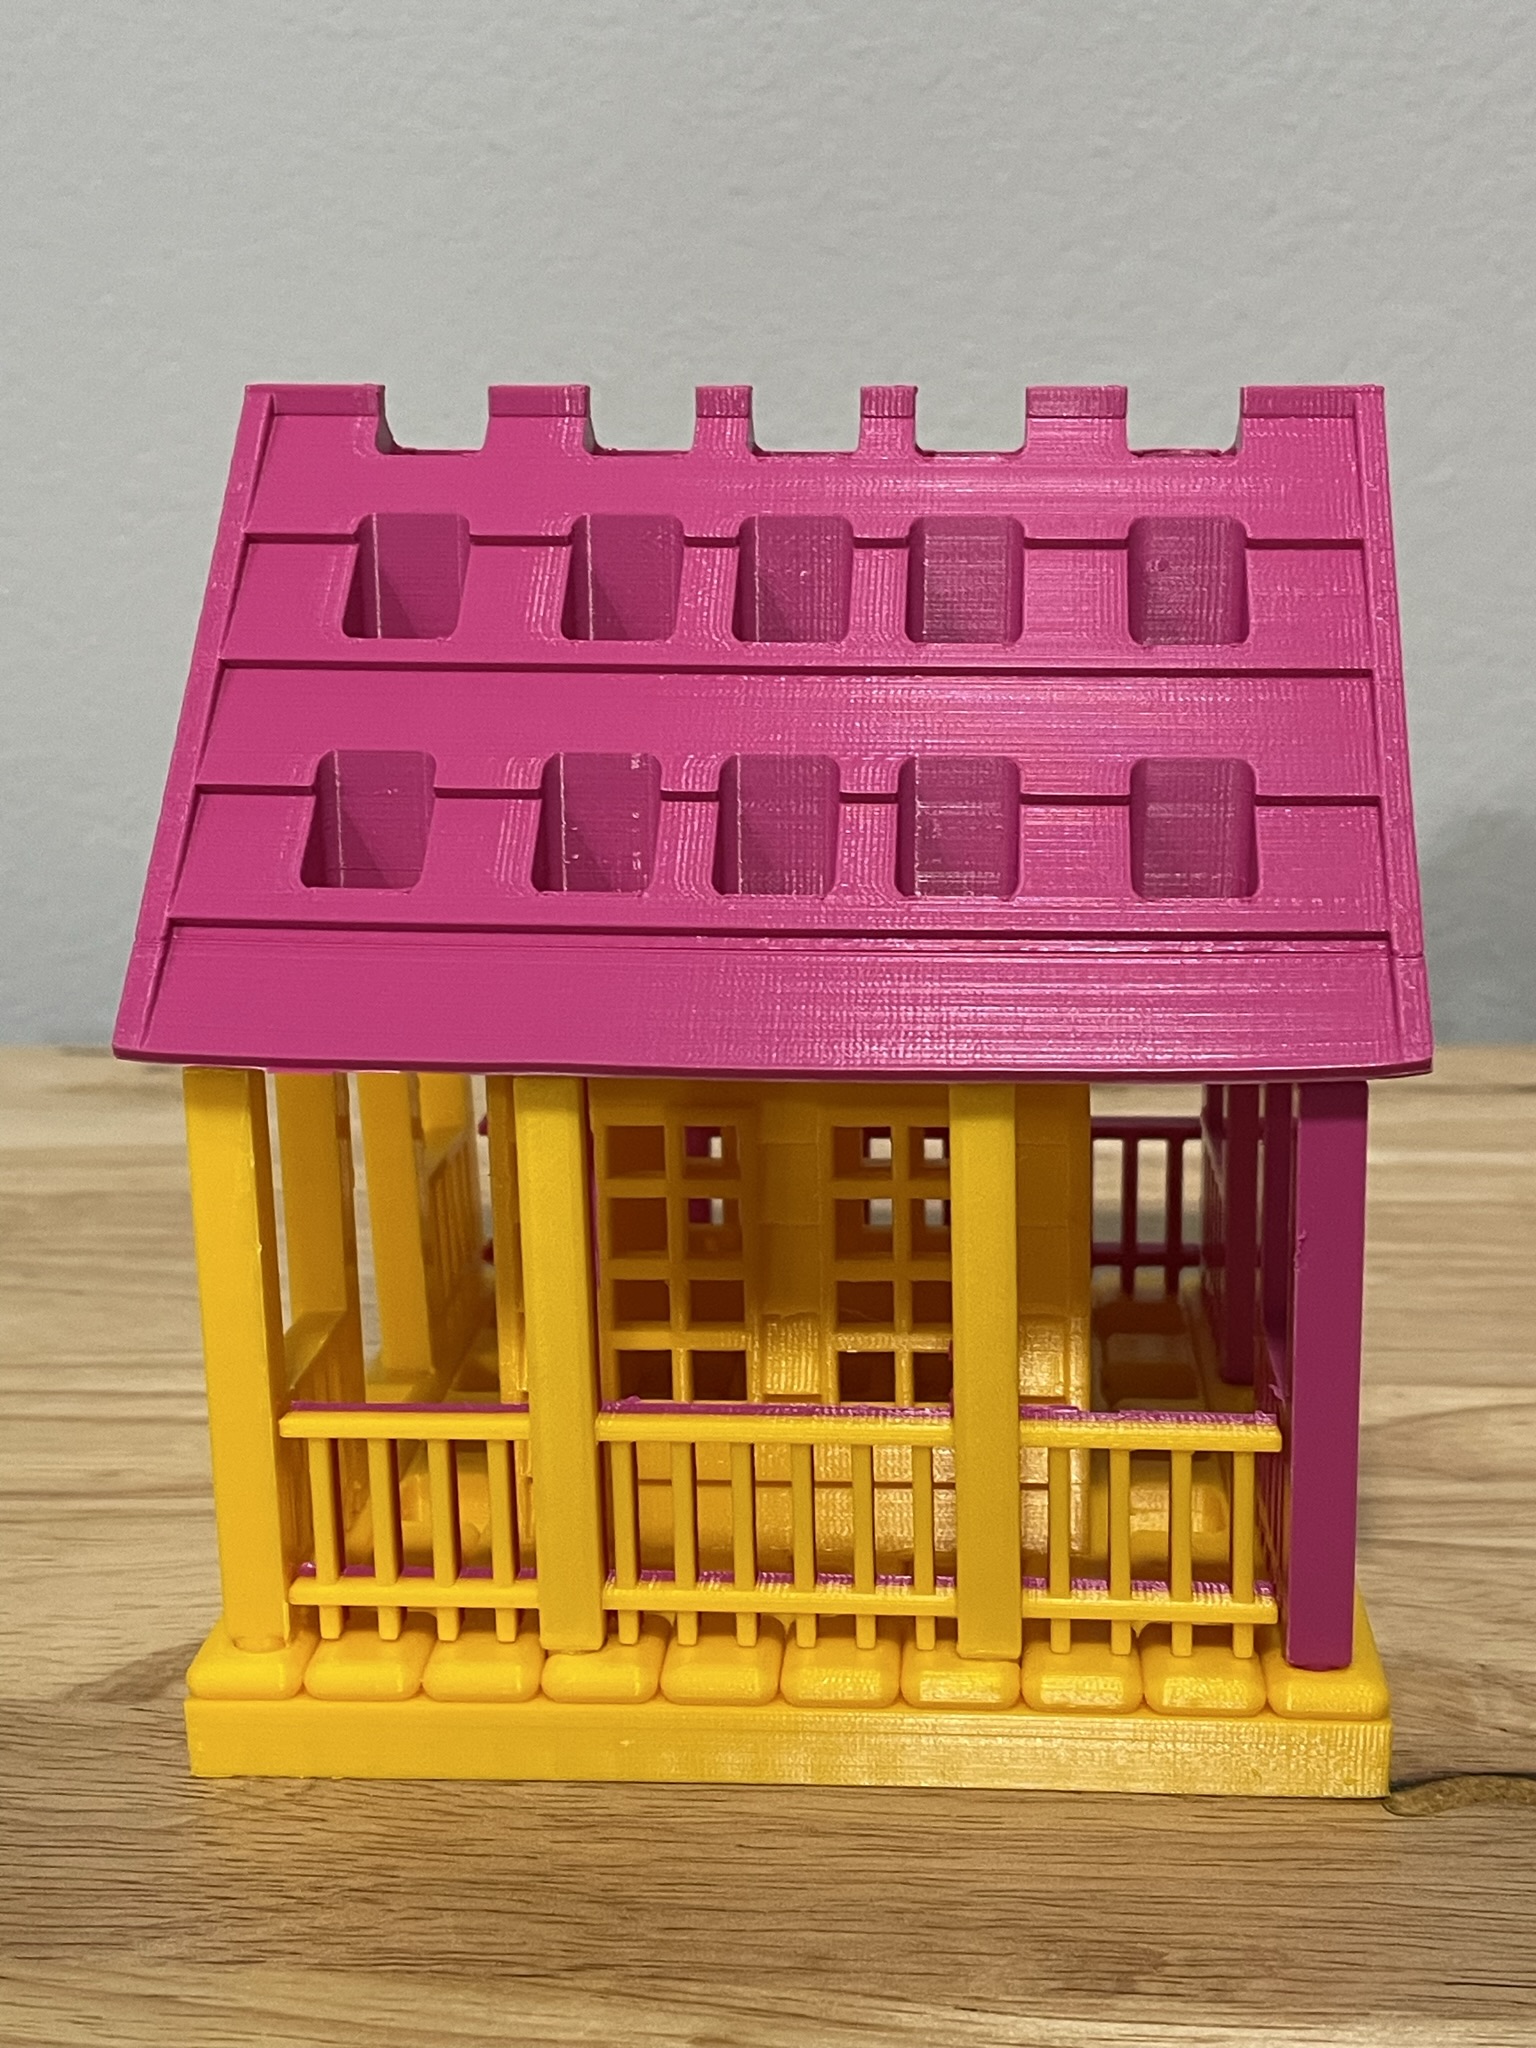
Below is the printed version of my new paintbrush holder. It was printed in two different colors because I ran out of the pink filament. The design was easy to assemble, and gluing was not required.
I do not believe that Amazon is spying on us, but there are a numerous hackers in the world. And, getting dressed in front of a camera….
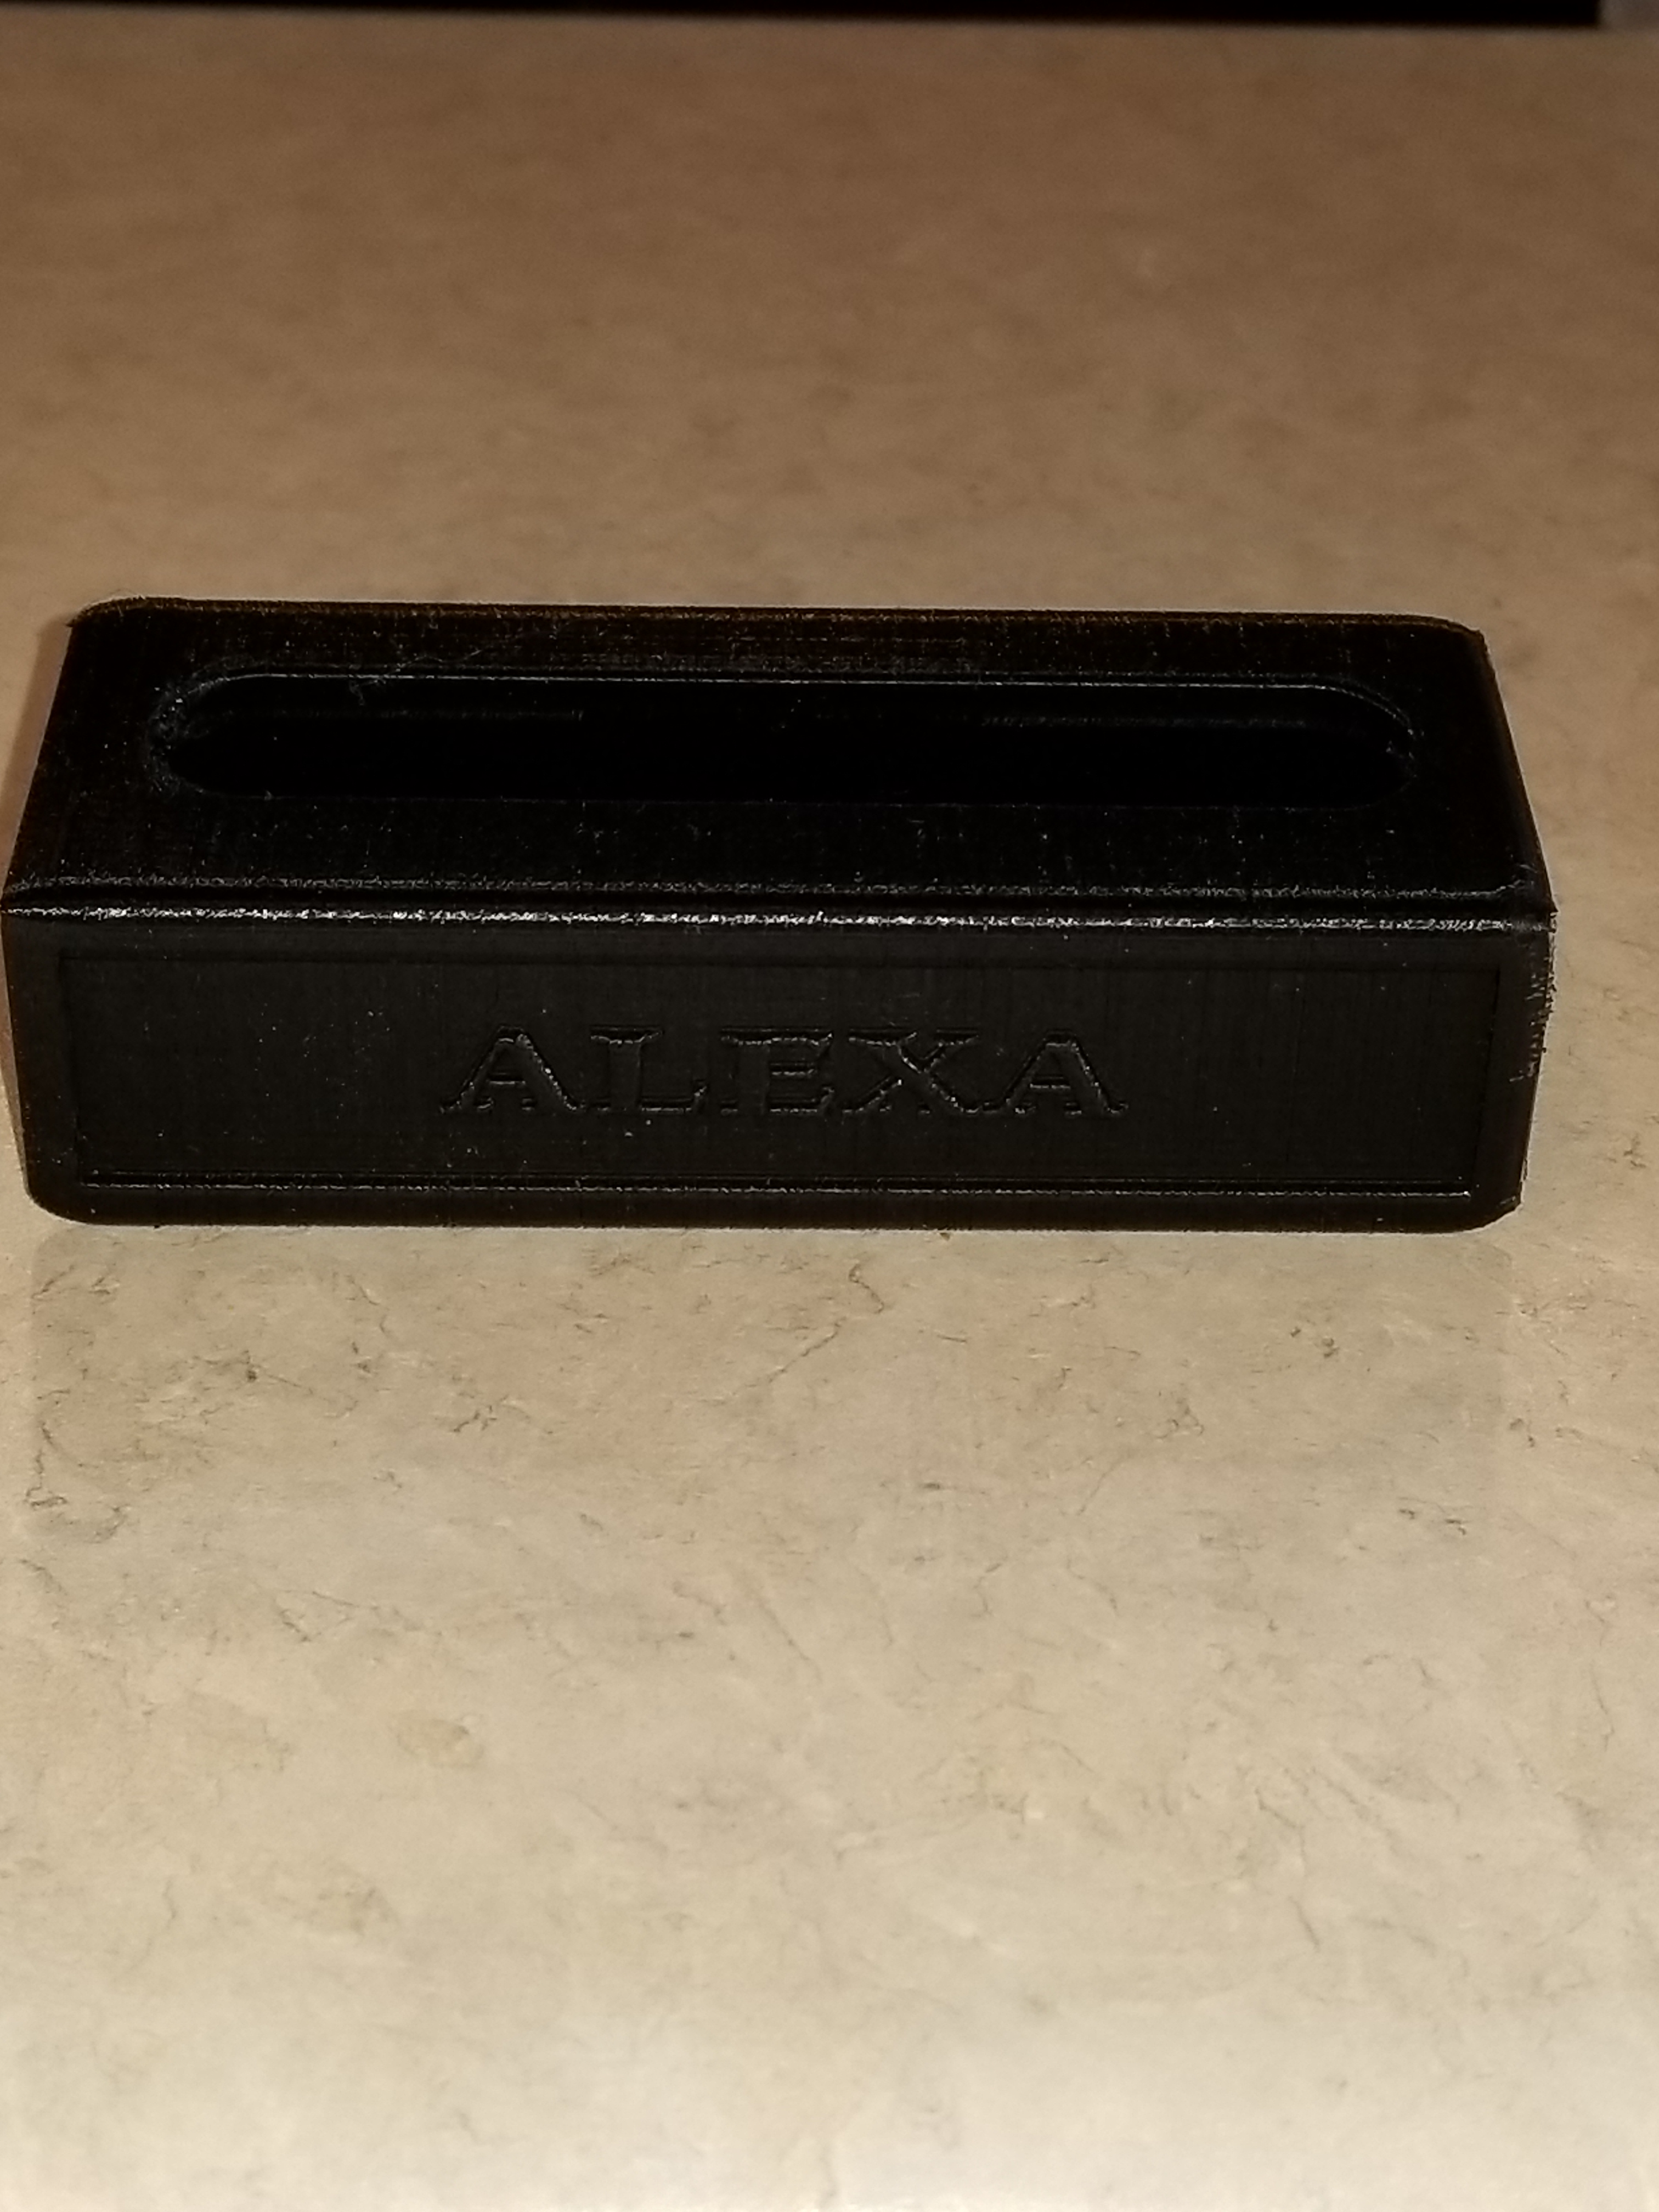
This privacy shield is for the Amazon Echo Show to cover the camera. It will put the device to sleep because it can not detect movement in the room. You can still access the three buttons on top of the device with the shield installed.
The Camera is in the top center of the device.
I put “Alexa” on the shield because that is the wake up word for the AI.