Six new coloring pages are available for download. All of the new pages are based on flowers. Below are the links to the PDF files, and examples of how I colored each of the designs.
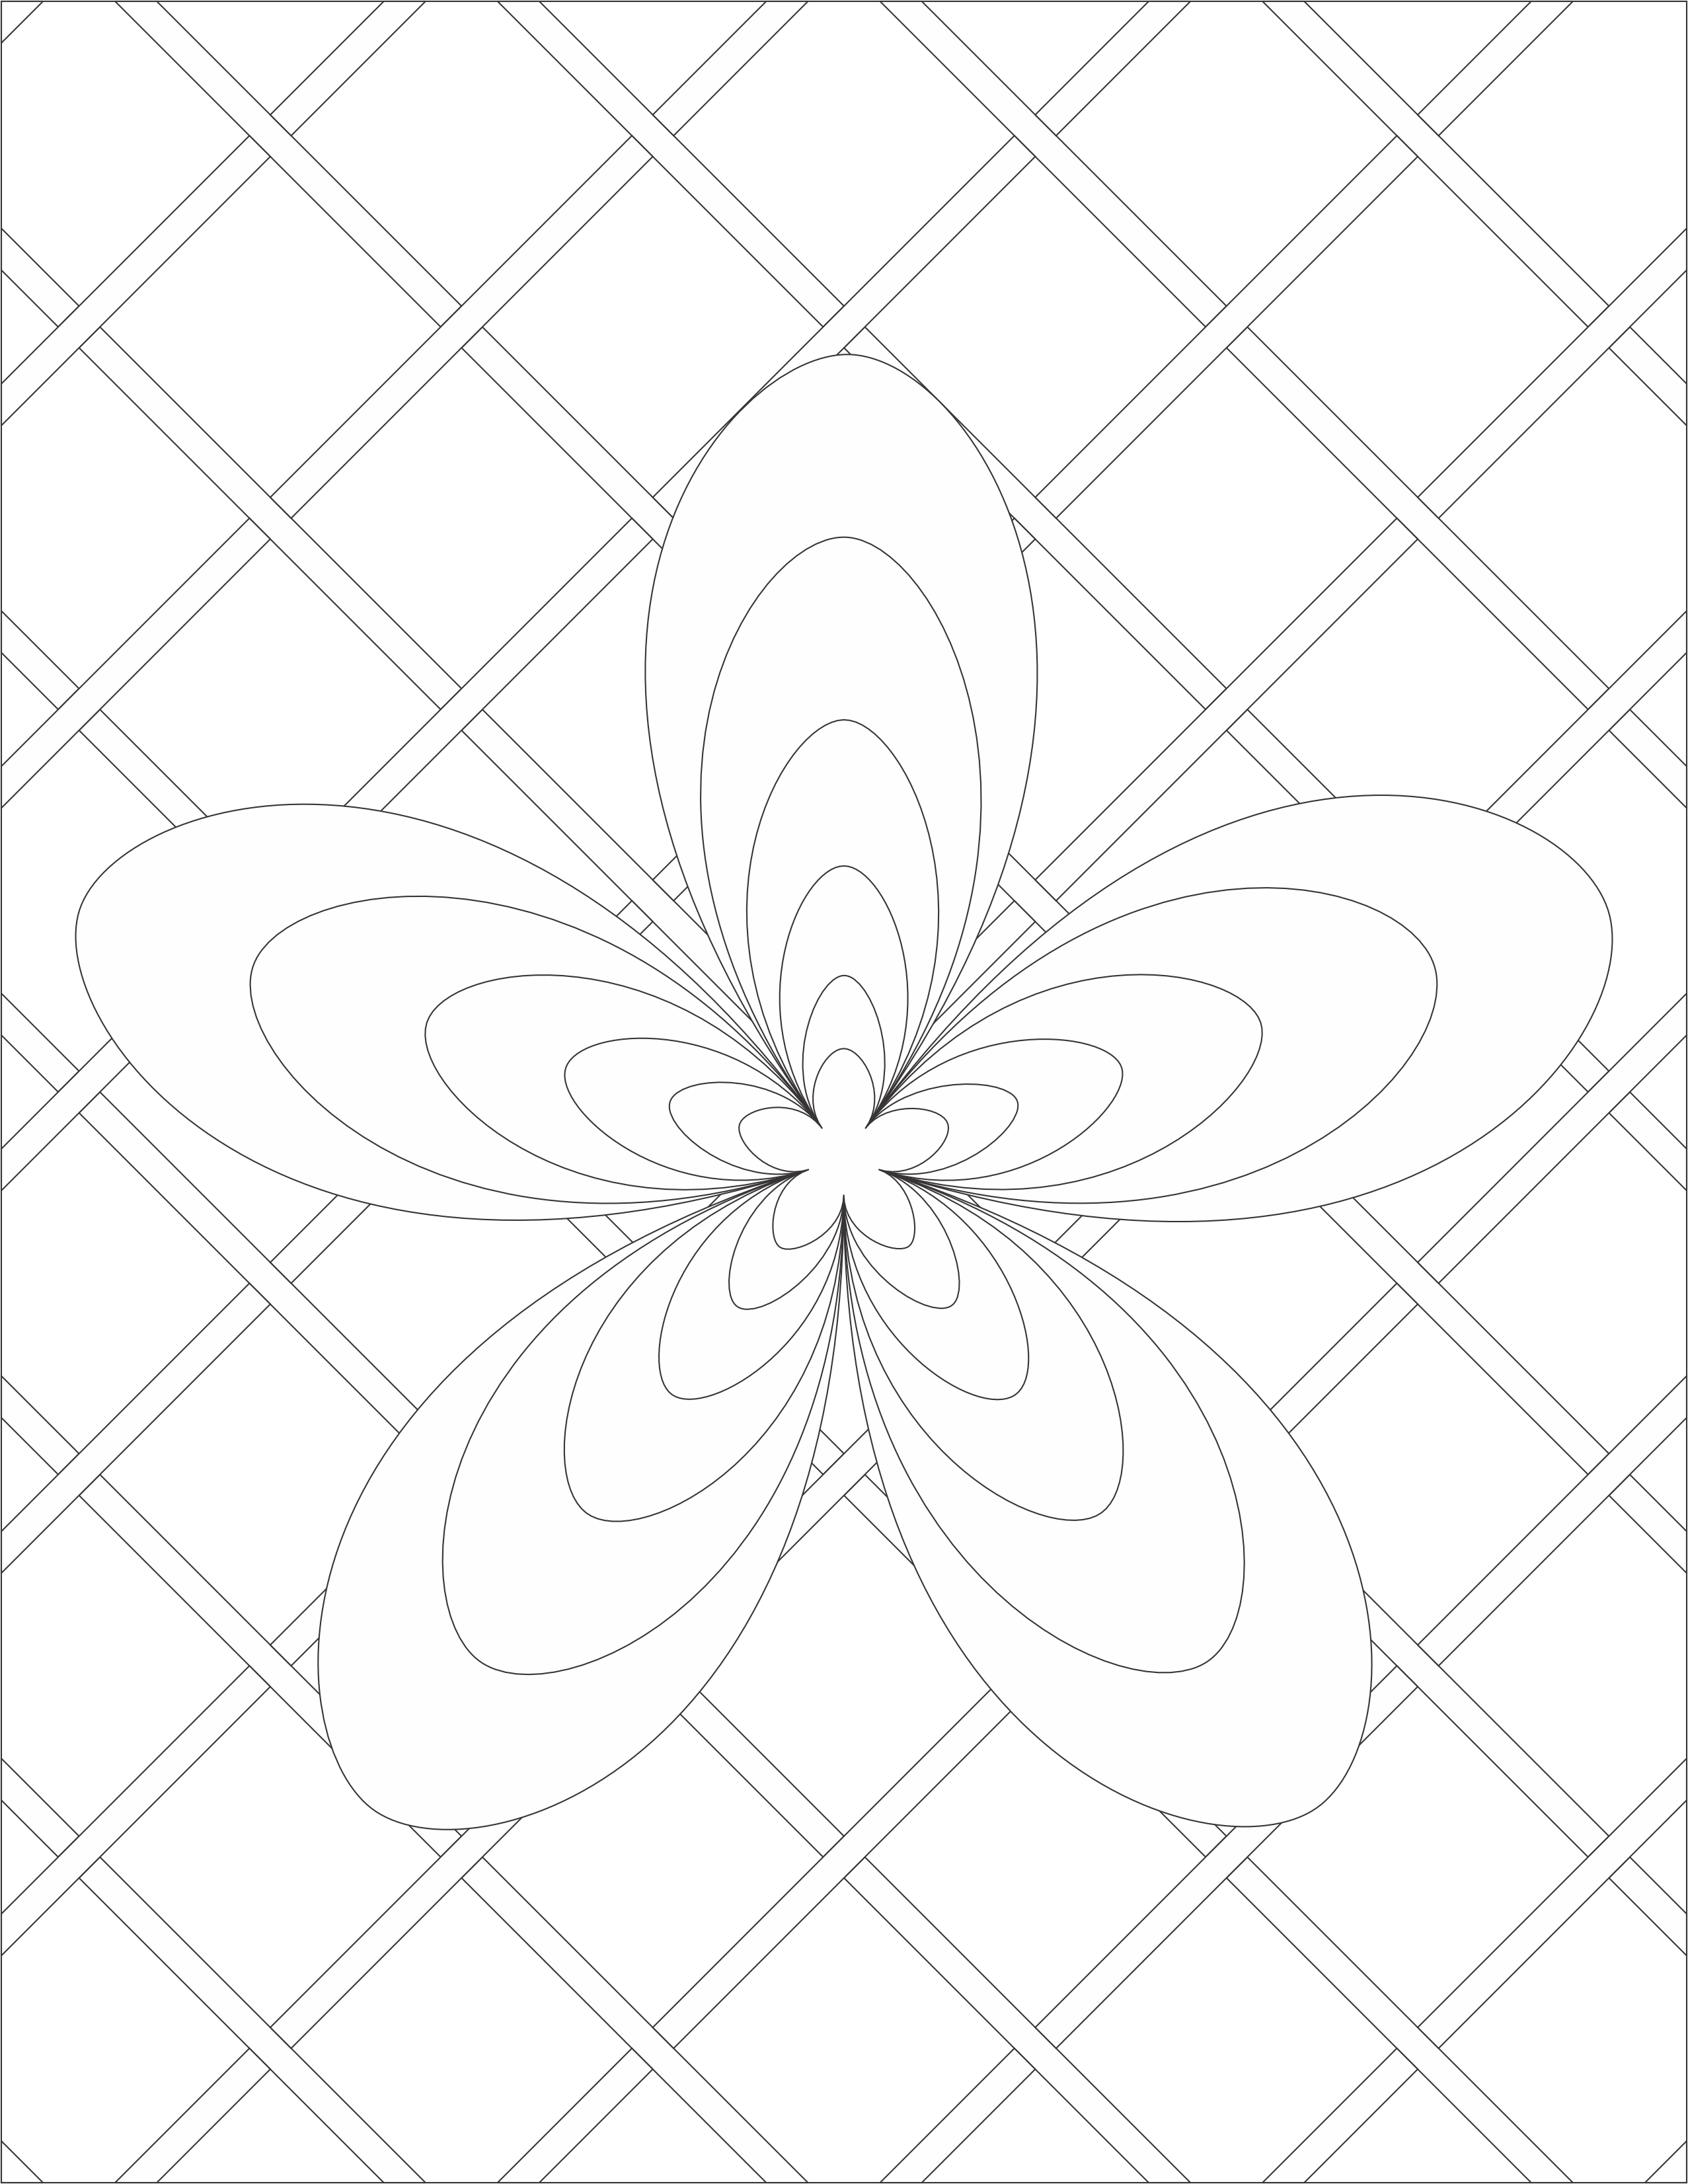
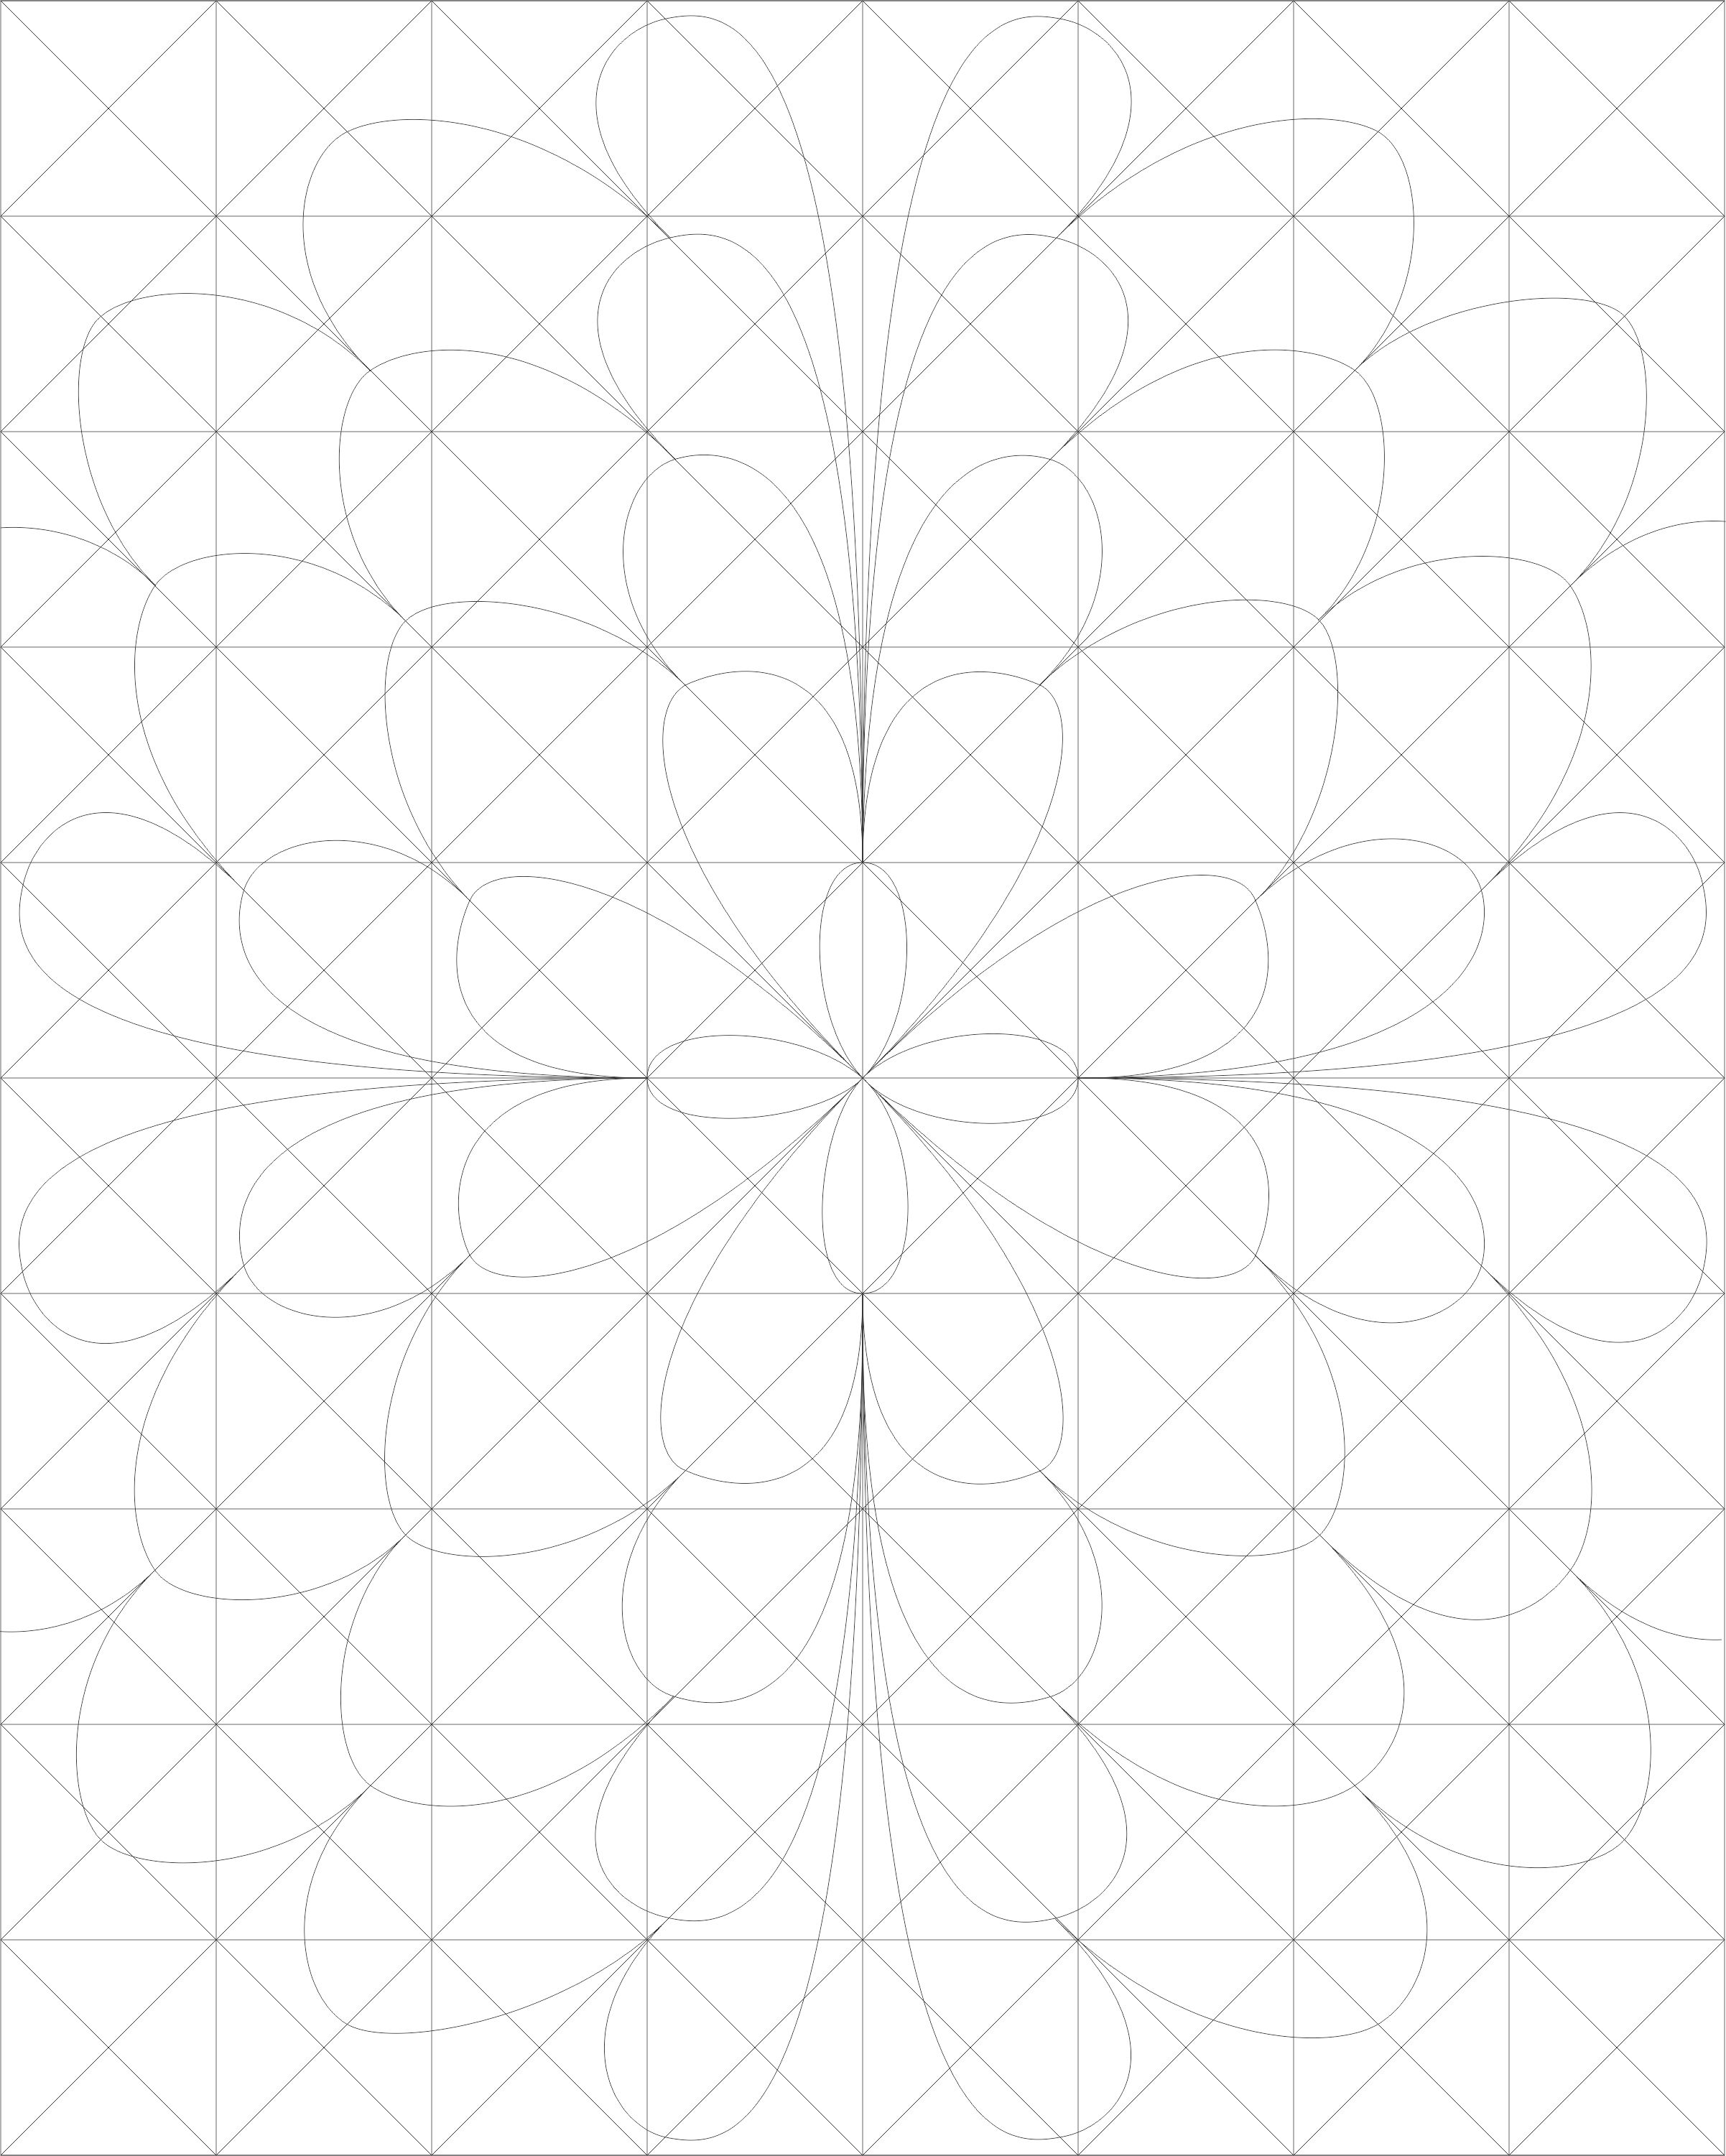
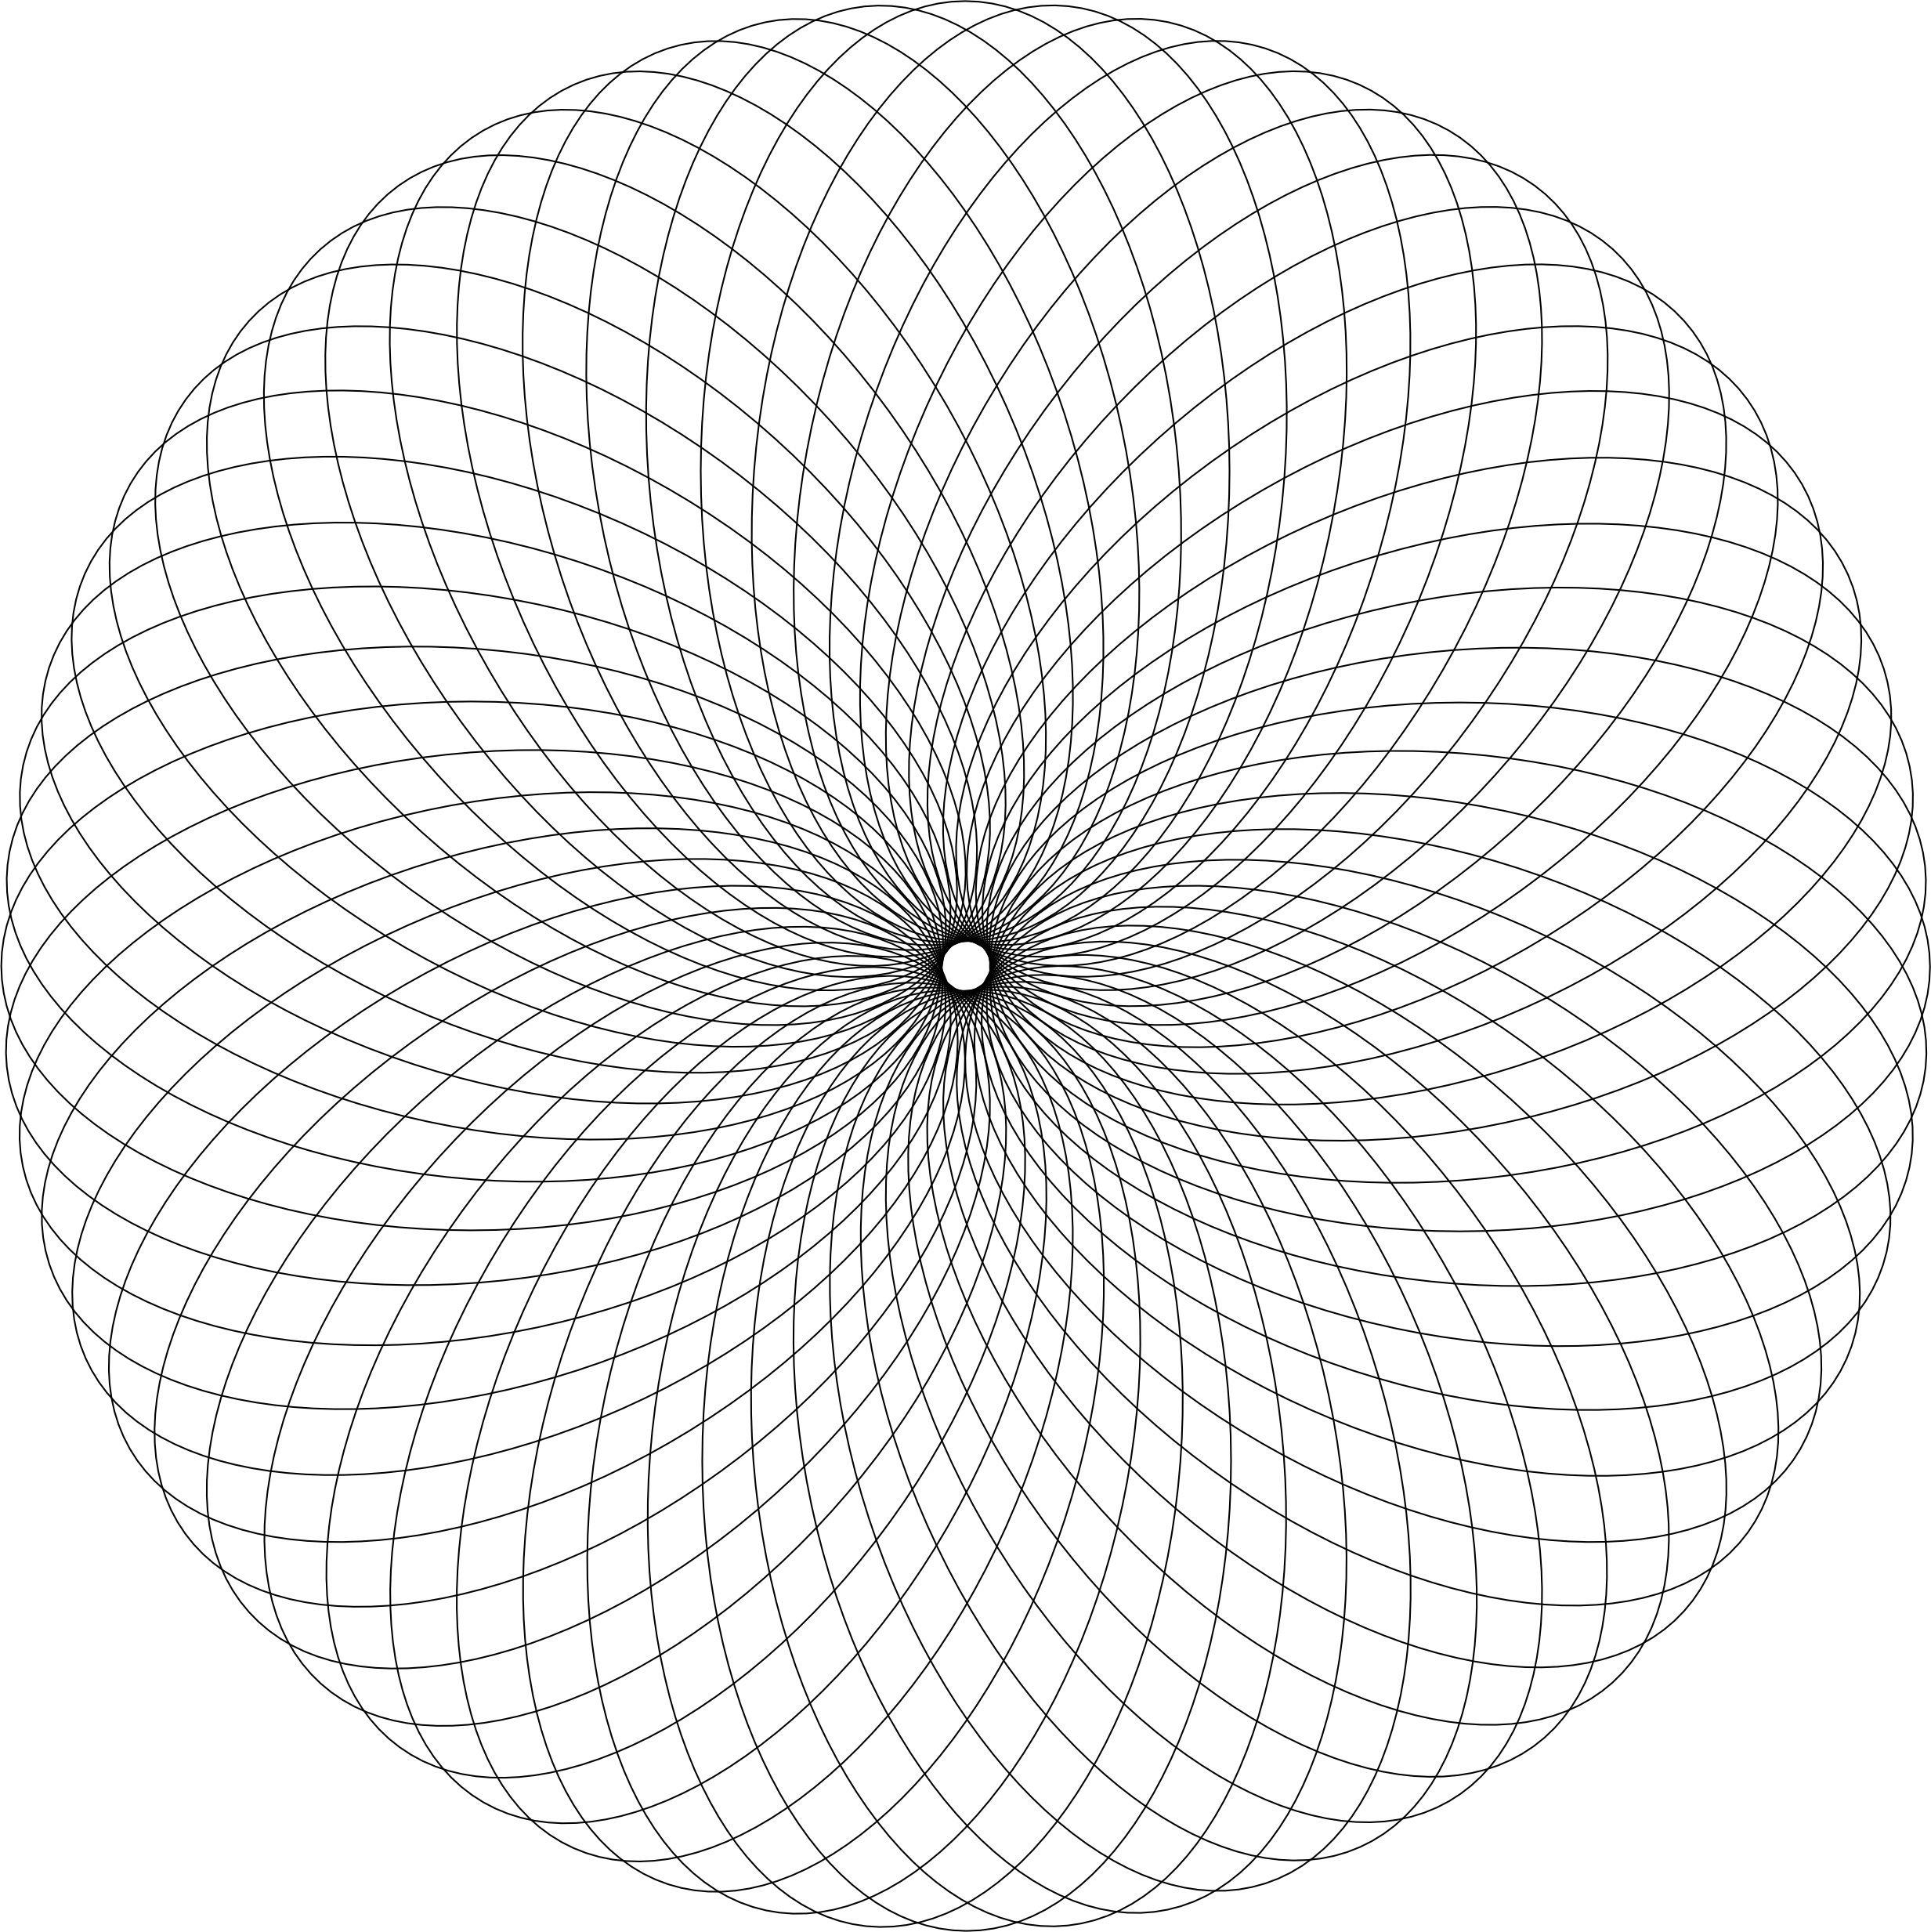
Here is another coloring page I created that is available on the Coloring Page. It’s title Five by Four because if you look closely, you can see a group of five petals going down and four petals going across. If shading is used, it will add dimension to the design.
Below are some examples of the designs I created using this coloring page.
I spent August and September painting a few items I had in storage, but then I went to Hobby Lobby and found two other items in their Fall collection that I just had to paint.
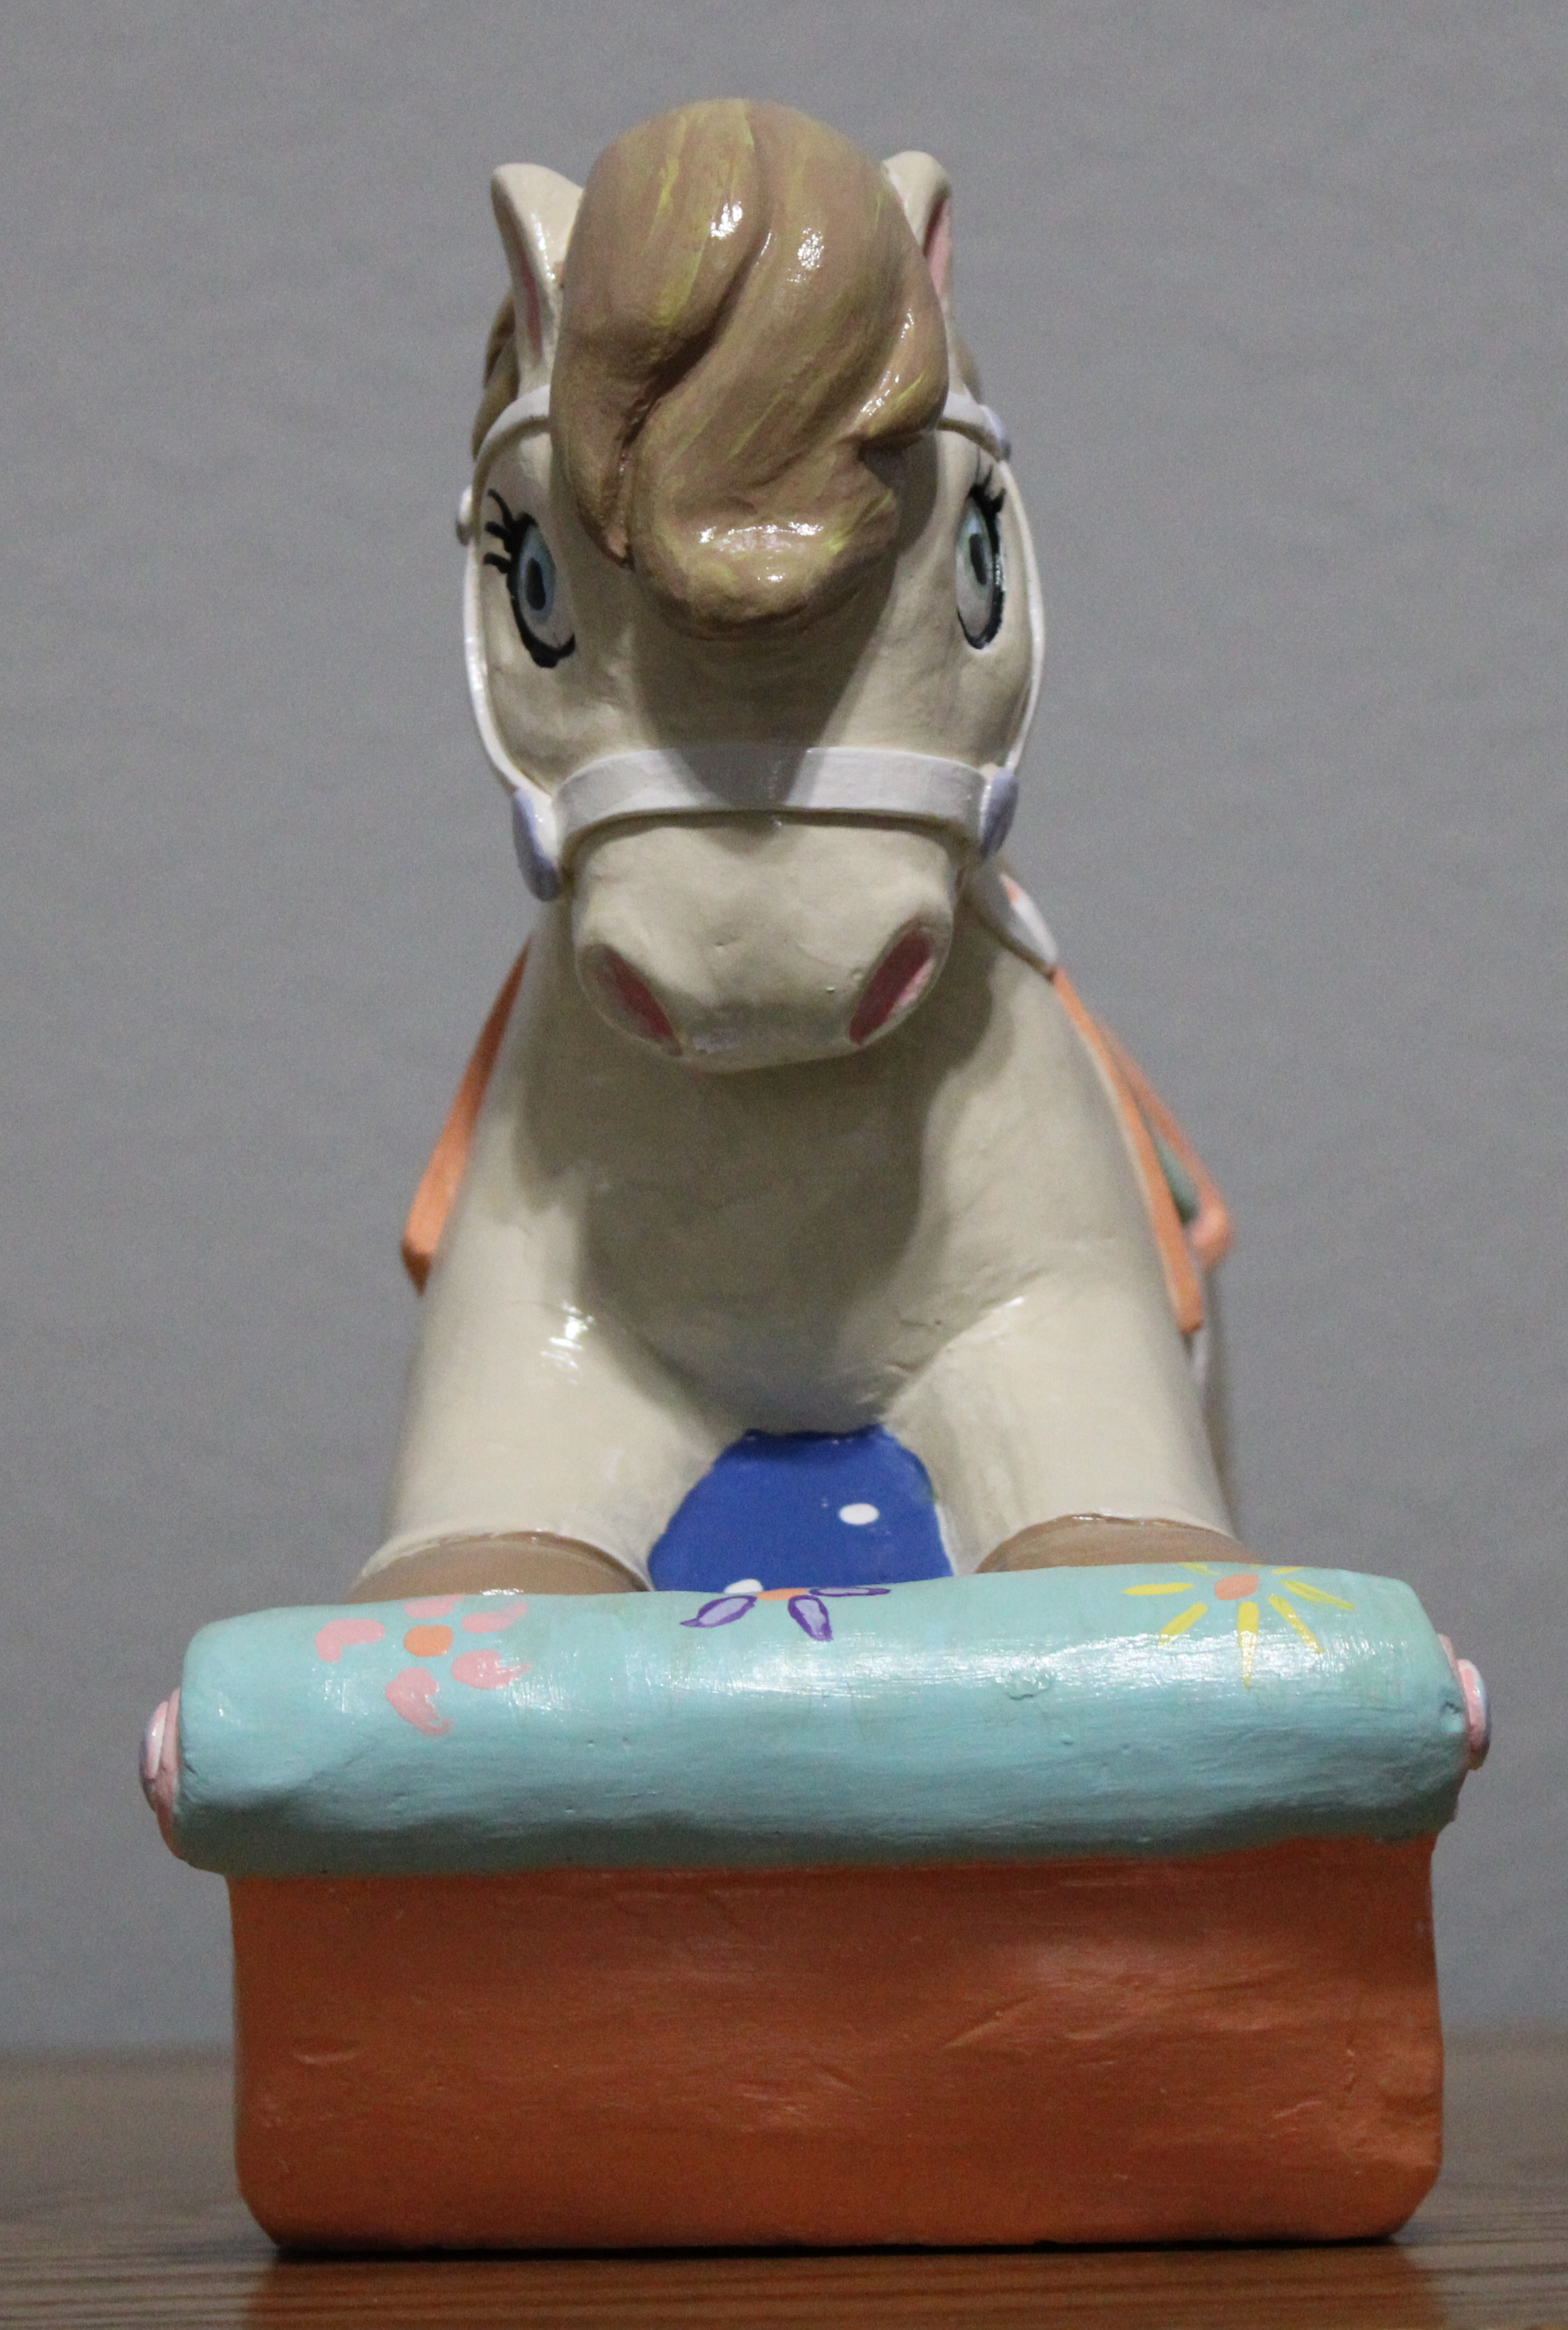
I have seventeen nieces and nephews. I purchased the horse to paint as a potential gift for one of them. It did not get painted, until now.
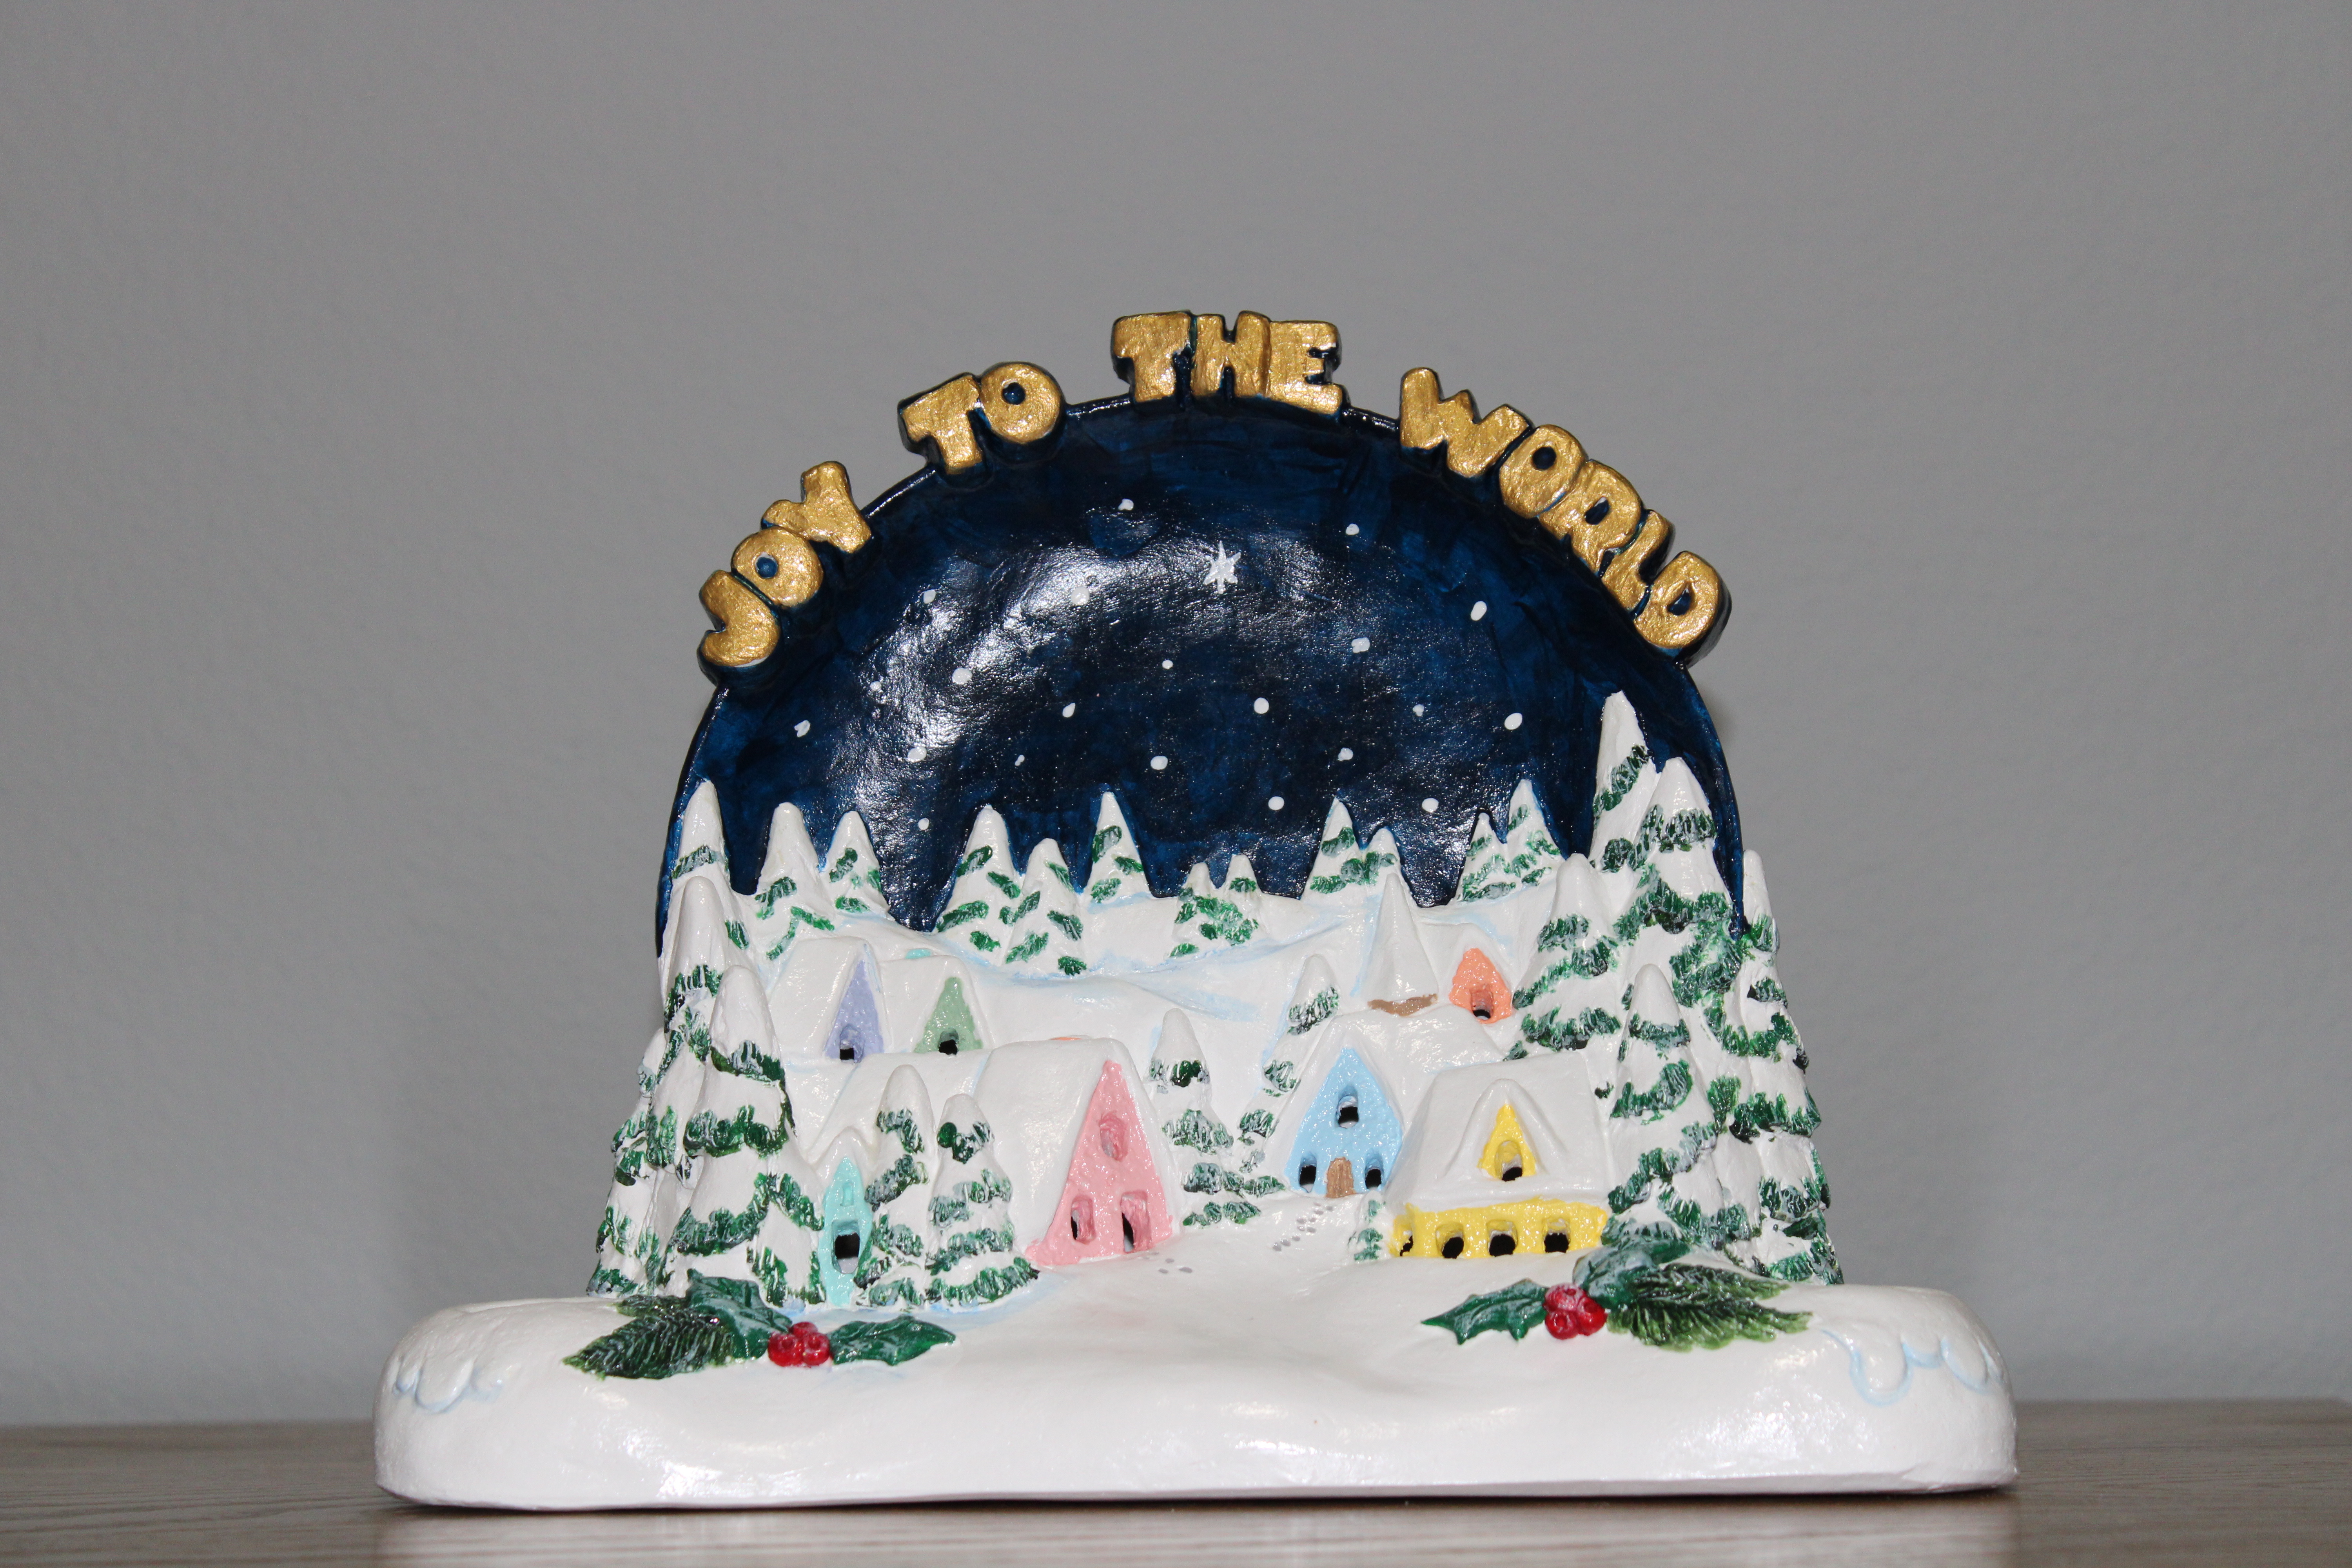
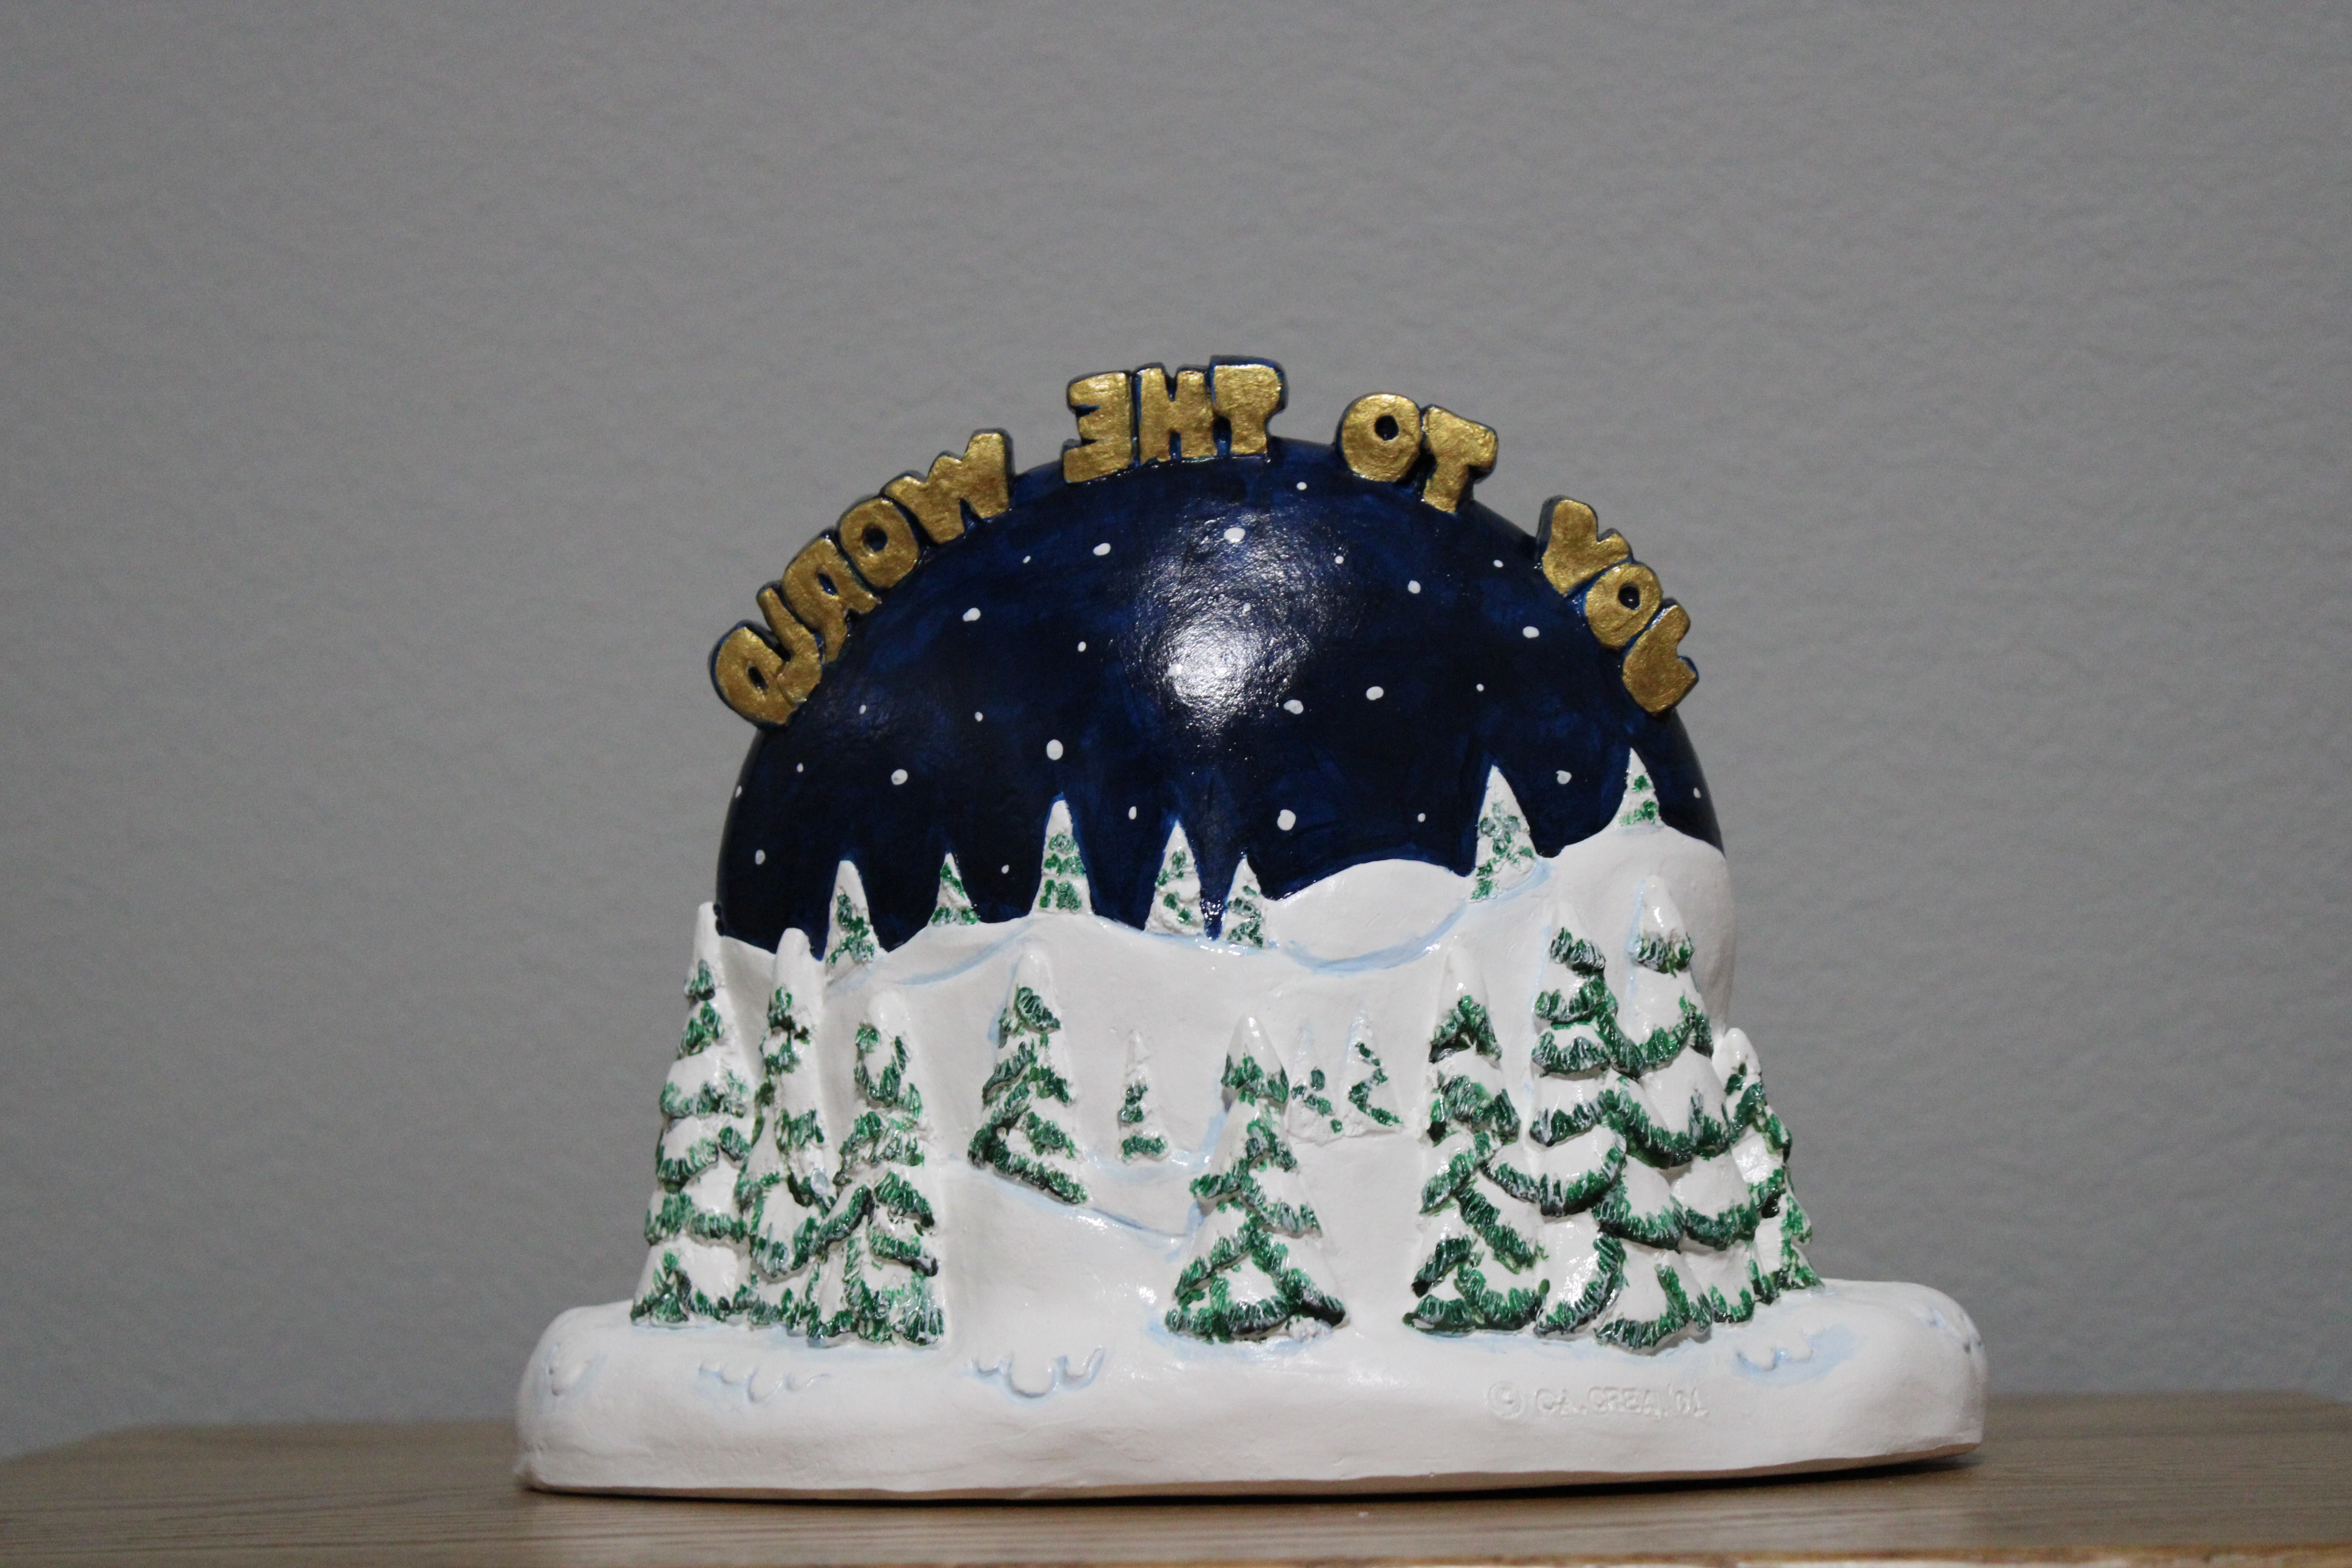
Its Christmas Time! No, it’s not! I like houses and a nice little Christmas Village to paint was the next item I selected; it was in stored for years. This piece is designed to hold candles.
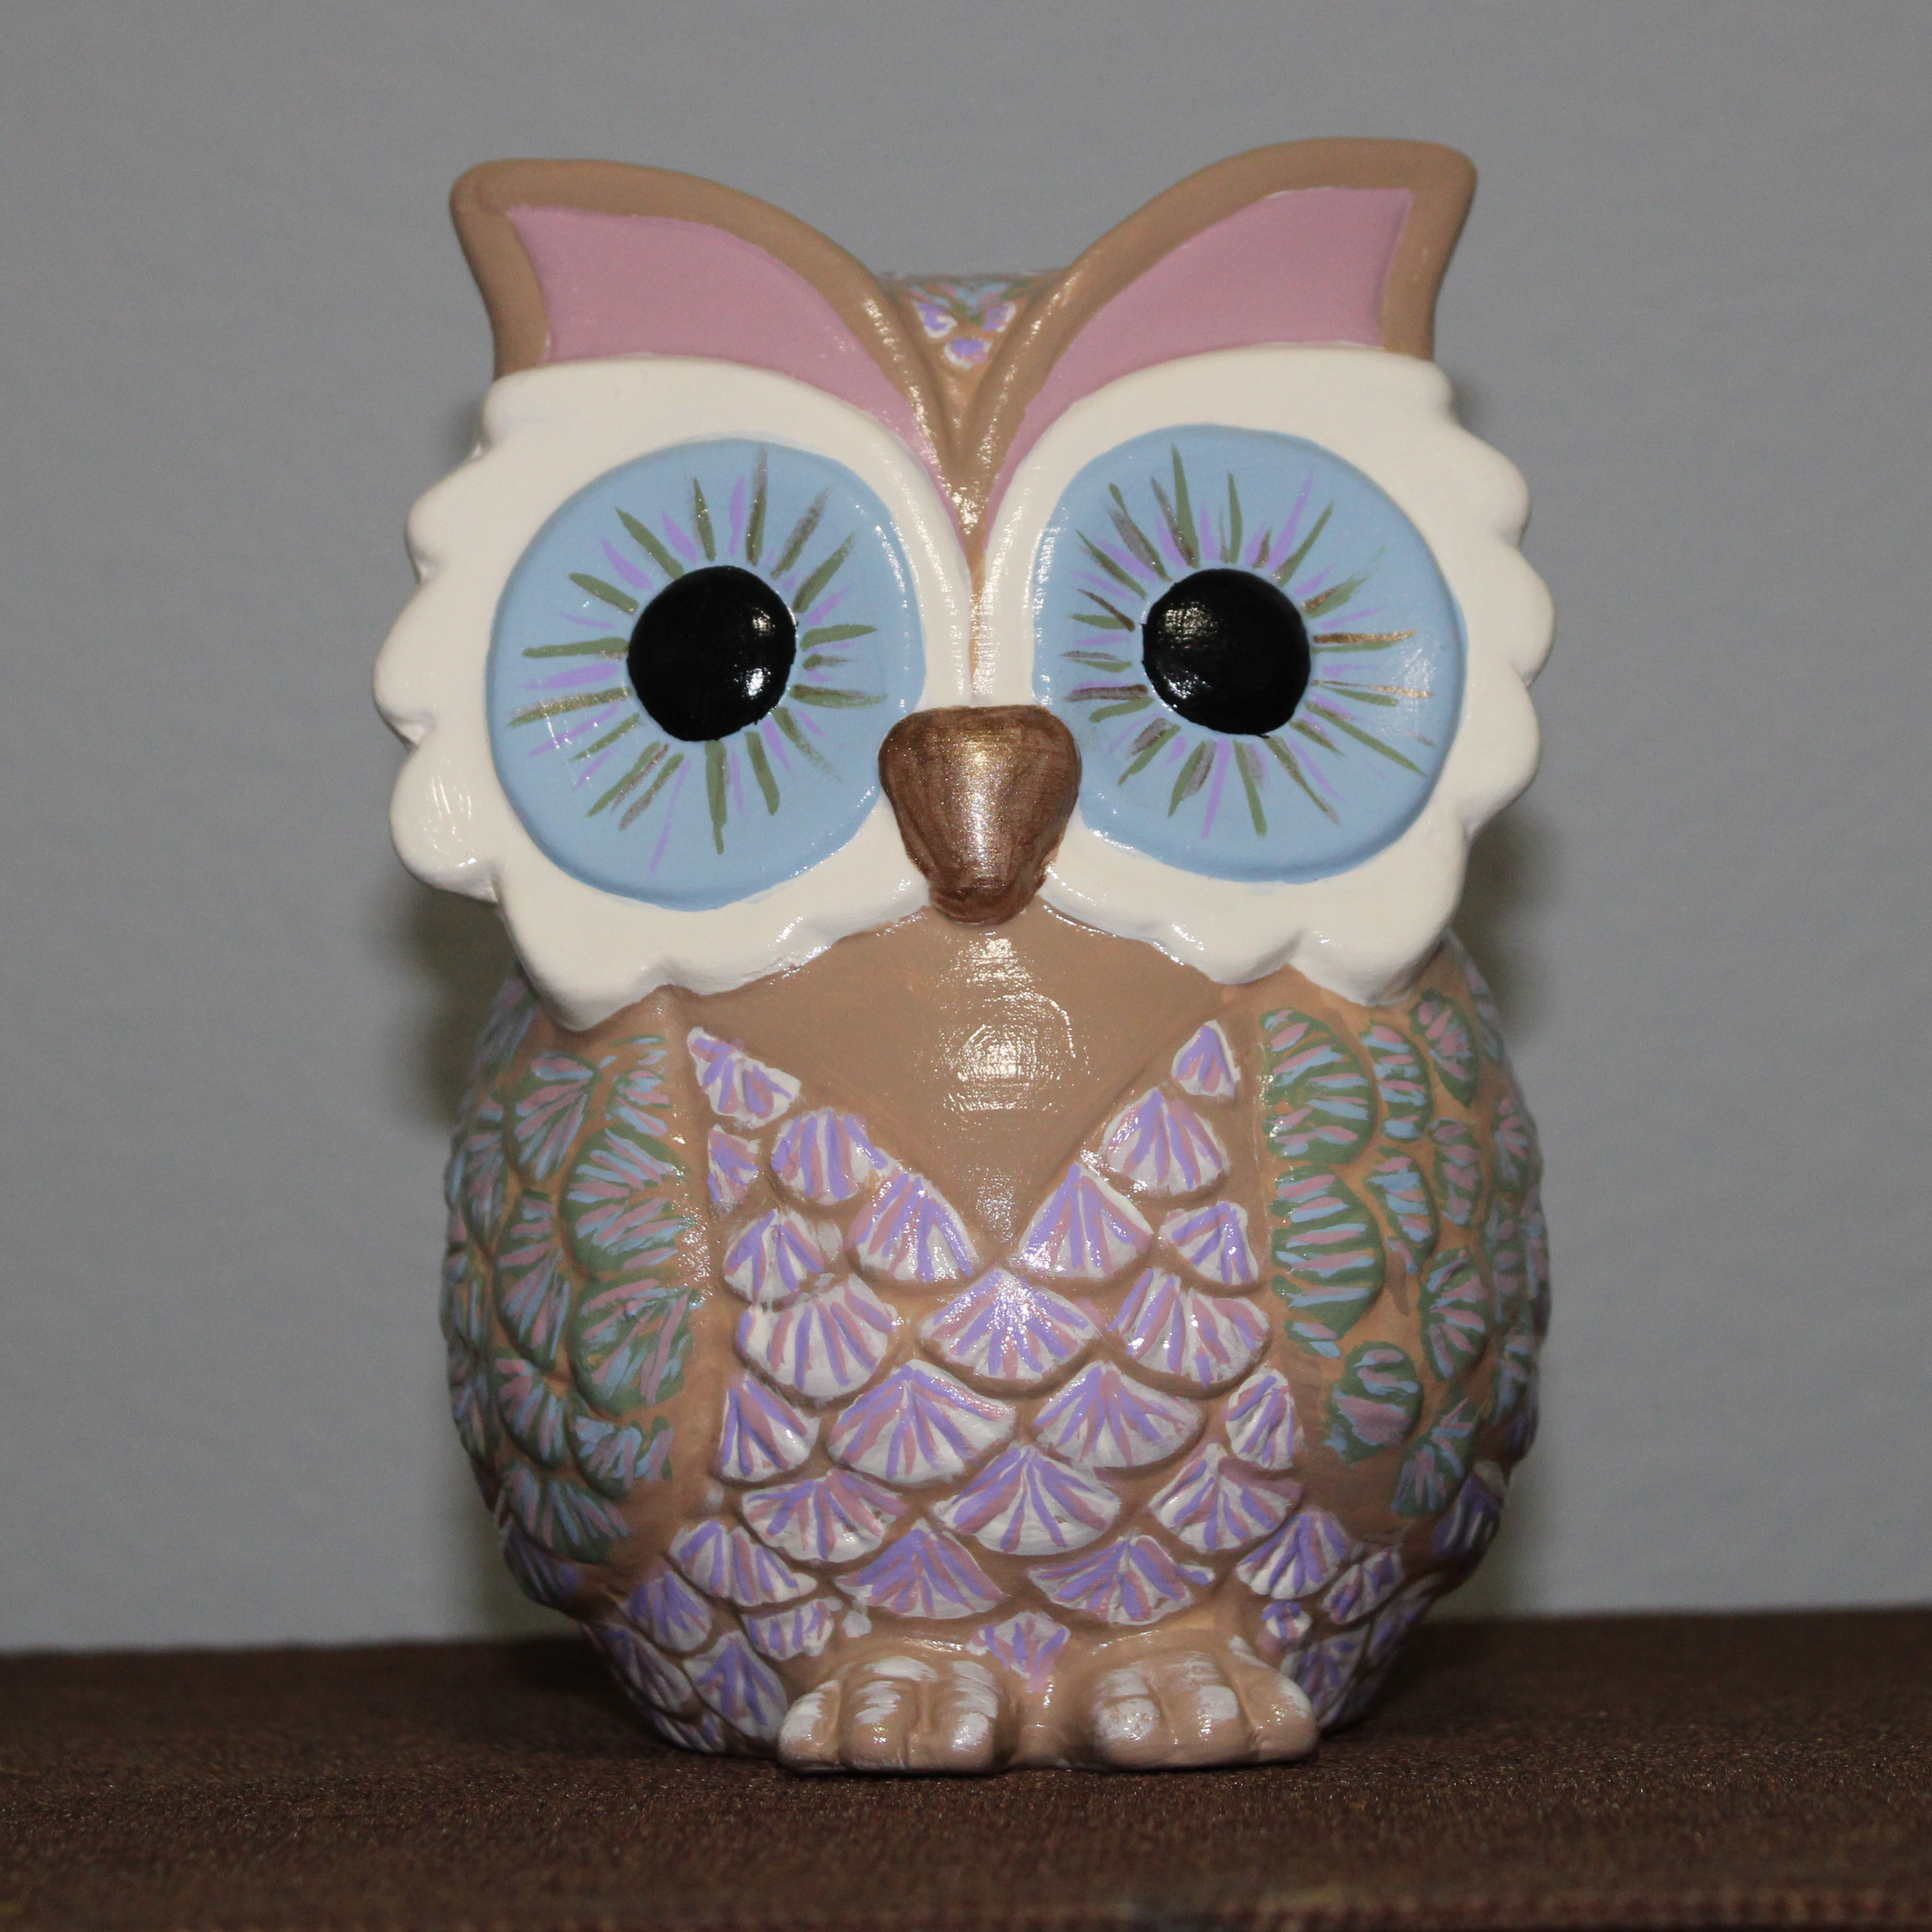
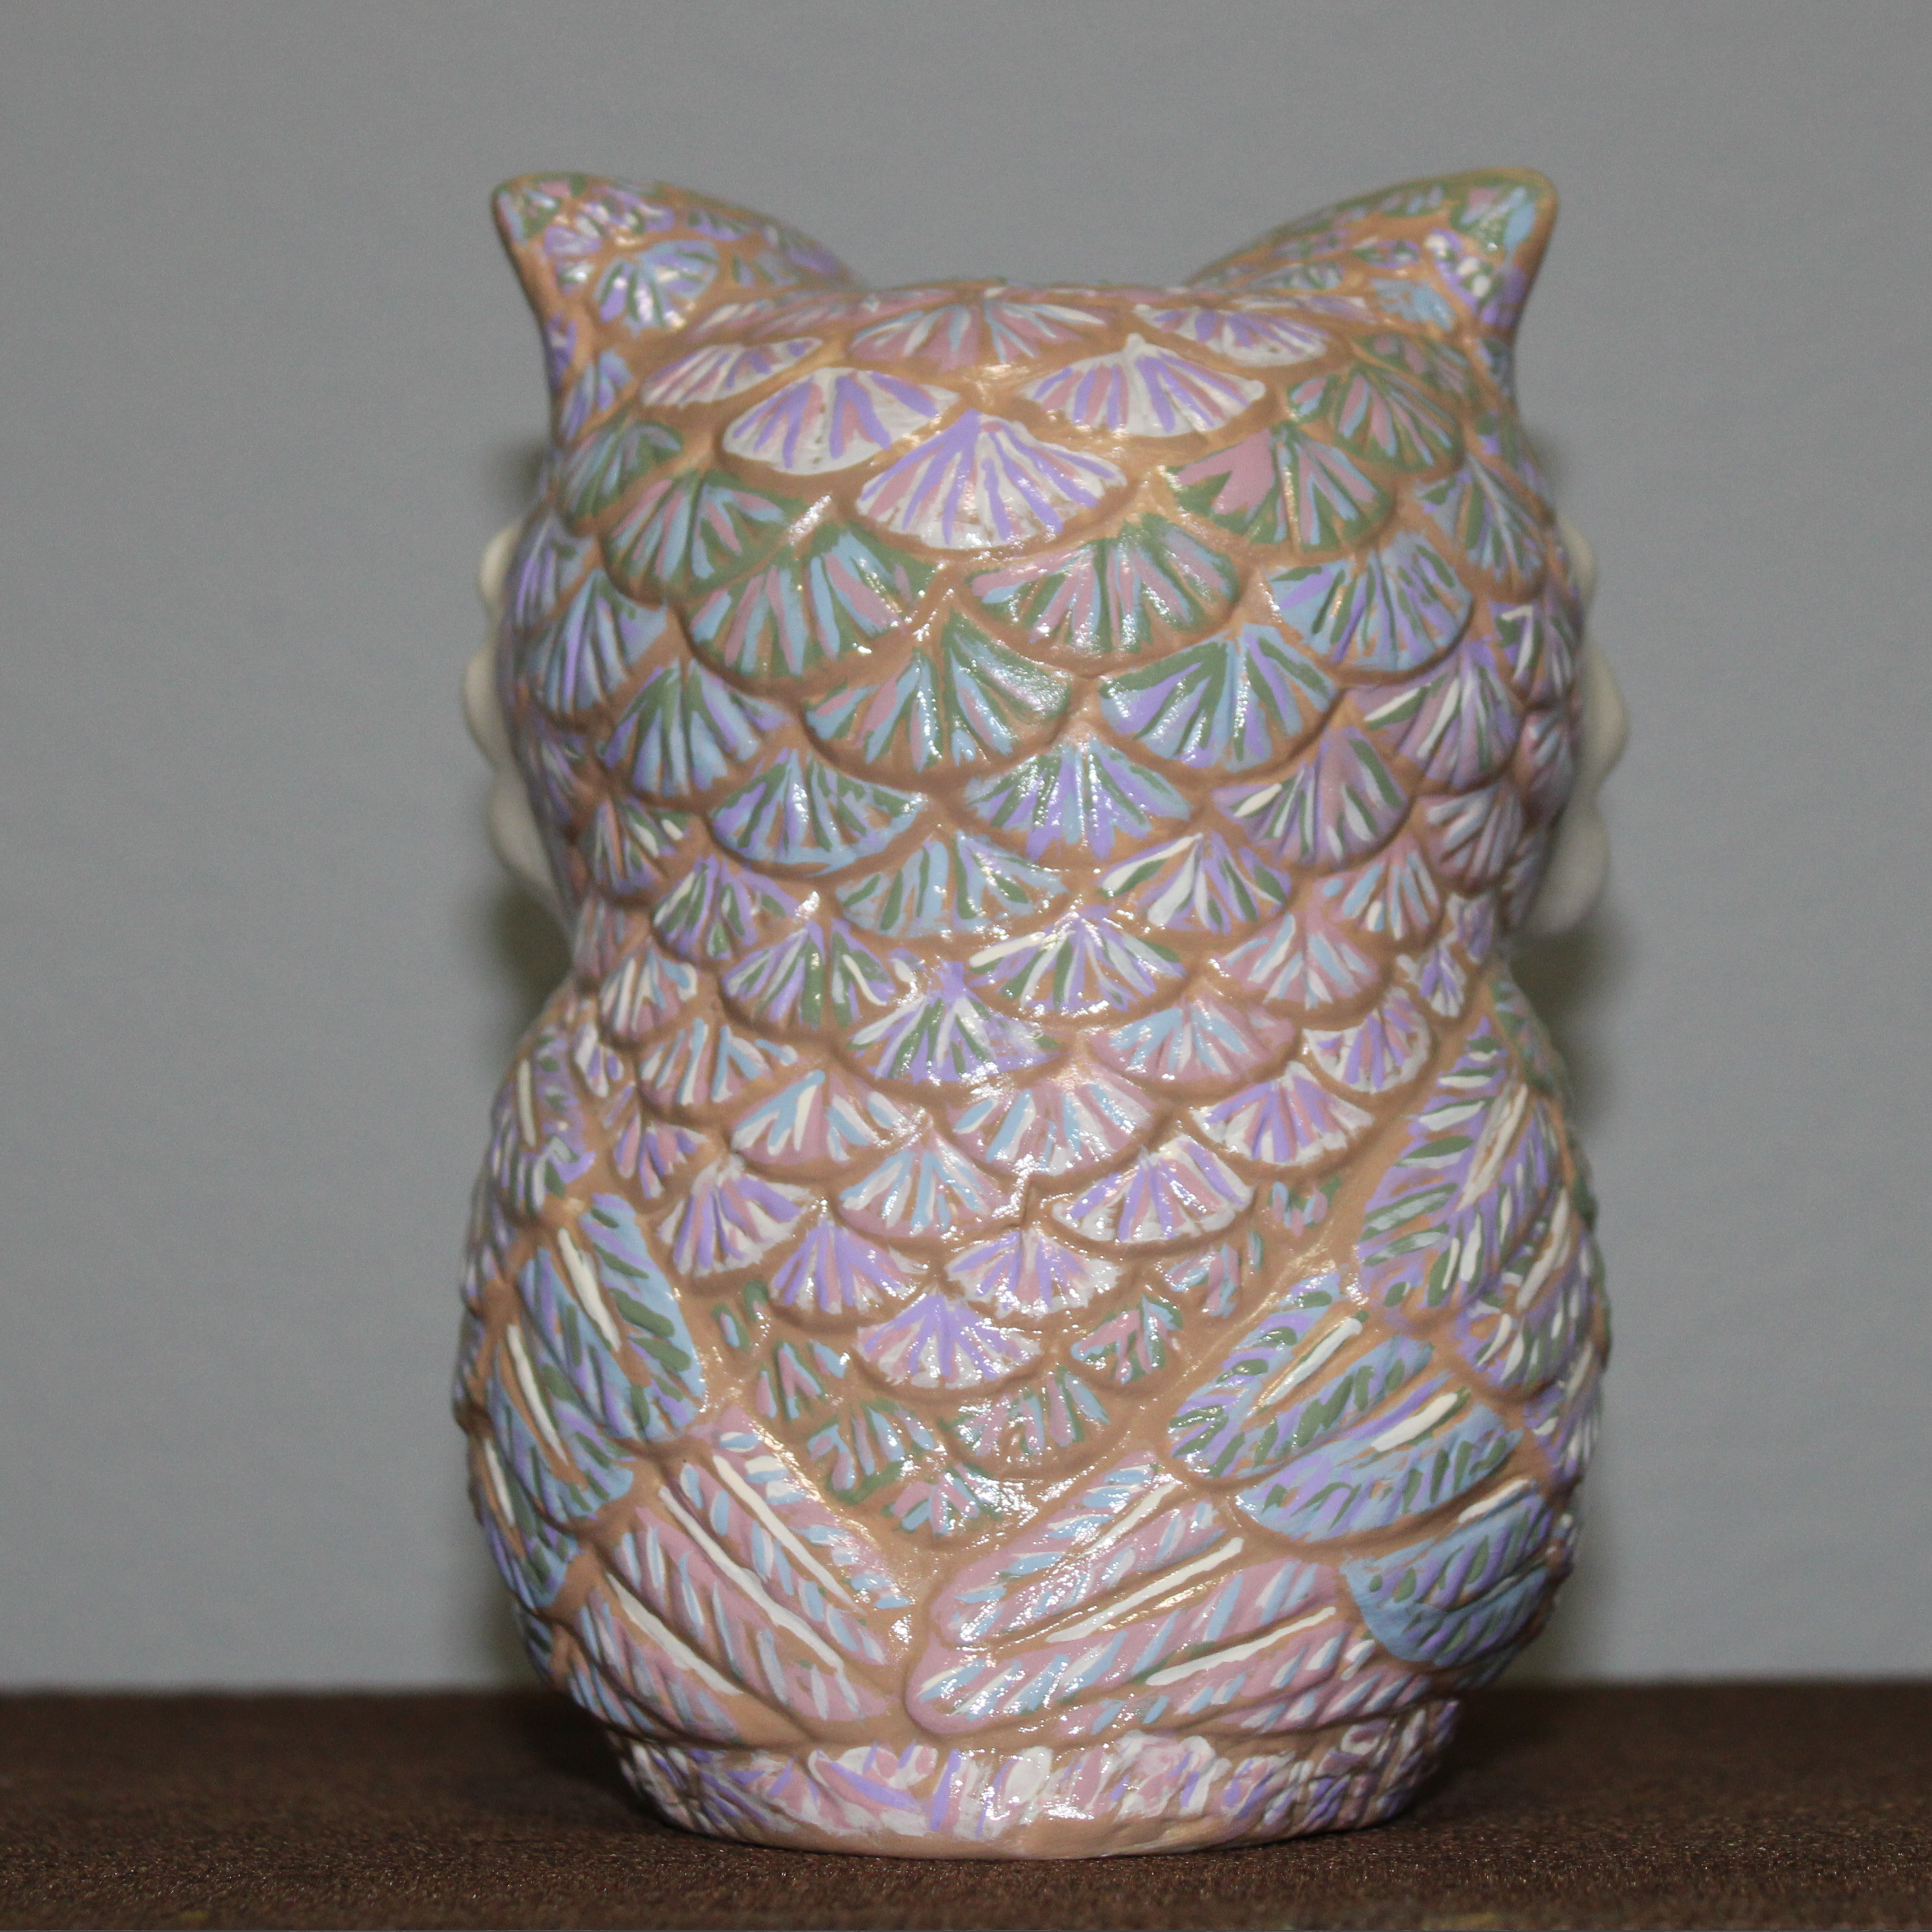
The next two piece were not in storage. They are the ones I found this year at Hobby Lobby. As you can tell I did not paint the owl in fall colors, instead I selected the colors that I used to paint the three angels. I did not paint the little white reflection in the eyes because after the gloss vanish was applied, it will allow the eyes to catch the light reflection.
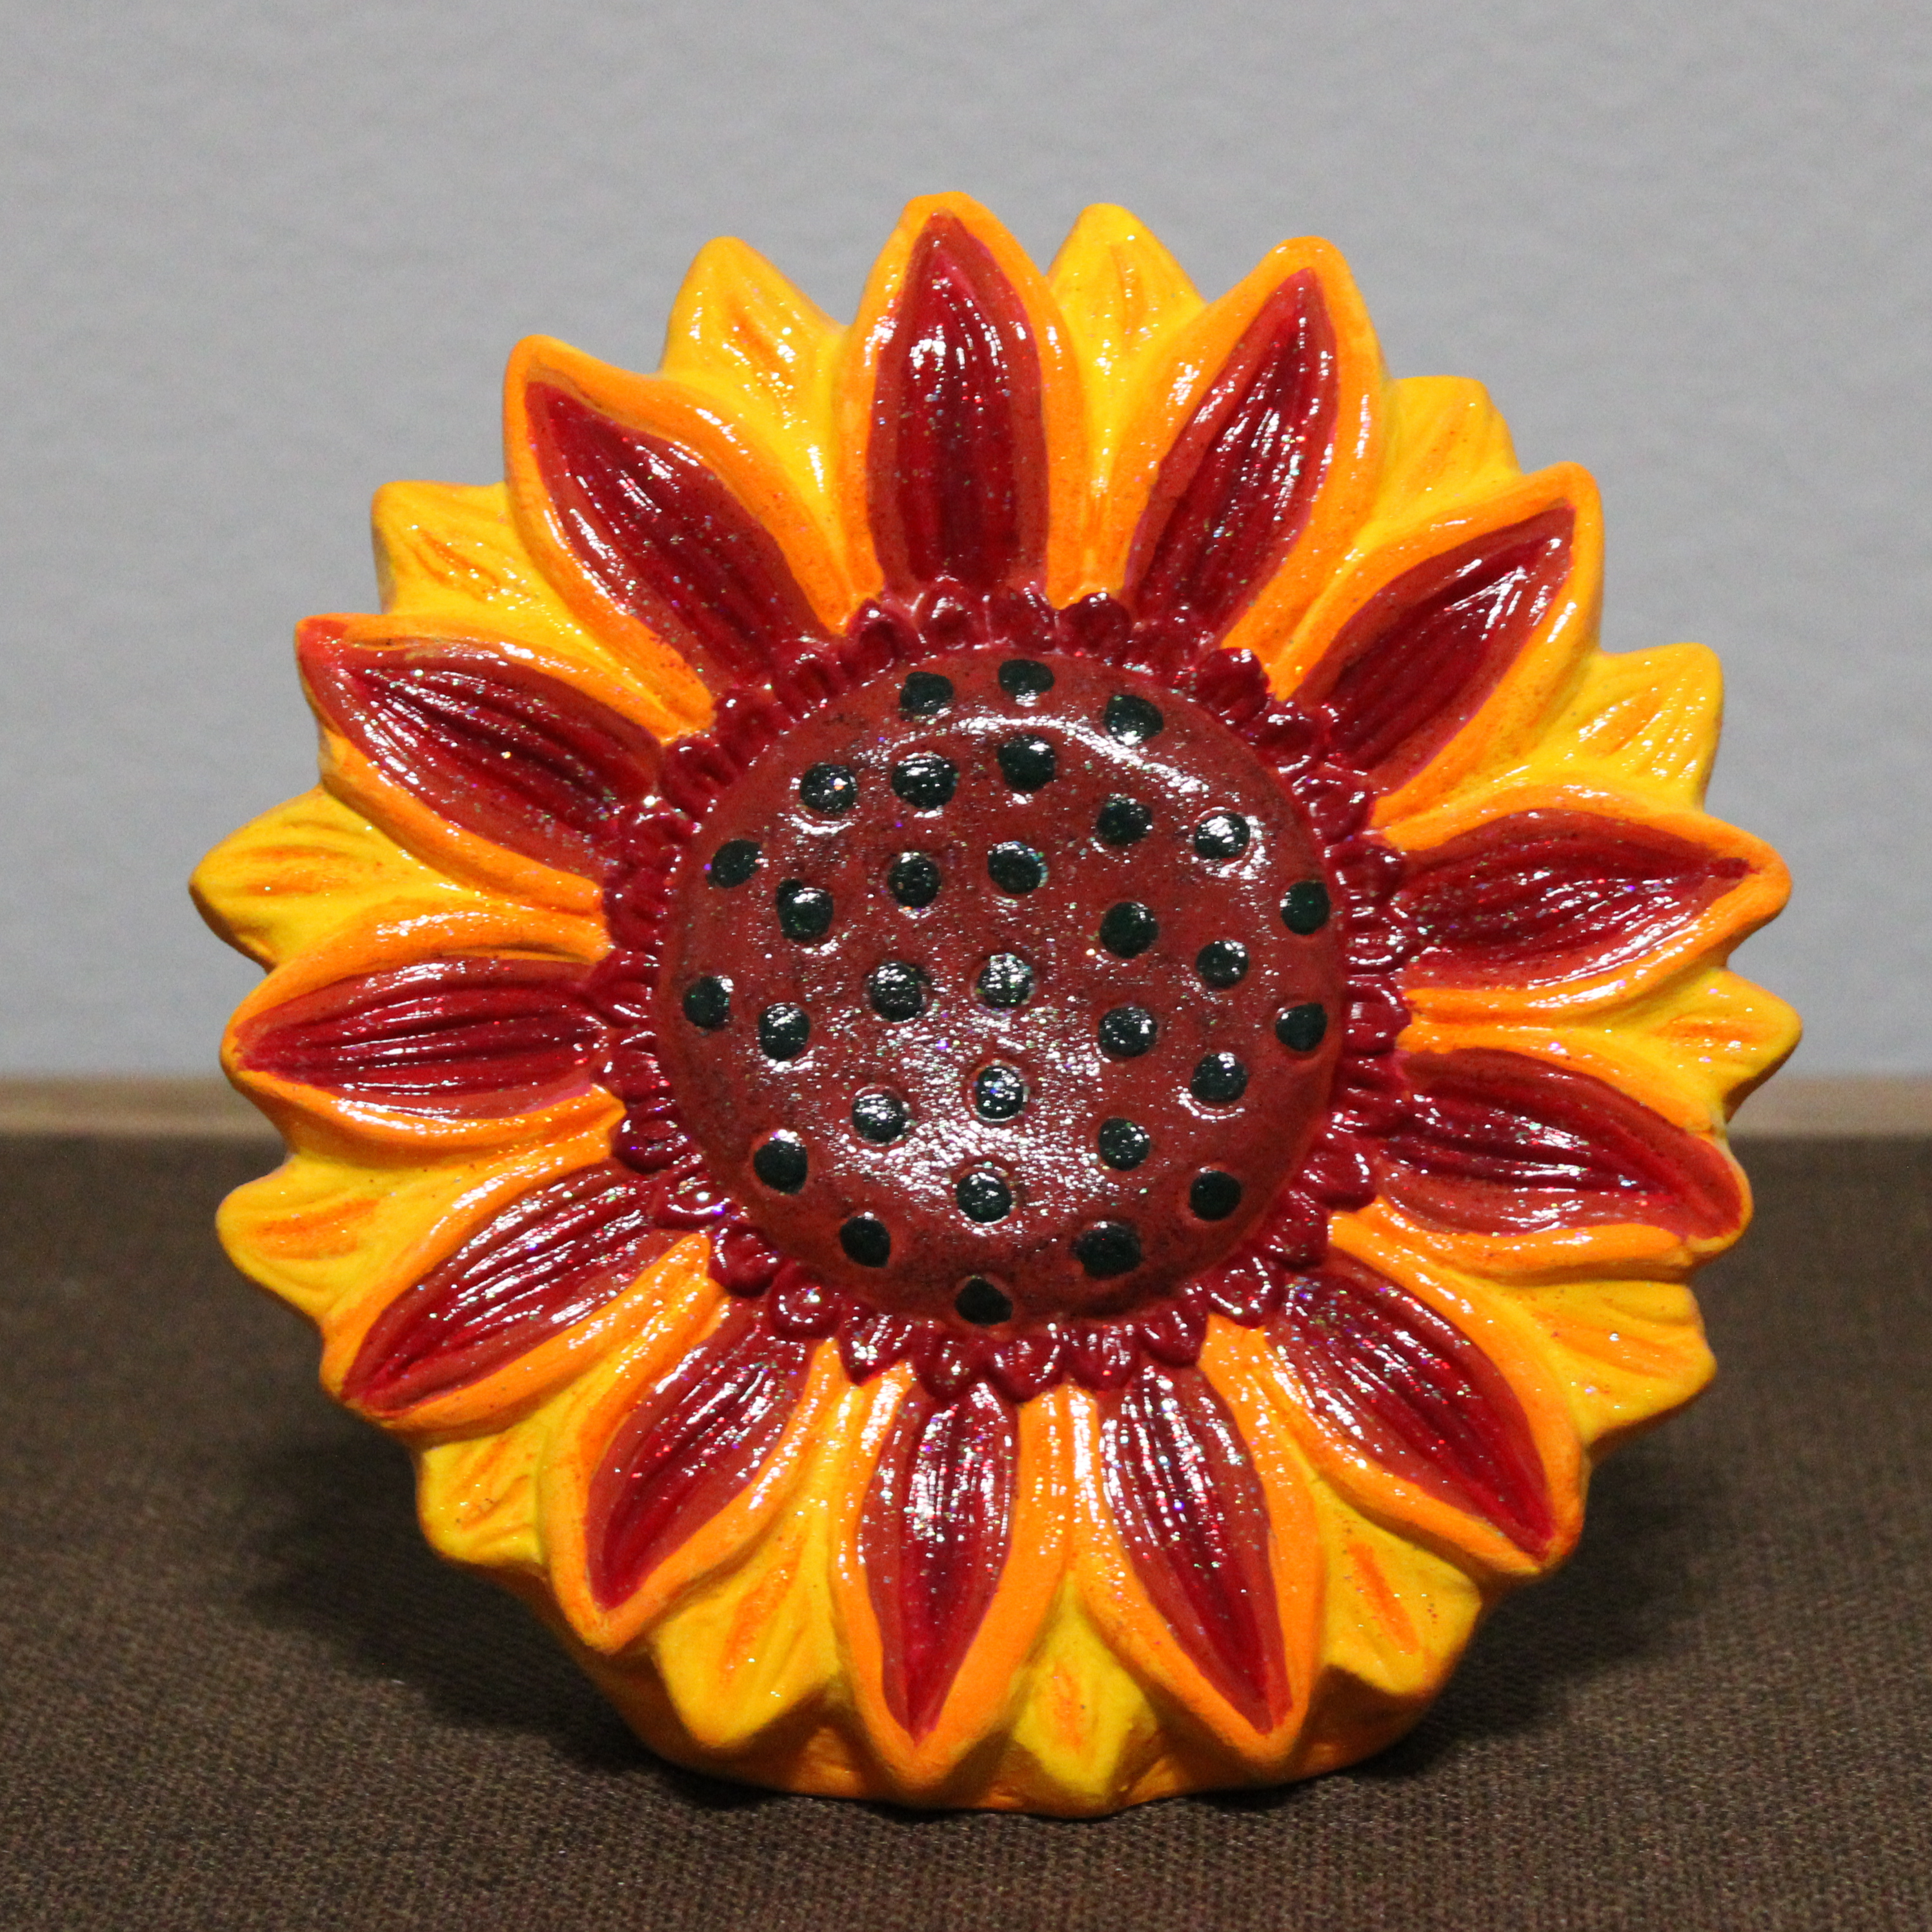
I did not want to paint the sunflower multiple shades of yellow. I wanted something a little different, so before I started painting it, I searched the internet to check if sunflowers did come in other colors besides yellow. I used multiple shades of red, orange, multiple shades of yellow, and dark green. After I was satisfied with the colors, I used yellow, red, and orange fine glitter paint. Then I used a sparkle glaze (glitter glaze) over the flower to give it a sparkle. To finish, I used gloss varnish.
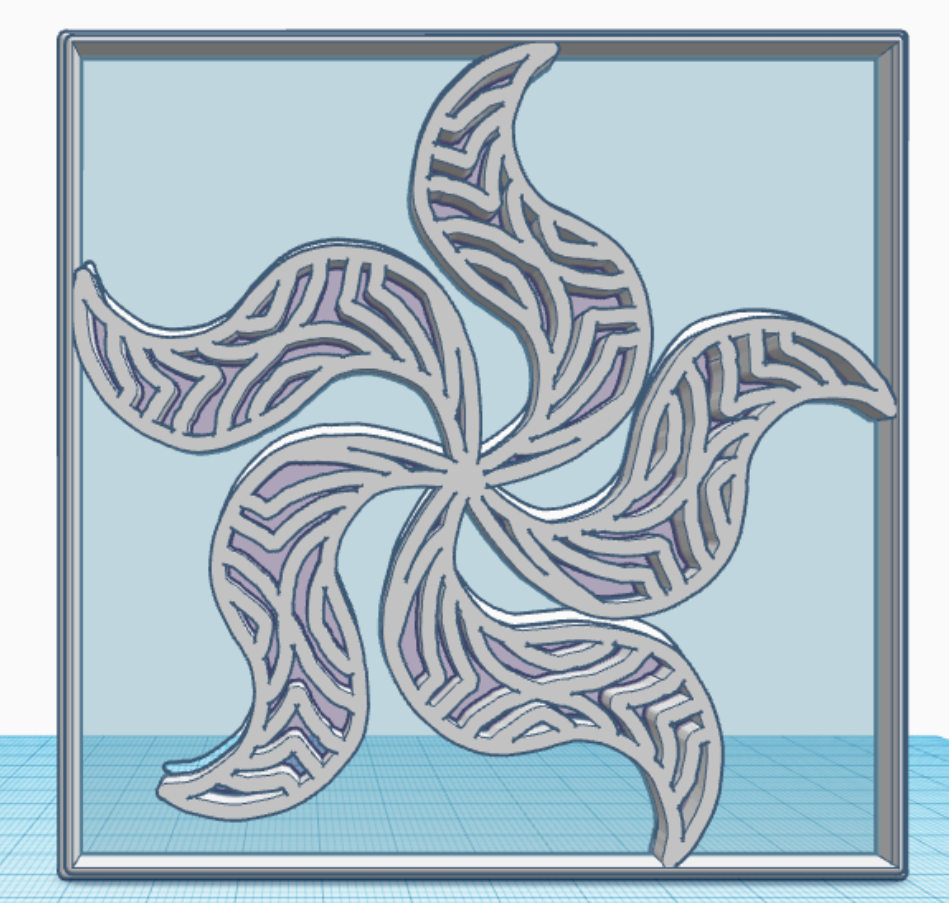
There is so many ways the new coloring page “One Piece at a Time” can be colored. I can easily see stars and flowers in the design. How would you color this page?
One Piece at a Time
Below is my first coloring attempt of this page:
One Piece at a Time
This is my third attempt. The second attempt, I did not like so I deleted it and started over. Warning, when you are doing art, you are your worst critic. I named it “Wheel of Color” because it shows the use of a lot of colors on the color wheel, starting with yellow and ending with yellow.
I know it looks like a star, but I named it Amazing Paradox because of drawing I created with CorelDraw. The entire drawing uses the Zentangle pattern Paradox. The black and white drawing turned out awesome.
Amazing Paradox – Black and White Version
But, once I added color, it became amazing. I thought the black background would emphasize the colors.
Amazing Paradox
My second drawing using the template was a little different. I used two Zentangle patterns. Before I colored it, I thought the drawing had a Native American feel to it. I researched some color palettes and selected colors from the Cherokee Color palette.
Star of Paradox
These are just examples of what I did. I sure your coloring page will turn out just amazing.
A new Coloring Page is available! I named this page Circles and Squares. This coloring page allows you to color something simple or color something complex. I am sure whatever it is, it will be beautiful.
Below are two of my final artworks using the Circles and Squares template. Note: Everything was drawn and colored using CorelDraw.
Simply Circles and Squares
Color Blocks
I named this Color Blocks, because I used the primary colors to color the squares; Yellow, Red, and Blue. As the blocks overlapped each other, the secondary colors appeared; Orange, Green, and Purple.
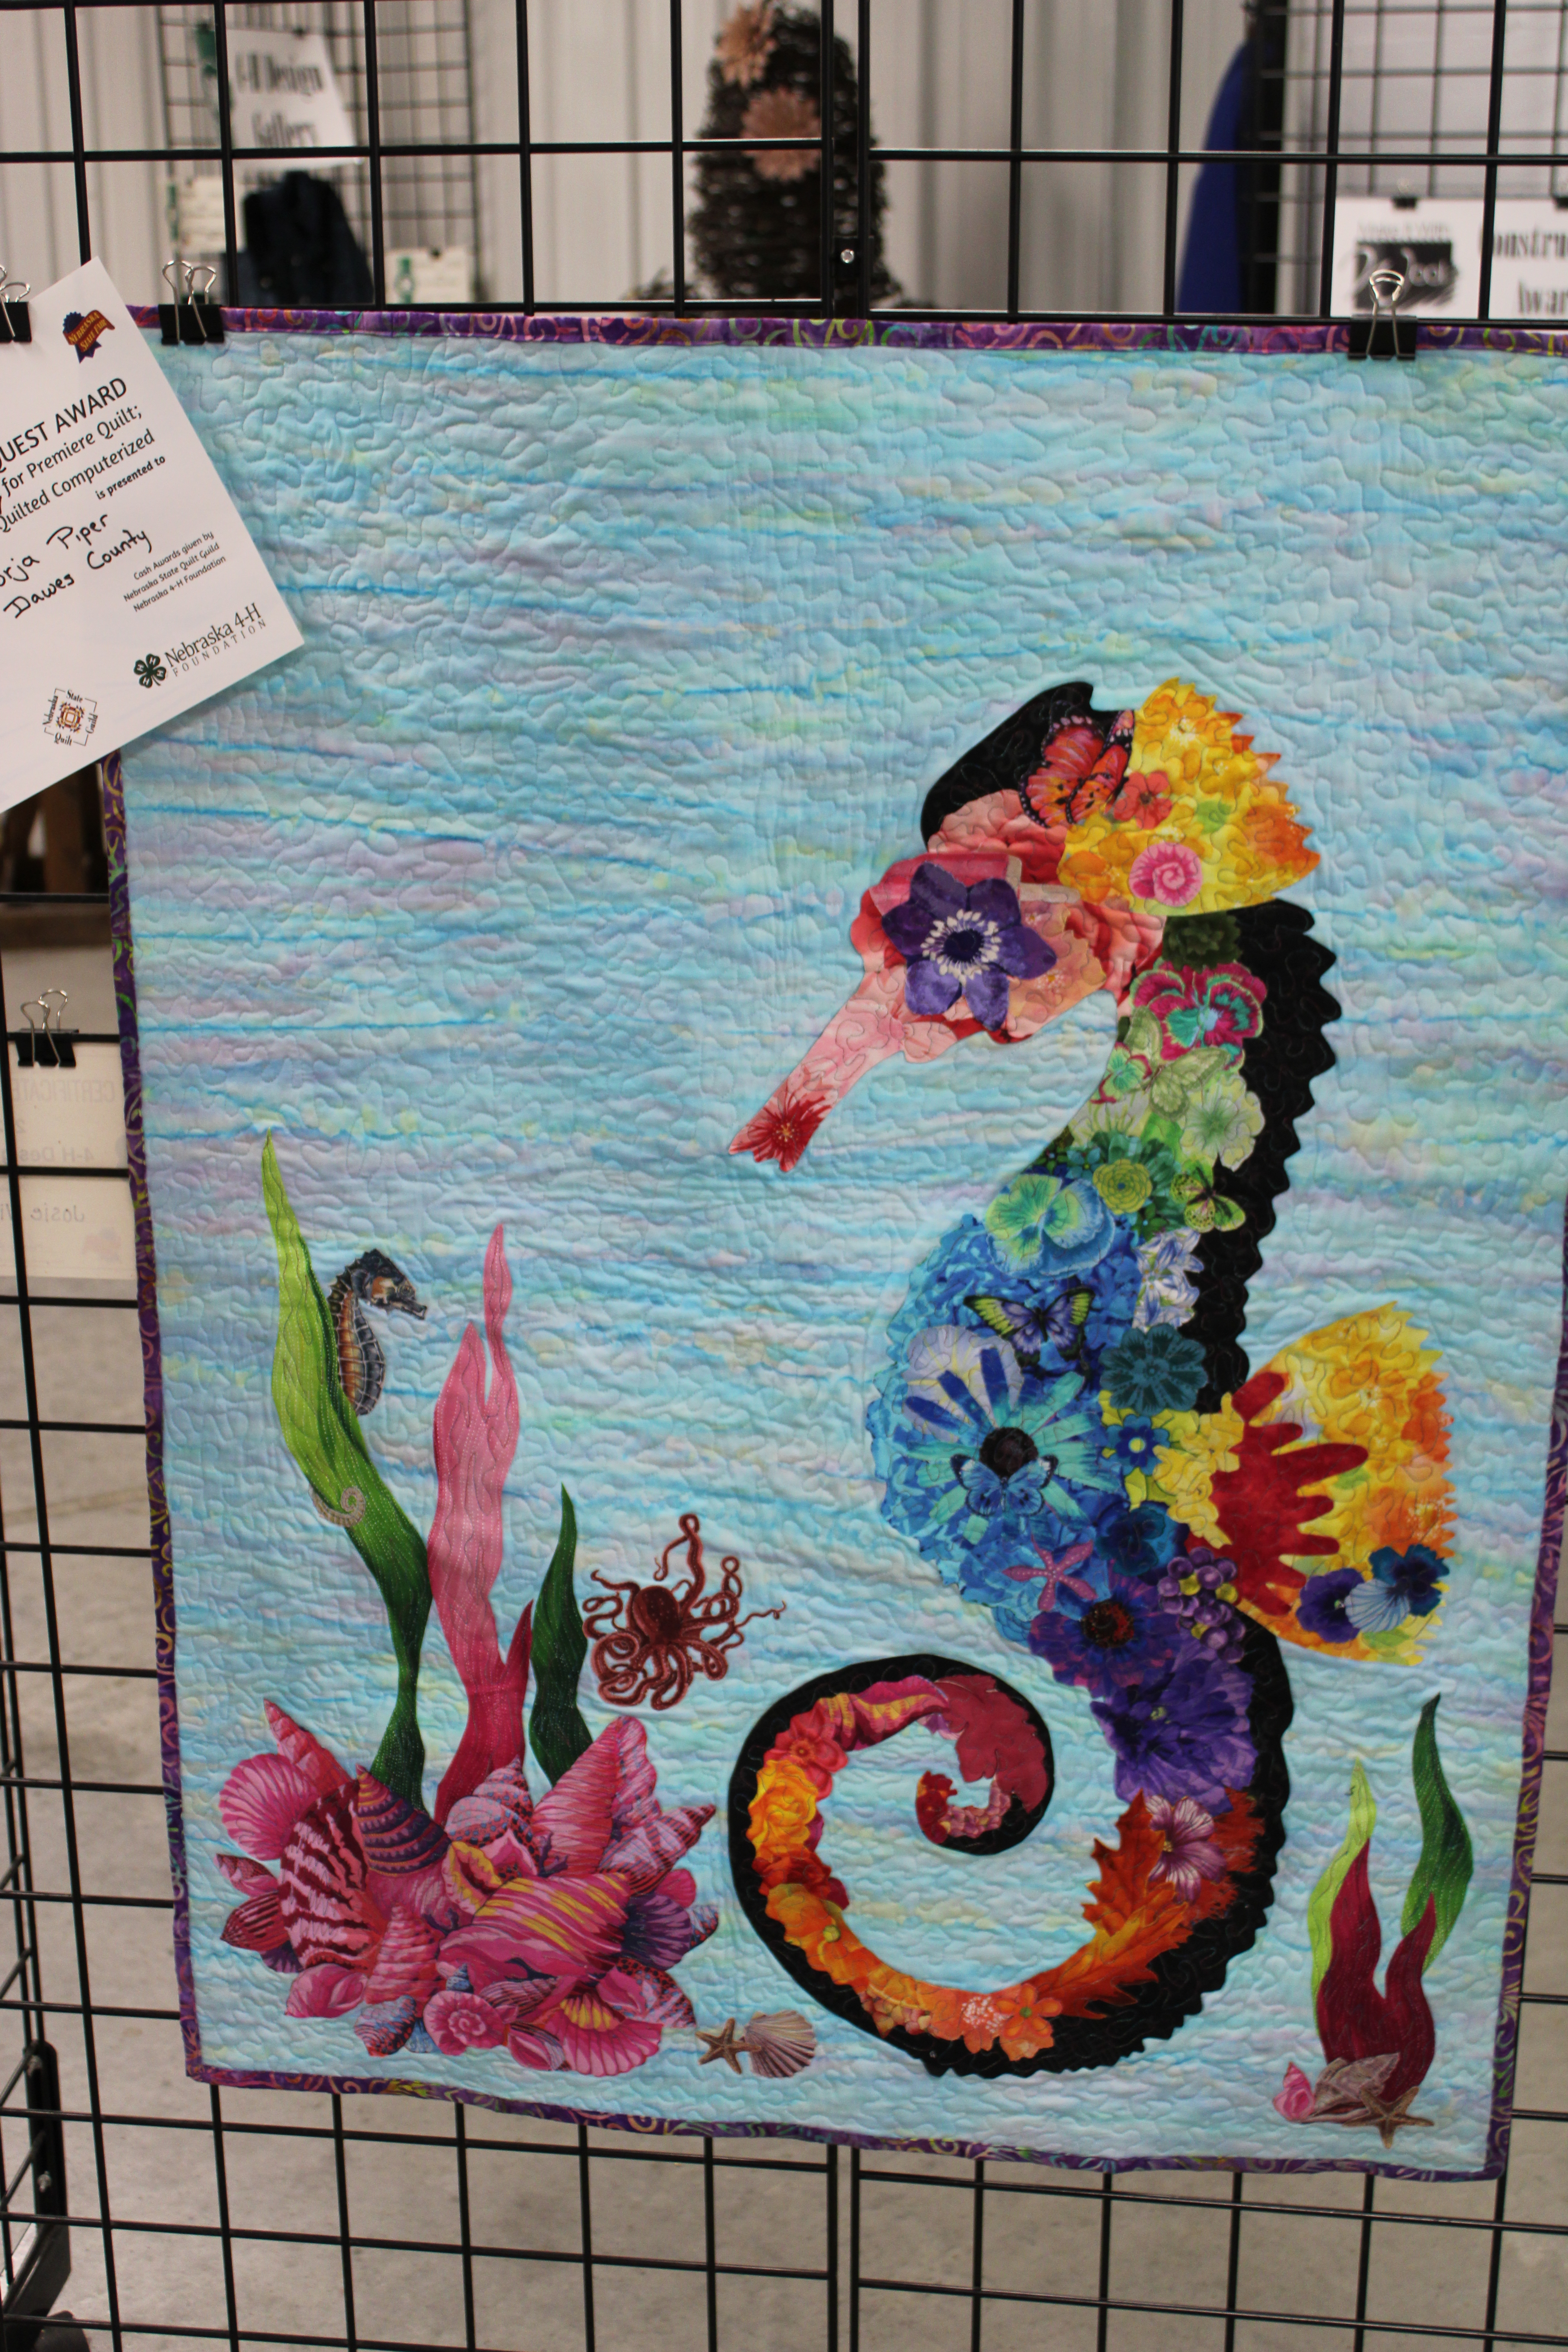
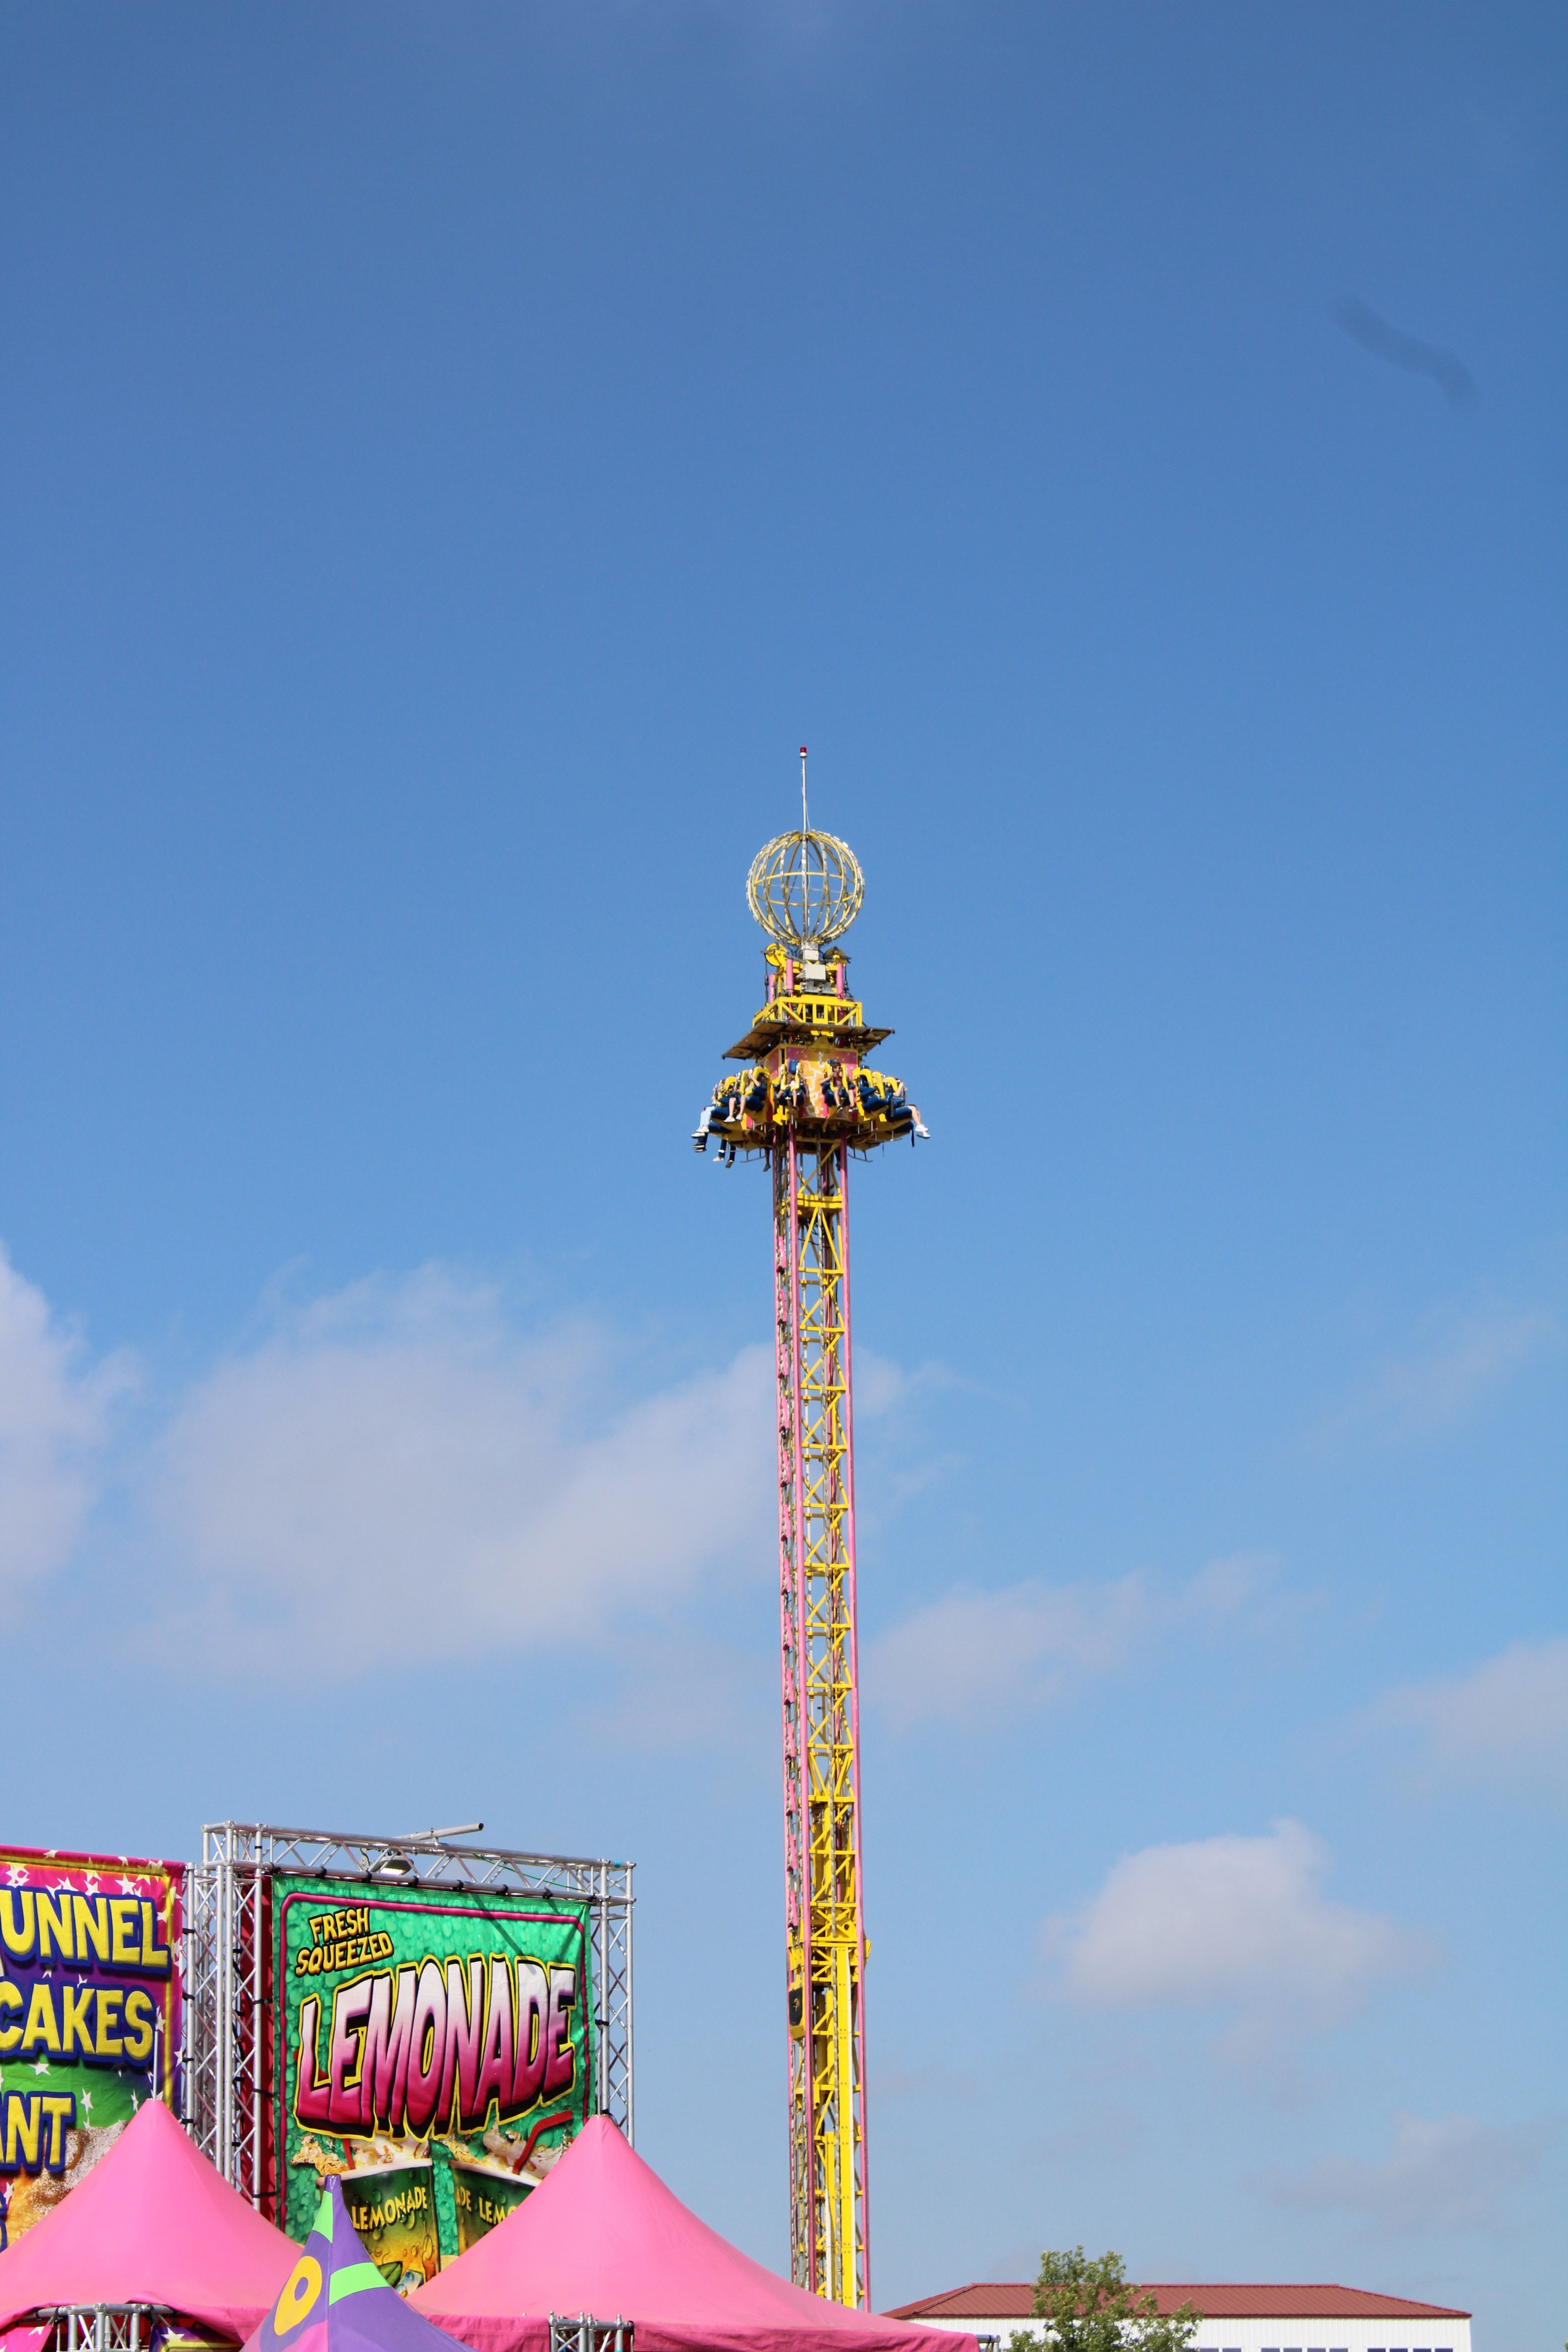
I am usually out of town when the when the Nebraska State Fair rolls around. This year I made it back into town just in time for its very last day. The Nebraska State Fair isn’t just about the carnival rides, its mainly about 4H and FFA. There is livestock, food, crafts, woodworking, quilt and many more competitions. There are food vendors and other vendors displaying their merchandise, entertainers, and concerts. Here are some pictures from the fair:
Beautiful Painting of a Horse13 Year of Noah Anderson made a Saddle.Quilt by Jorja PiperWorld Largest OverallModel RailroadSuch a pretty cowRidesUmmmmmm
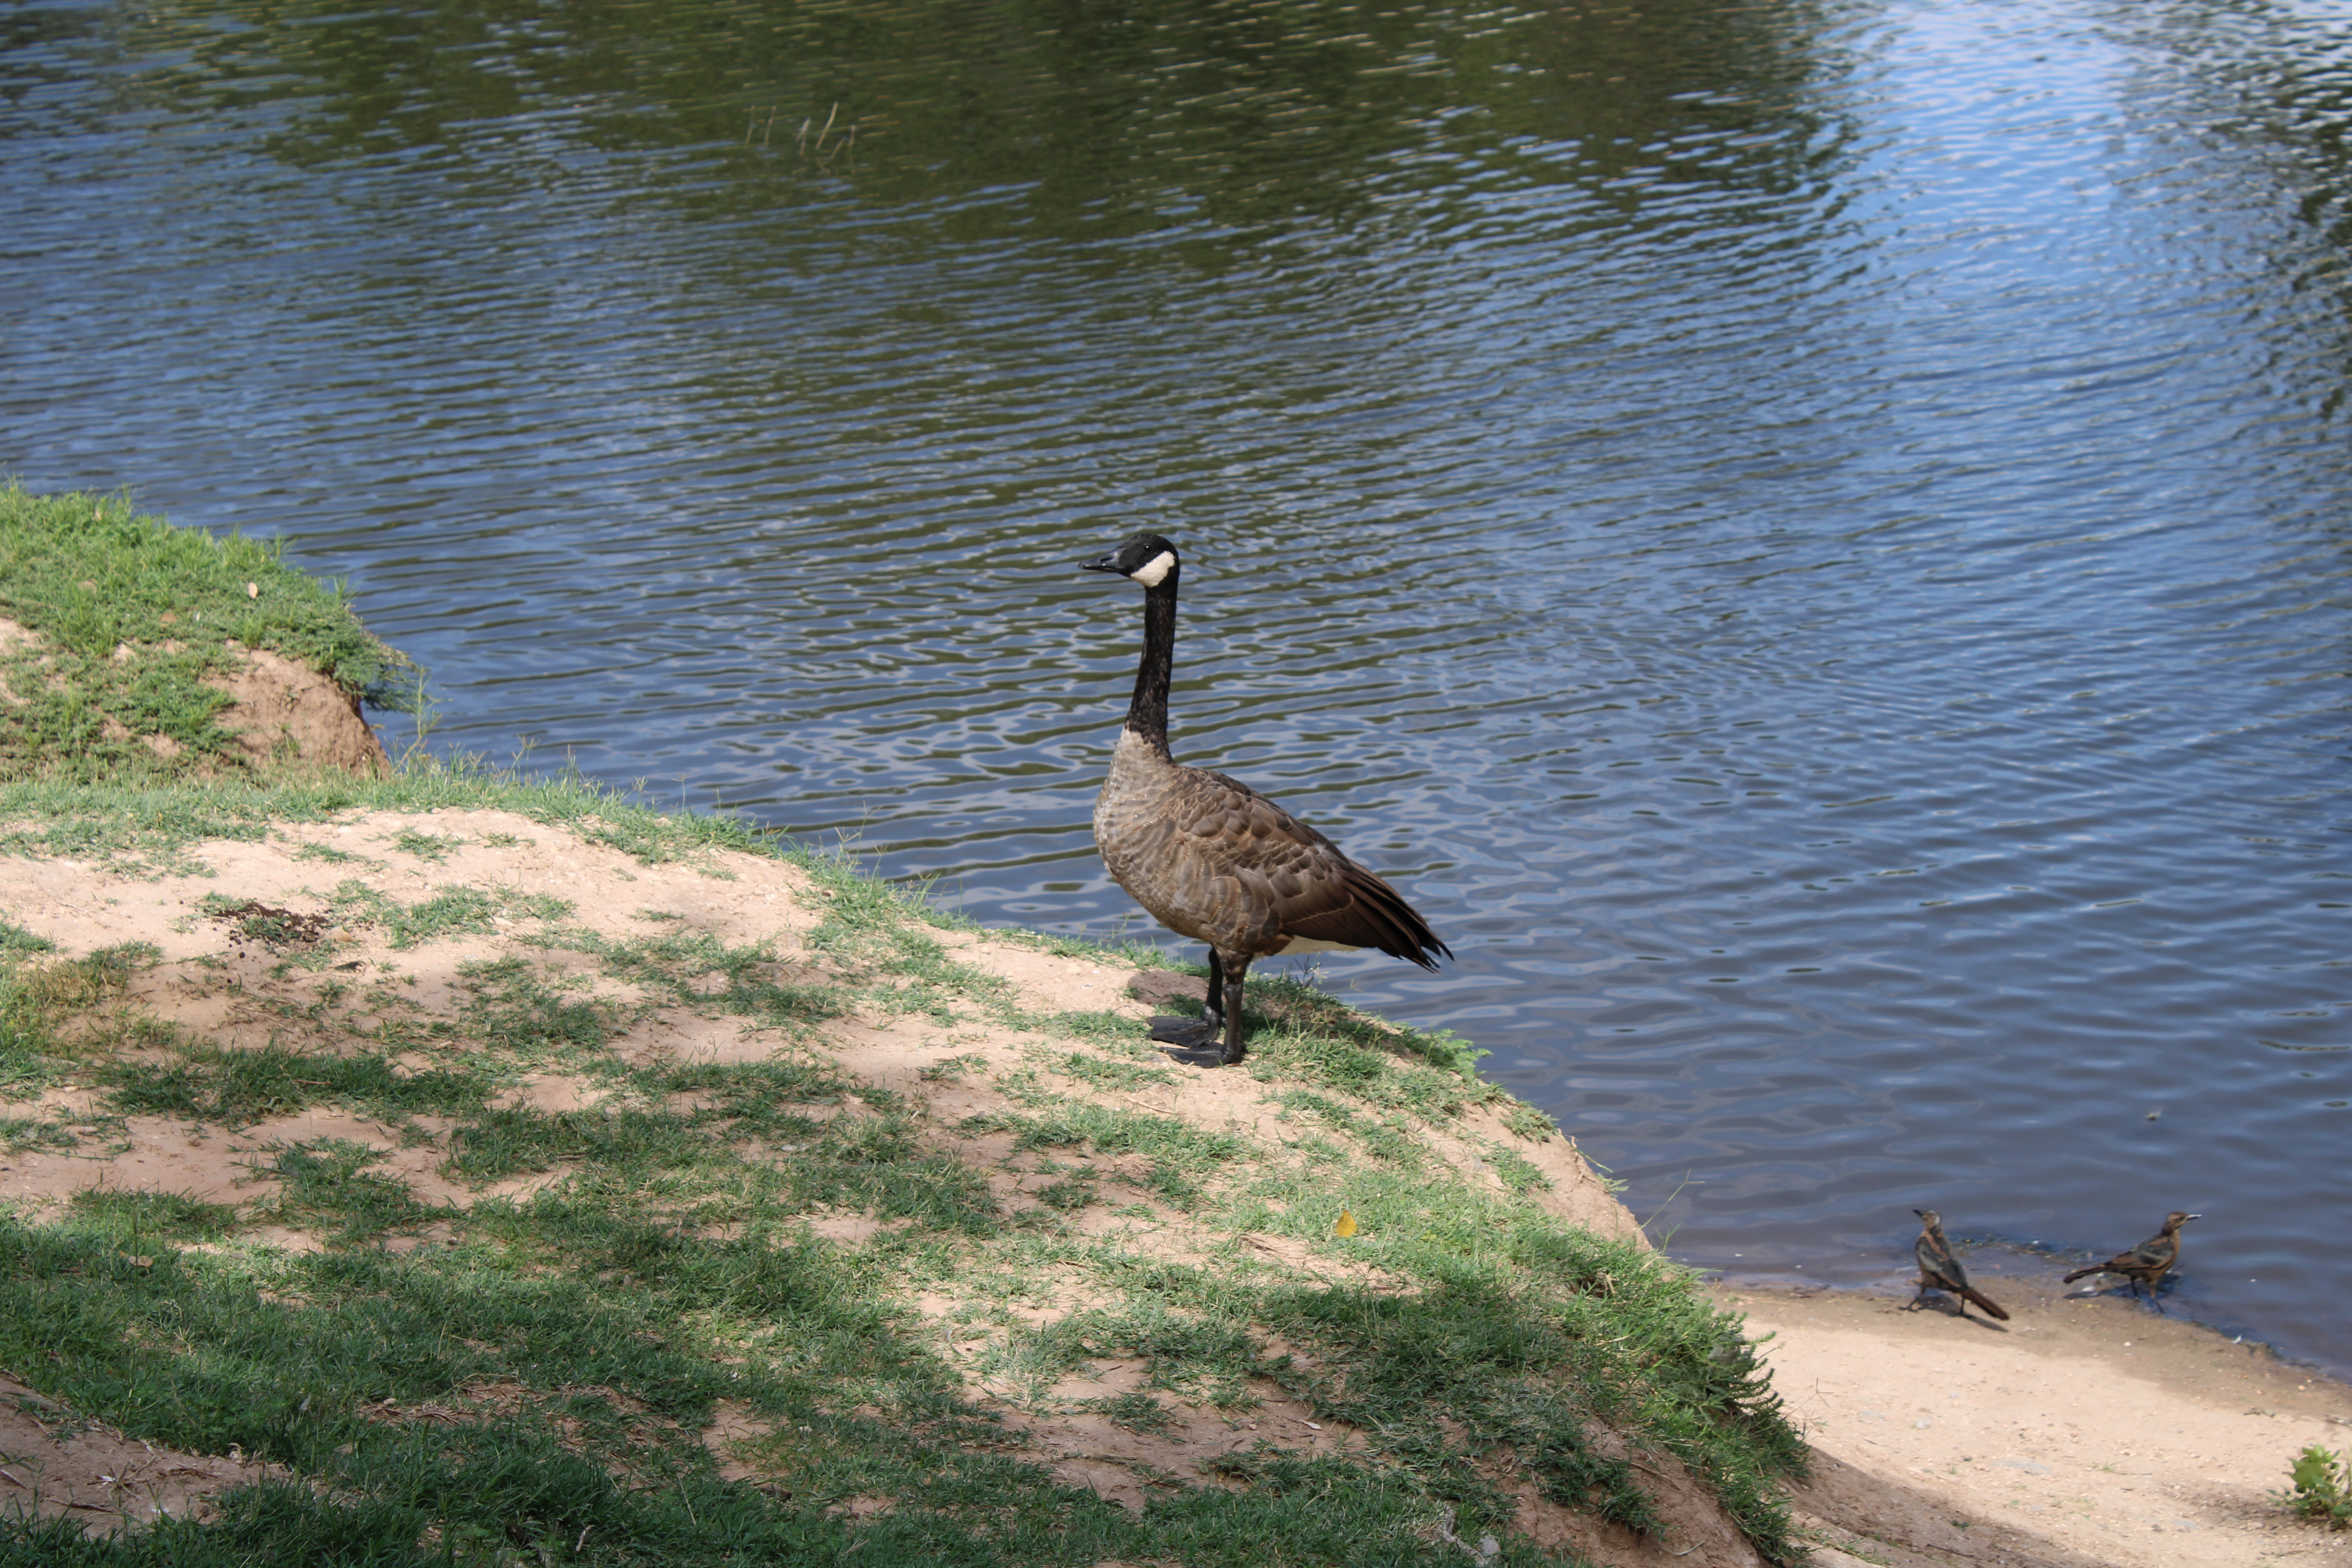
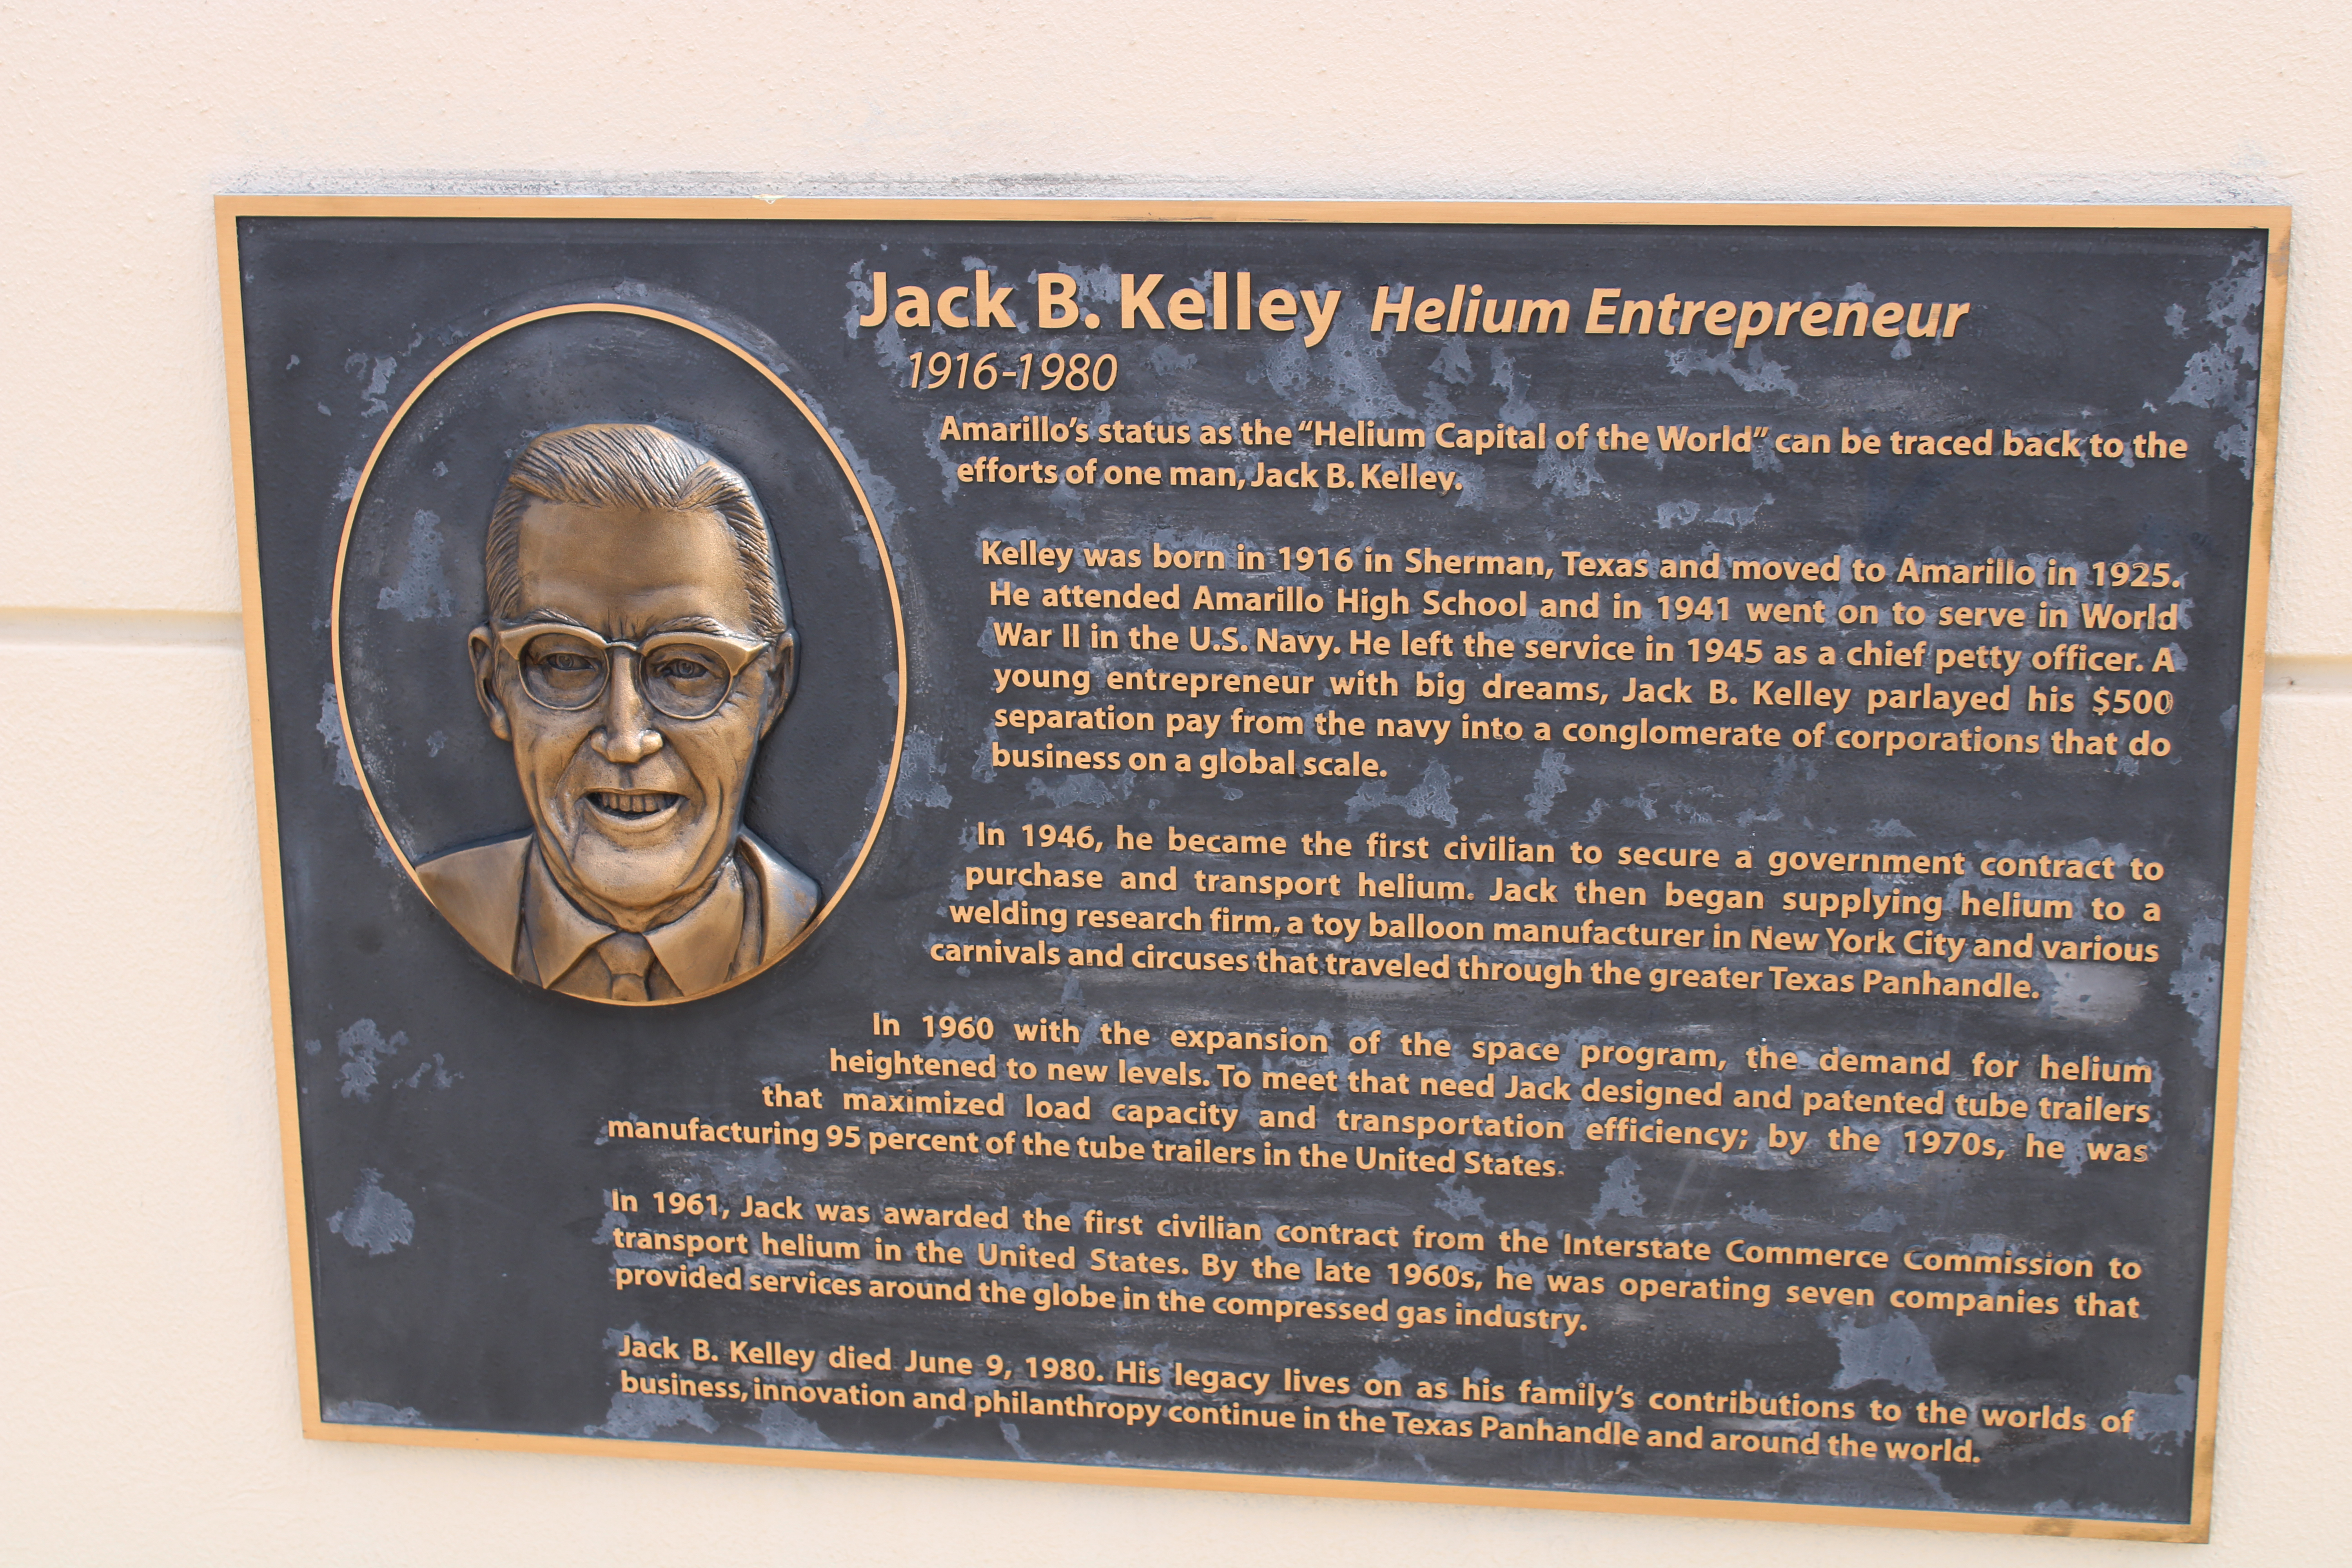
Amarillo is located in the Texas Panhandle along the historic Route 66. They are known for Palo Duro Canyon (America’s Second biggest canyon) and Cadillac Ranch. Amarillo is also the Helium Captial of the World.
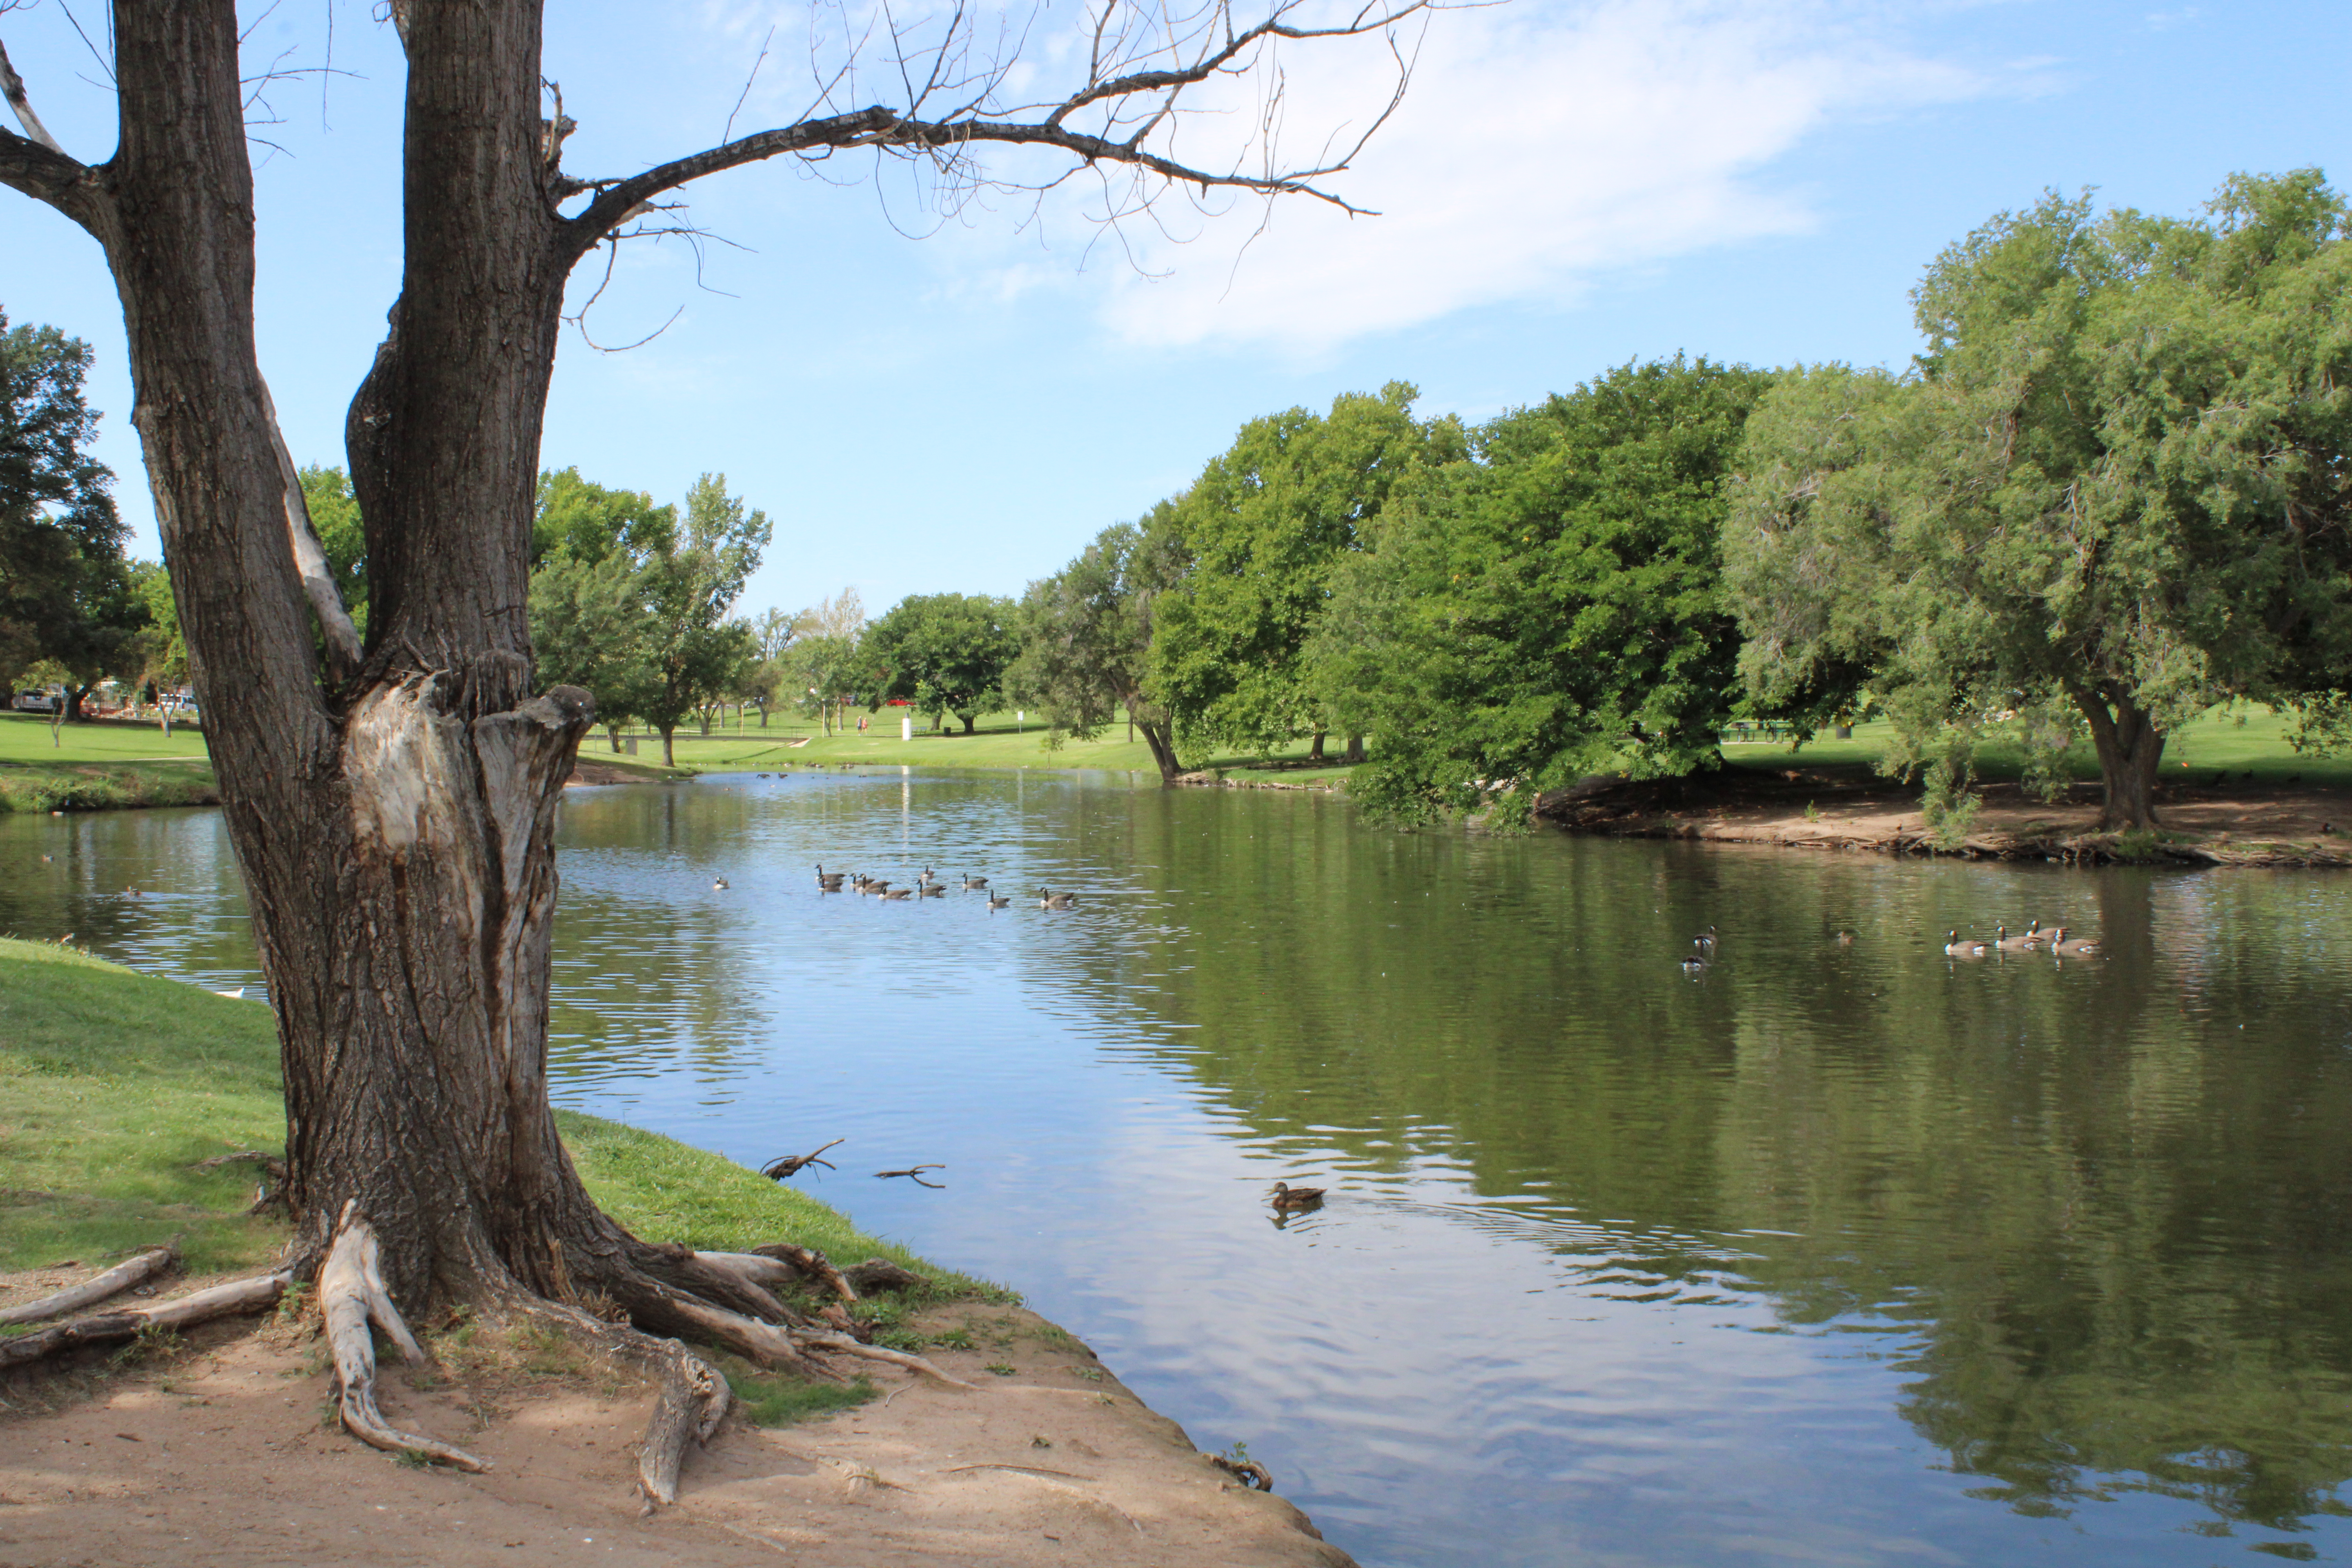
Due to rain, I was not able to visit Palo Duro Canyon. There is a nice, pleasant walking path around the hospital’s complex lake.
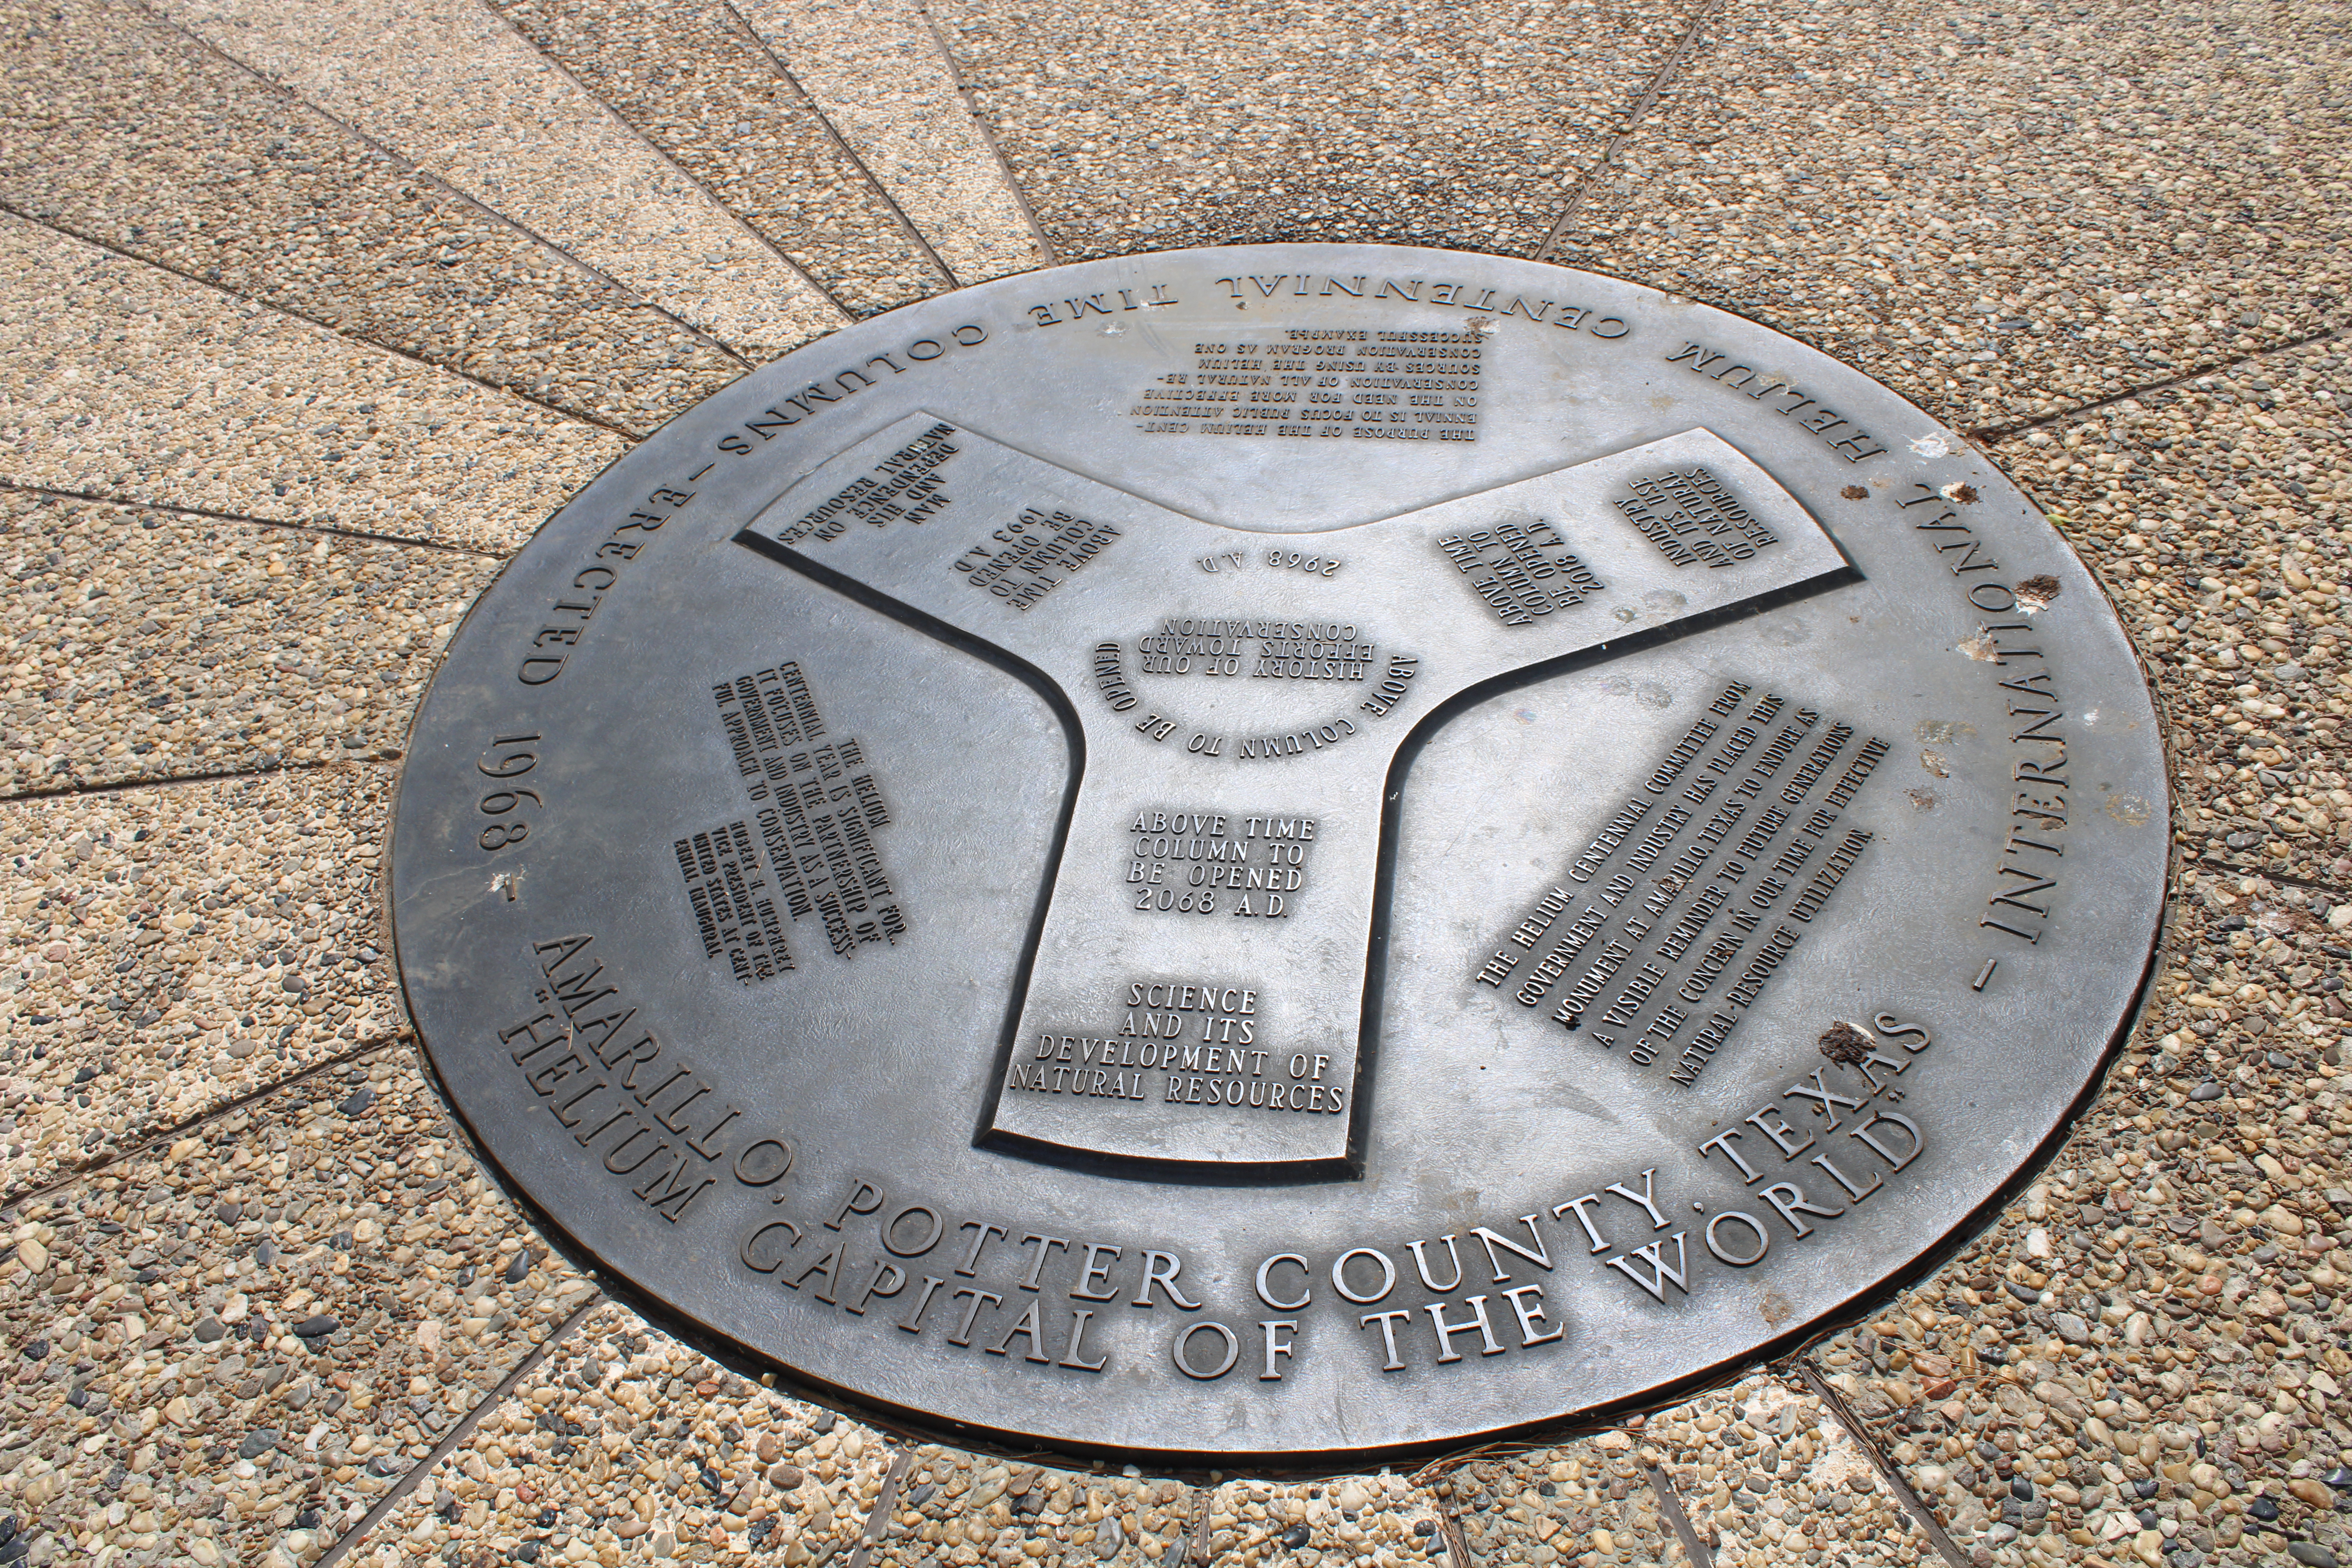
Near the lake was Helium Monument:
Cadillac Ranch is located on the west side of Amarillo. It is opened 24 hours a day. The biggest surprise was the layers and layers of paint on the vehicles.
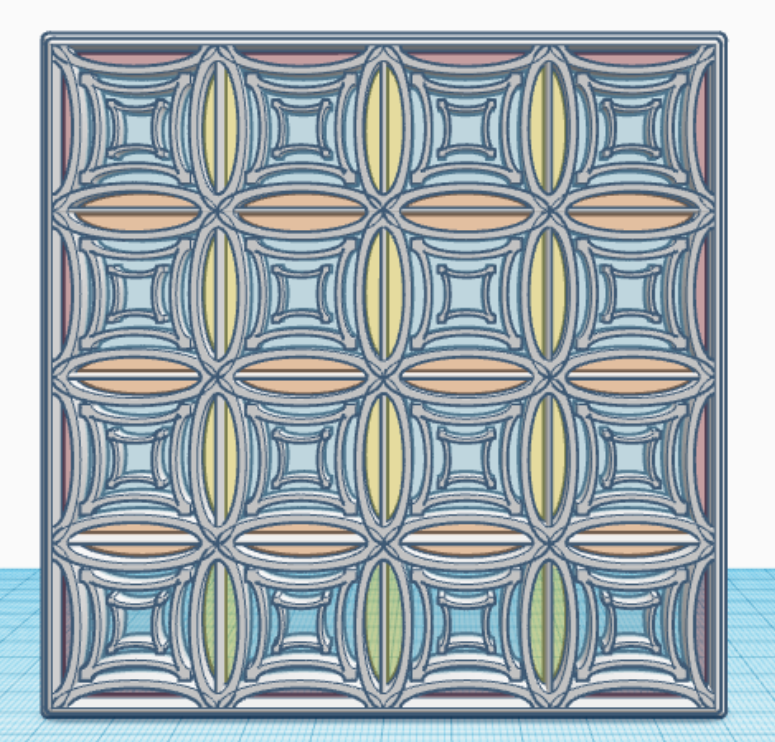
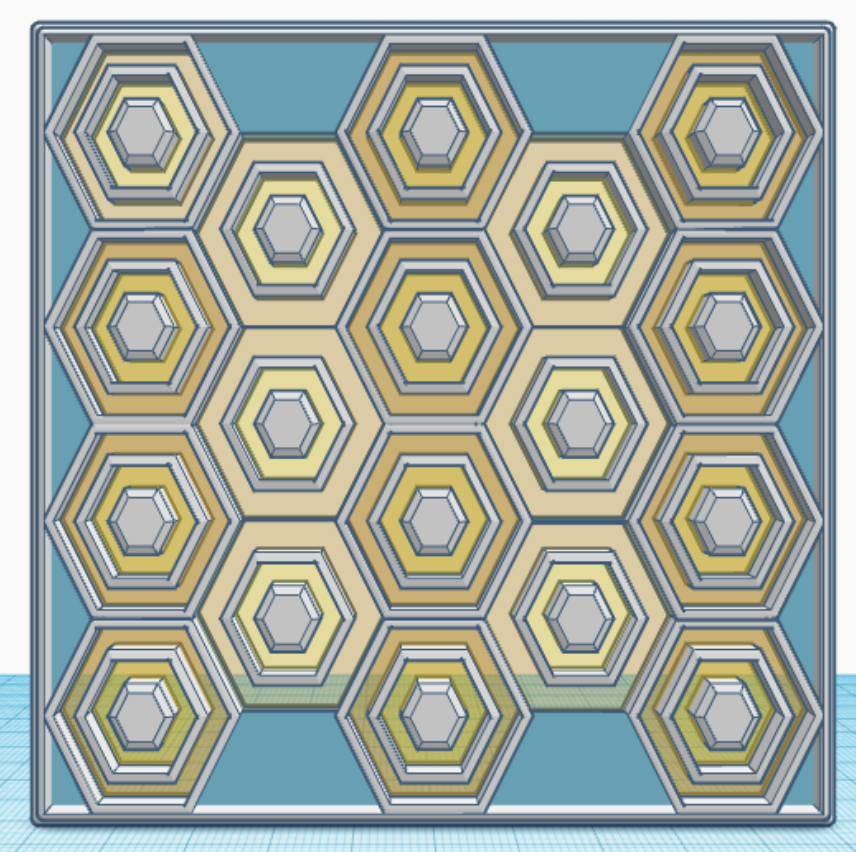
In January, I created one tile/design/pattern/window a day for 31 days. Each tile is 4″ x 4″ x 0.252″ or 101.6mm x 101.6mm x 6.4mm, which should work very well for 3d Printing. Here are examples of some of the tiles I created. They are just designs and patterns, there is no hidden meaning behind a tile.
Tiles created with Tinkercad.
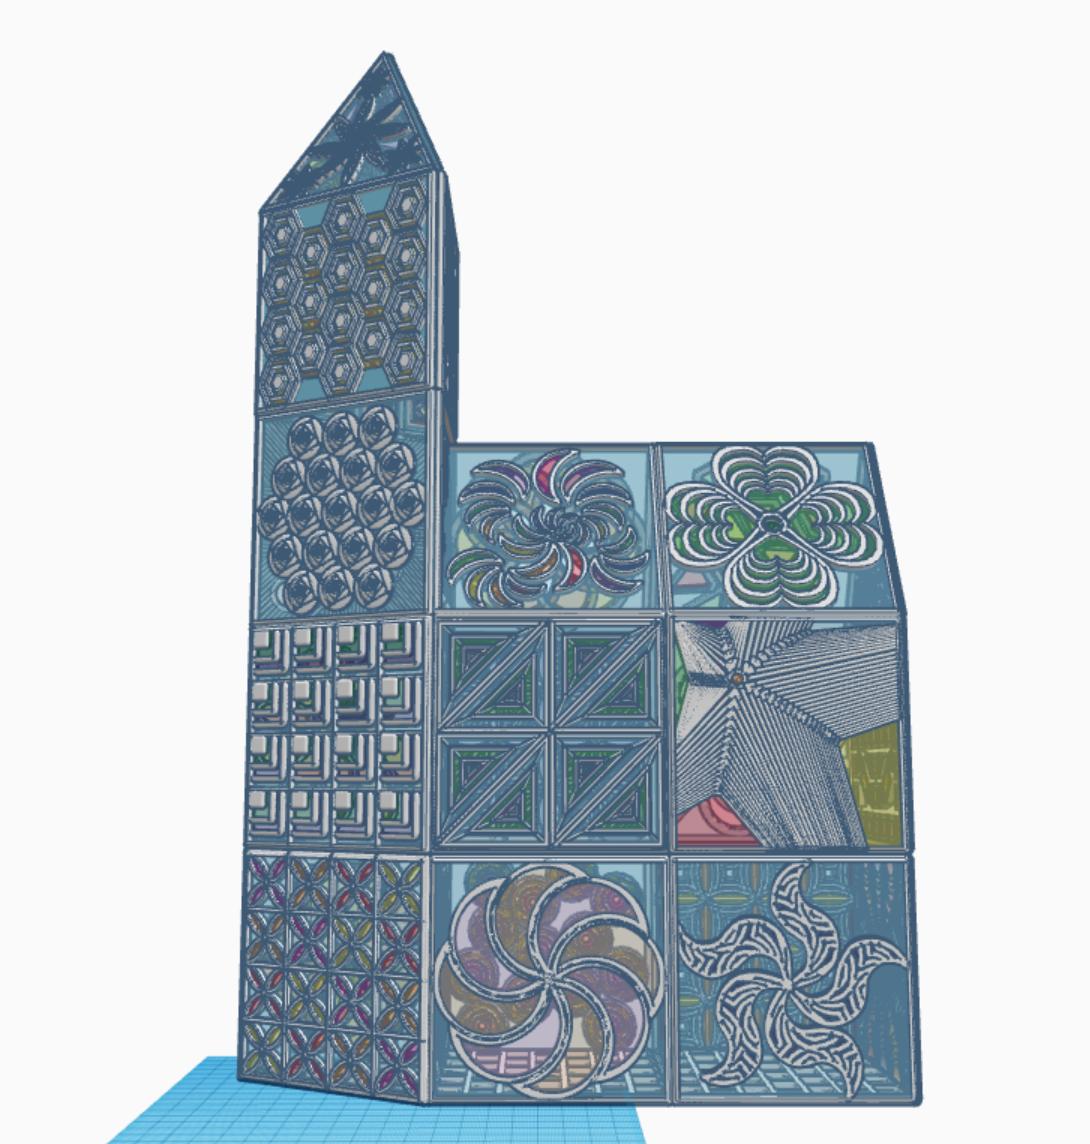
What can you create with these tiles? I created a Glass Tower in Tinkercad with the 31 tiles. The only tile I reused was the last tile, the bottom tile, the tile I used for the floor. Below are pictures of my Glass Tower. The 3D view is available at this link: Glass Tower
Glass Tower made with Tinkercad
All the tiles are available for copying and tinkering on Tinkercad. What can you make with these tiles? A square, a window in a building, a charm for a necklace. Just use your imagination and log on and search for sarahcath under People to find a design.