Sharpies Creative Markers Review

Recently, Sharpie, you know the company that is famous for making permanent markers, released acrylic markers they claimed would “Boldly Mark on Most Surfaces.” I thought it was very interesting and decided to give the Sharpie Creative Color Markers a workout. I purchased both sets, the brush set and bullet set.

My first attempts were on black and white paper. The colors were brilliant and look good on both colors of paper and did not bleed through. The markers would probably look good on any color of paper, because the provide good coverage.

I did not try it on glass. Being water based acrylic markers, they would wash off of glass.

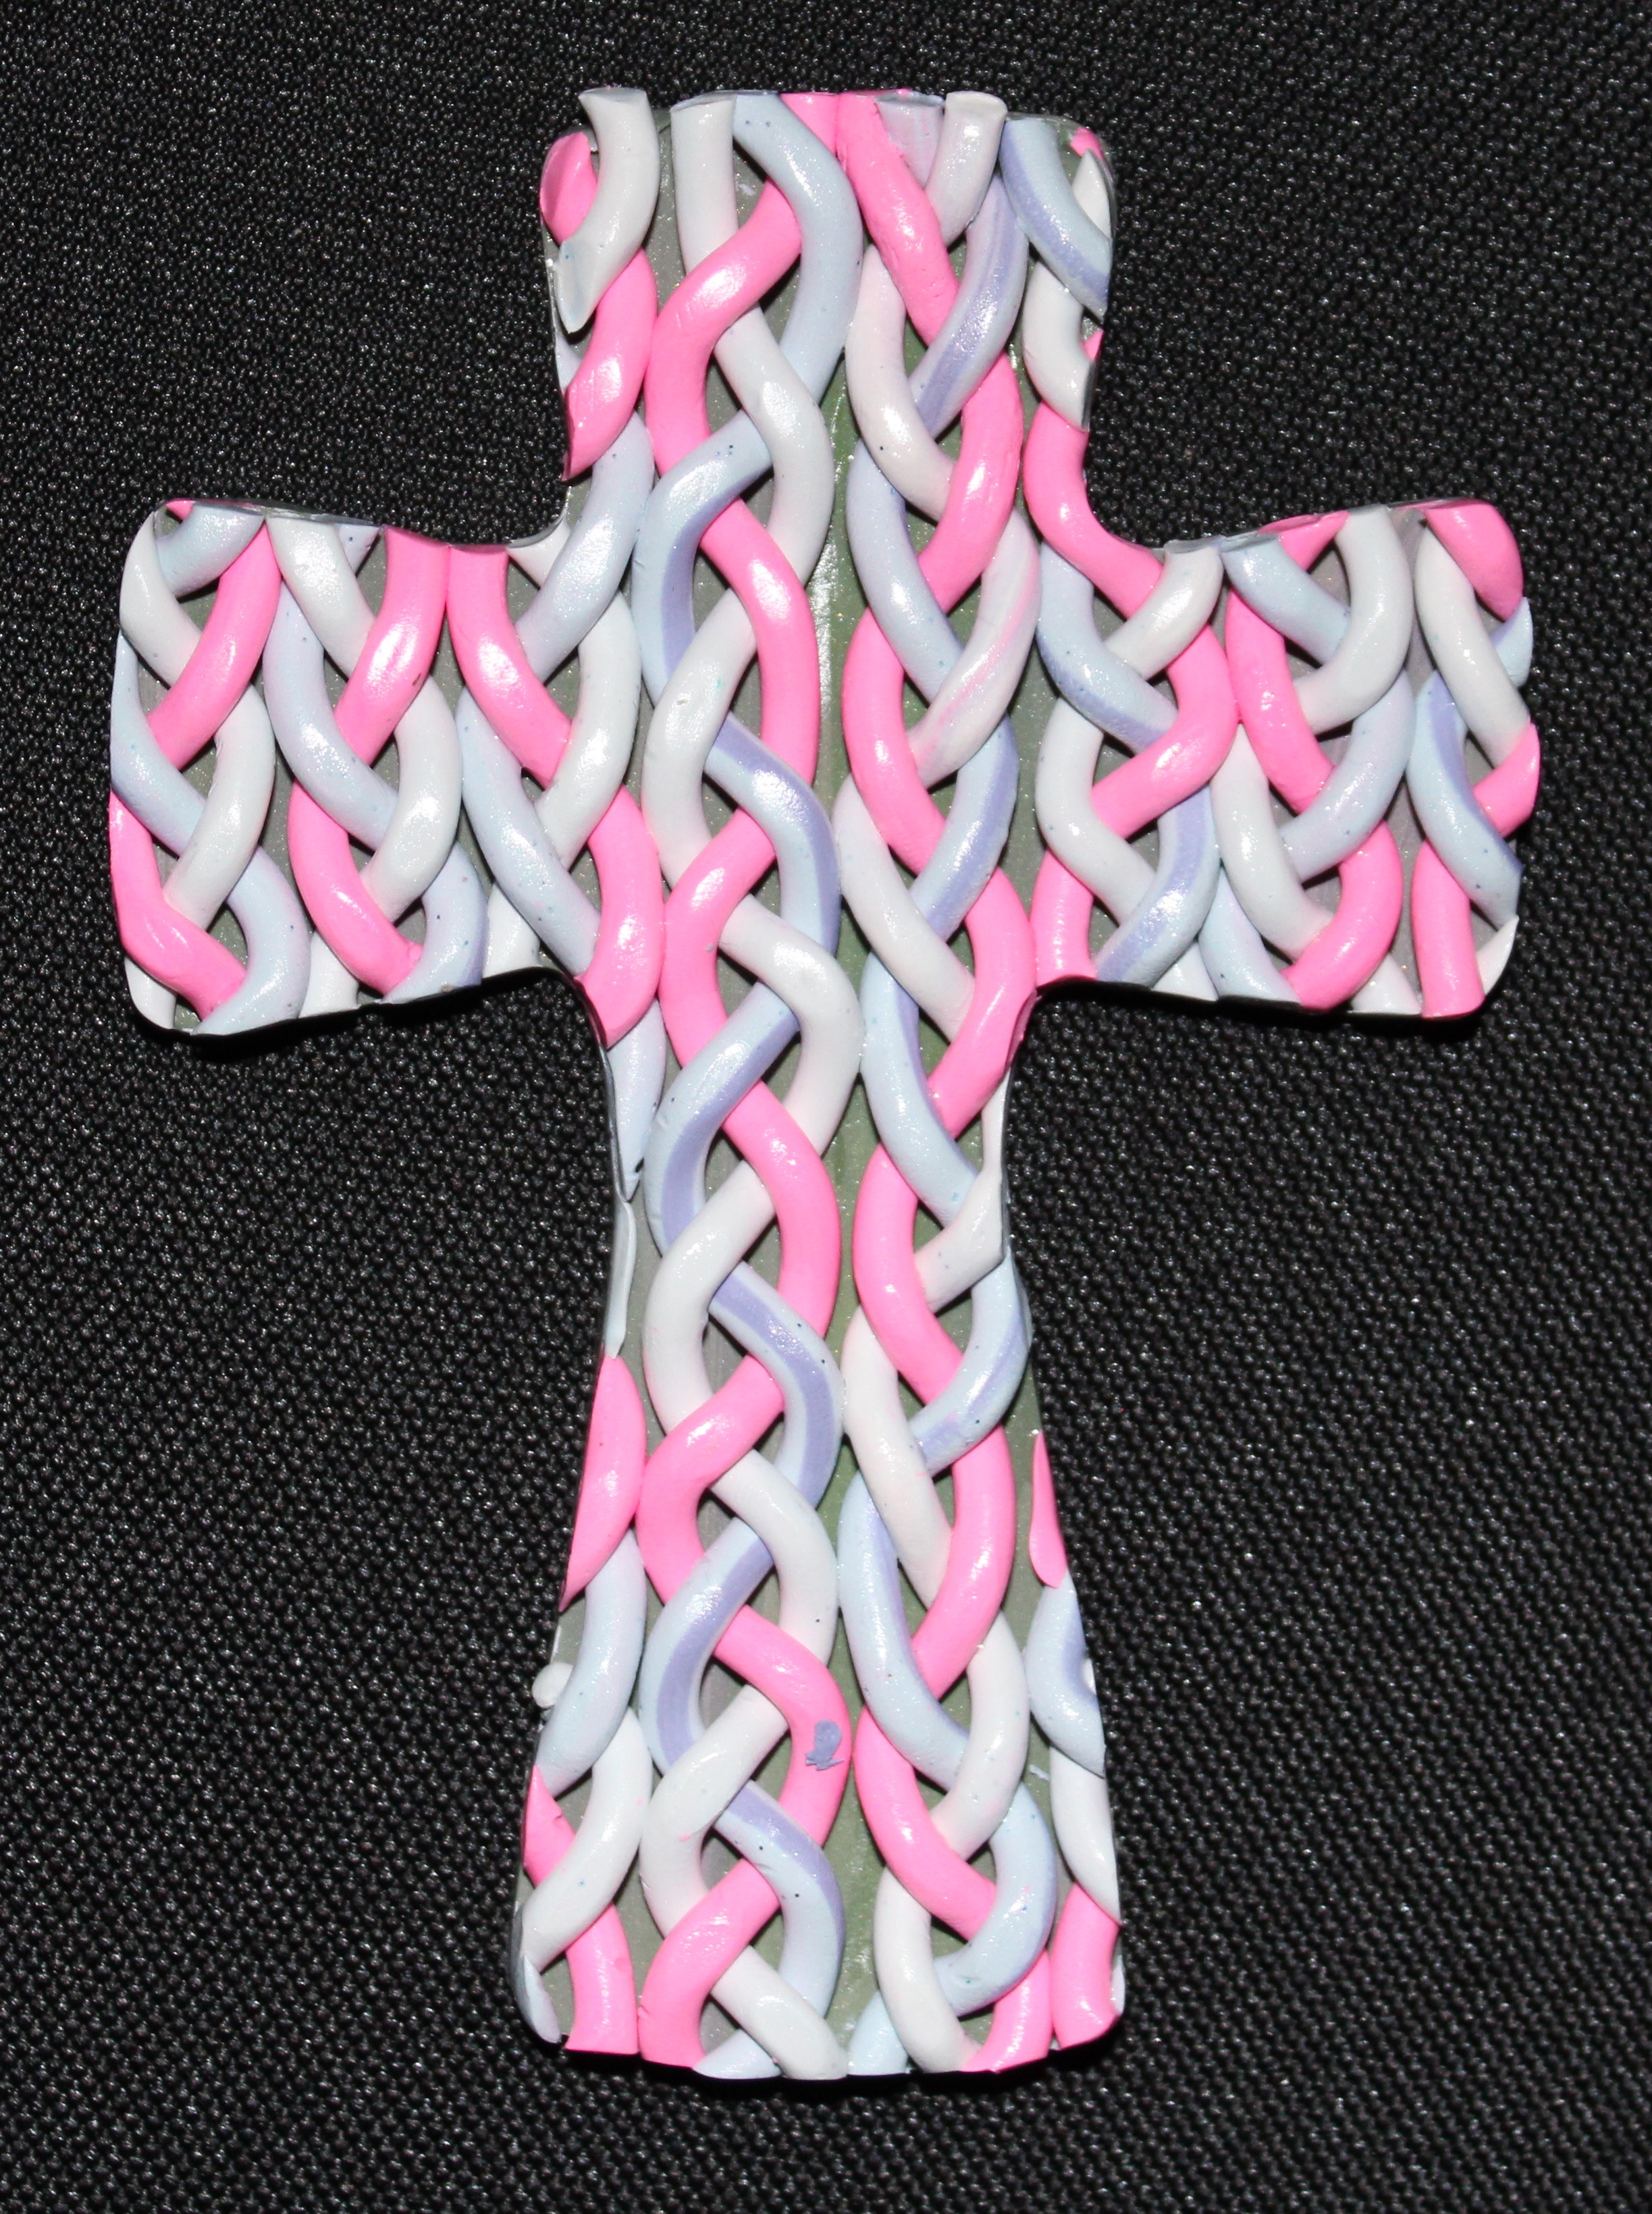
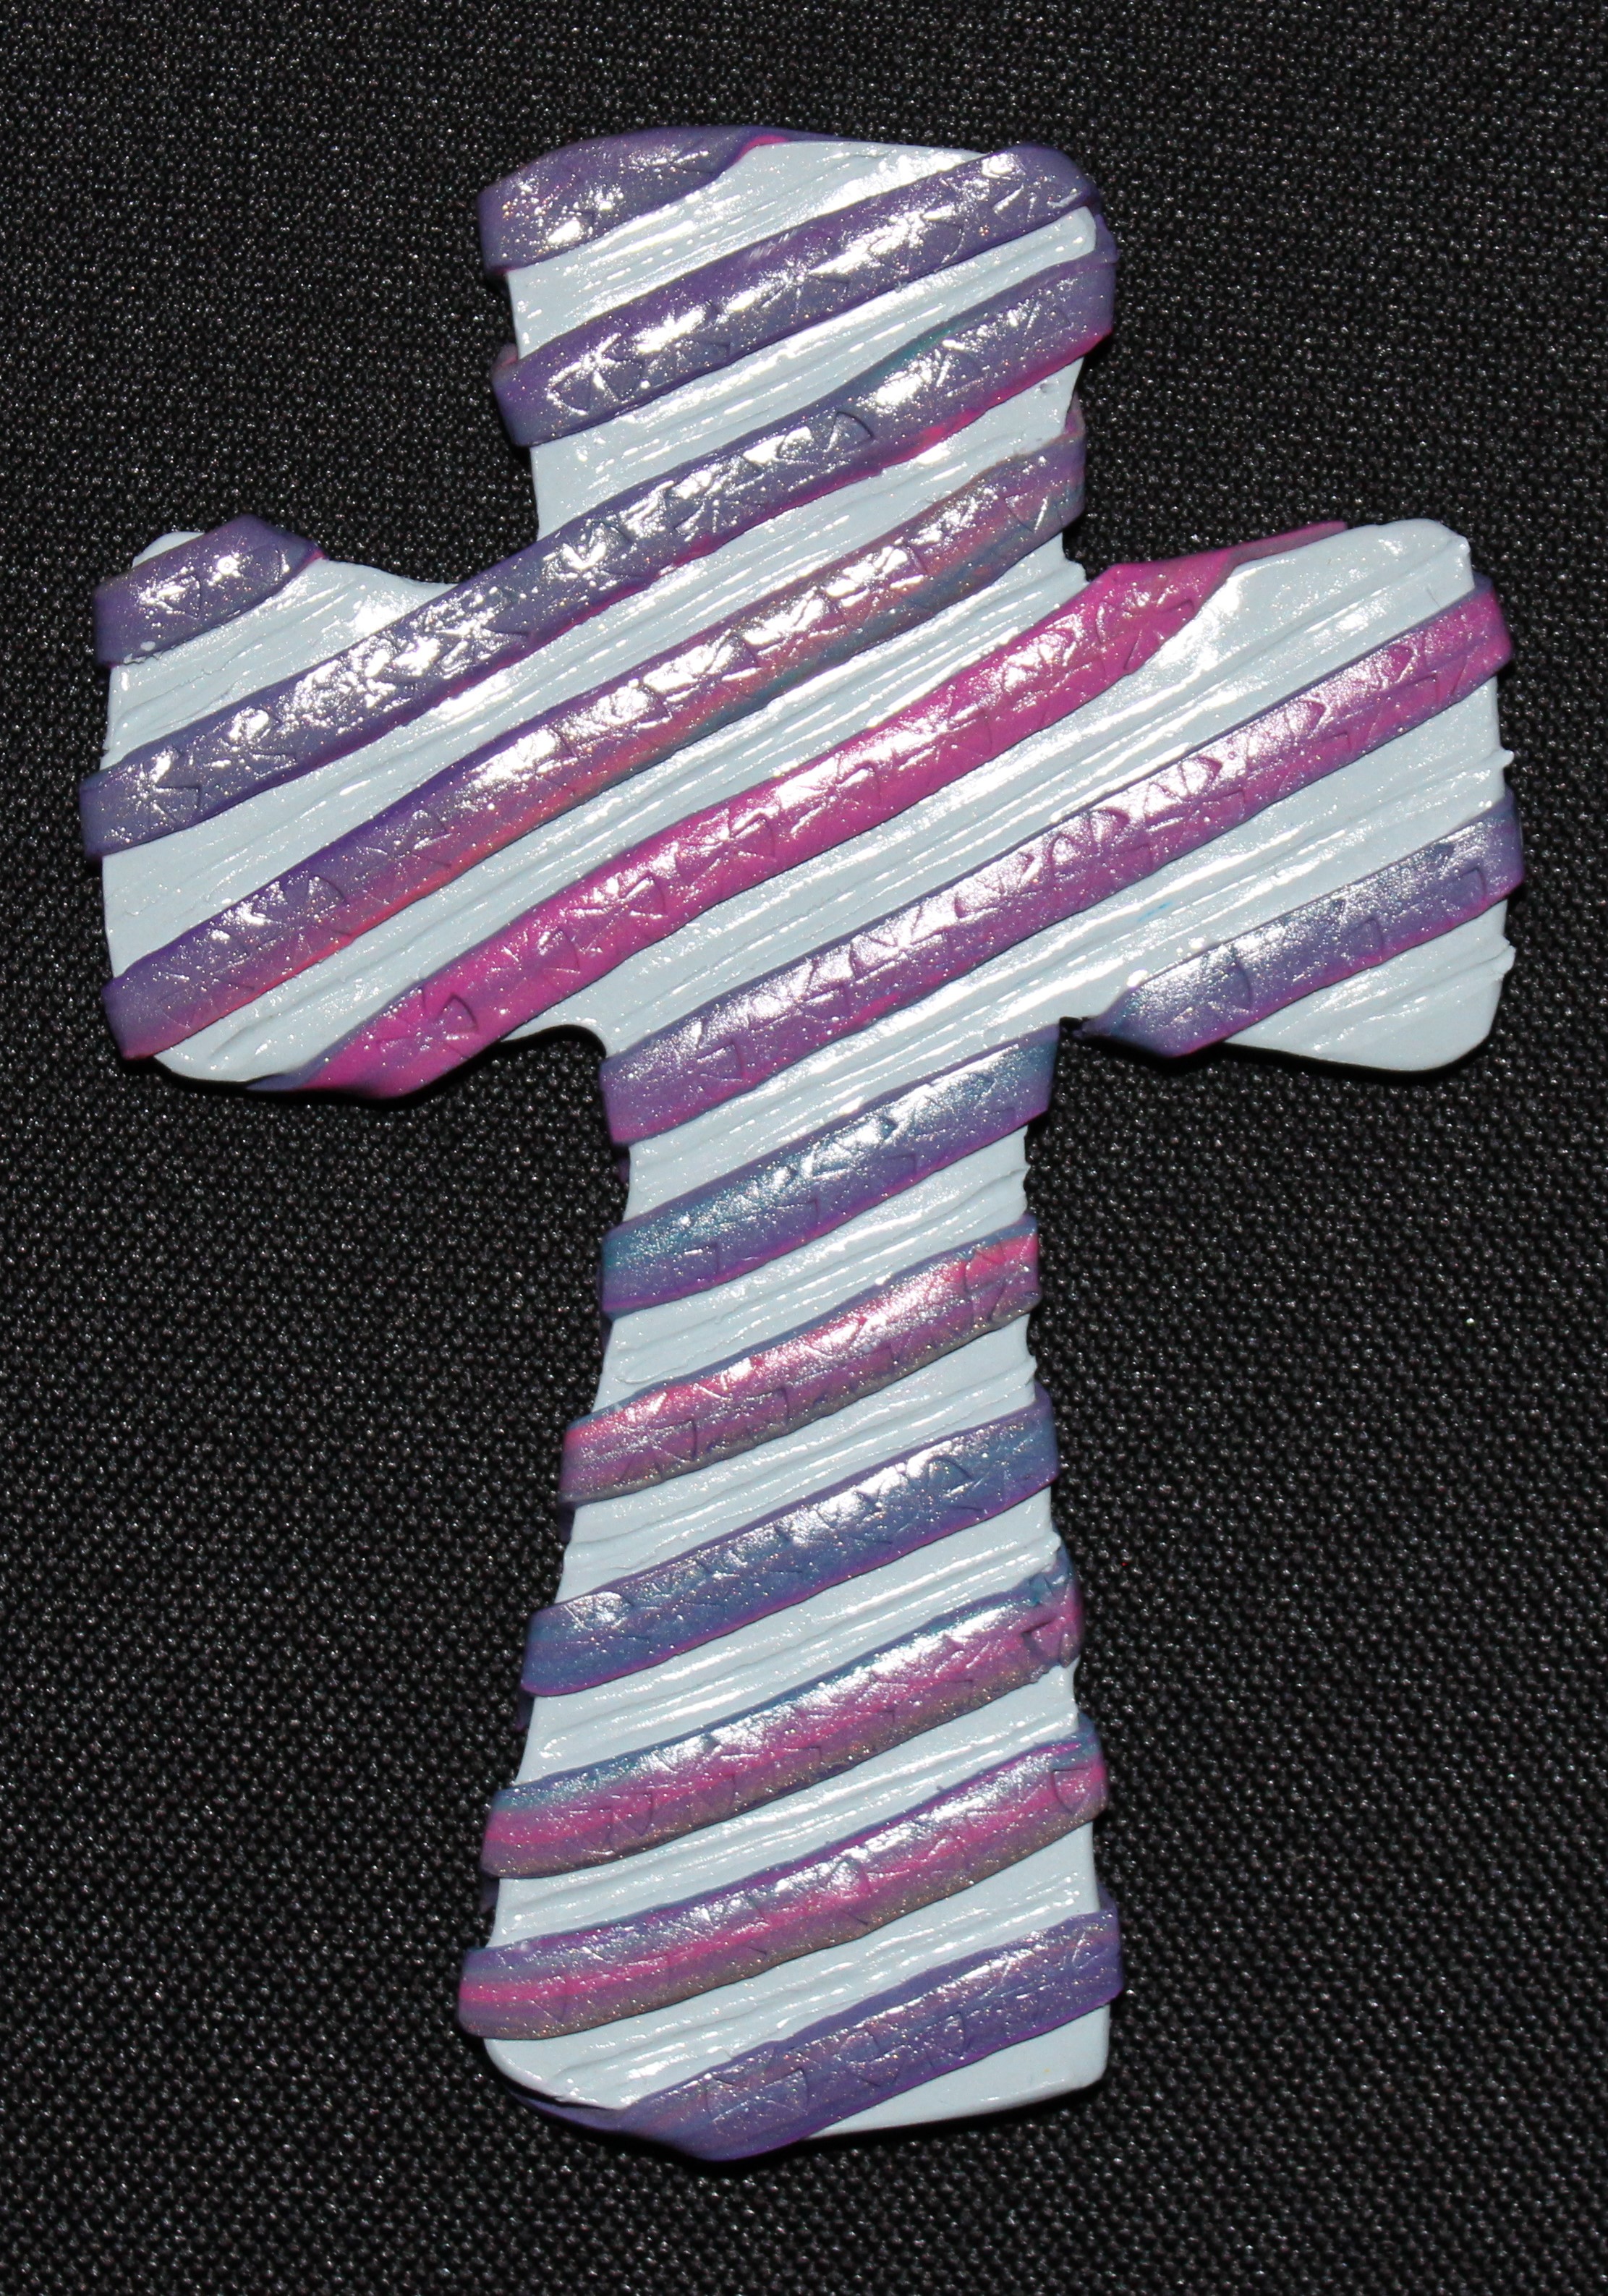
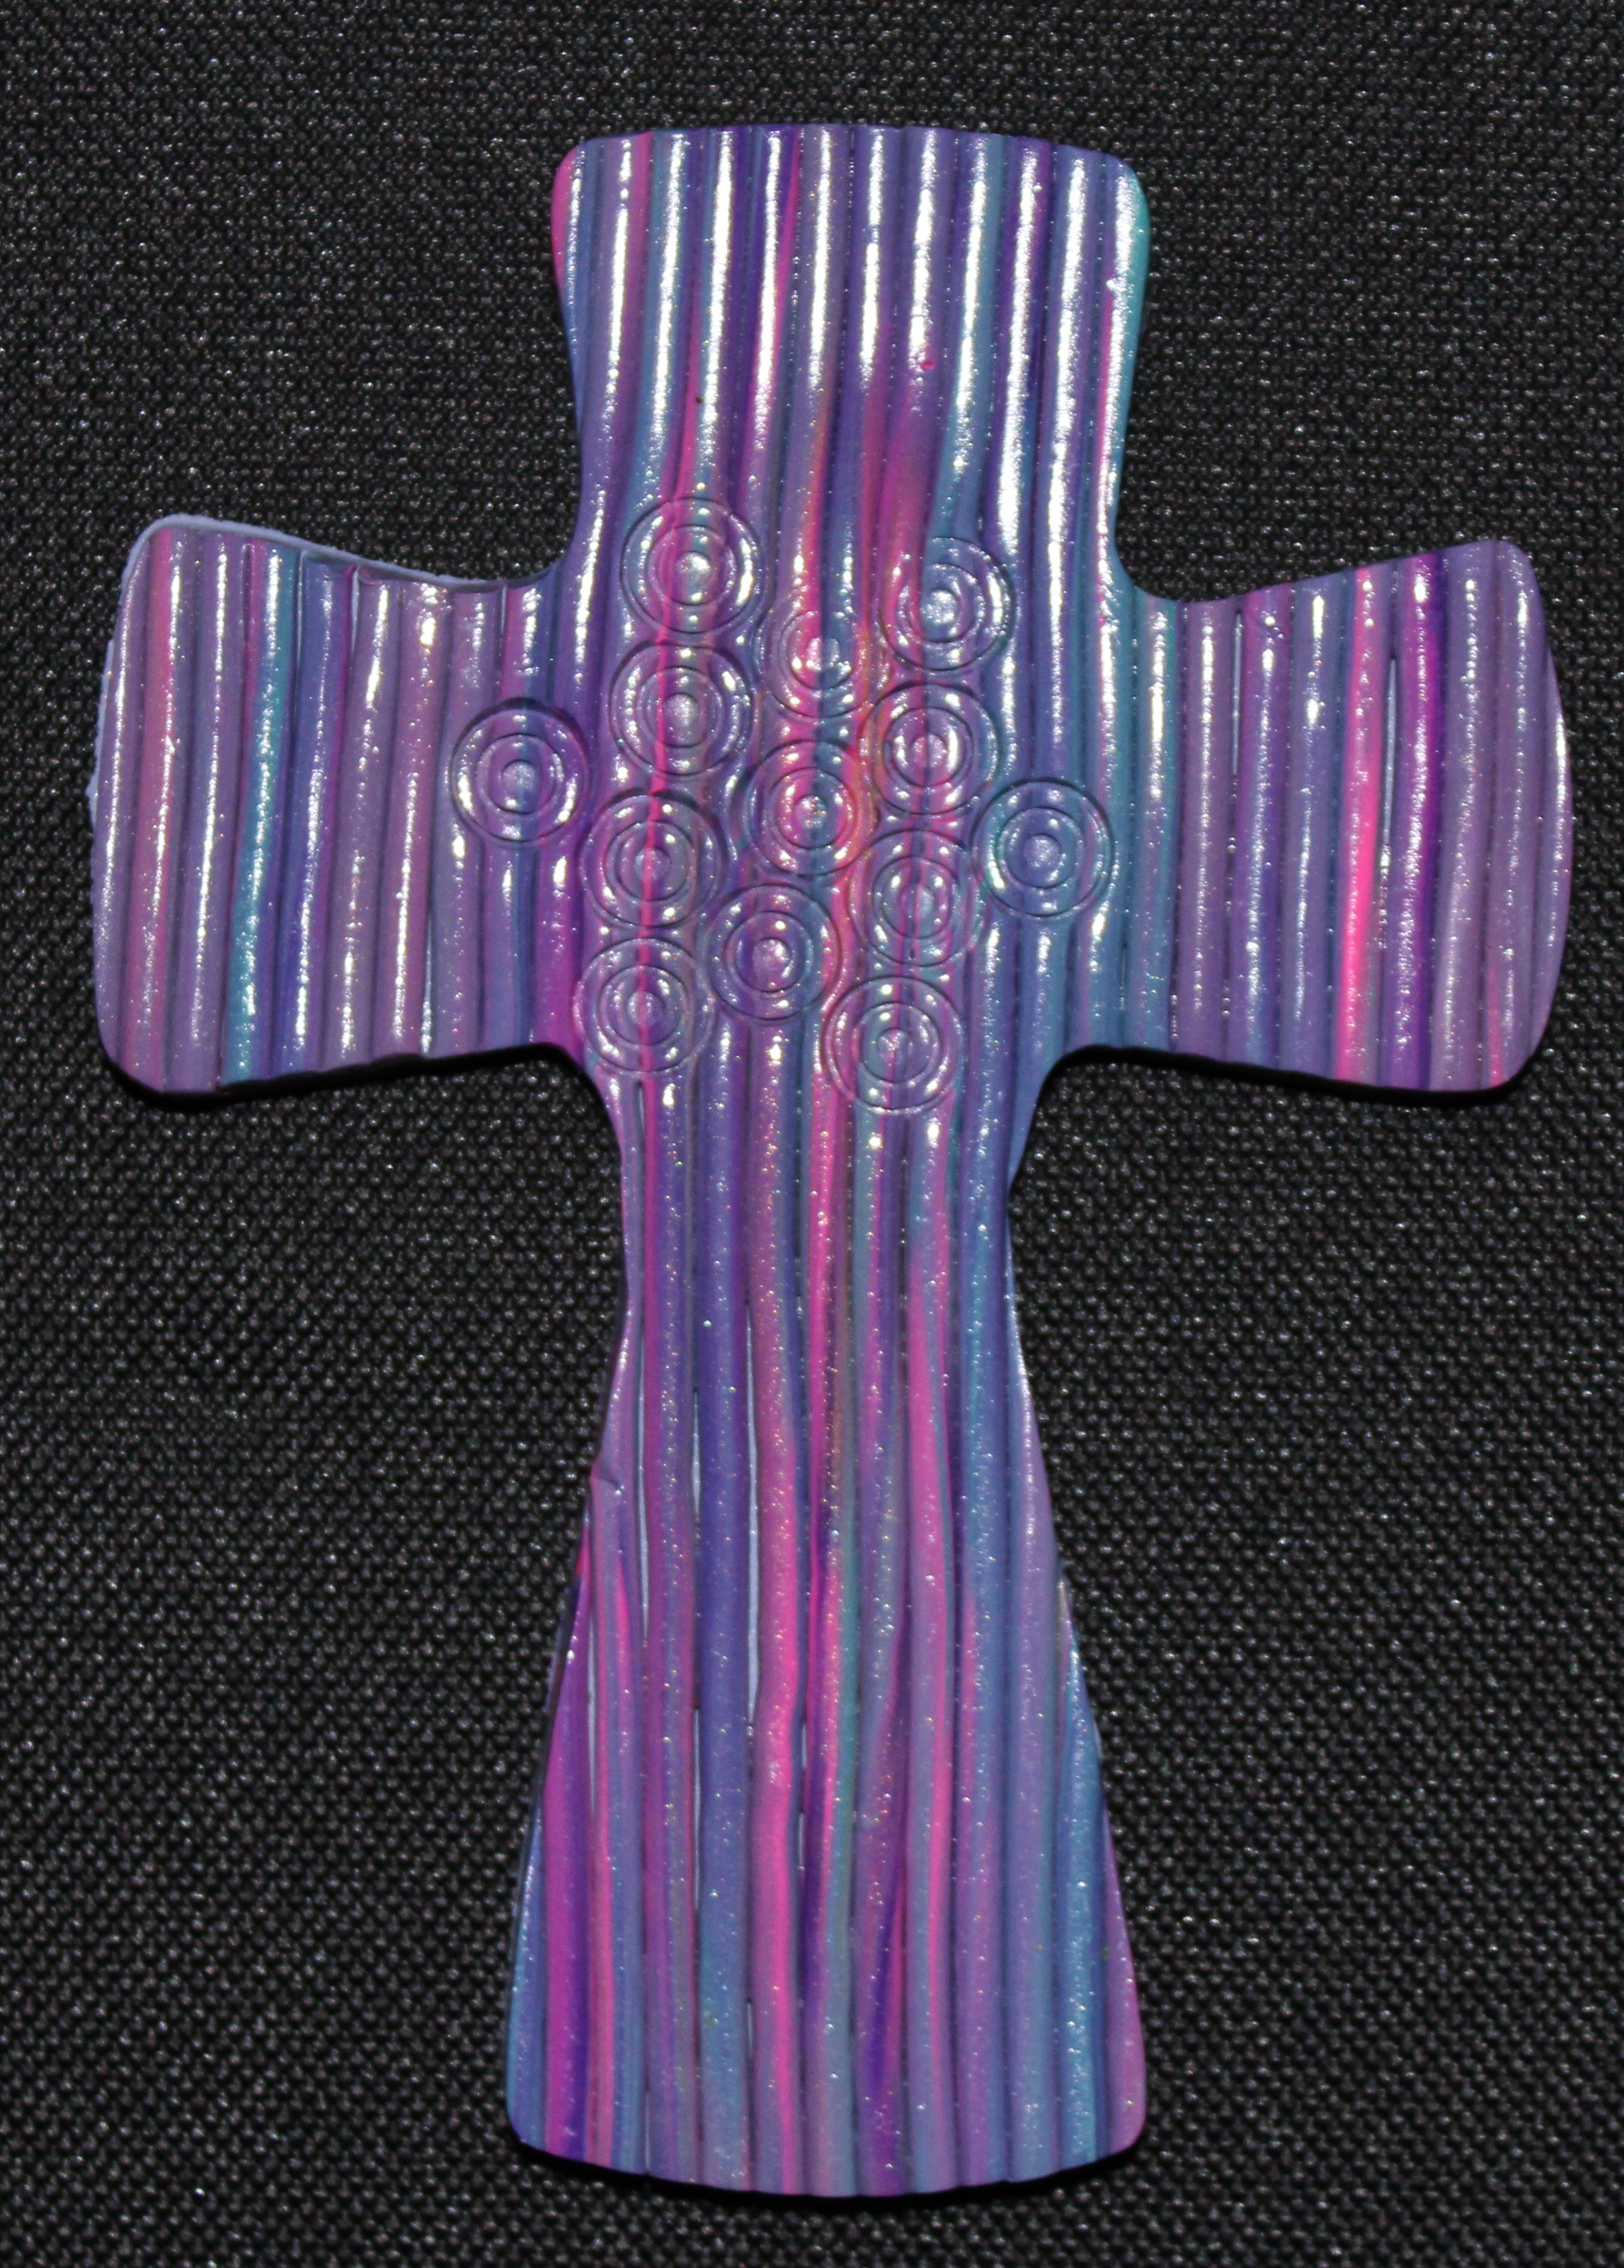
My second, third, and fourth attempts were on wood.

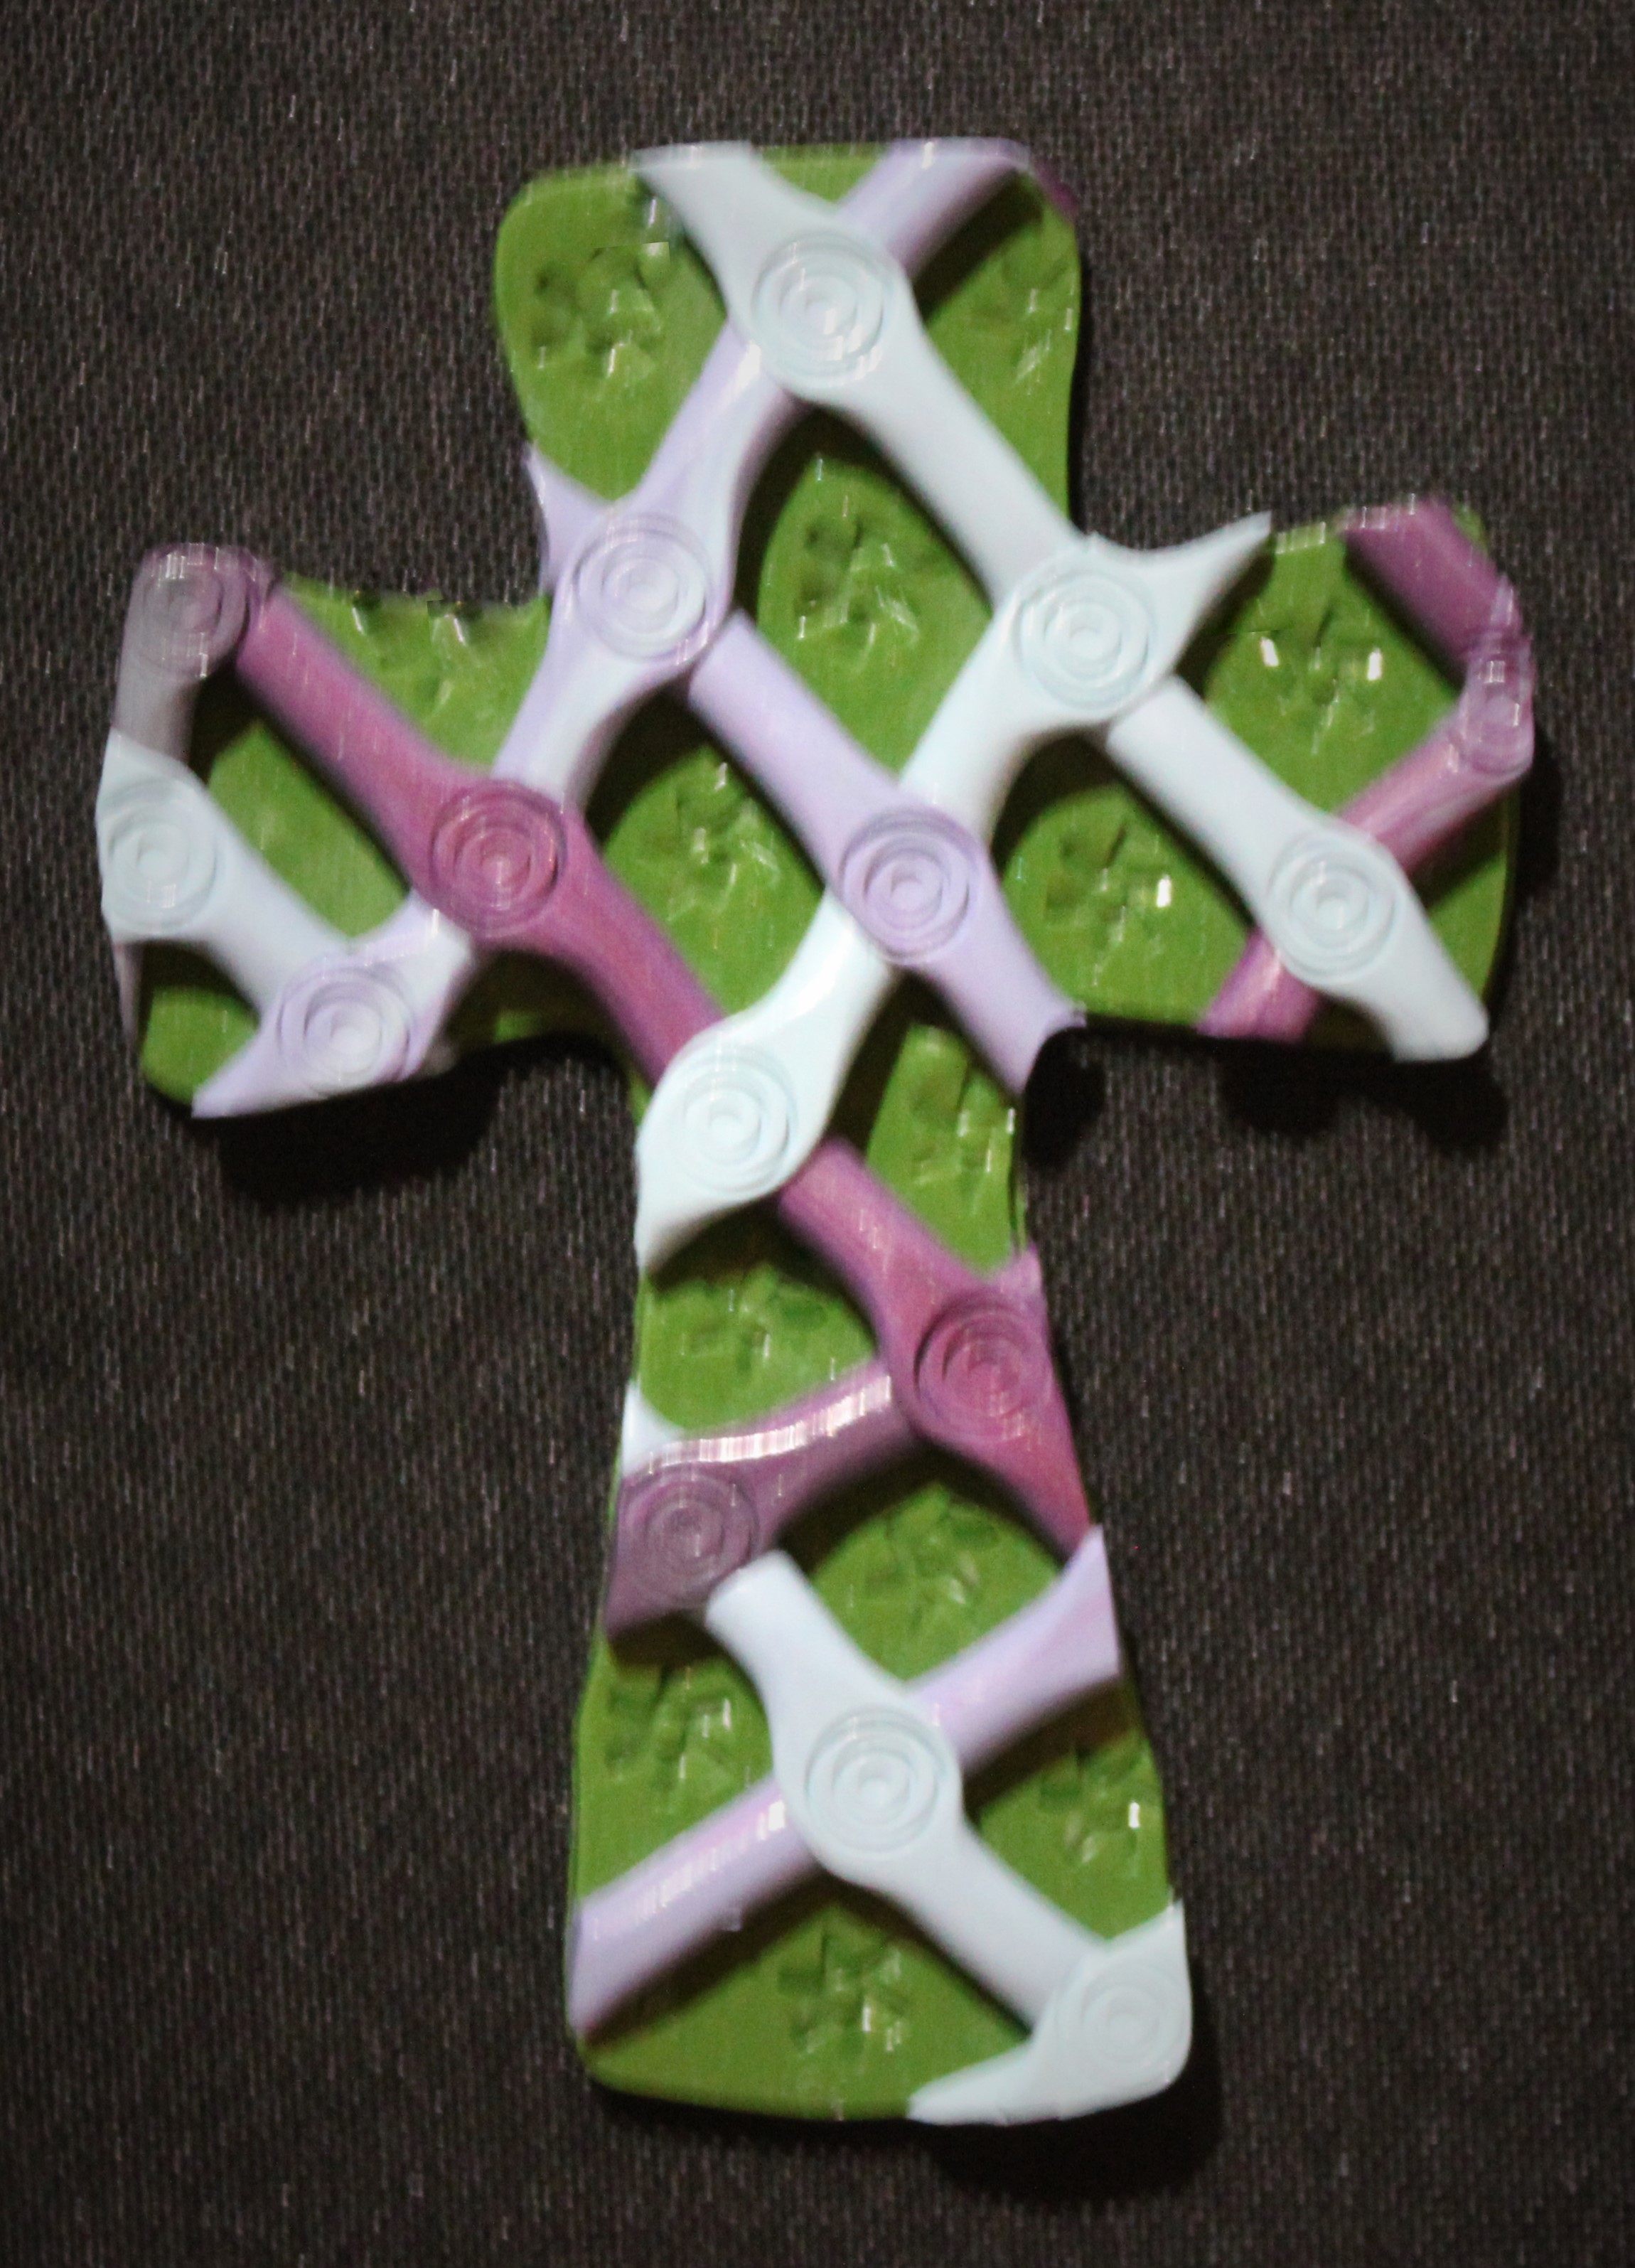
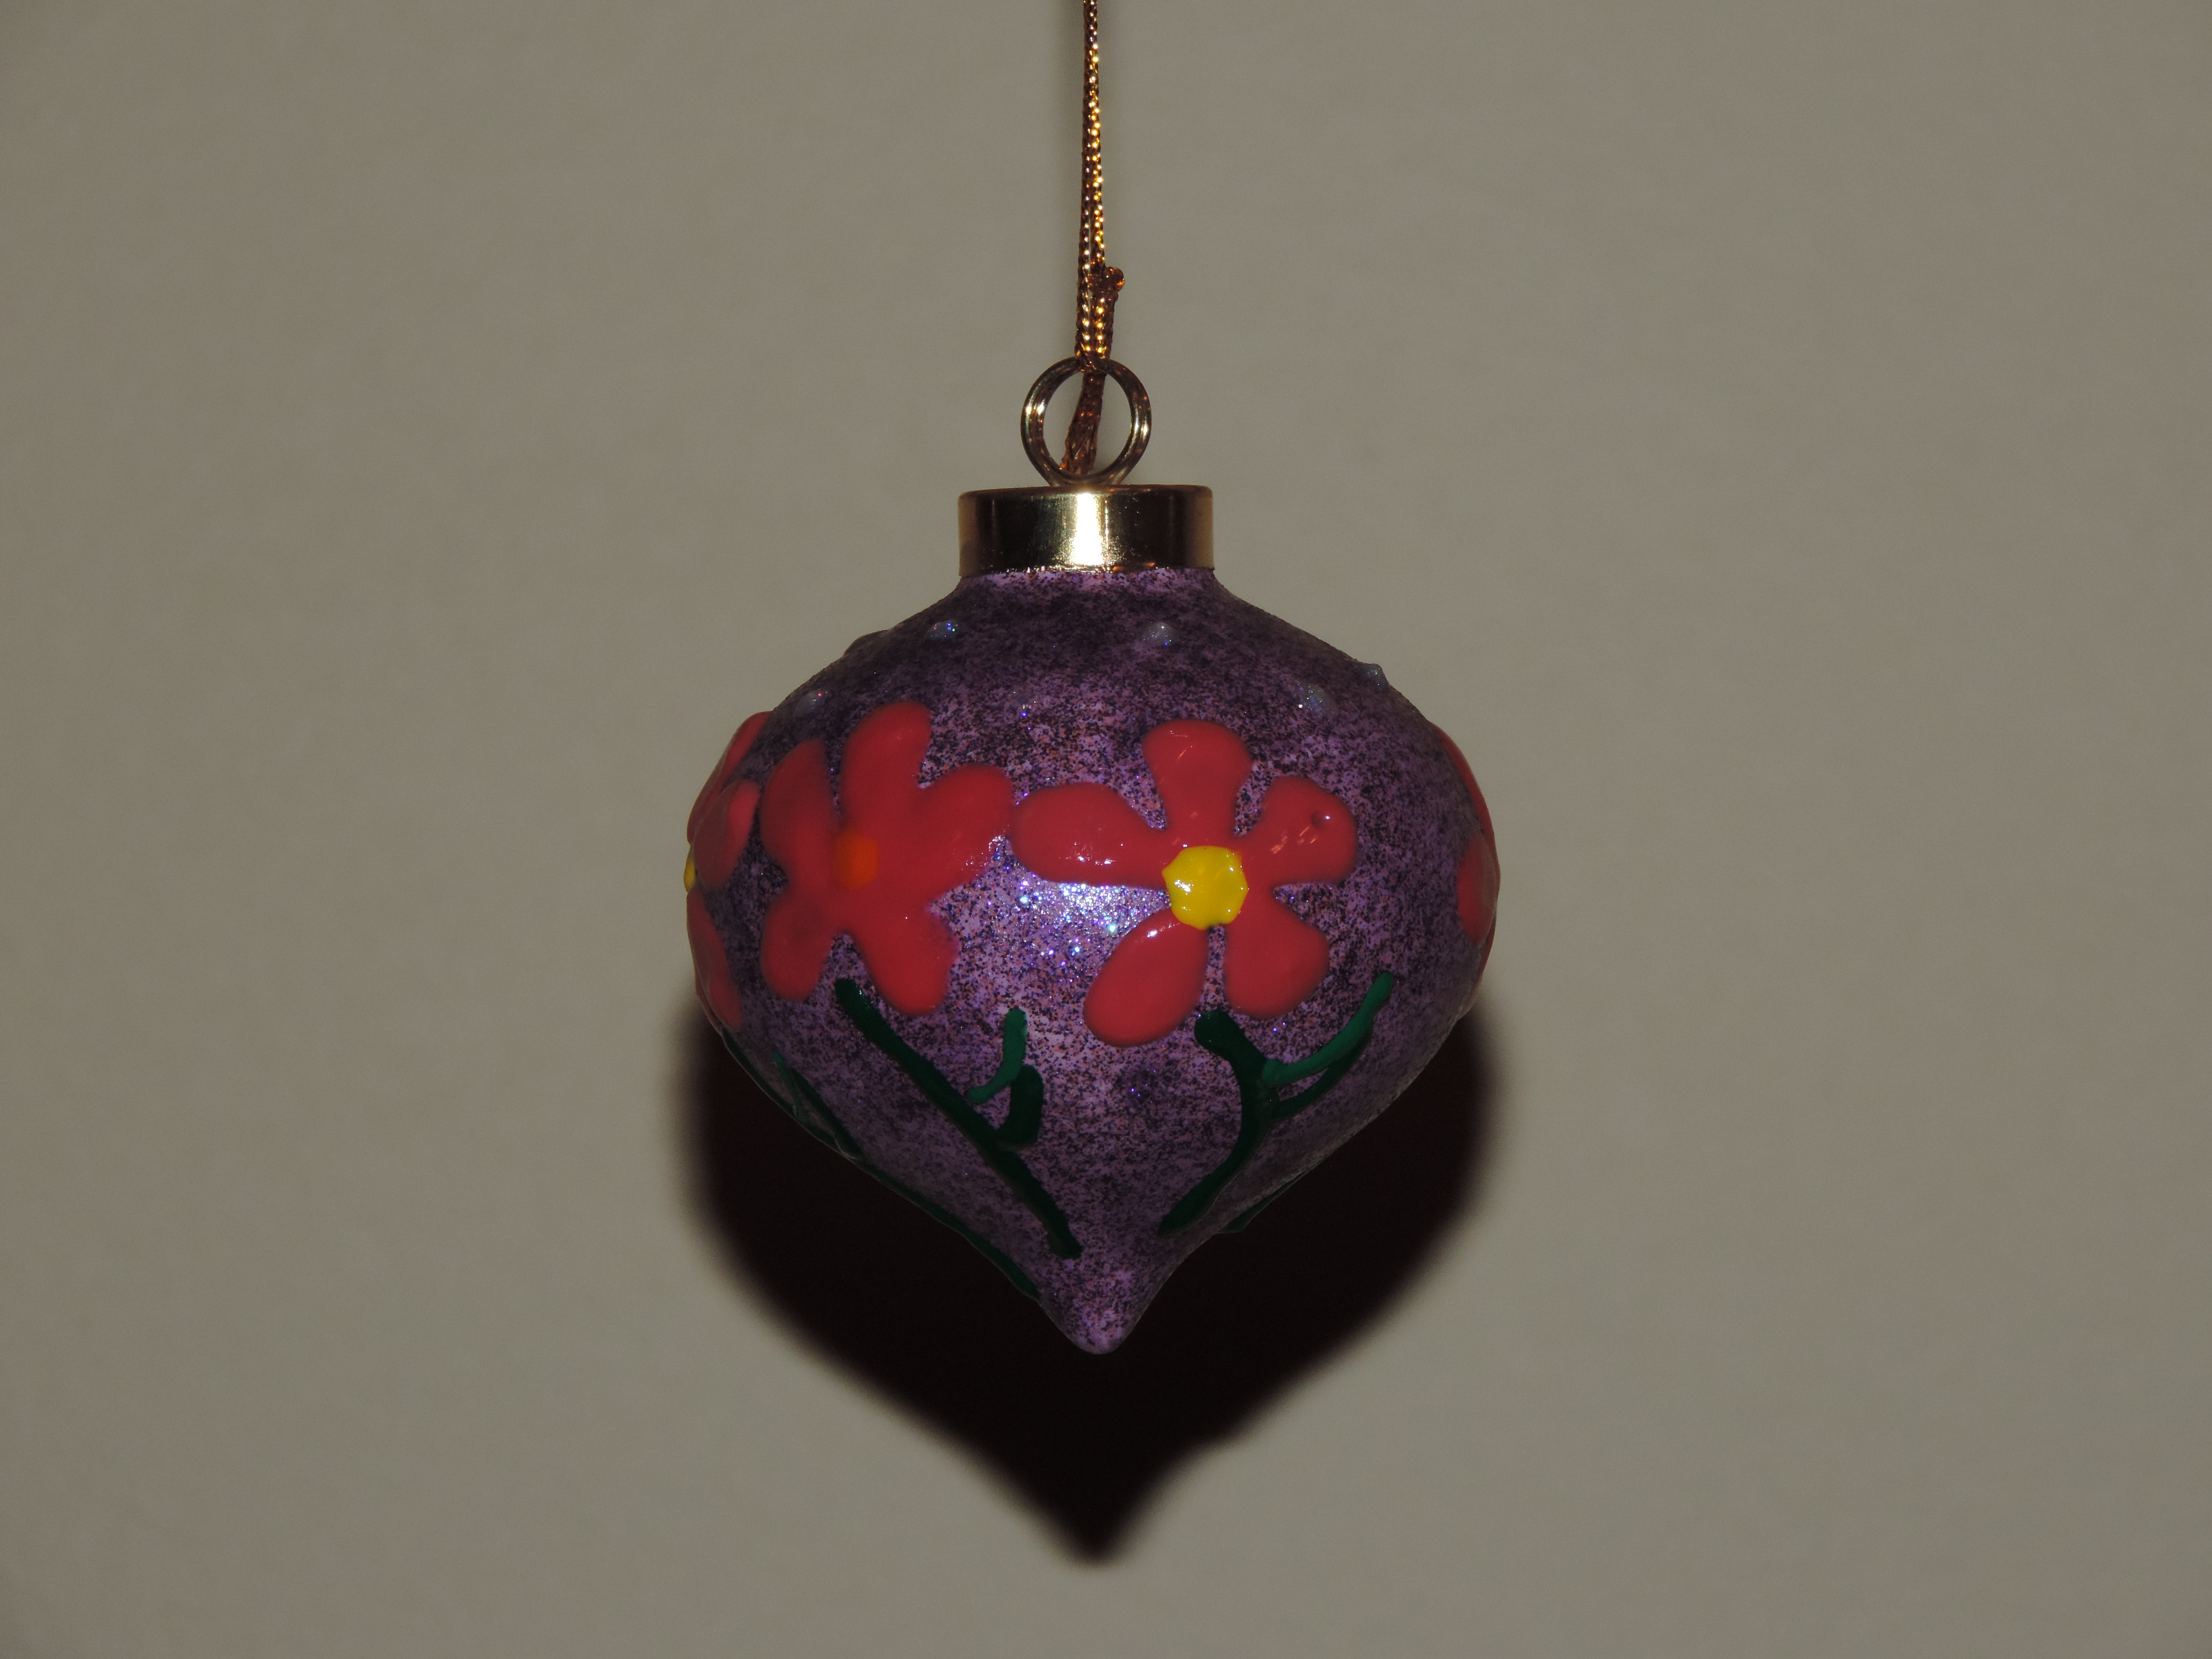
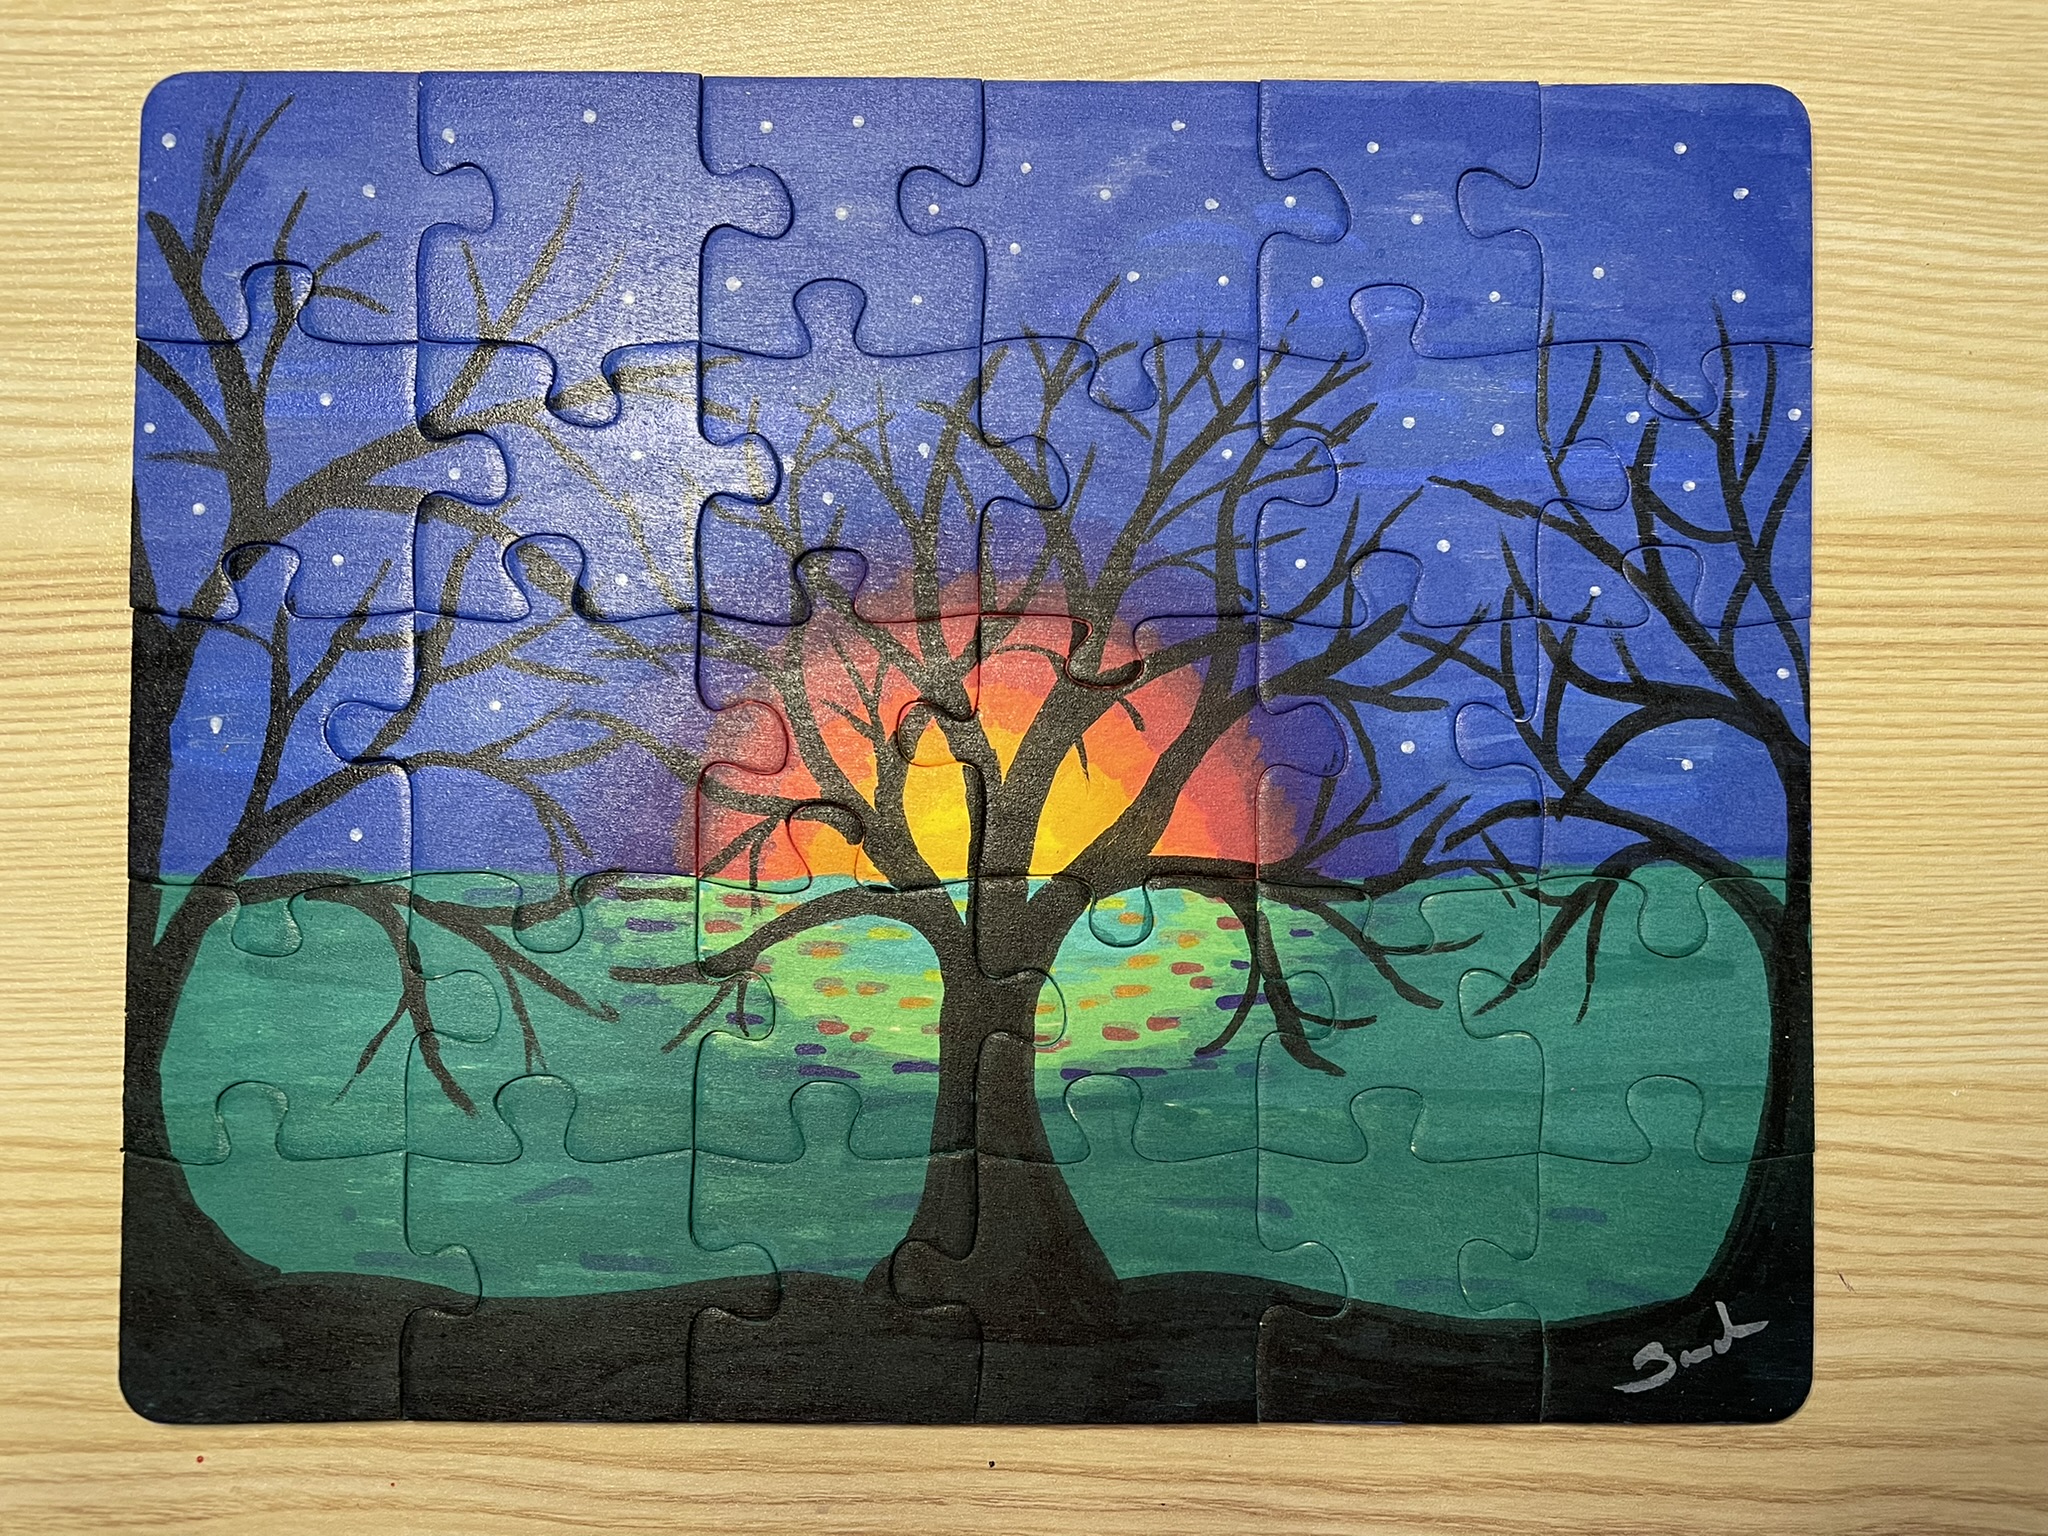
Puzzle One: This design used the both the bullet and brush markers. I was able to obtain blending effects by either painting areas white on the background or blending two colors before they completely dried.

Notice how well the black markers went over the other colors. I did not have to go over the black multiple times to get the effect. The white stars were placed by gentle touching the surface after it dried.

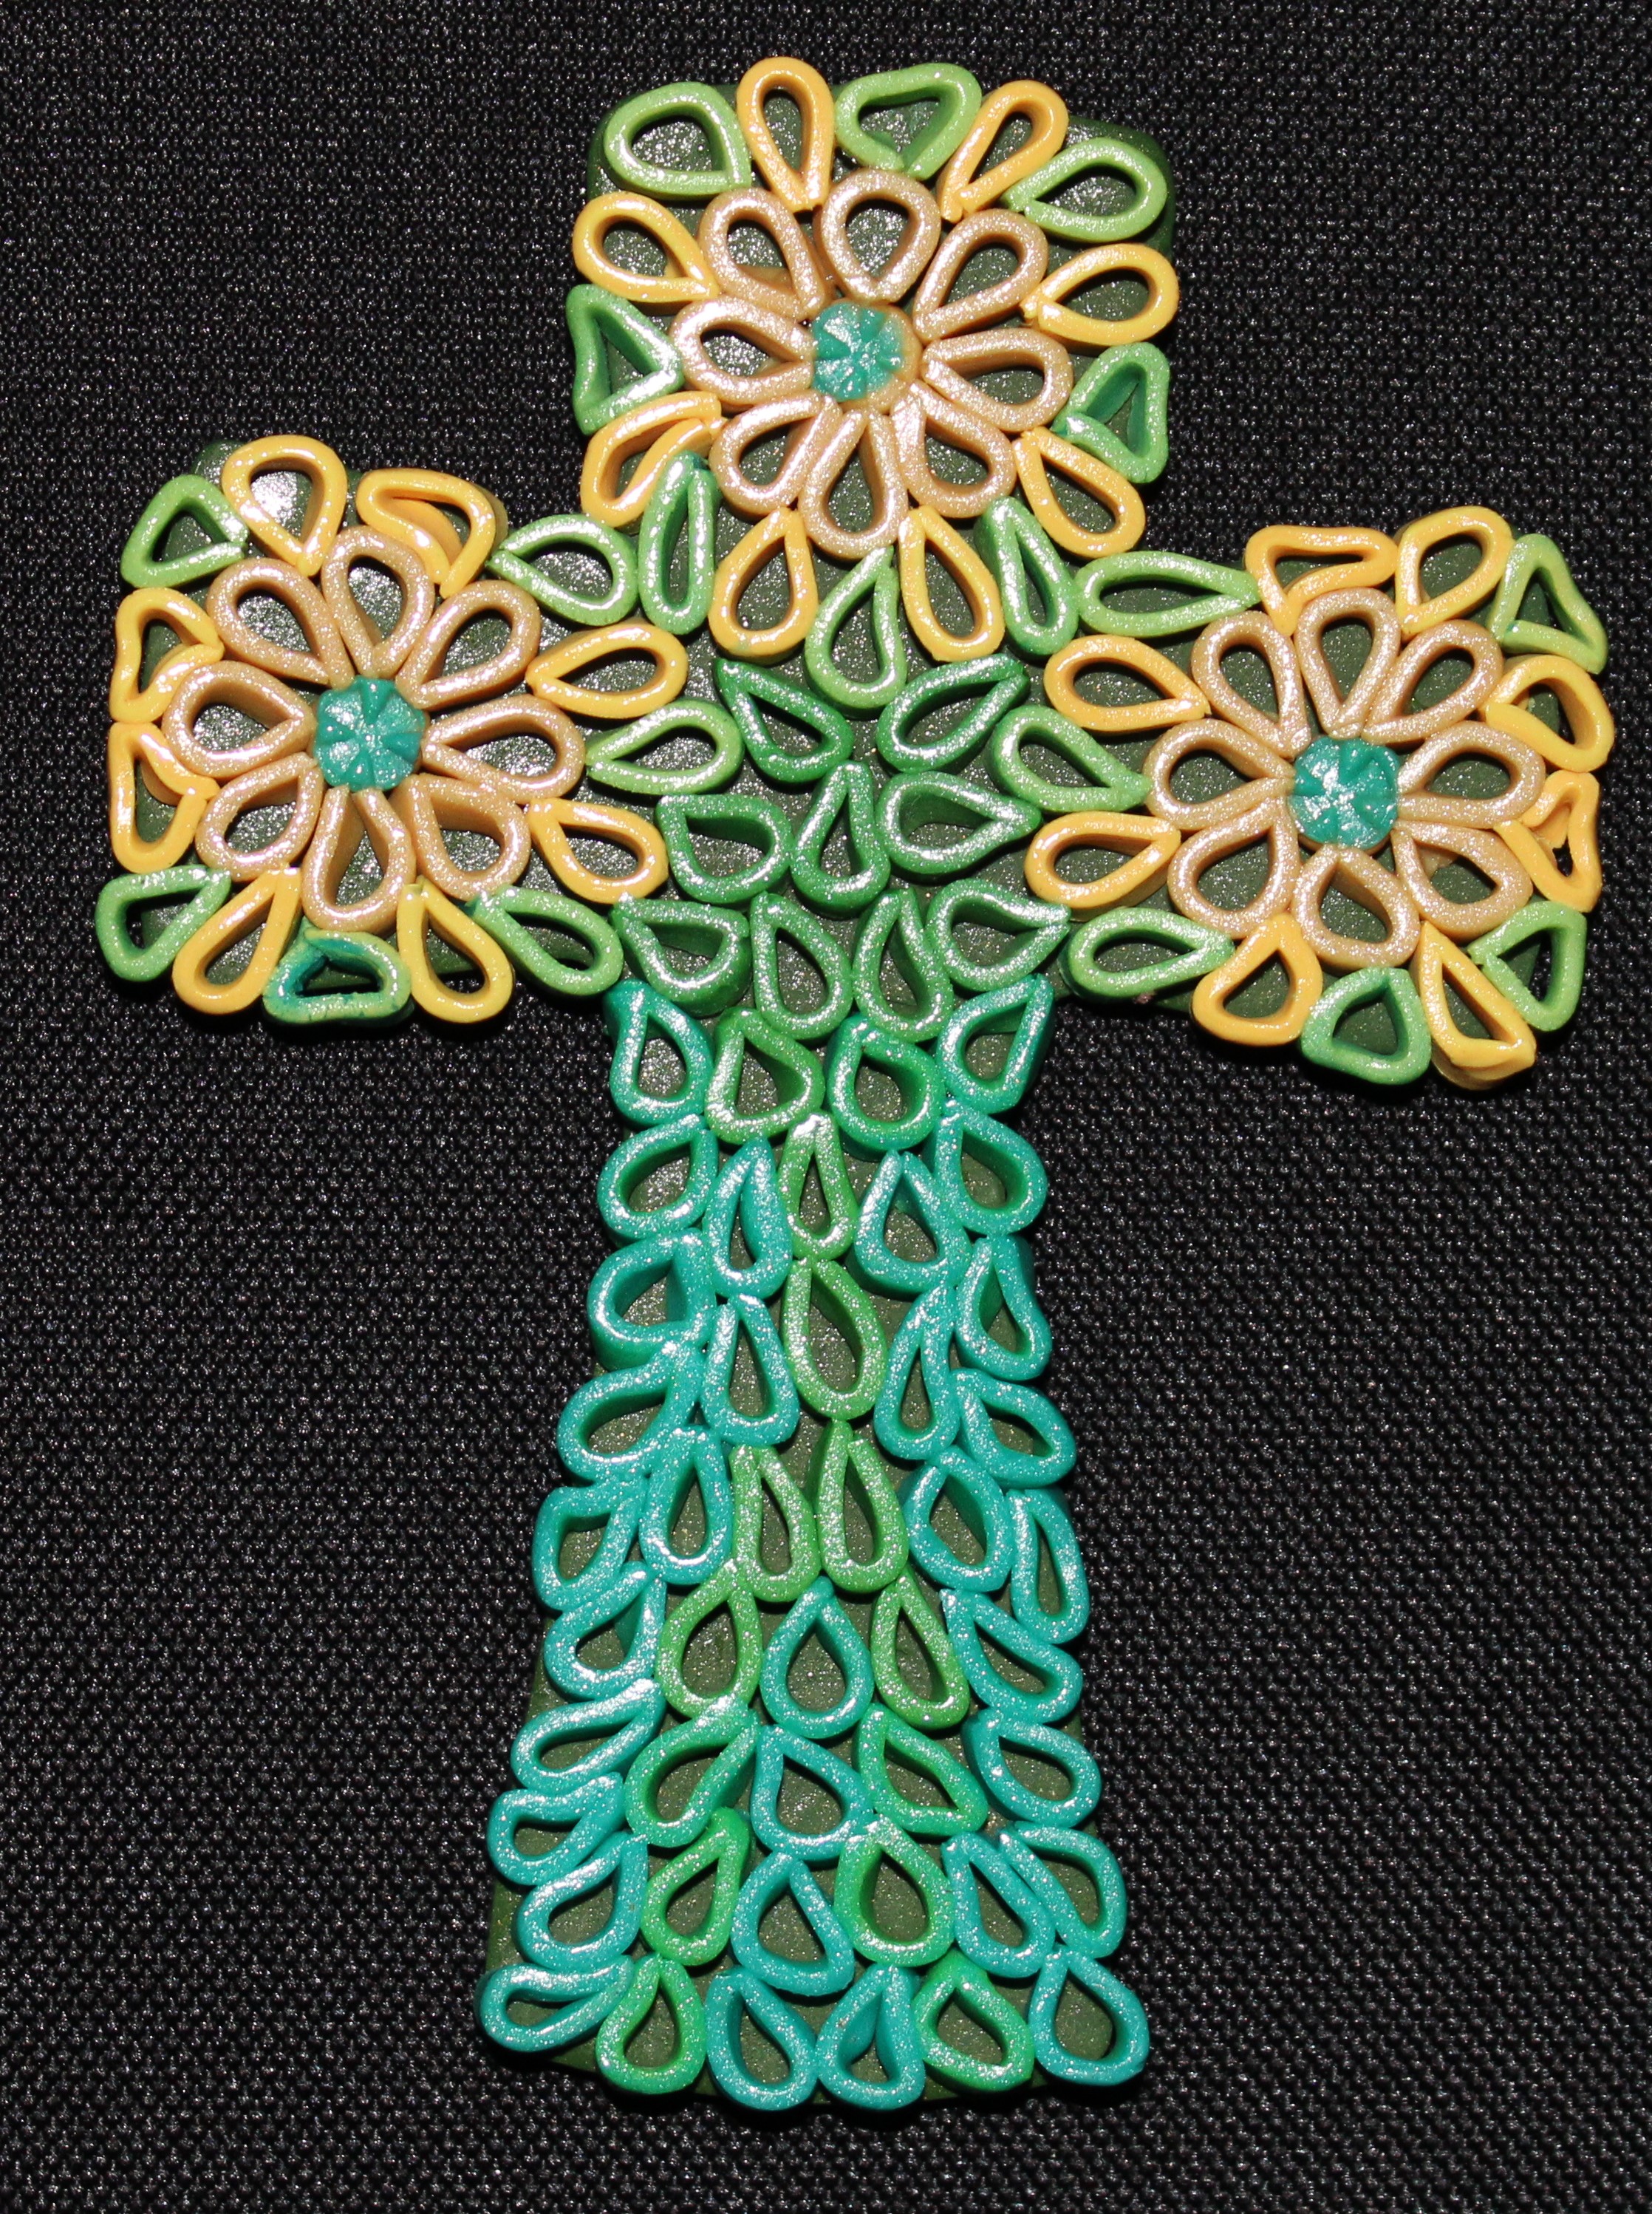
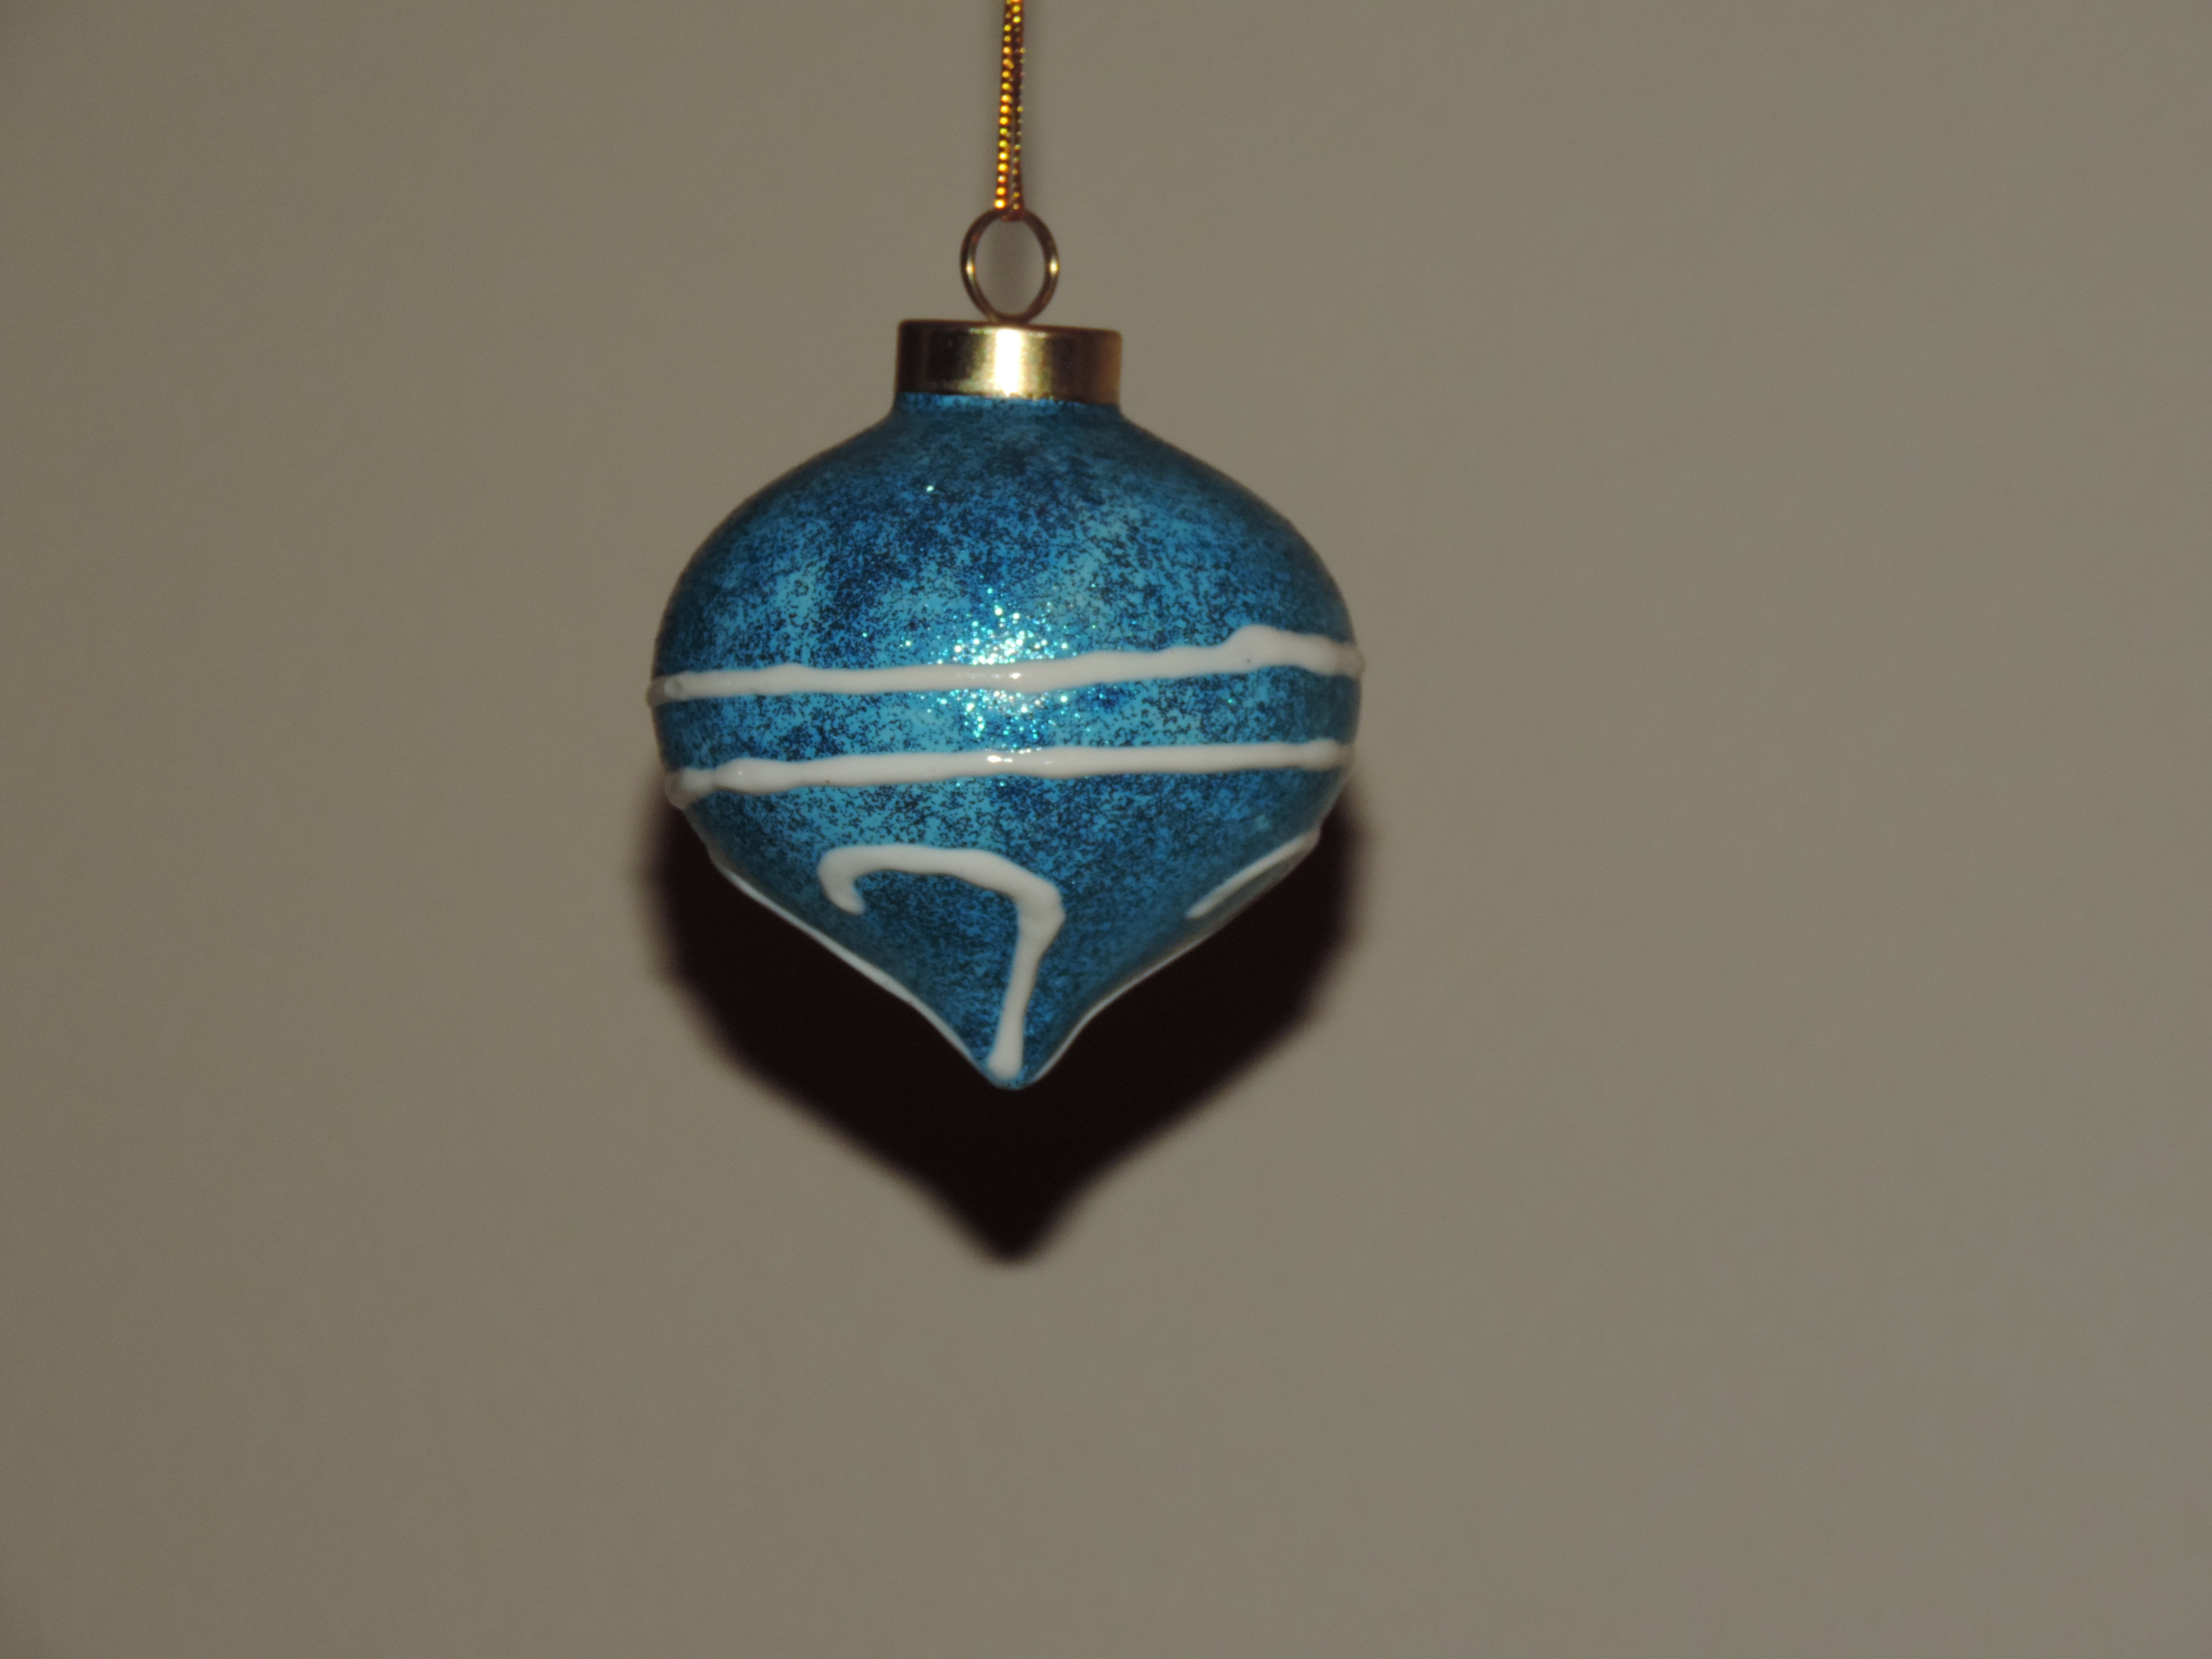
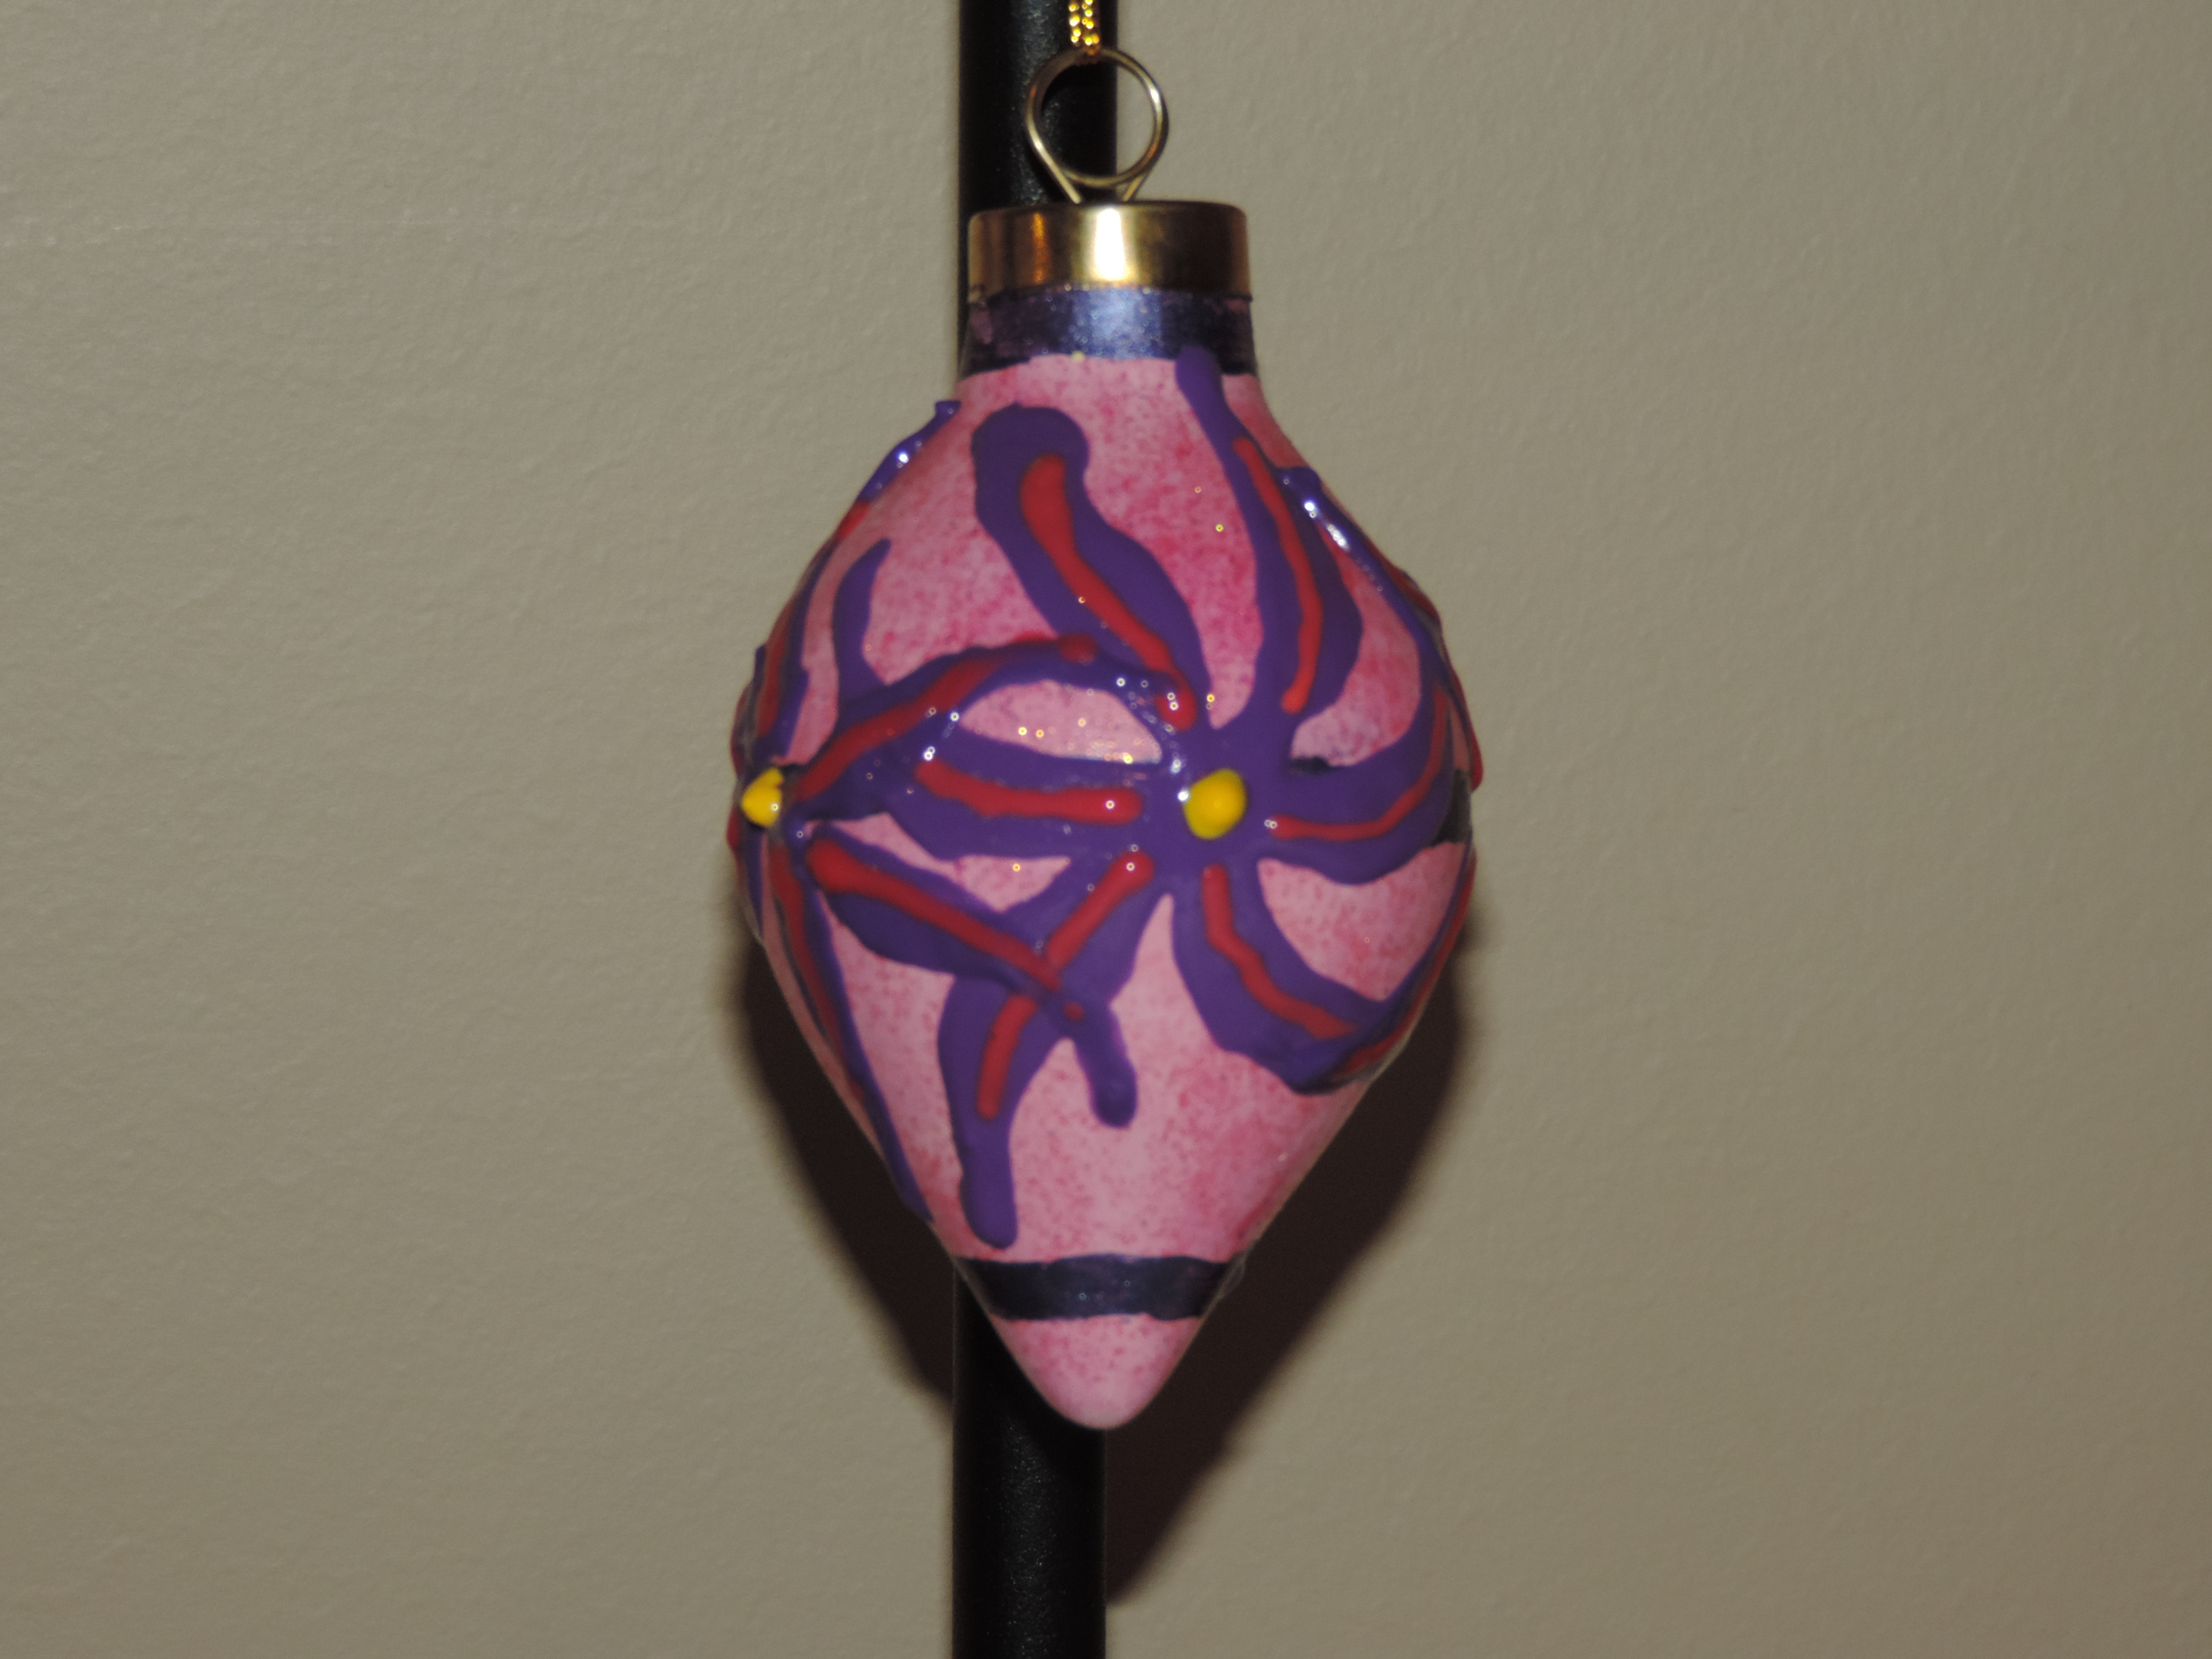
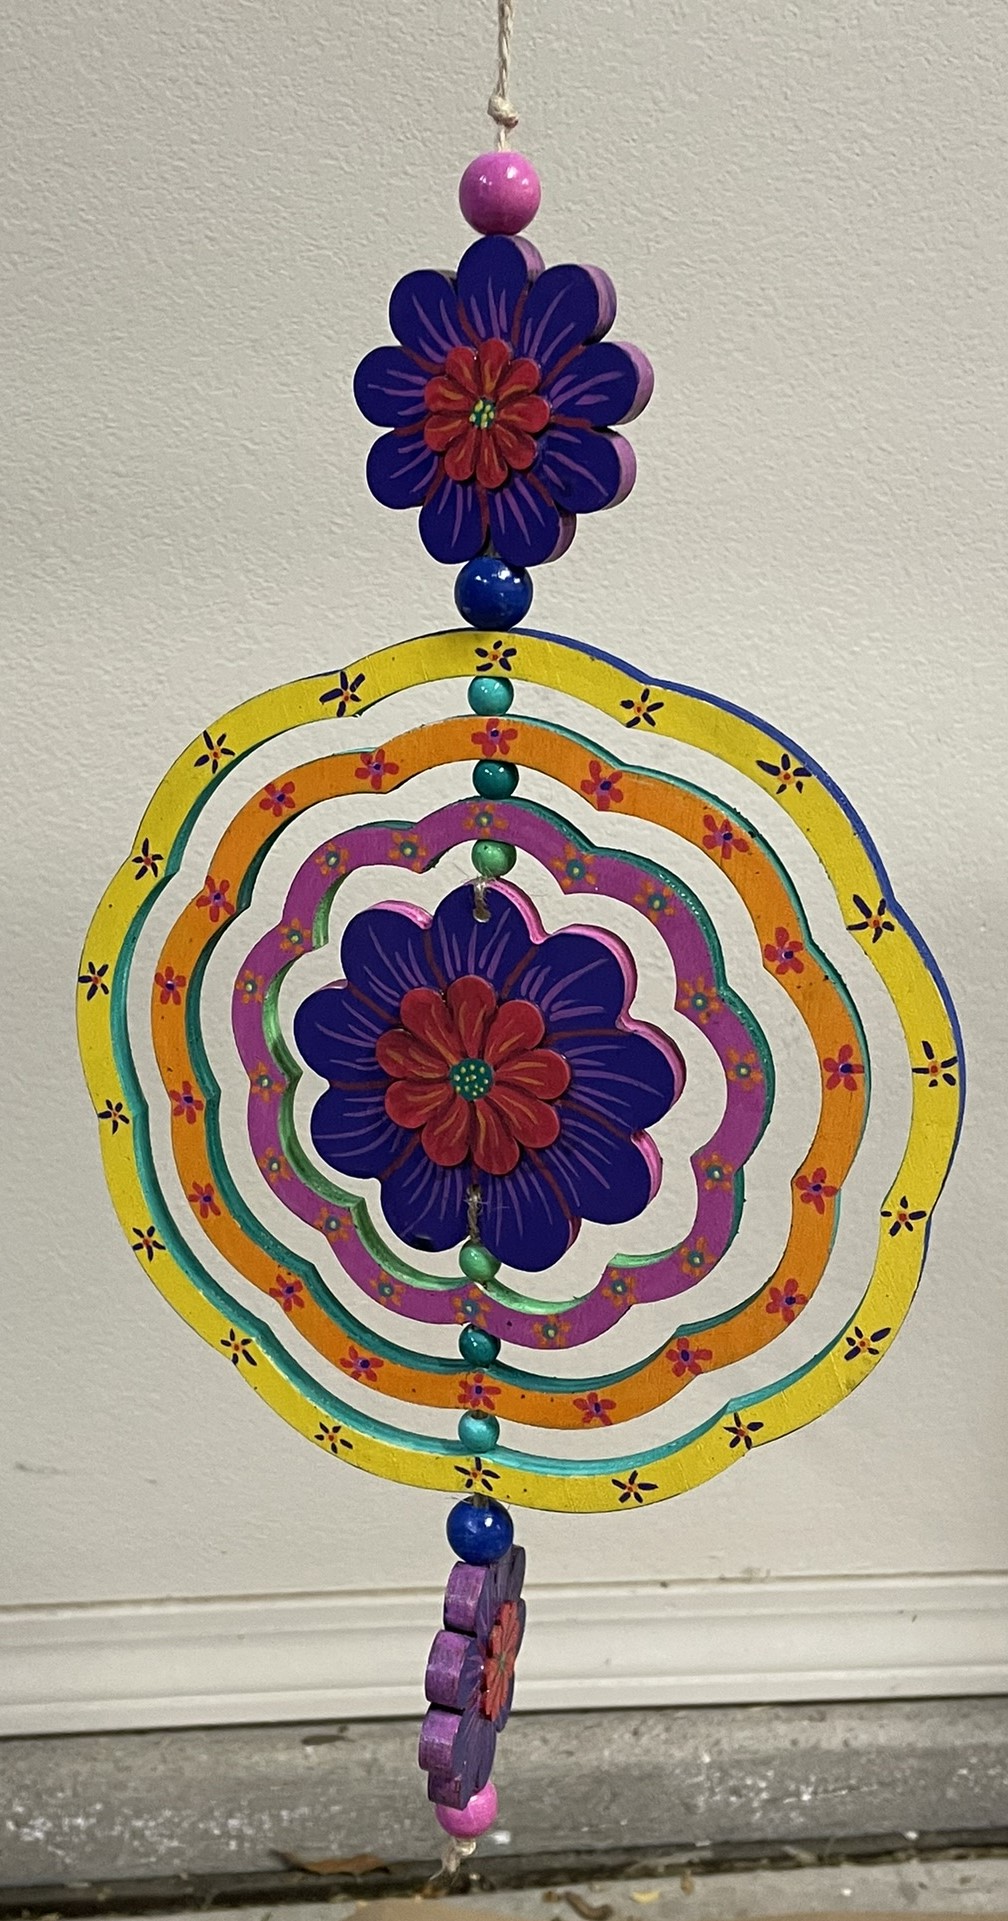
Wind Spinner: Another project using only the Sharpies Creative Color Markers. On this project, after the paint had dried, I noticed that purple color for the brush marker was slightly lighter than the bullet marker. I was able to go over the bullet marker purple with the brush marker purple to get a uniform color.

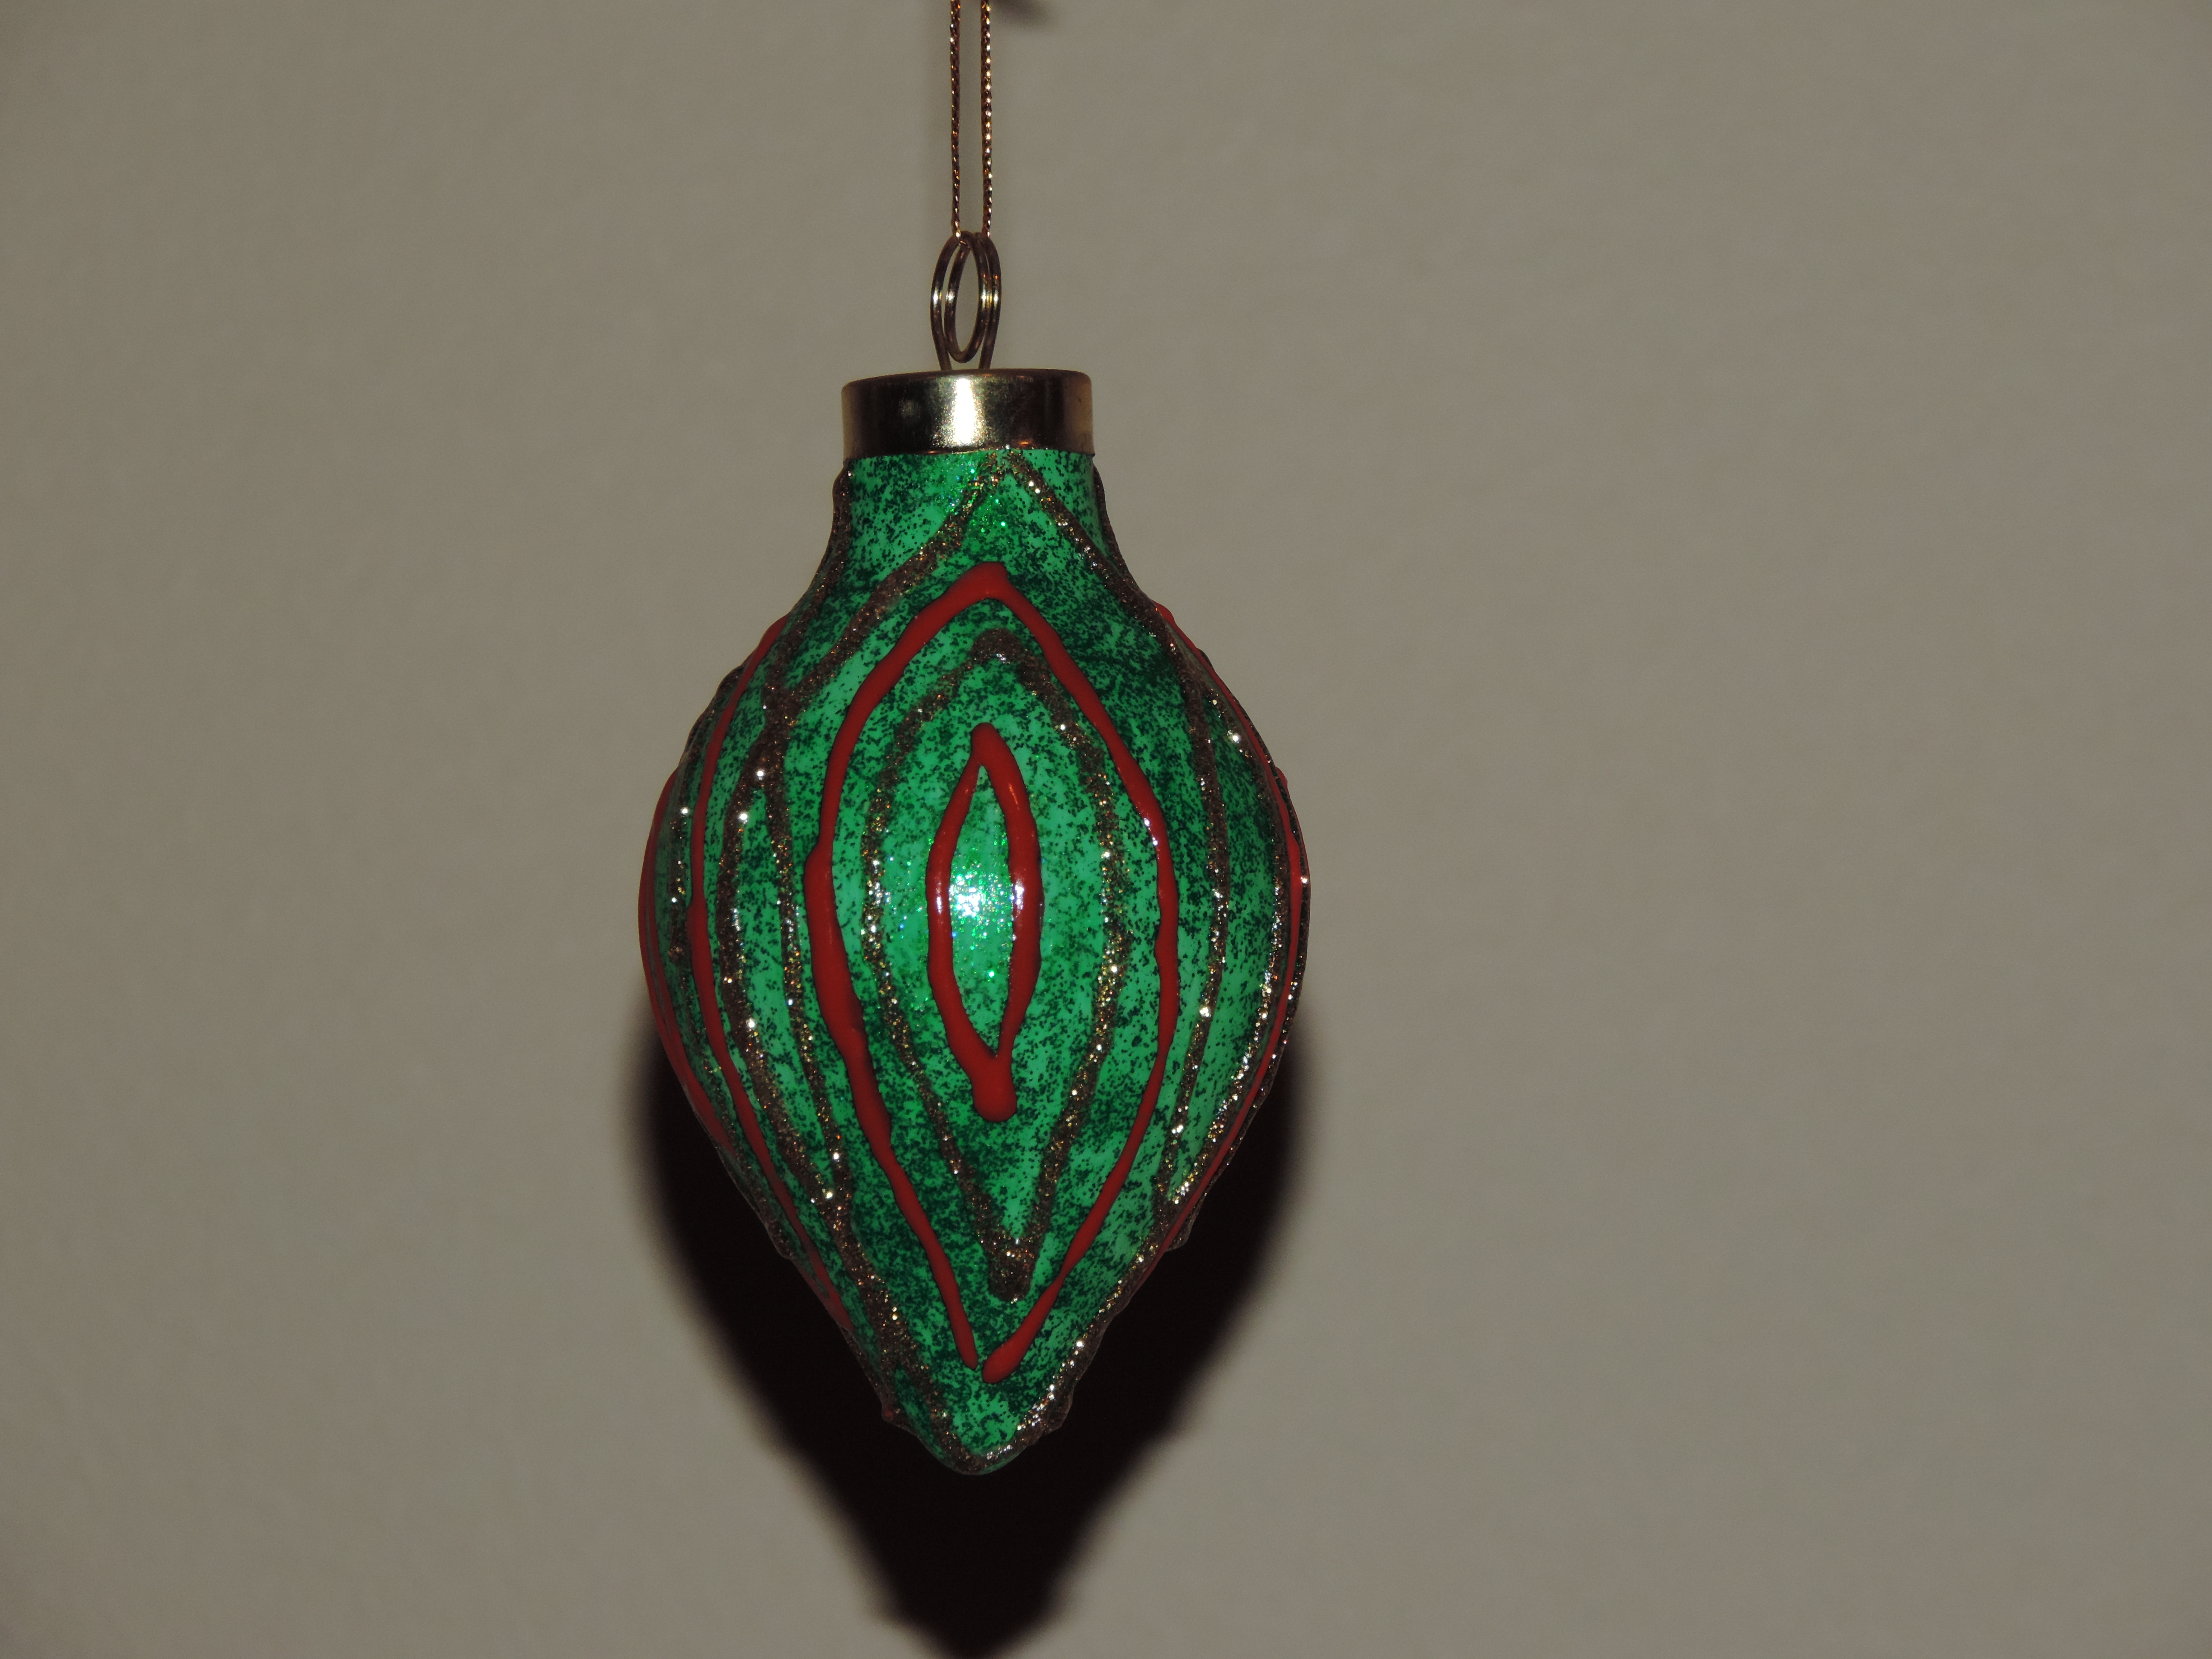
Every yellow paint I have ever encountered has done a very poor job of covering other colors. The Creative Color Marker yellow also did a poor job of covering other colors. I have an easy solution; I just cover it with white first then go over it in yellow.

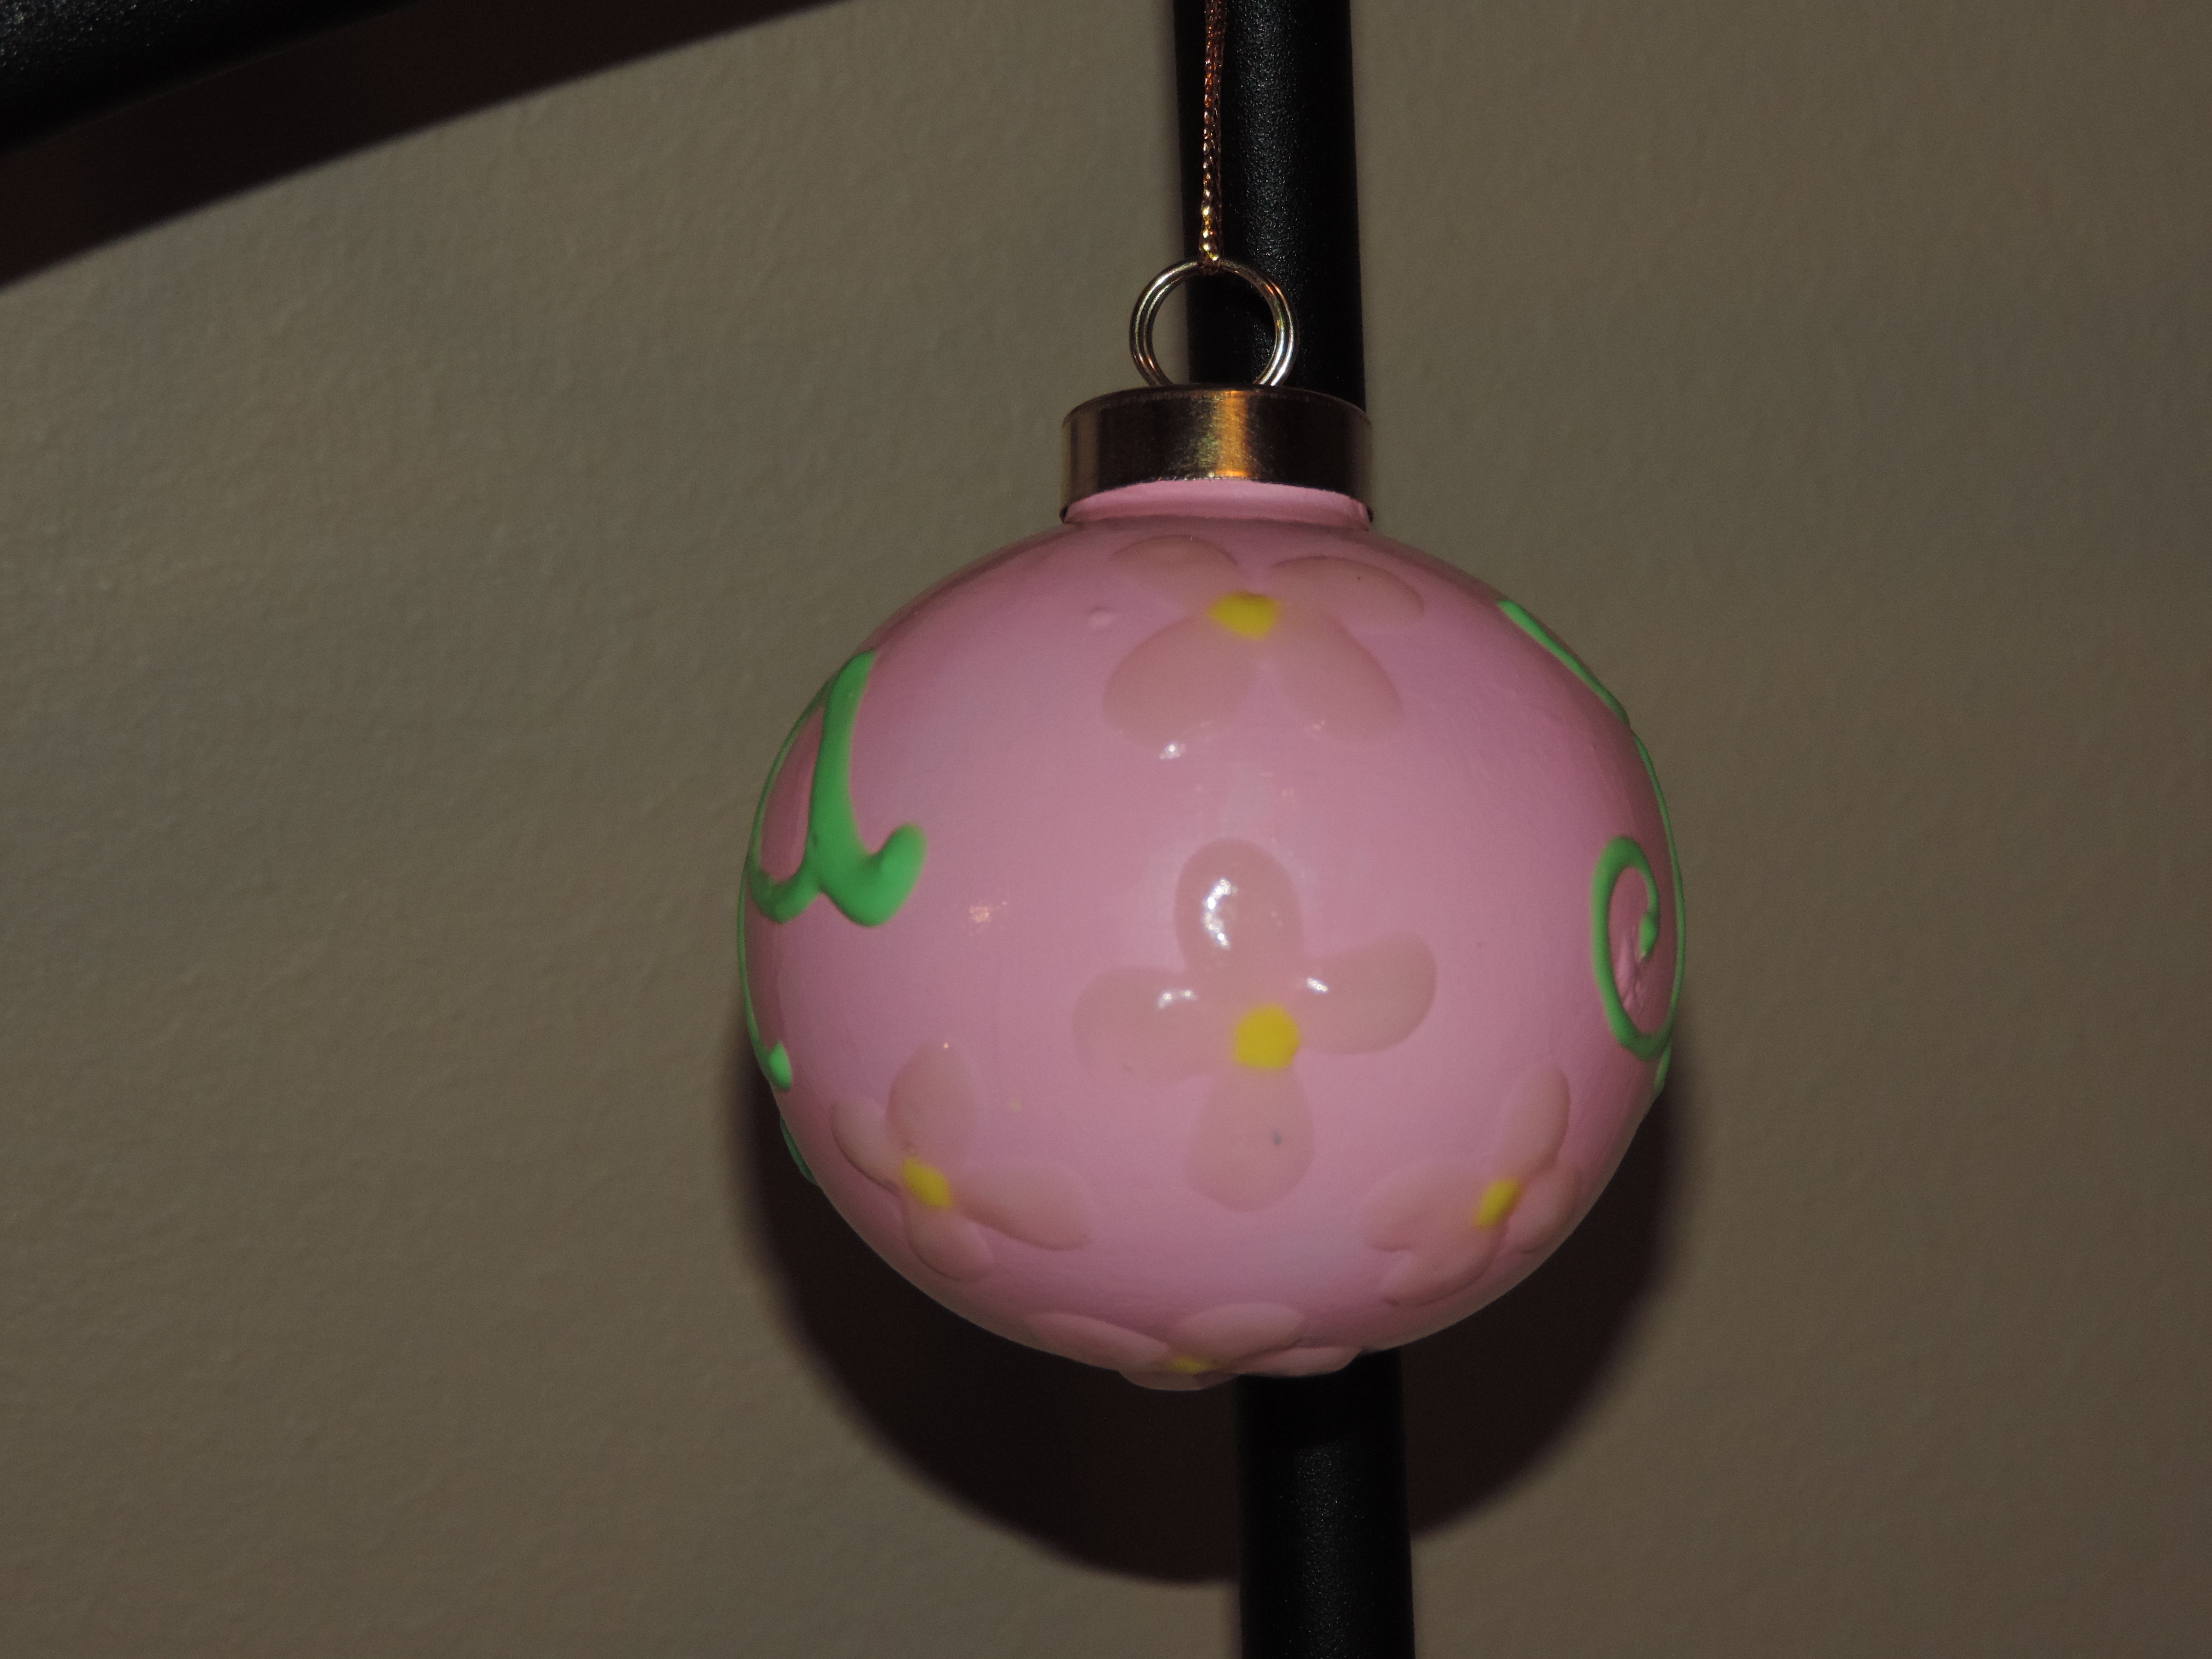
Tree Puzzle: For the base of the tree puzzle, with the exception of the tree, I did not use the Creative Color Markers. I used acrylic paint. The surface was large, and I did not like the idea of having the paint the entire surface with the markers. The tree and flowers were made with the markers.

The background and the tree on the puzzle were all done with the Creative Color Markers. The blending of multiple colors provided the tree with a brown look.

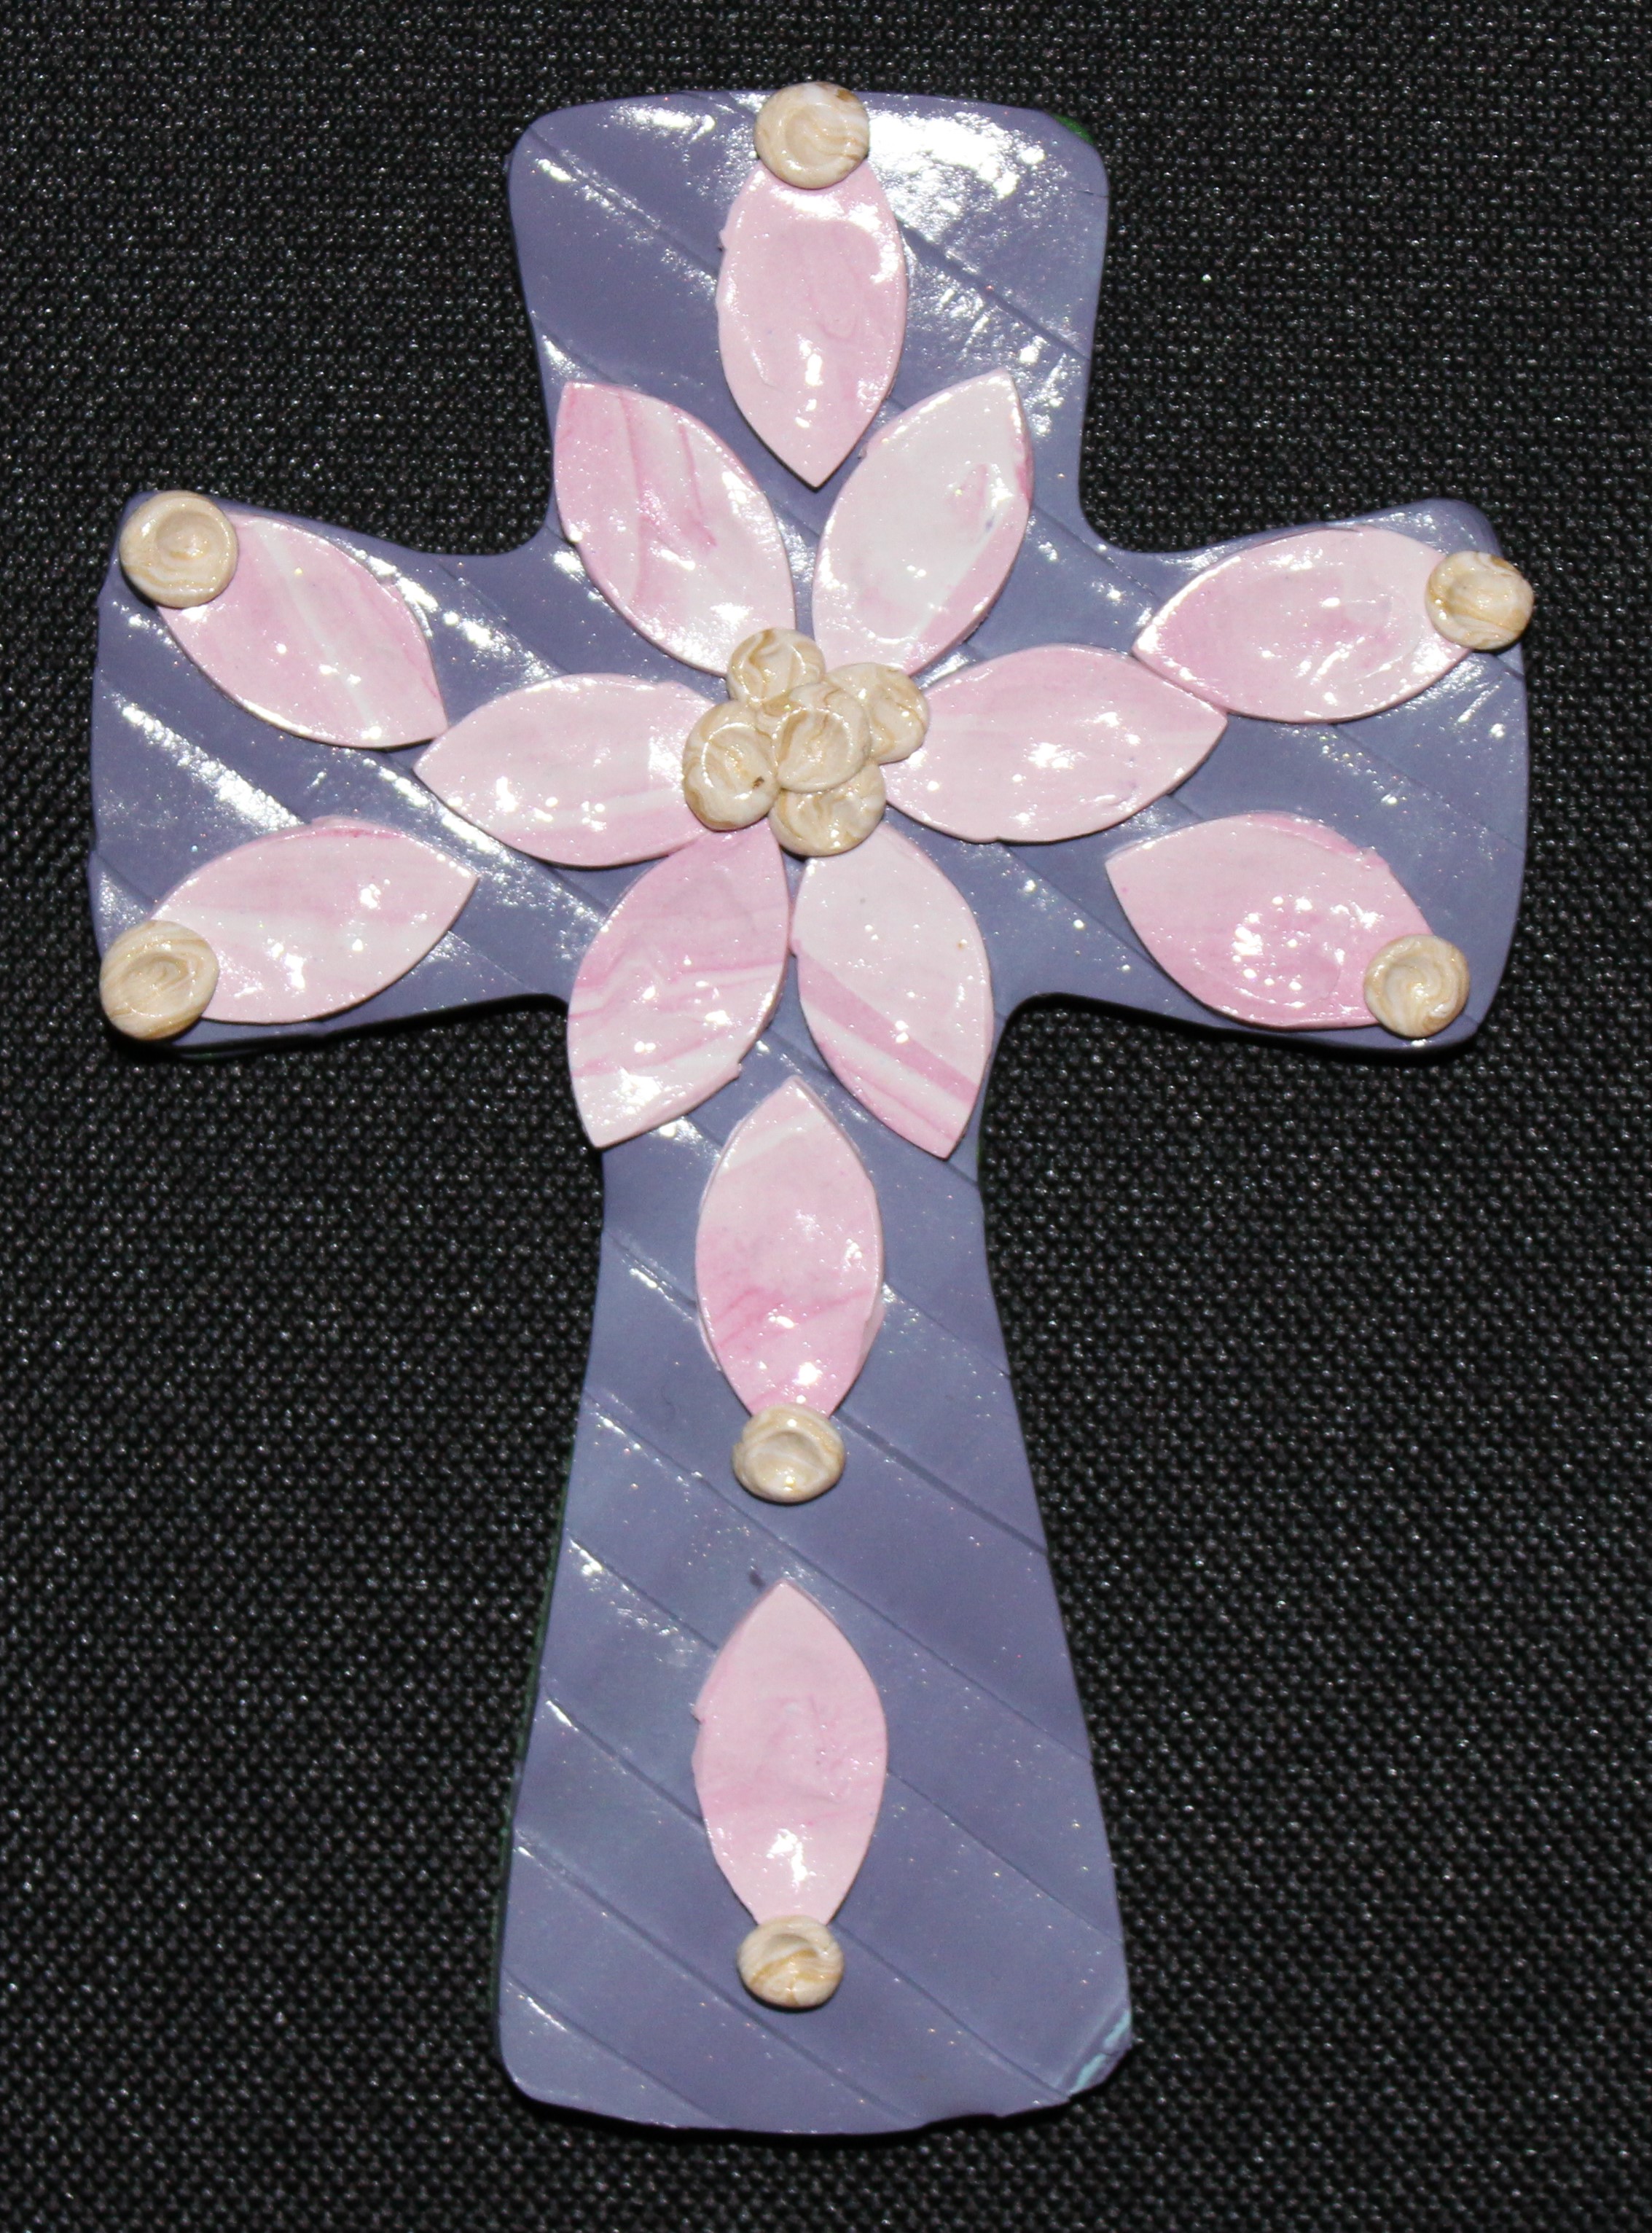
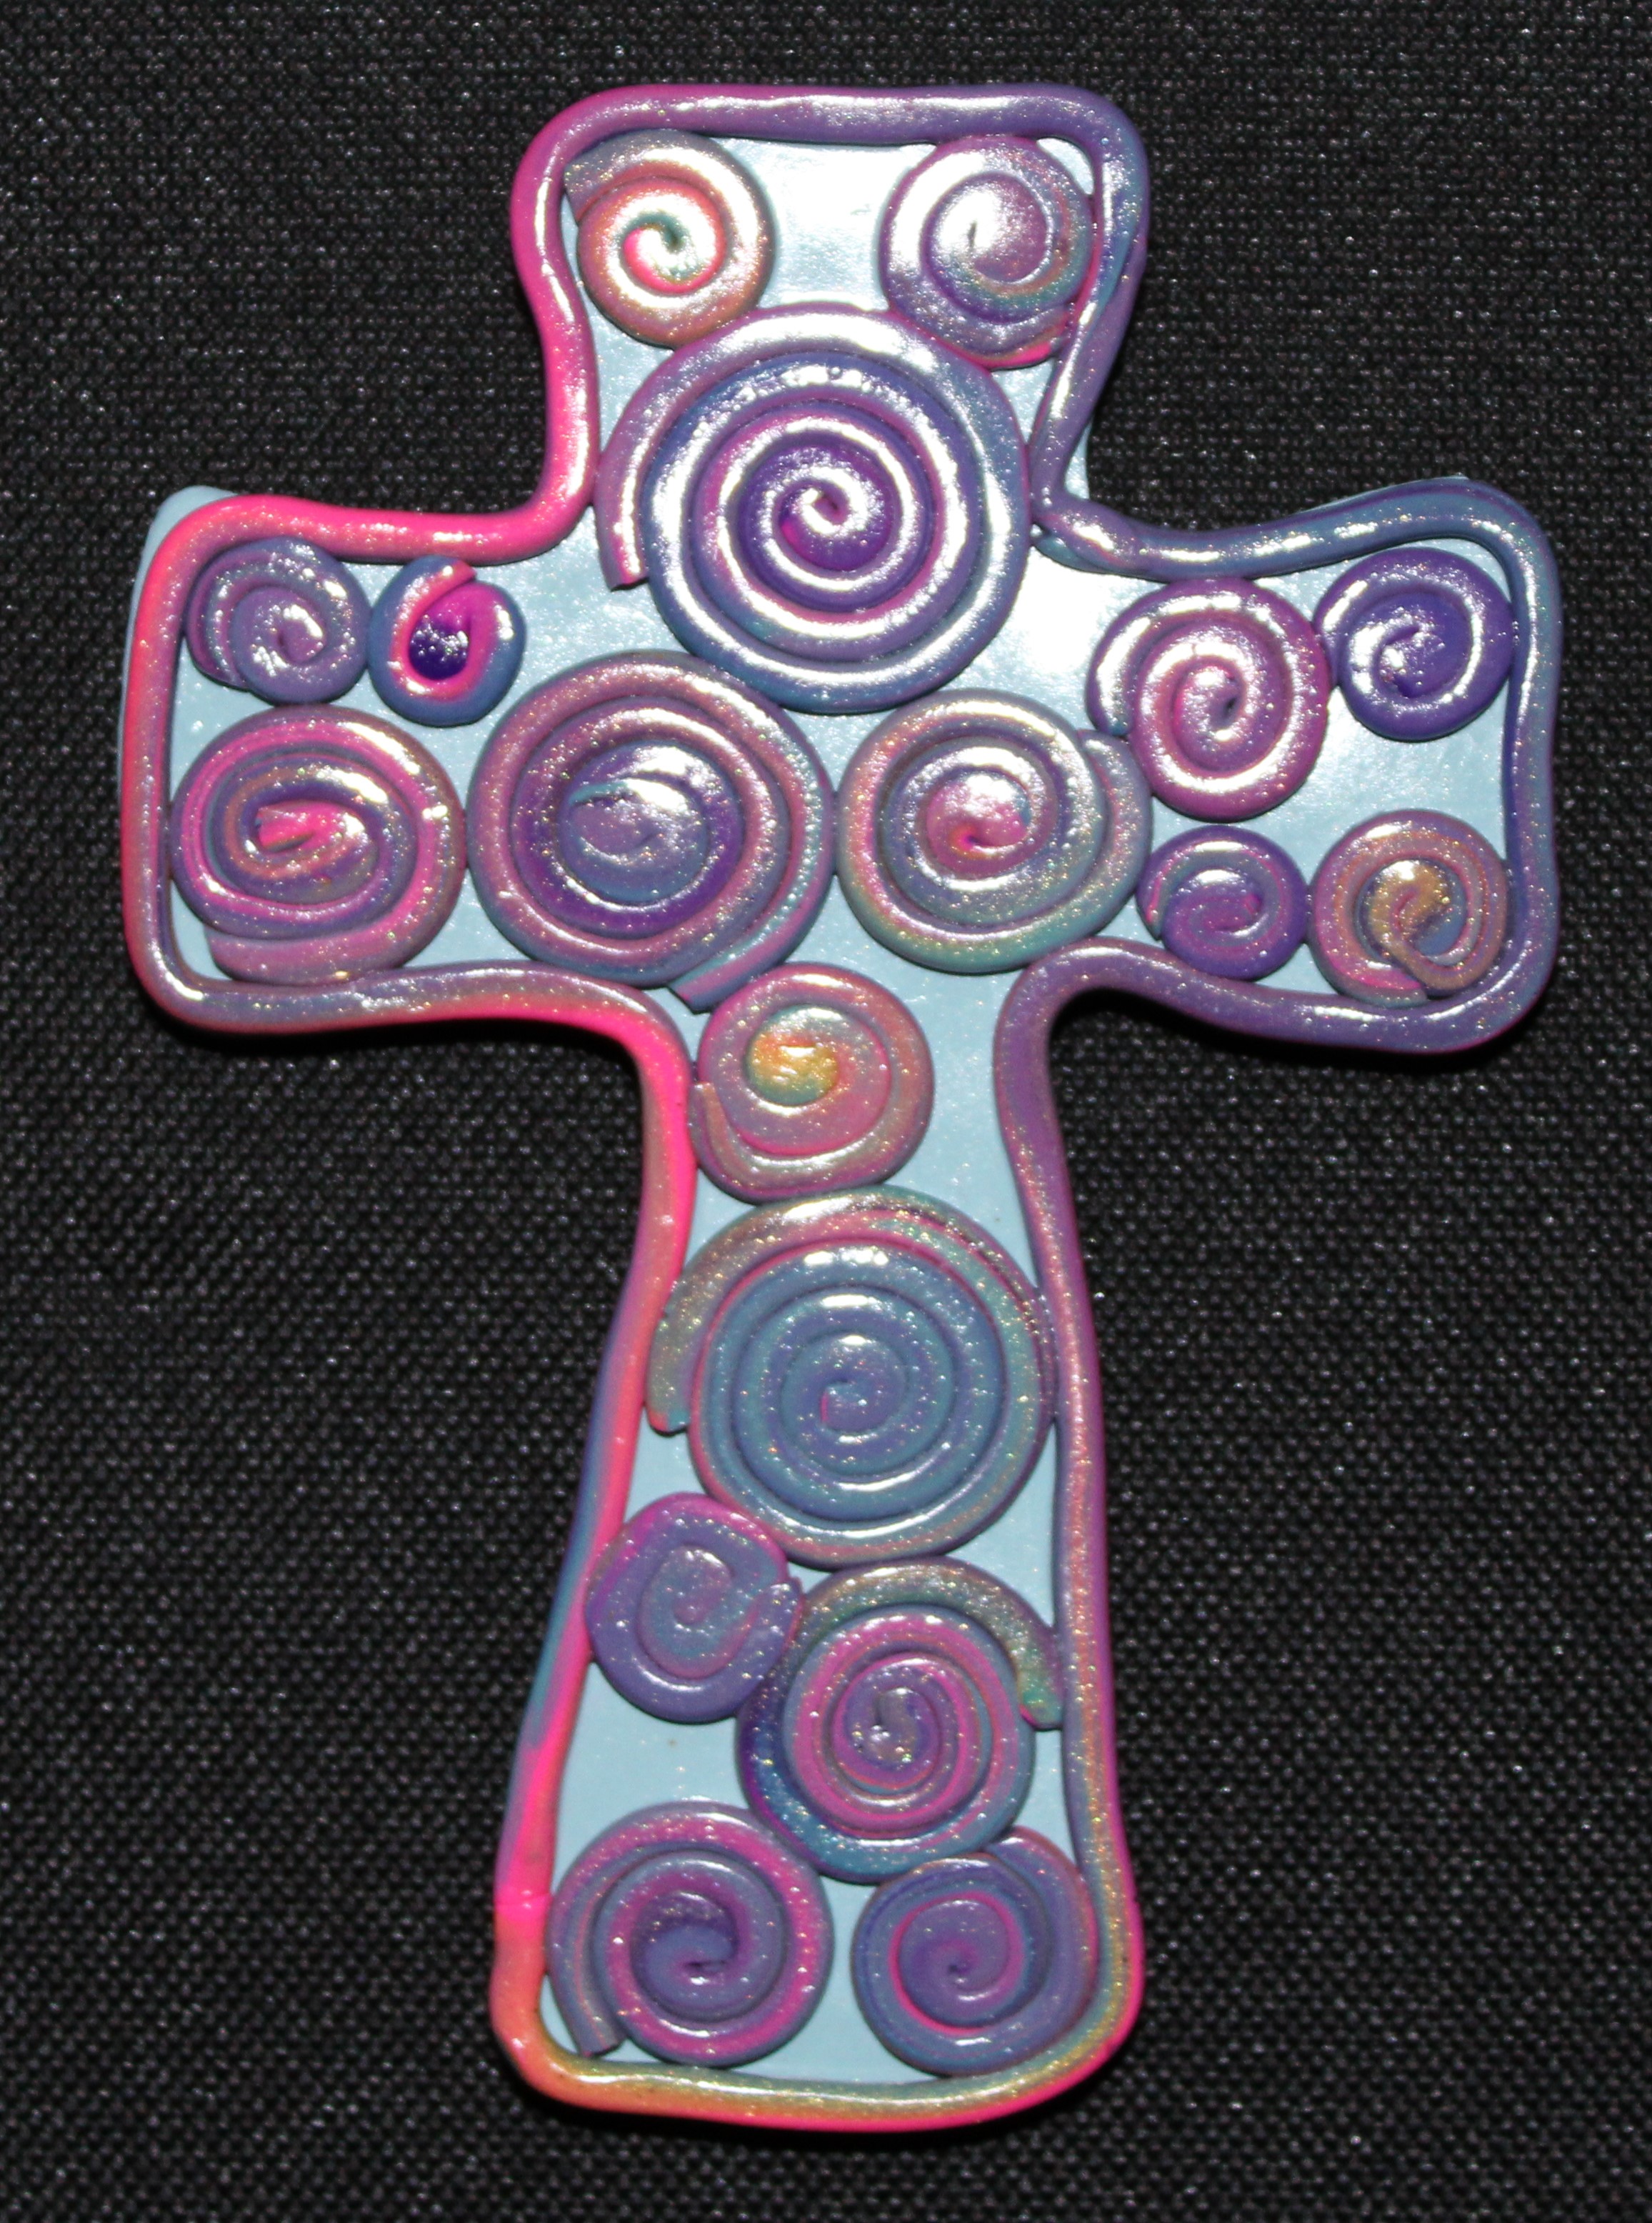
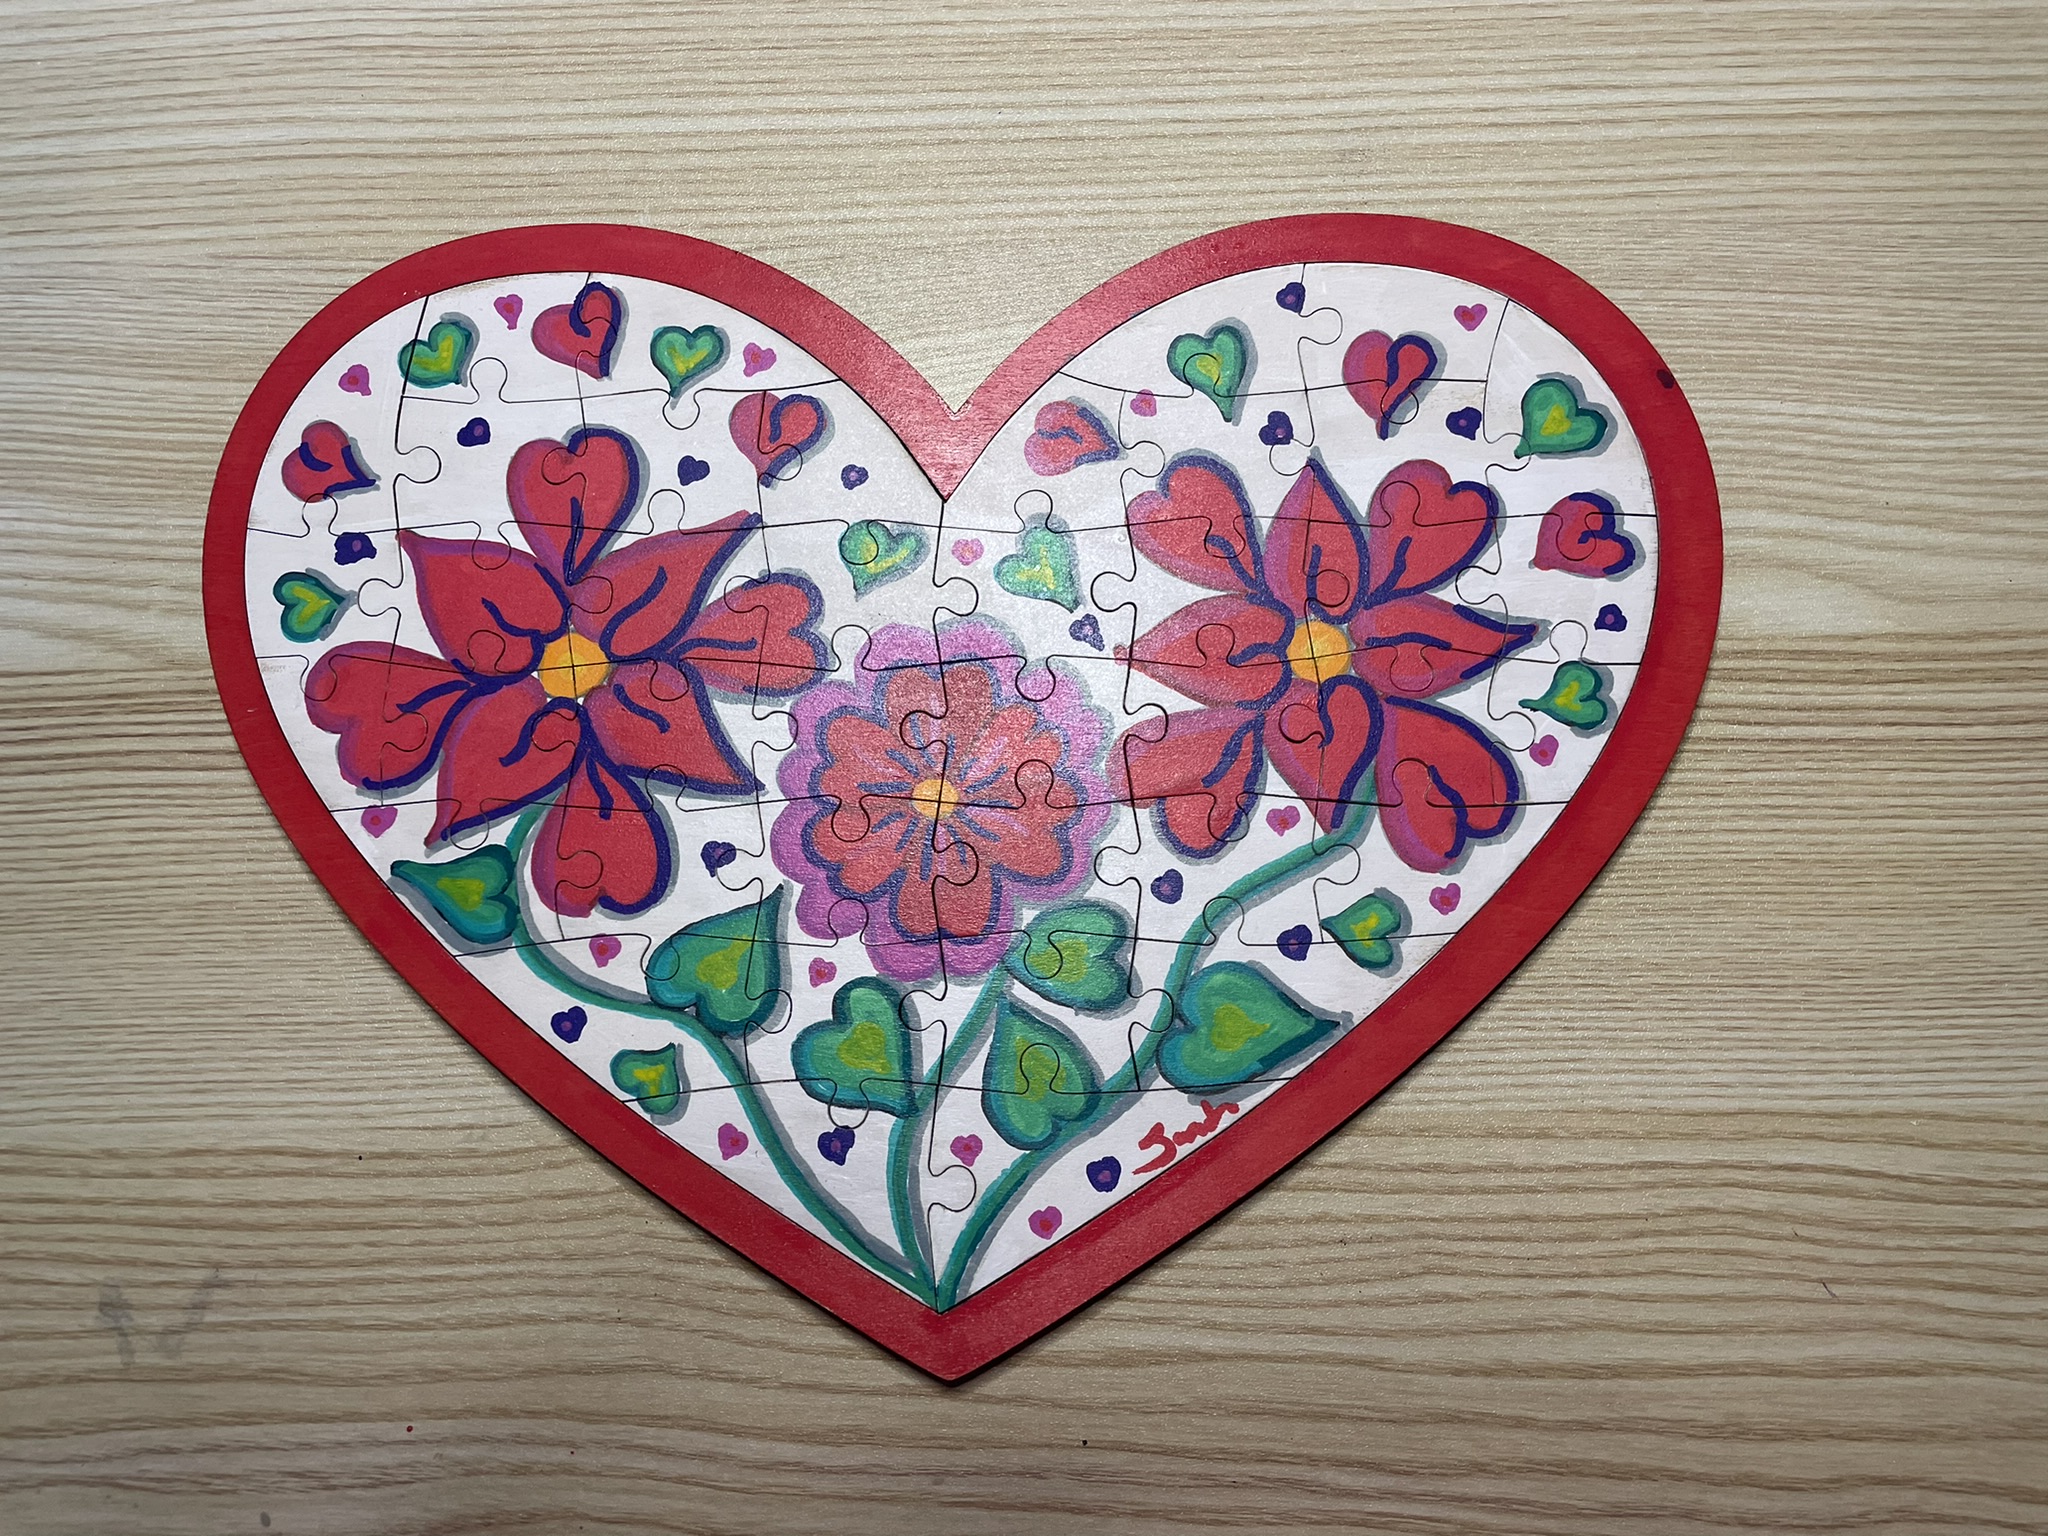
Heart Puzzle: Can you see where I messed up? Probably not because the markers were able to hide my mistakes well. The first design I placed on the heart puzzle I did not like. So, I covered the entire puzzle with Gesso and started a new design. The white marker and the Gesso were almost the same shade. I used the white marker to cover up small mistakes on the white background.

The red and pink marker when placed next to each made it difficult to tell where one color ended, and the other color started. Once touches of purple and black was placed around them, they pop off the canvas.

The edge of the base and the back of the base was covered using red acrylic paint.

All the projects were varnished using the Polyacrylic. Some were sprayed and other were brushed. My only desires concerning these markers are: I would like more colors; and I would like to some fine point markers.

I do not see using the markers every day, but they will definitely fit in with some of my projects.

Tiny Flower Vase

The parts for this tiny vase have been laying in my craft area for a long time, and I finally got around to assembling flower arrangement. It was made with left over Sculpey clay and baked in the oven. I sprayed the arrangement with polyacrylic varnish. The flower arrangement is approximately 4″ tall.

Plastercraft Houses 2021 – 2022

Yes, it took me a long time to start and finish the latest Plastercraft houses. These houses were produced by California Creation, (which has gone out of business), and painted by me. The houses are painted with acrylic paint and sealed with gloss varnish.

Pizza Parlor

Fire Station

Polymer Clay Crosses

I spent some time creating crosses from polymer clay, which was left over from all of the other polymer clay projects.

First the pretty crosses:

IMG_0925 (2)IMG_0926 (2)IMG_0929 (2)IMG_0930 (2)IMG_0947 (2)

The difficult cross:

Folding clay and braiding clay is a little bit challenging.

IMG_0910

IMG_0944 (2)

Interesting Crosses:

IMG_0934 (2)IMG_0935 (2)IMG_0932 (2)

The weird ones:

IMG_0933 (2)IMG_0937 (2)IMG_0939 (2)

IMG_0942 (2)

Do You See the Butterflies?

IMG_0940 (2)IMG_0908 (2)

Rescued Houses – Part One

In August 2016, the storage unit where I kept my belonging flooded.  In those belonging was all my Christmas Village Plastercraft Houses.  Many of the houses, painted and unpainted, was either wet or underwater for about a week.  I was going to abandon them because I had no means of drying or cleaning them.  My sister, who showed up to help me salvage what belonging I could, insisted that I could not abandon my houses.

She took all the wet houses to her flooded house, unwrapped, cleaned, and let the houses dry out while her house was drying out.  After everything was dried, she carefully packed the house.  In June, I was able to retrieve the unpainted houses from her.  She did an amazing job.  All three of these houses have minor damage, but no house is perfect.  Of course, the inserts with suggested painting is gone, so I choose the colors myself.

These are the first three houses that she recovered that I have painted.

Don’s Donuts:  I decided I would paint it the colors of the best donut shop, Krispy Kreme.  The car had to be blue.

DSCN4657
.DSCN4655

Bowling Alley:  I thought this building needed to be bright and metallic.

DSCN4676
DSCN4673

Toy Maker:  Deciding the colors were a little difficult.  What colors would Santa have on his shop?

DSCN4665
DSCN4663

There will be more houses to come.  I usually paint three at a time.

Glitter Ornaments

One of my Christmas projects for 2016 was to create glitter ornaments.  I purchase clear glass ornaments from Hobby Lobby  and made two packs of theses beauties.

Removed the top from the ornament and seat it aside.

Sprayed the inside of the ornament with spray glue.  Careful, if you miss the hole on the ornament, you get glue sprayed on your hand and it takes finger nail polish to remove it.

Pour glitter inside the ornament.  You do not need to fill the entire ornament, just enough to slick to sides.  Place paper towel and your finger over the hole and shake the ornament to distribute glitter.  I used extra fine glitter.

Remove excess glitter from ornament and let dry overnight.

Place cap back on ornament.

Decorate as desired.  I used glitter puff paint (fabric paint) to put the snow effect on the ornaments.


Birthday Card

Here are my first two attempts at making Birthday cards.  For the outside I used the templates from the Silhouette Design Studio.  On the inside, I font was used and another template.  Several cards will be made this month, because of the numerous birthdays in January.

I really need to learn how to get the insert correct if the card will have a background.

DSCN6752

Instead of gluing the dots back into the letters, I used my metallic marker to draw the dots.  Lazy? Maybe… but, more likely I am feed up with all forms of glue.

DSCN6750

Note to self – Check the quality of the photo before mailing the card.

DSCN6876

The signature was done with the sketch pen in the Silhouette while before the cutting was performed.

DSCN6878

I did save the cut letters.  I may want to used them in the future for another project.