3d Print – Train Engine

One of my projects in the 3D Printing world is to design and print a train; Train Engine, Coal Car, Passenger Car, Cargo Car, etc.    I am not particularly into trains, but I thought it would be a fun project.  I’ve based the size of the train after Gn15 Model Train scale.  It specifies a train track gauge of 16.5 mm.

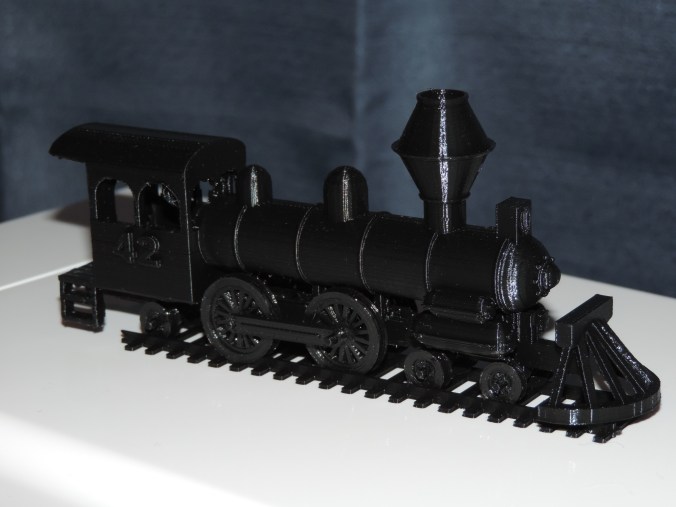
Only two of the cars have been completely designed and just finished printing the Train Engine, after several false starts.  The train is not a copy of any one train.   I used components I liked from many trains and incorporated them into the design.

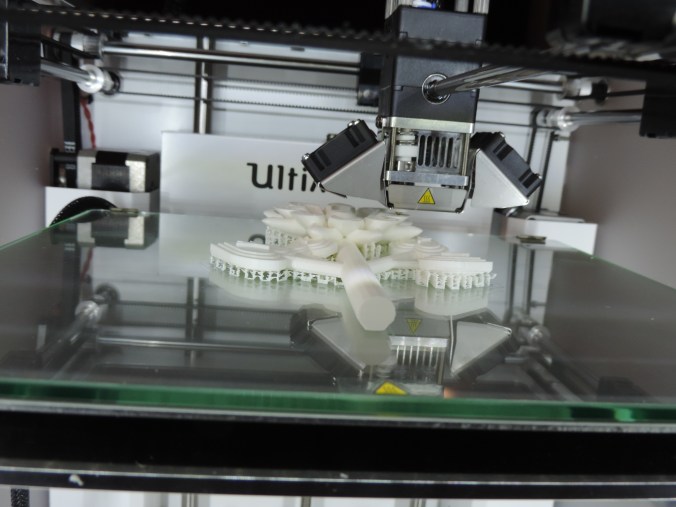
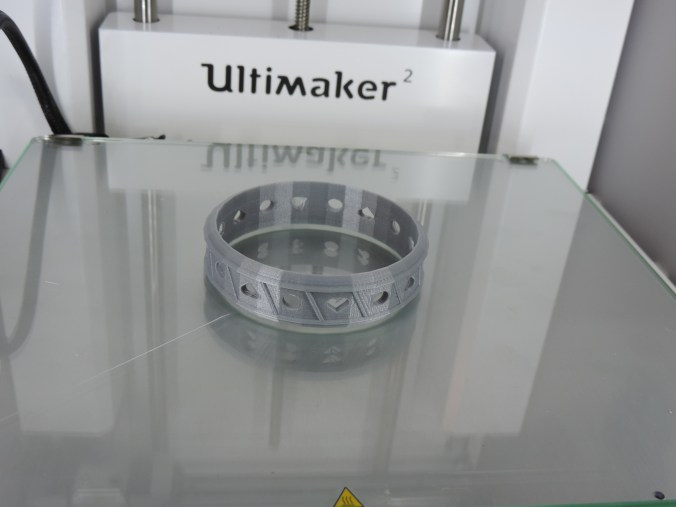
A colored version of the Train Engine can be viewed on Tinkercad link: Train Engine.  Minor modifications where made for a successful print of the train.  The train was printed using supports (everywhere settings).  The carefully removal of the supports took time.

DSCN7283

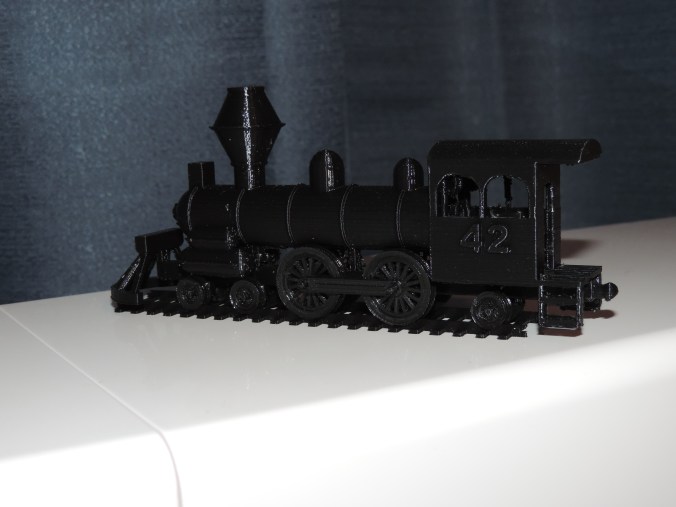
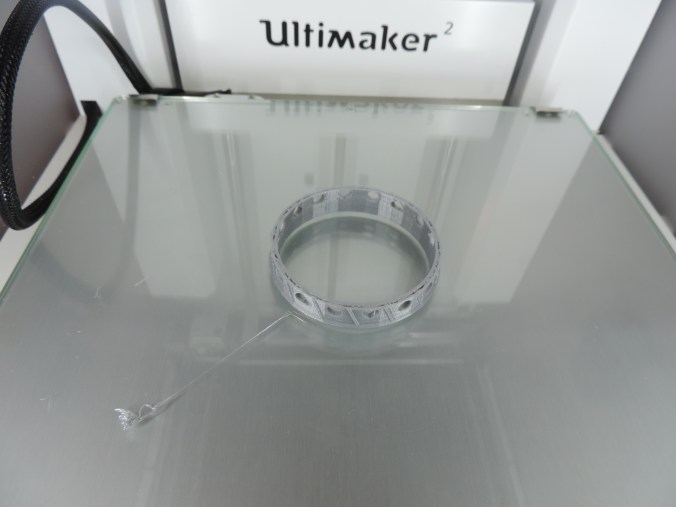
The wheels of the train were printed separately because I wanted them to be able to spin.

DSCN7287DSCN7293DSCN7290DSCN7286

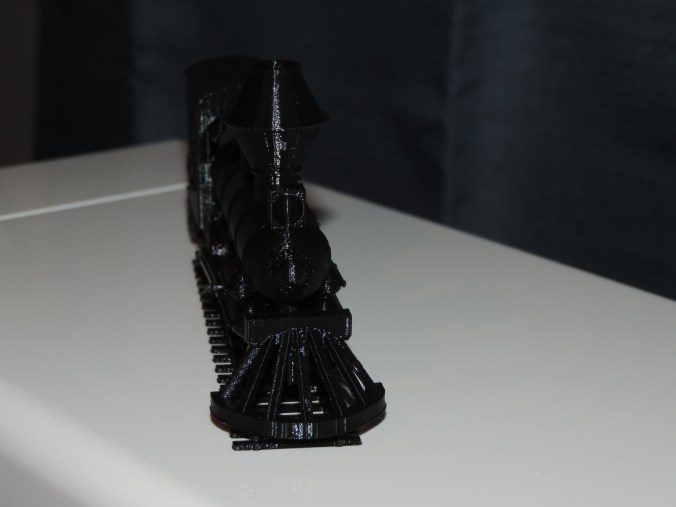
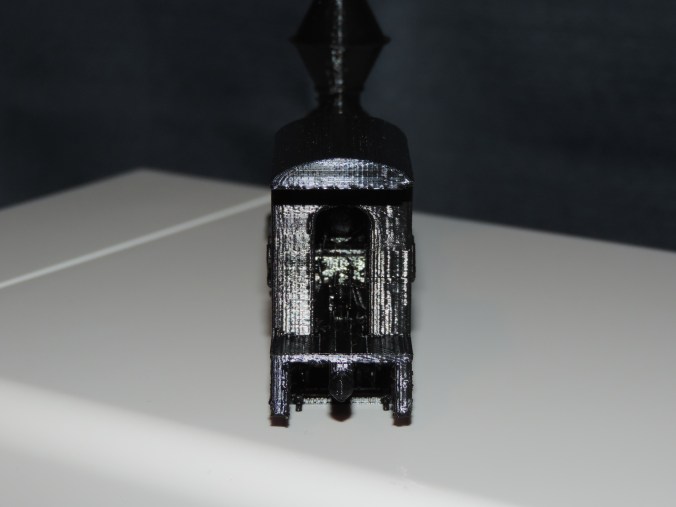
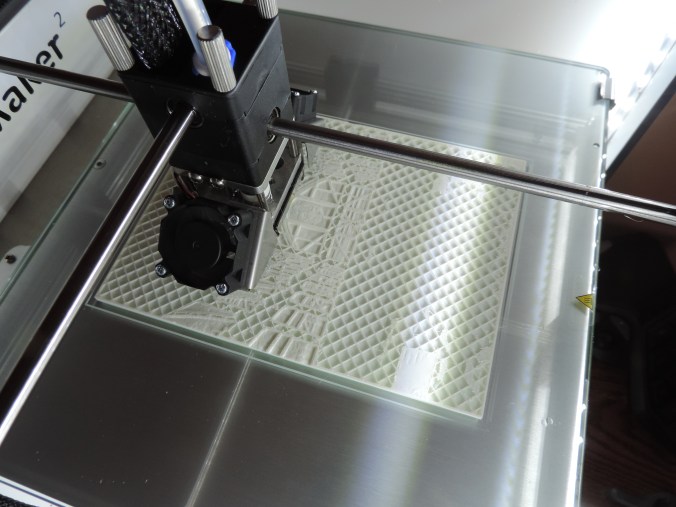
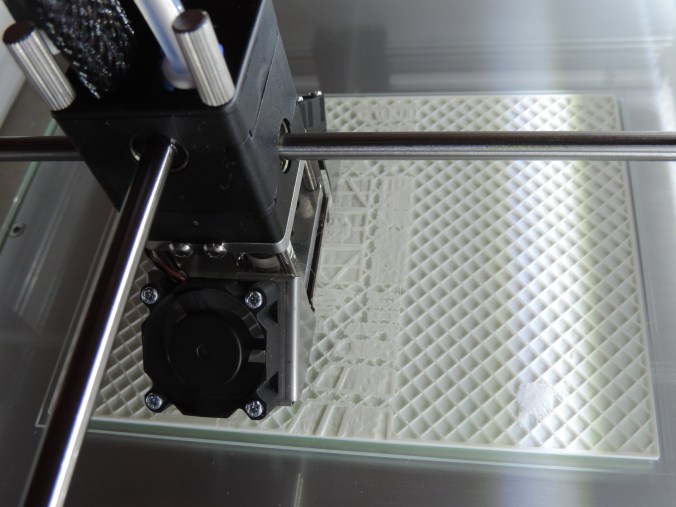
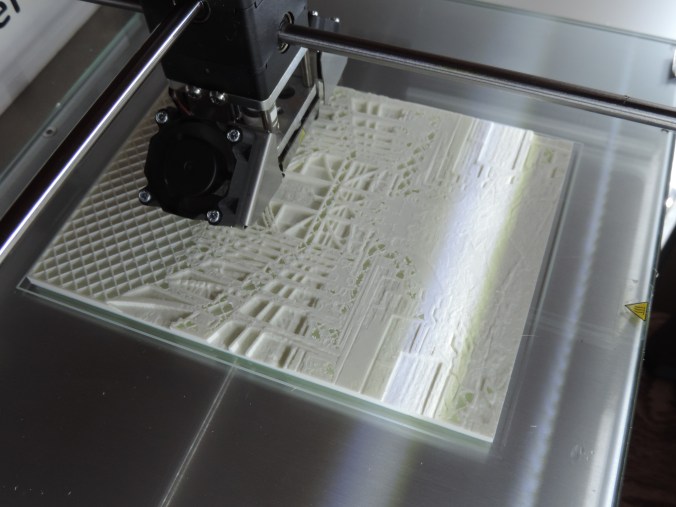
I even put chairs and gauges in the car to give the train character.  The grid on the platform was not part of the designed.  It was remnants of the support structure.  Instead of smoothing it out, I thought is provided a nice effect.

Train Engine:

Print Time: 3 hours 53 minutes
Filament: PLA – 4.11 meters 33 grams
Layer height: 0.1 mm
Shell Thickness: 0.8

Object Size (W, D, H): 33.468, 151.55, 60.503 mm

Wheels:

Print Time: 55 minutes
Filament: PLA – .45 meters 4 grams
Layer height: 0.1 mm
Shell Thickness: 0.8

Once I completed the entire train, I will make the .STL files available on youmagine.com.

Tinkercad.com deserves created for provide me the resources to create!

Tinkercad – the free, online 3D CAD app

3D Print – Birthday

There are plenty of March birthdays in my family.  I needed cards.  Someone suggested buying gift cards for my dad.  So, I needed some gift card boxes.  Out comes the Corel Draw, the Silhouette, and the Ultimaker 2 to handle two of the birthdays.

Dad’s Birthday!

I used Corel Draw to create the background, then I printed it on metallic photo paper.  I designed the rest of the card using Silhouette Studio.

DSCN7169DSCN7175

I designed the gift card box in Tinkercad getting the dimension from a credit card.  The box was printed on the Ultimaker 2 using semi-transparent filament.

DSCN7192DSCN7195

Print Time: 3 hours 45 minutes
Filament: PLA – 5.22 meters 41 grams
Layer height: 0.1 mm
Shell Thickness: 0.8

Object Size (W, D, H): 100.001, 164.001, 12.701 mm  (Both pieces printed together)

Amanda’s Birthday!

I used a template for Amanda’s card and cut it on the Silhouette.  However, I did design the envelope since no envelope was a good size..  Alas, I didn’t get a picture.

DSCN7166

I tweak the gift card box after the other one was printed to make the top smaller and fit better.  It was printed using pink filament.

DSCN7183DSCN7187

Print Time: 3 hours 45 minutes
Filament: PLA – 5.25 meters 42 grams
Layer height: 0.1 mm
Shell Thickness: 0.8

Object Size (W, D, H): 100.001, 163.501, 12.701 mm  (Both pieces printed together)

The boxes was printed with the top and bottom laying flat on the printer bed to make the boxes smoother.

3D Print – Church

I love old buildings, especially churches.  They have a lot of character and details you do not find in modern buildings.  My first major 3D design project was not modeled after any one particular church building, but after numerous churches I have seen through out my lifespan.

DSCN7176

The building was created in 3 main sections:  The foundation, the walls, and the roof.  I wanted the ability to put furniture inside the building.  I also wanted the doors to open, but the 3D print was too small to support hinges that actually worked.

DSCN7181

The foundation include the steps, simulated wood flooring, and the cross display.  It contains groves in the foundation to hold the walls in place.

DSCN7179

The walls contains simulated wood siding, the windows and the doors.

DSCN7151

The roof contained the bell tower with simulated wood shingles.  The cross was printed separately and placed in the hole bell tower.

DSCN7182

The furniture was originally designed on a larger scale and shrunk down.  But, it had to be tweaked at the small scale since any support not being at least 1 mm did not print correctly.

DSCN7177

Foundation:

Print Time: 6 hours 53 minutes
Filament: PLA – 3.76 meters 30 grams
Layer height: 0.1 mm
Shell Thickness: 0.8

Object Size (W, D, H): 64.001, 140.8, 36.5 mm

Walls:

Print Time: 3 hours 18 minutes
Filament: PLA – 1.69 meters 13 grams
Layer height: 0.1 mm
Shell Thickness: 0.8

Object Size (W, D, H): 64.474, 113.752, 32.252 mm

Roof:

Print Time: 10 hours 28 minutes
Filament: PLA – 7.12 meters 56 grams
Layer height: 0.1 mm
Shell Thickness: 0.8

Object Size (W, D, H): 89.501, 117.201, 65.217 mm

The estimated print time for the entire building as one object is 21 hours 19 minutes.

Pew:

Print Time: 8 minutes
Filament: PLA – 0.04 meters 0 grams
Layer height: 0.1 mm
Shell Thickness: 0.8

Object Size (W, D, H): 19.252, 5.453, 8.993 mm

Pew:

Print Time: 16 minutes
Filament: PLA – 0.11 meters 1 grams
Layer height: 0.1 mm
Shell Thickness: 0.8

Object Size (W, D, H): 16.801, 5.745, 16.213 mm

Podium:

Print Time: 16 minutes
Filament: PLA – 0.11 meters 1 grams
Layer height: 0.1 mm
Shell Thickness: 0.8

Object Size (W, D, H): 16.801, 5.745, 16.213 mm

Communion Table:

Print Time: 10 minutes
Filament: PLA – 0.09 meters 1 grams
Layer height: 0.1 mm
Shell Thickness: 0.8

Object Size (W, D, H): 15.001, 7.858, 8.5 mm

3d Print – Flowers

In an earlier post, I talked about printing a vase.  Once I had the vase, I decided it needed some flowers.  Instead of putting real flowers in the vase, I decided to design and print 3d flowers.

The first flower’s petals had the shape of a sunflower.

DSCN6959

It was necessary to print the flowers with the supports or the petals and leaves would have collapse while printing.  Yes, I learned this from trail and error.

DSCN6967

Print Time:2 hours 35 minutes
Filament: PLA – 3.93 meters 31 grams
Layer height: 0.1 mm
Shell Thickness: 0.8

Object Size (W, D, H): 77.728, 122.481, 24.834 mm

The second flower.  Not really sure what it is modeled after.  But, I did put more detail into the leaves.  They are in the shape of hearts.

DSCN6981

DSCN6982

Print Time:3 hours 53 minutes
Filament: PLA – 6.05 meters 48 grams
Layer height: 0.1 mm
Shell Thickness: 0.8

Object Size (W, D, H): 101.001, 137.788, 24.86 mm

3d printed flowers in vase.

DSCN7093

3D Print – Holy Family Shrine

I’ve learned that I could take a .jpeg file and load it into the Cura software that came with the 3d printer (Ultimaker 2) and it would add depth to the picture.    I had the option of letting either the dark or light colors to have depth.

I selected one of my pictures that I took at the Holy Family Shrine.

I had to scale down the image to 4″ x 6″ in the Cura software because 1101.3 x 1468.5 mm (43.35 x 57.81 inches) was too big for the printer.

I believe the results were amazing.

DSCN7037

DSCN7036

DSCN7038

DSCN7039

3D Print – Something Wearable

The next item I created with Tinkercad and printed was a 3D bracelet.  The first version was too small for my wrist and quit printing before it was completed.

DSCN6907

So I enlarged the bracelet, and this time I made sure that the gcode file was completed written to the SD card before I tried to print the item.

DSCN6909

DSCN6913

Print Time: 2 hours 12 minutes
Filament: PLA – 1.32 meters 10 grams
Layer height: 0.1 mm
Shell Thickness: 0.8

Object Size (W, D, H): 70.07, 70.07, 18.721 mm

3D Print – Something Tall

After loading several objects into the Cura software, it told me ‘Info:  Print one object at a time disabled. Object too tall.”  During my research of this issue, I learned the object was not too large for the printer, it was just too large for printing multiple objects.  Now, I had to print something tall.

On youmagine.com I found a vase that I just had to print.

Specifications:

Print Time: 12 hours 29 minutes
Filament: PLA – 6.35 meters 50 grams
Layer height: 0.1 mm
Shell Thickness: 0.8

Object Size (W, D, H): 200, 76.3, 76.3 mm

200 mm is almost 8 inches tall.

DSCN6874

Yes, the vase is spiral.

DSCN6882

DSCN6885

DSCN6890

DSCN6892

DSCN6895

DSCN6901

Now I just need to figure out what is causing the strings inside the spirals.

3D Print – My First Failure

I designed a vase in Tinkercad using several of the techniques I learned through the lessons on the website.  I used the workplace feature to place the stars and circles on the vase.  I used the hole feature to hollow out the inside of the vase.

vace2

In the end, I thought I had a good result for my first vase attempt.  I saved the object as an .STL file and loaded into Cura and created the .gcode file.

DSCN6862

Into the first hour of printing, I noticed that I had a bit of a problem.  One of the holes I had put in the vase had cause the bottom of the base to become unstable.

DSCN6864

Examining it carefully, I determine at this stage, the vase would still hold water, so I let the printer continue.

DSCN6865

Three hours into printing the vase, the printer stopped.

DSCN6867

There were no mechanical problems with the printer, it just though the print was finished.

DSCN6868

Researching this problem, I found out it was not a unique problem.  It happens when the .gcode file is not completely created.  Steps to take to make sure the .gcode is created correctly are: 1) Wait until the object completely loads into the software package (Cura).  2) Do not print through the USB cable this may interfere with the printing.  3) Make sure the .gcode file is saved to the SD Card.  4)  Always eject the SD Card from computer before removing the SD Card.

I did not attempt to reprint the vase.  I need to tweak it first and other design have capture my attention.

3D Print – Makey Robot

I have printed everything that was on the SD Card that came with the printer.  The next step is downloading and installing the Cura software.  To my disappointment, the Cura software does not let you design 3D objects.  It does lets you render the object for 3D printing.

In Cura, there is a link “YM” to Youmagine.com that allows you to share the objects you create.  If also lets you download objects created by other individuals.  That is where I found this robot.  Named Makey Robot by le FabShop.

DSCN6753

DSCN6767

DSCN6767

DSCN6769

DSCN6770

Yes!  He does have movable parts.  There was no assembly required.  After it was printed, I could move most of the parts.  I having problems moving one of it’s ankle and knee parts.  Only the 65 piece model was printed.

DSCN6780

Print Time: 5 hours 42 minutes
Filament: PLA – 3.43 meters 27 grams
Layer height: 0.1 mm
Shell Thickness: 0.8

Object Size (W, D, H): 62.4, 55.4, 40.5 mm

The search is on for 3D design software.  If you have any favorite, let me know.