I decided to use some of the other features in Tinkercad for the last 11 days of Tinktober. For all the designs I used Tinkercad Codeblocks, except for Trick or Treat and Fall Leaves designs. Codeblocks allows users to program shapes to create a design. After the design is completed in Codeblocks, users can save the design as a shape and use it in Tinkercad 3D
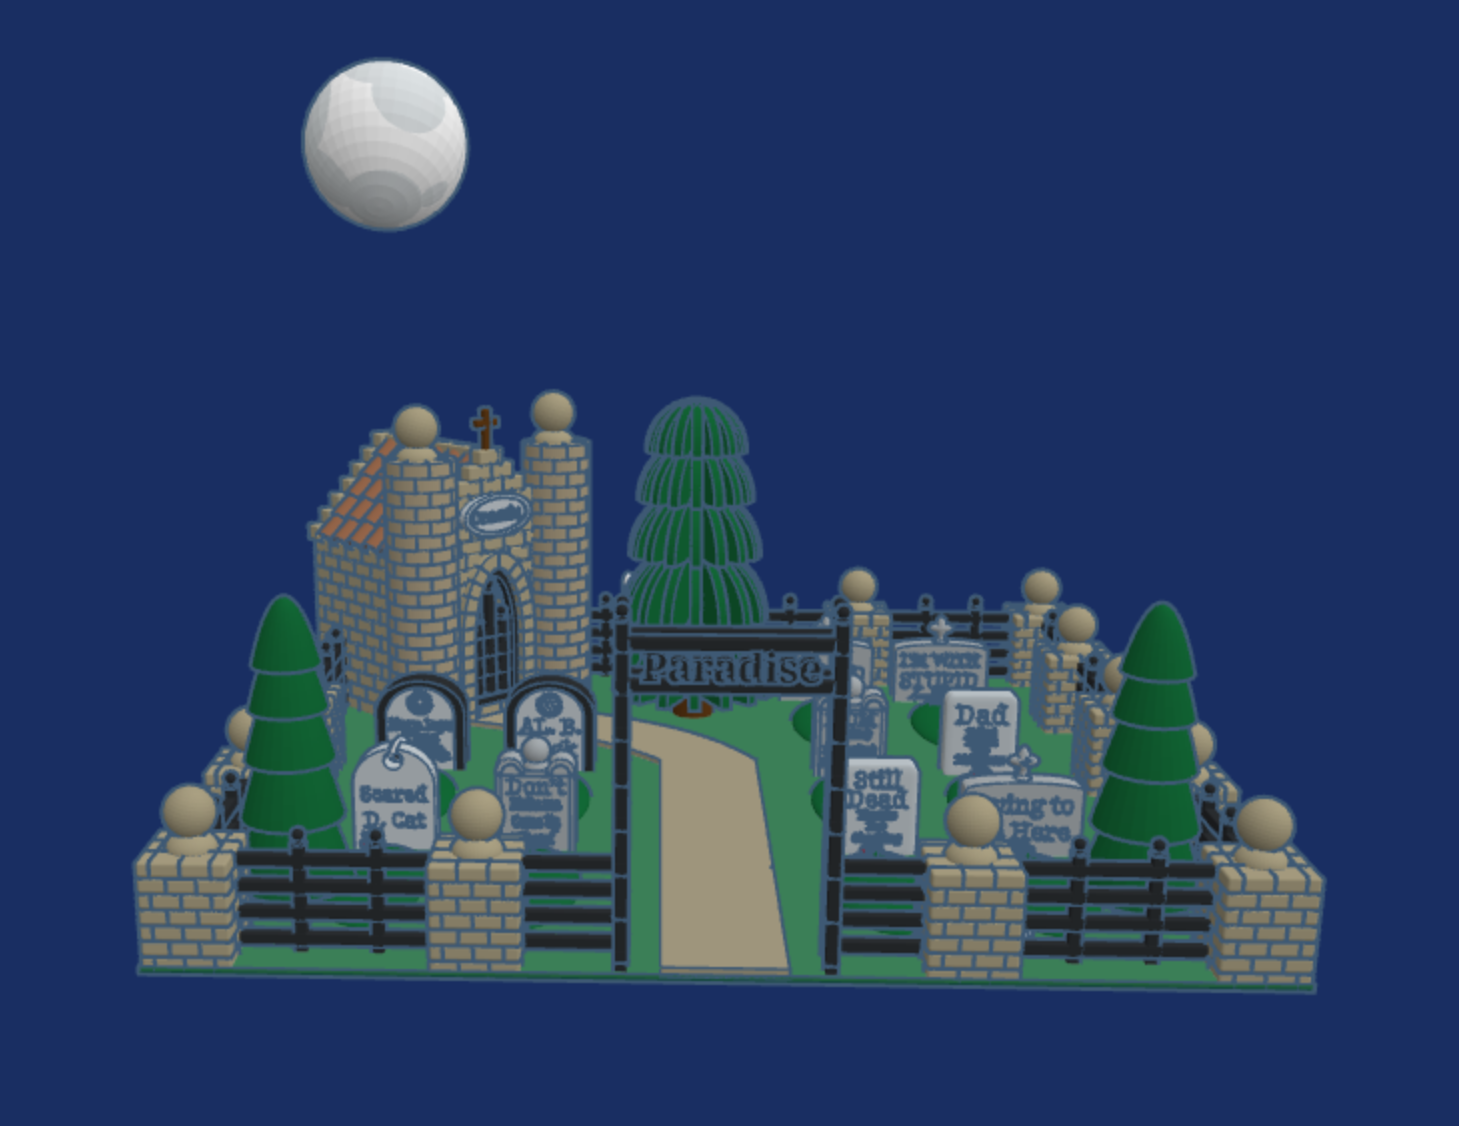
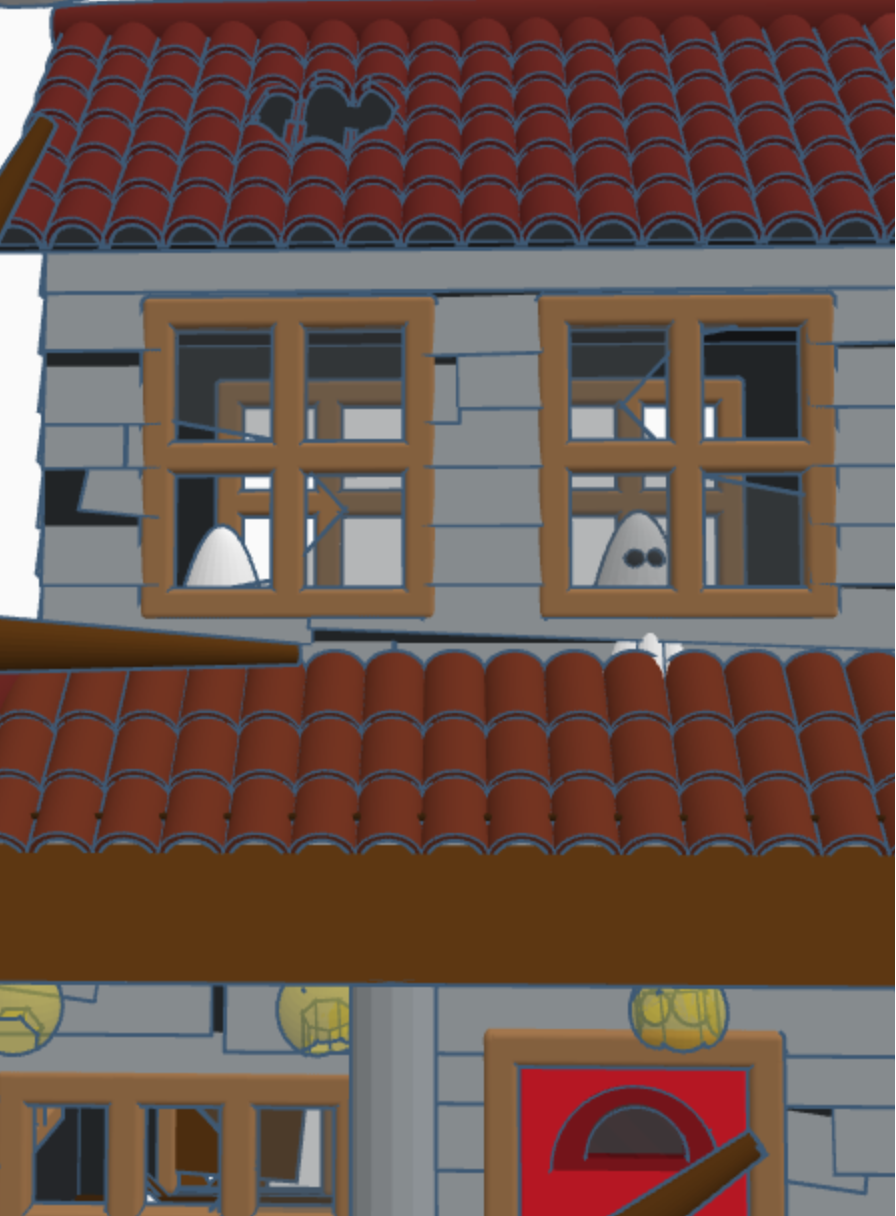
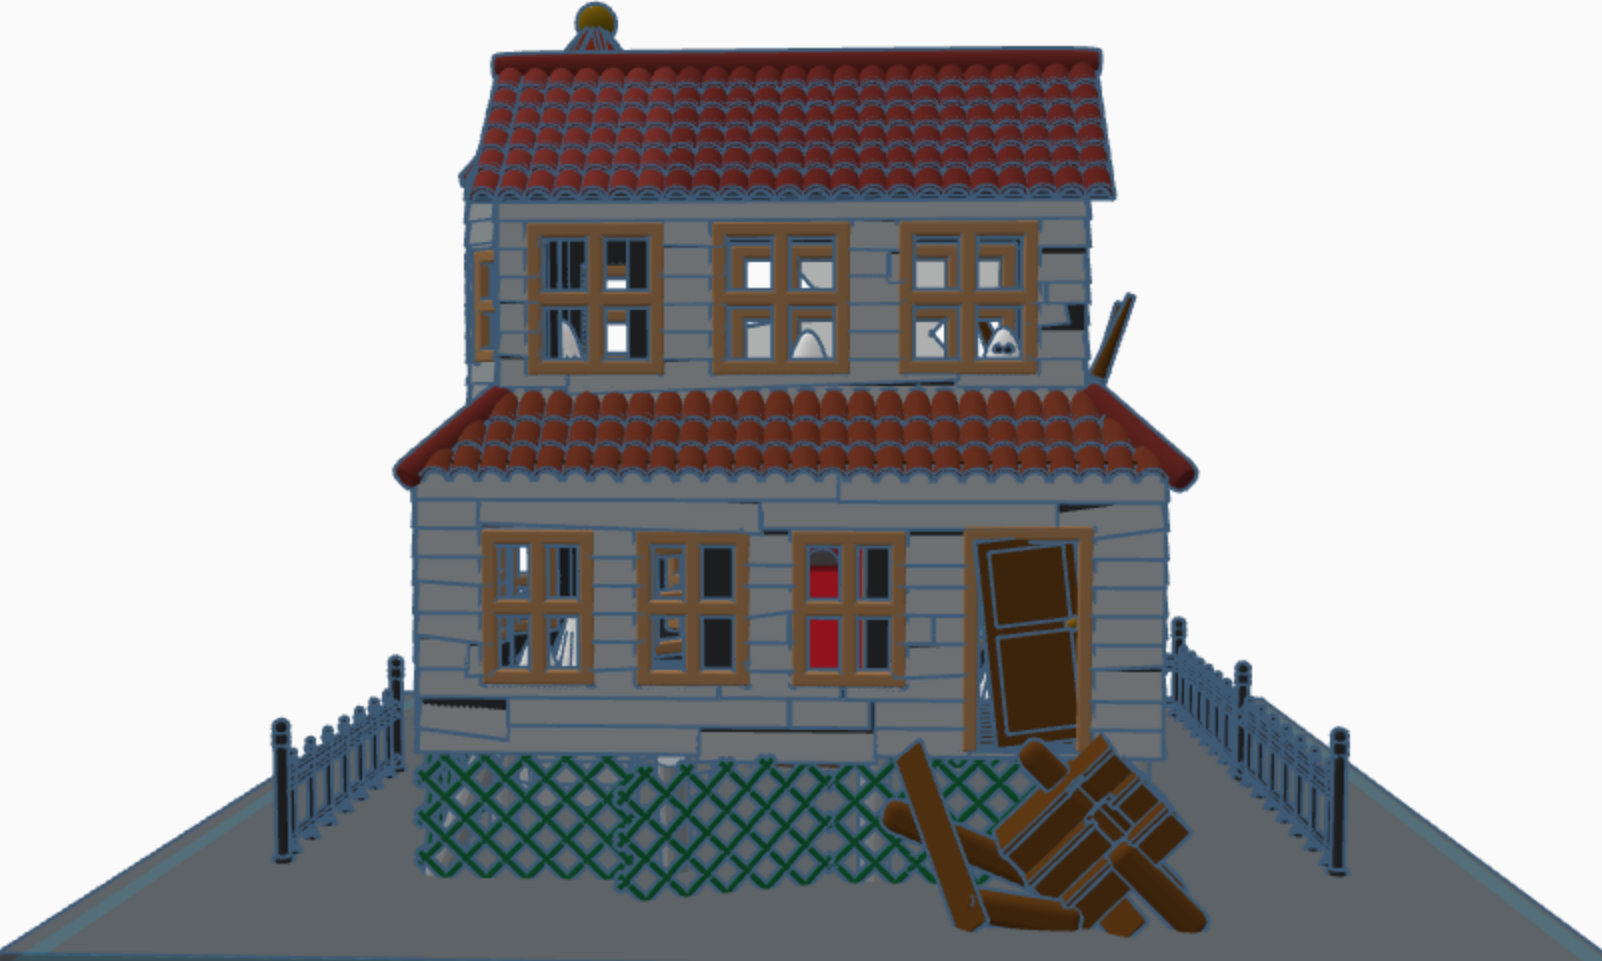
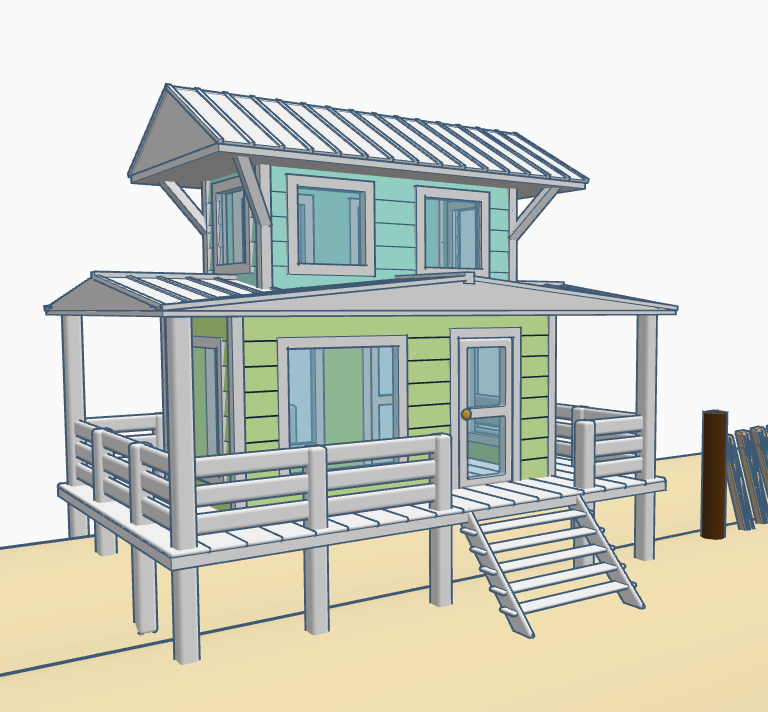
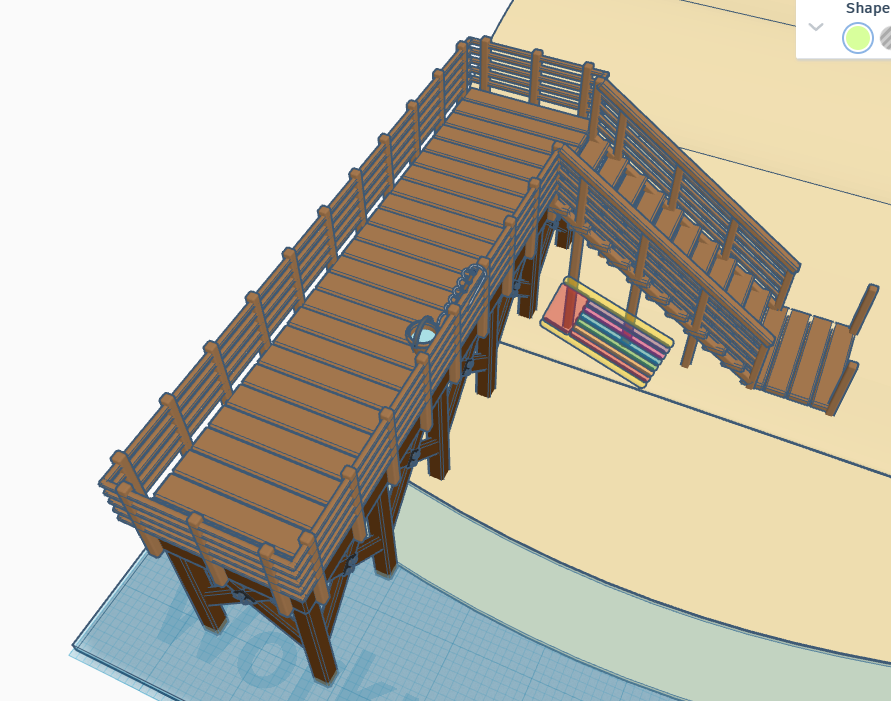
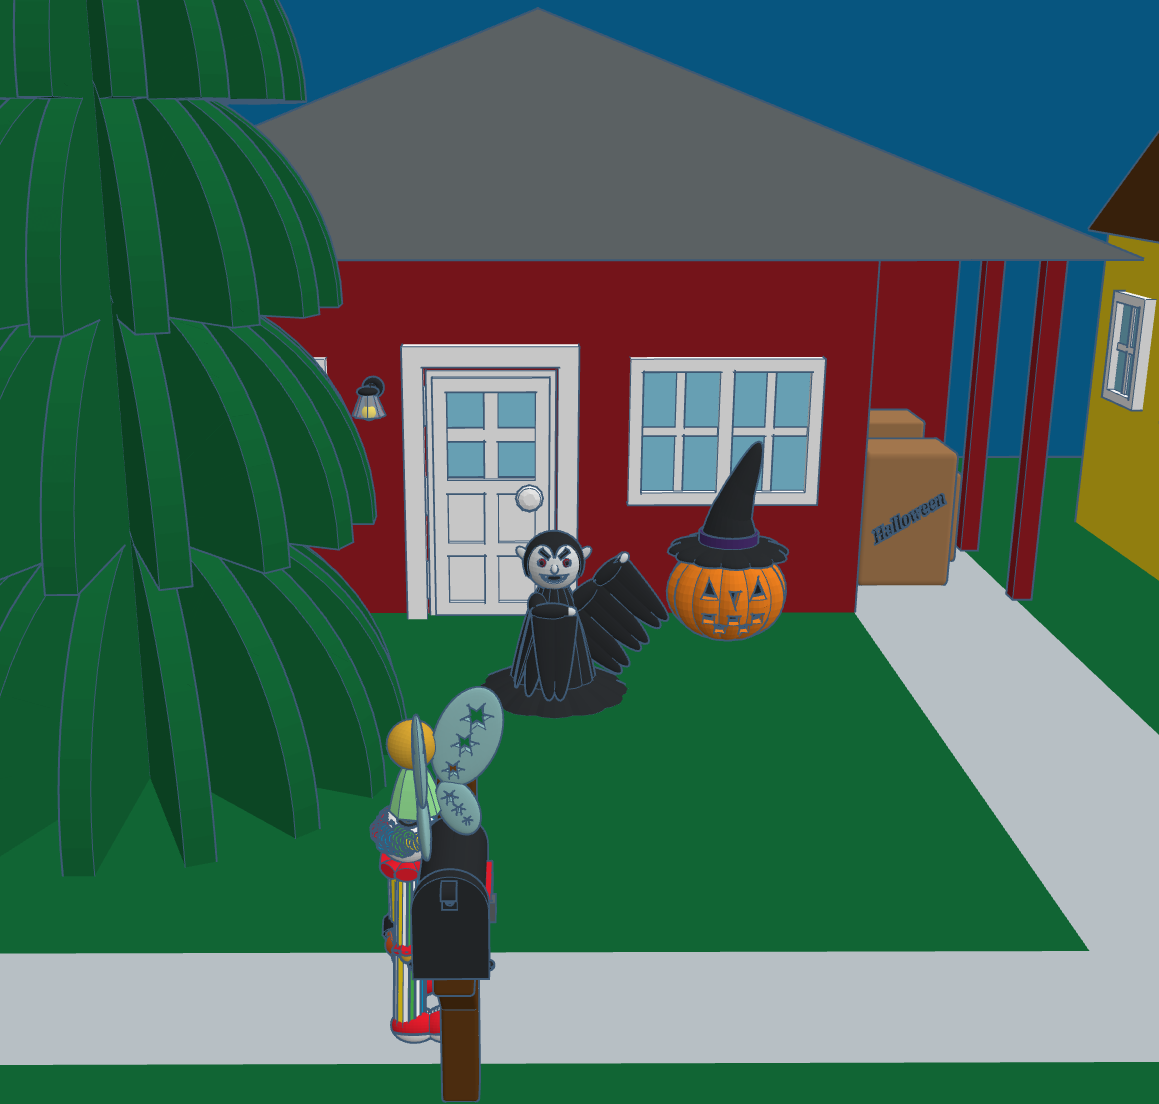
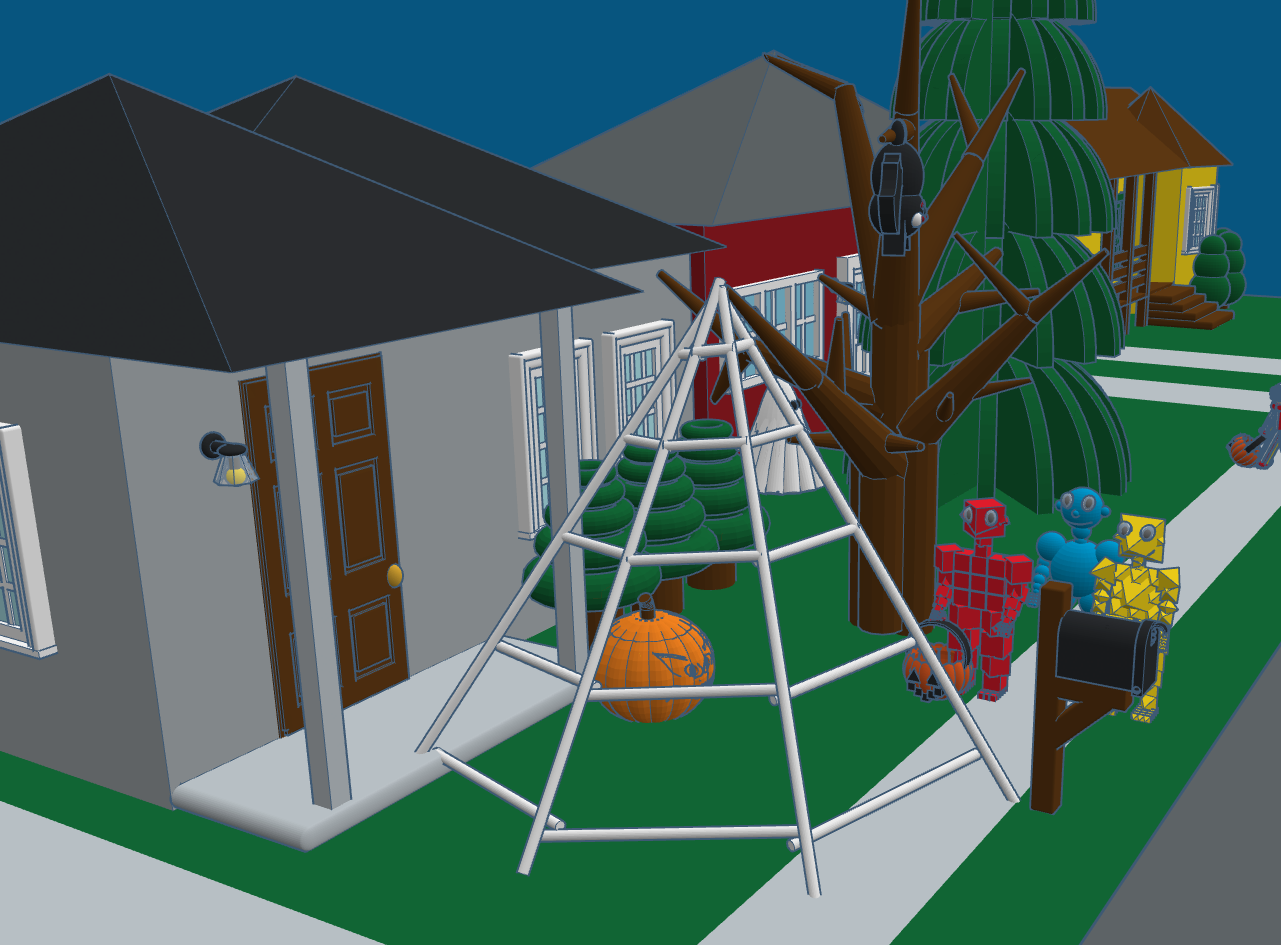
Day 31: Trick or Treat – There is always at least one house on the block that is different than all the other houses. On this block, were they just excited that Christmas was less than 60 days away, or did they leave decorations up all year long? This scene shows many of the designs that I created during #tinktober and other designs created over the past years.


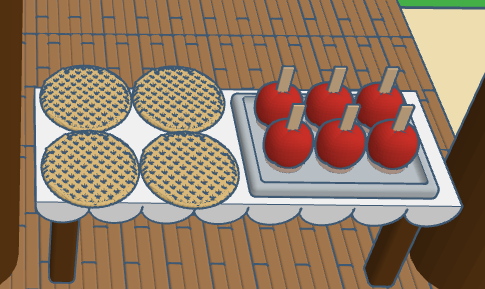
Day 30: Halloween Candles – One of the recently announced features in Codeblocks was the control of size, position, and scaling. The candles design uses the position code to keep the wick on top of the candles no matter the height of the candle. Read about Size, Position, and Scaling in the Tinkercad blog.

Day 29: Fairies – The Fairy design uses some of the same features available in Tinkercad Codeblock that I used in other designs. However, this fairy’s outfit and wings changes colors every time the design is run. This was accomplished by creating variables for the colors and using the random function to change the colors. The fairy also flutters around the screen and changes orientation.
Day 28: Broomstick – The broomstick is not fancy. Being able to adjust the pivot point of the rotation, I was able to create the bristles on the broomstick with very little coding.
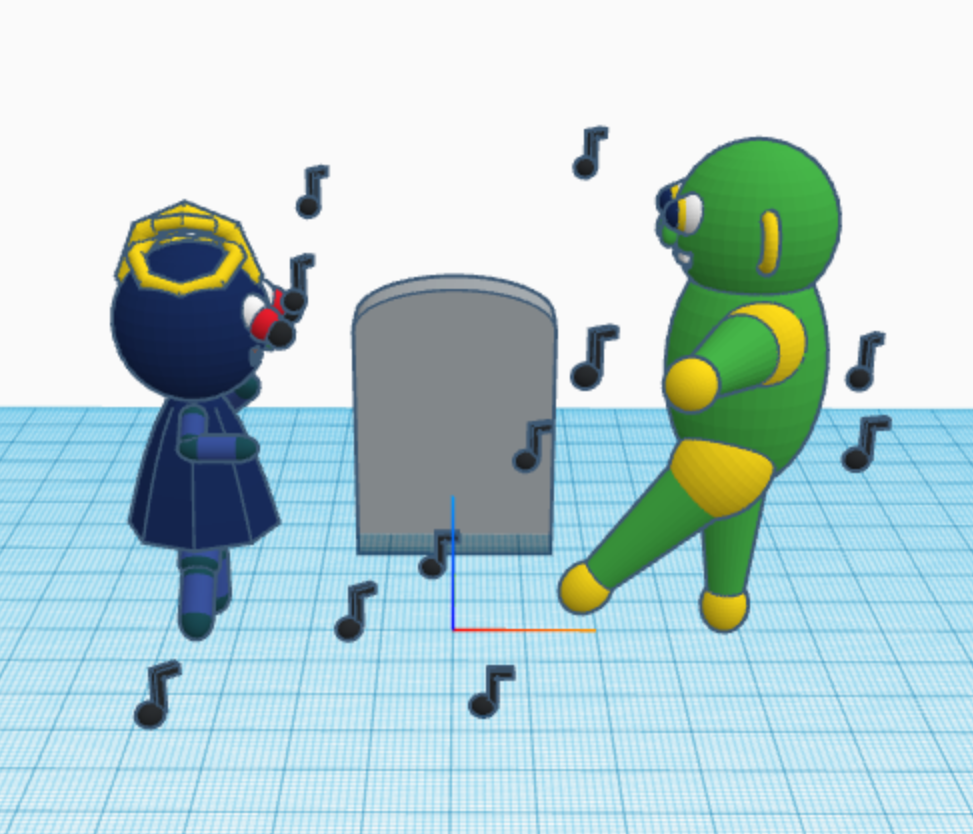
Day 27: Monster Mash – I wonder how many people actually know that Monster Mash was as actually song released in 1962 by Bobby “Boris” Pickett. This is the design I created to represent Monster Mash, because it was a graveyard smash. With Codeblock, each time you run the program the music notes will appear in a different location.
Day 26: Vampire: I am most proud of the hair on the Vampire design. For the head, I kept the default sphere radius of 10. I made the hair’s sphere radius one point large, 11. Then I created four spheres and made them holes; one center, one oblong to the left, one oblong to the right, and the last one center toward the bottom. See below for the code.


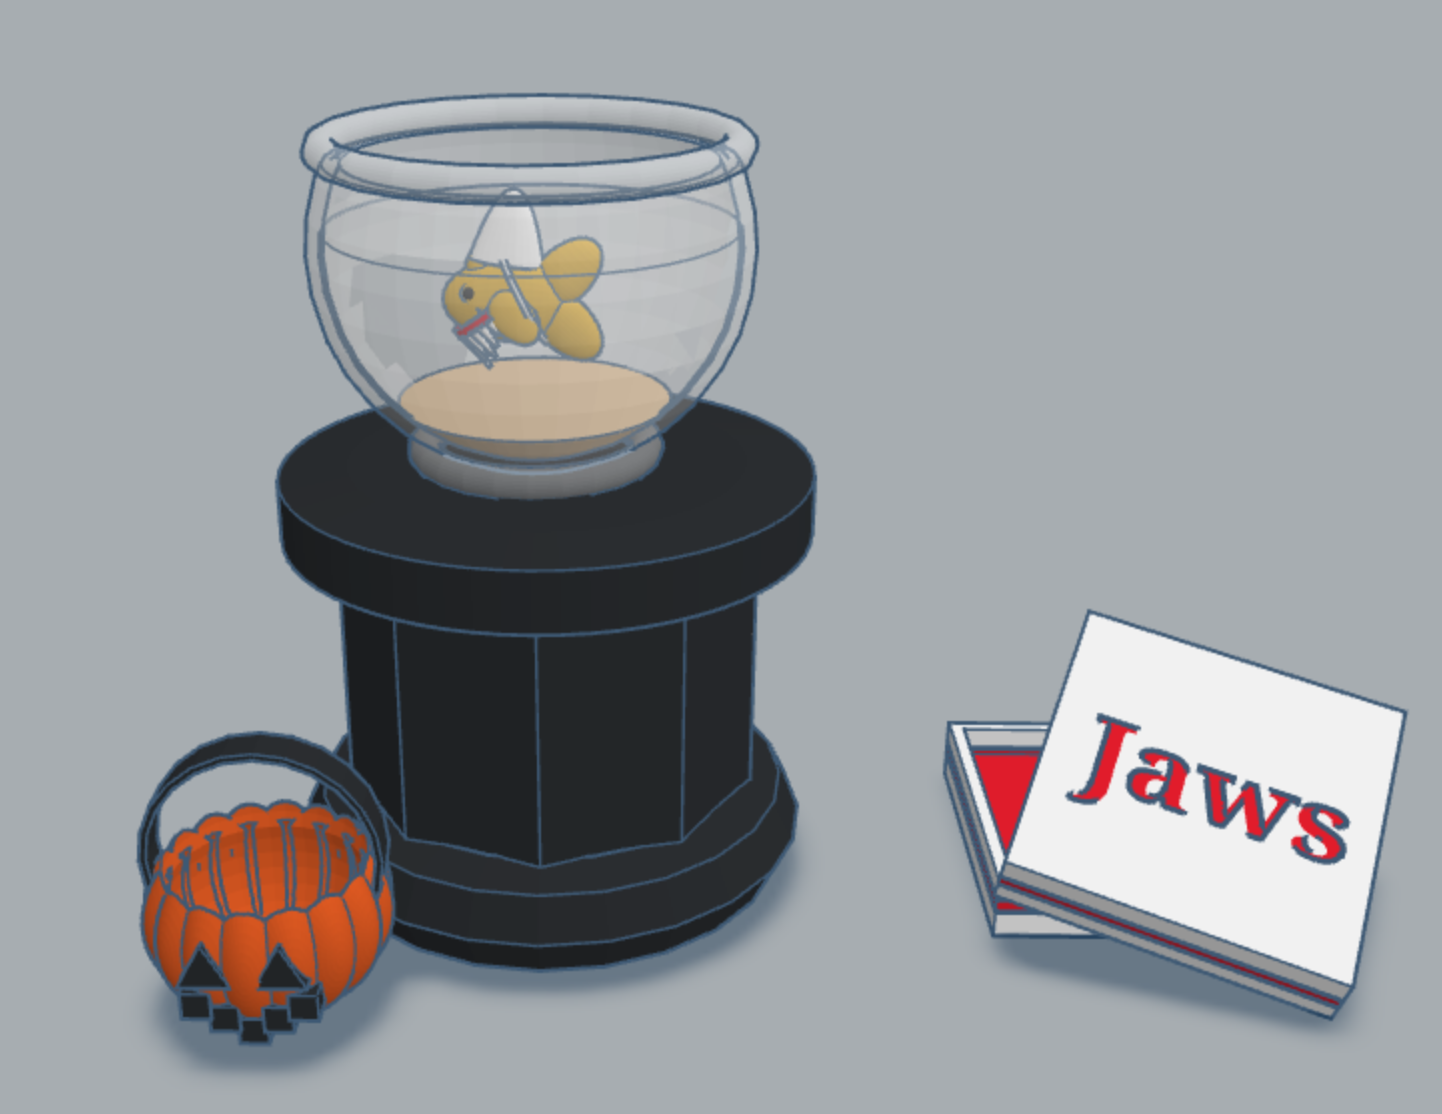
Day 25: Magic – The hat, the wand, and the stars were created by defining a template for each. The rabbit was created using three templates: one for the head, one for the body, and another for the ears. The entire design was put together in a template I named tempRabbit. If you watch the video, you will notice that once the wand touches the side of the hat, the stars appear than the rabbit.
Day 24: Spooky Pumpkin Head Witch – uses the new template feature of Codeblocks to create the hat and the pumpkin. It also use of the rotation function.

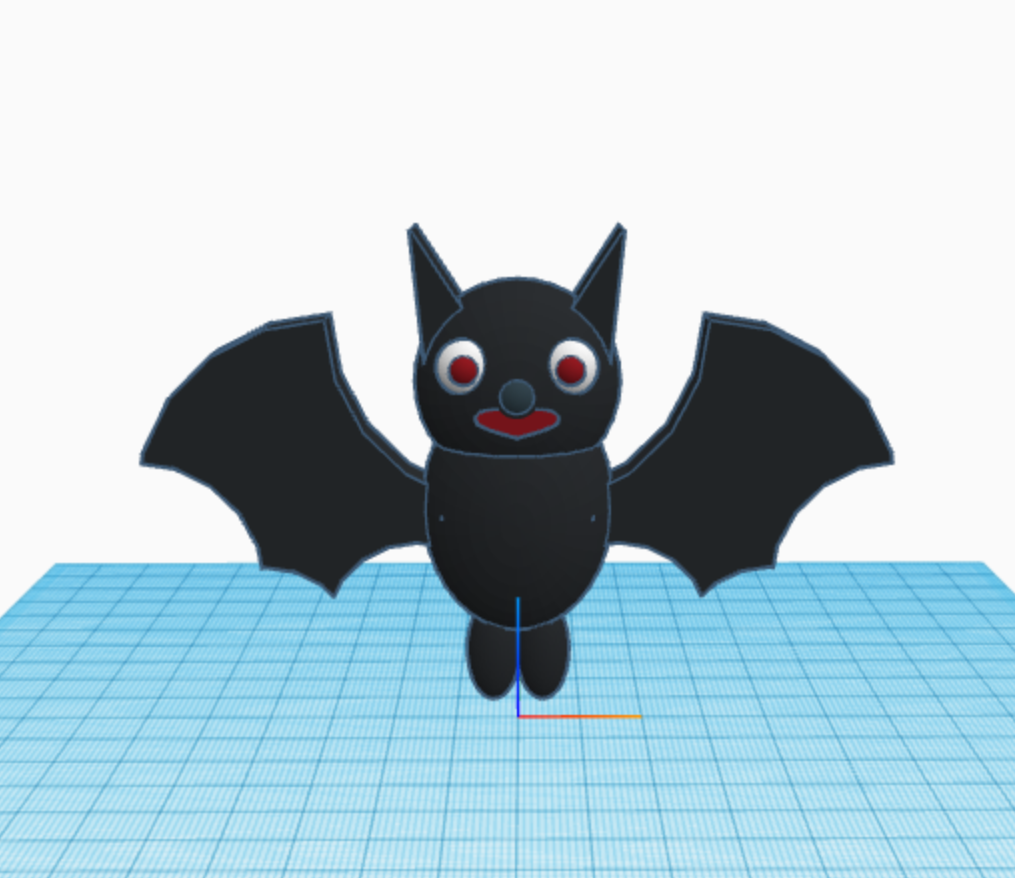
Day 23: Bats – I used the new feature in Codeblocks named Templates. The bat consisted of two templates: the wings and the body. Check out Tinkercad’s blog for information on Templates.
Day 22: Fall Leaves – Watch the leaves fall. This was made with Tinkercad and animated using the sim lab feature. Different leaves have different material weights. I was hoping the various leaves would respond differently.
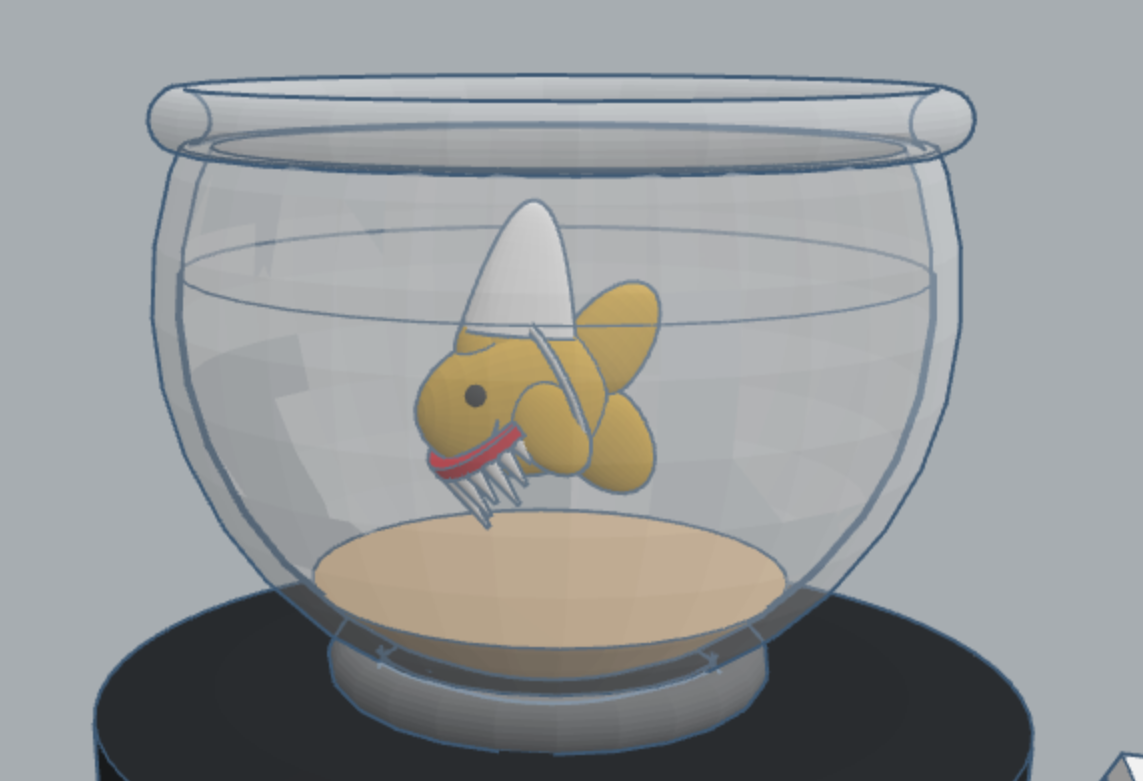
Day 21: Ghost – is a simple design which uses the “Count with…” and the rotation functions.

To fully enjoy these designs, they are best viewed in Tinkercad. I encourage everyone to copy the designs and edit them. Sometimes the best way to learn it to see how it was built; take it apart, put it back together, and improve the design by making changes.
If you do not have a Tinkercad account, they are free. Just sign up.