It is that time of the year again. Children all over the world are putting pencil, pen, or crayon to paper and writing a letter to Santa. This year I envisioned what Santa’s North Pole Post Office would look like. Looking at pictures of old-fashioned post offices I decided on the design and used Tinkercad to create a Post Office.
You can get a 3D view of the North Pole Post Office at this link: North Pole Post Office.
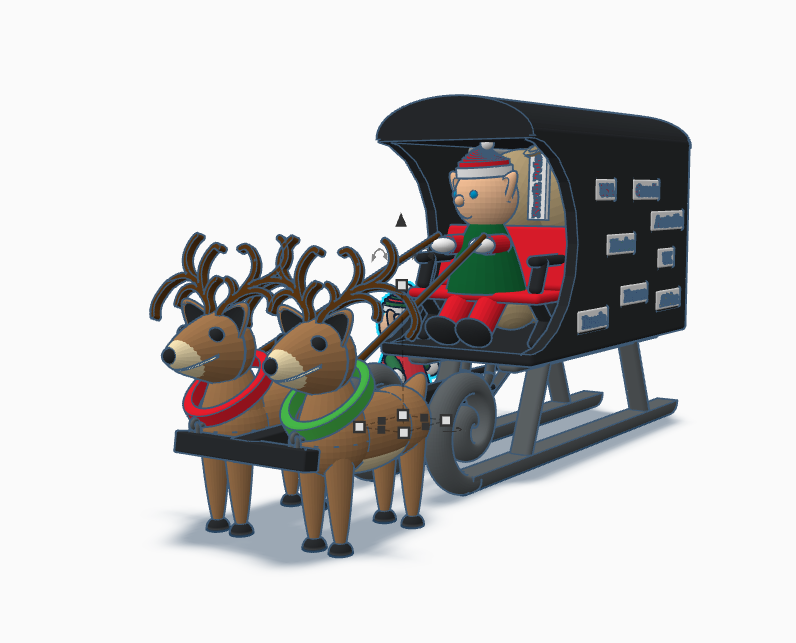
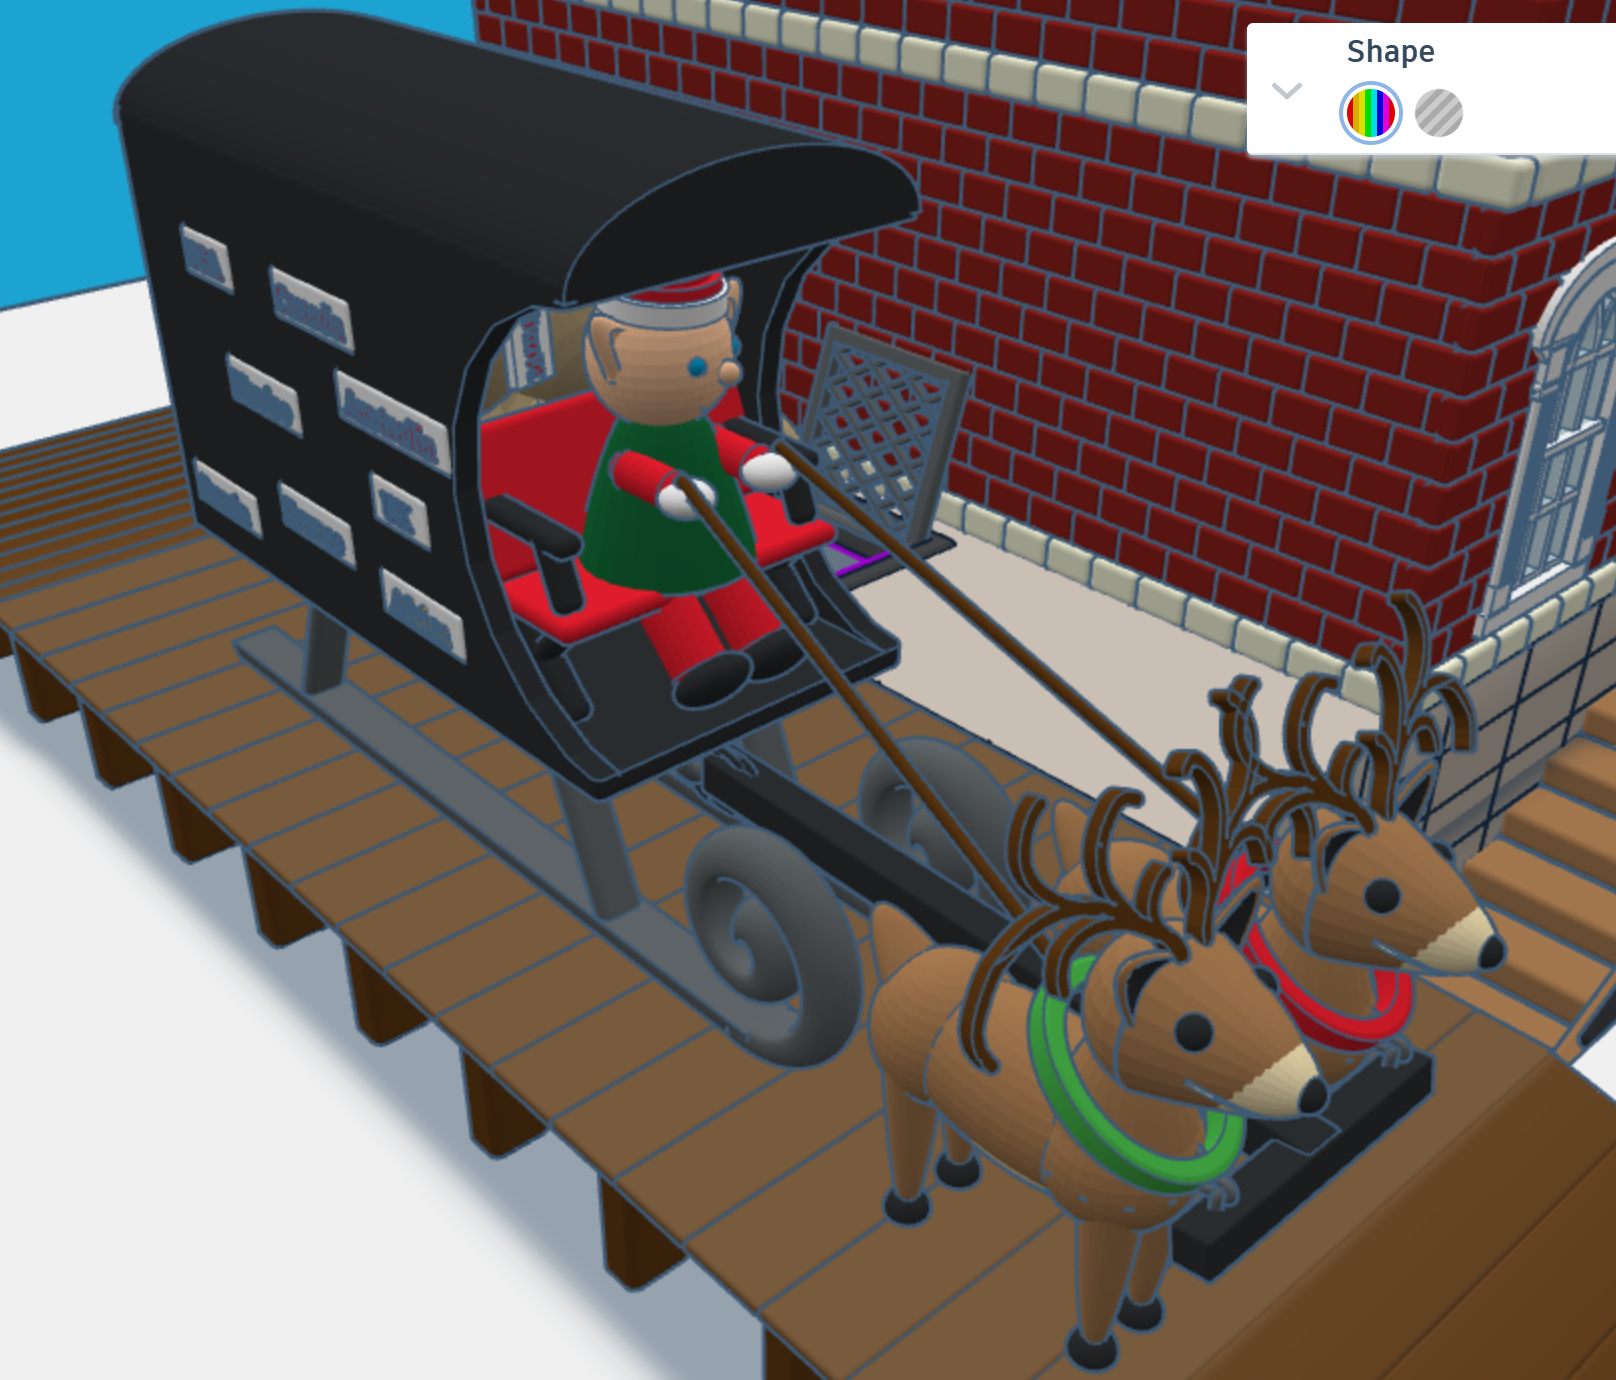
First, I needed a mail truck to deliver mail to the North Pole. A truck with wheels would have trouble delivering mail in the snow. I needed some reindeer and a converted sled to deliver the mail. One the side of the mail carrier, you will see signs from different countries. If you create a sign for your country, just make your sign design public/copyable and tag #sarahcath. I will put the sign on the mail carrier and give you credit. You can get a 3D view of the mail carrier at this link: North Pole Mail Carrier


For the design of the post office I decided on a corner building, with two entrances/exits and a clock tower. Plus, I wanted the post office to have a basement, where the elves would place the sacks of mail.

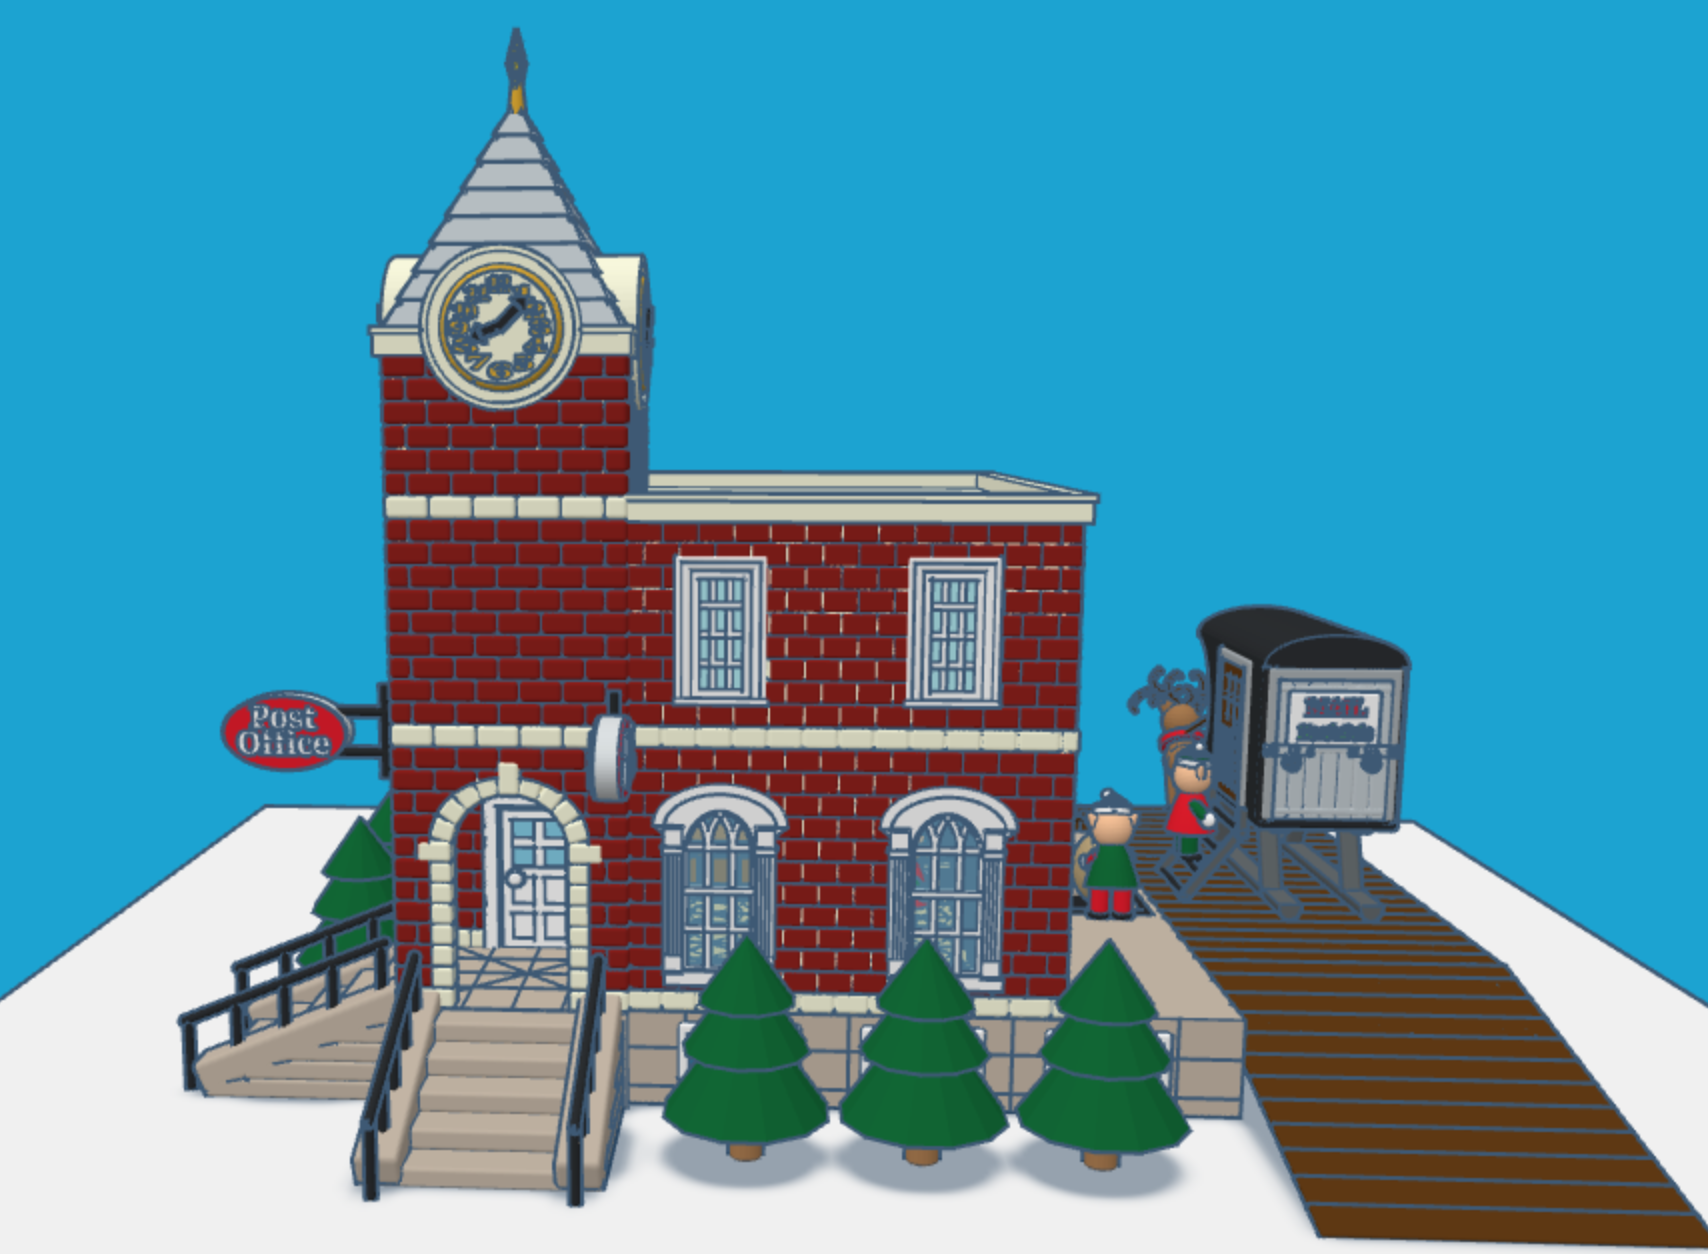
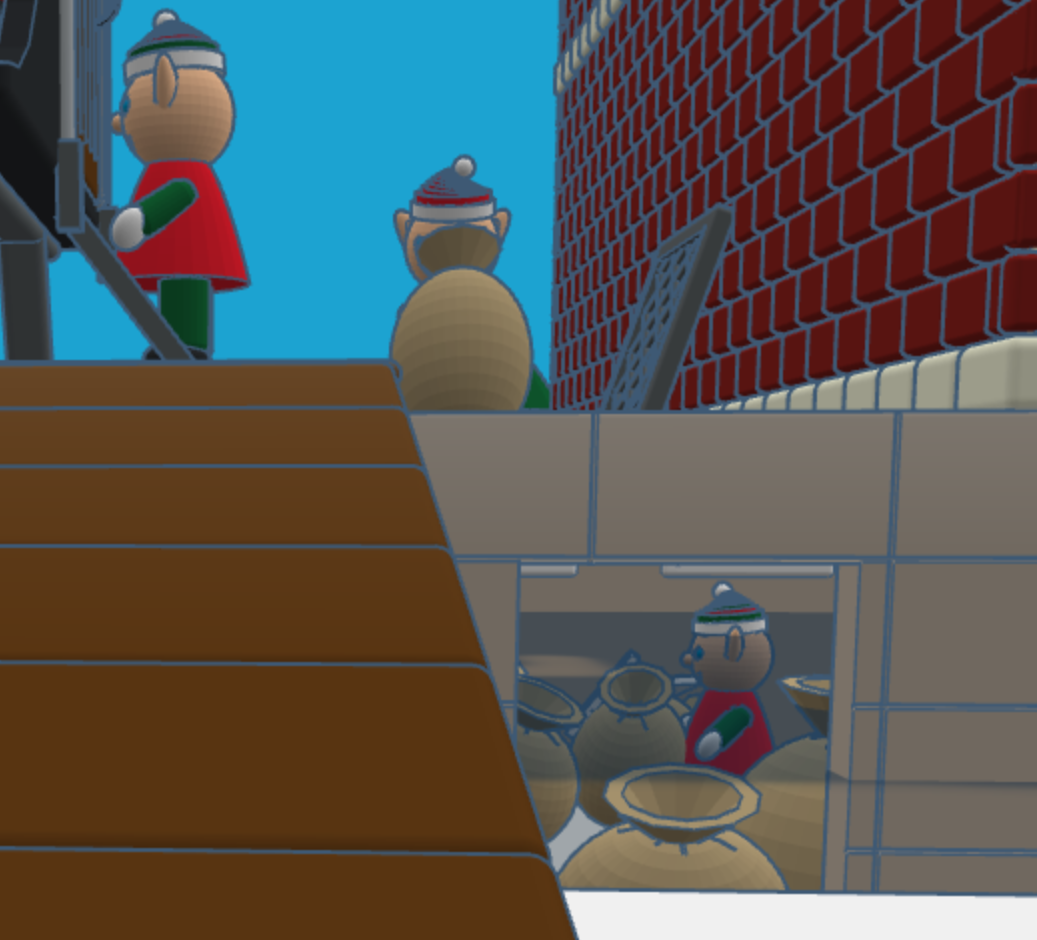
After the mail is delivered, a sack is sent upstairs for sorting by country. Santa typically delivers mail by country. The first floor also allows the elves to ship letters and packages.

After the mail is sorted, it is sent to the second floor to be opened and read by Santa. The second floor also has mailboxes for the elves. Yes, elves do get mail.

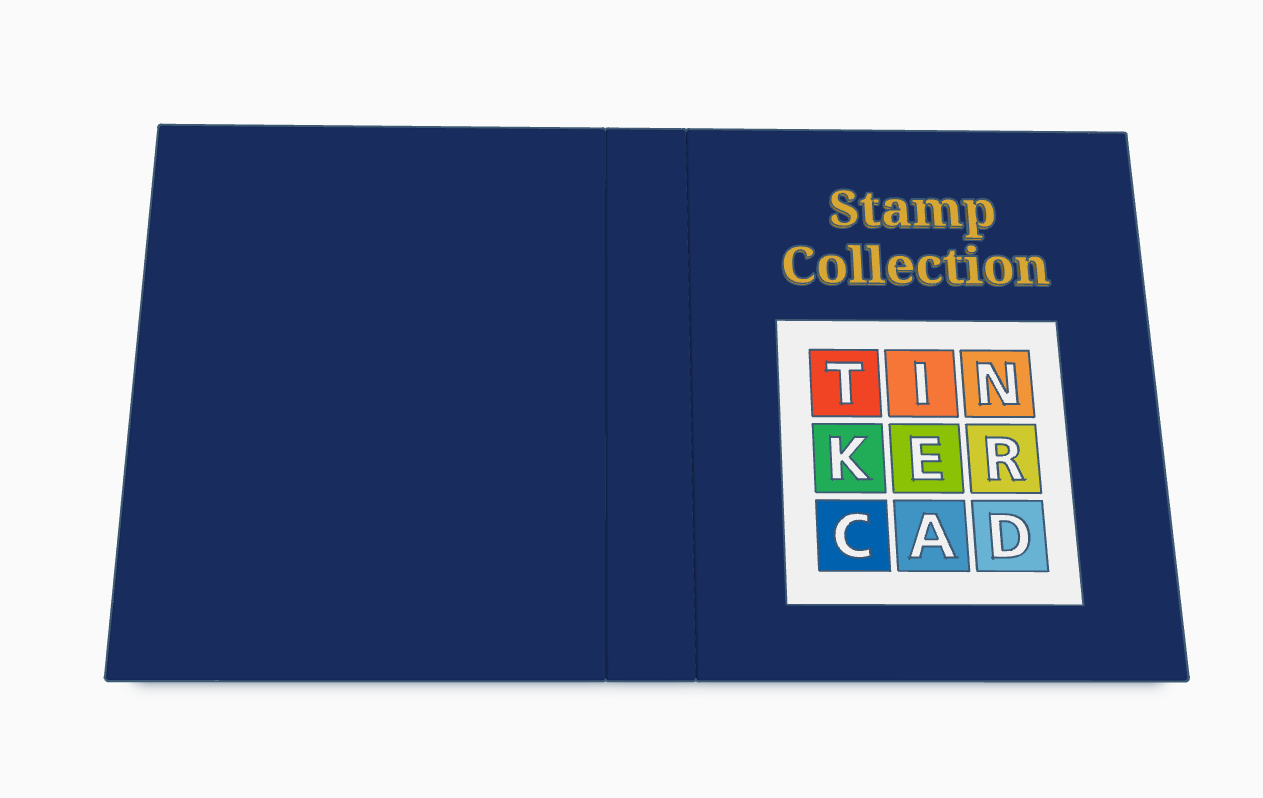
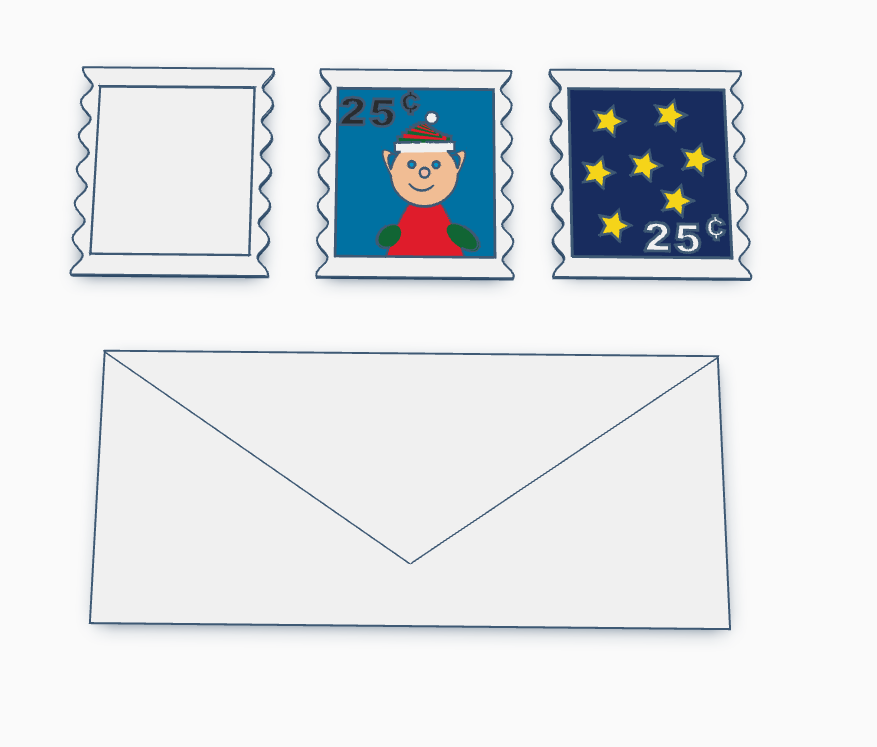
Santa’s Elves are collecting stamps. If you create a stamp, using Tinkercad, and I will paste it into the Stamp Collecting Book and give you credit for your stamp. You can either create the stamp from scratch or use my stamp template. Just make the stamp design copyable/public and tag #sarahcath when you are done. The scribble shape in Tinkercad maybe great for making a stamp.

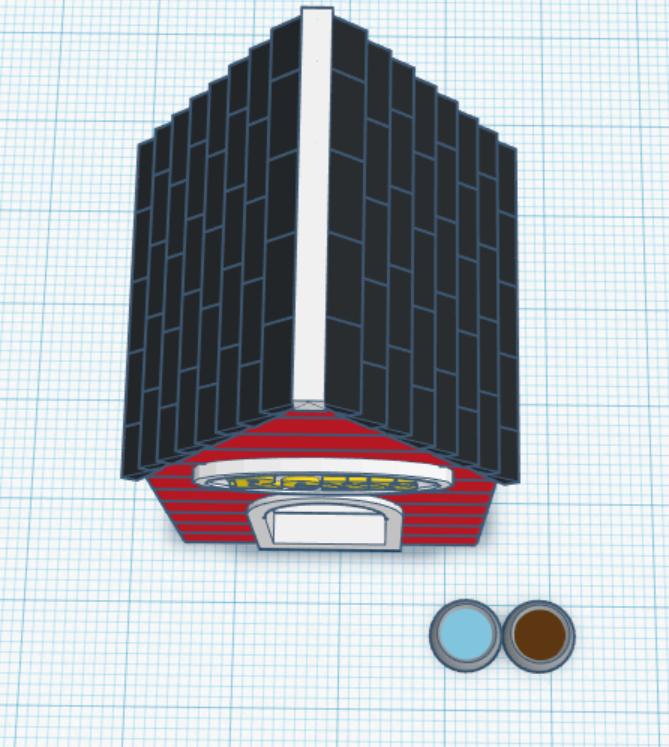
Santa Workshop is also available to copy. For 2024, I added a mailbox.

Don’t forget while are in Tinkercad to check out my other Christmas related designs”