3D Printer – First Print

As I mention in the previous posting, the first couple attempts on printing the Ultimaker Robot, did not go well until I figured the filament grinding issue. The printing of this little guy when smoothly.

DSCN6642

DSCN6646

DSCN6651After the print is done, it is necessary for the printer to cool.  I have learned that even after the printer has indicated it has cooled down, if you let the object sit there longer, it is easier to remove.

The finish robot:

DSCN6808

Print Time: 50 minutes
Filament: PLA – 0.47 meters
Layer height: 0.1 mm
Shell Thickness: 0.8

Object Size (W, D, H): 25.9, 15.0, 33.8 mm

3D Printer – Setting Up

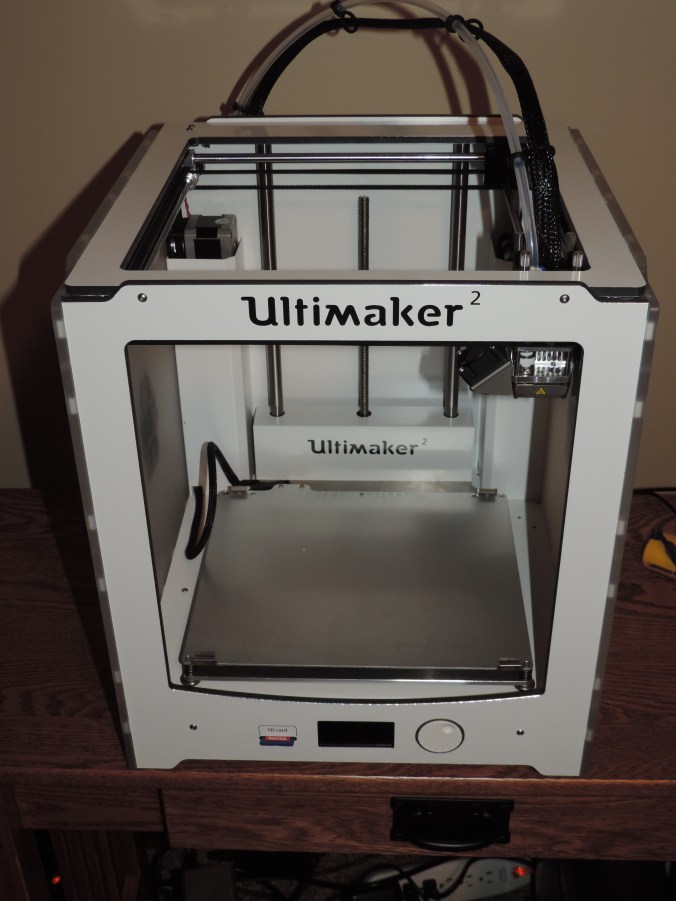
Yes, for Christmas I was given a 3D Printer.  It is an Ultimaker 2.  It one thing that I have been wanting, but I would never asked for one.  If you listen to the TV, it says that most women want jewelry.  For me, I do love my computer and gadgets.

The first challenge I experienced with my new printer was find a sturdy table to place it on.  I knew the printer would have a lot of movement during printing, so I wanted a table to set it on that would have very little movement.  My computer desk is already full with two monitors, a key board, a mouse, a camera, a speakers, 4 pair of reading glasses, etc.

The Ultimaker web site contains step by step instructions for unboxing the printer and setting it up.  They also has an app.  But, the apps basically only provide tutorials and access to their community sites.

DSCN6604

One thing to remember as you are removing it from the box, only lift my it’s frame. Do not pull on it cables, cords, or moving parts. After looking at the troubleshooting guide, you may be doing this a lot in the future.

DSCN6608

Install the filament spool holder.  Simple enough.

DSCN6609

Insert the glass plate.  Careful, be very careful.  Those metal glass holder are a little difficult to open and are very sharp.

DSCN6610DSCN6606

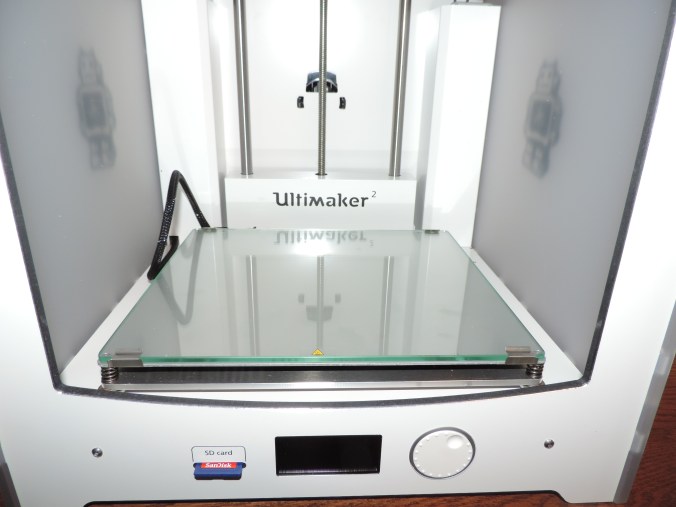
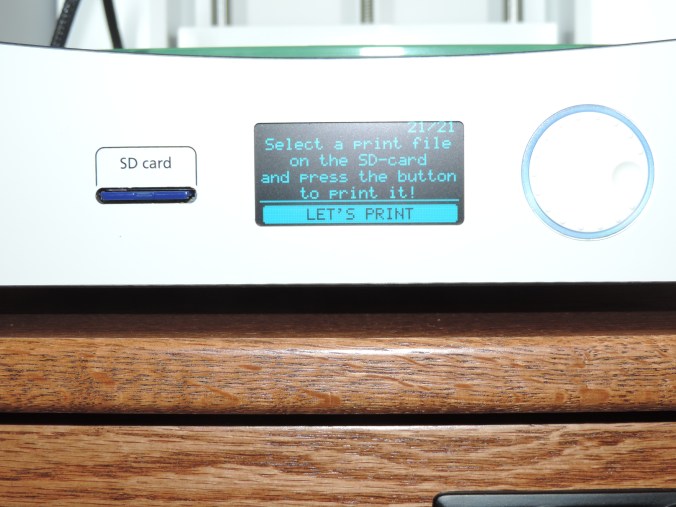
Let the set up begin.  Even though, the printer comes with a USB cable you do not need to attach it to your computer to do the prints from the SD Card.

DSCN6614

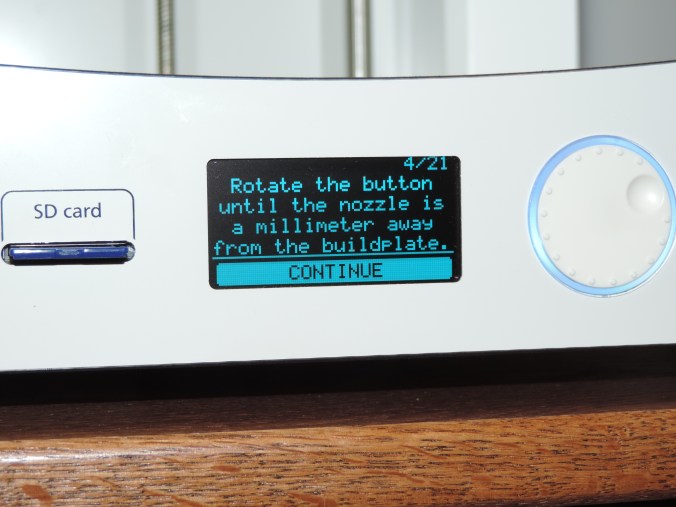
Challenge number 2.  How big is a millimeter?  Off, to find the ruler.  After I found the ruler, I saw in the set up guide that this measurement does not have to be precise.

DSCN6616DSCN6617DSCN6615

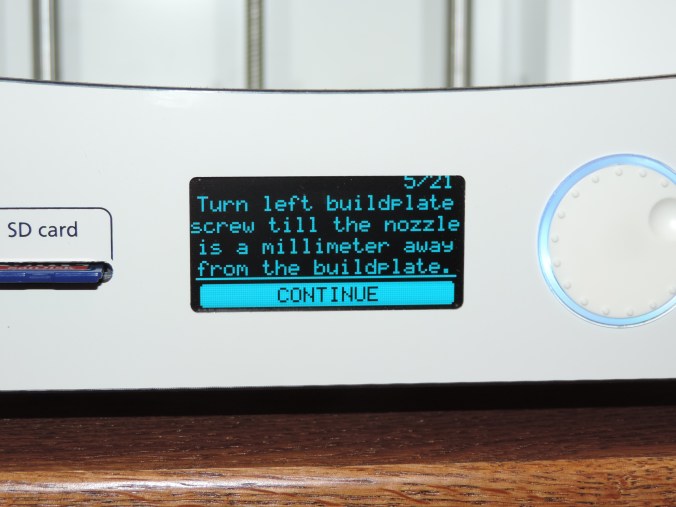
For the next step, you do not need an entire sheet of paper.

DSCN6618

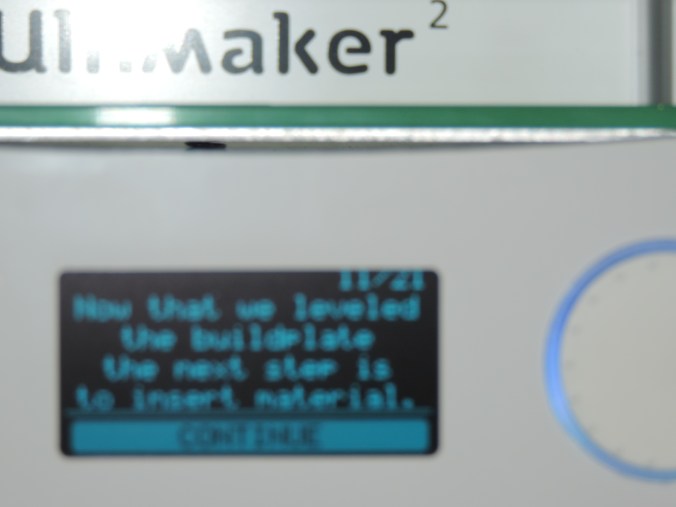
Time to insert the filament.  There is a hole in the small gear box on the back of the printer that is used to feed the filament through.  First you insert it through the gear box, and second you allow the printer to feed it to the print head.
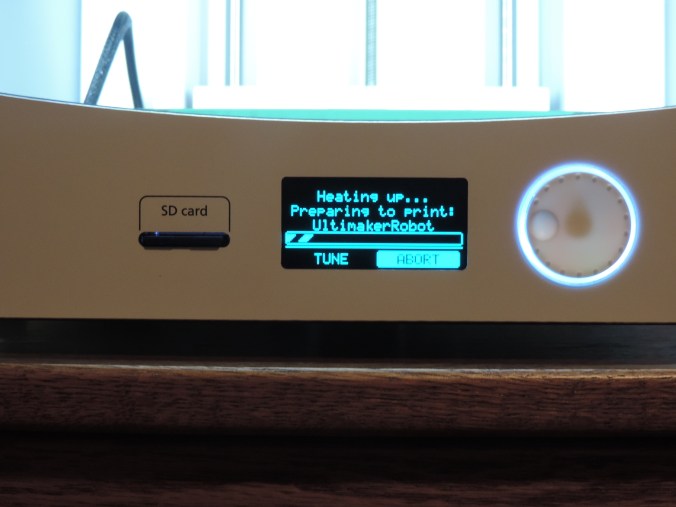
DSCN6619

Let’s print!!!

DSCN6622


DSCN6624

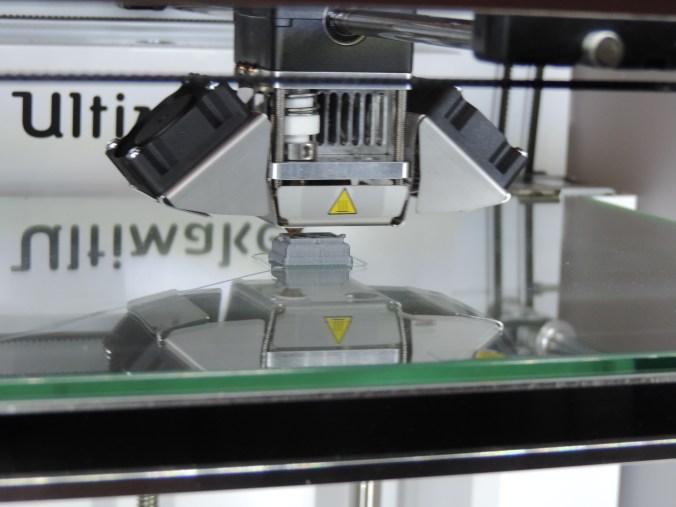
Here is where the major challenge began.  After printing the base of the object, the printer stopped feeding filament through the print head.  It took me several days to figure out the problem.  Keeping in mind some great advice I received “If you have a problem, take a break and work on it later.”

The problem was grinding of the filament at the gear box feeder.  I removed the filament from the printer and trimmed off the grinded part.

I installed Ultimaker Cura software on my PC and attached the printer.  I then updated the firmware on the printer.  This did not fix the problem.

The tension in the gear box was either not enough or too much.  There is a screw on top to the gear box to control the tension.  Keeping in mind that clockwise rotation tightens and counter clockwise rotation loosens, in America, I gentle tighten the gear box to it’s max.  Then I took some can air and blew out the gear box to remove all the filament fragments.  Afterwards, I loosen the screw on the gear box with a couple of rotation of the hex wrench.  I feed the filament back through the gear box and allowed the printer to feed it to the print head.

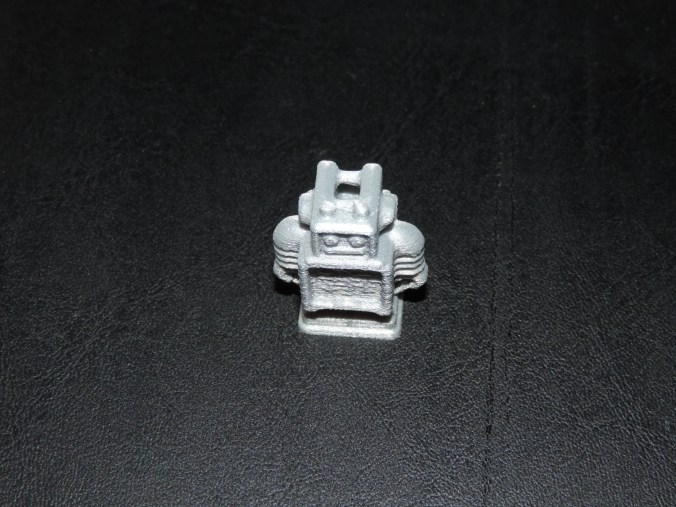
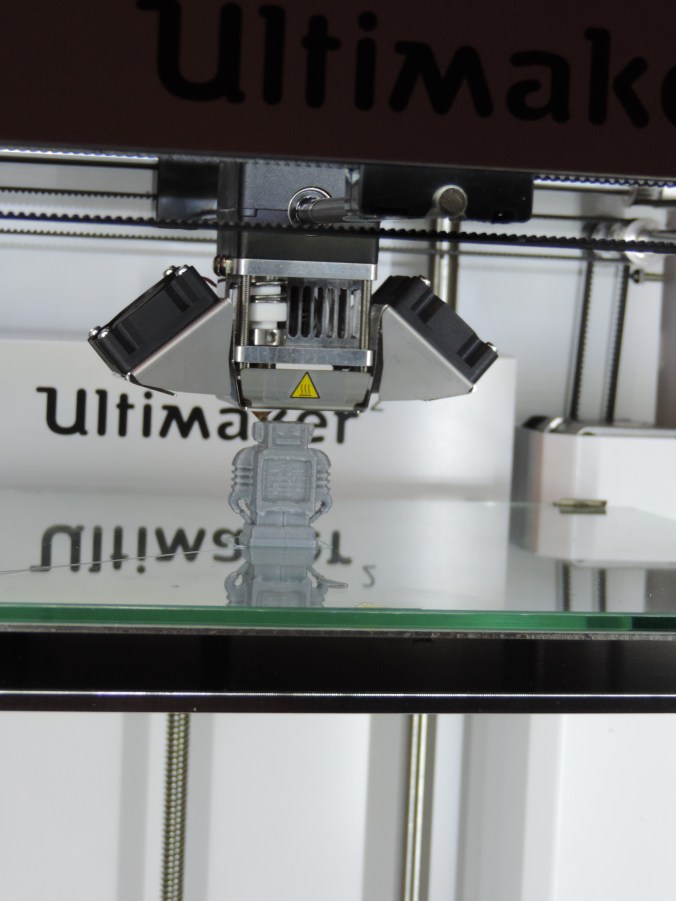
Success!!!! The printer is printing the first object.

Christmas Ornaments – Part 3

As I was putting up my Christmas tree, I realized I didn’t share the ornaments made of paper.

These ornaments were created with my Silhouette Curio.  I got the templates from the design store and cut them out on the Curio using different holiday theme sheets of cardstock.  They were fastened together using glue dots.

DSCN6708DSCN6709DSCN6712DSCN6705DSCN6704


Christmas Ornaments – Part 2

Ok, I have been slack about posting articles.  Here are the reminding Christmas Ornaments I painted for 2015.

These two ornaments I painted for my niece, who asked that I bring her some snow.

I’ve painted all my ornaments in pairs.

I thought white, snowy Christmas was a nice touch.

Puff paint added some dimension to the ornaments.

Yes, these two ornaments are a little different.

Christmas Cards (2015)

Here is a preview of my handmade 2015 Christmas card.

This slideshow requires JavaScript.

The blue starry background was created using Coral Draw and printed on glossy photo paper.  The star, trees, and windows were created using Silhouette Studio and cut using the Curio device.  The star was cut on glitter paper, but the trees was cut on regular card stock and I glued the glitter on after they were cut.

Instead of having the window on the same cardstock, I thought using different pattern cardstock provide a wallpaper background and some uniqueness.

The inside of the card was the same for all the cards.

DSCN6465

I got the text and layout from the internet, but I recreated it in Coral Draw and printed it on card stock.  If I had thought about it before December, I would have created a inside scene and place it in a window frame.  So, the outside of the card would be looking out and the inside of the card would have been looking in.  But, there just wasn’t enough time.

The next card will have to be a birthday card.  There are so many birthdays in January.

Christmas Ornaments – Part 1

Around this time of the year, I work on something that has a Christmas theme.  This year I have painted some wooden Christmas ornaments.   Most of the ornaments were purchased from Michael’s Craft Stores in Oklahoma, Texas, and Louisiana.

The bell ornaments were painted with multiple layers of red and green acrylic paint.

For all the ornaments, I selected the DecoArt Americana Acrylic paint because it is thicker then most paint and covers better.  I used Delta Creamcoat for the gold metallic paint.  Then I covered the ornaments with Delta Creamcoat Sparkle Glaze.  The ornament probably didn’t need to be varnished after the glaze, but I wanted a good high gloss finish, so I put several coats of Miniwax Polycrylic on them.  The Polycrylic has worked well on my polymer clay creations.

The snowflake ornaments, yes there are two of them, the base was painted  with sapphire and then dry brushed with white paint.  I left the edges unpainted because I thought it gave them an old fashioned look.

The angel ornaments were purchase at Hobby Lobby.

I selected yellow and green paint for the star ornaments.  Before I applied the glaze, the green areas was dry brushed with gold paint.

The tree and bell ornaments were painted using the same process as described above.

The angel ornaments were purchased at Hobby Lobby.  I should have taken time to sand these ornament, because there are a few rough places on them.

This post is Part 1 because there are more ornaments that are unfinished.


The Choir vs. Bass Pro

My niece asked me to come listen to her sing for Santa at Bass Pro Shop in Denham Springs.  I recorded the choir singing some of their Christmas songs.  Here they are singing Jingle Bells.

DSCN6403

While I was waiting for Santa to arrive, here are some of the things I found at Bass Pro.

A few snowmen. What is Winter without snowmen.

DSCN6417

A reindeer in his cute boots.

DSCN6418

I’ve learned what Santa does while the elves are making toys. I bet you thought he was sleeping.

DSCN6419

And, I found out how those reindeer are actually keep in line.

Holy Family Shrine

The Holy Family Shrine is in Gretna, Nebraska, which is locate outside of Omaha.  During my trips to and from Omaha I saw this awesome building sitting up a on hill.  I immediately wanted to visit it.

Later, while looking for places to visit in Nebraska, I saw this building listed and learned its name and found its website: Holy Family Shrine.  After many months, with travel arrangement changing,  I finally made a trip to the Nebraska Crossing Outlet Mall and a visit to the Shrine was only five minutes away.

DSCN6339

There is a fountain in the gift shop with water trickling down.  A stream runs from the fountain, out the doors, down a path, and through the Shrine.

DSCN6297

The Shrine is located on a hill surrounded by fields.

DSCN6340DSCN6337

It was beautiful. Even on the cold, cloudy, gray day when I visited the Shrine.

Inside the Shrine wasn’t fancy. But, who needs fancy when you have such a magnificent view.

Things You Find In Antique Shops

One of the nice things about Grand Island, NE is the downtown area.  It is not very big, but it has several nice places to visit, such as: The Chocolate Bar a coffee bar and pub, Kindred a boutique, Majestic Treasures a Christian book store, and The Tattered Book a used book store.  Plus it has a least a half dozen antique shops with over 50 vendors selling their treasures.

Here are some of the interesting items I found at the antique shops:

One: The almost perfect Christmas tree.

20151102_135327

Two:  Who remembers Woolworth?  You probably know someone that has some of these in their attic or basement.

20151102_140116

Three:  Ironing board.  I guess the newer models are not good enough.

20151102_141418

Four:  Doll in poofy dress for all princesses.

20151102_141826_001

Five: A poofy dress.  I don’t think the hat matches.

20151102_142237

Six:  A rusty armor suit.  Priced at $250, which is a little cheaper than item seven.

20151102_142922

Seven:  It is not even in mint condition.

20151102_141214

Eight:  Skates!  Yes, Skates.  Shoes required.  When you fall, you can use item seven.

20151102_140653

Nine: Wind Vane

20151102_141208

Ten:  Not sure of it’s purpose, but he is too cute not to be on sell.

20151102_142540