When I am designing in Tinkercad, I mainly design using millimeters (mm), because most of the time I am using a .04 mm nozzle on my 3D Printer. If I want to make a cover for something, like my Alexa Device, I will measure it in millimeters.
I made this ruler in Tinkercad so it would be easier to measure items in millimeters.
First, I can place the ruler on top of an object and see the object through the ruler.
Second, I can place an object on top of the ruler and against the left side and get a measurement.
I printed three rulers in different colors, because every time I changed the filament in the printer for another project, I used the ruler to make sure the printer was calibrated correctly. If I got a good print on the ruler, there was a high chance that the next print would come out good.
The ruler is available for copying and tinkering in Tinkercad.
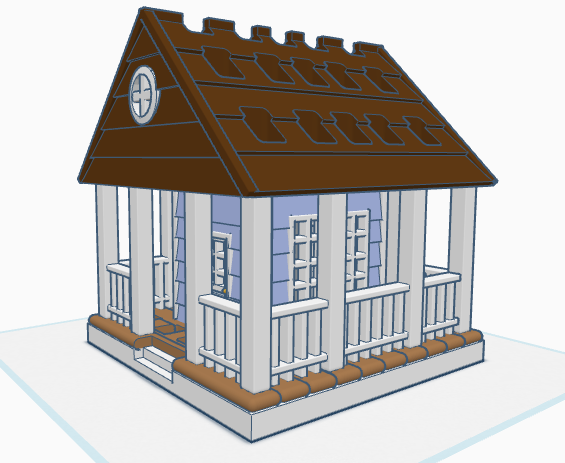
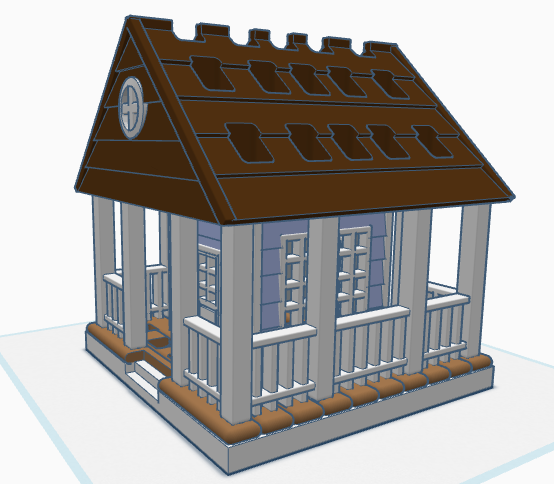
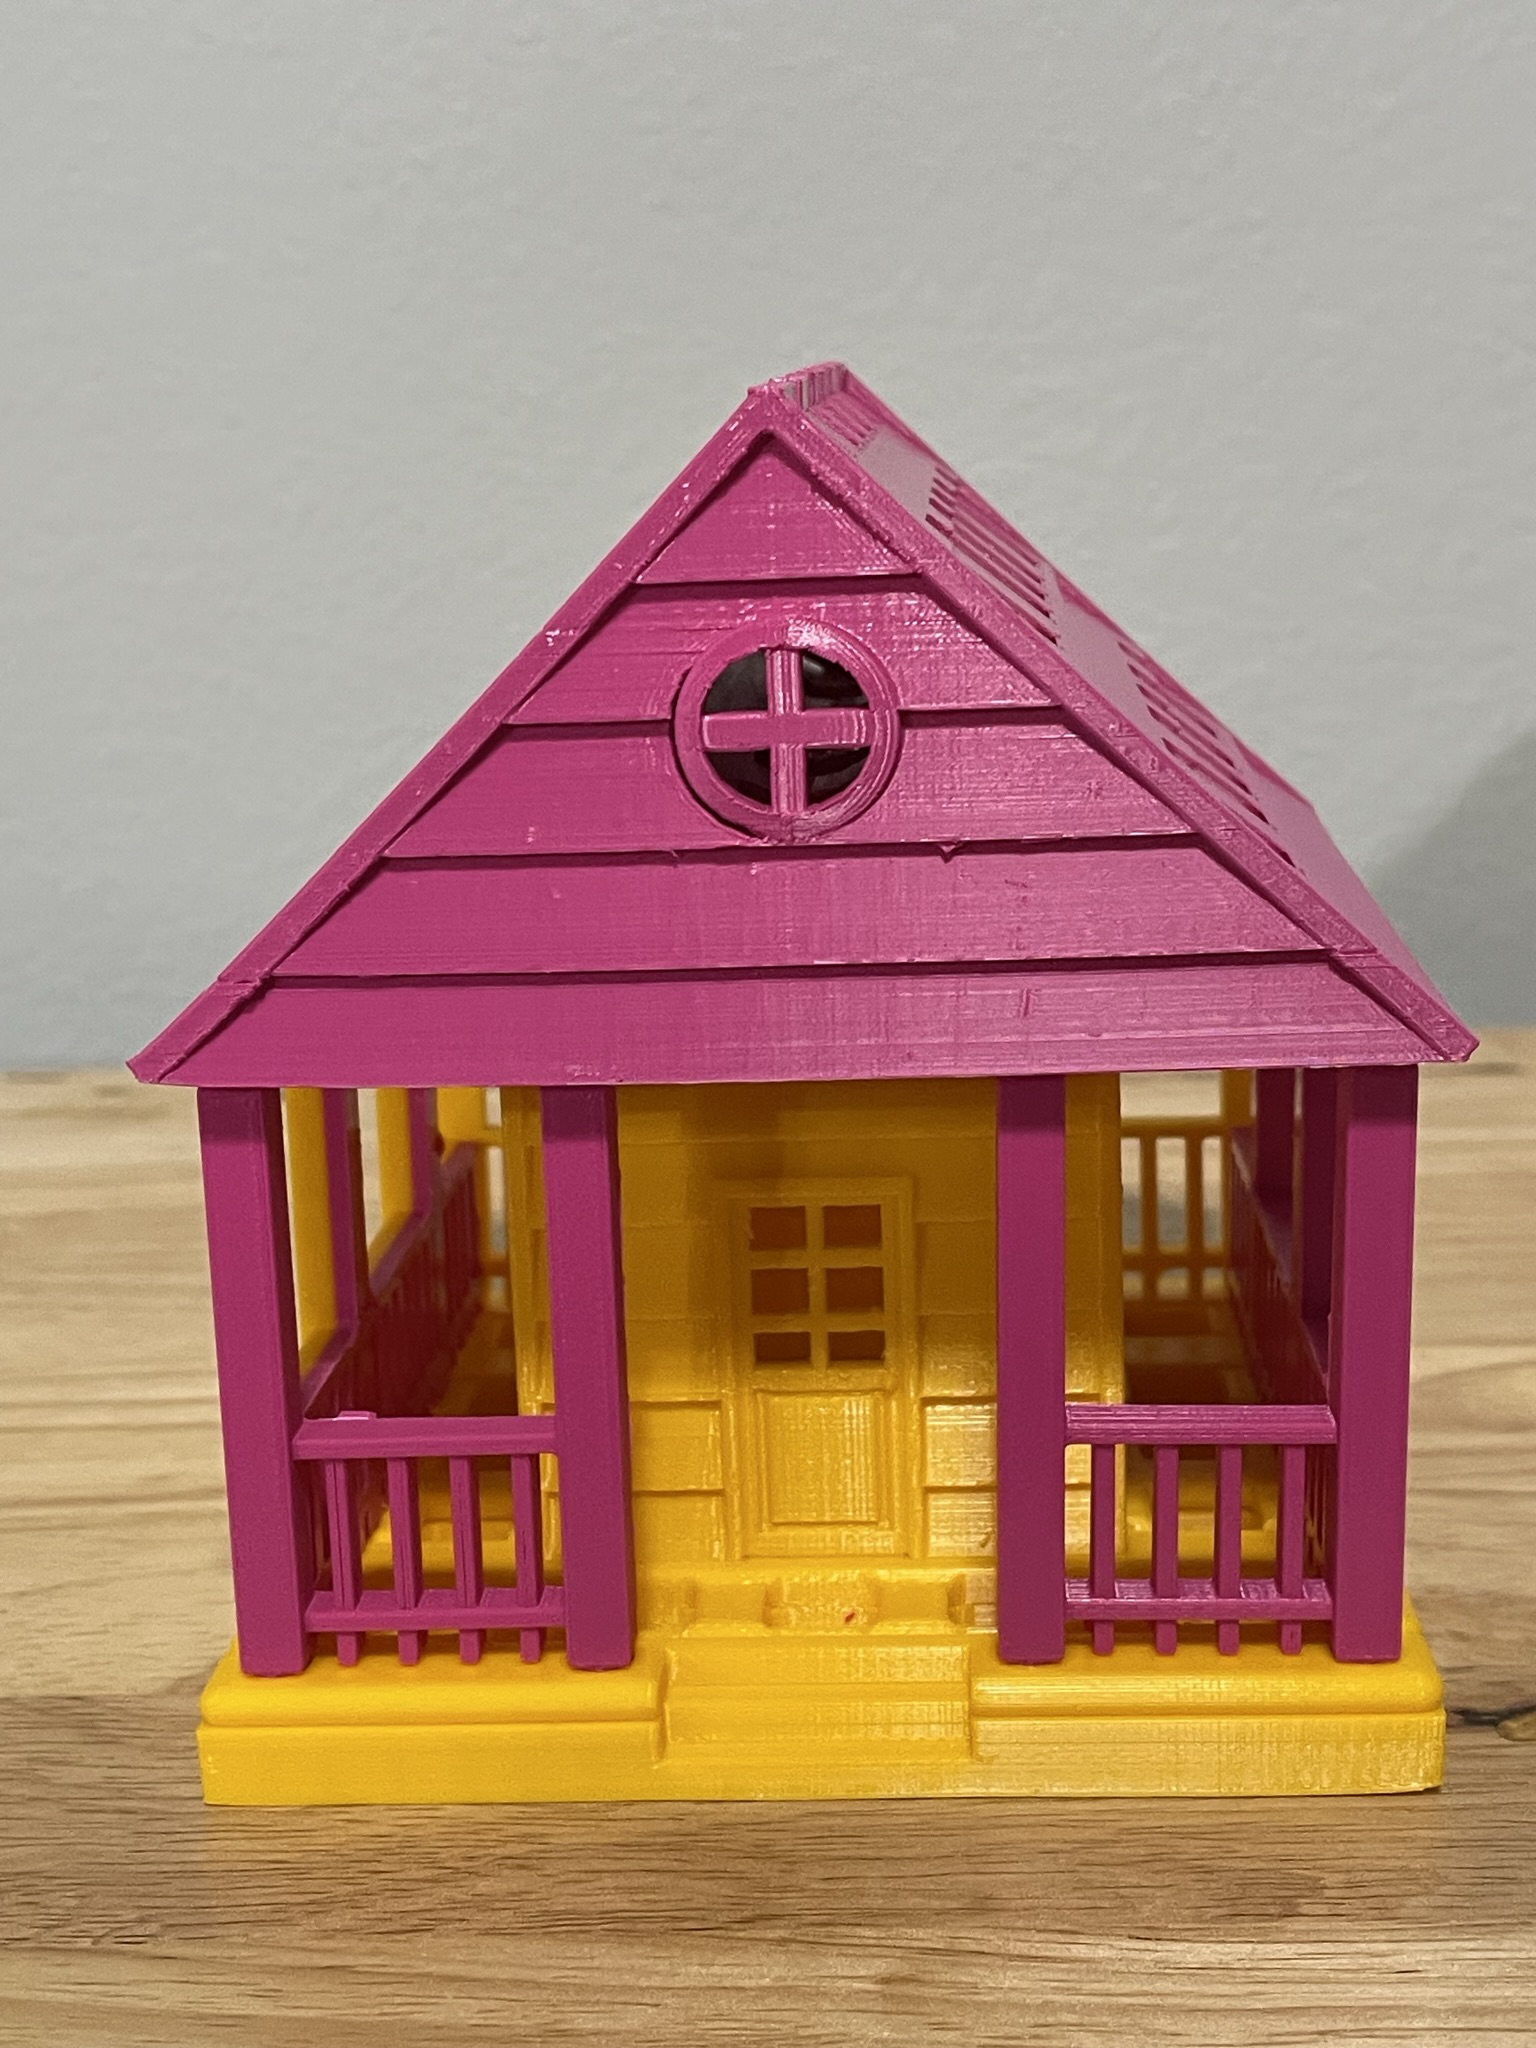
If you have seen some of my previous posts, you know that I paint little plaster houses. While I was painting a new set of houses, I decided it would be nice if I had a paintbrush holder. Yes, I could have purchased one on Amazon, but what is the fun in that. I decided to design a paintbrush holder that looked like a house. The size was not important as long as I could print the design on my 3D printer. The base is 120 mm or 4.724 inches x 120 mm x 8 mm. It provided the design with enough weight and support to prevent it from tipping over. This is the final version of the design in Tinkercad. It was tweaked several times for printing. Paintbrush Holder – Tinkercad
If I printed the design as shown in the picture, it would require a lot of support. My first attempt to print, I split the design into two pieces; roof and building. The roof I selected the Support Type of Tree. There is a lot that can go wrong with printing something for hours and hours, however the roof printed beautifully, and the supports detached easily.
The next print was the bottom piece. Again, a lot can go wrong when something prints for hours and hours and hours. First, after 12 hours the printer would not allow me to pause the print. Second, when the print finished the build plate did on return to its lower position, so extra filament built up on its final print location. Third, the support around the railing was impossible to remove without damaging the railing, which was 2mm in diameter. I went back to Tinkercad and tweaked the design.
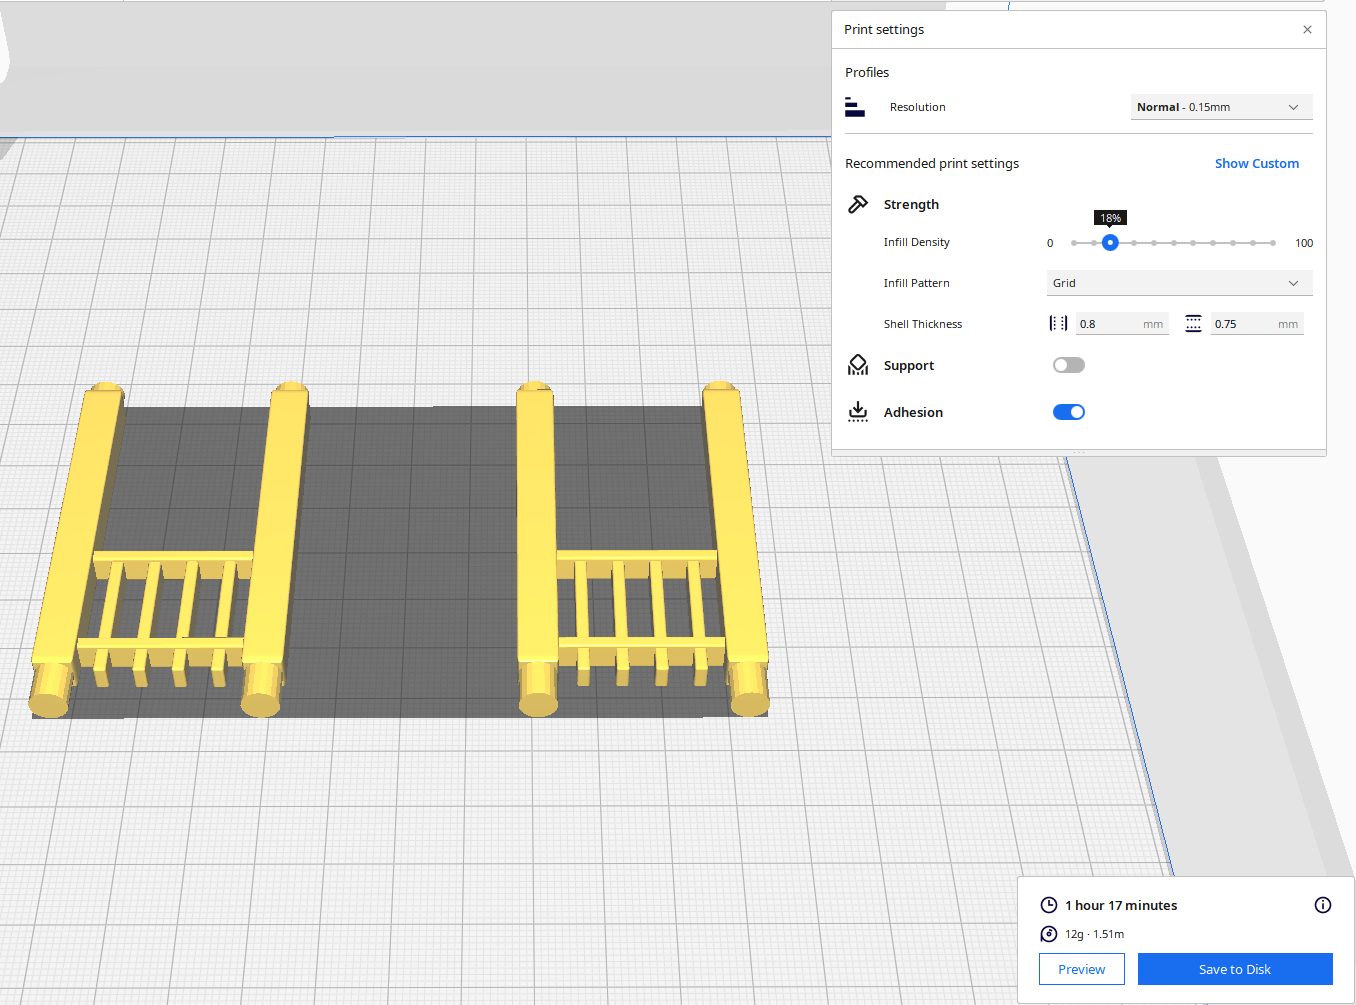
For the second attempt, I made the railing detachable. With detachable railing, I could lay it flat on the print bed and not use any supports. After it was printed, I could assemble the design.
Front and Back Railing – I printed two copies. Note, I went from round to square railing.
Side Railing – I printed two copies.
Structure – I printed one copy with Normal Supports.
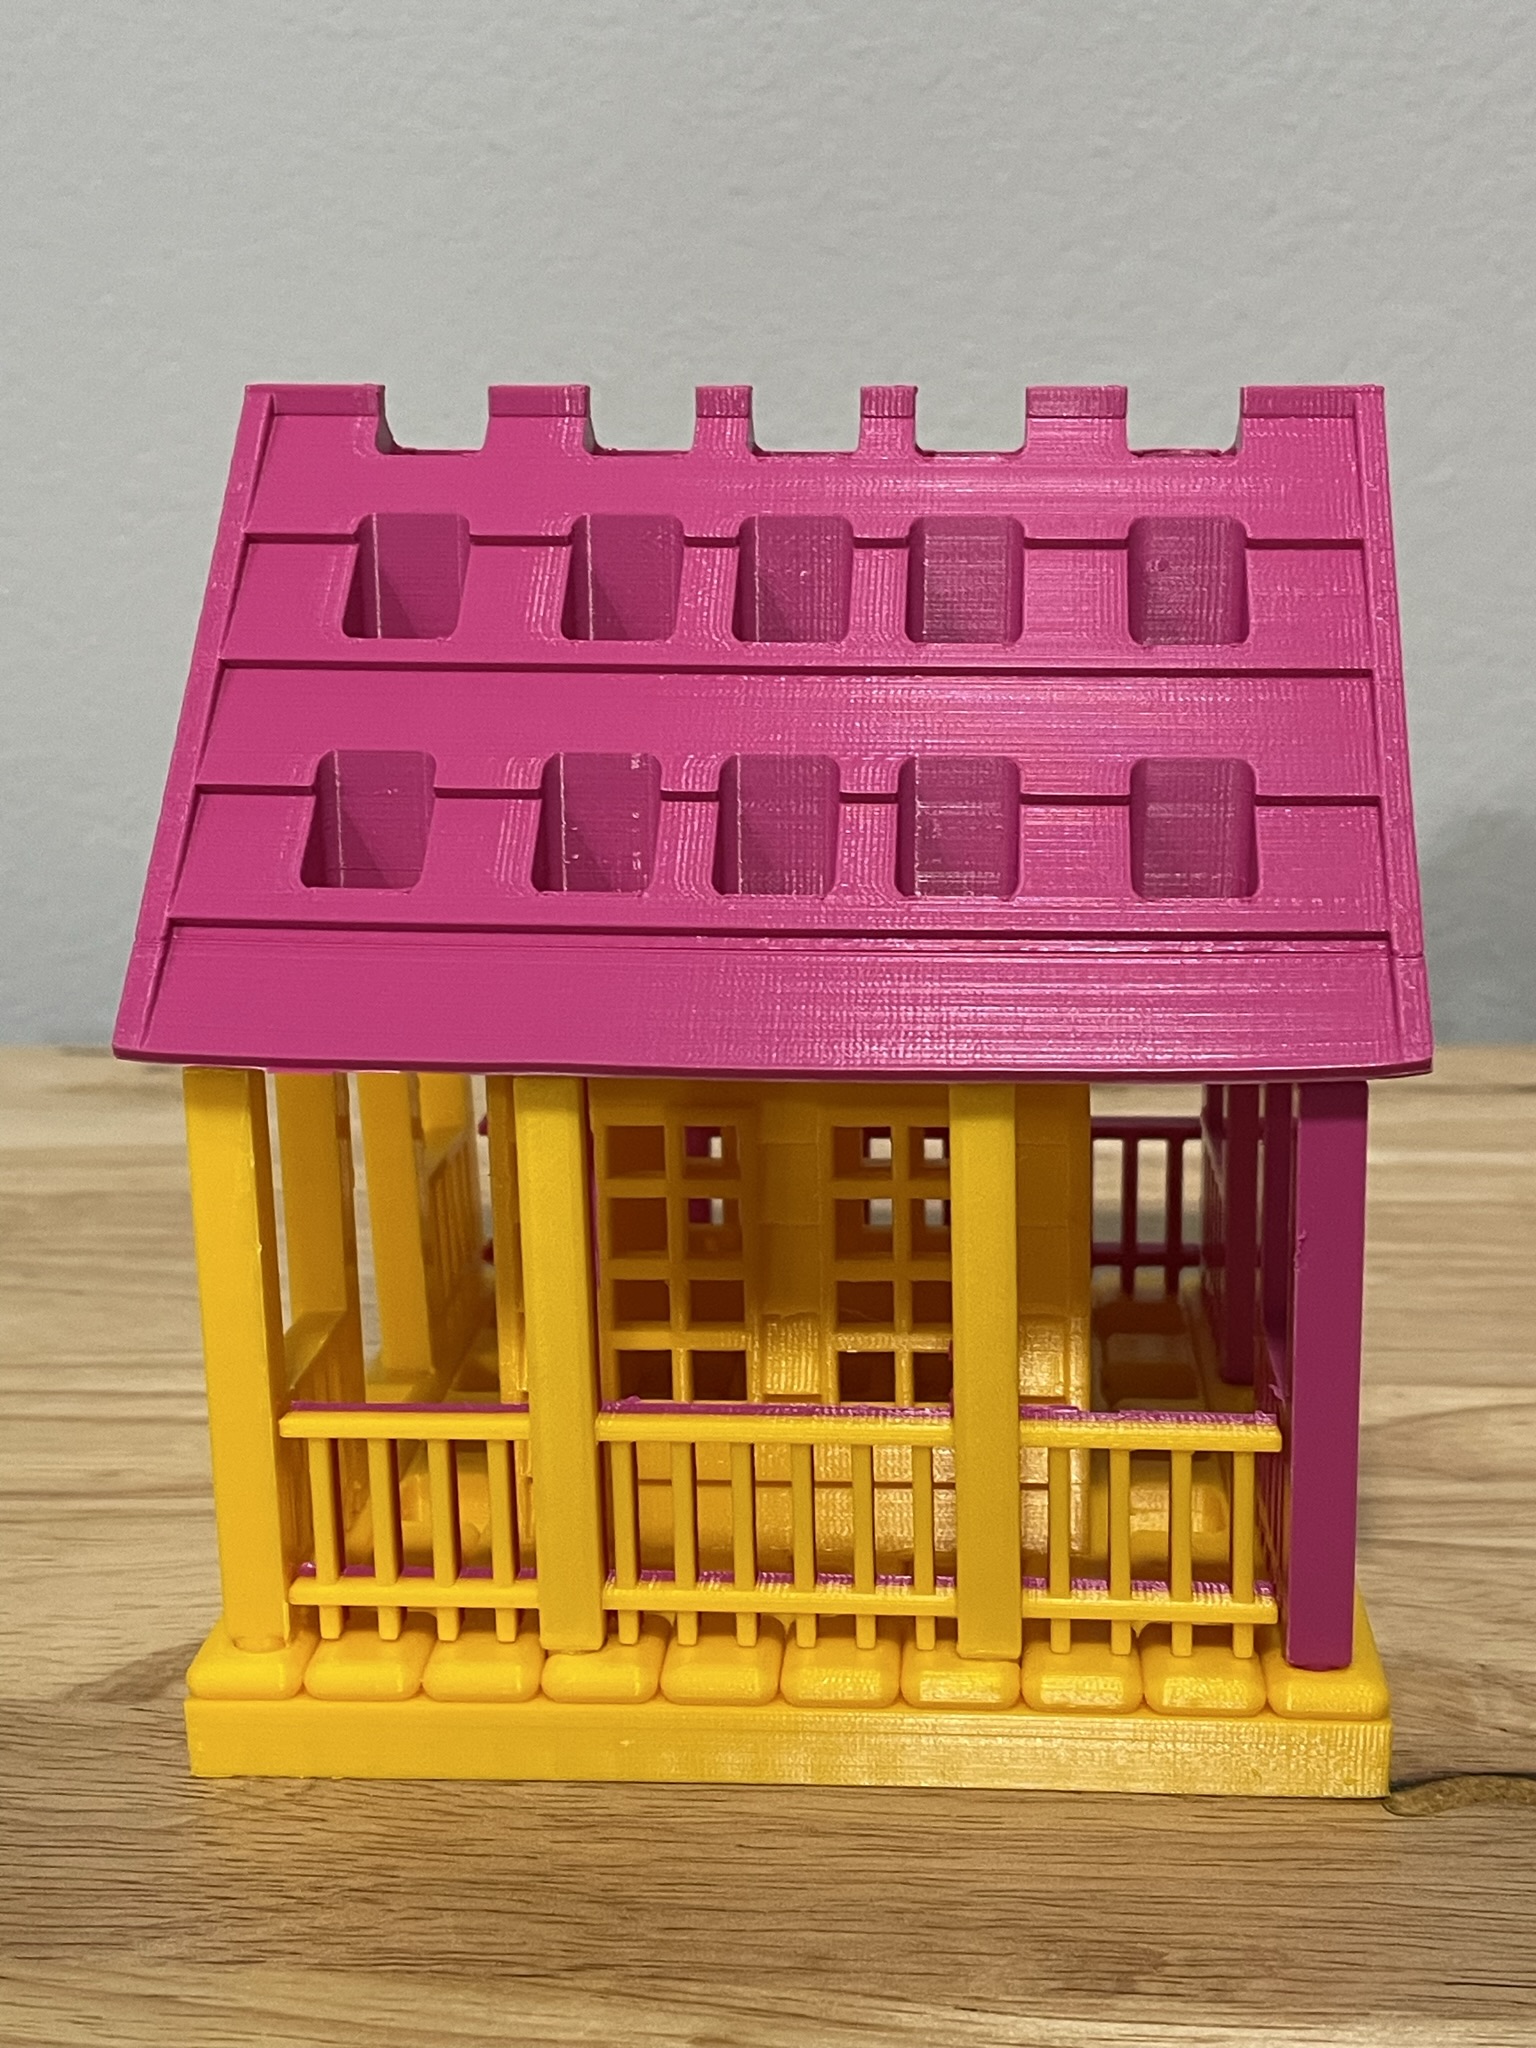
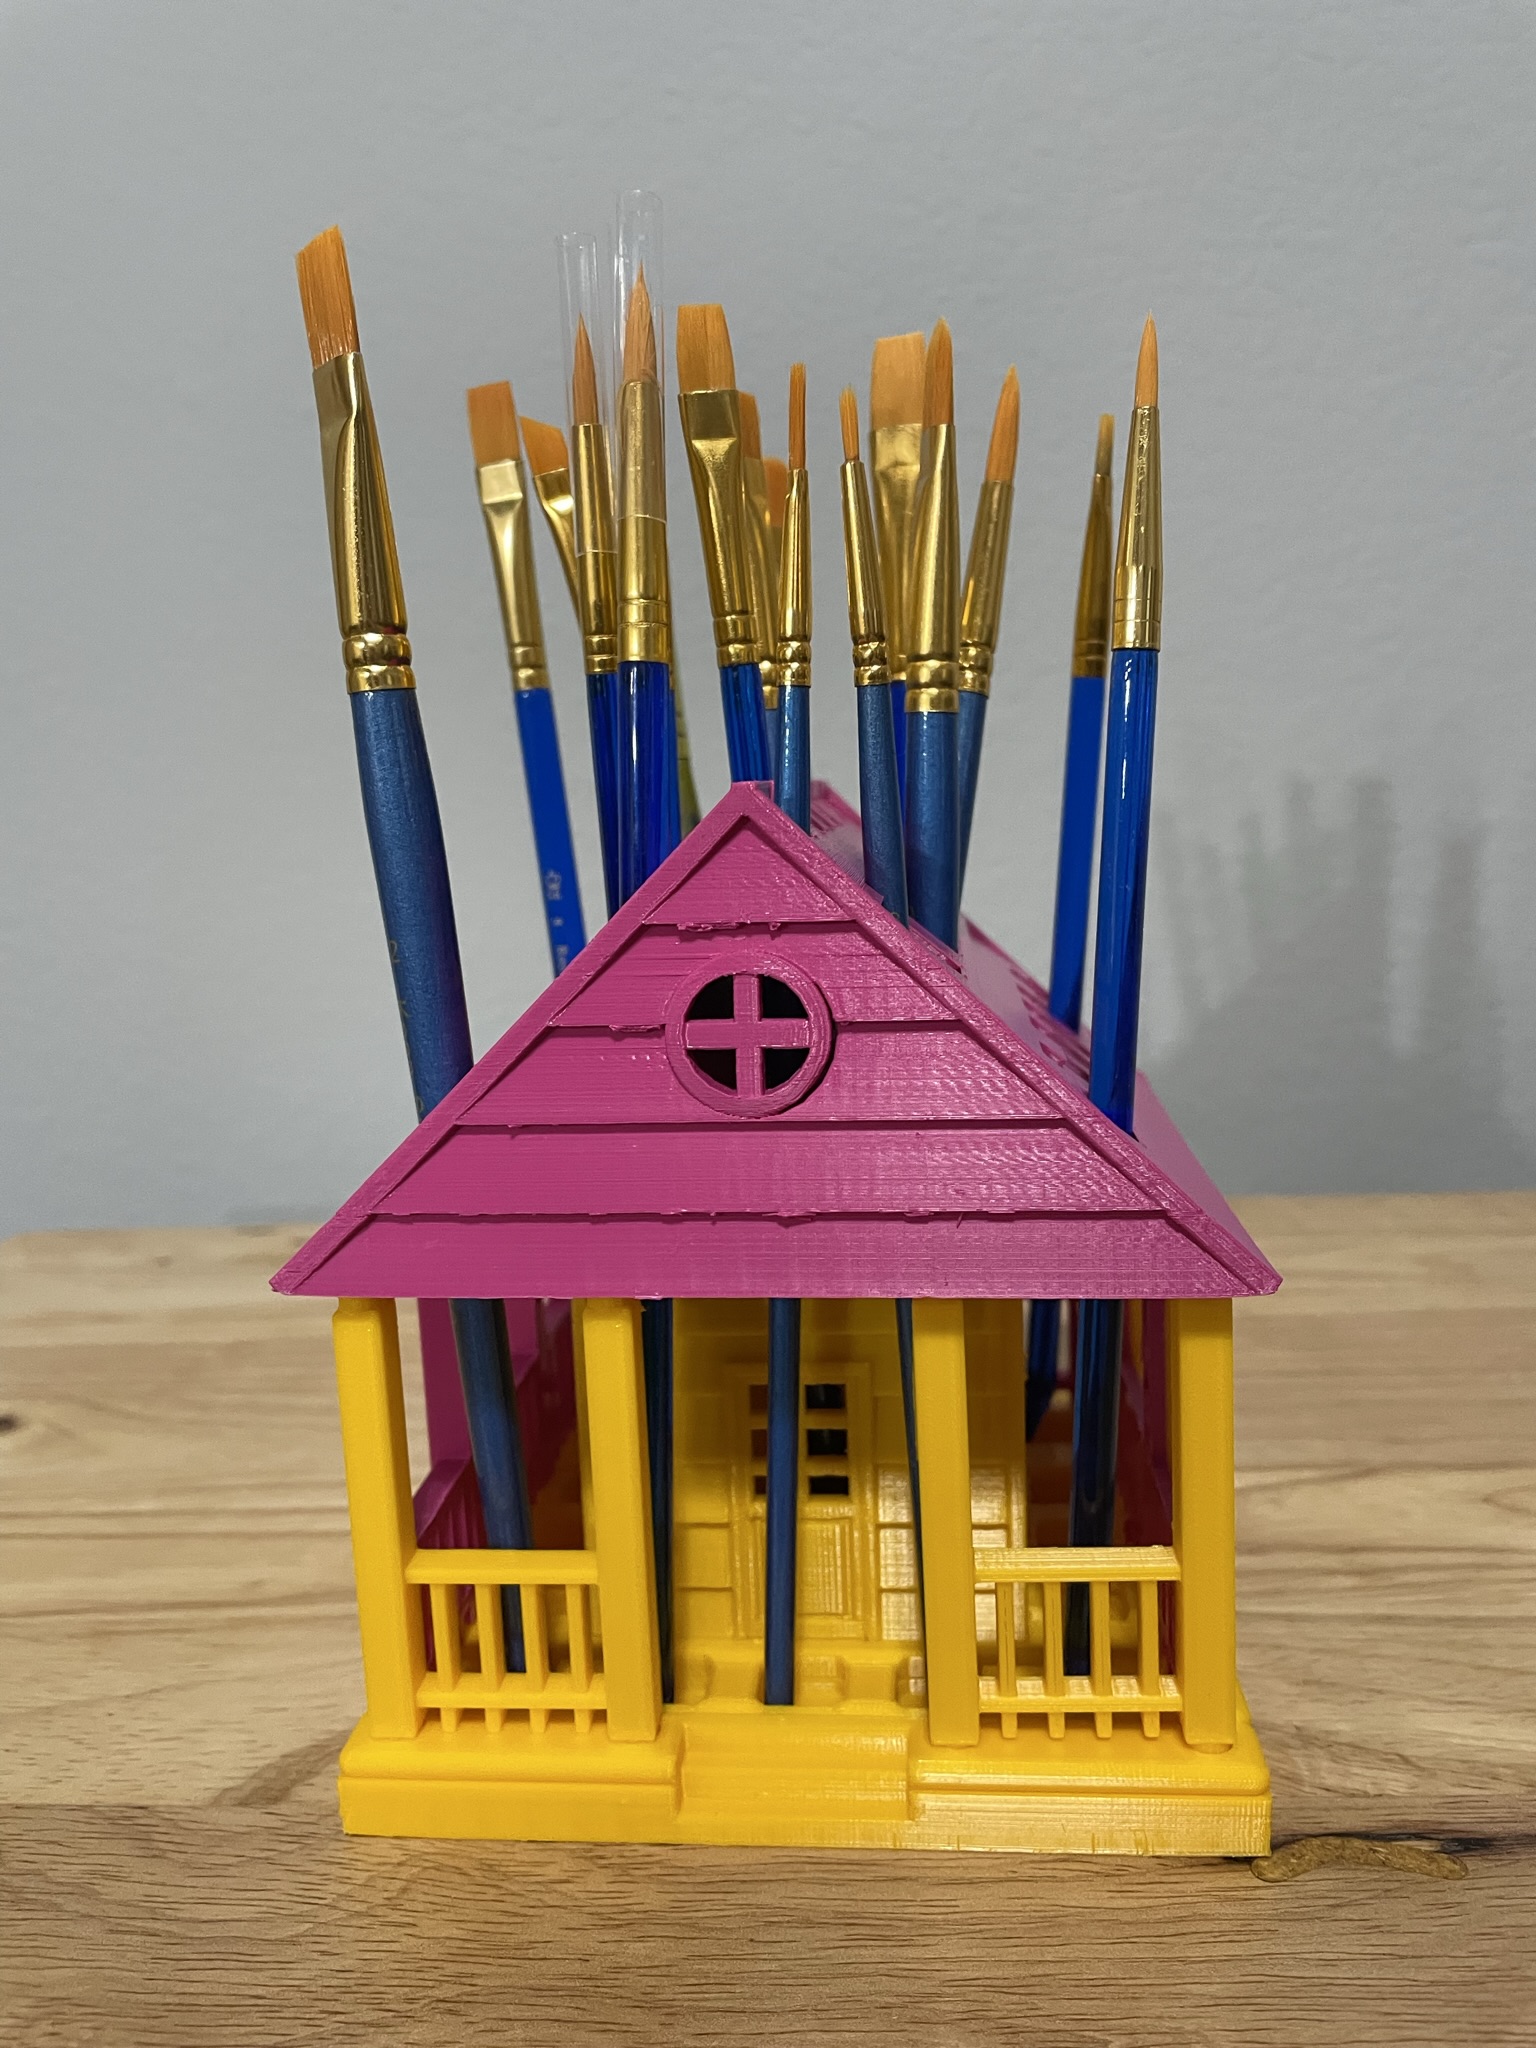
Below is the printed version of my new paintbrush holder. It was printed in two different colors because I ran out of the pink filament. The design was easy to assemble, and gluing was not required.
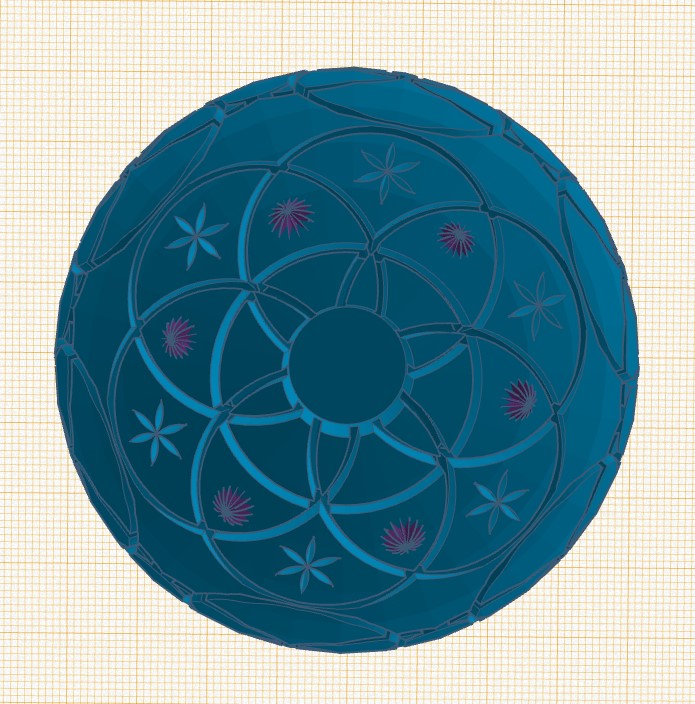
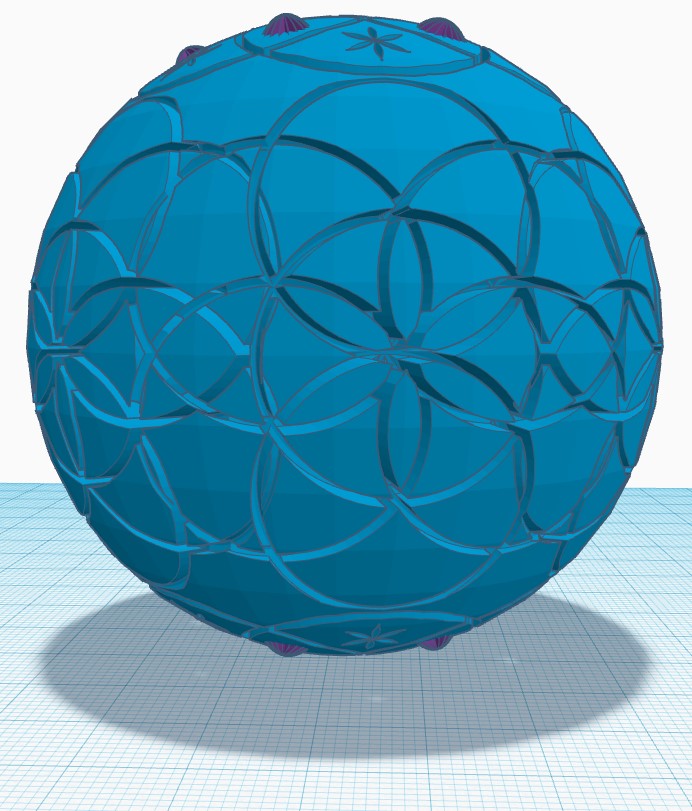
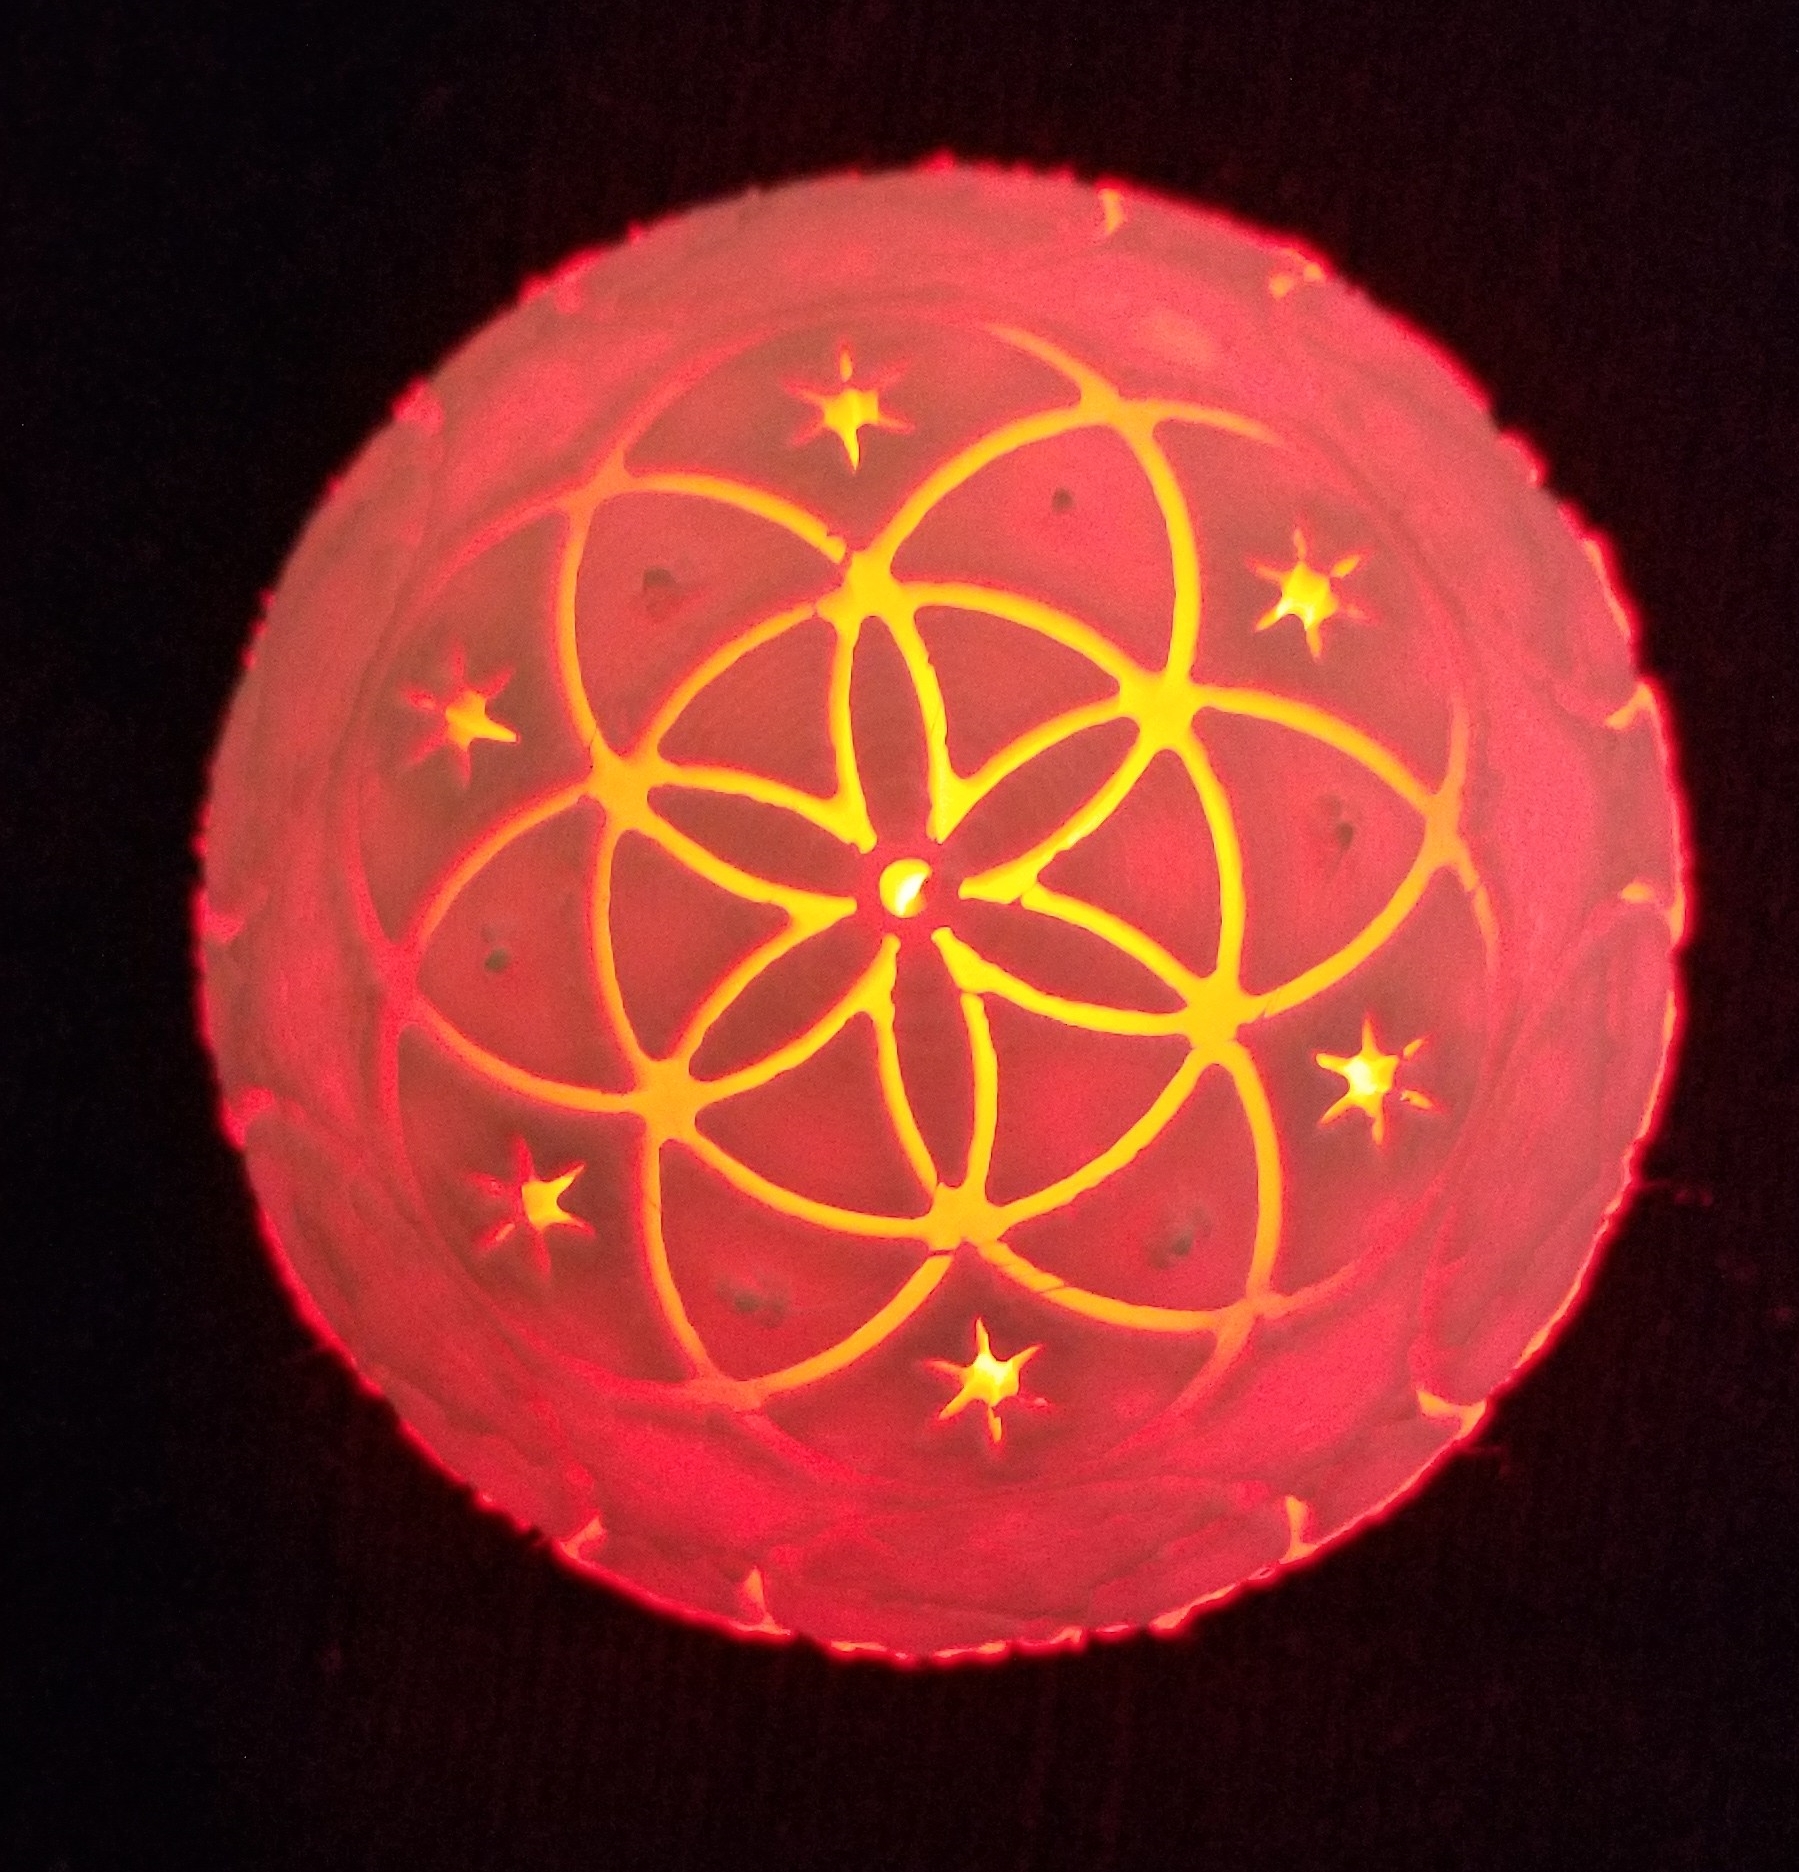
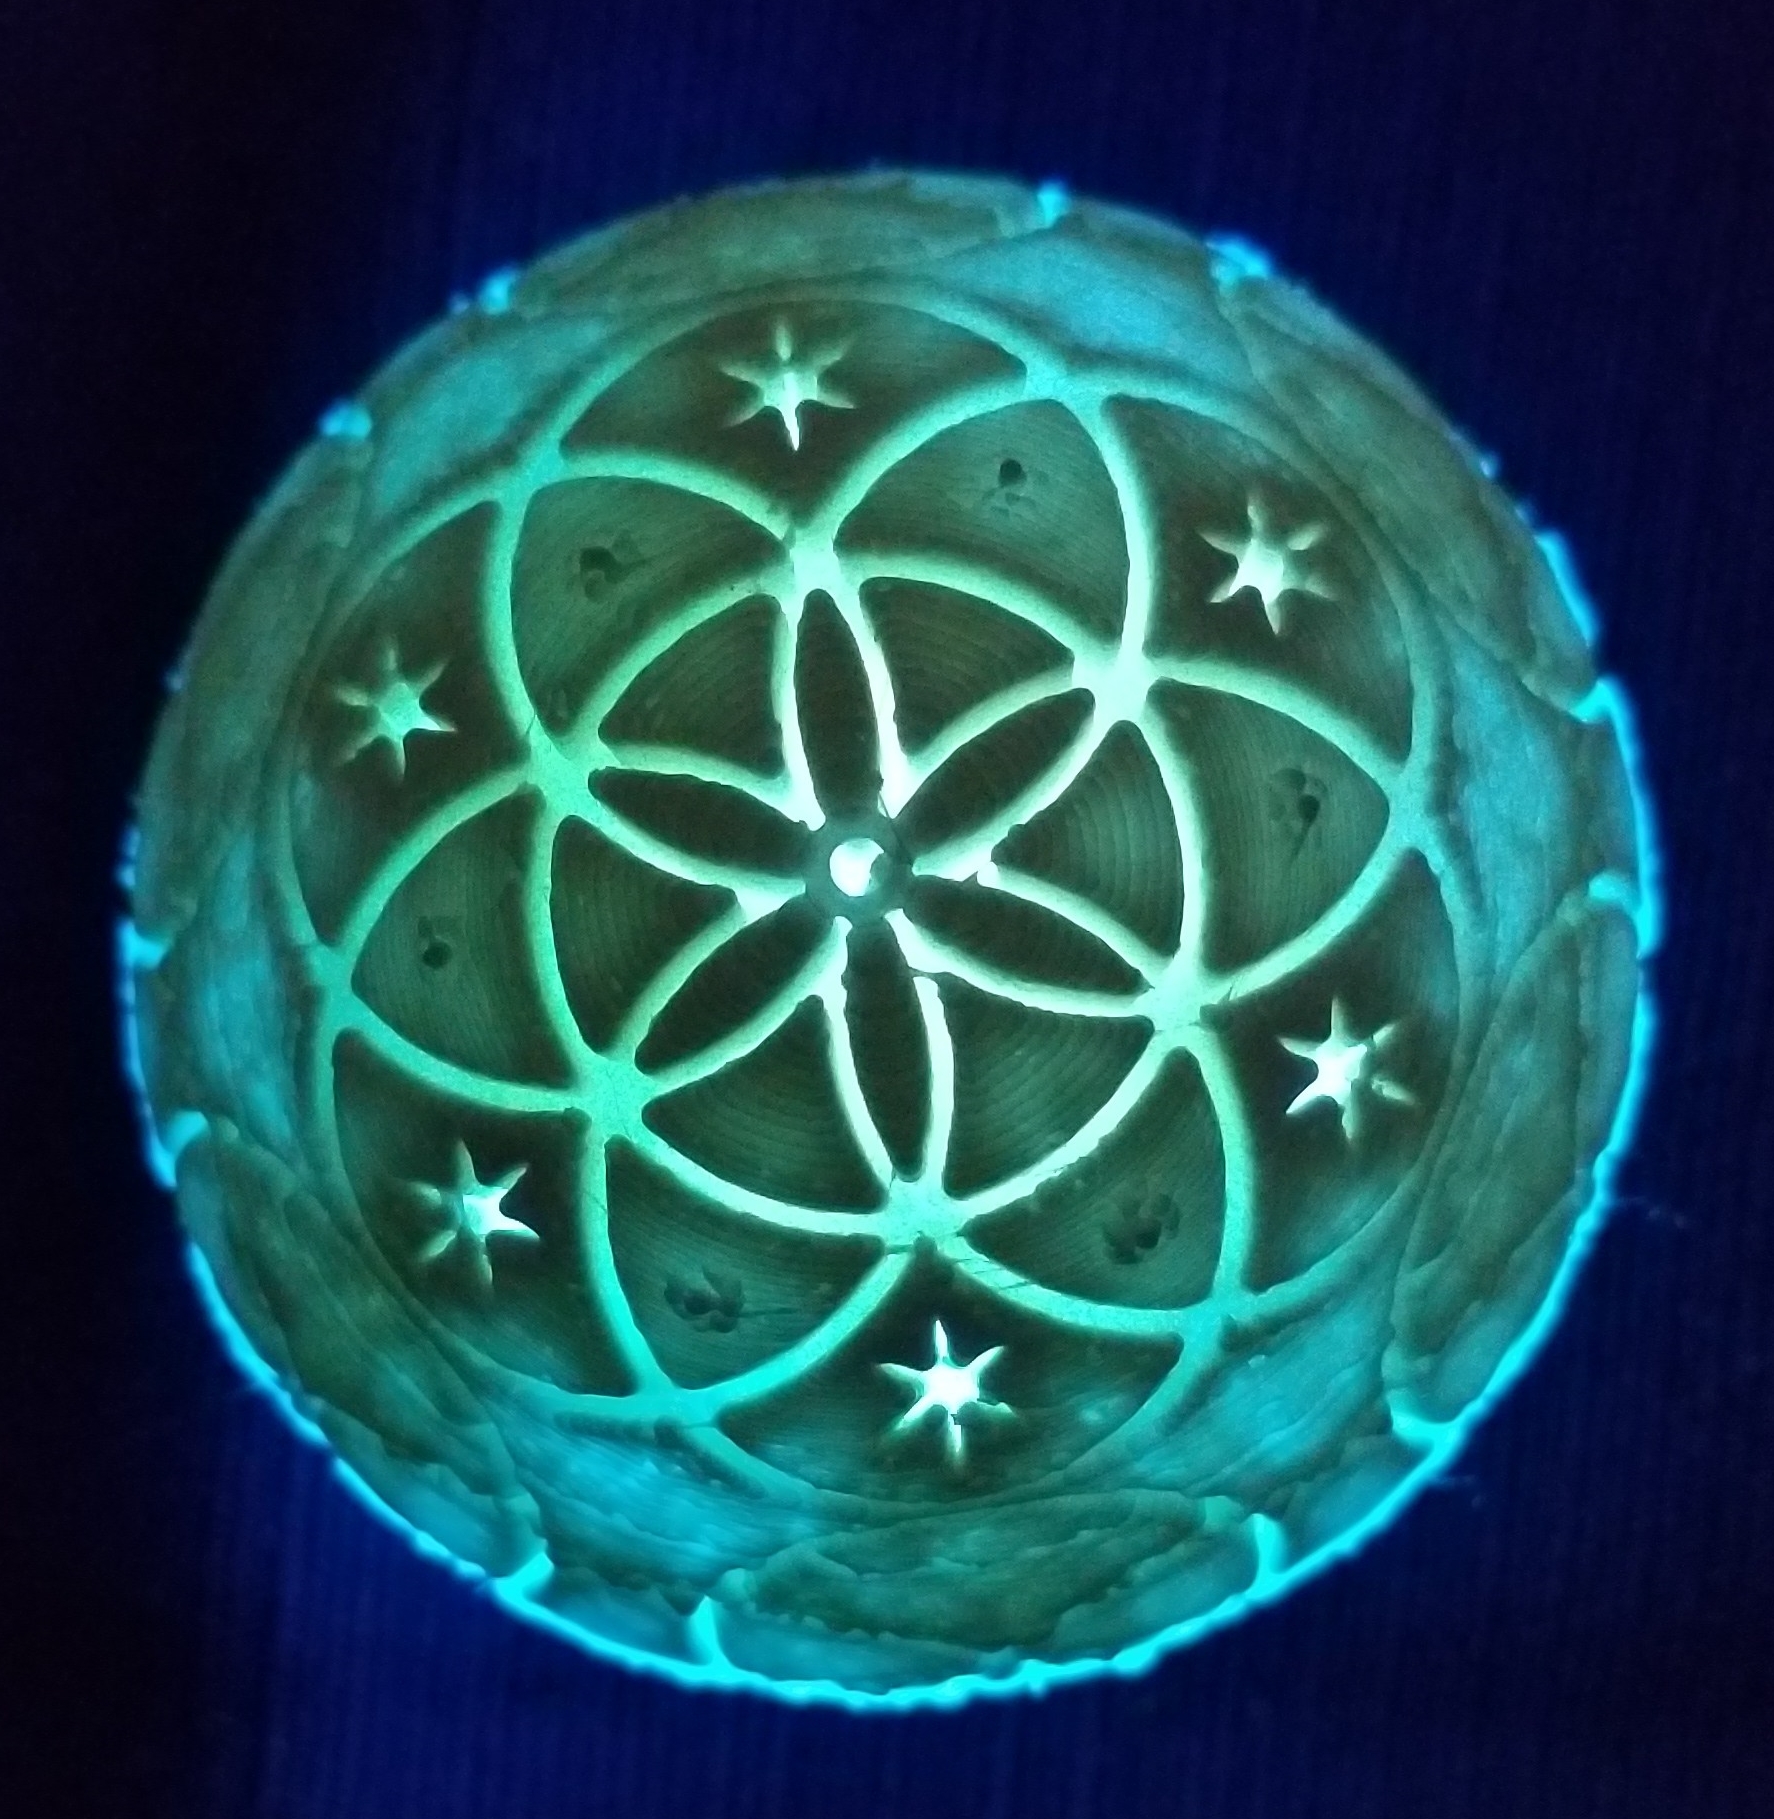
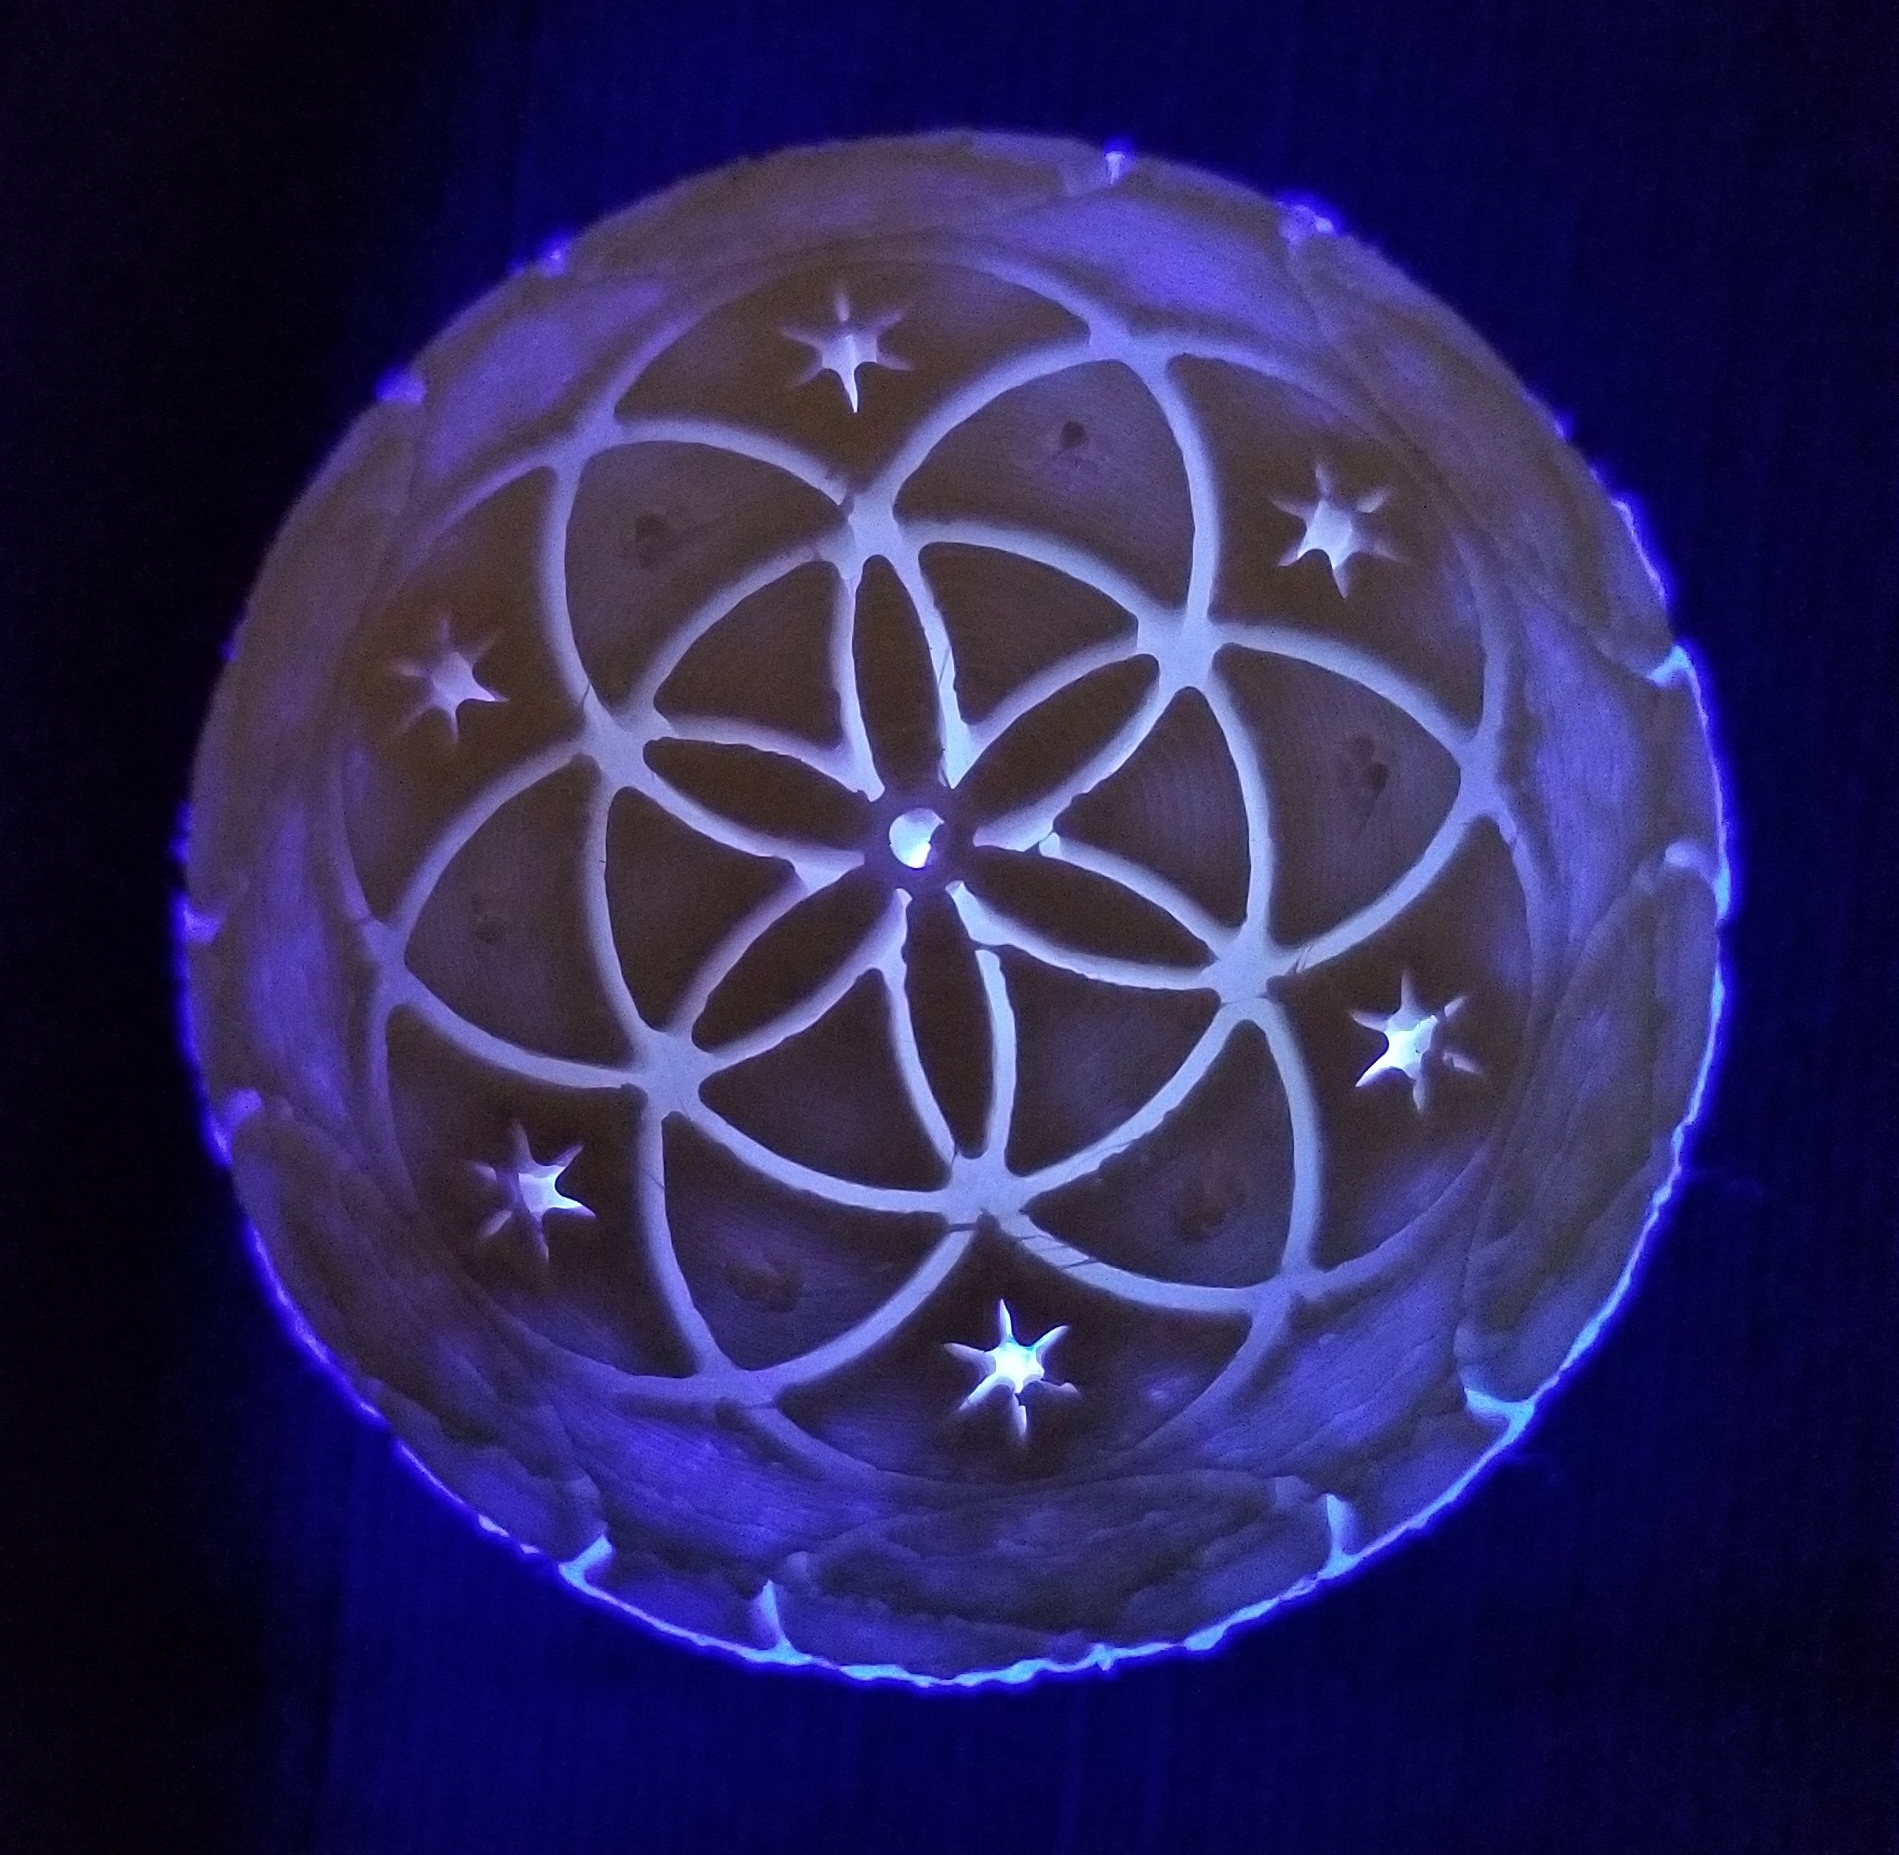
My latest 3D project was to print a sphere with the Seed of Life Design on in. I created it in Tinkercad; Seed of Life. On the bottom of the object I left a 12 mm hole for a LED light.
It took me numerous attempts to get it printed. Finally, I had to add supports to the sphere in Cura, the 3d slicing program, to get it to adhere to the plate. Approximately 10 hours in to the 13 hours print, I noticed the translucent filament that the printer was using was about to run out. I therefore replaced the filament with white.
Here is the final result. The printer obviously needs some more adjusting.
After I put the light in the bottom of the sphere, it look so good I made a video. The video is posted on YouTube. Seed of Life Video
Here are some pictures with the LED light.
I posted the STL file on Youmagine for anyone to download.
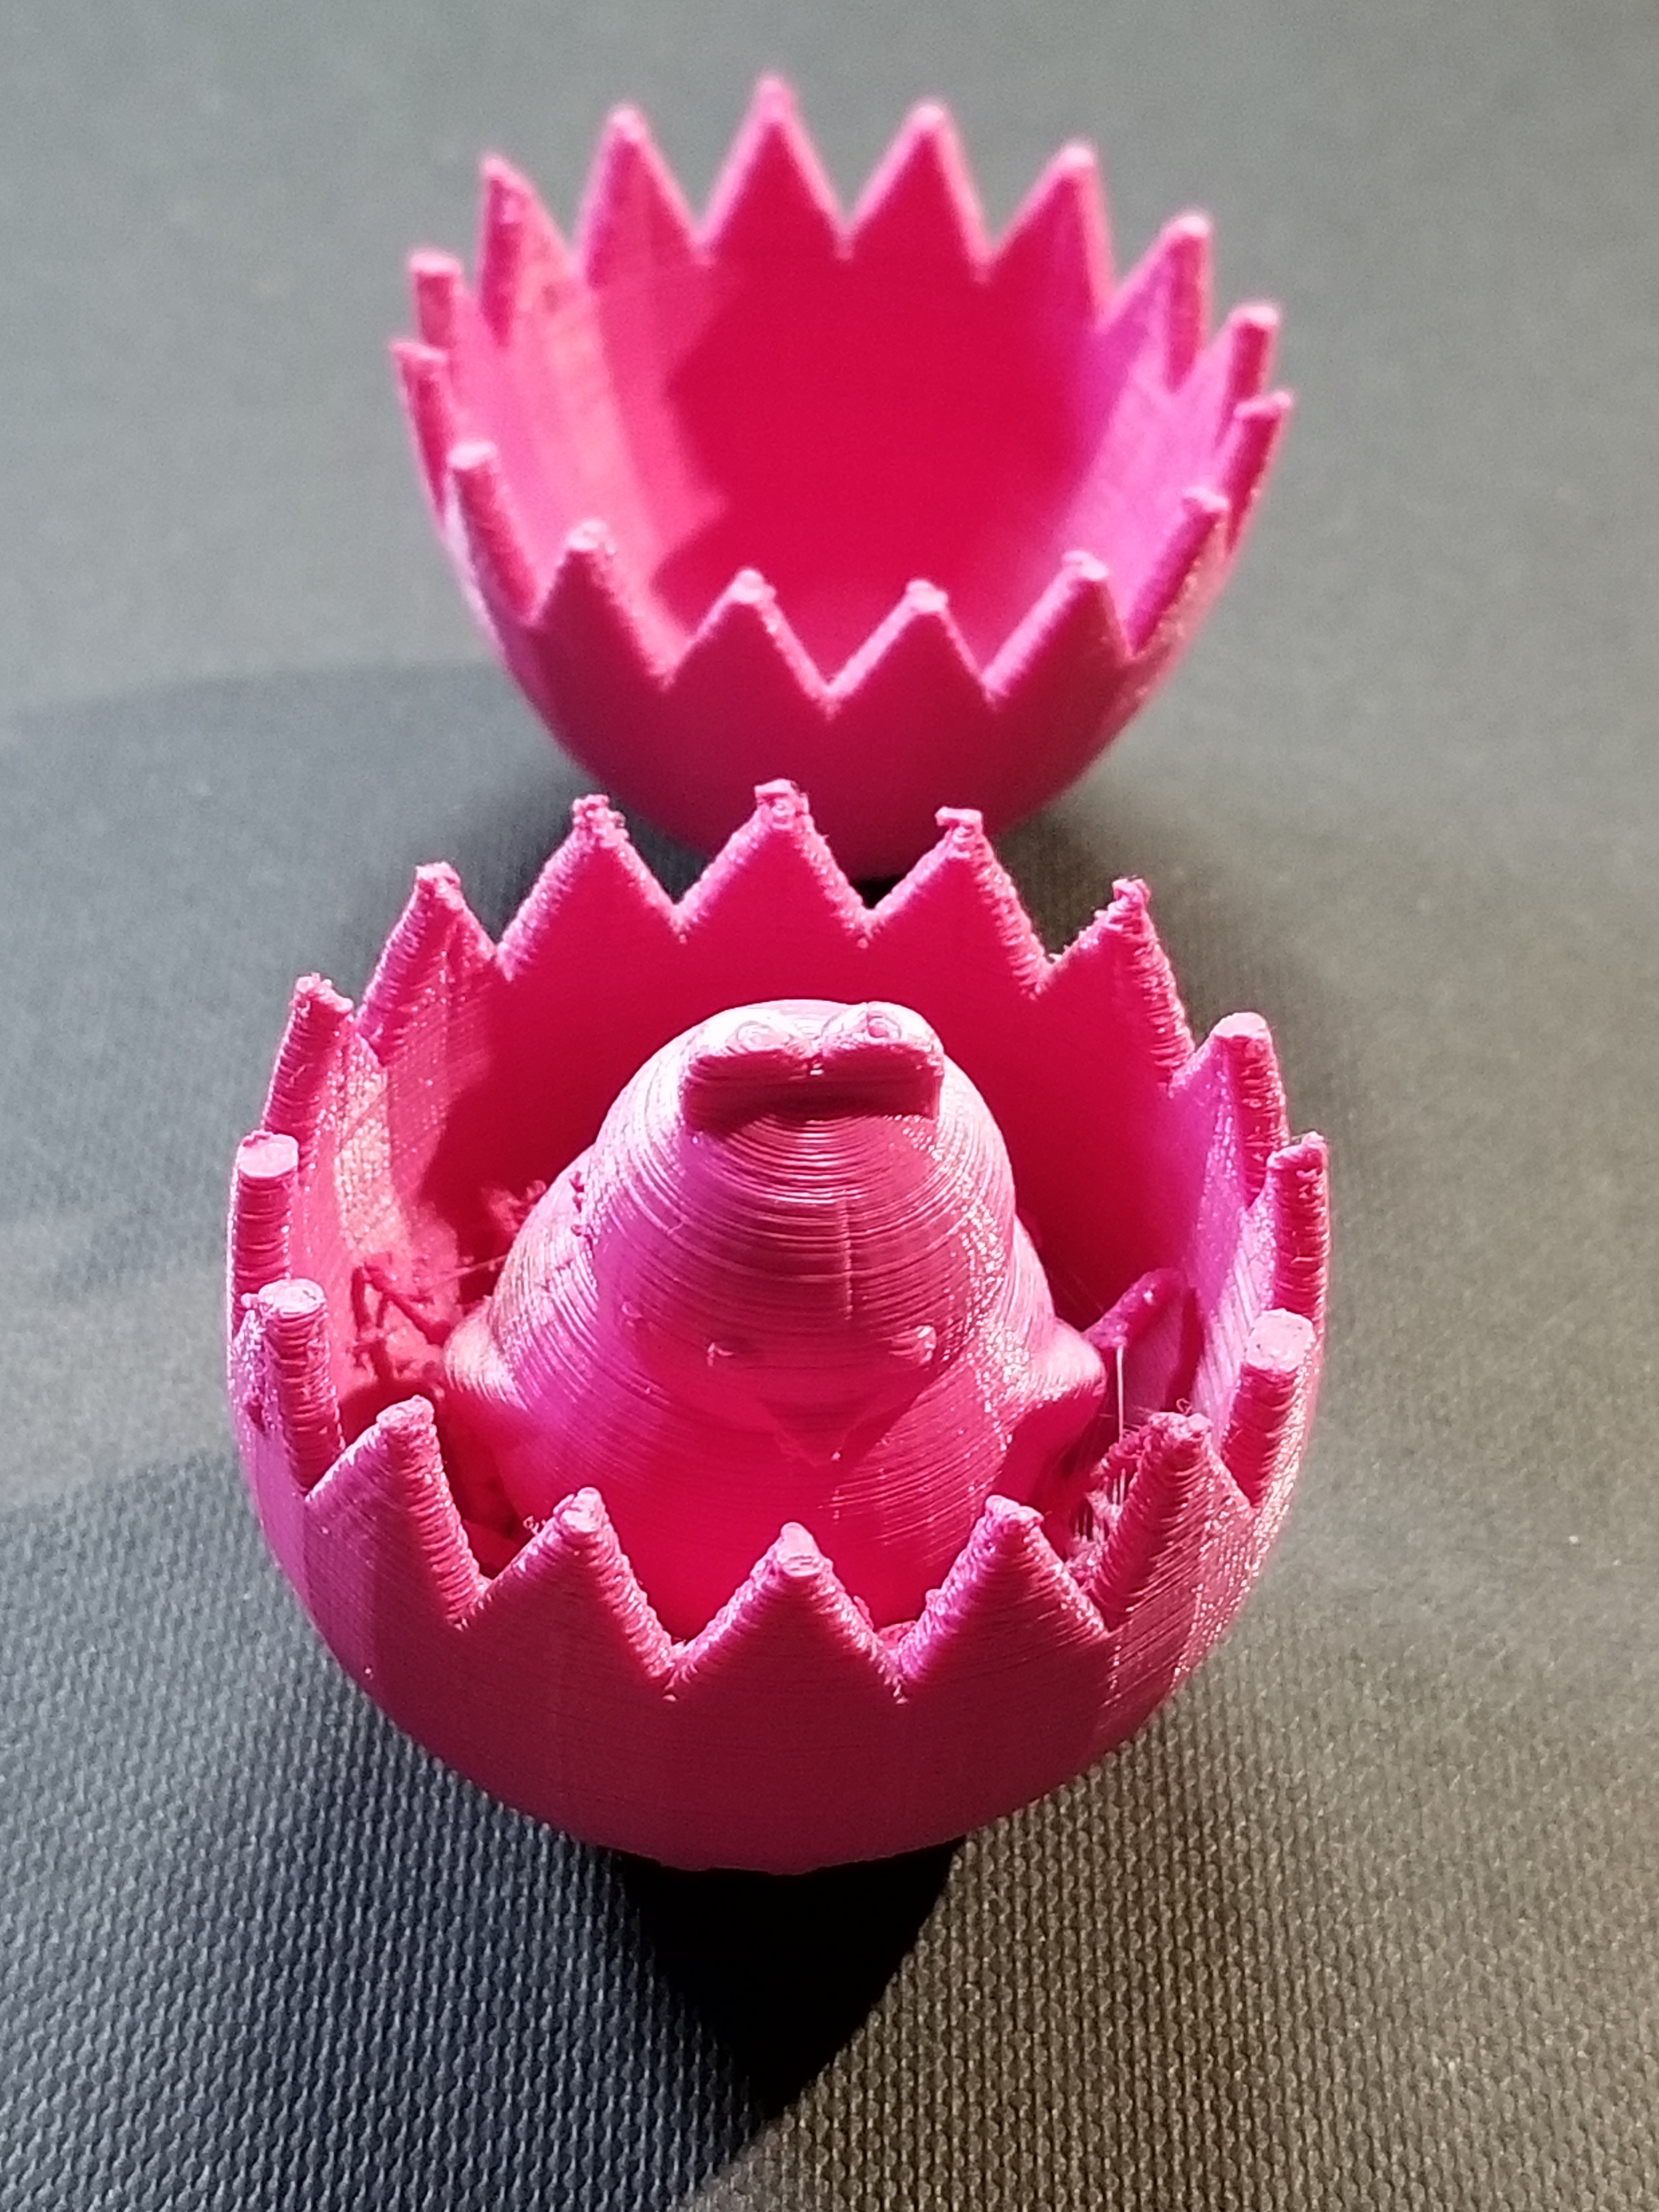
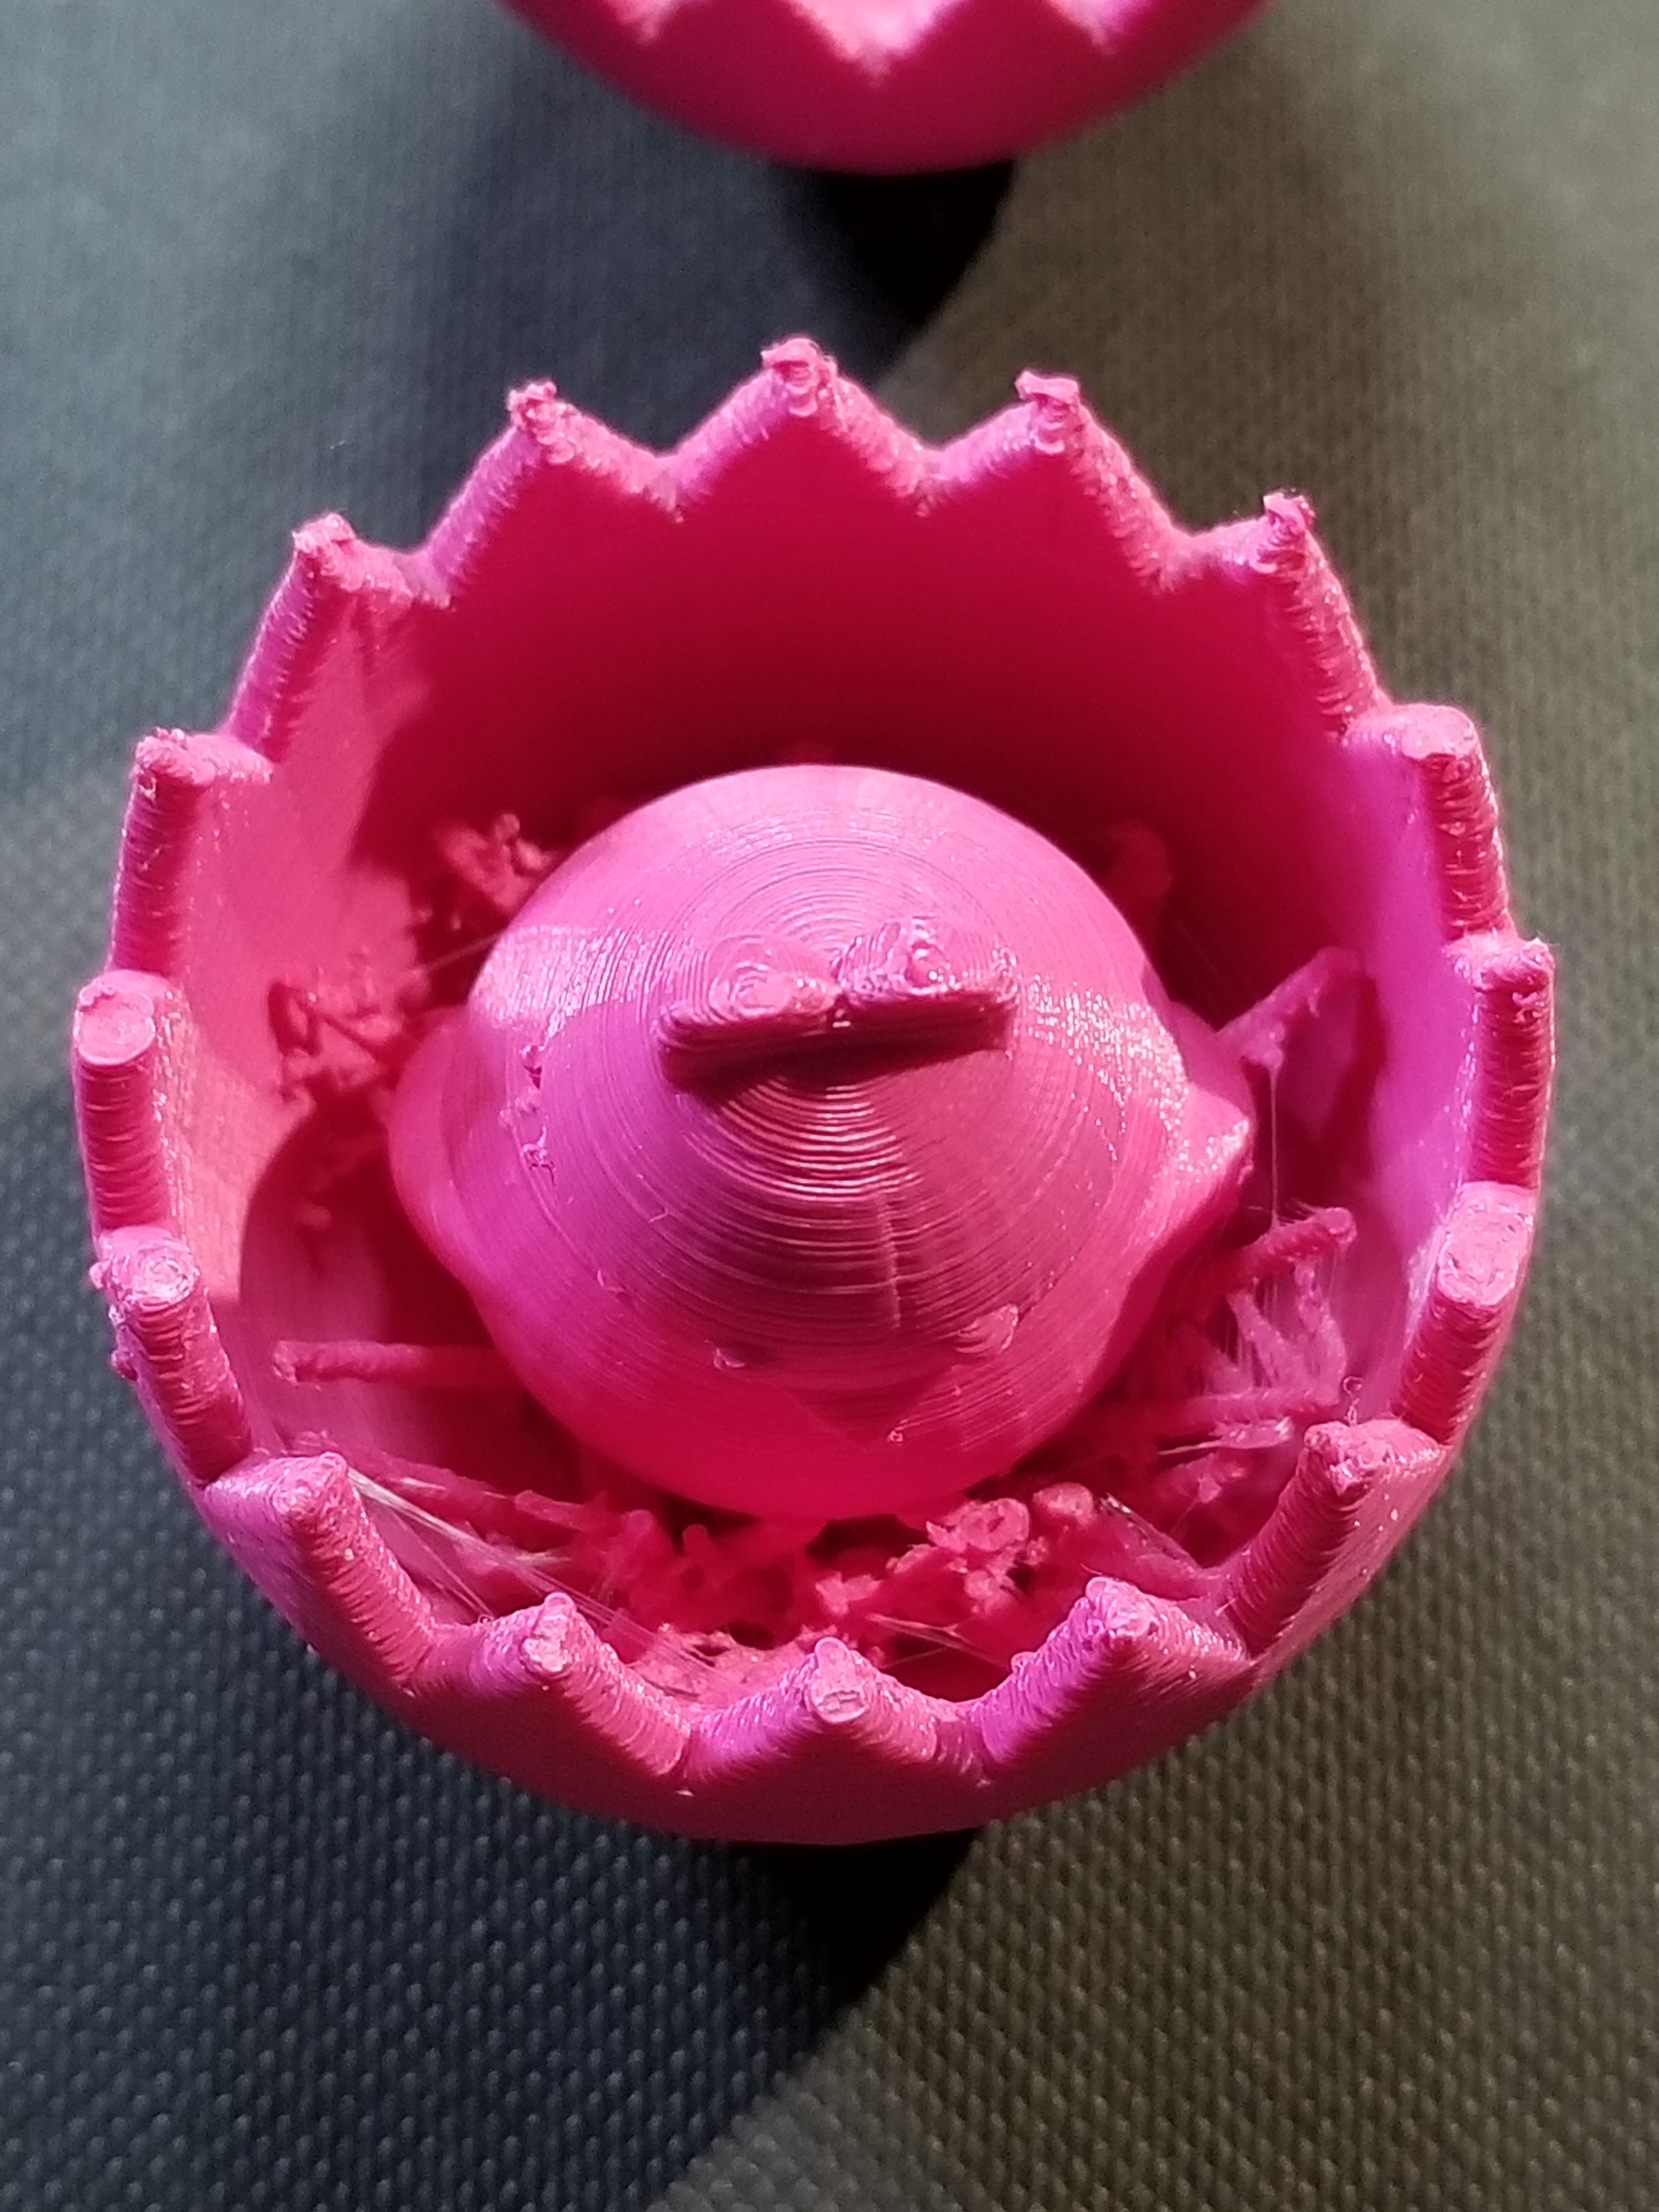
Yesterday, I designed an Easter Egg using Tinkercad. Today, I printed the Easter Egg. Creating the Egg in Tinkercad is easy. They have a egg object. Hollowing out the egg is easy; copy egg, reduce the size, make it a hole, align the solid egg with the hole egg, and group.
Making the two egg halves with the crack was more complicated than making the chick. The chick is two circles for the body, two circles for the eyes, two flatten and stretched trapezoid for the wings, the heart shape for the head, and Tinkercad’s chicken foot object for the feet.
To see how I created the crack in the egg, check it out here. Note: I am working on other cool chicks, so the design my change.
I probably could have made the chicken bigger, maybe I will.
The egg was printed on Ultimaker 2+ printer. I read that beta version of the Cura Software allows more control over supports. Yay!
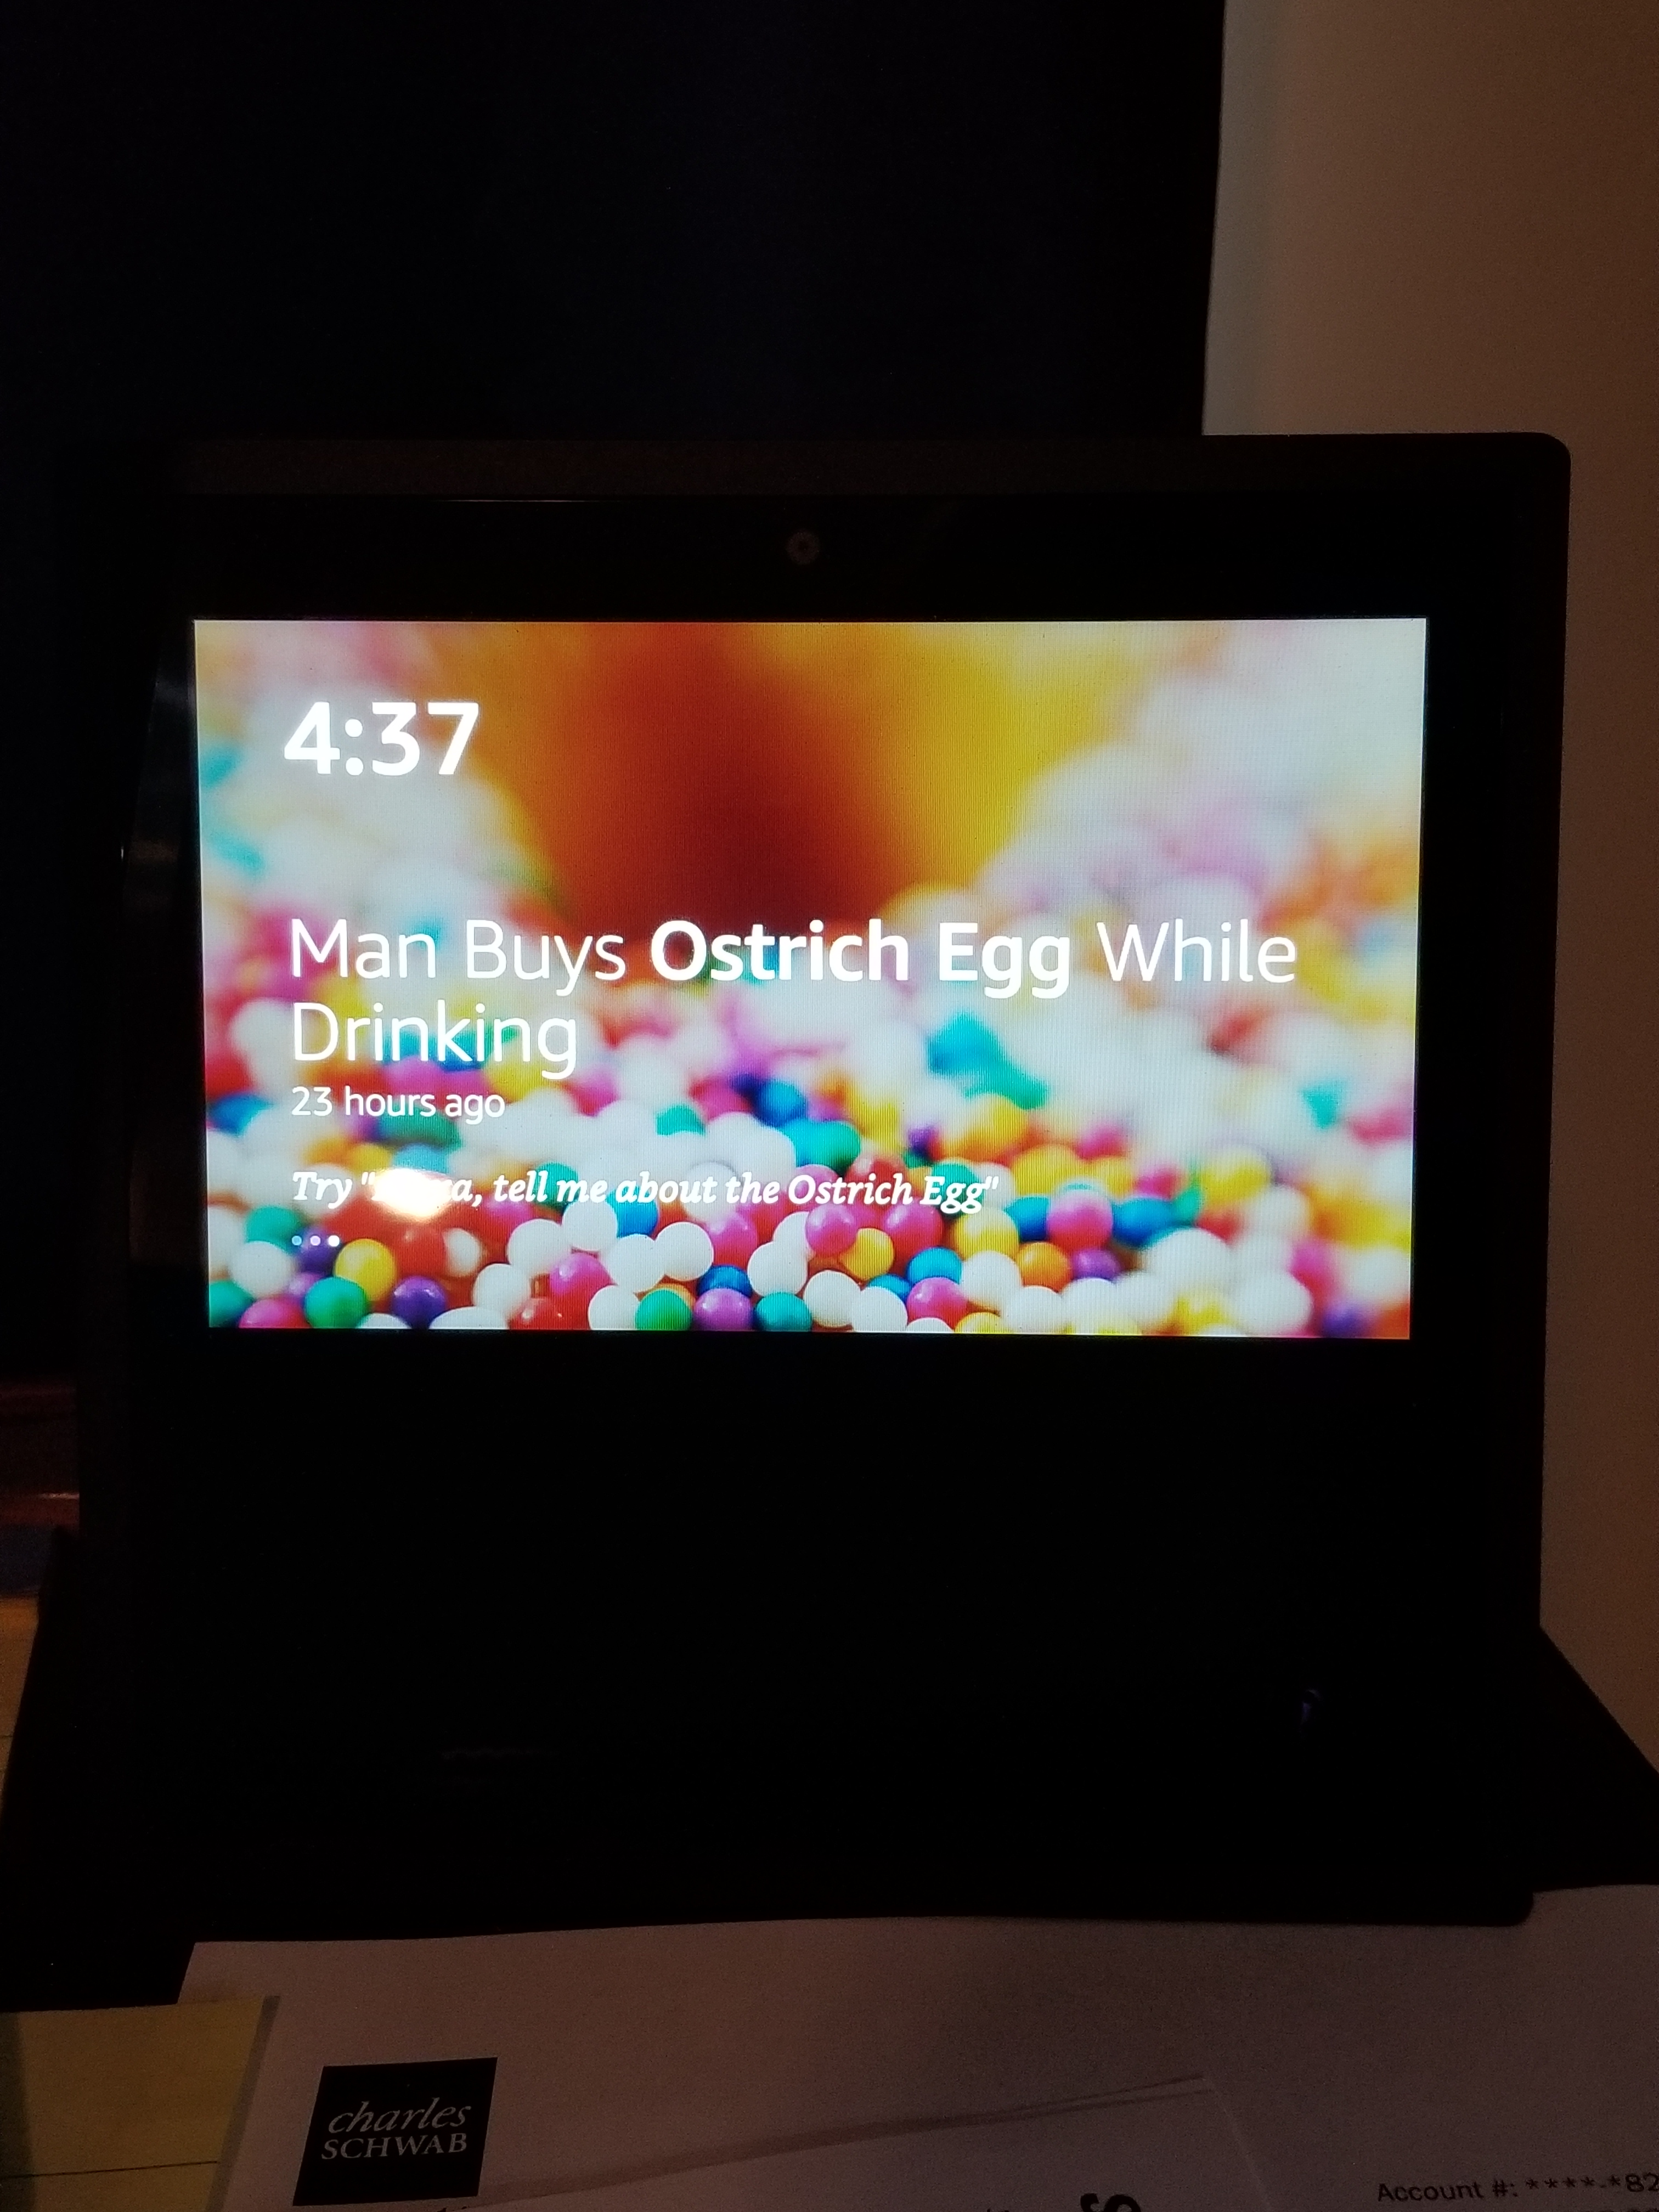
I do not believe that Amazon is spying on us, but there are a numerous hackers in the world. And, getting dressed in front of a camera….
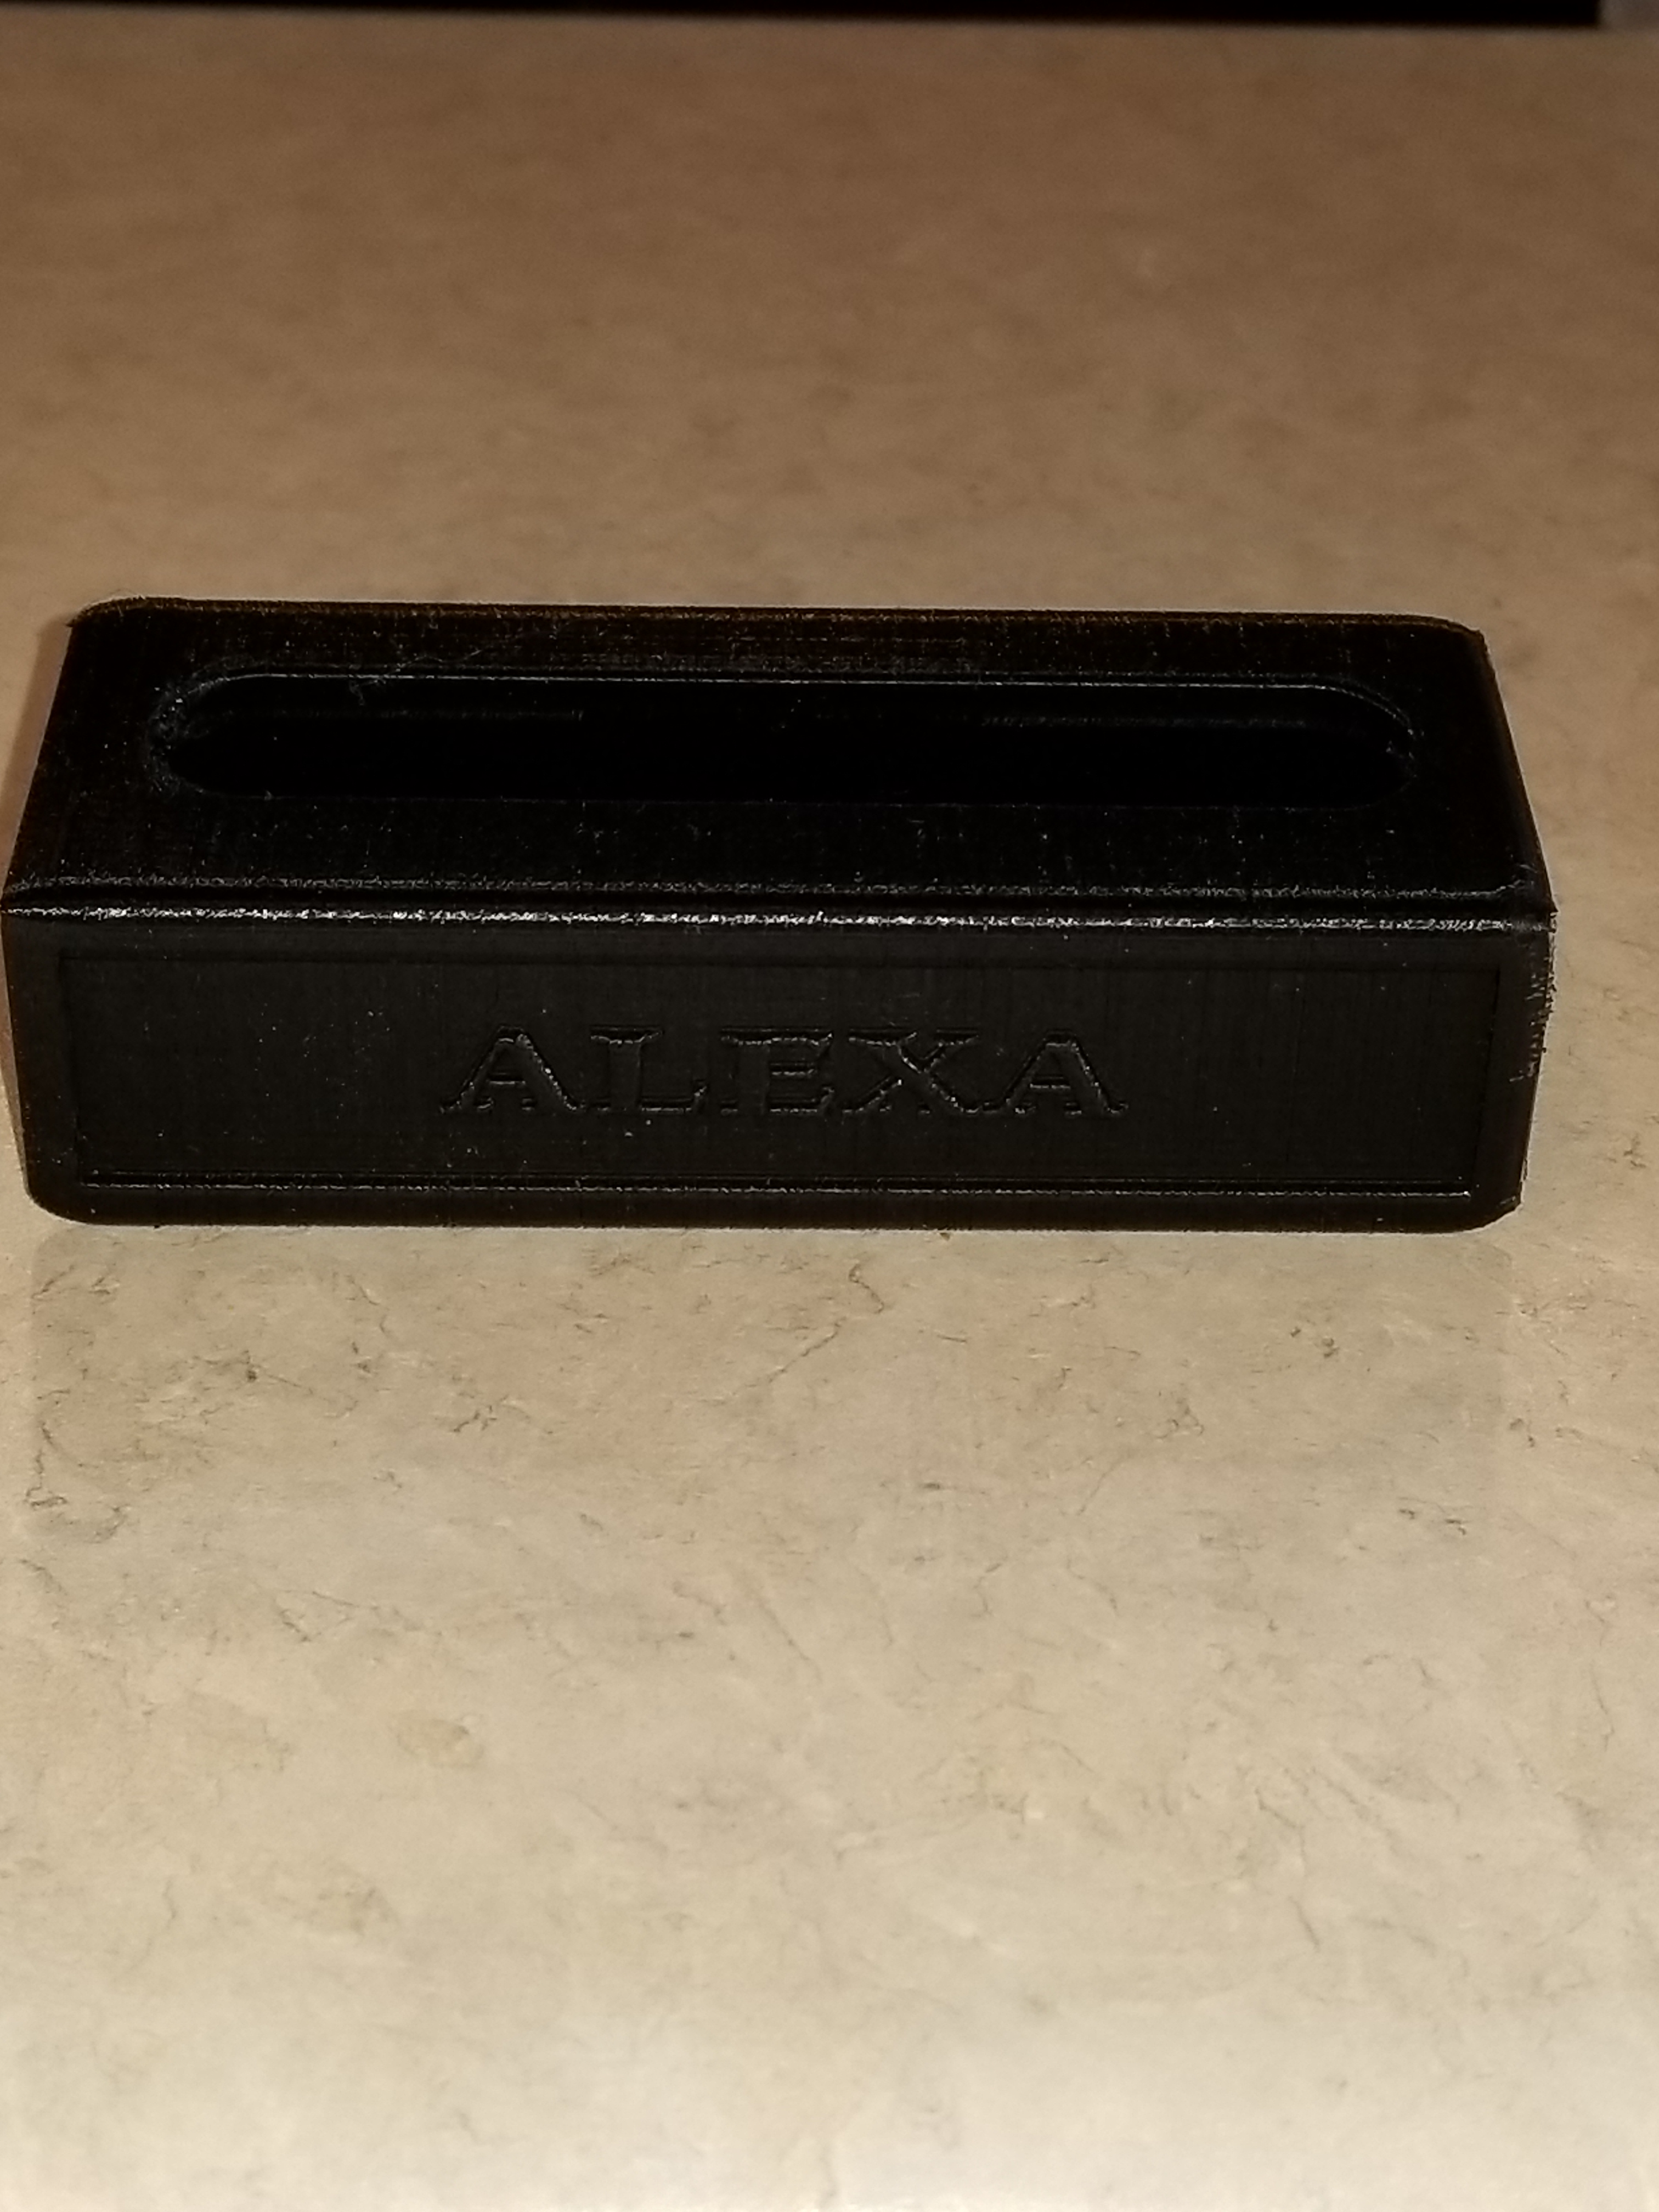
This privacy shield is for the Amazon Echo Show to cover the camera. It will put the device to sleep because it can not detect movement in the room. You can still access the three buttons on top of the device with the shield installed.
The Camera is in the top center of the device.
I put “Alexa” on the shield because that is the wake up word for the AI.
It all started on Facebook and someone saying “Do you remember…” Yes, I do remember Clackers, they were fun to play with, but dangerous (will at least in today’s world.) We would get hit with one or both of the glass balls and go ouch or whoops. However, in today’s world, they are safer than the Tide Pod challenge.
My 3D printer and I were not getting along, so we both took a break from each other. After the Facebook posting, I decided it was time to put the print back to work. And, one of the simplest thinks to design and print would be a ball with at hole in the middle.
I used Tinkercad to design it. 5cm ball with a hole in the middle. I then did the thing I been regretting for a while, I cleaned, oiled and balanced the printer. The first print failed, the item was not adhering to build plate. Failure. I rebalanced the build plate. Failure. I removed the build plate and cleaned it with soap and warm water and rebalanced the build plate. Success, I had one ball for my clackers, so I printed a second one.
The string is only nylon string with a loop tied at the top and a knot at the end of each ball.
I know Christmas is over and the new year has started, but this was my main adventure for November and December.
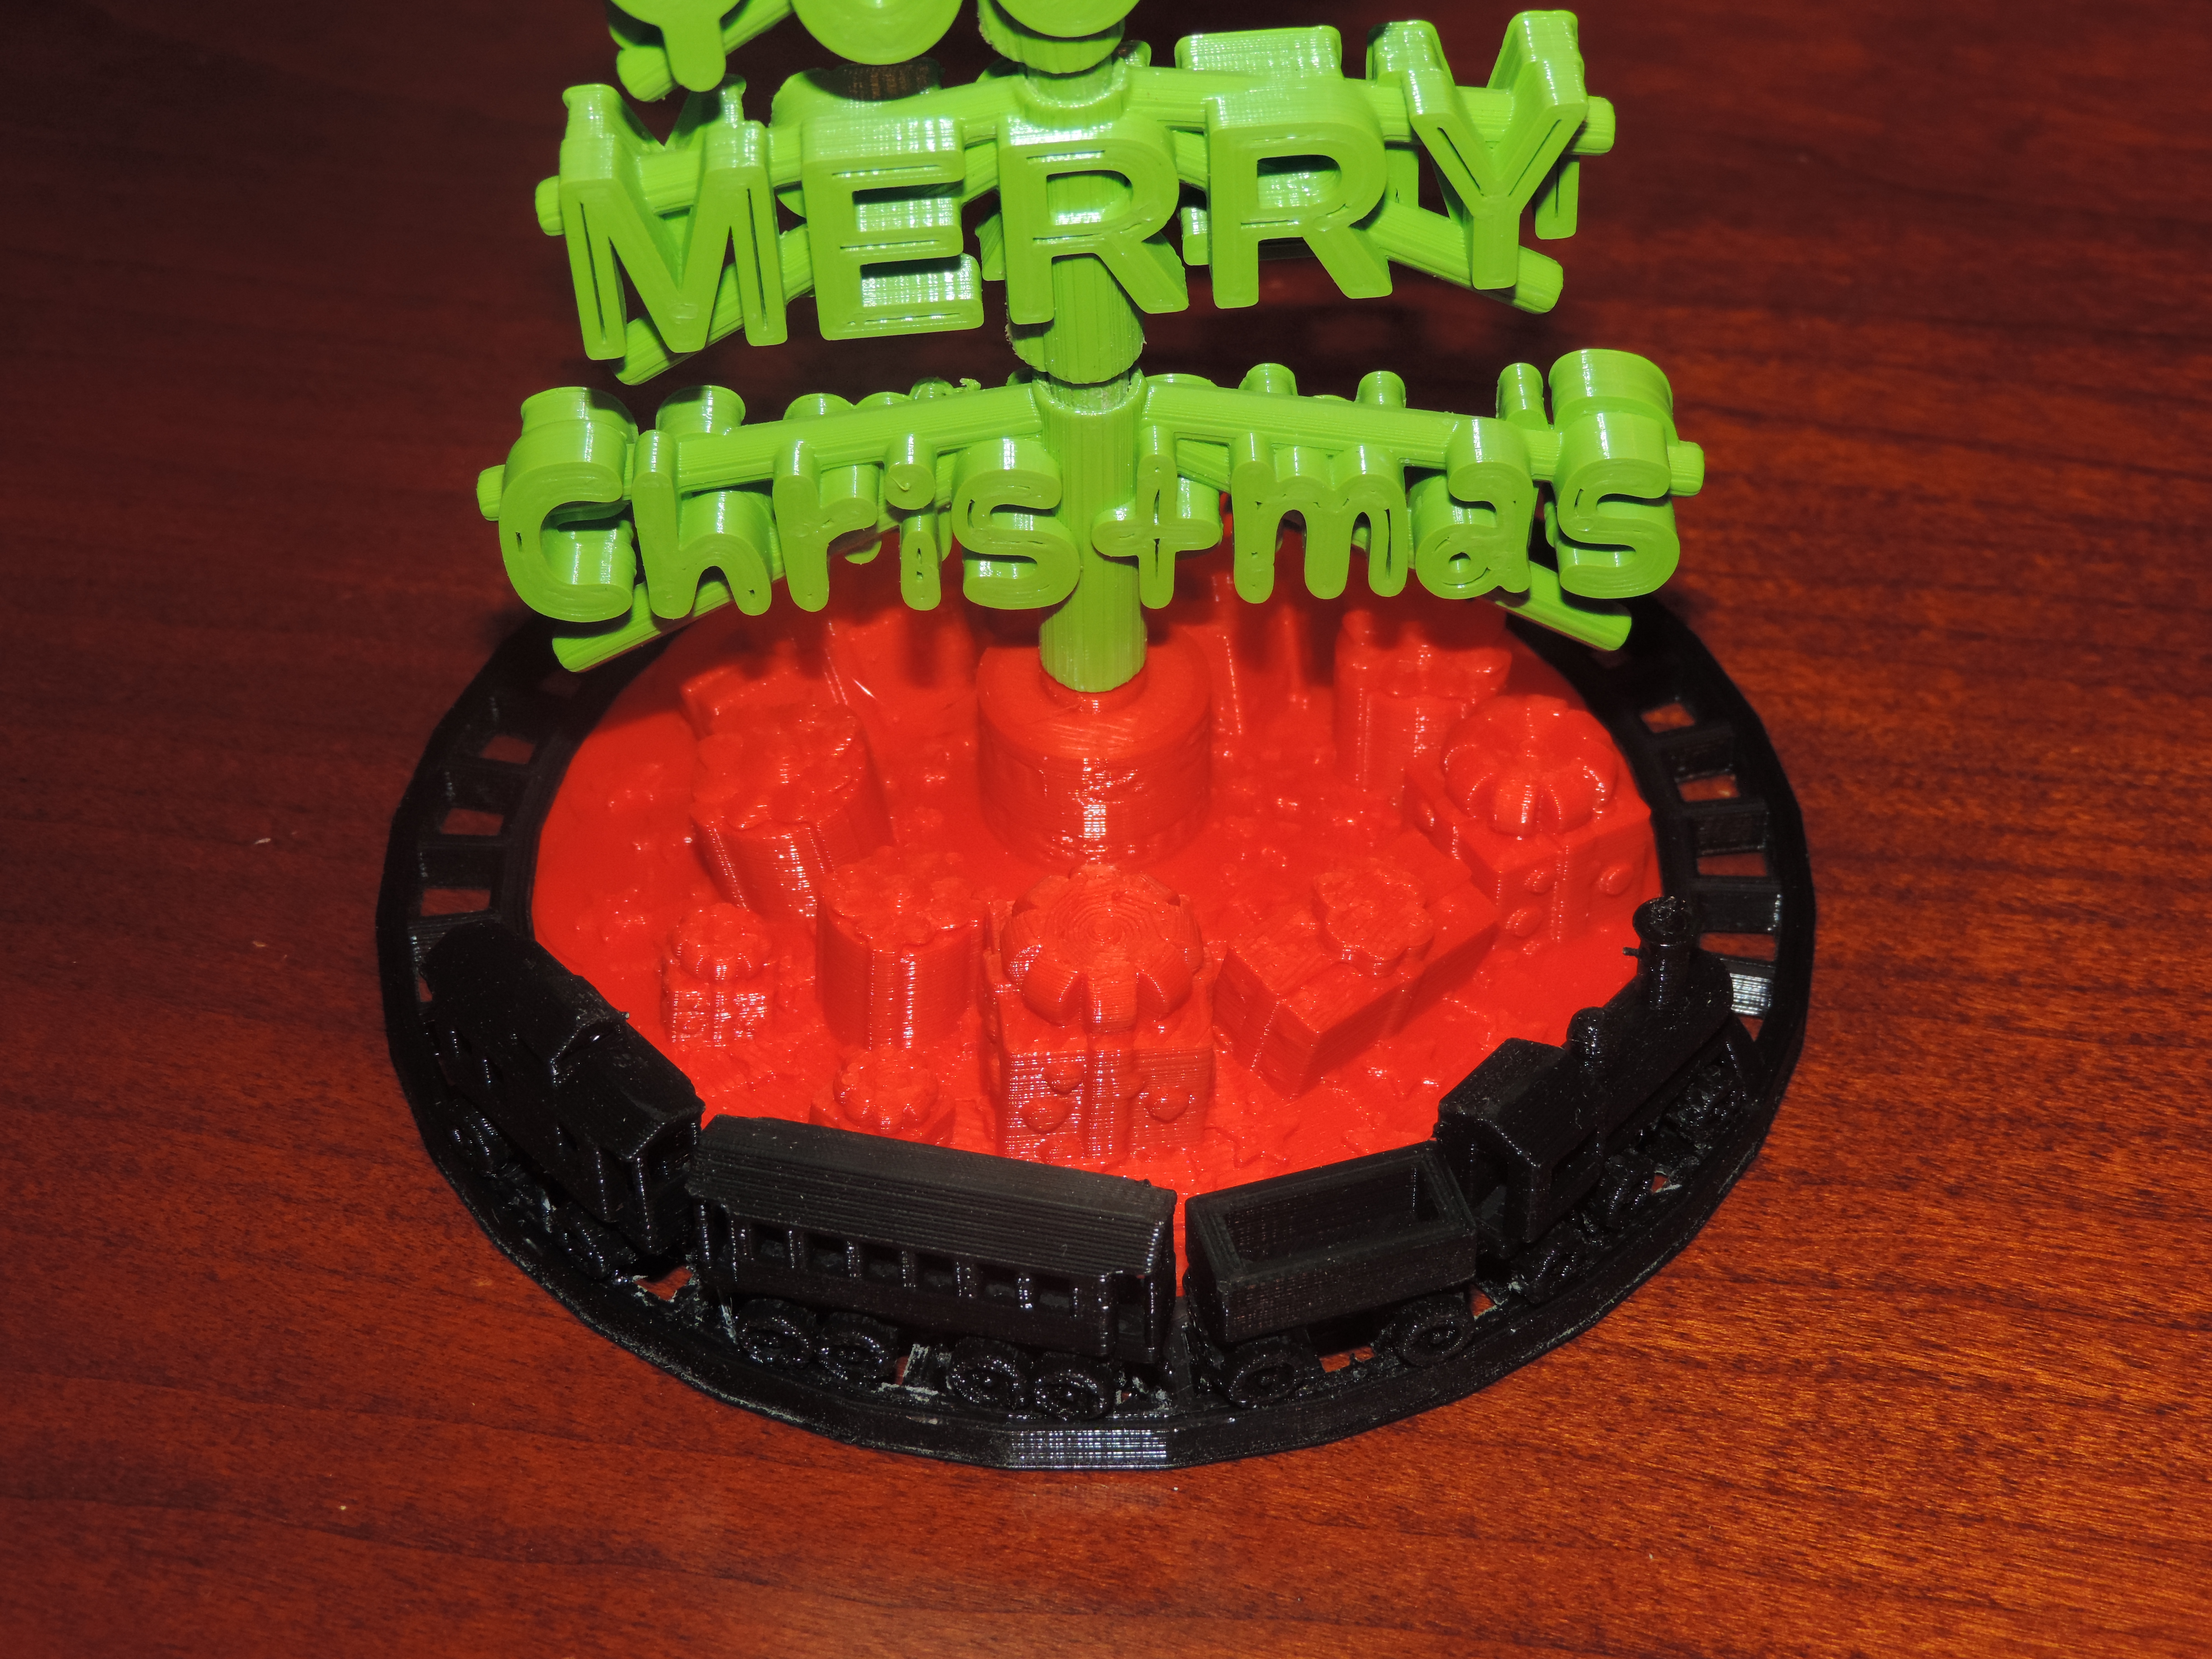
Many months ago, I got the idea that this year’s Christmas card would be 3D printed. After many rough drafts, I decided on the “We Wish You a Merry Christmas” design.
The initial design phase went smoothly. And then, I had more ideas. The words on the tree should turn, so the tree would look like it had stagger branches. The words on the tree should be readable from any angle. Oh, it need a tree skirt and the simplest design would have stars on the skirt.
It then occurred to me the tree needed a train going around it. Well, the train could not literally go around it, because the size of the train. My printer would not be able to print the tiny detail the train would need to allow it’s wheels to turn.
I still was not entirely happy with the tree skirt. The tree needed presents. I designed three unique presents and place them under the tree scaling them to different sizes and placing them under the tree at different angles.
Designing the tree was the easy part. Printing the tree out, proved to be the most challenging part. The filament started grinding. I regularly had be dismantle the extruder box to remove filament. I also had to dismantle and reassemble the printer head on no least three occasions to correct issues. That is why only 6 of these Christmas tree were sent to friends and family.
There were eight .stl files created to print the tree.
The .stl files can be downloaded from youmagine.com.
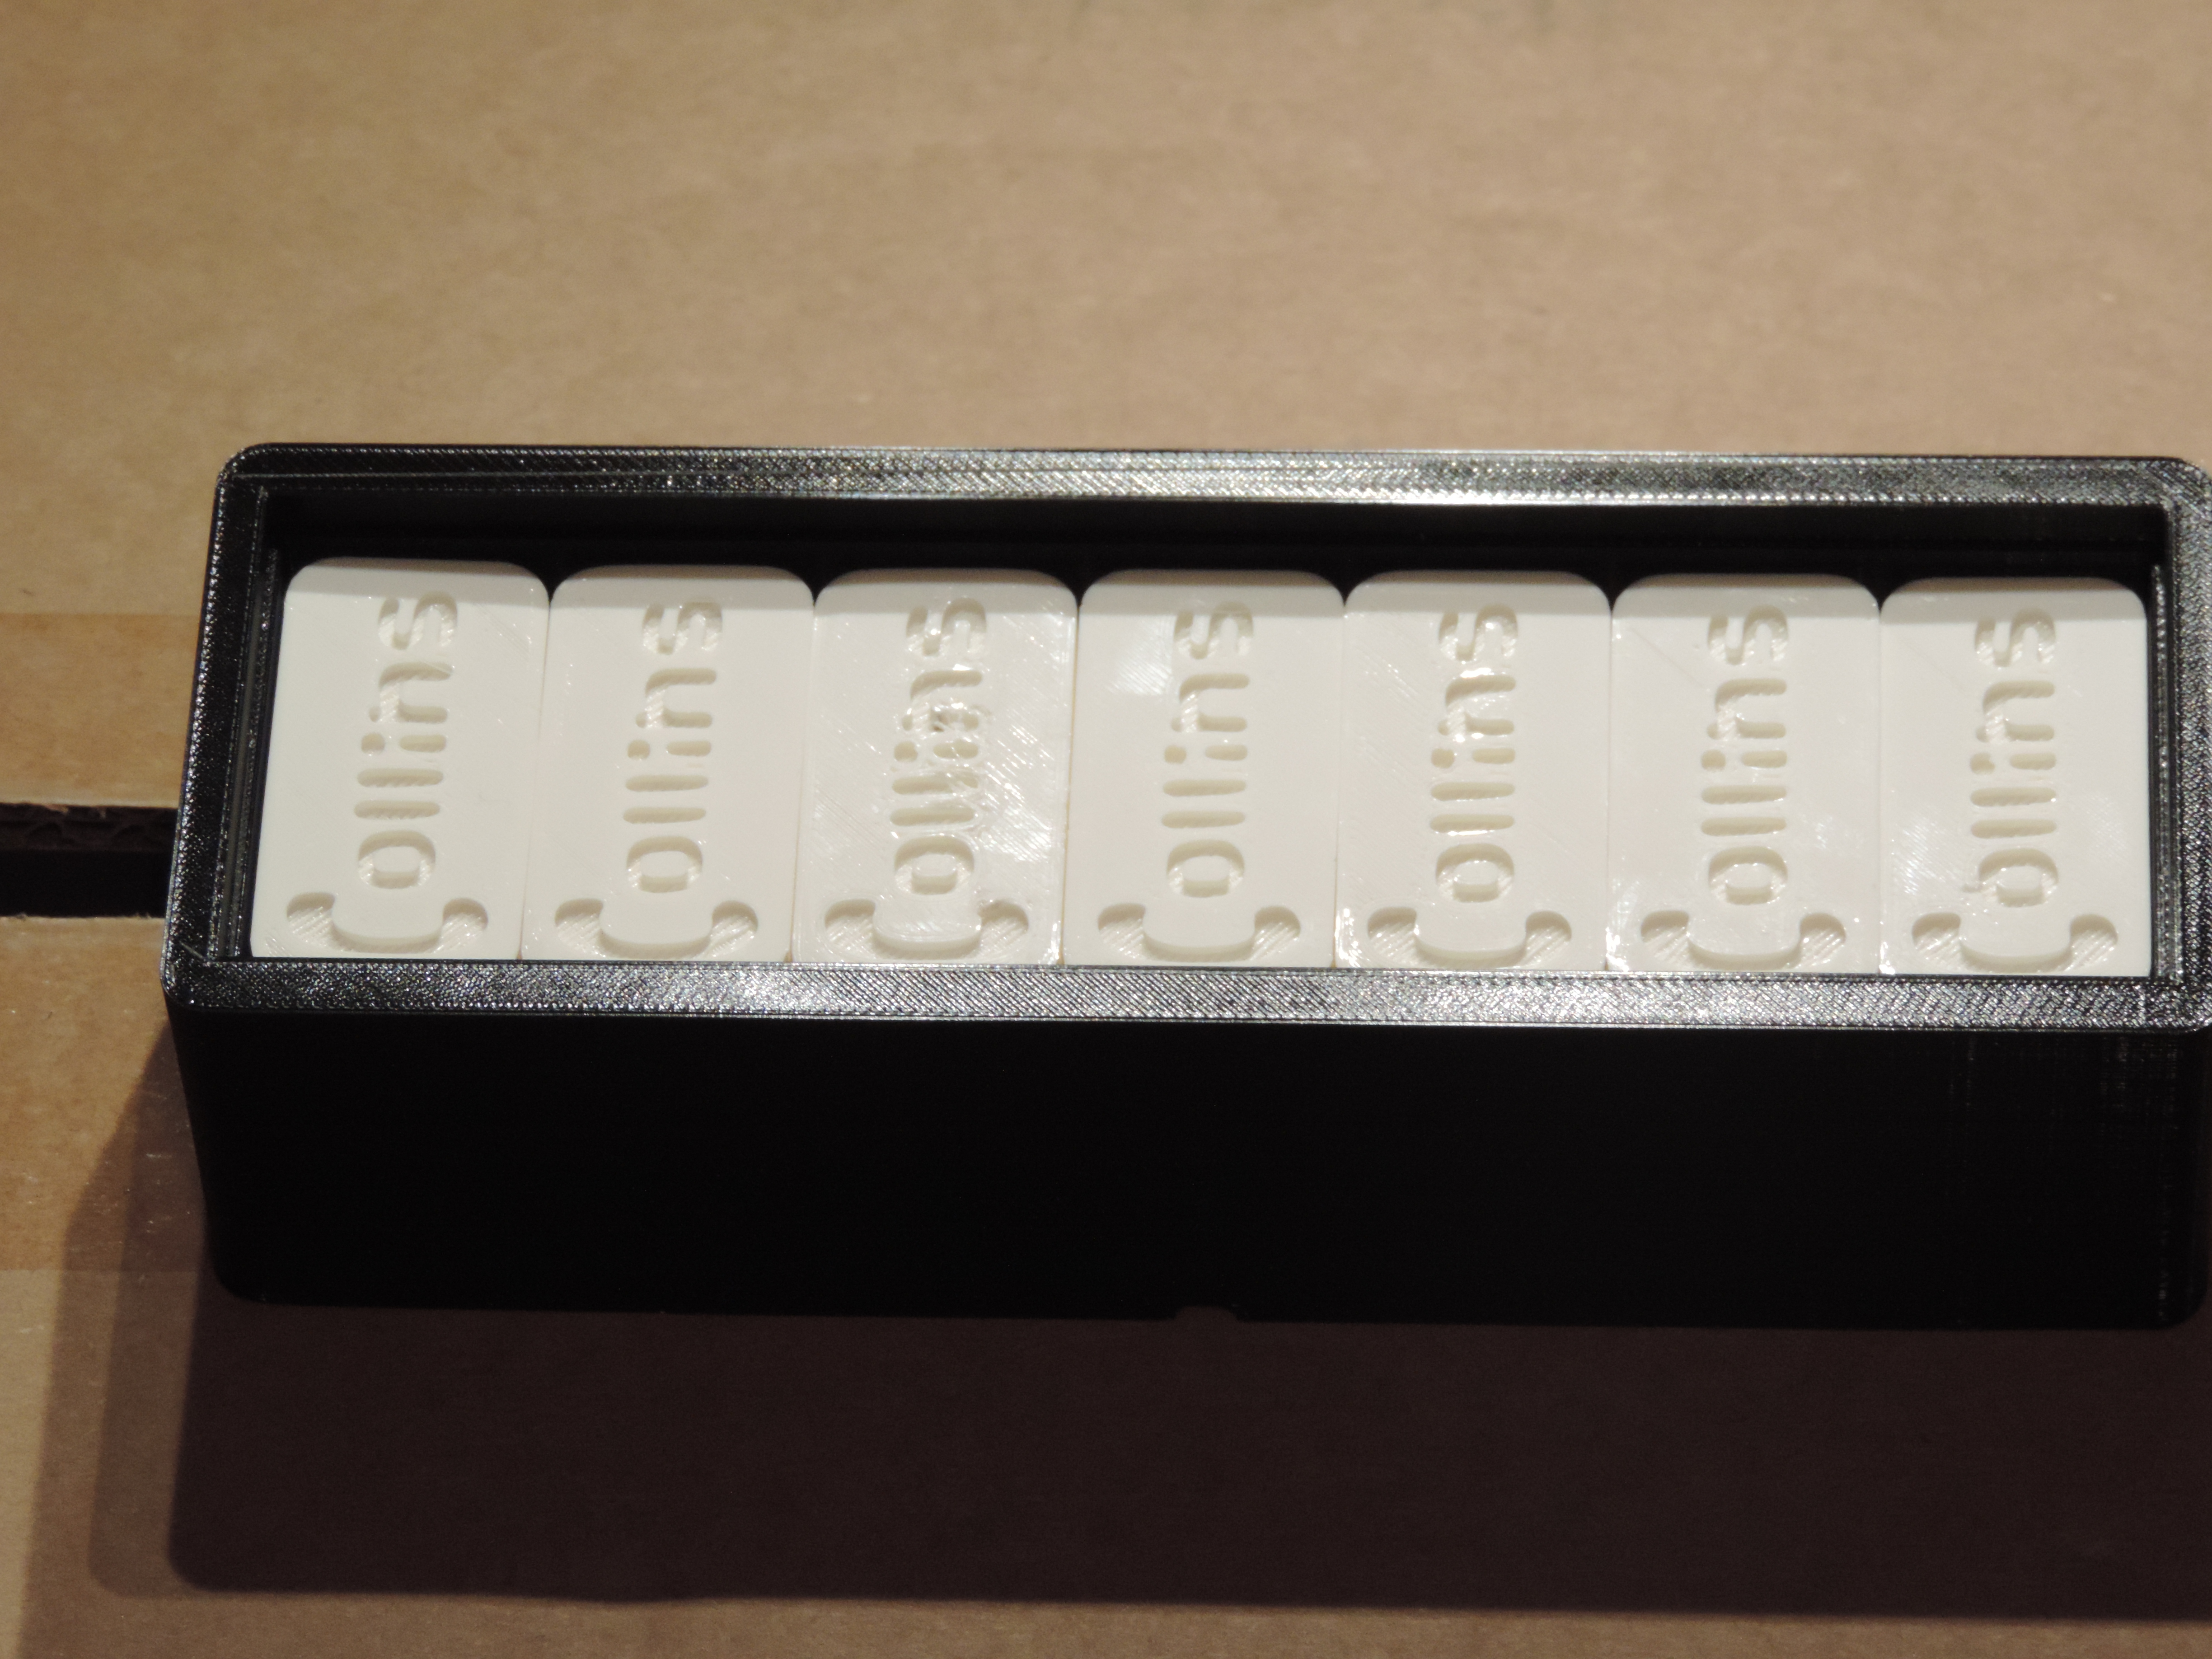
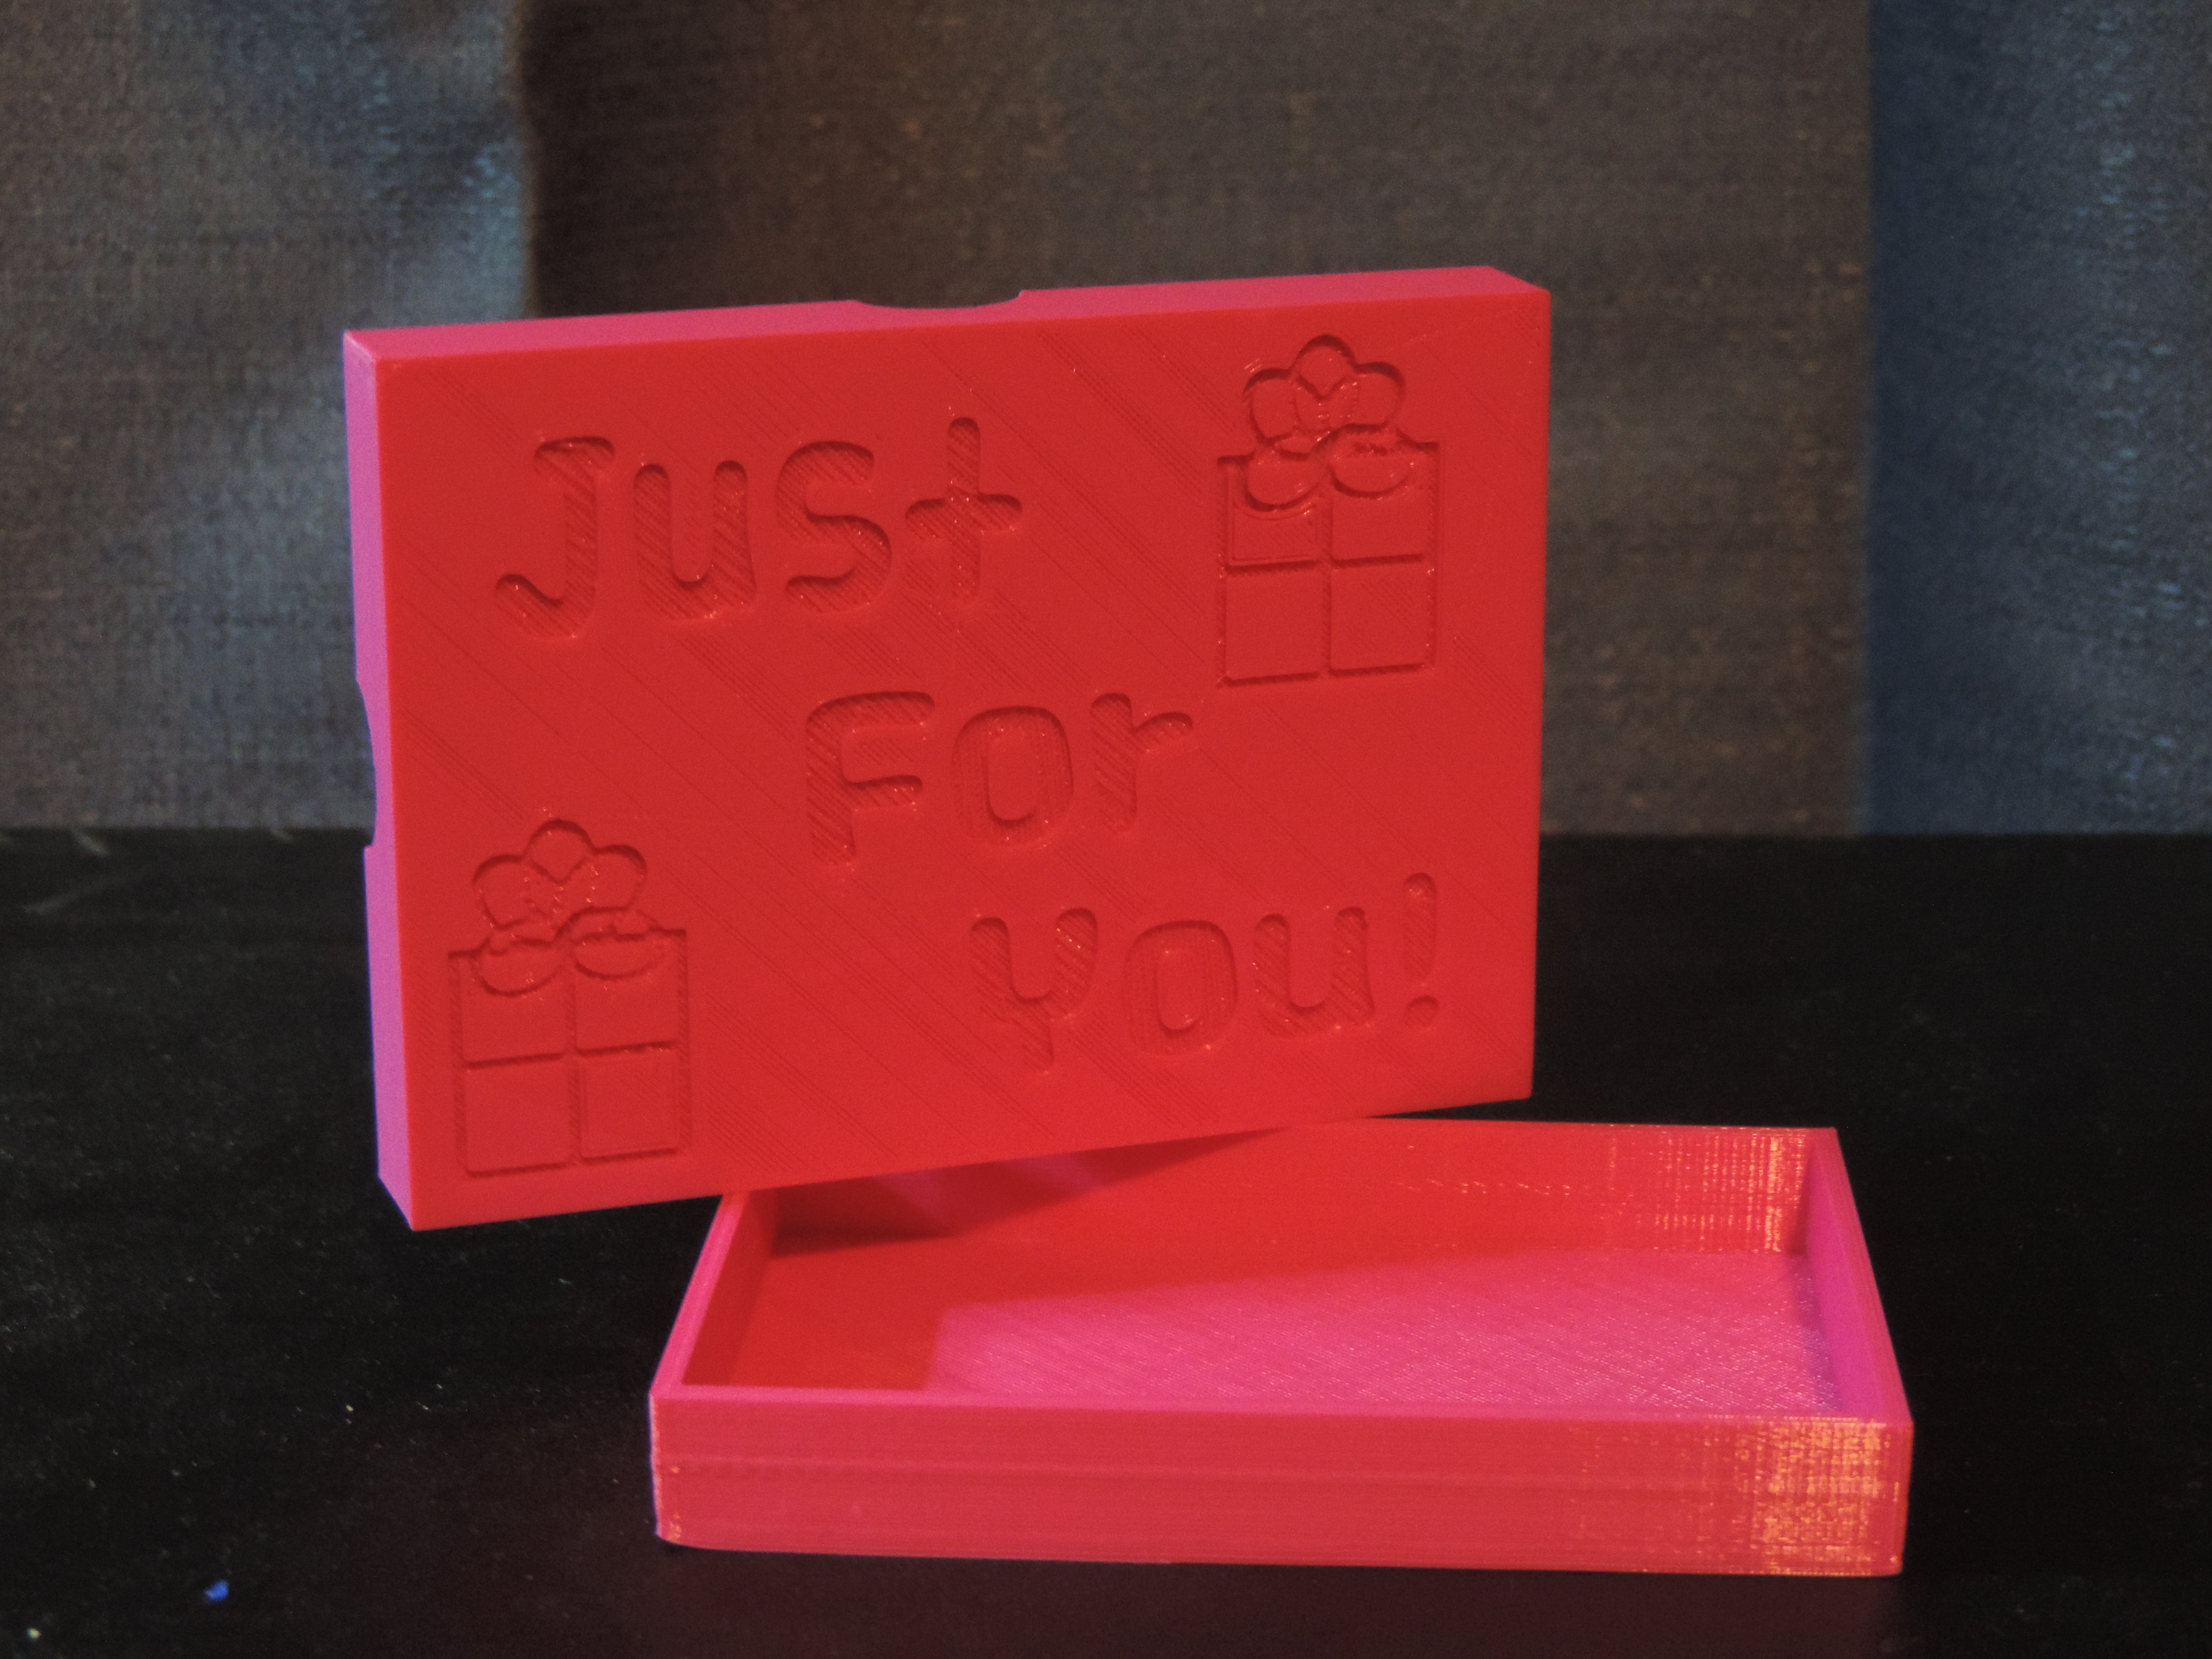
My father-in-law has shown very interested in the 3D printing. Asking questions about how it works and what can it print. Before Father’s Day, I sat down in from of the computer and said “What can I print for my father-in-law? He plays dominoes every Friday! I can do that!”
I looked up the dimensions for Dominoes; design the dominoes; and created the case to look like a domino.
His own personalized dominoes. I also printed a set for my dad for Father’s Day with his last name on them.
The .stl files can be downloaded from youmagine.com.