Yesterday, I designed an Easter Egg using Tinkercad. Today, I printed the Easter Egg. Creating the Egg in Tinkercad is easy. They have a egg object. Hollowing out the egg is easy; copy egg, reduce the size, make it a hole, align the solid egg with the hole egg, and group.

Making the two egg halves with the crack was more complicated than making the chick. The chick is two circles for the body, two circles for the eyes, two flatten and stretched trapezoid for the wings, the heart shape for the head, and Tinkercad’s chicken foot object for the feet.
To see how I created the crack in the egg, check it out here. Note: I am working on other cool chicks, so the design my change.
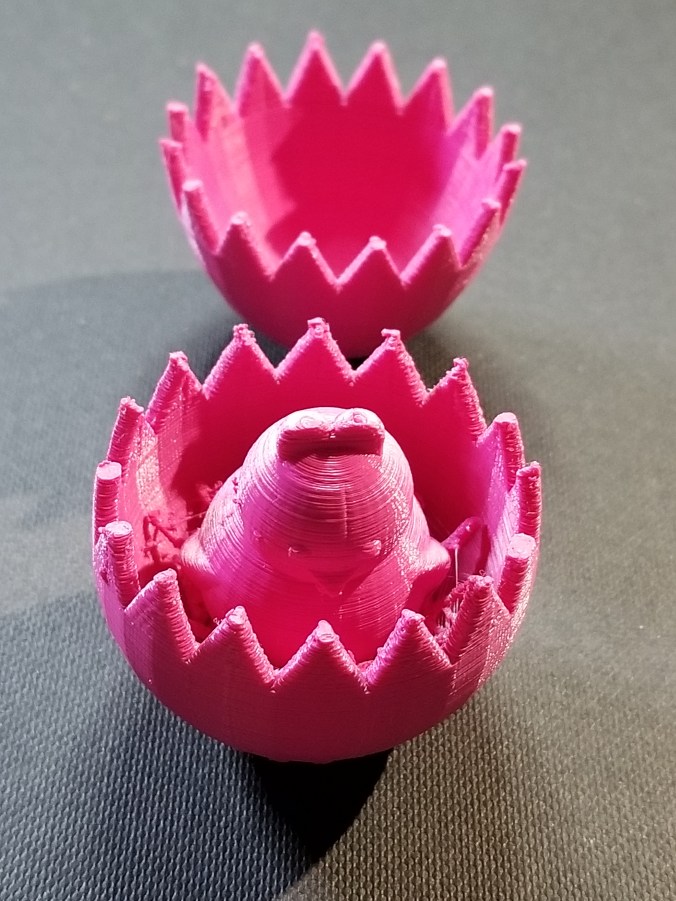
I probably could have made the chicken bigger, maybe I will.
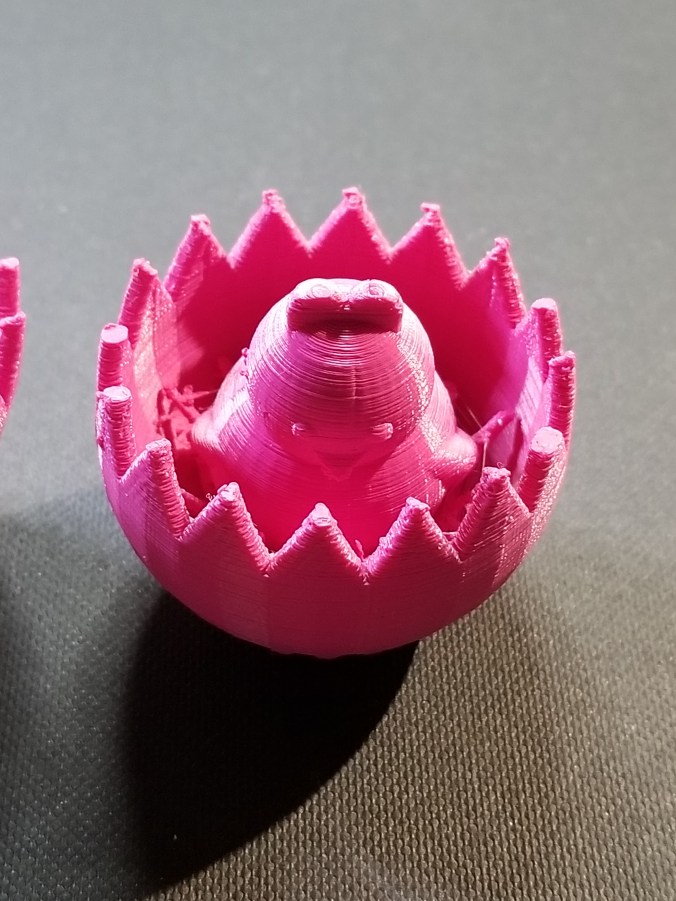
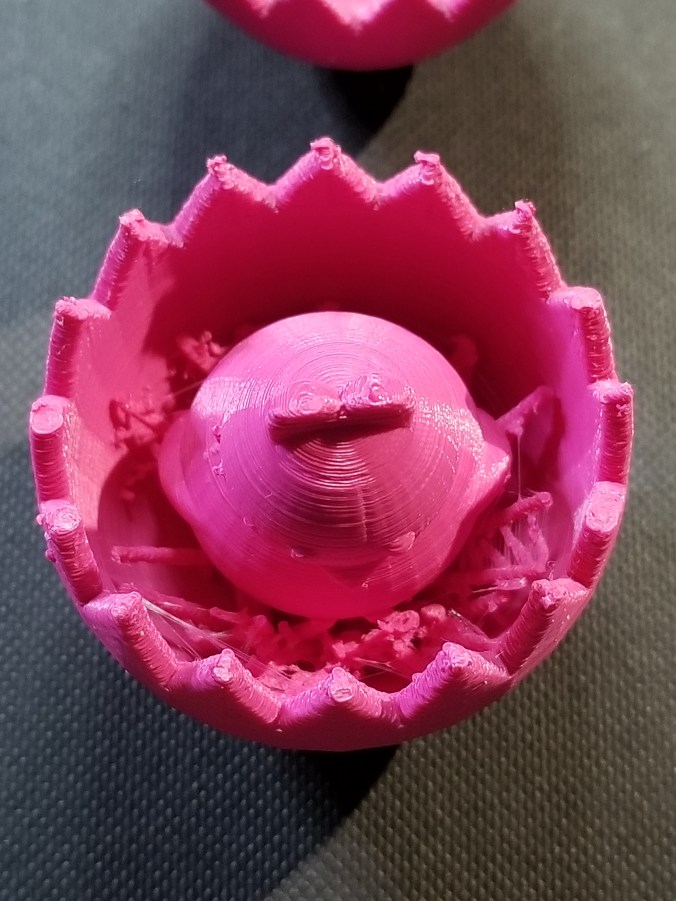
The egg was printed on Ultimaker 2+ printer. I read that beta version of the Cura Software allows more control over supports. Yay!
![]()

My hat. Well made. BTW, have You ever seen Easter eggs made by normal people?
Orthodox icons and Easter eggs
Thanks for the link. Beautiful.
How cool is this!!!
I thought it was ver cool.