3D Print – My First Design

The next step for  printing 3D objects was to fine some 3D design software that support .STL or .OBJ files.  There are a lot of free software available for 3D design.  However, I am very warily of “free” software since a lot of “free” software (especially game software) comes with viruses, Trojans, and other nasty things.

I found four that was worth looking into deeper.

  1. Tinkercad (https://www.tinkercad.com/):  It is owned by Autodesk.  Autodesk has been around for a long time.
  2. Google Sketchup (http://www.sketchup.com/): Do I really want to install another Google product.  However, looking at the site, there was not direct indication it was owned by Google.
  3. 3DSlash (https://www.3dslash.net/index.php):  Looked interesting.  Take an object and remove parts.
  4. Blender (https://www.blender.org/): Has promise.  Is part of the Open Source community.

Since I use CorelDraw, I decided to look at their recommendations.  They recommended developing a 2D design in CorelDraw, transferring it to CAD software, like AutoCAD or Autodesk 123D, then fine tuning it with Corel Technical Suite.  Corel Technical Suite is $999.   I think not!

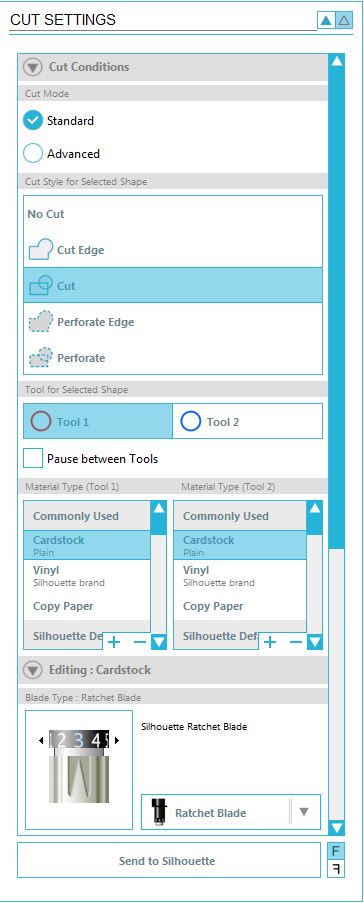
I decided since I was a beginner, I would start and learn with Tinkercad.  I went through several lessons in Tinkercad to learn the basics.  It was very helpful, especially learning to adjust the workspace.

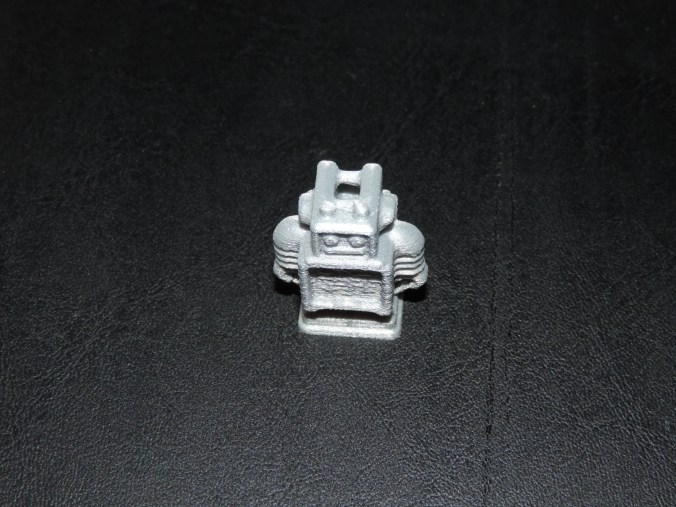
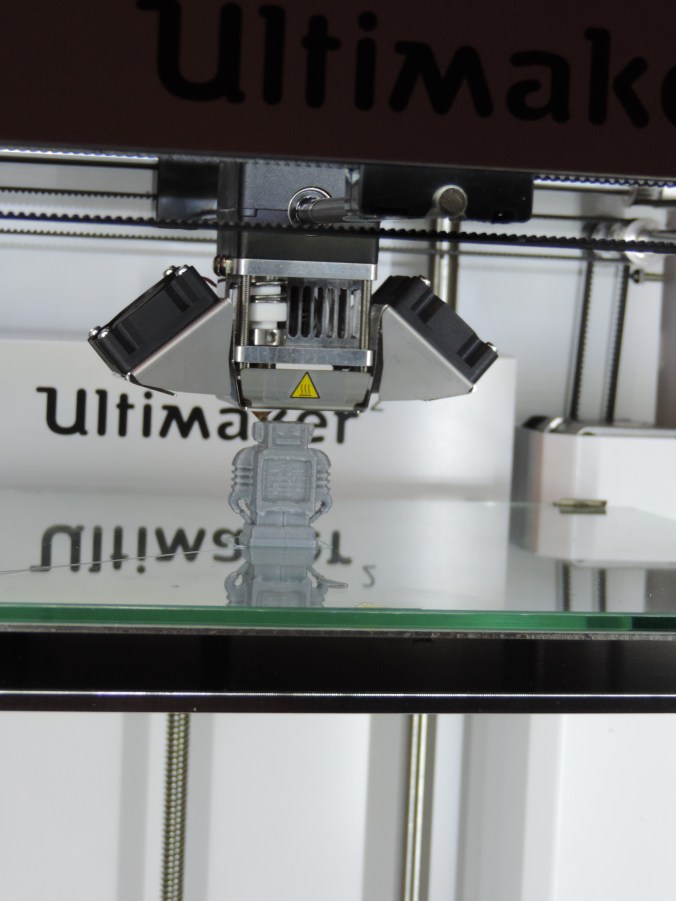
Many years ago, a friend told me I needed to sign all my art works.  Most of my cards, houses, paintings now contains this logo.  That is want I created first.

Made By Sarah….

DSCN6826

DSCN6827

DSCN6838

DSCN6839

DSCN6840

DSCN6841

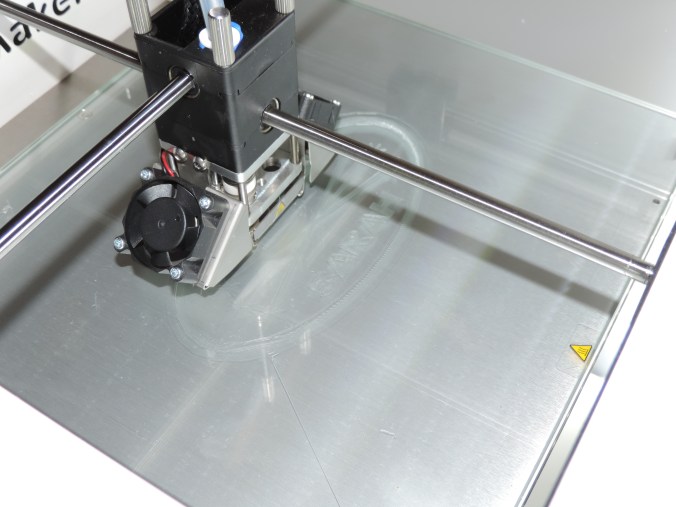
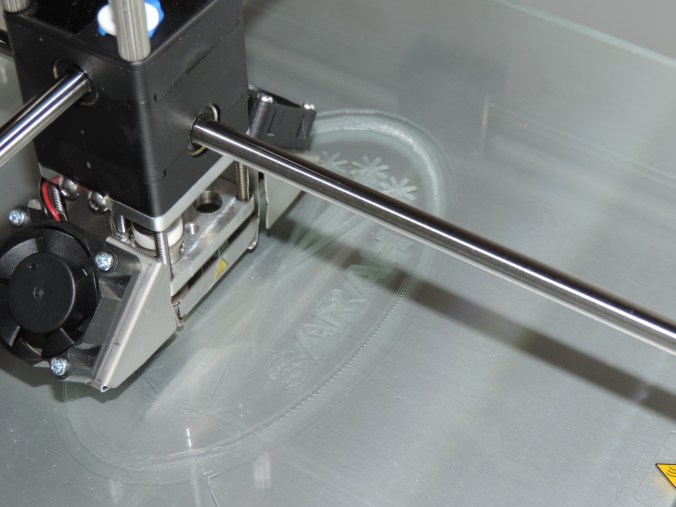
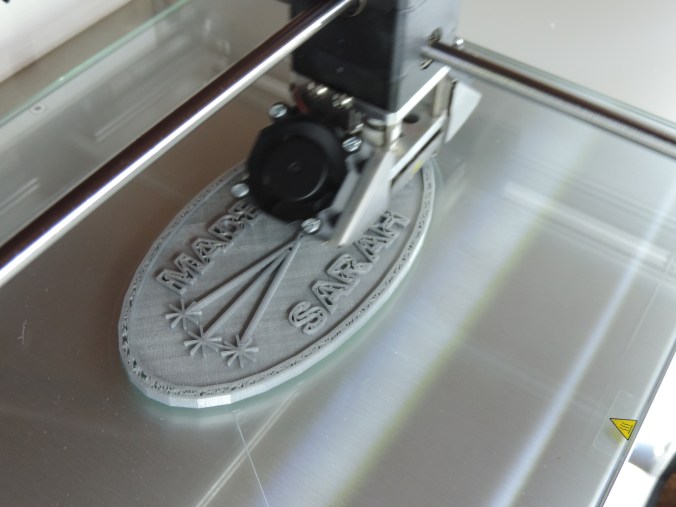
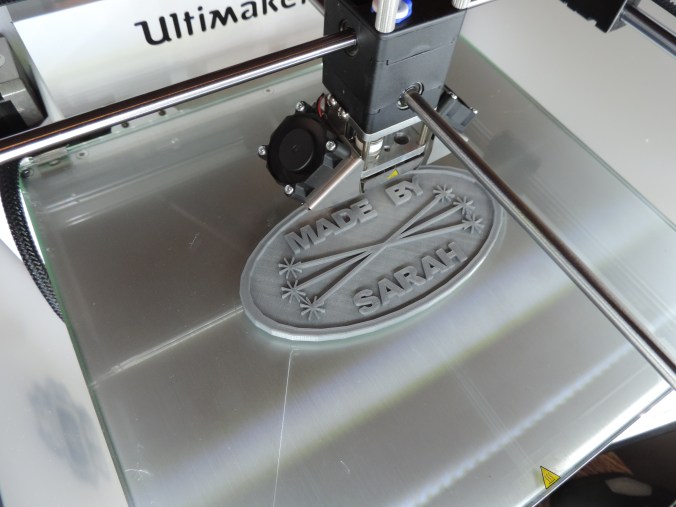
Yes, I did make it double sided.  If I had though about it before, I would have mirror the image on the reverse side.

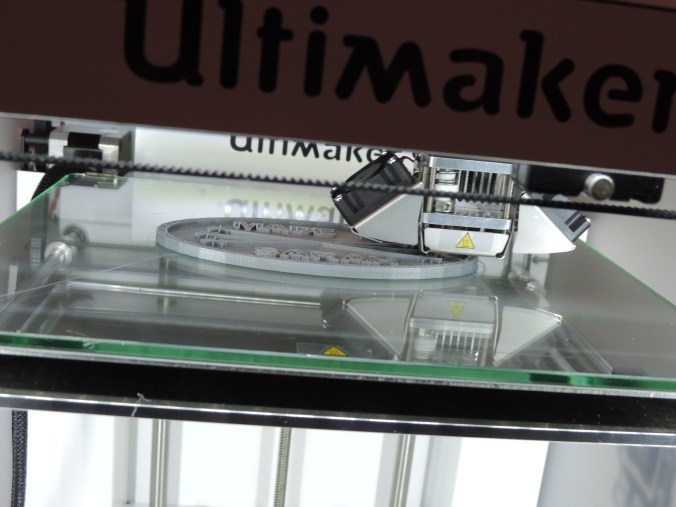
Print Time: 4 hours 46 minutes
Filament: PLA – 2.14 meters 17 grams
Layer height: 0.1 mm
Shell Thickness: 0.8

Object Size (W, D, H): 127.0, 68.0, 5.0 mm


Birthday Card

Here are my first two attempts at making Birthday cards.  For the outside I used the templates from the Silhouette Design Studio.  On the inside, I font was used and another template.  Several cards will be made this month, because of the numerous birthdays in January.

I really need to learn how to get the insert correct if the card will have a background.

DSCN6752

Instead of gluing the dots back into the letters, I used my metallic marker to draw the dots.  Lazy? Maybe… but, more likely I am feed up with all forms of glue.

DSCN6750

Note to self – Check the quality of the photo before mailing the card.

DSCN6876

The signature was done with the sketch pen in the Silhouette while before the cutting was performed.

DSCN6878

I did save the cut letters.  I may want to used them in the future for another project.


3D Printer – First Print

As I mention in the previous posting, the first couple attempts on printing the Ultimaker Robot, did not go well until I figured the filament grinding issue. The printing of this little guy when smoothly.

DSCN6642

DSCN6646

DSCN6651
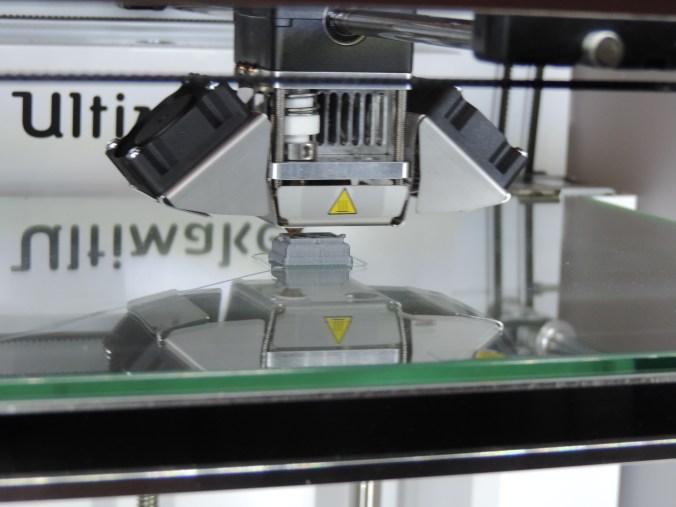
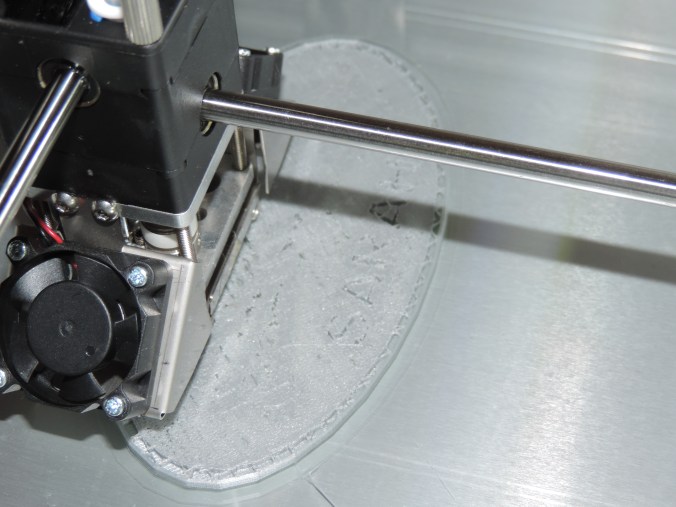
After the print is done, it is necessary for the printer to cool.  I have learned that even after the printer has indicated it has cooled down, if you let the object sit there longer, it is easier to remove.

The finish robot:

DSCN6808

Print Time: 50 minutes
Filament: PLA – 0.47 meters
Layer height: 0.1 mm
Shell Thickness: 0.8

Object Size (W, D, H): 25.9, 15.0, 33.8 mm

Christmas Ornaments – Part 3

As I was putting up my Christmas tree, I realized I didn’t share the ornaments made of paper.

These ornaments were created with my Silhouette Curio.  I got the templates from the design store and cut them out on the Curio using different holiday theme sheets of cardstock.  They were fastened together using glue dots.

DSCN6708DSCN6709DSCN6712DSCN6705DSCN6704


Christmas Ornaments – Part 2

Ok, I have been slack about posting articles.  Here are the reminding Christmas Ornaments I painted for 2015.

These two ornaments I painted for my niece, who asked that I bring her some snow.

I’ve painted all my ornaments in pairs.

I thought white, snowy Christmas was a nice touch.

Puff paint added some dimension to the ornaments.

Yes, these two ornaments are a little different.

Christmas Cards (2015)

Here is a preview of my handmade 2015 Christmas card.

This slideshow requires JavaScript.

The blue starry background was created using Coral Draw and printed on glossy photo paper.  The star, trees, and windows were created using Silhouette Studio and cut using the Curio device.  The star was cut on glitter paper, but the trees was cut on regular card stock and I glued the glitter on after they were cut.

Instead of having the window on the same cardstock, I thought using different pattern cardstock provide a wallpaper background and some uniqueness.

The inside of the card was the same for all the cards.

DSCN6465

I got the text and layout from the internet, but I recreated it in Coral Draw and printed it on card stock.  If I had thought about it before December, I would have created a inside scene and place it in a window frame.  So, the outside of the card would be looking out and the inside of the card would have been looking in.  But, there just wasn’t enough time.

The next card will have to be a birthday card.  There are so many birthdays in January.

Christmas Ornaments – Part 1

Around this time of the year, I work on something that has a Christmas theme.  This year I have painted some wooden Christmas ornaments.   Most of the ornaments were purchased from Michael’s Craft Stores in Oklahoma, Texas, and Louisiana.

The bell ornaments were painted with multiple layers of red and green acrylic paint.

For all the ornaments, I selected the DecoArt Americana Acrylic paint because it is thicker then most paint and covers better.  I used Delta Creamcoat for the gold metallic paint.  Then I covered the ornaments with Delta Creamcoat Sparkle Glaze.  The ornament probably didn’t need to be varnished after the glaze, but I wanted a good high gloss finish, so I put several coats of Miniwax Polycrylic on them.  The Polycrylic has worked well on my polymer clay creations.

The snowflake ornaments, yes there are two of them, the base was painted  with sapphire and then dry brushed with white paint.  I left the edges unpainted because I thought it gave them an old fashioned look.

The angel ornaments were purchase at Hobby Lobby.

I selected yellow and green paint for the star ornaments.  Before I applied the glaze, the green areas was dry brushed with gold paint.

The tree and bell ornaments were painted using the same process as described above.

The angel ornaments were purchased at Hobby Lobby.  I should have taken time to sand these ornament, because there are a few rough places on them.

This post is Part 1 because there are more ornaments that are unfinished.


Silhoutte Curio – My First Card Atempt

I would like to say the failure of this card resides in total, utter, and shear laziness.  My laziness.  I should have taken more time with the card.  But, this is what I learned in making of this card.

DSCN6357

The background of the card was done in Corel Draw.  It is just a rectangle with a fill image I found searching for “cupcake.”  It was printed on photo paper.  Everything else done with Silhouette Studio and the Curio Cutting Machine.

The “Happy Birthday” part was designed in the Silhouette Studio.  I was able to place the text in the design, then I drew a copy of rectangles.  I used the Curio to cut the rectangles from cardstock and the Curio Sketch pens to write-out “Happy Birthday!”  I do like the sketch pens and I am impressed with their colors.

What I should have done for the “Happy Birthday” banner was to either have the Curio cut each letter or created a different type of banner.  Maybe one that outlined the “Happy Birthday!”  Why didn’t I?  At that time, I didn’t want to have to glue each letter onto the card.

The cupcake turned out nice.  However, this was an image I got from Silhouette for free.  It should had some sparkles.

The inside part.  Again laziness.

DSCN6359

The text was another image from Silhouette.  I failed in putting the image on paper and creating the border.  I probably could have done a better job in cutting out the text by hand.  The text should have been printed directly on the card using the sketch pens.  And, if I would have added a few cupcakes to the inside of the card it would have been a nice touch.

After I glued everything onto the card, the card warped.  The card is now in the garbage can where it belongs.  Don’t use photo paper for the base of card. I am now working on another card.  No laziness allowed.

Ravensburger North American Skyline Puzzle Review

20150928_100732

I purchased the Ravensburger North American Skyline puzzle to put together, with my husband, over the Fourth of July weekend.  I selected the puzzle because the picture was beautiful and it had 3000 pieces.  Most of the puzzles I could purchase locally only went up to 1000 pieces and those would have been done in a few hours.  I was looking forward to this puzzle adventure, because we hadn’t put a puzzle together in at least a decade.

My husband gave up on the puzzle before the border was mostly completed stating that he was having trouble telling a difference between the colors on the pieces.  Yes, I was having a little trouble too, but I pressed on.  The border wasn’t completed until most of the puzzle was done, because those last few border pieces liked hiding.

The next challenge I experienced was telling the top part of the puzzle from the bottom part of the puzzle.  They both looked a lot like, almost identical.  The only difference was the bottom pieces usually had lines on them to indicate water.  I ended up separating the top pieces from the bottom pieces.  And, yes those few border pieces were still hiding.

What was suppose to be a three day adventure ended up being a three months adventure.   Ok, I travel some, about 3 weeks, during those three months and some days I only worked on it a few minutes and other days I didn’t work on it at all.

20150928_101046

This puzzle ended up being extremely challenging.   If you moved a puzzle piece two inches away, it usually changed colors.  A lot of pieces were different shades of blue, but it didn’t matter.  Even the light blues appeared dark blue during the process.  The pieces fit together very well.  Still I think I will avoid Ravensburger puzzles in the future.

Silhouette Curio – Cutting the Design

In my last post, Silhouette Studio – The First Design, I discuss creating a test design with the Silhouette Studio Software.  Below is the design I created.  It has some text and images.

My First Studio Design

My First Studio Design

The Curio came with a cutting mat, embossing mat, and three other mats that I later learned was platform mats.  I removed the film from the cutting mat and place it onto Curio’s tray according to the image on the Silhouette Studio design screen.  I carefully placed the card stock on top, since the cutting mat has a sticky surface.

I gently slid the tray into the machine.  The instructions says “push into machine until tray sticks out back”  and it says “push into machine until notch passes front of machine.”  If you have trouble seeing the notch, push the tray into the machine until the top left hand corner of the material in directly under the cutting/embossing blades.

I looked at the cutting blade and it cut was set to zero.  I figured out that the by placing the cap that came with the blade on to it and turning, I was able to adjust the cut size.  I set it on 3.  It seemed right, but the instruction manual did not specify.   I placed the cutting blade into the Curio in the first slot and turned on the Curio.  Now for cutting.

I went back to the software and noticed that the paper size didn’t match the Design Page setting.  I adjusted the design page setting to match my paper size.  Then I had to move a few of my designs so they would be inside the cutting area.  Next I clicked Cut Settings cut settings icon icon.  My design now has thick lines around it, see below.  I assumed this is where the design would be cut.

before cut

I looked over the cut setting.  The Standard mode was fine.  I left the cut style on Cut.  Tool 1 was selected, this was fine because that is where I put the cutting blade.  Under Material Type, I clicked Cardstock was even though it was already selected.  As soon as I clicked Cardstock the Editing menu opened and displayed the recommended blade setting.   Sometime during the process of setting up the cut setting and cutting the design, this message appeared on the screen.

new designs

I have some new designs in my library!  I clicked on the library and approximately 50 designs were added to the library.  I am assuming since the it appears anyone can download the Silhouette Studio software, this is how the company distributes content to individuals that have purchased the device.

Library

After I looked at the library, I finally went back to the cut setting and pressed Send to Silhouette.  The machine is a little loud, but it is working.  Wait, there is no cut on the paper.  What did I do wrong?  I looked over the cut setting again and made sure the blade was set on 3.  I scrolled down in the cut setting and there are more options.

Cut Setting Top

Cut Setting Bottom


The platform setting showed that I needed 6 platforms on the tray. I added 6 platforms on the tray and sent the design to be cut once again.  The paper cut this time.  Yay!   What I learned on my first design.  The text is too delicate for my first cut.  To remove it perfectly from the cutting board, will take time.  The balloon came out great, and the border needs work because it came out is many pieces.

Next embossing….