In my last post, Silhouette Studio – The First Design, I discuss creating a test design with the Silhouette Studio Software. Below is the design I created. It has some text and images.

My First Studio Design
The Curio came with a cutting mat, embossing mat, and three other mats that I later learned was platform mats. I removed the film from the cutting mat and place it onto Curio’s tray according to the image on the Silhouette Studio design screen. I carefully placed the card stock on top, since the cutting mat has a sticky surface.
I gently slid the tray into the machine. The instructions says “push into machine until tray sticks out back” and it says “push into machine until notch passes front of machine.” If you have trouble seeing the notch, push the tray into the machine until the top left hand corner of the material in directly under the cutting/embossing blades.
I looked at the cutting blade and it cut was set to zero. I figured out that the by placing the cap that came with the blade on to it and turning, I was able to adjust the cut size. I set it on 3. It seemed right, but the instruction manual did not specify. I placed the cutting blade into the Curio in the first slot and turned on the Curio. Now for cutting.
I went back to the software and noticed that the paper size didn’t match the Design Page setting. I adjusted the design page setting to match my paper size. Then I had to move a few of my designs so they would be inside the cutting area. Next I clicked Cut Settings ![]() icon. My design now has thick lines around it, see below. I assumed this is where the design would be cut.
icon. My design now has thick lines around it, see below. I assumed this is where the design would be cut.

I looked over the cut setting. The Standard mode was fine. I left the cut style on Cut. Tool 1 was selected, this was fine because that is where I put the cutting blade. Under Material Type, I clicked Cardstock was even though it was already selected. As soon as I clicked Cardstock the Editing menu opened and displayed the recommended blade setting. Sometime during the process of setting up the cut setting and cutting the design, this message appeared on the screen.
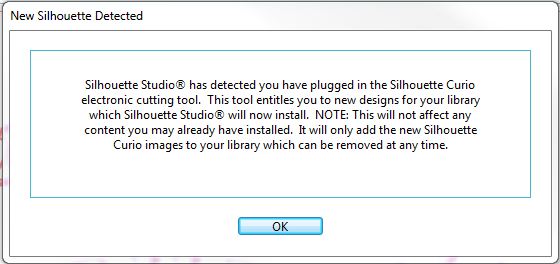
I have some new designs in my library! I clicked on the library and approximately 50 designs were added to the library. I am assuming since the it appears anyone can download the Silhouette Studio software, this is how the company distributes content to individuals that have purchased the device.

After I looked at the library, I finally went back to the cut setting and pressed Send to Silhouette. The machine is a little loud, but it is working. Wait, there is no cut on the paper. What did I do wrong? I looked over the cut setting again and made sure the blade was set on 3. I scrolled down in the cut setting and there are more options.
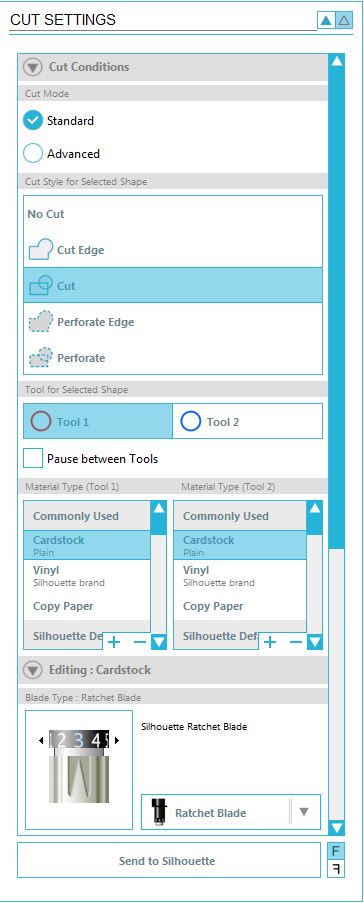

The platform setting showed that I needed 6 platforms on the tray. I added 6 platforms on the tray and sent the design to be cut once again. The paper cut this time. Yay! What I learned on my first design. The text is too delicate for my first cut. To remove it perfectly from the cutting board, will take time. The balloon came out great, and the border needs work because it came out is many pieces.
Next embossing….
